[Adafruit]’s Voicebox FX gadget is a fun, well-documented project that serves another useful purpose: being a fantastic reference design for audio on CircuitPython, with I2S audio components. Be sure to check it out if you have a project that involves any of that and could use a few pointers, or if you just want to jog a few ideas loose.
I2S (Inter-IC Sound) is a protocol aimed squarely at moving audio data between components as digital signals. Our own [Jenny List] can tell you everything you need to know about I2S. It’s a relatively simple interface that is not at all fussy about actually being used for audio, and that has led to it being put to some unusual uses.
The Voicebox FX uses an I2S microphone, an I2S amplifier, and an RP2350 microcontroller to record and play sound as well as offer a variety of effects controlled by physical inputs. It’s all wrapped up in a slick 3D printed case, and while it’s a fantastic reference design, it looks like a fun toy in its own right.
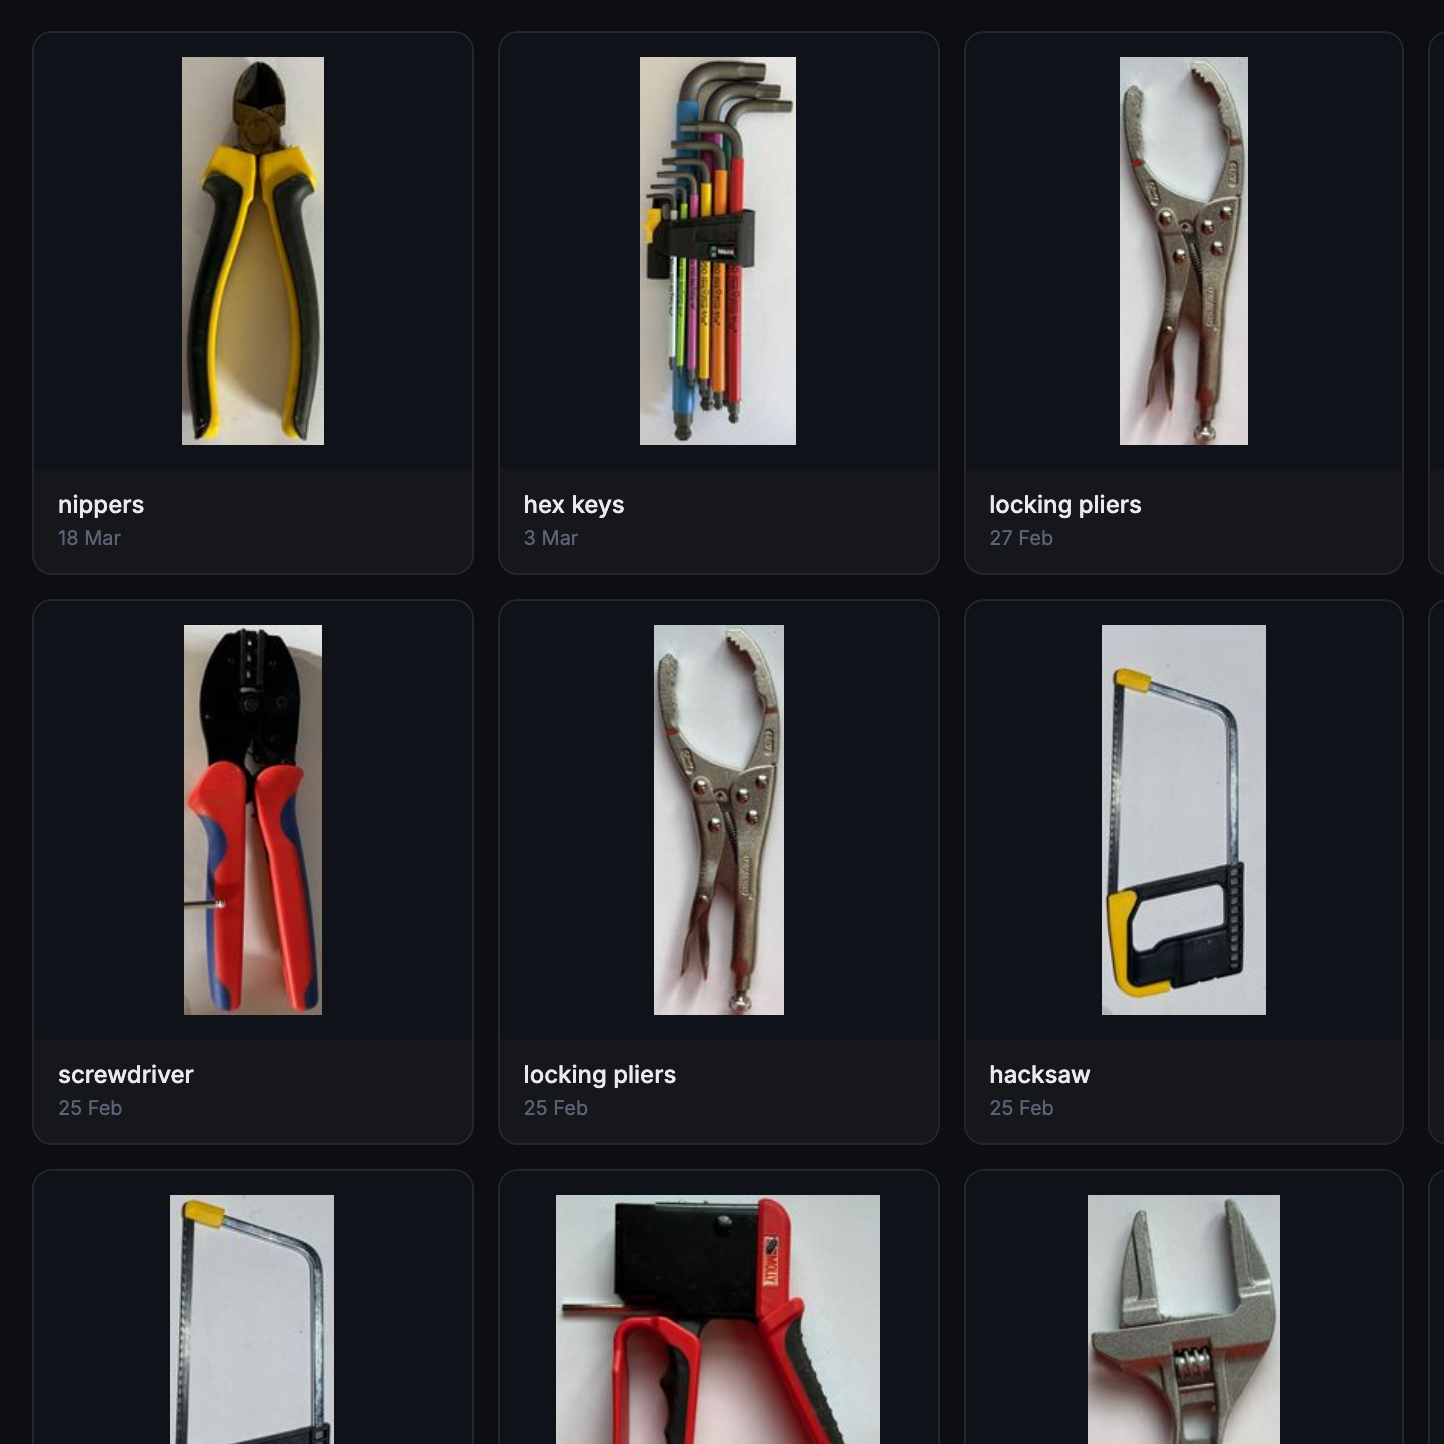
What if the organization and storage benefits of tool shadowing could be had and improved with a modular, semi-automated process? Tracefinity attempts that by generating custom Gridfinity bins from photos of tools, and has quite a few nifty features that are worth a look.
Maintaining a library of tools makes it easy to create project-based custom layouts.
The basic workflow is this: place one or more tools on a sheet of paper, take a photo, then upload the photo and have the system trace and save the outline and add it to a private tool library. When one is ready to create some bins, use the library of saved tool outlines to generate custom Gridfinity layouts.
If you’re unfamiliar, Gridfinity is a modular system of standardized bins and baseplates designed with 3D printing in mind, making it an ideal match for highly-customized organization tasks and a particularly natural fit for a tool-tracing system like this one.
The idea of taking a photo of a tool and generating a custom bin is a compelling one, and a couple years ago we covered a project that did just that. Tracefinity seems like a natural evolution of the idea, and includes handy features like easy design adjustments, optional magnet holes, and we really like the concept of a tool library from which individual tools are scanned once then later selected to create specific, project-based layouts.
Tracefinity takes advantage of new software capabilities like machine learning to improve and streamline the tracing process, but that doesn’t mean it relies on any external services. It can be entirely self-hosted and by default uses a local, CPU-friendly object detection model for tool tracing. There is an option to provide a API key to use Google Gemini instead, but it’s not required. It can come in handy for especially complex tool outlines or dealing with non-ideal source photos, however.
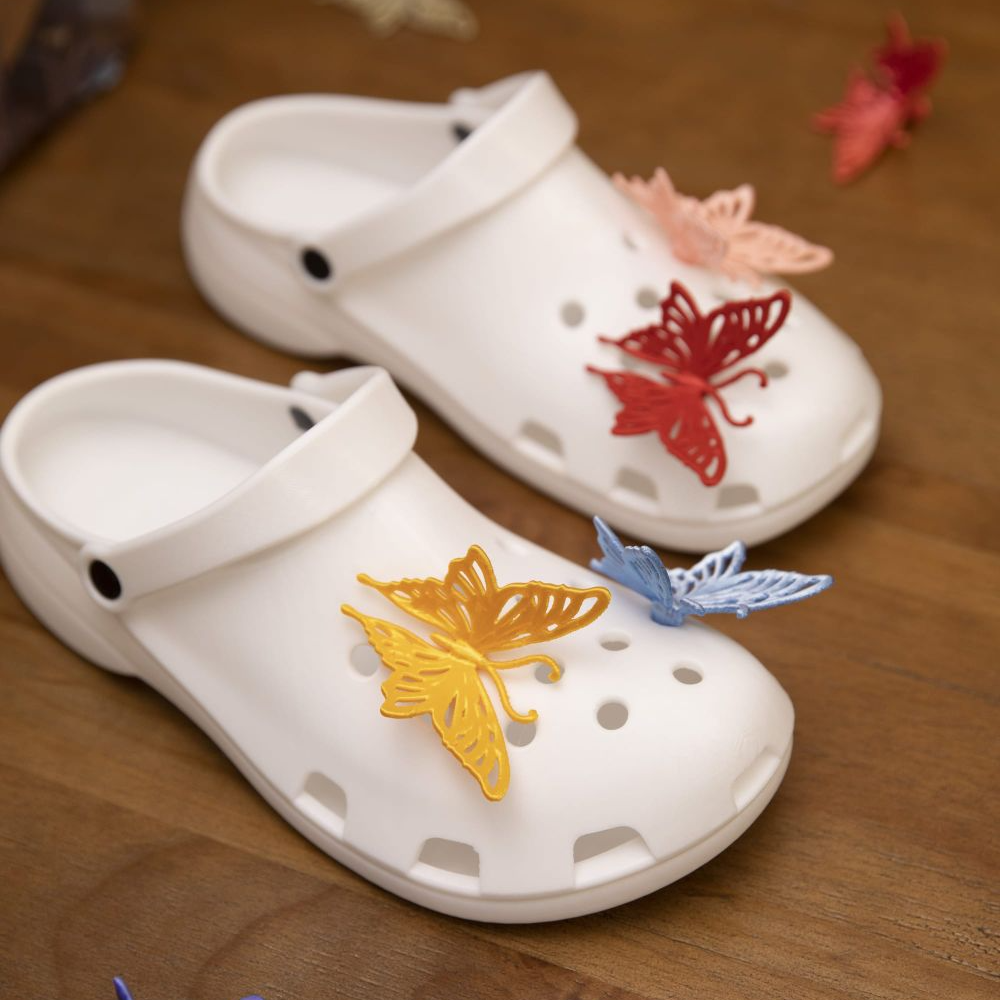
Printed footwear is an intriguing idea, but as far as projects go it is somewhat more complex than it first appears. This guide to 3D printing your own clogs not only provides a solid process, but also acts as a list of the challenges and pitfalls involved. After all, a piece of footwear is actually a fairly large object. Failed prints can be costly and time-consuming, so a guide like this is a valuable resource.
First of all, a 3D printer that can handle multi-material printing is called for. The footwear itself will be printed in TPU 90A as a sweet spot for hardness, but the print will require supports and those supports will need to peel away cleanly. The solution is a shoe printed in TPU with a rigid support structure of PLA. Using two different materials in the same print with anything remotely resembling efficiency calls for either a dual-nozzle print head, or a multi-toolhead printer.
3D printing one’s own clogs can be rewarding, if not necessarily cost-effective.
Here we want to take a moment and say that while the guide itself suggests PETG is also a suitable support structure, we suspect this might only be true for the exact filament formulations used in the guide. The safer approach is to use PLA. Why? As we’ve seen in other tests, PETG has been observed to stick extremely well to flex filaments in general, whereas PLA doesn’t really want to stick to anything other than PLA. The exact formulations of TPU and PETG used in the guide might be compatible with one another, but in general we recommend sticking to PLA as a rigid support for flexible filament.
Assuming a capable printer and suitable materials are nailed down, one also needs to worry about keeping the TPU dry. It is very sensitive to moisture, which directly affects print quality. You’ll also need to dial in the settings — a gyroid-patterned infill of 15% provides the right amount of “squish”, which is most effectively fine-tuned by changing the infill pattern rather than the density.
Is it worth the time and effort and filament cost to print one’s own pair of slip-ons versus simply buying a pair of Crocs®? Maybe not, but it can still be rewarding and this guide will help minimize any failed prints in the process. And if you do get a nice print but the TPU is sticking a little too well to the build plate, reach for the isopropyl alcohol.
 Login
Login