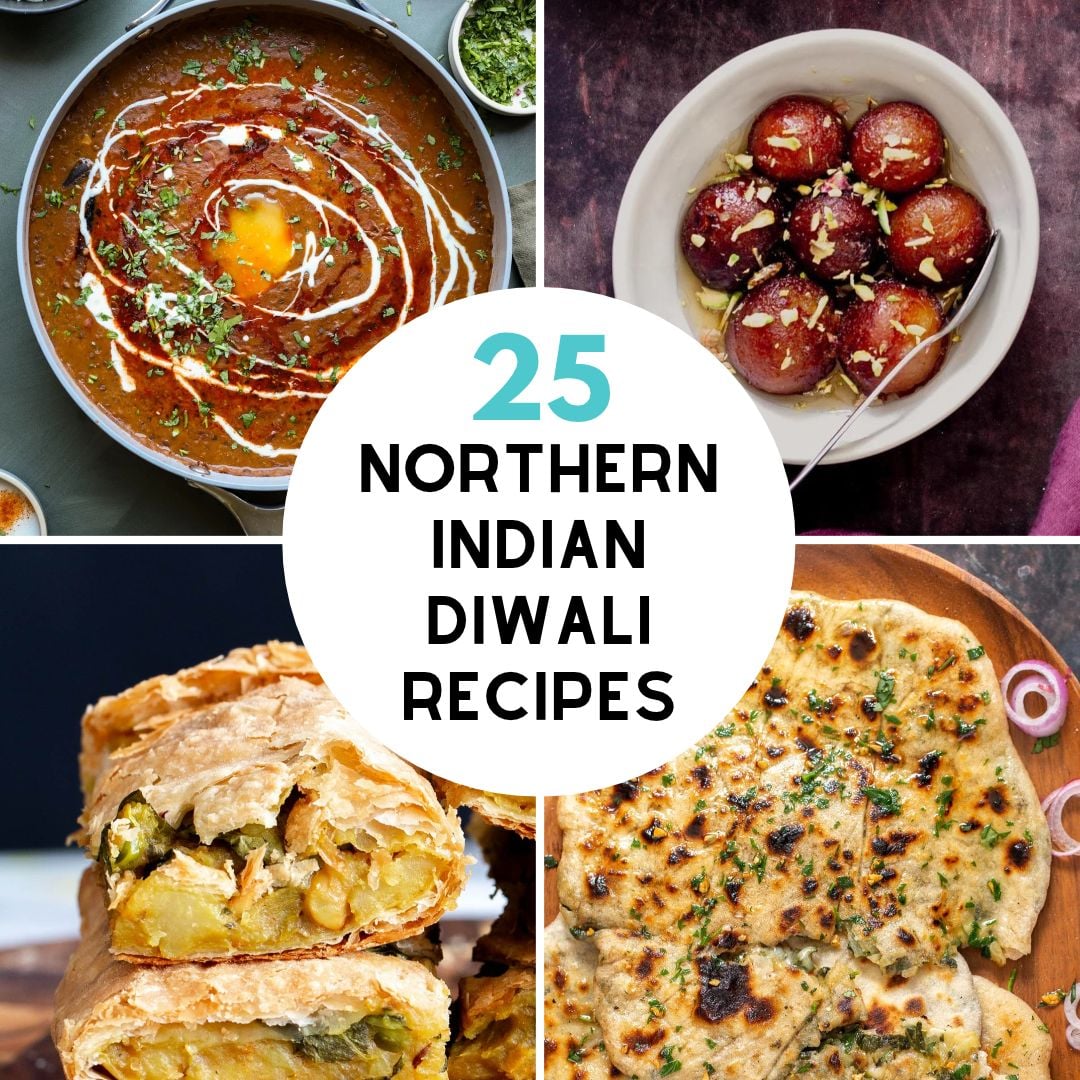
Celebrate Diwali with 25 delicious Northern Indian recipes, from flavorful appetizers and hearty main dishes to traditional sweets and desserts.
Diwali, the Festival of Lights, is a time to gather with family and friends, share delicious food, and celebrate together. Food is a big part of the festivities, with everything from savory snacks and flavorful curries to traditional Indian sweets made to share with loved ones.
This collection of vegan North Indian recipes includes appetizers, curries, vegetable dishes, rice, flatbreads, and desserts, so you can put together a festive spread that everyone will enjoy! Mix and match your favorites to create a Diwali feast everyone will love!
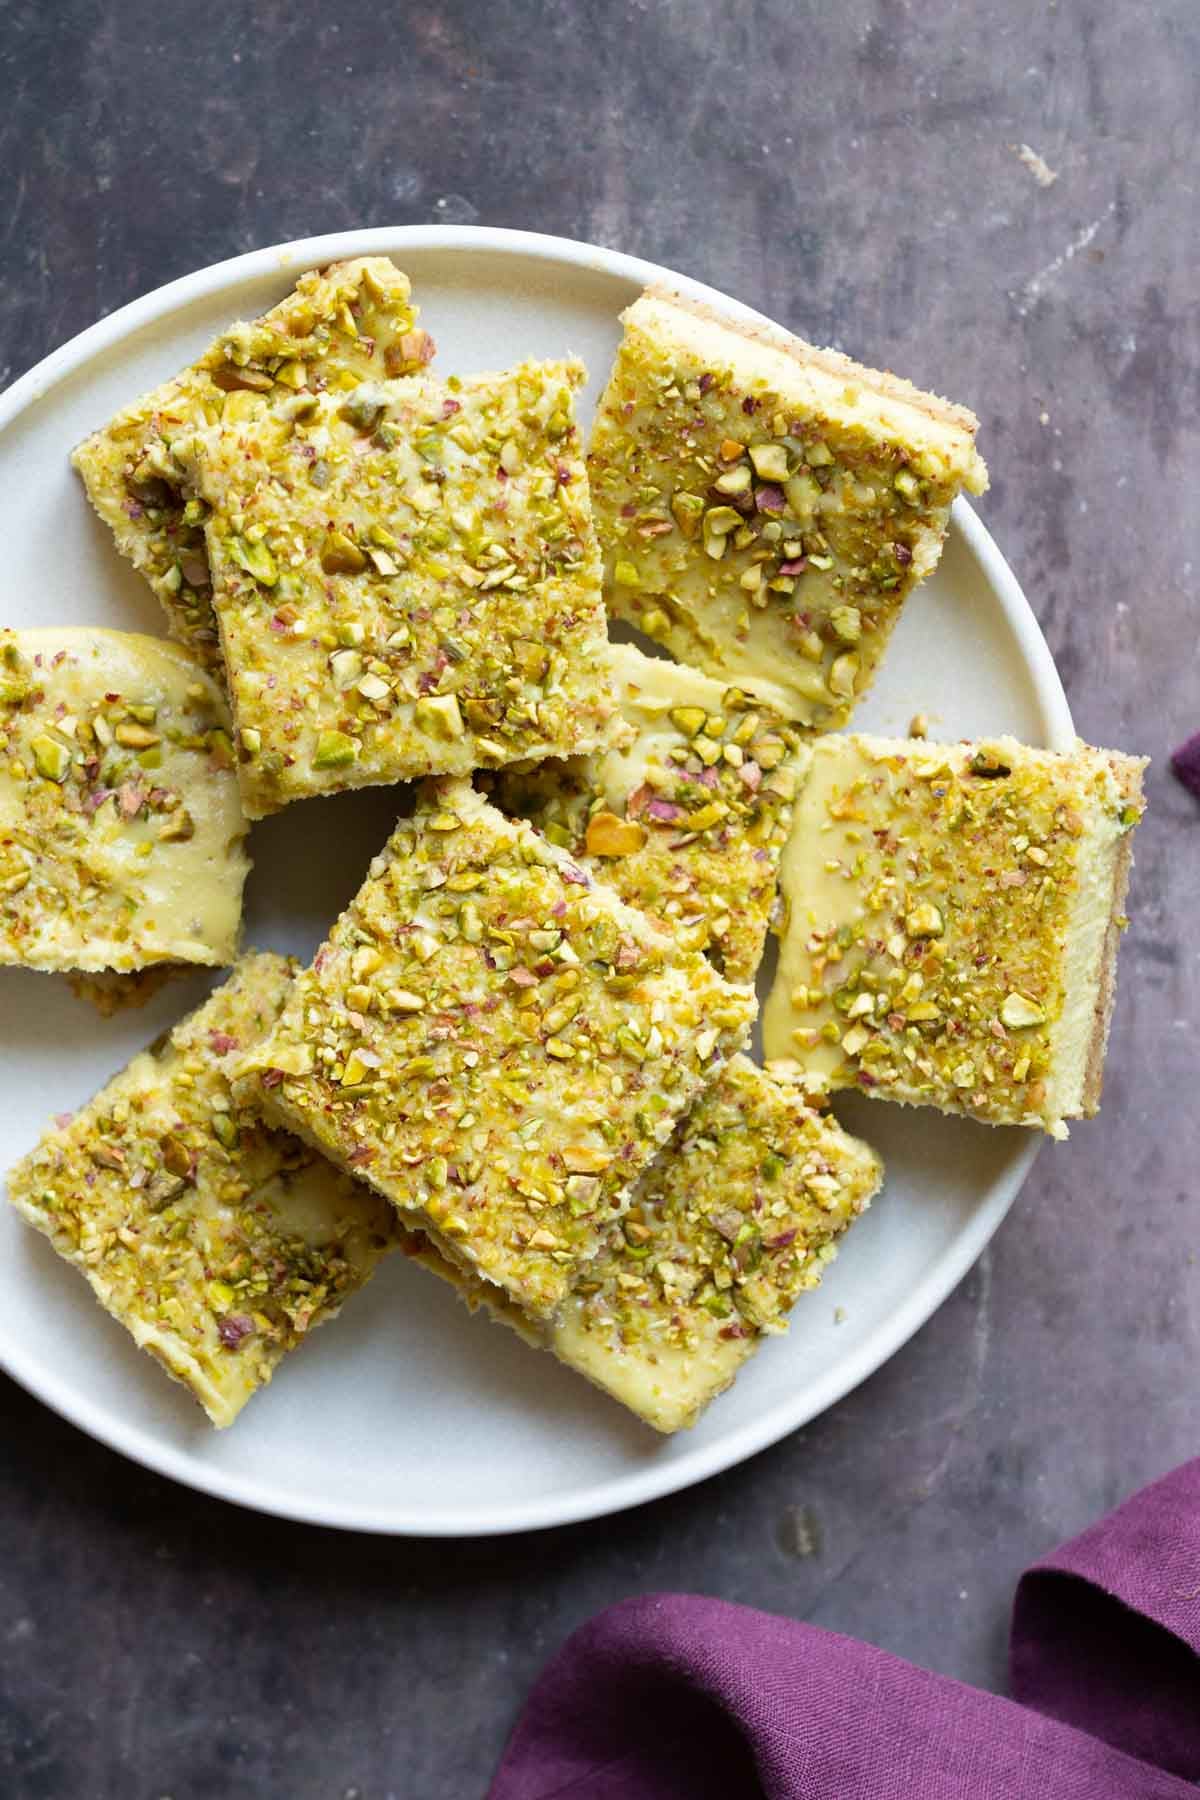
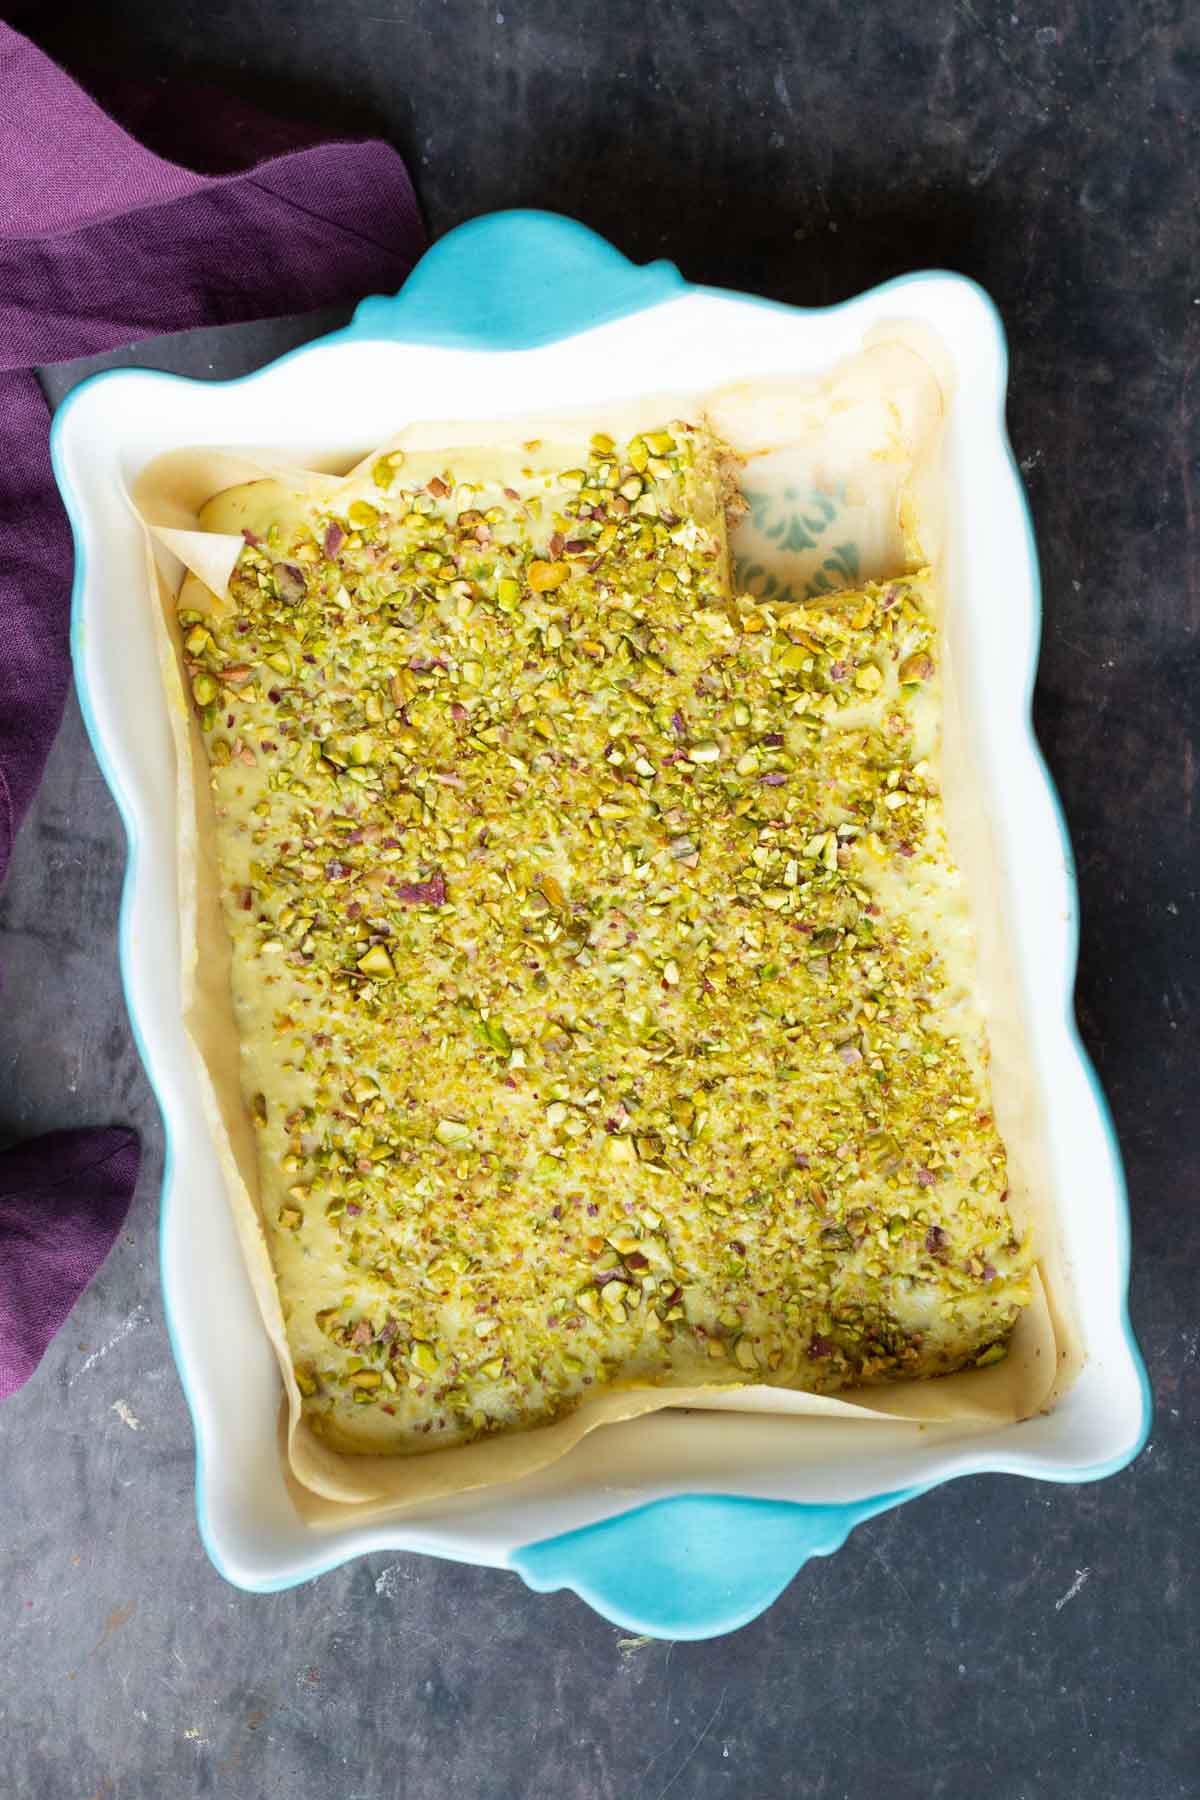
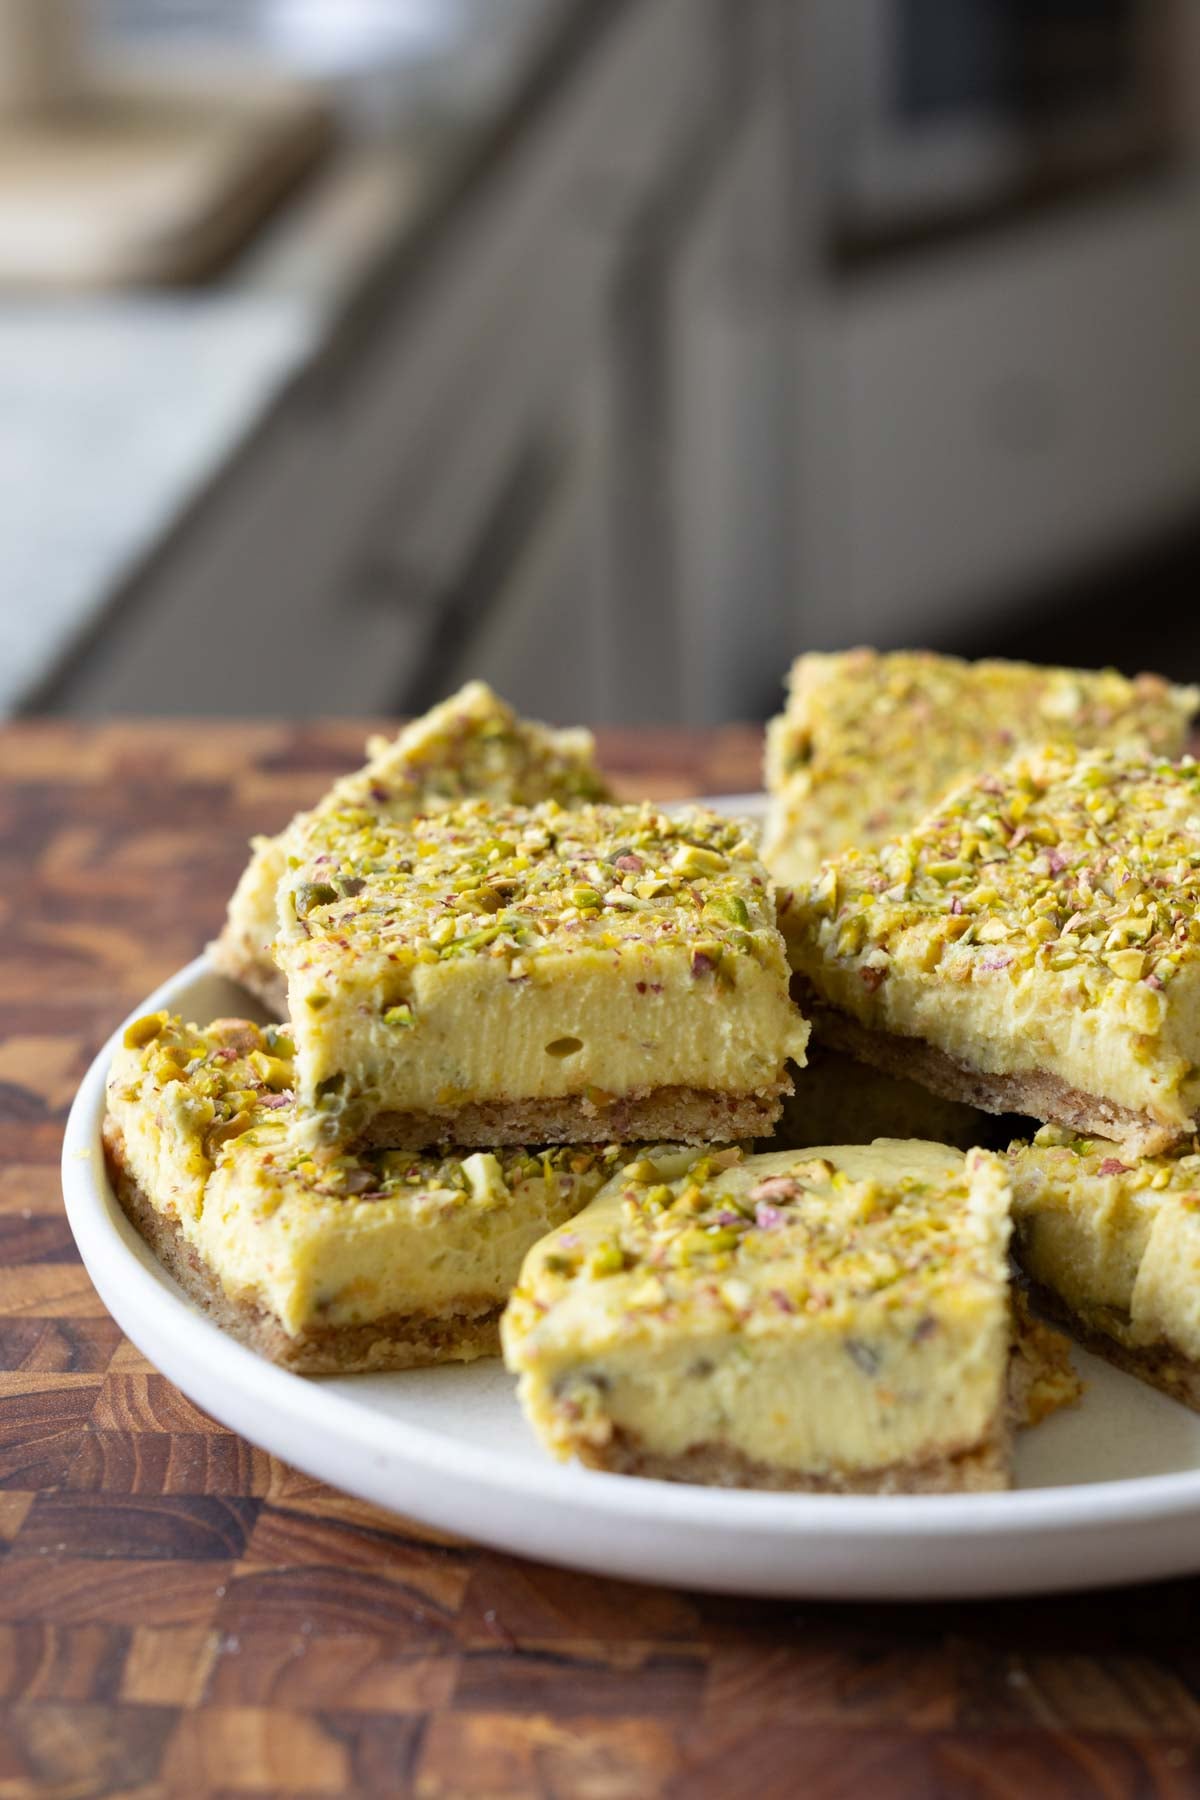
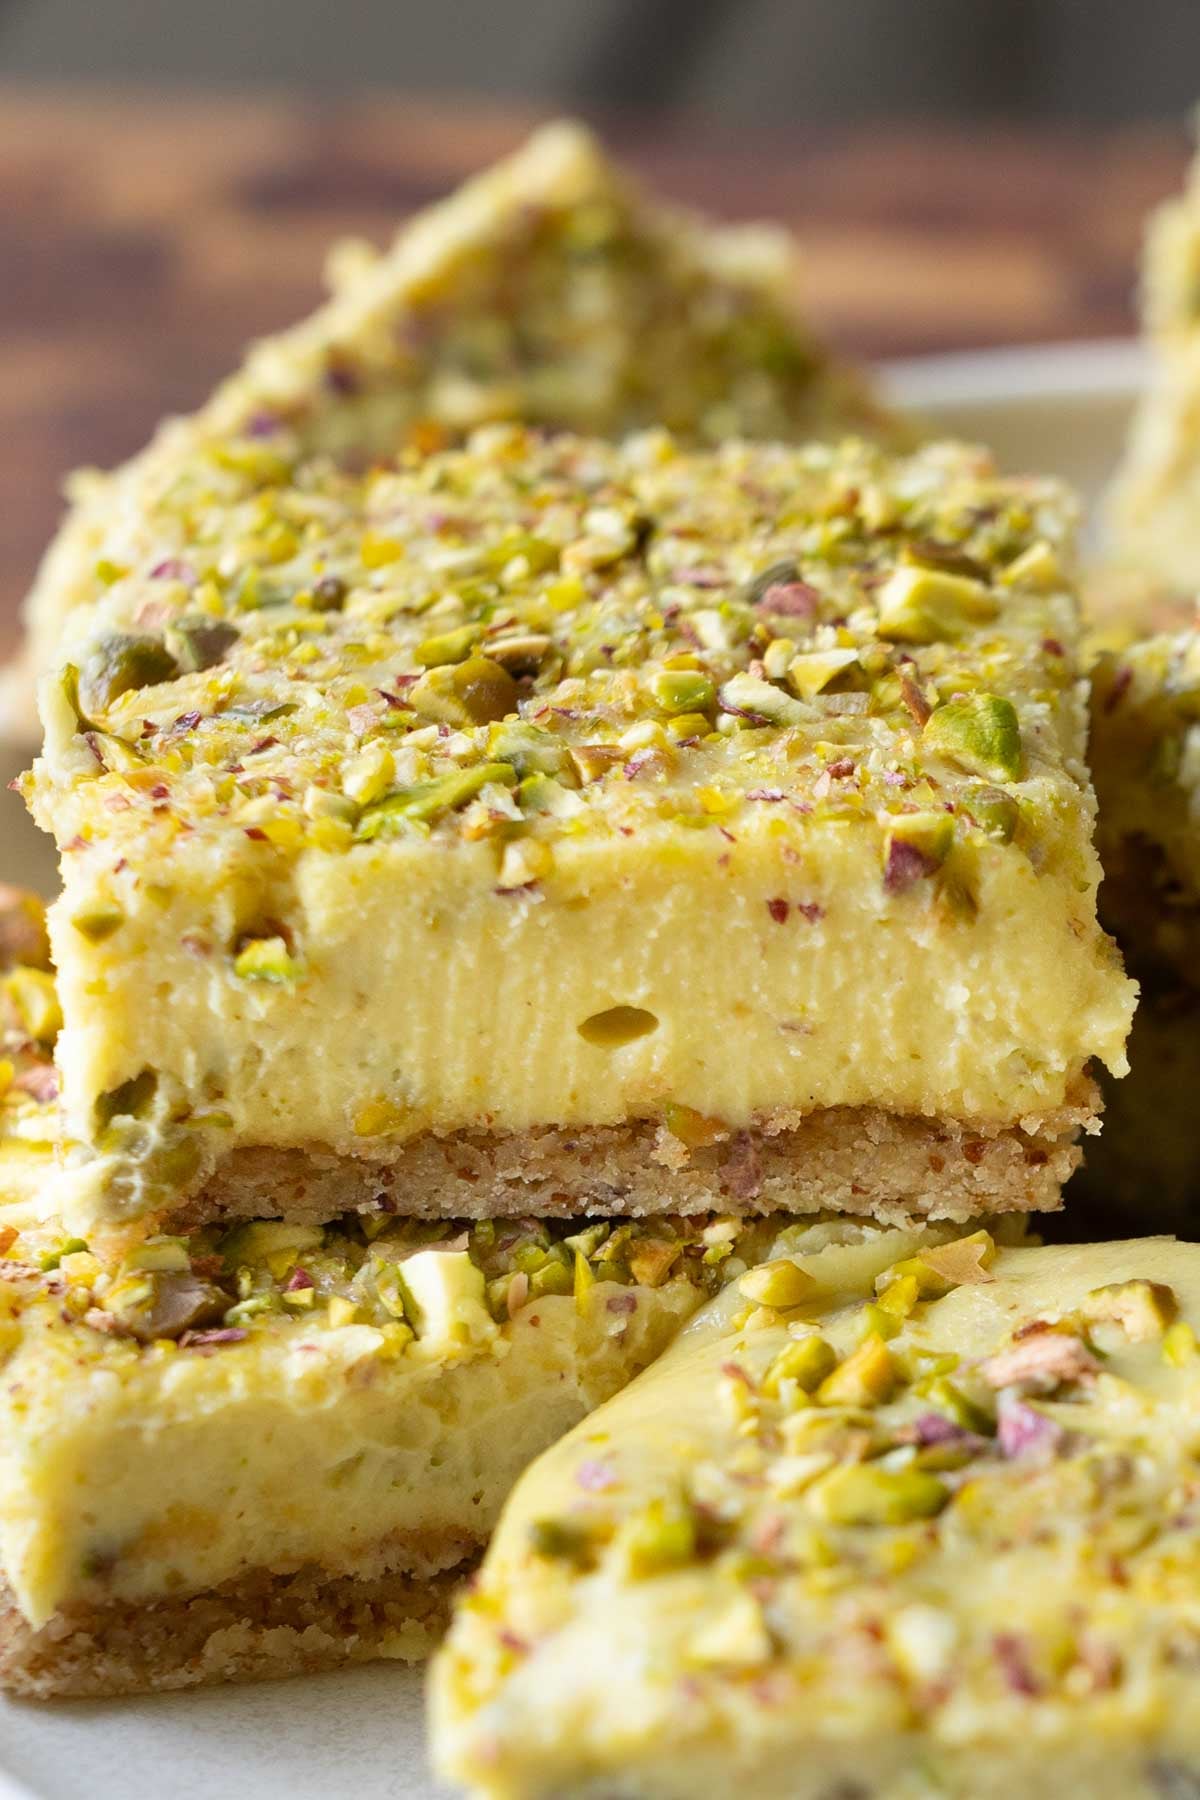
Luscious saffron, cardamom & pistachio cream layered over an almond crust! These gluten-free Kesar Pista bars secretly pack 7g protein. Perfect for Diwali or any other holiday meal! (soy-free, dairy-free, vegan)
Kesar means saffron, and pista means pistachio. These saffron pistachio bars are just so delicious. I just wasn’t ready for how decadent and luxurious they were going to turn out! They’re kind of like creamy lemon bars, but with nutty pistachio and floral saffron flavors in them.
The saffron-pistachio combination is very popular in Indian desserts and also desserts from many other cuisines. These two flavors just work so amazingly well together, especially raw, fresh pistachios and floral saffron.
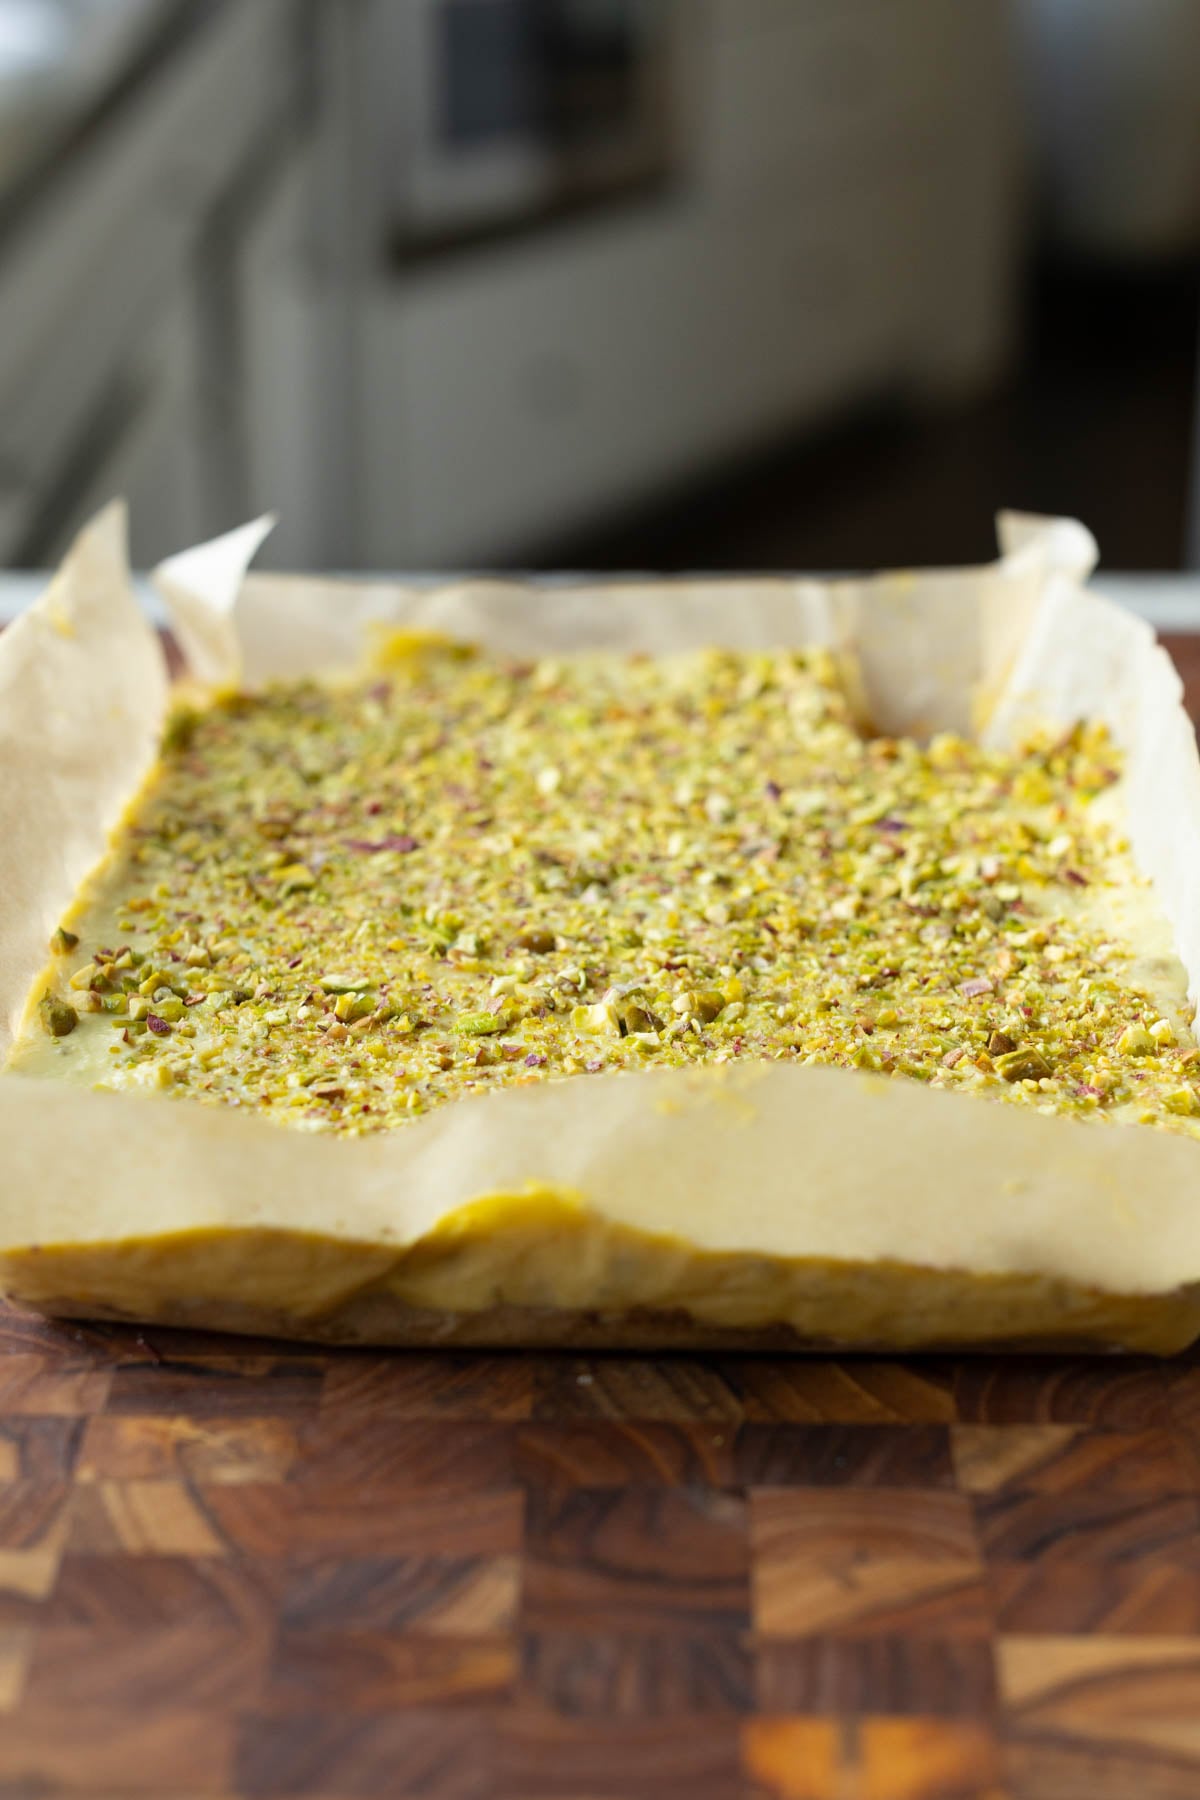
I’m using that today to make a fusion Indian dessert based on kesar burfi, kesar pista ladoo, or pedas, but I made them into these bars. We make this almond flour crust with some cardamom and then make the cream topping with cashews, coconut milk, saffron, and a little pistachio, and then top it with generous amounts of chopped pistachio. It all sets up and it becomes just amazing!
If you don’t have saffron, you can skip that flavor, and add extra cardamom, add a pinch of turmeric for color, and an extra splash of vanilla. That flavor profile pairs really well with the pistachios, as well.
Why You’ll Love Kesar Pista Bars
rich, creamy, decadent bars with nutty pistachios and floral saffron and cardamom flavors
quick almond flour crust
easy to make with simple ingredients
naturally gluten-free and soy-free with almond-free option
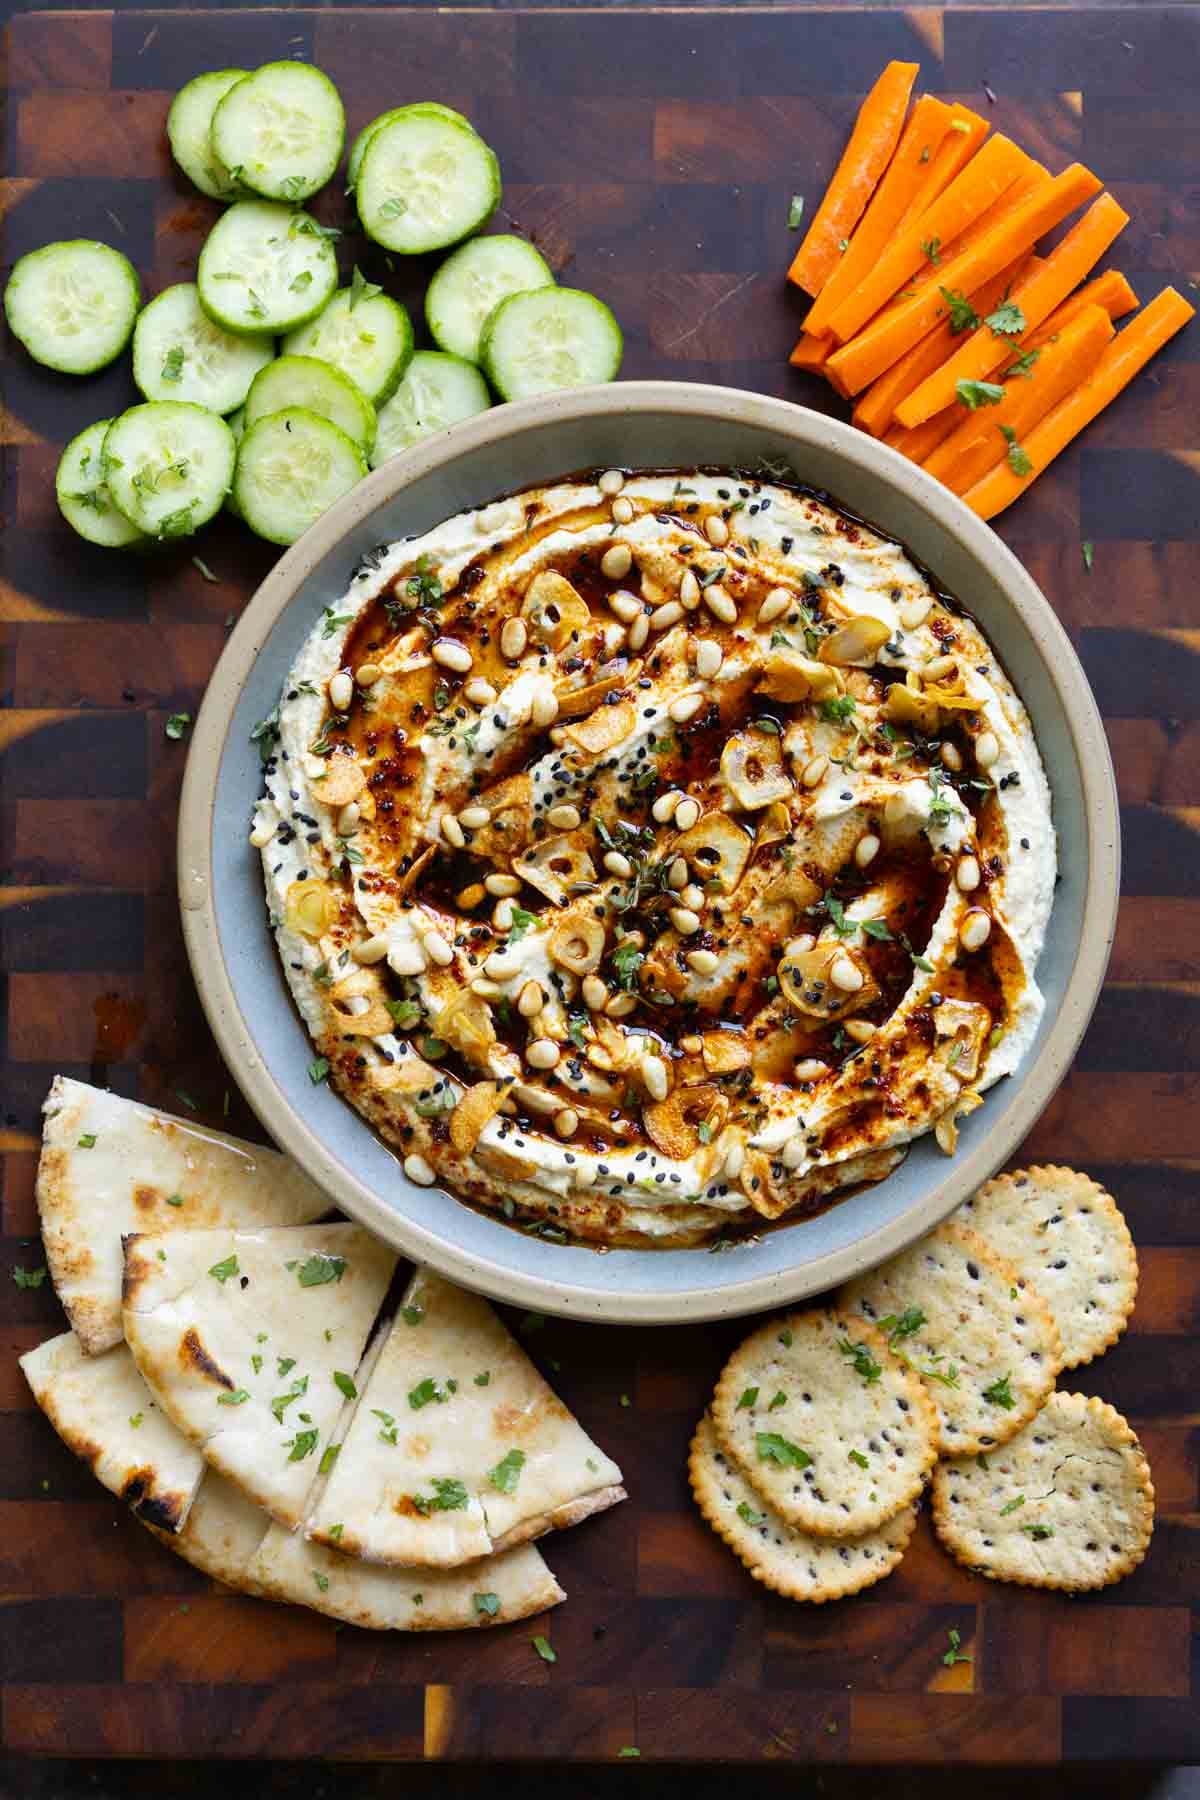
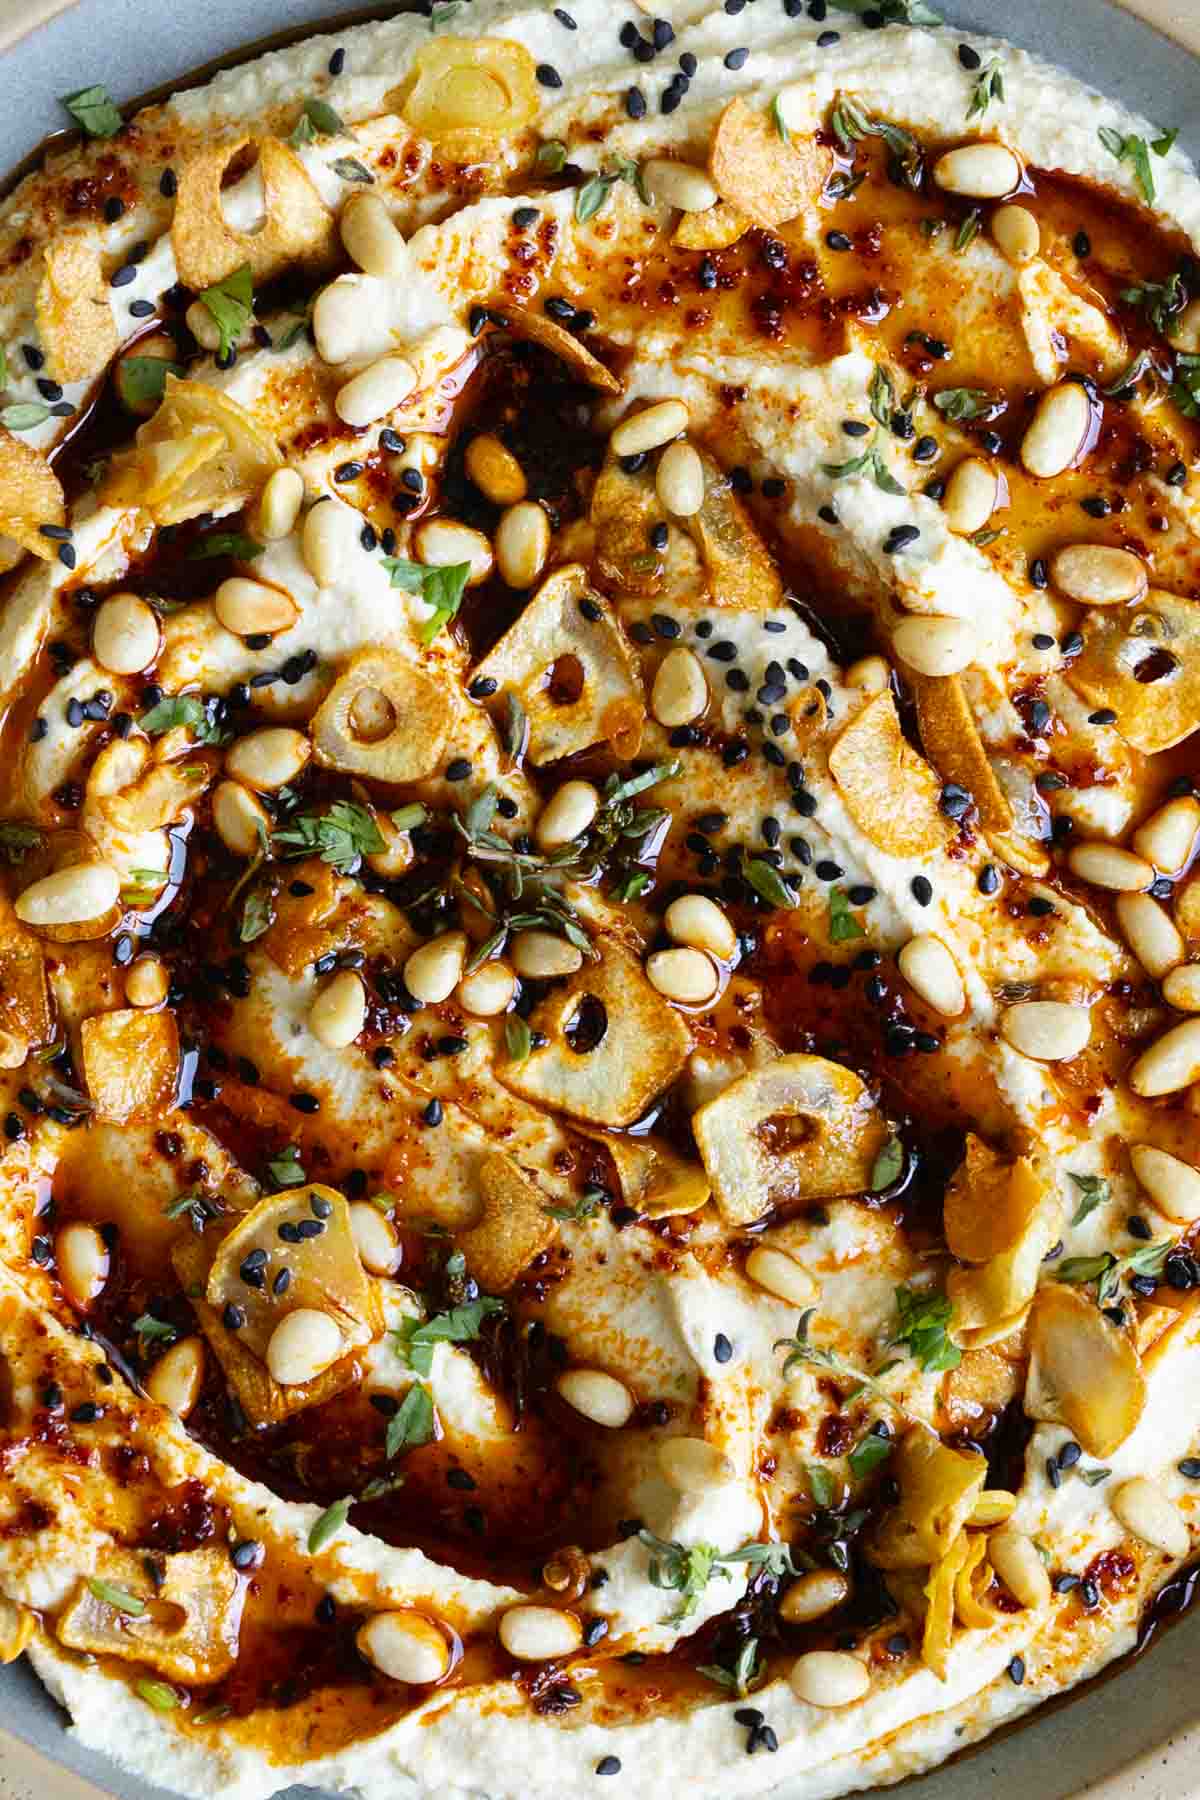
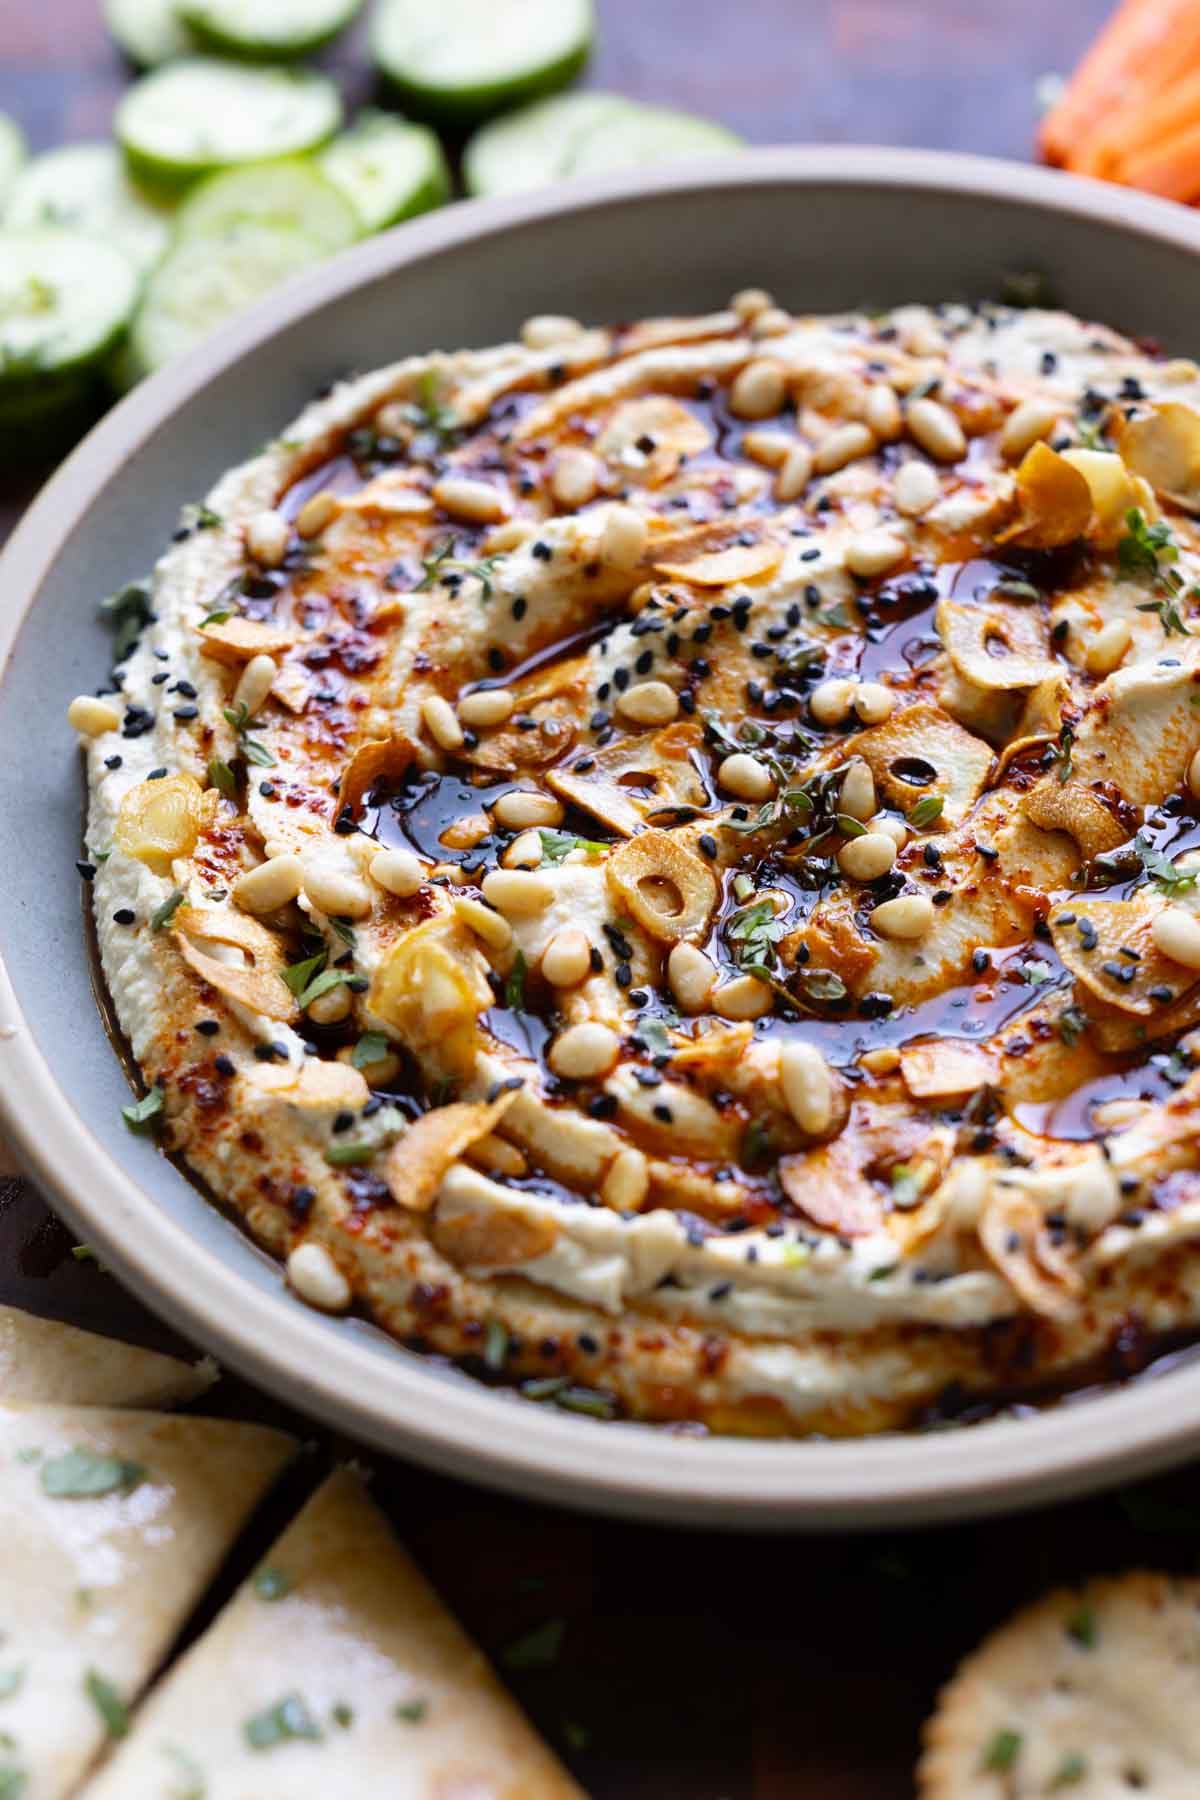
I can’t believe this is tofu! This creamy, tangy whipped tofu feta with smoky, savory, sweet, spicy ‘honey’ on top takes just 15 minutes. It’s perfect for snacking, potlucks, and holiday parties! (gluten-free and nut-free with soy-free option. 15g protein and 3g fiber per serving not including sides)
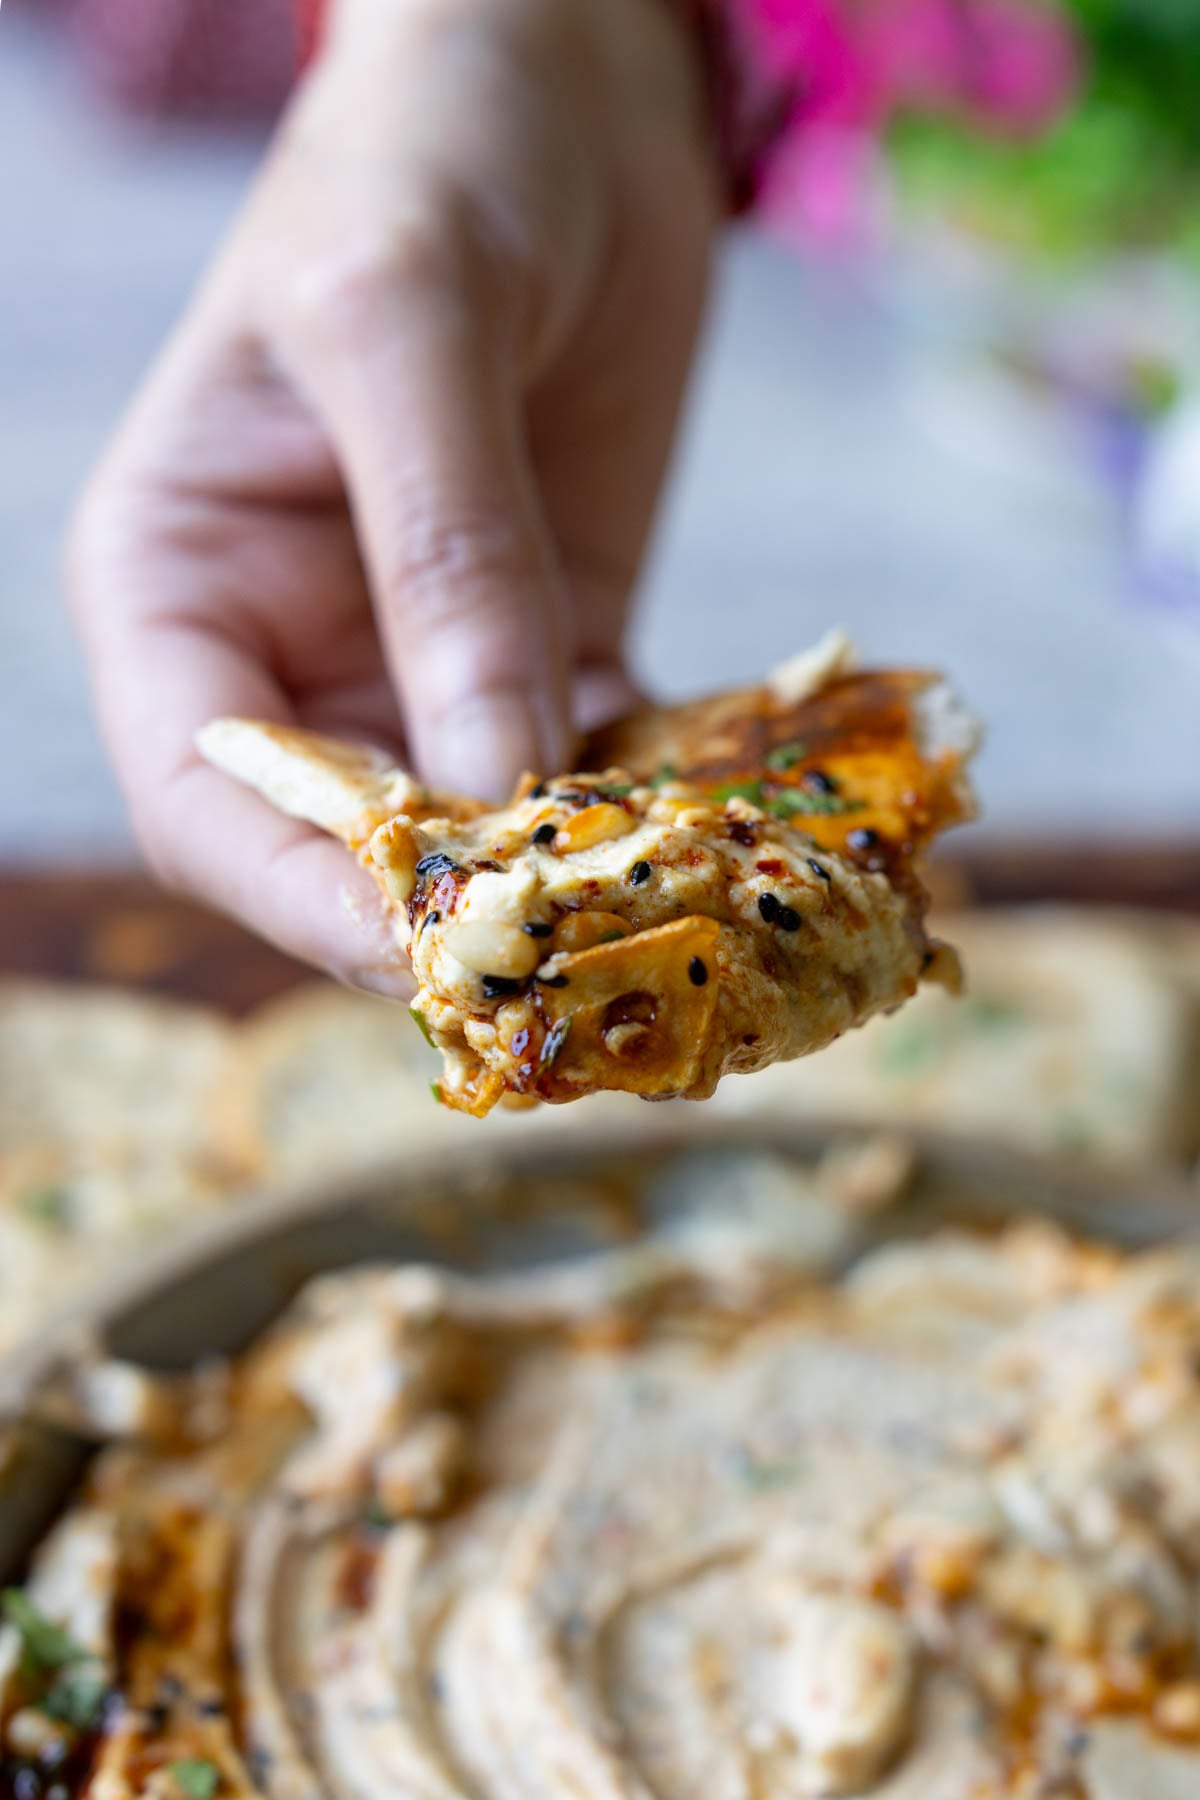
This dip, it’s luscious, tangy, creamy, delicious! Topped with a smoky savory spicy sweet topping. And it takes just 15 minutes! Once you try this dip, you’ll keep coming back with I can’t believe it’s tofu! I can’t believe it’s vegan!
We make the whipped feta with a block of tofu, but nobody will believe that it’s tofu-based. Even Dalana, my assistant, who is a level 10 tofu skeptic, said that she can’t taste the tofu in this vegan whipped feta at all.
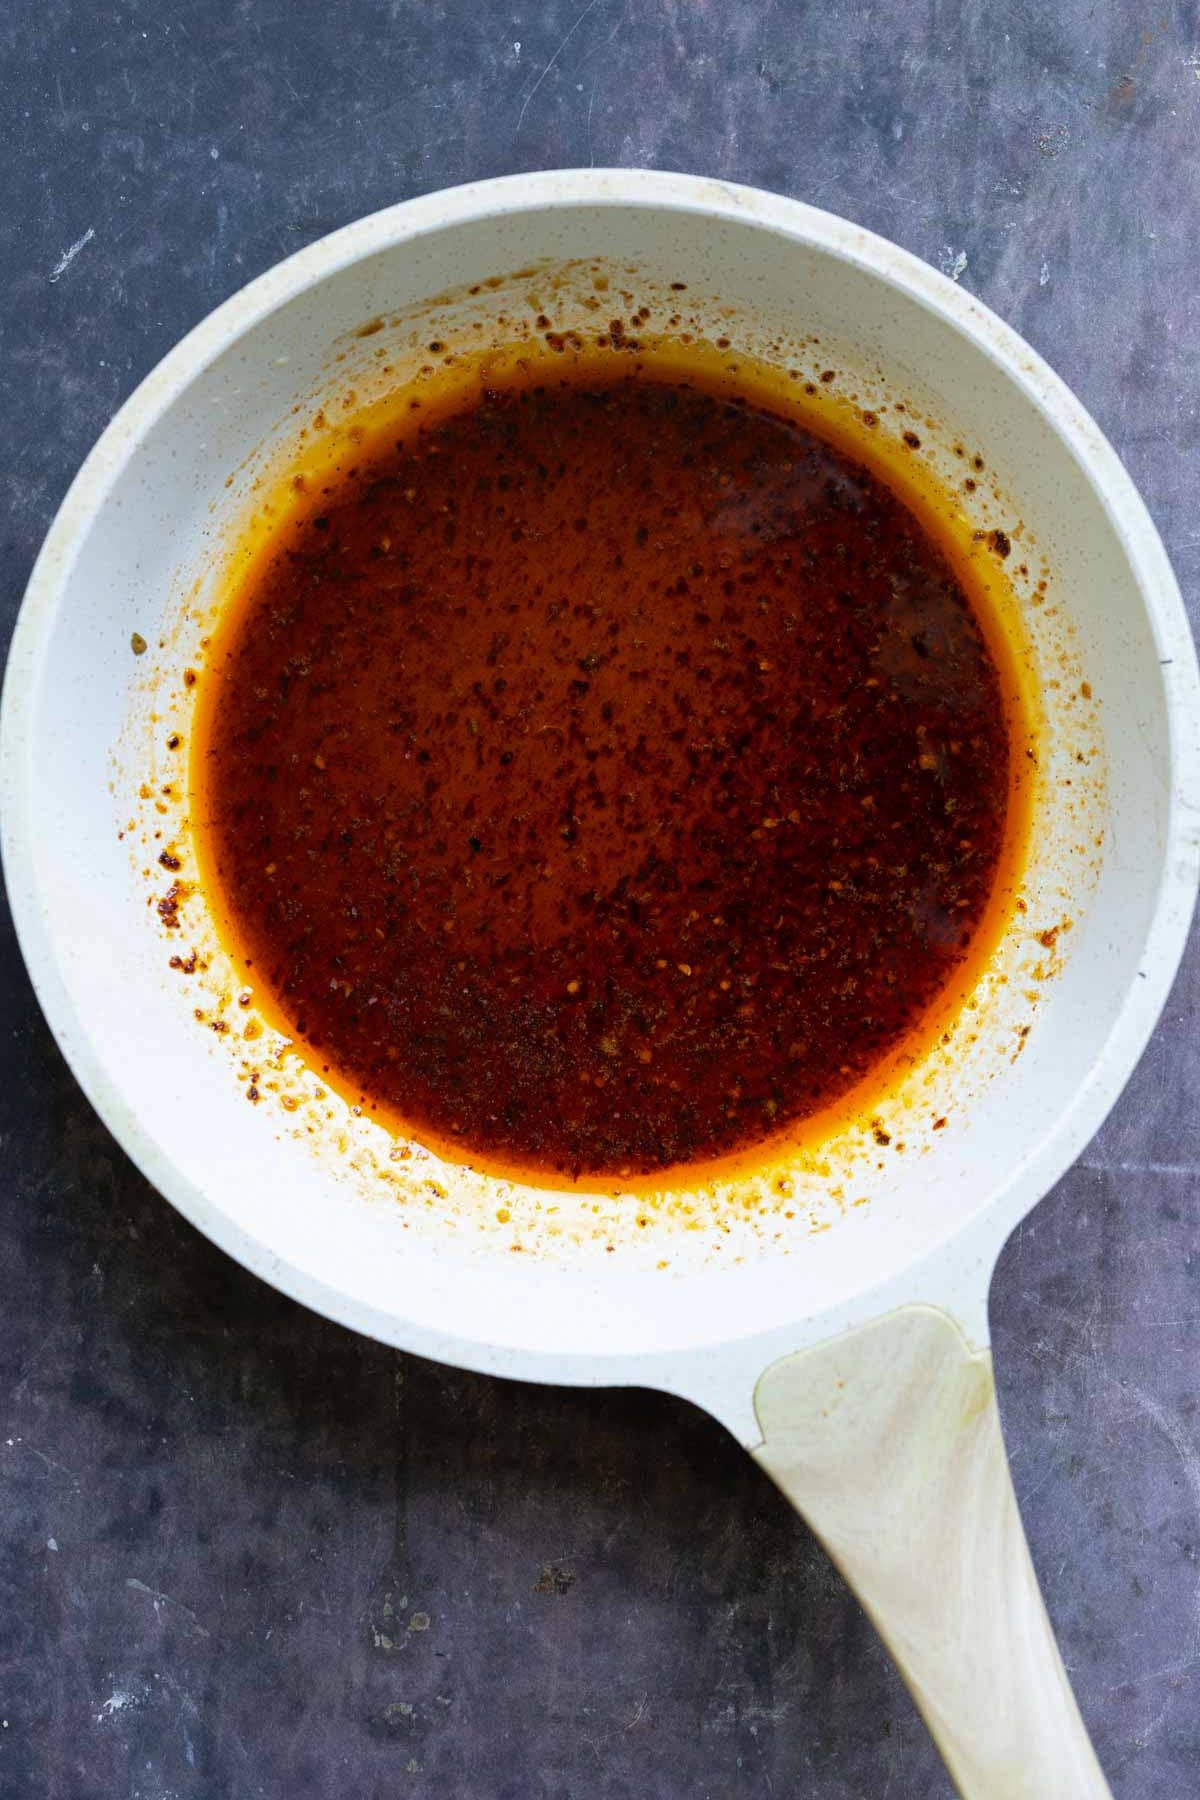
Then, we top the dip with this spicy, savory, smoky, bacon-y, hot honey kind of situation. Of course, vegan. And then there’s a crunchy topping with crisp garlic, some toasty seeds, and pine nuts.
This vegan tofu feta is easy to put together and it will disappear so quickly. You just add everything to the food processor for the tofu feta and it’s done. You crisp up a little bit of the garlic and toast the seeds, and that’s done. Mix the hot honey ingredients together, and that’s done.
It’s just an awesome dip, and it’s packed with protein, from the tofu and the seeds on top. A serving of this delicious dip has 15 grams of protein!
Whipped tofu feta is smooth, creamy, and versatile. You can serve it as a dip with a side of garlic bread, pita, veggies, or whatever else you like. You can use it to make sandwiches with crisp, fresh veggies, and it’s so filling and delicious. You can spread it on the bread with some onion and peppers and bake it to make high protein cheese toast. Or, add it to your charcuterie board with some of my other dips, like my jalapeño popper dip, spinach artichoke dip, or French onion dip. So many ways to use it!!
Why You’ll Love Whipped Tofu Feta
quick 15 minutes! and easy to make
a hit at potlucks, parties, holiday parties, etc.
creamy, protein-packed dairy-free whipped feta that no one will believe is tofu
crispy garlic and smoky-sweet vegan hot ‘honey’ topping
naturally gluten-free and nut-free with easy soy-free option
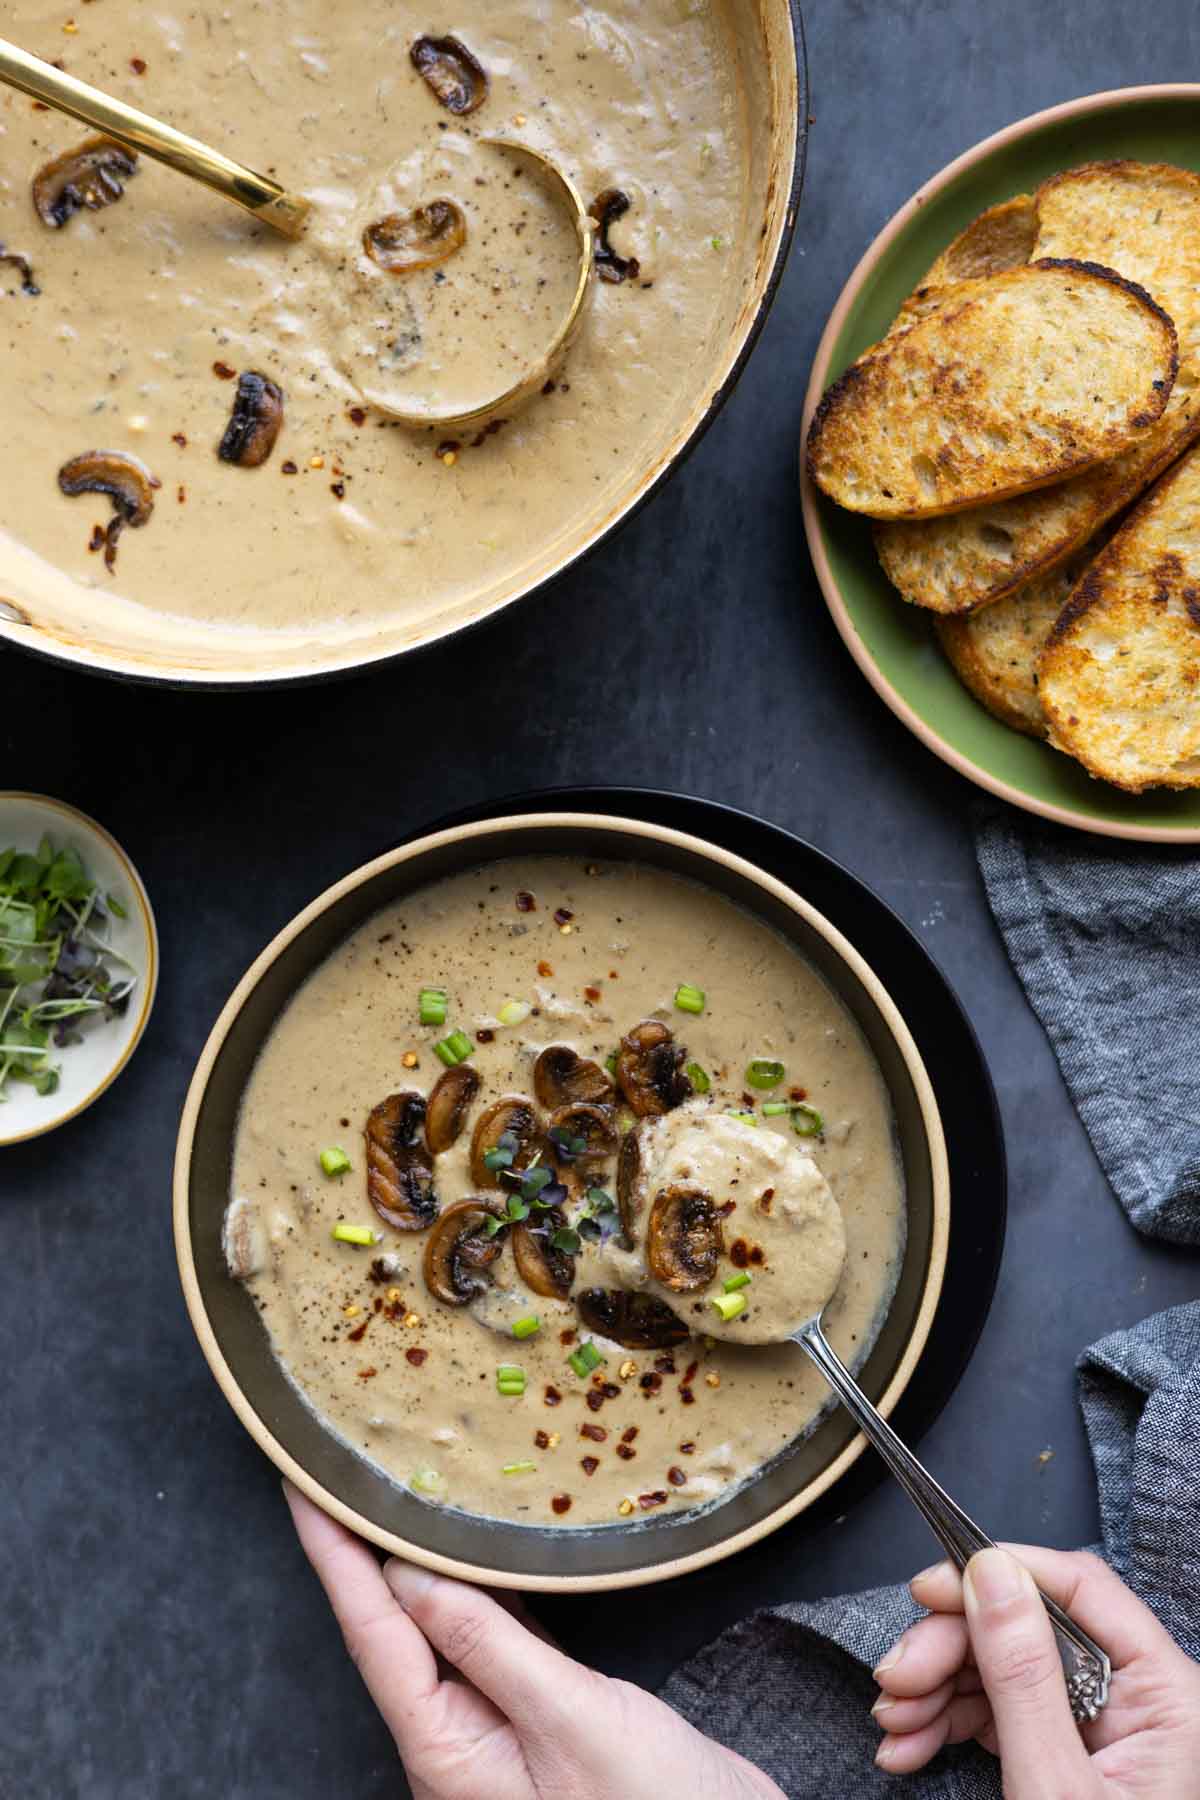
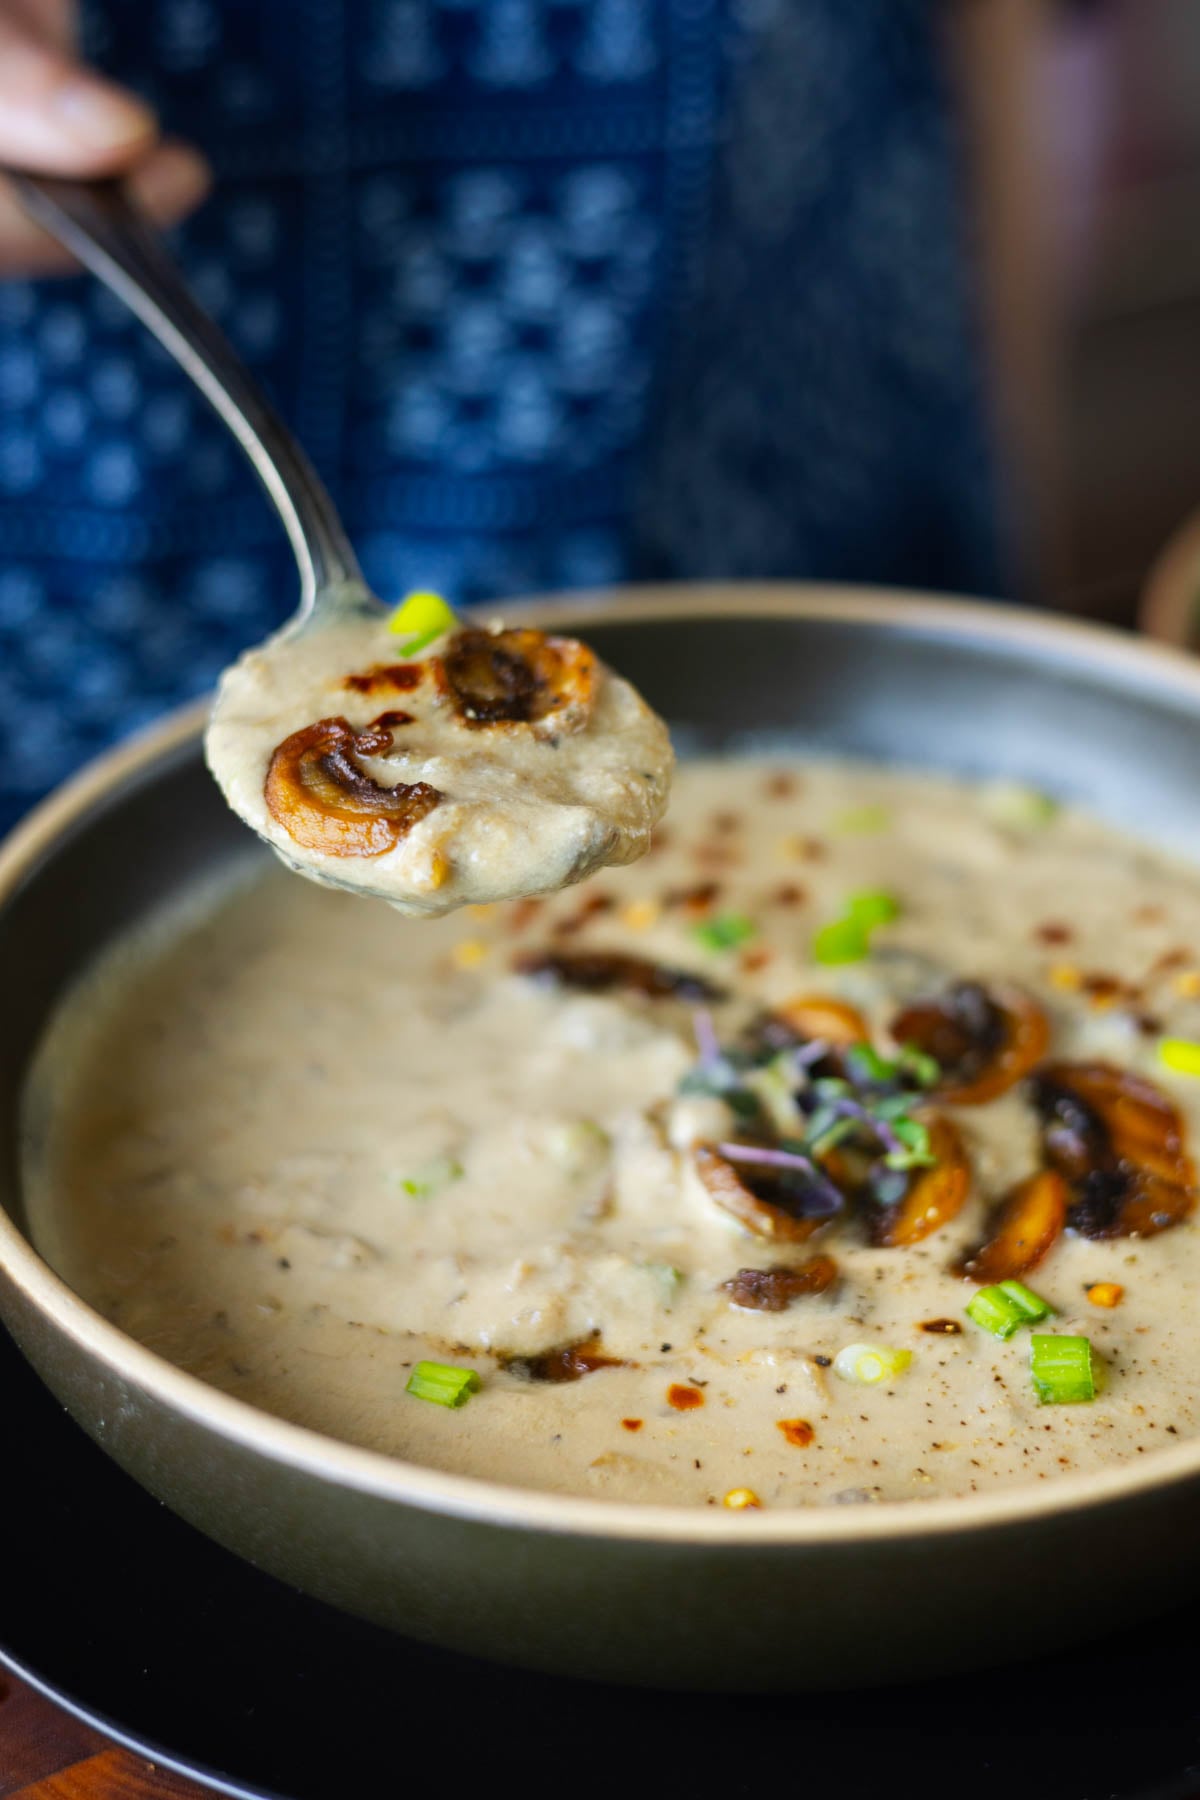
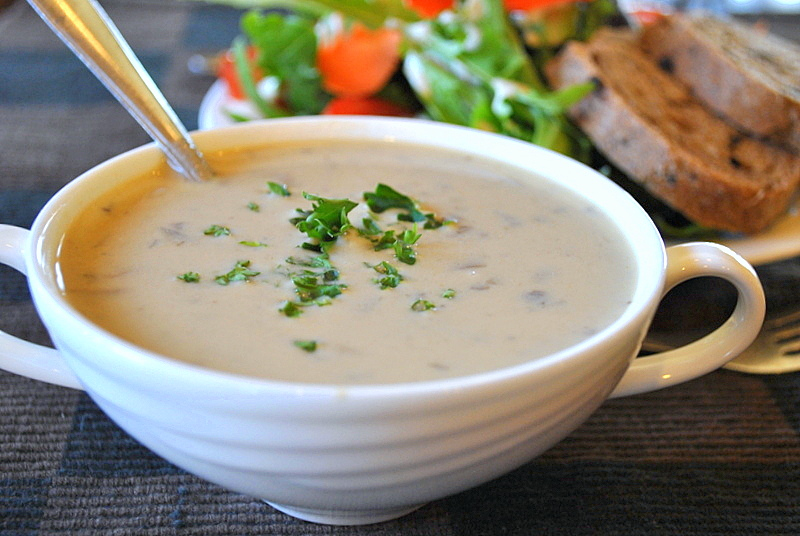
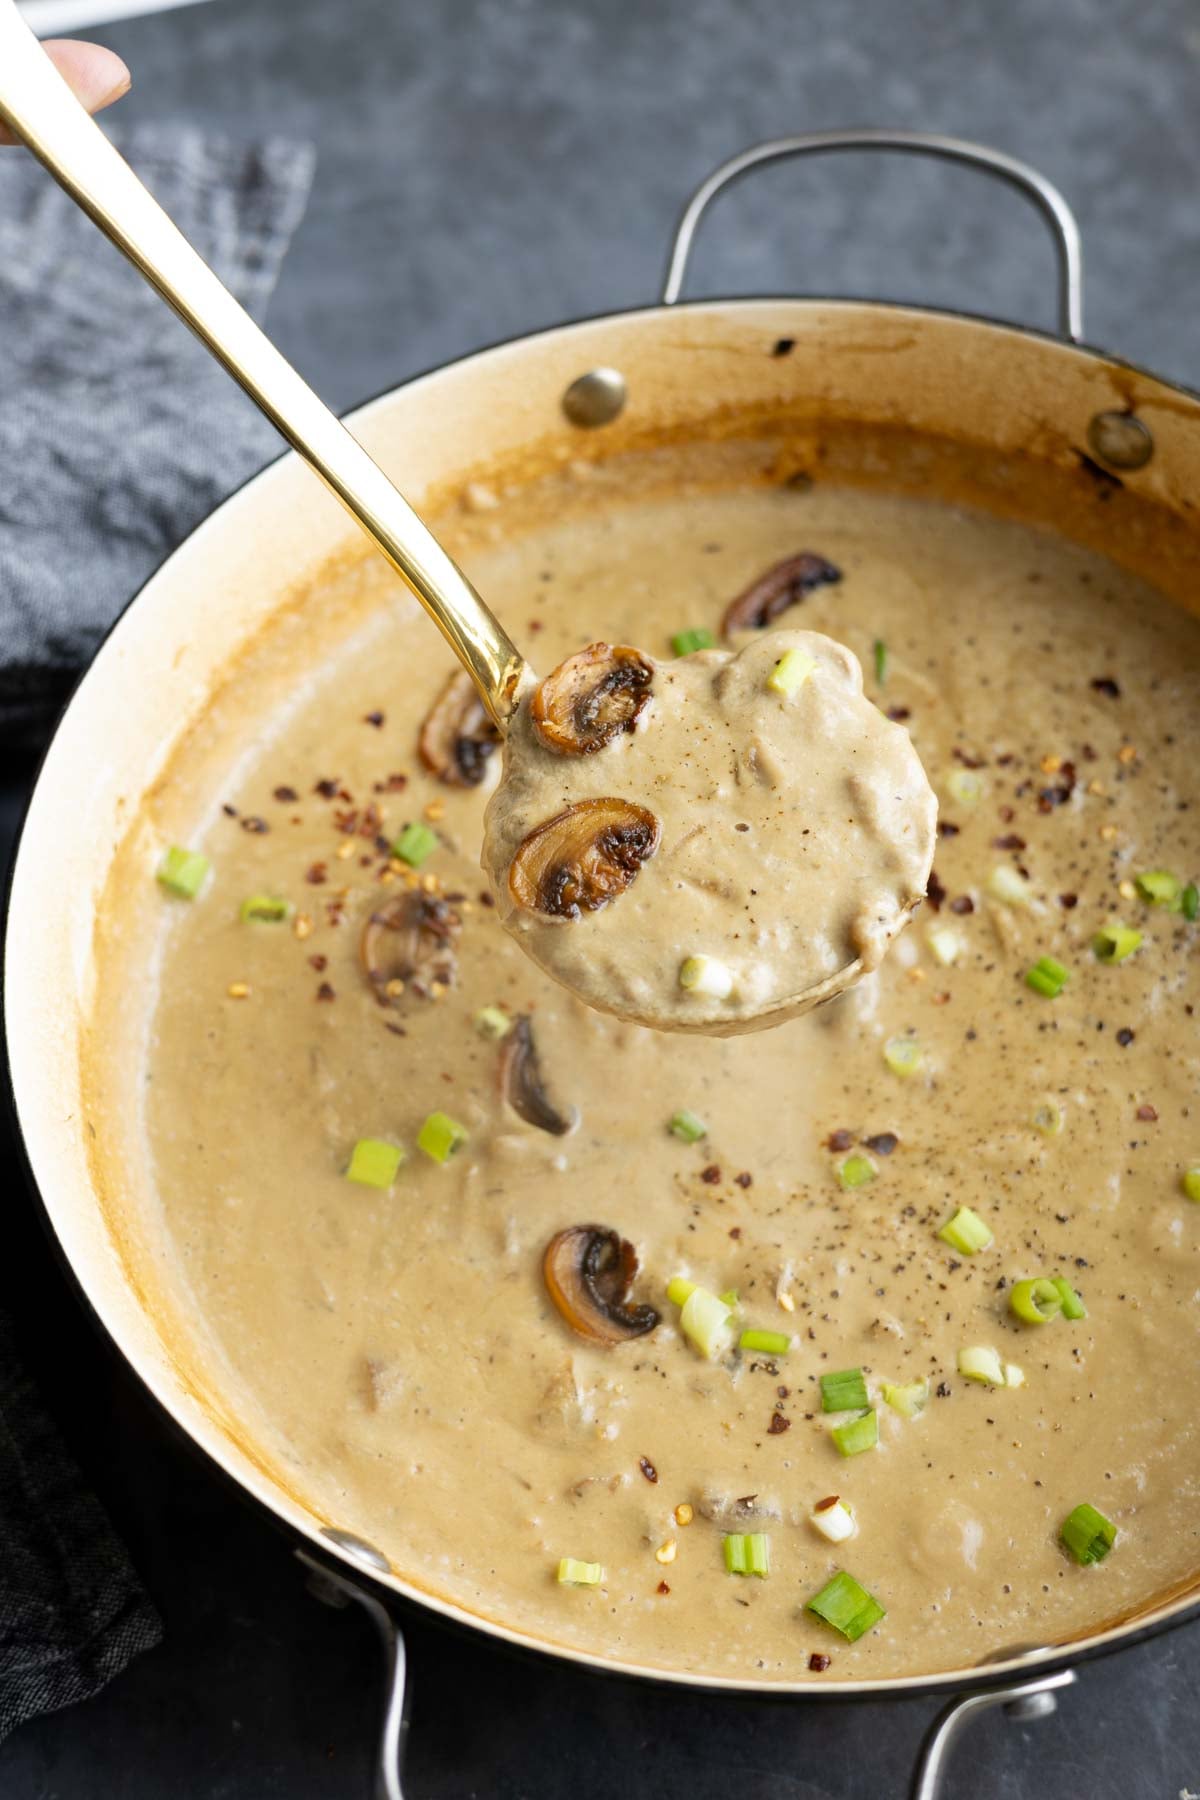
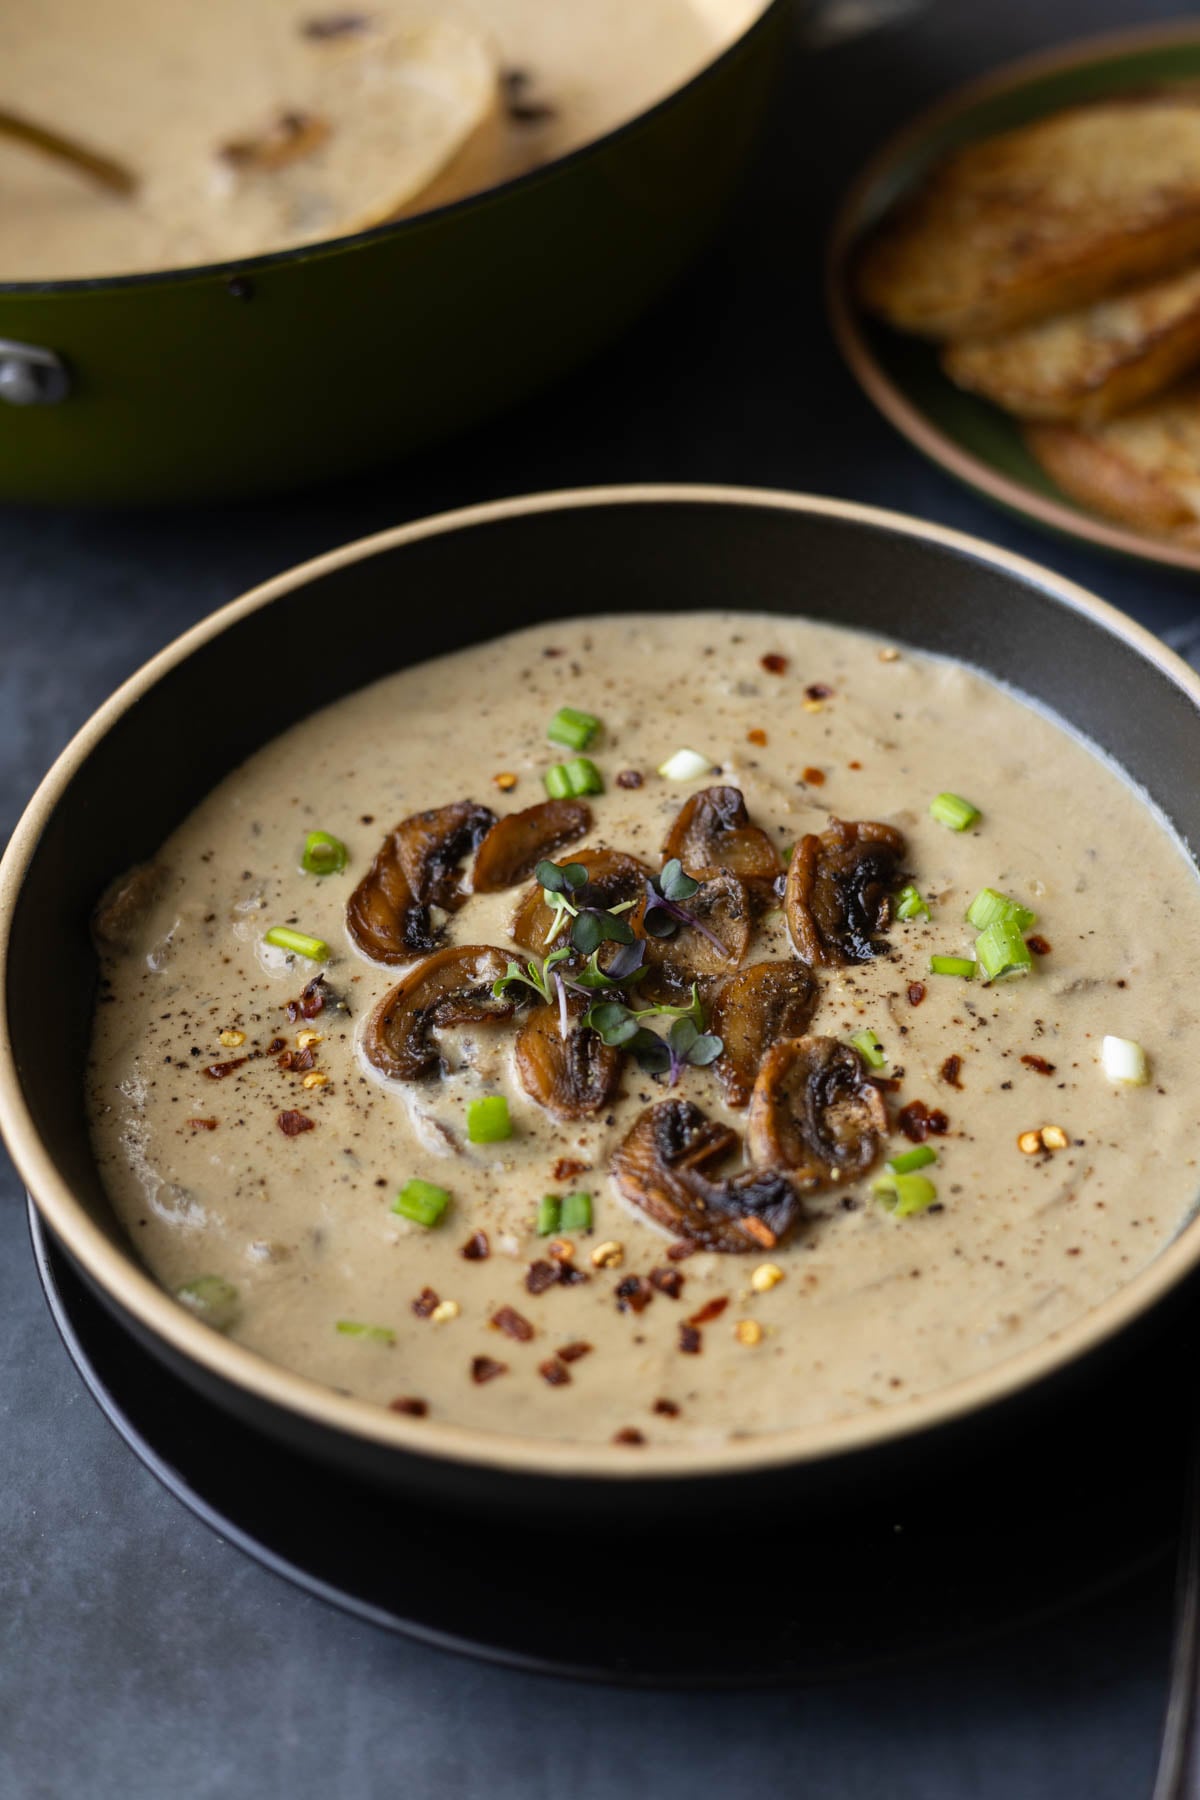
This easy vegan cream of mushroom soup is rich, savory, and packed with mushroom flavor, plus 14g protein per serving! Made with simple ingredients and ready in just 30 minutes. Perfect with crusty bread for dipping! With a side of whole grain bread – 18g Protein. (gluten-free, soy-free with easy nut-free option)
This recipe was originally posted March 6, 2013. It has been updated with modified recipe, pictures and video.
This cream of mushroom soup is a recipe that my friend Somer McCowan shared on my site over 10 years ago. Somer passed away from cancer months ago, and I’ve been thinking about her a lot, which got me thinking about this soup .
I tweaked Somer’s recipe a little bit, reducing the cashews, and changed a couple of the steps in the cooking method to make it simpler.
The original recipe called for adding all of the stock to the mushroom mixture and boiling it and then blending some of that soup, but it’s not as easy when you have to transfer boiling liquid into a blender. So instead, I’m blending part of the cooked onion and mushroom mixture with the cashews and adding that back into the pan, then adding the remaining stock.
This is just such a simple and delicious soup! You can change up the flavors to preference, deepen the flavors by adding some miso, add some fresh herbs for additional flavor, and some pepper flakes for a little bit of heat, if you like. If you don’t have wine, you can use balsamic vinegar instead.
Somer was just an amazing person, and her recipes were always incredible. When I was dealing with health issues, she pitched in with this recipe to help keep my blog going. She was just an absolute superwoman. She wrote for Forks Over Knives, co-hosted the Virtual Vegan Potluck, and was just the sweetest, most beautiful, compassionate person.
Somer’s cream of mushroom soup recipe is simple, yet it’s so creamy and flavorful with herbs and plenty of umami! She said, “I’d like to think if I was able to go to Richa’s house and bring her some lunch, that I’d bring her a big bowl of this soup. Feel better soon, girl.”
Why You’ll Love Cream of Mushroom Soup
delicious, creamy soup with amazing herb and mushroom flavor
easy to make in 30 minutes with simple ingredients
gluten-free and soy-free with nut-free and oil-free options
Most beginner crypto accounts don’t blow up because of one bad prediction. They blow up because of a handful of small, very human habits that repeat until the balance hits zero.
Chasing a coin that’s already up 40%. Doubling the leverage “just this once.” Moving a stop-loss because you’re sure the price will bounce. If any of that sounds familiar, you’re in good company. Nearly every trader has done at least one of these.
The good news? Every crypto trading mistake on this list is fixable, and none of the fixes require a fancy strategy. They require rules you set before you trade, and the discipline to follow them.
Quick answer:
The six crypto trading mistakes that wipe out beginner accounts are FOMO buying, using too much leverage, trading without a stop-loss (or moving it), trading illiquid coins, revenge trading after a loss, and falling for “guaranteed profit” scams. Each one is avoidable with a simple pre-set rule.
Mistake 1: Why Is FOMO Buying So Dangerous in Crypto?
FOMO (fear of missing out) buying means jumping into a coin after it has already made a big move, simply because everyone seems to be making money on it. You see a token up 40% in a day on social media, your heart rate goes up, and you buy near the top.
The problem is timing. By the time a move is trending online, early buyers are often looking to sell. You become their exit. And because you bought on emotion, you usually have no plan for where to get out if the price turns.
The fix: Make a rule that you never enter a trade you didn’t plan before the move started. If a coin is pumping, write down the level where you’d buy on a pullback and set an alert. If the pullback never comes, you didn’t lose anything. You just missed one trade out of thousands.
Mistake 2: How Much Leverage Is Too Much for Beginners?
Leverage lets you control a bigger position than your account balance. With 10x leverage, $100 of your money controls a $1,000 position. That sounds exciting until you do the math in reverse: a 10% move against you can wipe out your entire margin, and many platforms liquidate you before you even reach that point.
Crypto moves 10% more often than most beginners expect. On October 10 to 11, 2025, after a surprise US tariff announcement, Bitcoin fell about 12.5% intraday, and Ether dropped more than 20%, according to 21Shares.
Roughly $19 billion in leveraged positions were forcibly closed, and nearly 90% of them were long positions. Many of those traders weren’t wrong about the long-term direction. They just couldn’t survive the swing.
The fix: If you’re new, start with no leverage at all on spot markets. If you do use it, keep it low (2x to 3x) and size every trade so a stop-loss hit costs about 1% of your account, no matter what leverage you use.
Mistake 3: What Happens When You Trade Without a Stop-Loss (or Move It)?
A stop-loss is an order that automatically closes your trade at a price you choose in advance, capping your loss. Trading without one is like driving without brakes and hoping the road stays flat.
The sneakier version of this mistake is moving your stop. Price gets close to your stop-loss, you convince yourself it’s about to bounce, and you drag the stop a little lower. Then a little lower again. A planned $20 loss quietly becomes a $200 one.
The fix: Place your stop-loss the moment you enter, based on where your trade idea is proven wrong, not on how much pain you can tolerate. Then treat it as untouchable. You can move a stop to lock in profit, but never to give a losing trade more room. If you’re still getting comfortable with stop-loss, take-profit, and limit orders, this guide to crypto trading for beginners walks through each order type step by step.
Mistake 4: Why Are Low-Liquidity Coins Risky for Beginners?
Liquidity means how easily you can buy or sell something without moving its price. Bitcoin and Ether trade billions of dollars a day, so there’s almost always someone on the other side of your order. A tiny new token might trade a few thousand dollars an hour.
That gap matters most when things go wrong. In a thin market, your stop-loss can trigger and then fill far below the price you set, because there simply aren’t enough buyers. During the October 2025 crash, liquidity in some altcoins dried up so badly that prices briefly wicked to near zero before recovering, 21Shares reported. Your stop-loss can’t protect you if nobody is there to take the other side.
The fix: As a beginner, stick to the most liquid pairs, such as BTC/USDT or ETH/USDT. Before trading any smaller coin, check its 24-hour trading volume and the gap between the buy and sell price (the spread). A wide spread is a warning sign.
Mistake 5: What Is Revenge Trading, and How Do You Stop It?
Revenge trading is jumping straight back into the market after a loss, usually with a bigger position, to “win the money back.” It feels like taking control. In reality, it’s the moment your emotions take the wheel.
Here’s how it usually plays out. You lose $50 and feel annoyed. You take a rushed trade with double the size to recover it. That one loses too, and now you’re down $150 and angry. Two or three rounds of this can do more damage in one evening than a month of normal losses.
The fix: Set a daily loss limit, for example, 3% of your account, and stop trading for the day the moment you hit it. Close the app, take a walk, and come back tomorrow. Many traders also use a “two losses in a row, take a break” rule. The market will still be there. Your capital might not be.
Mistake 6: How Do You Spot “Guaranteed Profit” Crypto Scams?
This mistake doesn’t happen on a chart. It happens in your DMs. A friendly stranger, a slick Telegram group, or a “trading mentor” promises steady daily returns if you just send funds to their platform.
The numbers here are staggering. Americans reported $11.37 billion in crypto-related fraud losses in 2025 across 181,565 complaints, with crypto investment fraud alone accounting for $7.2 billion, according to the FBI’s 2025 Internet Crime Report as summarized by The Block.
The fix: Watch for these red flags and walk away the moment you see one:
Promises of guaranteed or “risk-free” returns. Real trading always involves risk.
Pressure to deposit quickly before an “offer” expires.
A platform you’ve never heard of that only a new online contact recommends.
Requests to pay a “tax” or “unlock fee” before you can withdraw your own money.
Already Made One of These Mistakes? Here’s How to Recover
If you’ve just taken a painful loss, first: breathe. Almost every experienced trader has a story about the trade that taught them the hard way. What matters now is not repeating it.
Stop trading for at least 24 hours. Your judgment is at its worst right after a big loss. Nothing good gets decided in that state.
Write down exactly what happened. Which of the six mistakes was it? What were you thinking when you broke your rule? Be honest; nobody else has to read it.
Turn the lesson into one written rule. For example: “Max 3x leverage” or “Stop-loss goes in the moment I enter, and it doesn’t move.” Stick it next to your screen.
Come back smaller. Cut your position size in half for your next 10 trades. The goal is to rebuild confidence and discipline, not to win the money back fast.
ONE MORE WARNING!
If someone contacts you offering to recover your lost crypto for a fee, be very careful. Recovery scams, where fraudsters pose as law firms or government agencies, generated $1.4 billion in reported losses in 2025, per the same FBI report covered by The Block. Report fraud directly through official channels such as the FBI’s IC3in the US or Action Fraud in the UK.
Final Wrap Up
None of these six mistakes are about intelligence. Smart, careful people make every one of them, usually when they’re tired, excited, or trying to recover a loss. That’s why the fix is never “try harder.” The fix is a short list of rules you decide on while you’re calm, and follow when you’re not.
Pick the mistake on this list that stung the most, write one rule to prevent it, and stick to it for your next 20 trades. Small accounts survive by avoiding big losses. Everything else comes after that.
This article is for educational purposes only and does not constitute financial or investment advice. Crypto trading carries a high level of risk, and you can lose some or all of your capital. Always do your own research before making any trading decisions.
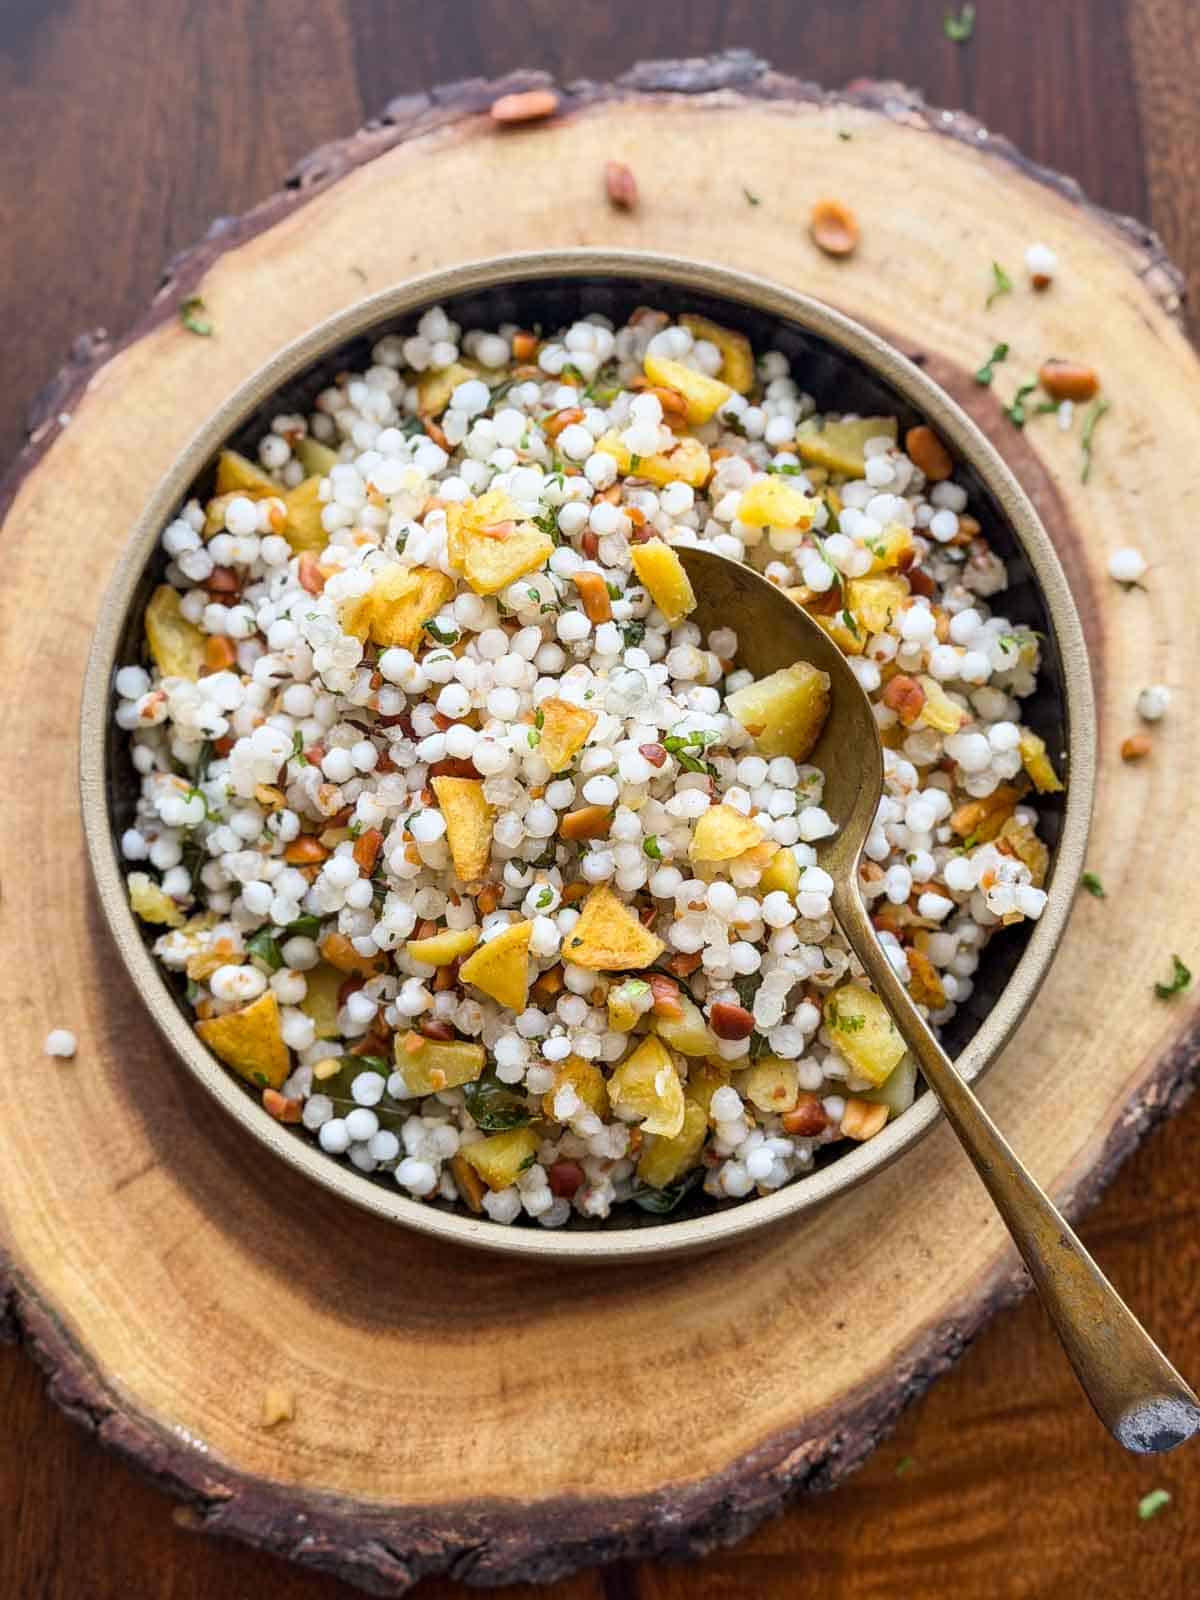
Making sabudana khichdi is easy, but can take some practice. But with my six tips to make non sticky Sabudana Khichdi, you’re going to be a pro in no time!
Sabudana Khichdi makes a weekly appearance on our breakfast table and we make it almost everyday during Navratri. We love the flavor and texture that aloo, sabudana, and peanut add to the dish, and how it all feels complete and a whole lot flavorful with the final drizzle of lemon juice.
But a lot of people who complain of their sabudana khichdi turning out slimy or clumpy. And while this may be a common problem, it is actually quite easy to fix. In this article, along with the recipe, I am sharing 7 fool-proof ways to make the most perfect sabudana khichdi ever. No more clumpy, slimy, unevenly flavored sabudana ever!
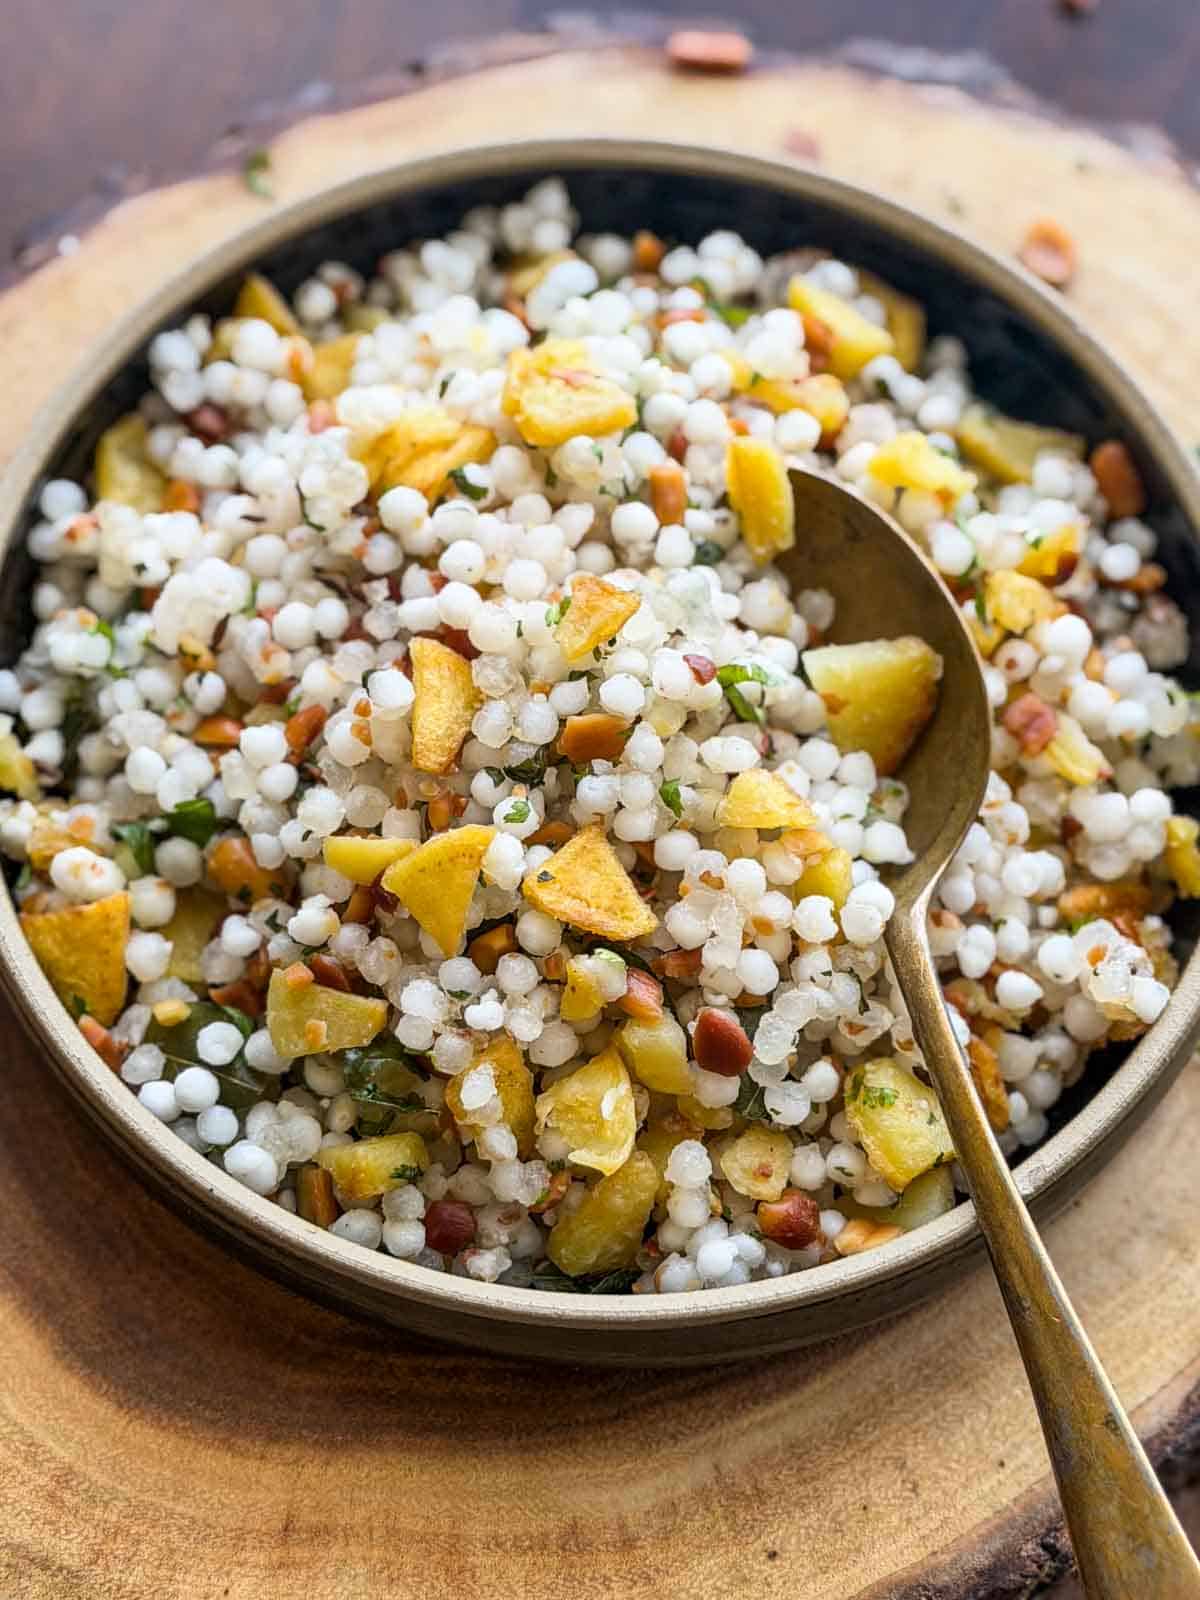
Sabudana Khichdi is really like a pilaf or pulao made with sago pearls. Its simplicity is what sets it apart. But if not made right, it can turn into quite a disaster with sticky, clumpy sabudana thats overcooked. We are looking for a dish where each sago pearl is separate, perfectly cooked and has just turned translucent.
Sabudana Khichdi Ingredients Overview
Sabudana: Also known as sago pearls. It is the hero ingredient. These come in three different sizes, but I think the medium ones work best for this recipe
Ghee: For flavor and richness. I love using my homemade ghee for the best results.
Spices: Cumin seeds or jeera, and curry leaves. It uses minimal spices because people traditionally eat it on fasting days
Potatoes: For texture and flavor
Peanuts: Adds some good fats, texture, and a lovely nutty flavor to each bite
Seasoning: Salt and sugar are added to season the dish
Lime juice and chopped coriander: Used as garnish for a hit of freshness. These are the perfect finishing touches
7 Fool-Proof Tips for Perfect Sabudana Khichdi
Wash: The sabudana should be washed thoroughly to get rid of any excess starch under running water in a colander. Gently rub the pearls between your fingers for even better results.
Soak: Follow a 1:1 ratio of sabudana to water. So for one cup of sabudana you need a cup of water. The water should just cover the sabudana.
Soak for at least 5 hours: I’ve seen recipes where sabudana is soaked for 2-4 hours but after a lot of trial, 5 hours minimum or overnight (approx 8 hours), if I have time, gives me best results. .
Use crushed peanuts: This keeps the khichdi stay dry while adding flavour, fats and protein
Make sabudana in ghee: The richness of ghee and the lovely flavor it adds are something else. However, you can make it vegan by using oil instead. But if you can, please make this in ghee for the best flavor!
Don’t over mix: Once you add soaked sabudana to the pan, stir it well till everything is mixed and then let it cook on a lot flame for a few minutes. Stirring it over and over again makes the sago pearls clumpy
Don’t overcookthe khichdi: Cook it for only a about 2-3 minutes on low flame until you can see the sabudana turn slightly translucent. If the sabudana overcooks, it’ll start sticking to each other
Serving Ideas
With yogurt: Serve sabudana khichdi hot with a bowl of chilled plain yoghurt or dahi on the side. It balances the heat from the green chillies and makes the meal more filling.
With a crunchy side: Pair it with roasted peanuts, potato chips or banana chips for a light, fasting-friendly crunch in every bite.
With a cup of chai: Sabudana khichdi makes a delicious breakfast or evening snack with a hot cup of masala chai.
Storage Tips
Refrigerator: Let the sabudana khichdi cool slightly, then transfer it to an airtight container and refrigerate within 2 hours of cooking. It will keep well for up to 2 days.
Reheat: Sabudana tends to turn a little sticky as it cools. Sprinkle a teaspoon or two of water over the khichdi and reheat it in a covered pan over low heat, stirring gently until warmed through. You can also microwave it in short intervals, stirring in between.
Restoring the texture: If the khichdi looks dry after refrigeration, add a small splash of water while reheating. A squeeze of lemon juice and a little fresh coriander added just before serving can also freshen it up.
Freezing: I wouldn’t recommend freezing sabudana khichdi, as the tapioca pearls can become mushy or change texture once thawed.
Make-ahead tip: You can soak and drain the sabudana ahead of time and refrigerate it until you’re ready to cook. Keep it covered and use it within a day for the best results.
Sabudana Khichdi is a delicious meal by itself. Some people serve it with curd or yogurt but I prefer it as is. This khichdi is gluten free and can be made vegan by replacing the ghee with oil.
Sabudana Khichdi is a delicious, filling breakfast or meal option made with Sago pearls and a few basic spices. With barely 9 ingredients, this is a fast, easy recipe. It's very popular during Navratri as a fasting recipe.
3/4teaspoonSaltor sendha namak if making it for fasting
1/2teaspoonSugar
1teaspoonLime Juice
2tablespoonschopped Coriander
Instructions
Wash 1 cup sabudana well in running water to remove any extra starch and soak it in 1 cup water overnight or for 8 hours.
To check if the sabudana is sufficiently soaked, press a pearl between your fingers and it should smash easily. Drain the sabudana after soaking to get rid of any excess water and set aside. This is an optional step – I've never had to do this.
Heat ghee in a pan and add cumin seeds or jeera. Once they start spluttering, add chopped potatoes and 1/4 teaspoon salt. Saute the potatoes and cook on low flame for 3-4 minutes till tender.
Add curry leaves and green chillies and saute for another minute.
Add soaked sabudana, crushed peanuts, remaining salt and sugar and mix well. Cook for a few minutes – about 3-4 minutes on a low flame until the sabudana starts to turn translucent.
Turn off the flame, add lime juice and chopped coriander and give it another quick mix. Serve hot.
Video
Notes
Wash Sabudana well to get rid of any excess starch under running water in a colander
Soak it in a 1:1 ratio of Sabudana to water. So for one cup of sabudana you need a cup of water. The water should just cover the sabudana.
Soak overnight for best results. I’ve seen recipes where sabudana is soaked for 2-4 hours but after a lot of trial, overnight gives me best results. Approximately 8 hours is good.
Use crushed peanuts which help reduce the stickiness of sabudana khichdi and also add flavours, fats and protein
Don’t overmix after adding the sabudana to the pan. Once you add soaked sabudana, stir it well till everything is mixed and then let it cook on a lot flame for a few minutes. Stirring it over and over again makes the sago pearls clumpy
Don’t overcook the khichdi. Cook it for only a few minutes on low flame after mixing the sabudana till they start to turn translucent. If the sabudana overcooks, it’ll start sticking to each other
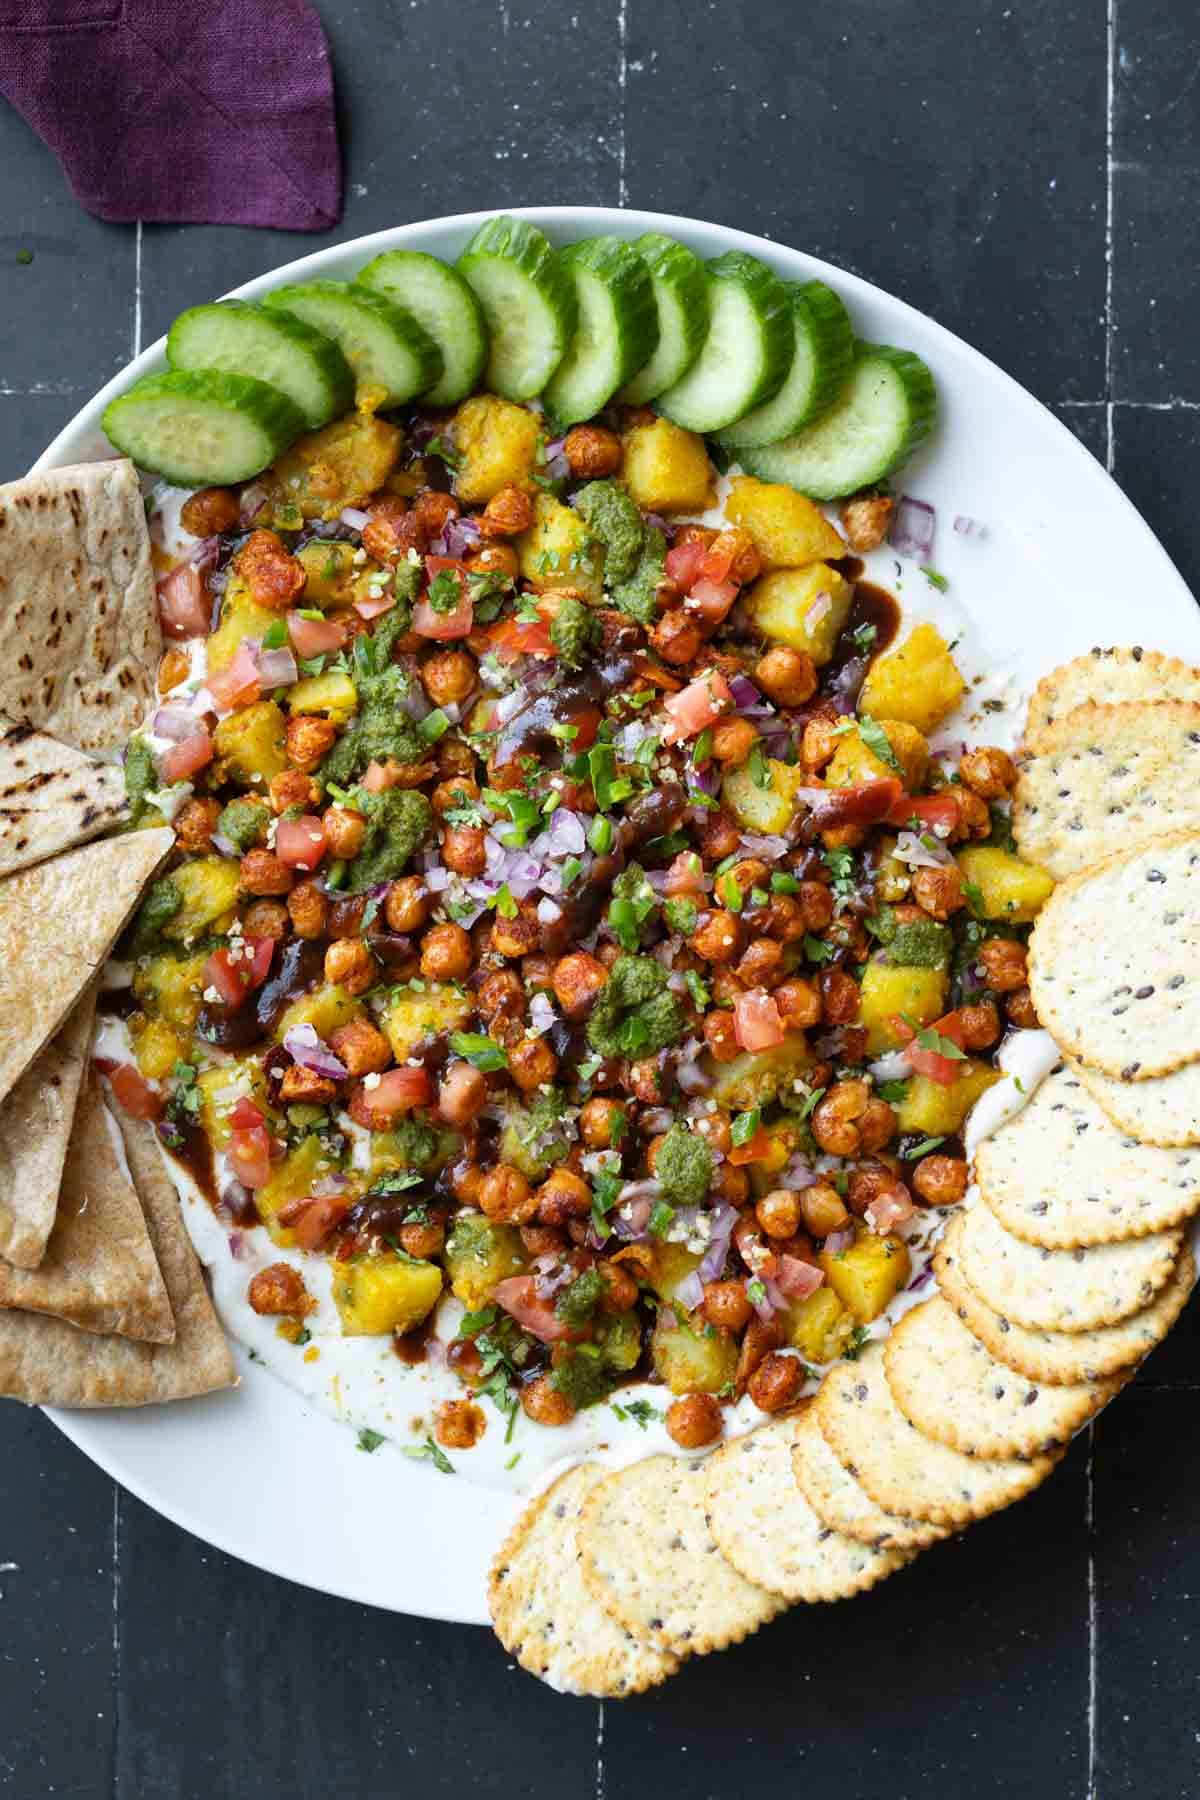
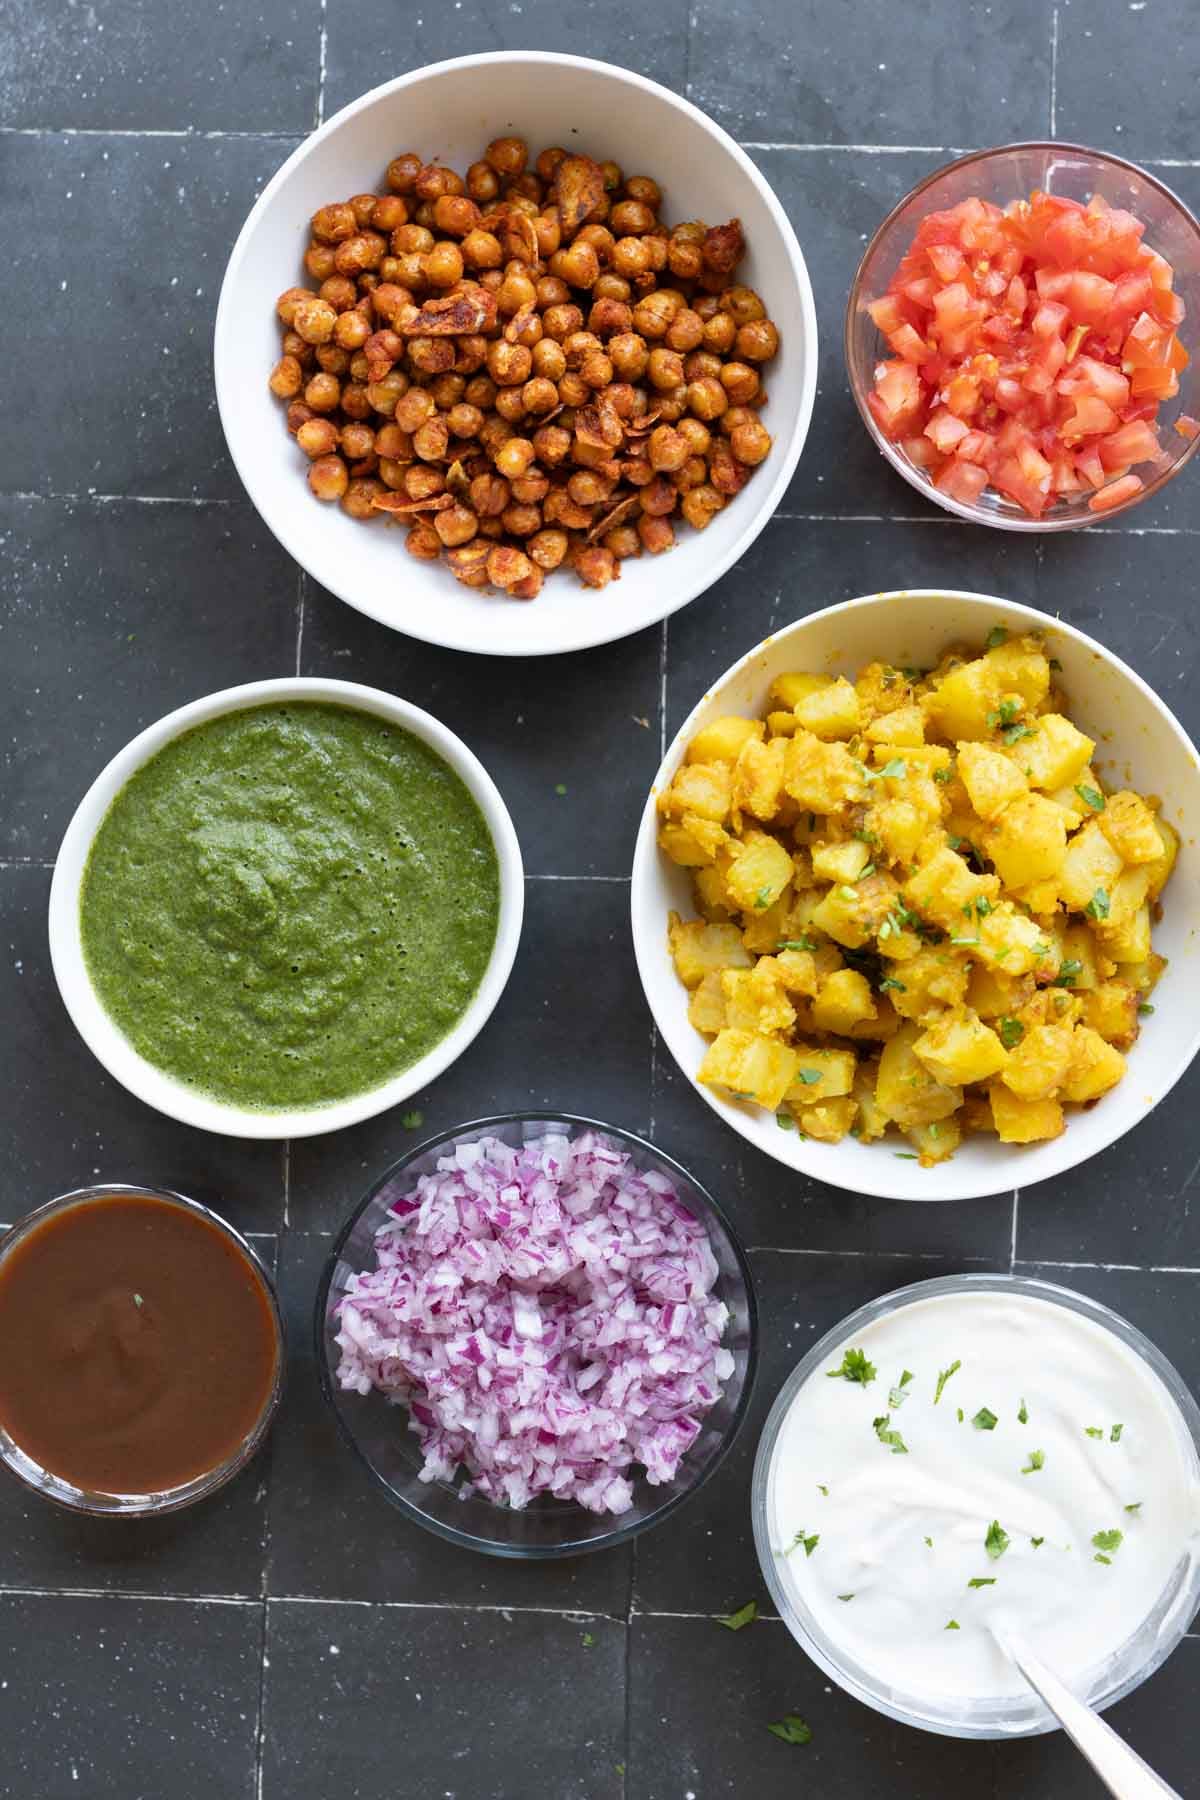
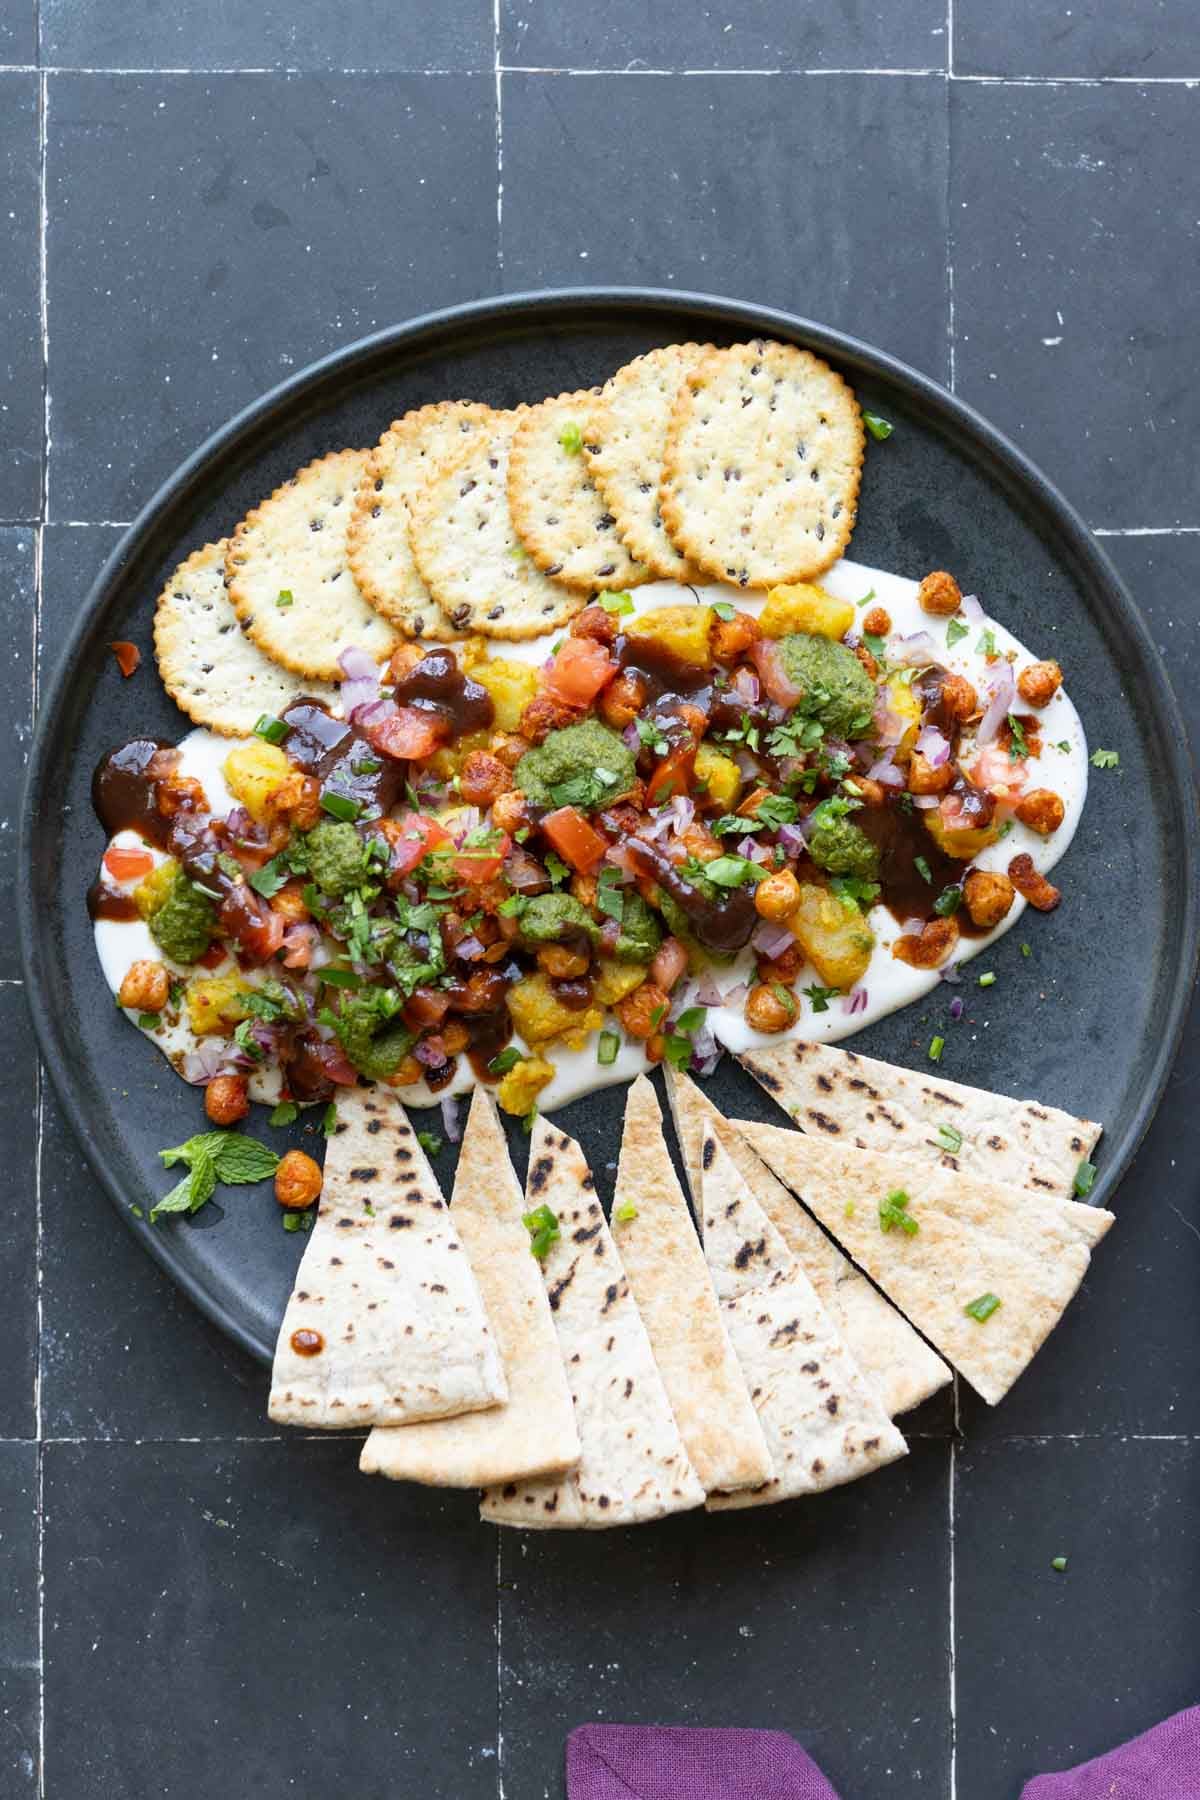
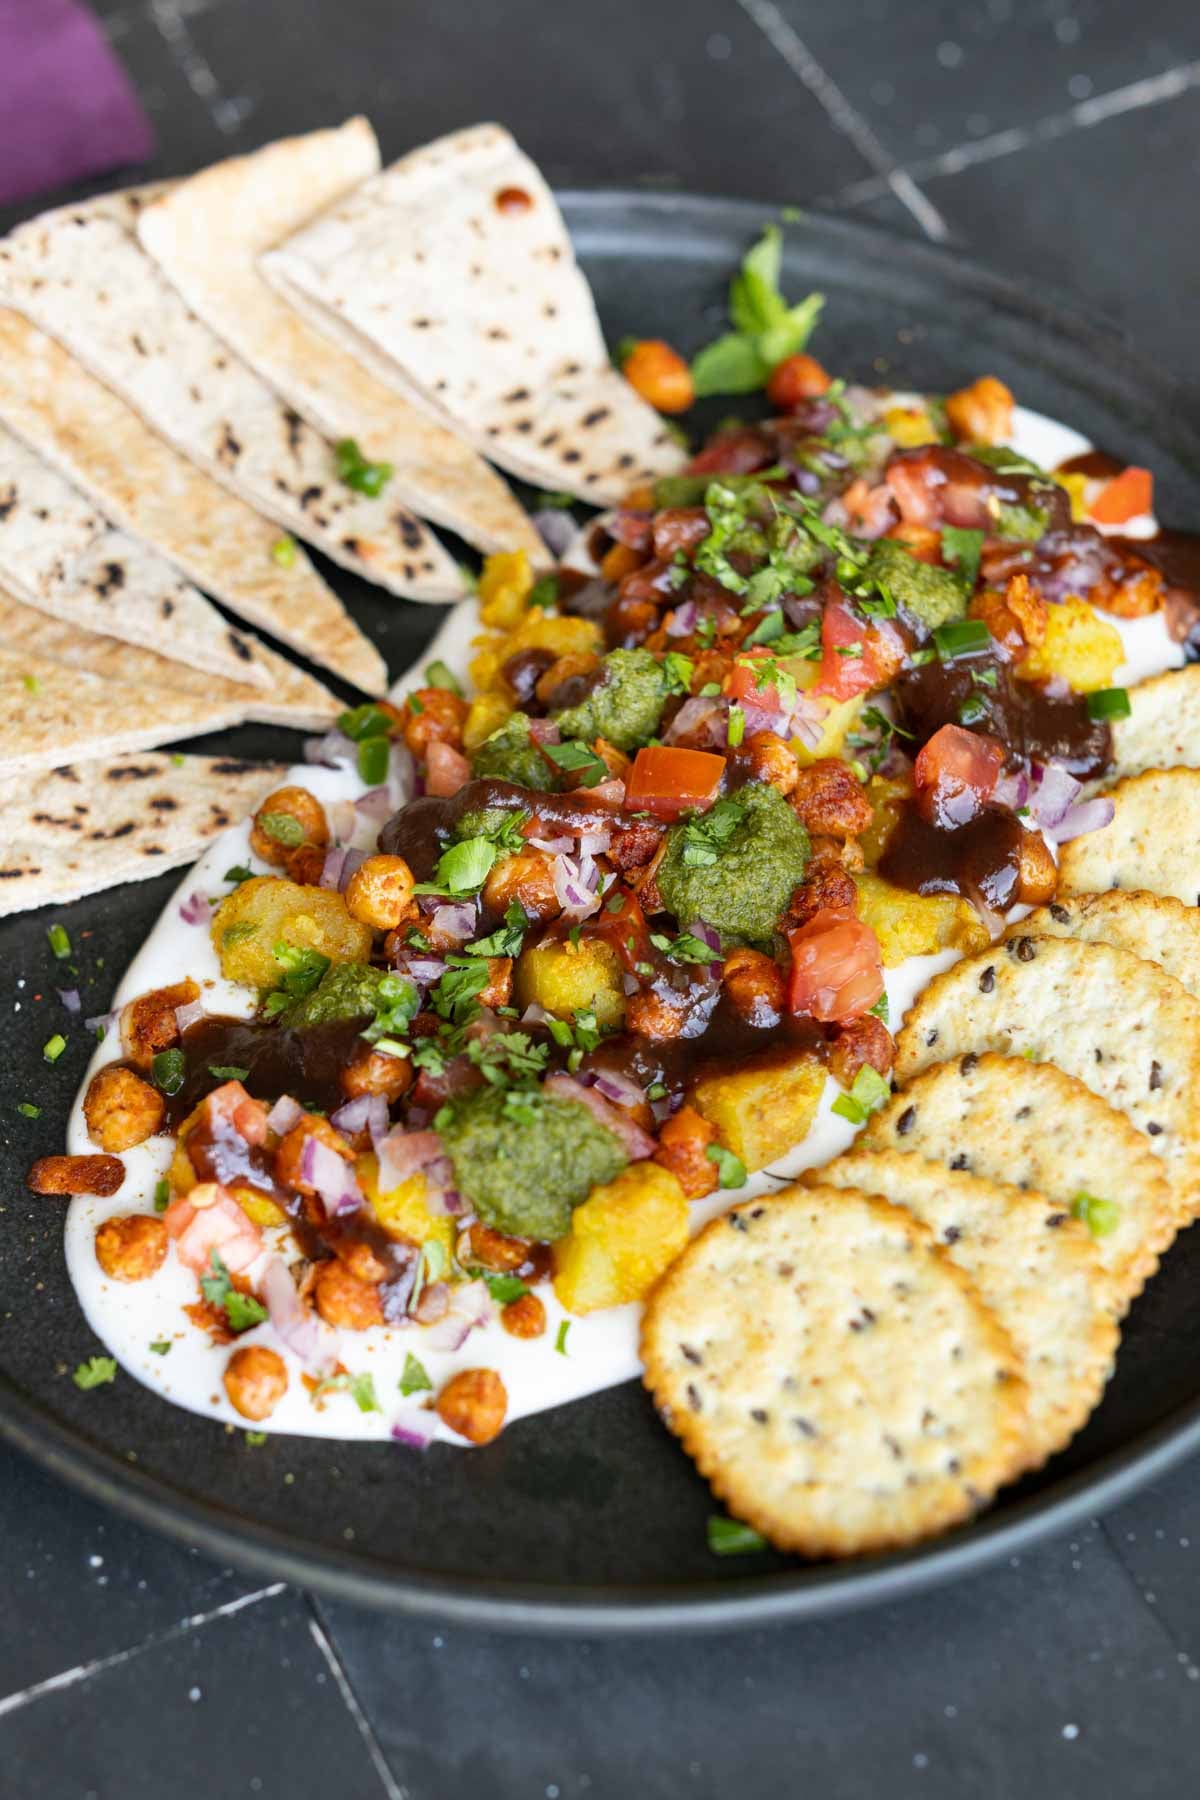
This loaded Samosa Dip brings all the flavor of samosa chaat to a shareable party platter! Samosa-spiced potatoes, crispy chickpeas, tangy chutneys, creamy yogurt and crunchy veggies make every scoop a delicious mix of textures. No pastry or folding needed! Nut-free, gluten-free and soy-free, with 13g protein (52g total) and 10g fiber per serving!)
This samosa chaat platter is going to be the first thing that disappears at every dinner party. It has an incredible mix of flavors and textures! It looks festive, it’s easy, and perfect for the upcoming festive season. This samosa platter is also high in protein and fiber. with 13 grams protein(52g total without sides) and 10 grams fiber per serving. If you use multigrain or whole grain crackers or pita as a side, the numbers bump up by 3-5g. It also has this word that is going to get you to run to the kitchen to make it right now, which is SAMOSAS!
What are Samosas? Samosa are crispy, savory pastries stuffed with deliciously spiced potatoes. They’re a super popular Indian side and the star of this platter.
What is Chaat?
Chaat is a family of Indian street food snacks. Chaat dishes usually have tons of different textures and sauces and flavors built up. Chaat actually means to lick, basically, because the flavor and texture combination is so amazing that you really want to lick every last bit off of your plate.
For samosa chaat, ideally you use some pre-made samosas, break them apart, top them with yogurt, chutneys (like my cilantro-mint chutney or tamarind chutney), some other crispy bits, and fresh onion and tomato. But for an easier and healthier version, we’re just making the samosa potatoes and then layering it all up.
Traditionally, chaat comes with the crispy bits, such as the crispy crackers or the crispy samosas, right in it. And if you’re making it ahead, all of those crispy bits kind of get soggy. So to avoid that, we’re going to make this layered dip kind of situation and serve the crackers on the side, so that people can just scoop it directly from the platter. You get those same flavors and textures, but you never lose that crunch!
If you don’t want to make the whole platter, you can also just make these individual components and serve them all as a chaat spread, so that people can take whichever toppings they want and whichever chutneys and sauces they want. If they want just the chickpeas, they can use just the chickpeas with some sauces, or just the potatoes, or all of the above. Make all of these components, and then serve them however you like. They are absolutely delicious and amazing.
You can use store-bought tamarind chutney, but there is a recipe for a homemade tamarind chutney in the recipe notes, which comes from my first cookbook. If you don’t like tamarind or don’t have access to tamarind, you can also make the maple lime sauce that I’ll also put in the recipe notes. Or use Mango chutney (store bought or homemade)
You can serve this with crackers, crisp pita bread, papadum, cucumber, carrots, or tortilla chips as the crunchy element. Use what you have, and try this incredible samosa chaat platter!
Why You’ll Love This Samosa Platter
flavors and textures of samosa chaat, simplified
crunchy chickpeas, spiced potatoes, and flavorful chutneys
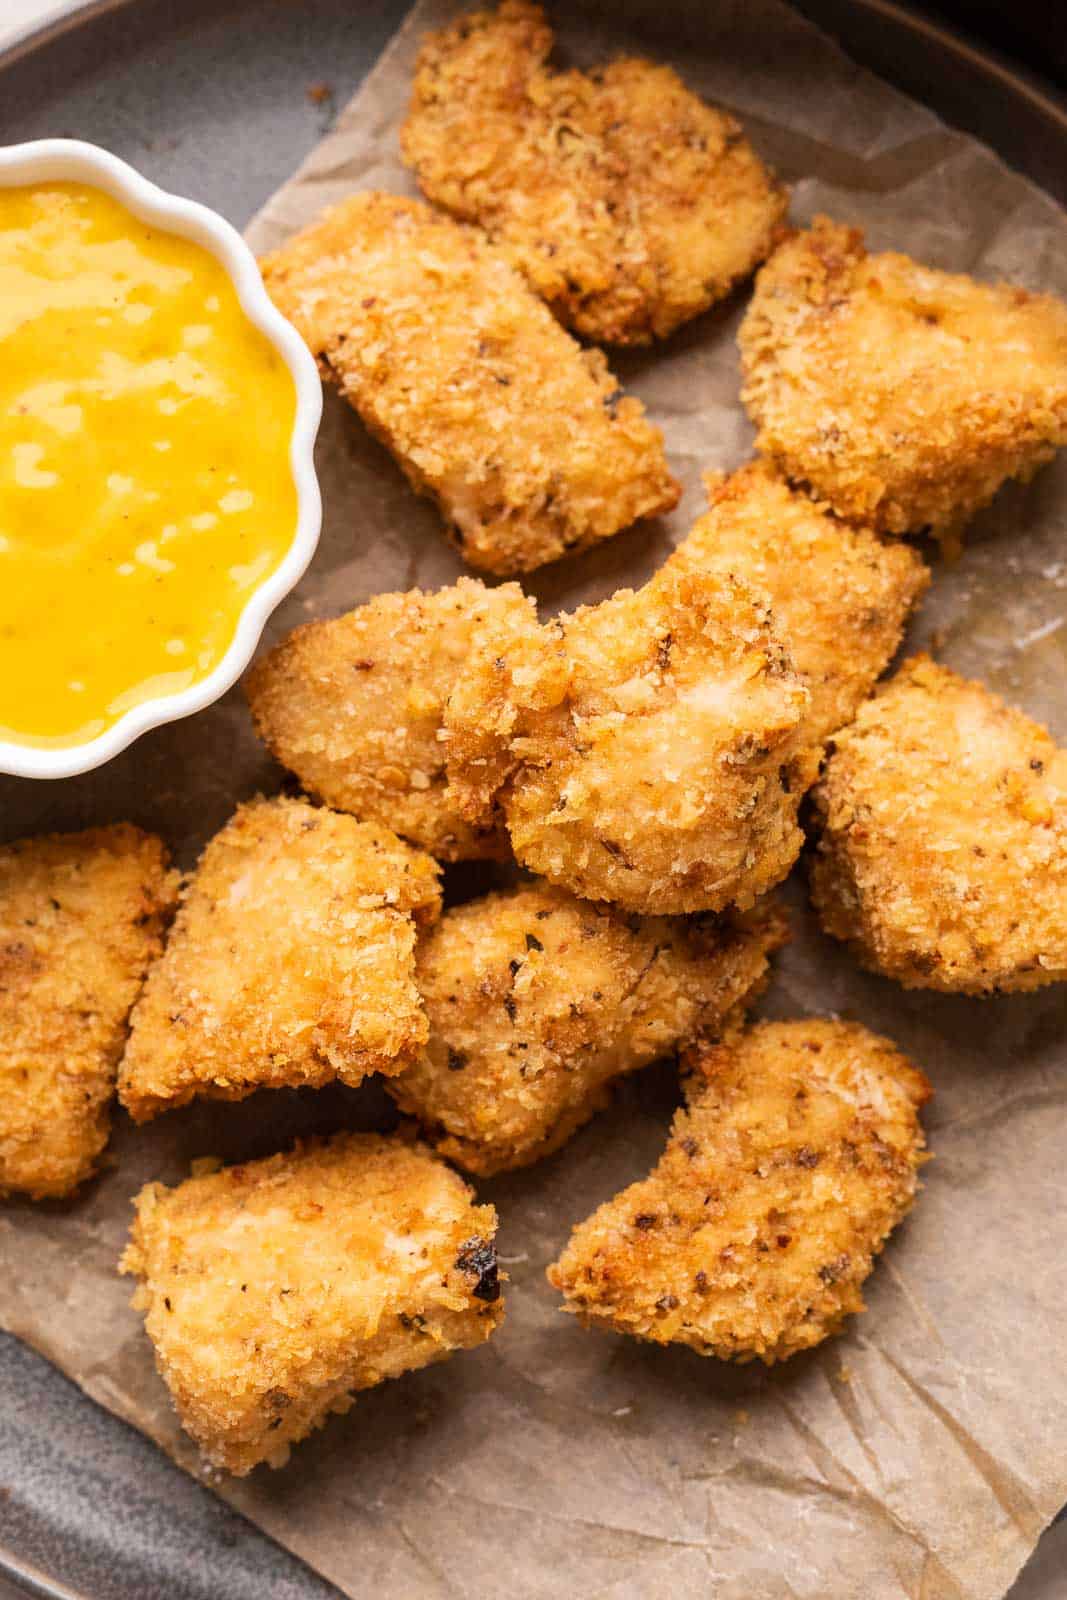
These Air Fryer Chicken Nuggets are incredibly crispy, healthier because they are made in the Air Fryer and really juicy because of one secret ingredient that you definitely have in your pantry!
These Chicken Nuggets were the first thing that I made when I first bought my air fryer 5 years ago, and they turned out so good that that’s when I knew this appliance was going to change my life! They turn out just as crispy and juicy as their deep fried version, but they’re a lot easier, faster, and mess-free to make.
Plus, since this air fryer chicken nugget recipe uses a fraction of the oil in comparison to being deep fried, they’re so much healthier. They’re also really simple to make and you cna have one batch ready in as little 10-12 minutes! Sounds awesome, right? I love serving these with ketchup or mayo for the best 5 pm snack or party appetiser ever!
Check out my ✨FREE✨ Air Fryer Starter Guide to help you get started on your air frying journey and use your air fryer for more than just making fries. Check it out here or enter your details below to get it delivered straight to your inbox!
Chicken Nugget Ingredients
Chicken: Skinless chicken breast pieces is what I have used and what I would recommend for this recipe. Thigh pieces won’t give the same texture
Seasoning: Italian seasoning, paprika, and salt go into the marinade to give the chicken nuggets flavor and heat
Mayonnaise: This might sound weird, but it is my secret ingredient. Adding mayo to the marinade actually tenderises the chicken and adds a lot more flavor than egg, which is what a lot of chicken nugget recipe use. Believe me, you need to try this
Lime juice: Adds a bit of freshness and tang to every bite
Breadcrumbs: I prefer using Panko Breadcrumbs as compared to regular breadcrumbs because they are crisper. They are available easily on Amazon and speciality stores.
Parmesan cheese: To add that lovely cheese-y flavor and richness
Butter: Melted, to brush the chicken nuggets while air frying. You can use oil, but I prefer butter as it adds an extra layer of flavor and helps the nuggets brown beautifully
Richa’s Top Tips
Use chicken breasts at room temperature. This helps the chicken cook more evenly and prevents the outside from getting done before the centre.
Customise the seasoning of the nuggets. Add a little cayenne pepper for extra heat or mixed herbs for a delicious earthy flavours.
Press the breadcrumb mixture onto the chicken. Don’t just toss the chicken in the breadcrumbs. Pressing them down helps the coating stick properly and gives you those crispy bits.
Frequently Asked Questions
Can I marinate the chicken overnight?
Yes, you can marinate the chicken overnight, but I’d recommend keeping it to 8–12 hours. Since the marinade contains lime juice, marinating for much longer can affect the texture of the chicken and make it slightly mushy. Keep it covered in the refrigerator while marinating, and bring it to room temperature for about 15–20 minutes before coating and air frying.
Can I make these chicken nuggets without an air fryer?
Yes! You can bake these chicken nuggets in a preheated oven at 200°C for about 15–18 minutes, flipping them halfway through. Brush or spray them with a little oil or melted butter before baking to help the panko-parmesan coating turn golden and crispy. Make sure the chicken is cooked through before serving.
How do I stop the breadcrumbs from falling off?
The key is to press the breadcrumbs firmly onto each piece of chicken rather than just tossing them in the mixture. Also, avoid overcrowding the air fryer basket and handle the nuggets gently when flipping them. The mayonnaise in the marinade also helps the breadcrumb coating stick to the chicken.
Why aren’t my chicken nuggets crispy?
If your chicken nuggets aren’t crispy, the most common reason is overcrowding the air fryer basket. Leave enough space between each piece so the hot air can circulate properly. Also, make sure you’re using panko breadcrumbs, press them firmly onto the chicken, and brush the nuggets with melted butter after the first 3 minutes before flipping. If needed, air fry for another 1–2 minutes at the end until golden and crisp.
Storage Tips
I recommend you serve these chicken nuggets fresh because the panko coating is at its crispiest straight out of the air fryer.
Refrigerator: Store leftover nuggets in an airtight container in the fridge for up to 3 days.
Reheating: Reheat them in the air fryer at 180°C for 3–5 minutes, flipping once, until hot and crispy again. Avoid the microwave if you want to retain the crunch.
Freezing cooked nuggets: Let the nuggets cool completely, then freeze them in a single layer before transferring them to a freezer-safe container or bag. You can freeze them for up to 2 months.
To reheat from frozen: Air fry at 180–190°C until heated through and crispy, adding a couple of extra minutes if needed. There’s no need to thaw them first.
Make-ahead: You can marinate the chicken a few hours ahead, but I recommend coating it with breadcrumbs just before air frying so the coating stays crisp.
Serving Ideas
These nuggets are great as a snack, but honestly, they can easily turn into a quick lunch or dinner too.
With dips: Serve them with mayo, ketchup ranch, honey mustard, barbecue sauce or a simple spicy mayo.
As a snack platter: Add fries, potato wedges, corn ribs or some crunchy salad for an easy party-style spread.
In wraps: Stuff the crispy chicken nuggets into a tortilla with lettuce, cheese, tomatoes and your favourite sauce.
As a chicken burger: Chop the nuggets into smaller pieces. Pile them into burger buns with lettuce, cheese and mayo.
With salad: Serve them over a simple green salad for a quick, protein-packed meal.
With pasta: Slice the nuggets and serve them alongside creamy pasta or tomato pasta for an easy dinner.
For kids: Serve with ketchup, cheesy dip or their favourite sauce alongside some fries or fresh fruit.
These air fryer chicken nuggets are crispy outside, juicy inside, and so much better than the frozen kind. They get beautifully golden in the air fryer, while the simple marinade keeps the chicken tender and flavourful. Serve them with your favourite dipping sauce for an easy snack, quick lunch, or a dinner everyone will happily reach for!
350gramsChicken Breastsskinless, boneless, at room temperature
1.5tablespoonItalian Seasoning
1teaspoonPaprika
1teaspoonSalt
1.5tablespoonMayonnaise
1tablespoonLime Juice
1/2cupPanko Breadcrumbs
3tablespoonsgrated Parmesan
2tablespoonsmelted Butter
Instructions
Trim off any fat from the breasts. Slice the chicken into 1/2 inch slices and cut each slice into 1 inch cubes.
Marinate the chicken pieces in italian seasoning, paprika, salt, mayonnaise and lime juice. Mix well and set aside for 20-30 minutes.
In a bowl, mix together breadcrumbs and parmesan. Place the chicken pieces one at a time in the mixture and coat them well with the breadcrumbs, pressing down to ensure the breadcrumbs coat each piece properly. Keep them aside in a plate.
Place the coated chicken nuggets in the air fryer basket in a single layer, making sure to leave some gaps and not over crowd the basket. Air fry for 3 minutes at 190C. Brush with melted butter on both sides, flip the bottom side up and air fry again for 3 minutes till crispy. Serve them hot!
Video
Notes
Butter: You can replace the butter with an oil spray or oil
Dipping Sauce: I served these chicken nuggets with my mango mustard dipping sauce. You can find the recipe here.
Don’t overcrowd: Always make sure to keep the nuggets in a single layer and don’t overcrowd the basket or they won’t become crisp.
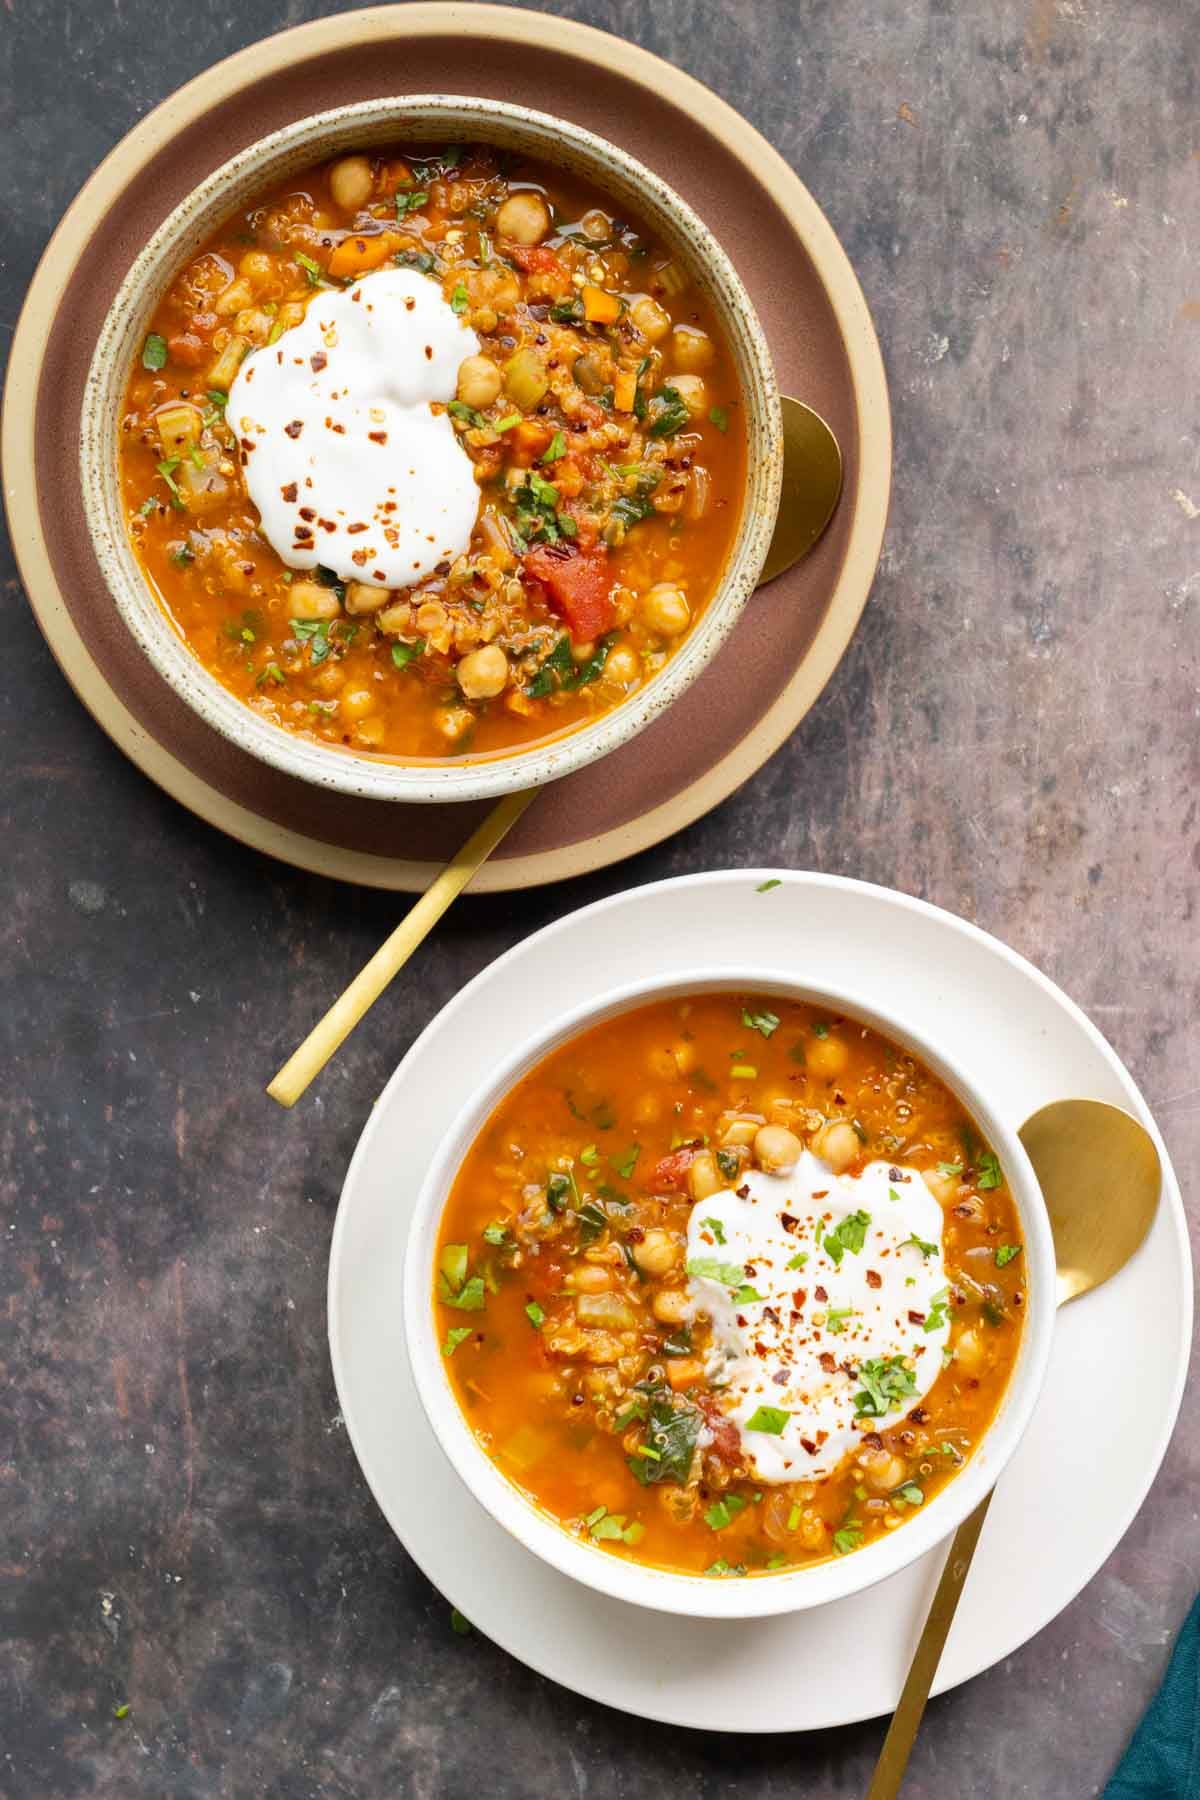
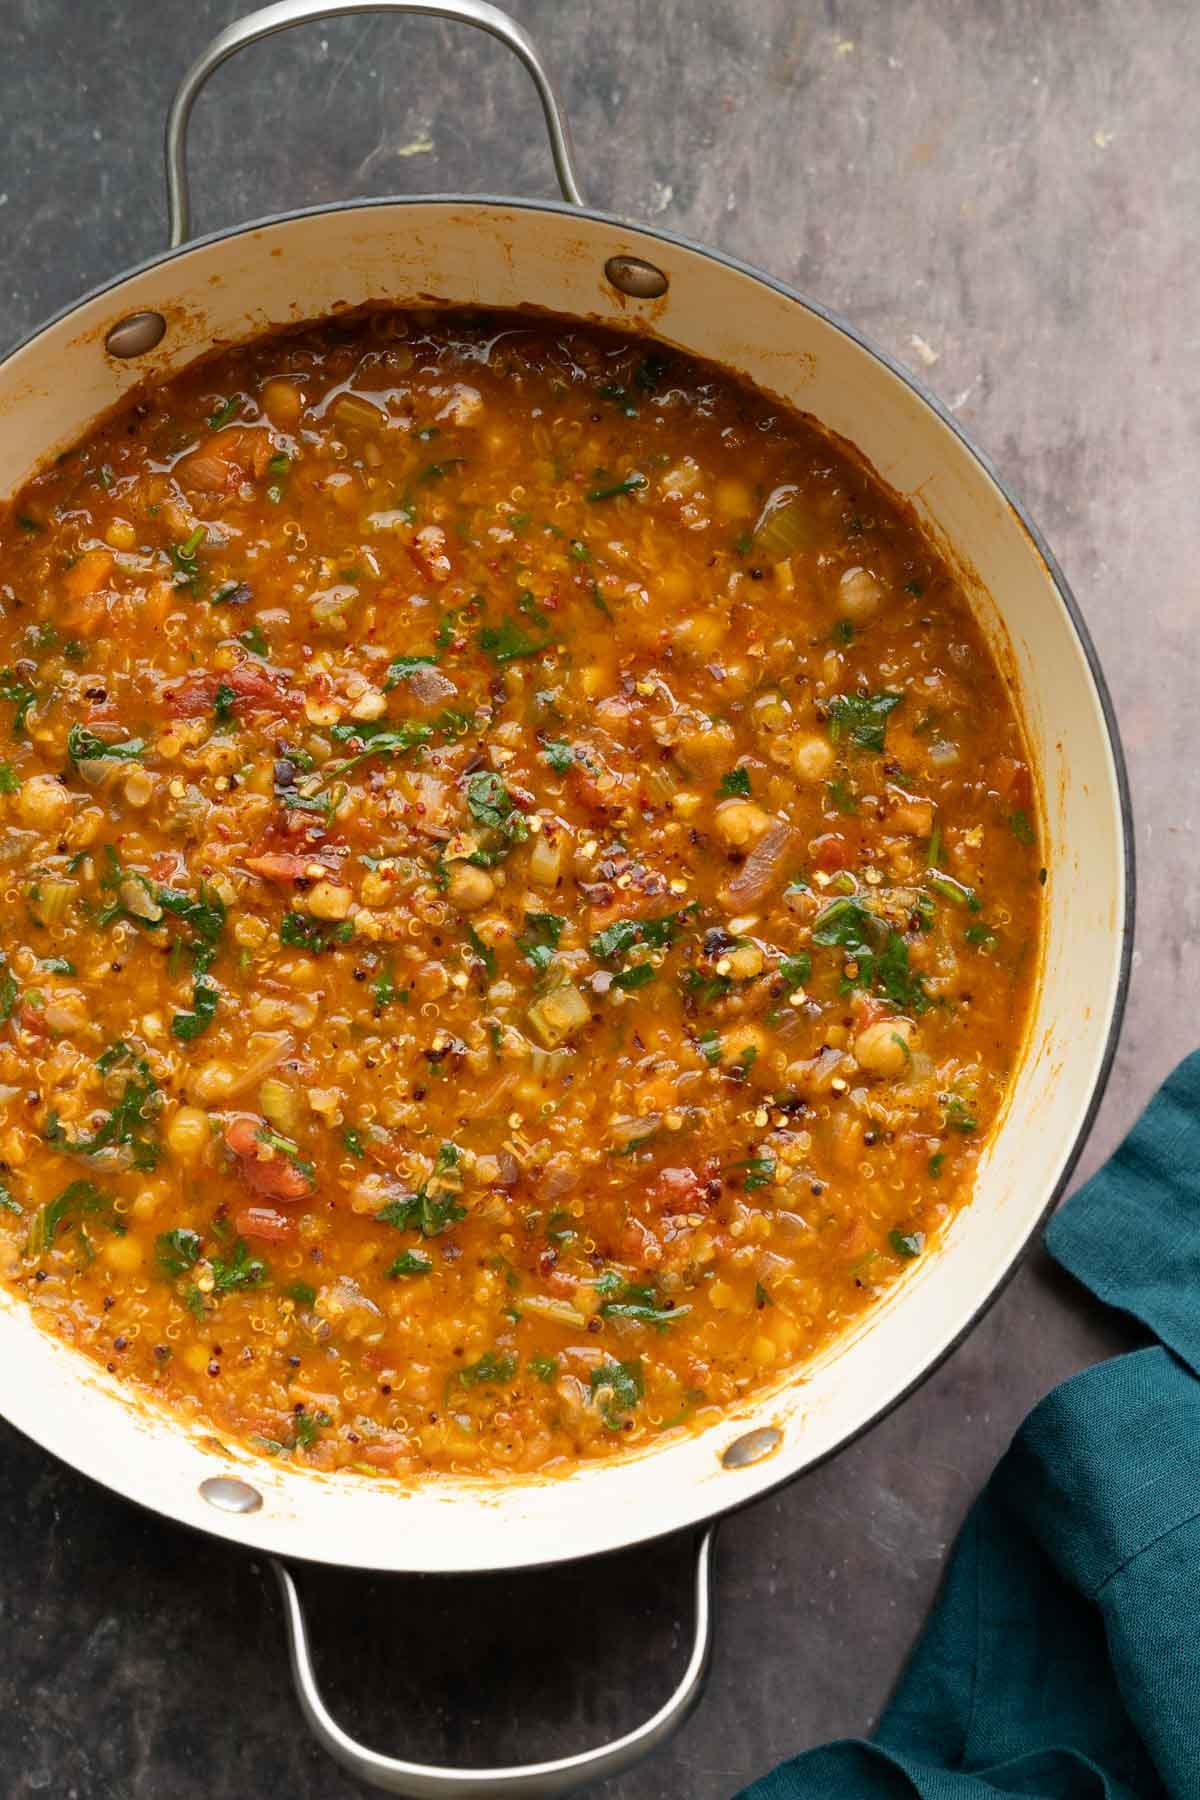
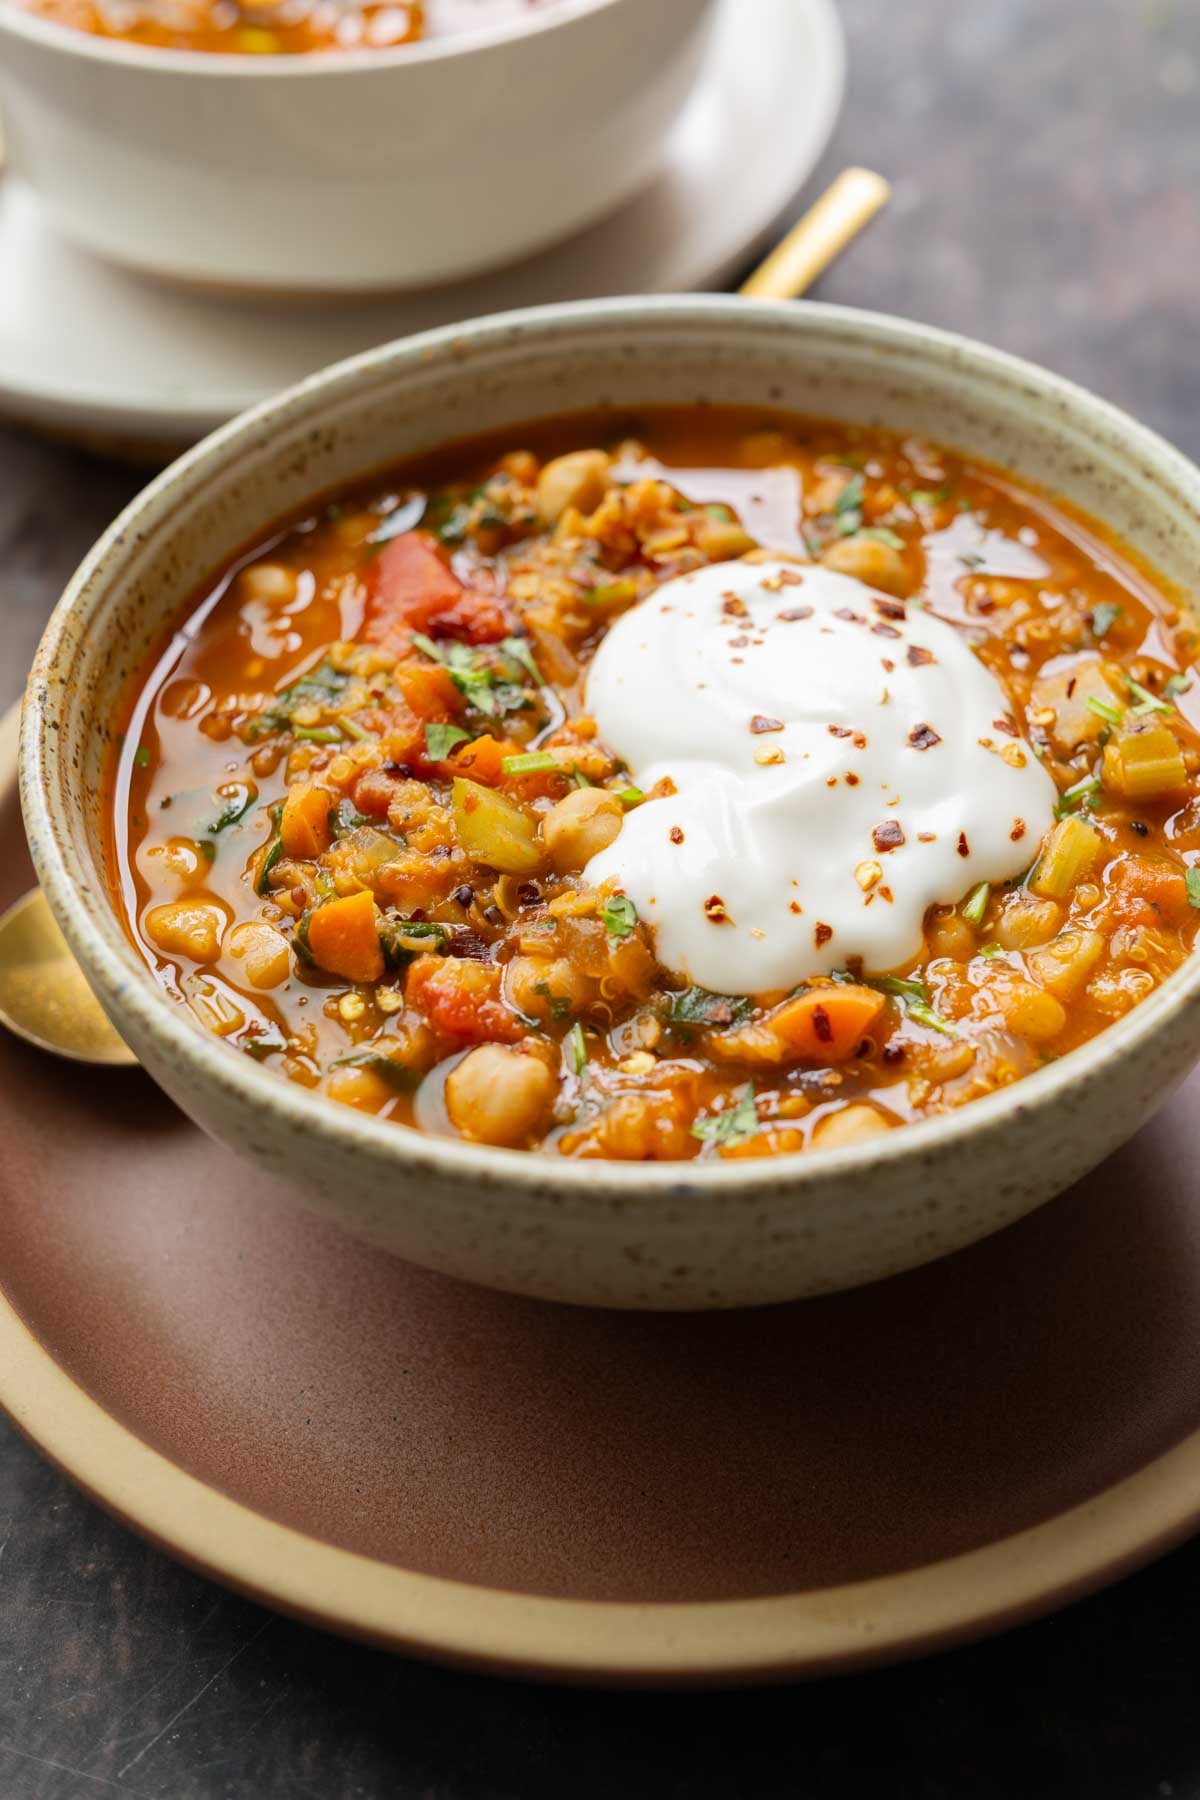
Smoky Moroccan harira soup with chickpeas, red lentils, and quinoa is a budget friendly, 1-pot meal! Bring crusty bread to dip. (21g protein, 21g fiber, 8 mg iron. Gluten-free, soy-free, nut-free. Oil-free option.)
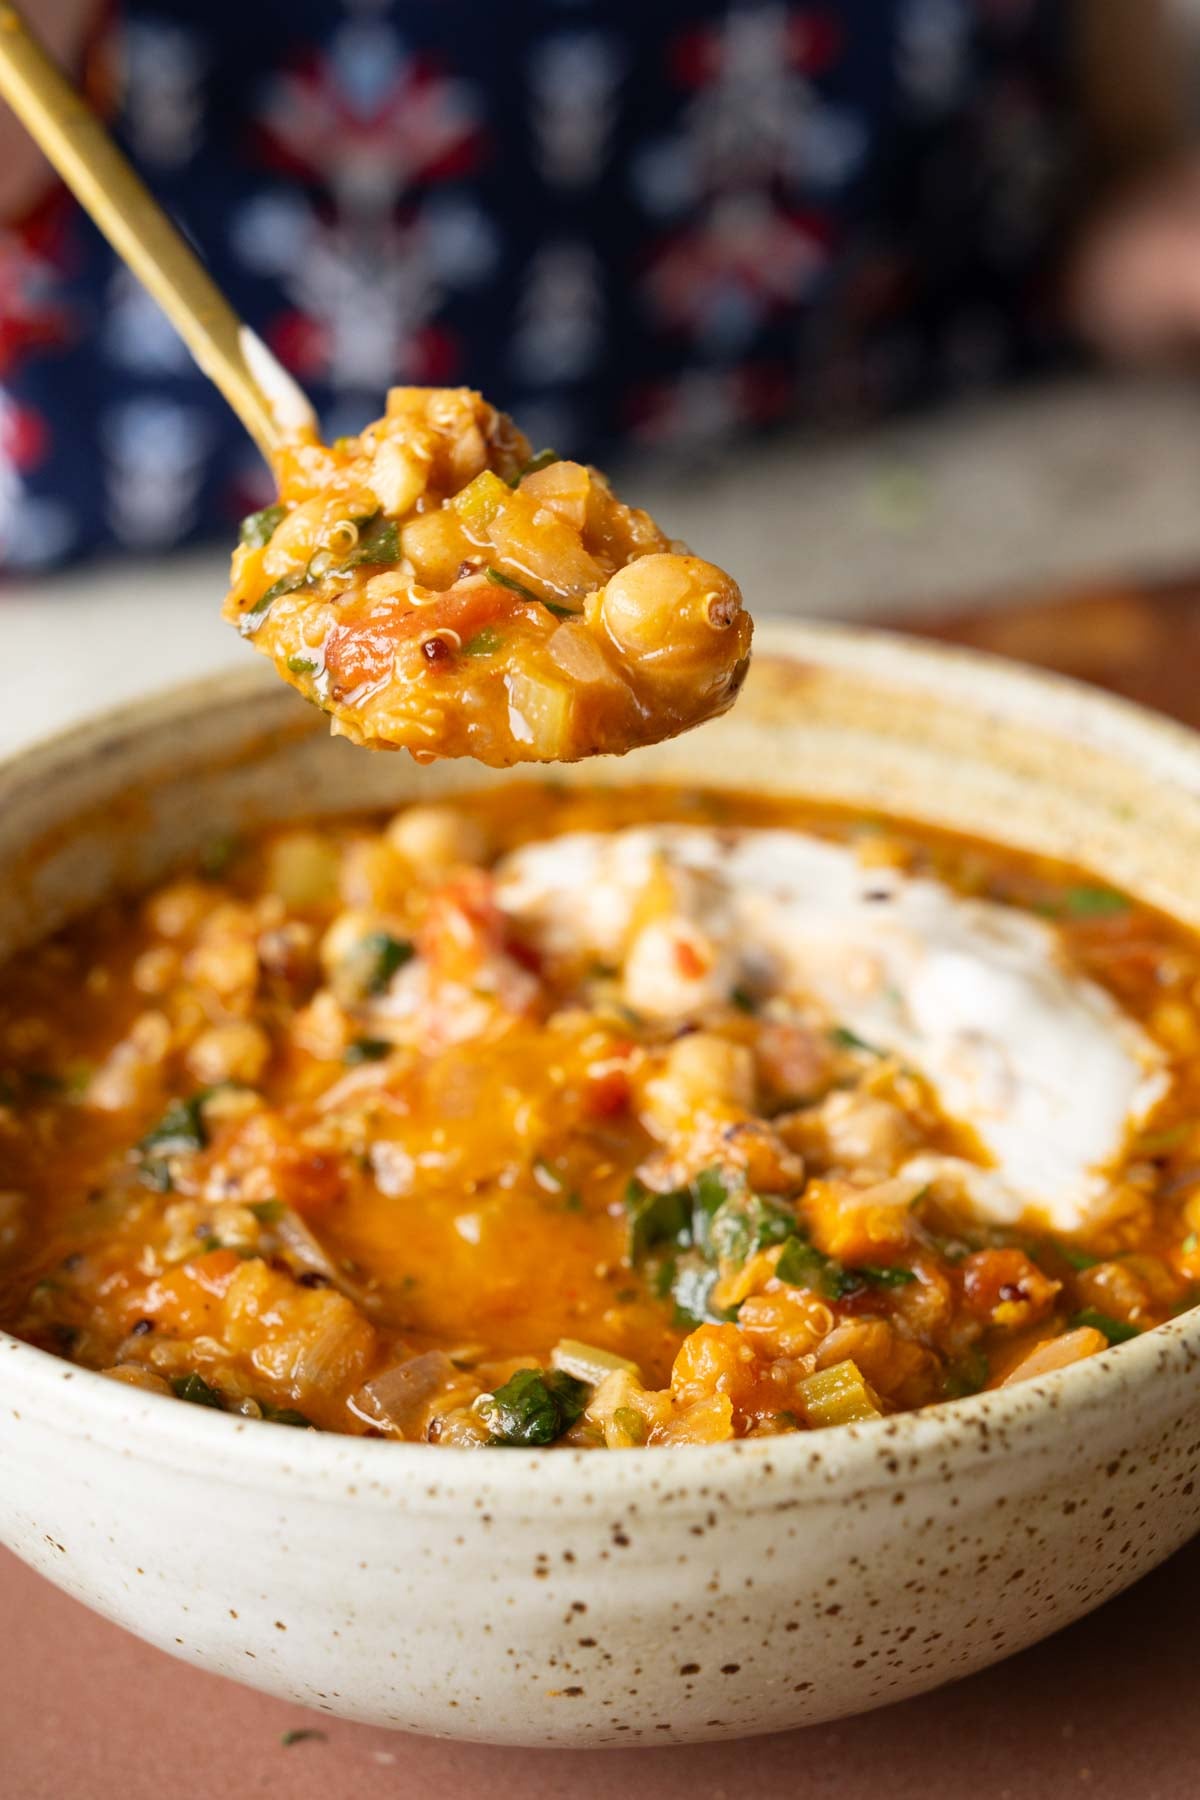
This is such a hearty, delicious, and easy one-pot soup. Today, we’re converting pantry staples into a rich, deeply flavored, hearty, and satisfying harira. This Moroccan chickpea and lentil soup is budget-friendly, one-pot, meal prep-friendly, and packs 21 grams of protein and 21 grams of fiber per serving, and 8 mg Iron. It is cozy, and it tastes like it has been simmering all day, but it really only simmers for about 30 minutes!
Often, harira has either pasta or grains added in it. I am using quinoa in the soup along with the chickpeas and lentils. That makes the soup gluten-free. It is also nut-free and soy-free, if you use nut-free and/or soy-free non-dairy yogurt for the topping, or just skip the yogurt topping altogether. Harira is rich and hearty, even without it.
Serve this with a side of toasty bread, garlic bread, or pita bread, and topped with some creamy non-dairy yogurt and lemon juice. It’s also great over a baked potato or over roasted veggies.
This recipe is rich in folate, iron, potassium, and magnesium from the lentils. It also has vitamin C and lycopene from the tomato. It is very budget-friendly, about $6.50 to $7 for the whole pot!
Why You’ll Love Harira
1-pot soup packed with veggies, protein, fiber, and FLAVOR!
easy to make with simple, budget-friendly ingredients
flavors of cumin, smoked paprika, cinnamon, and black pepper paired with hearty chickpeas, lentils and quinoa
naturally gluten-free, soy-free, and nut-free with an oil-free option
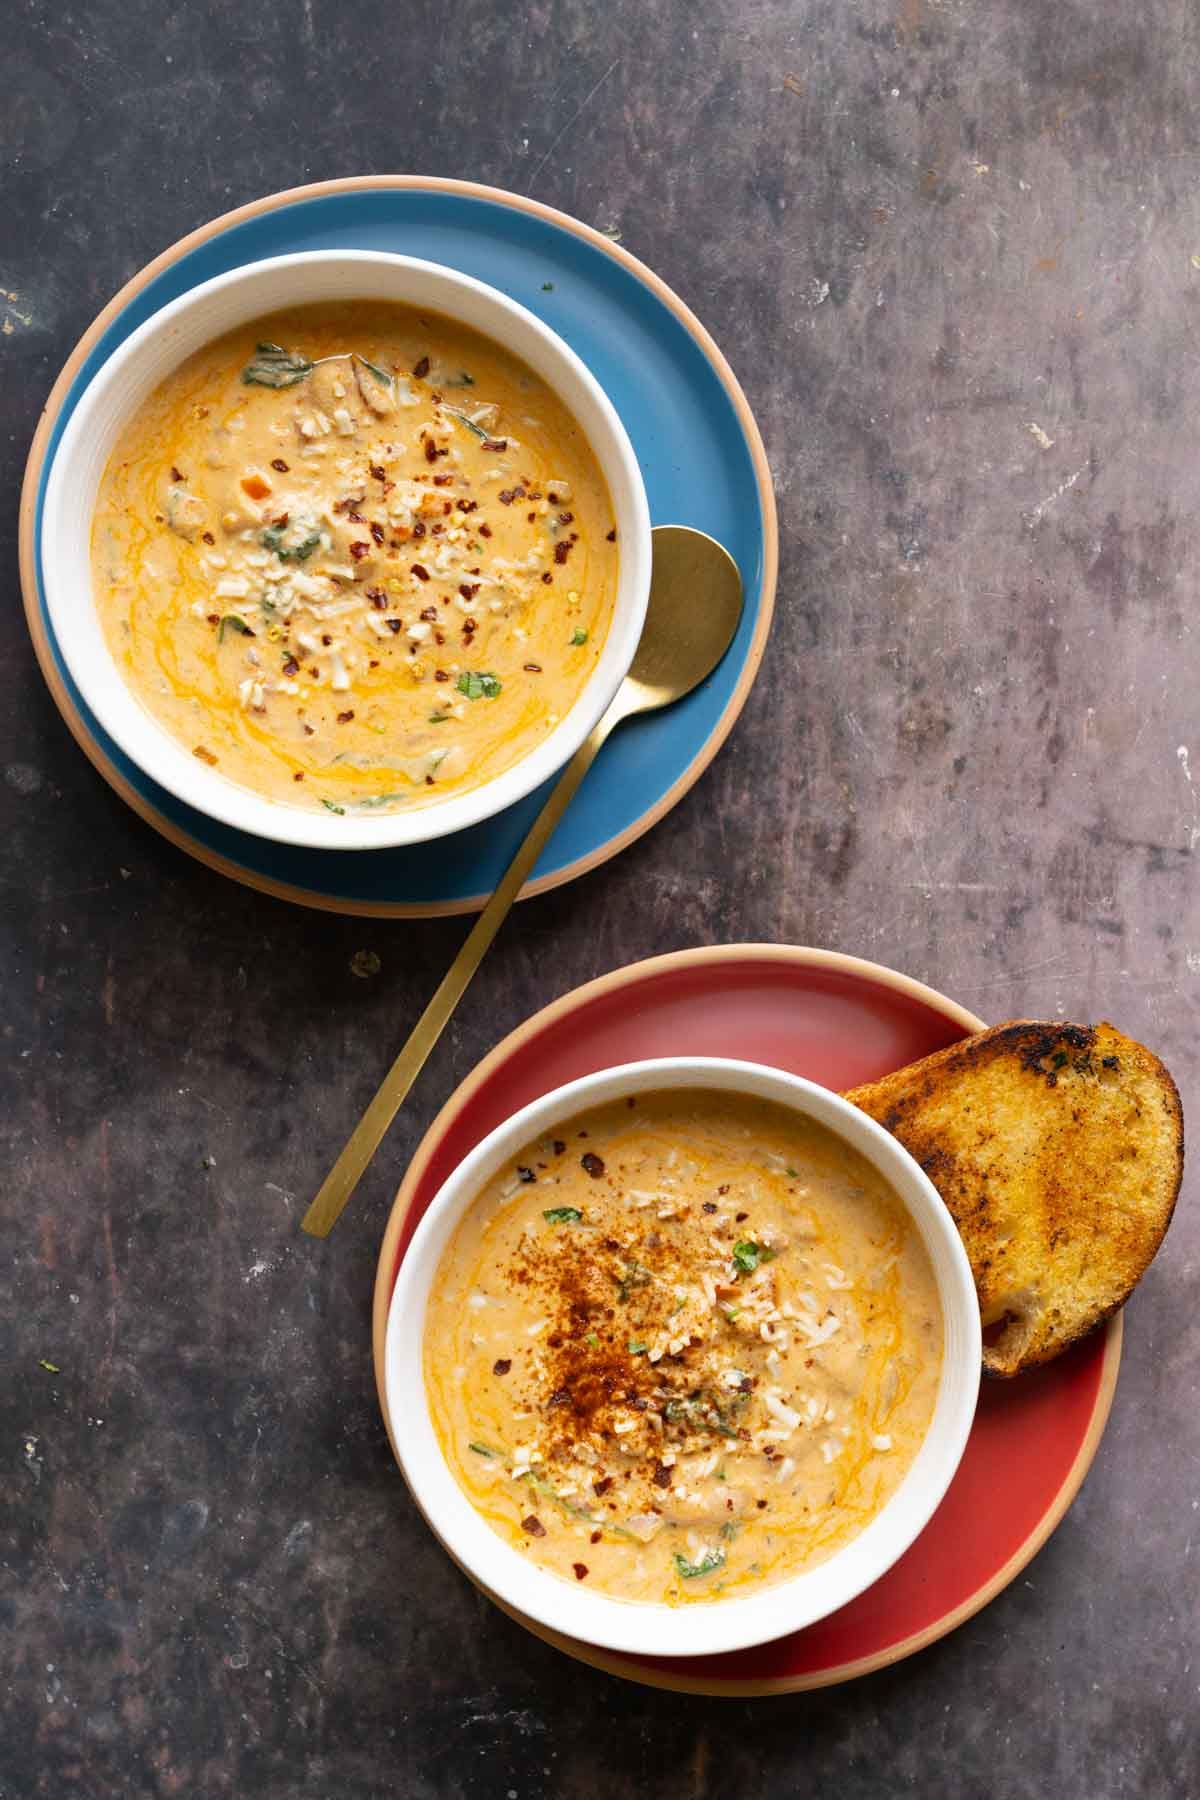
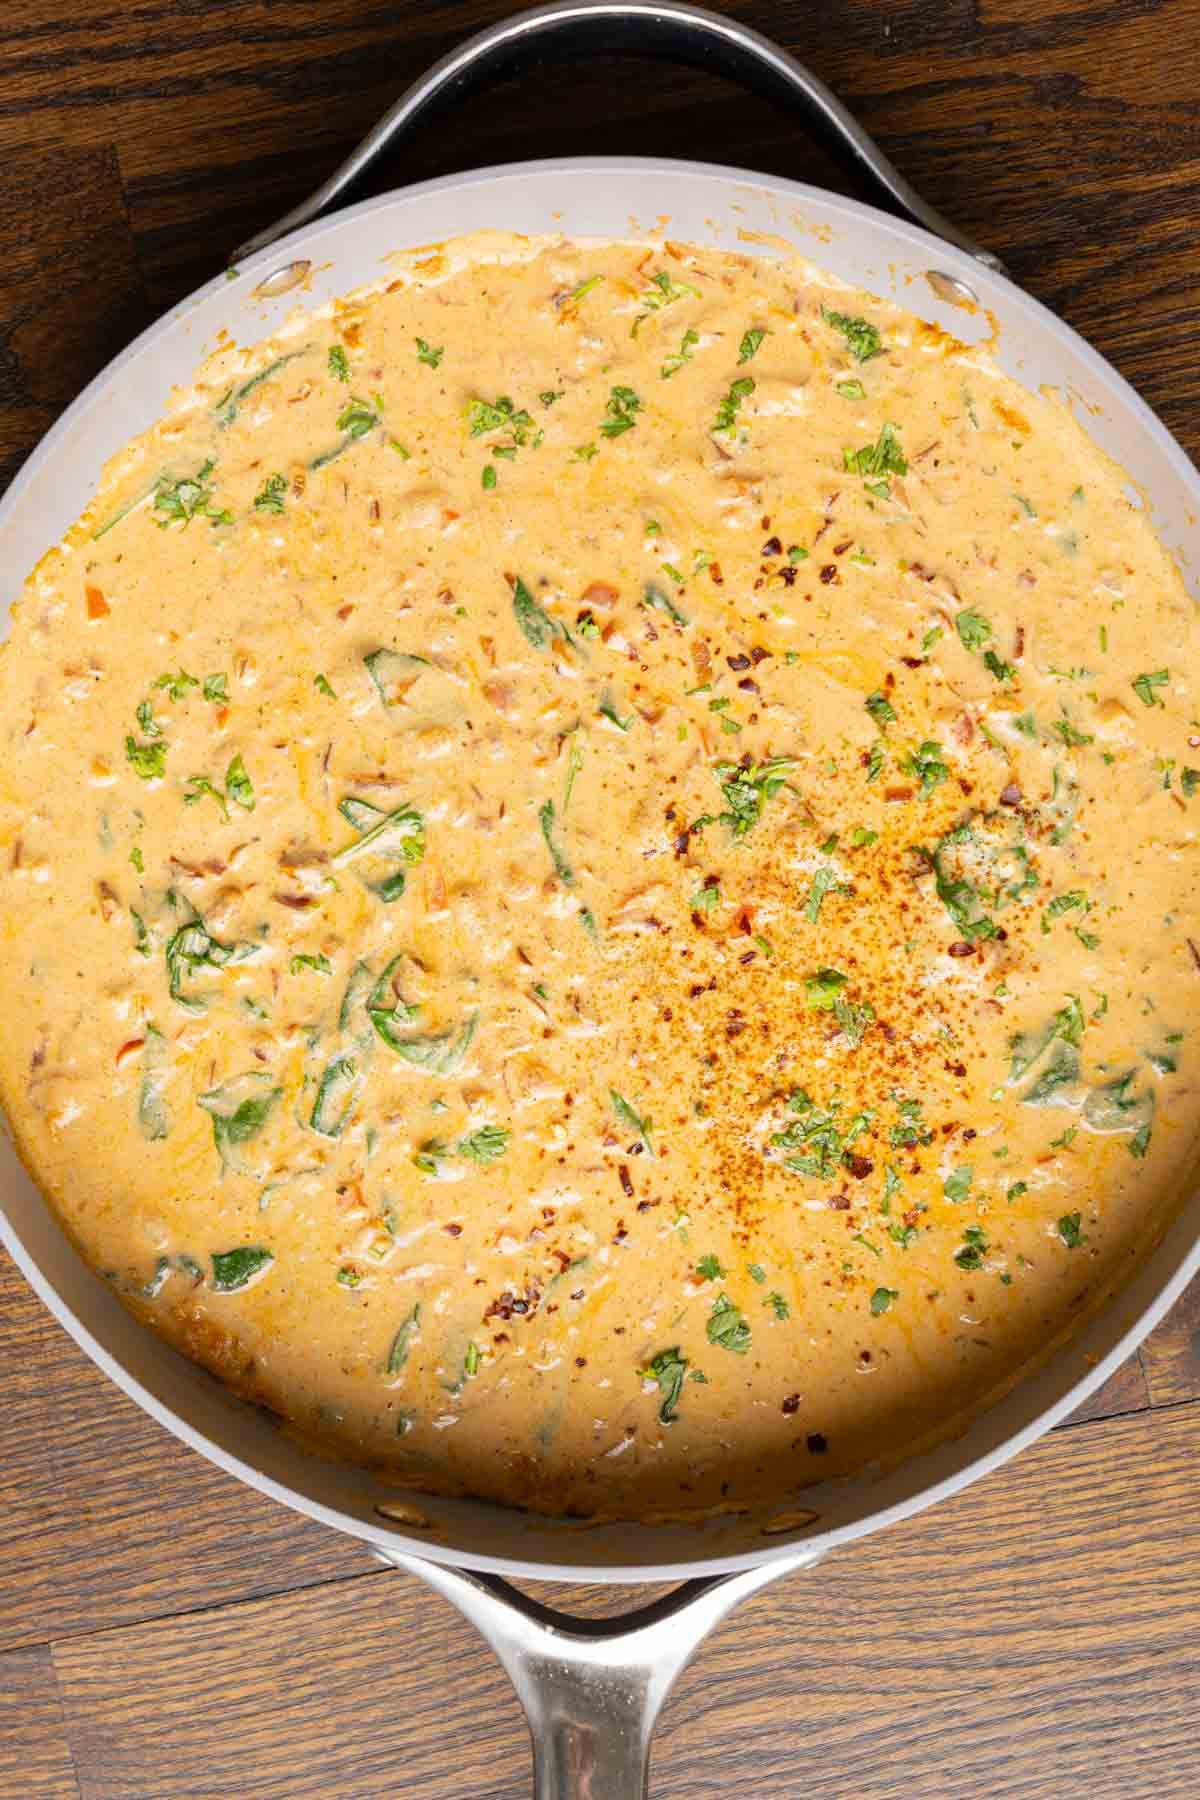
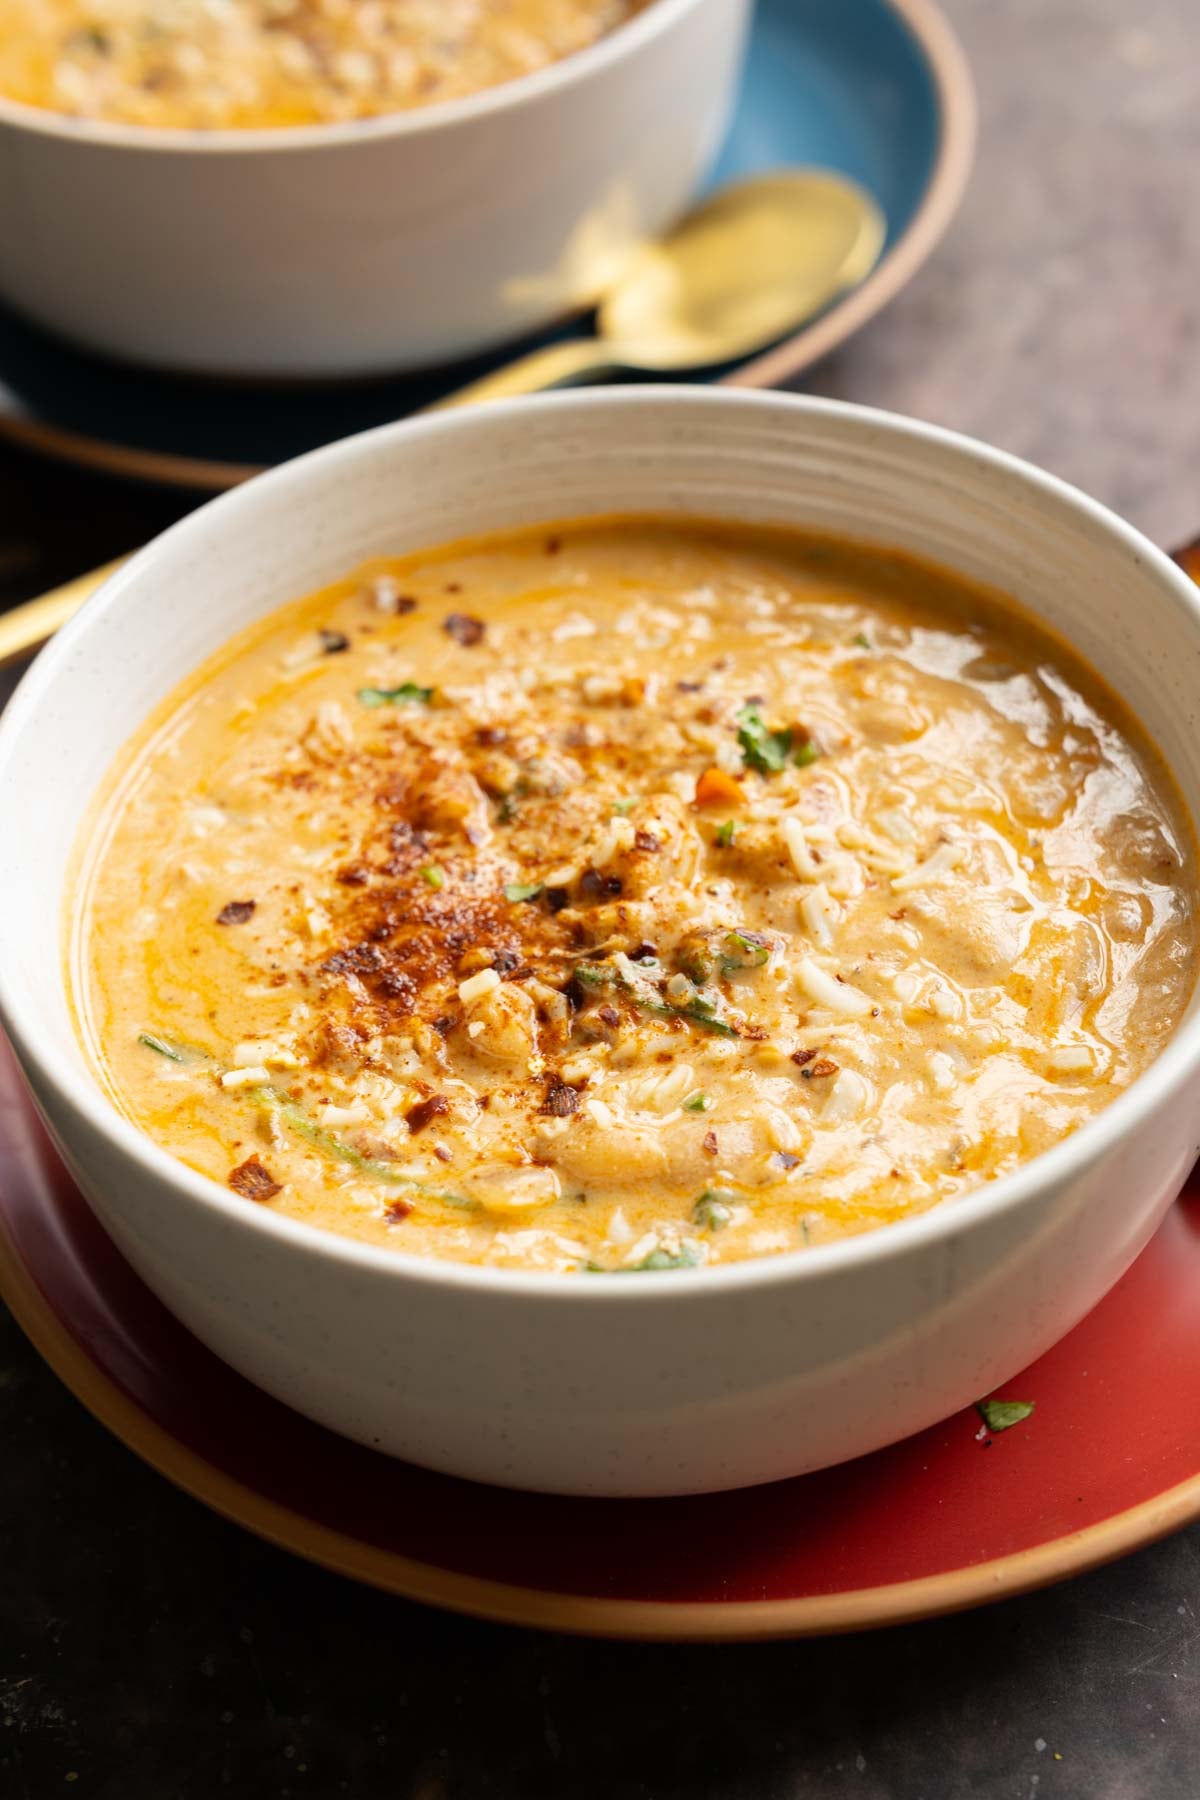
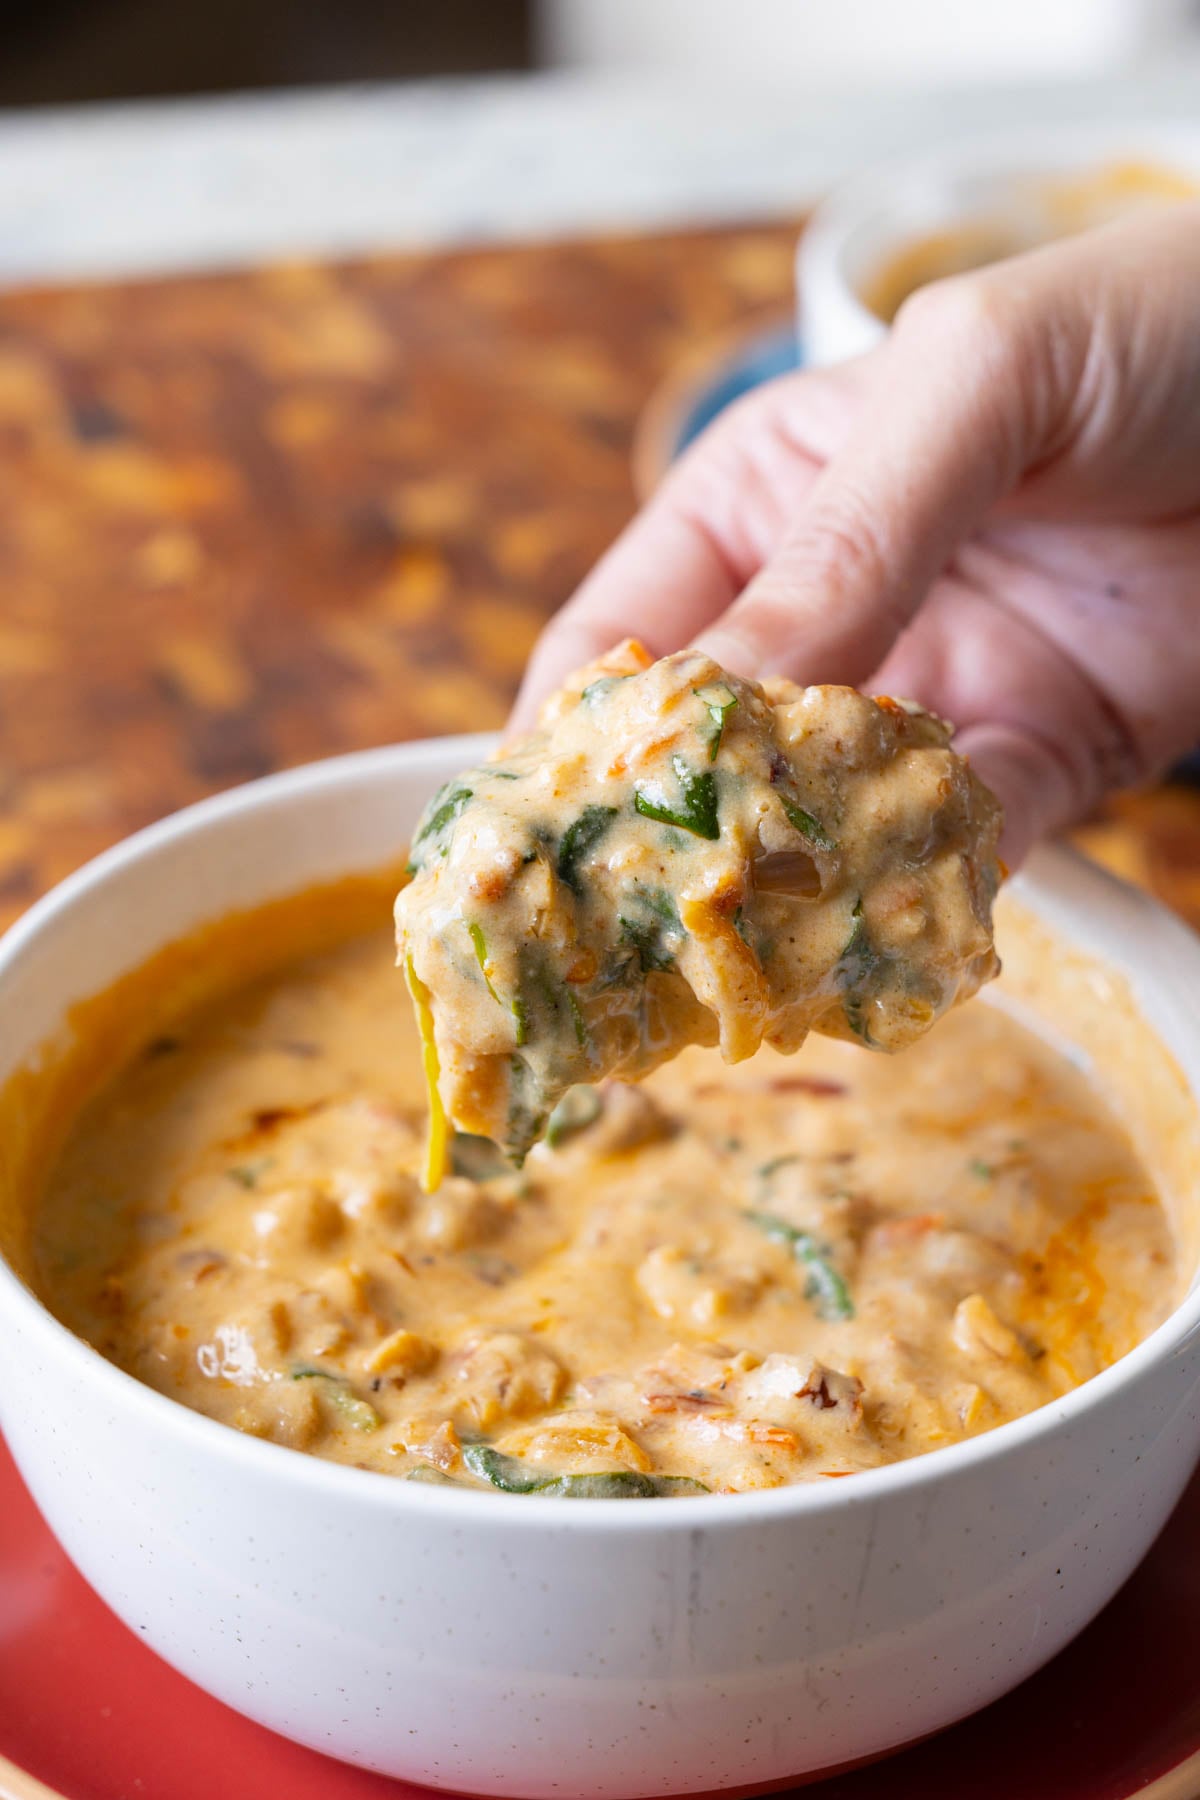
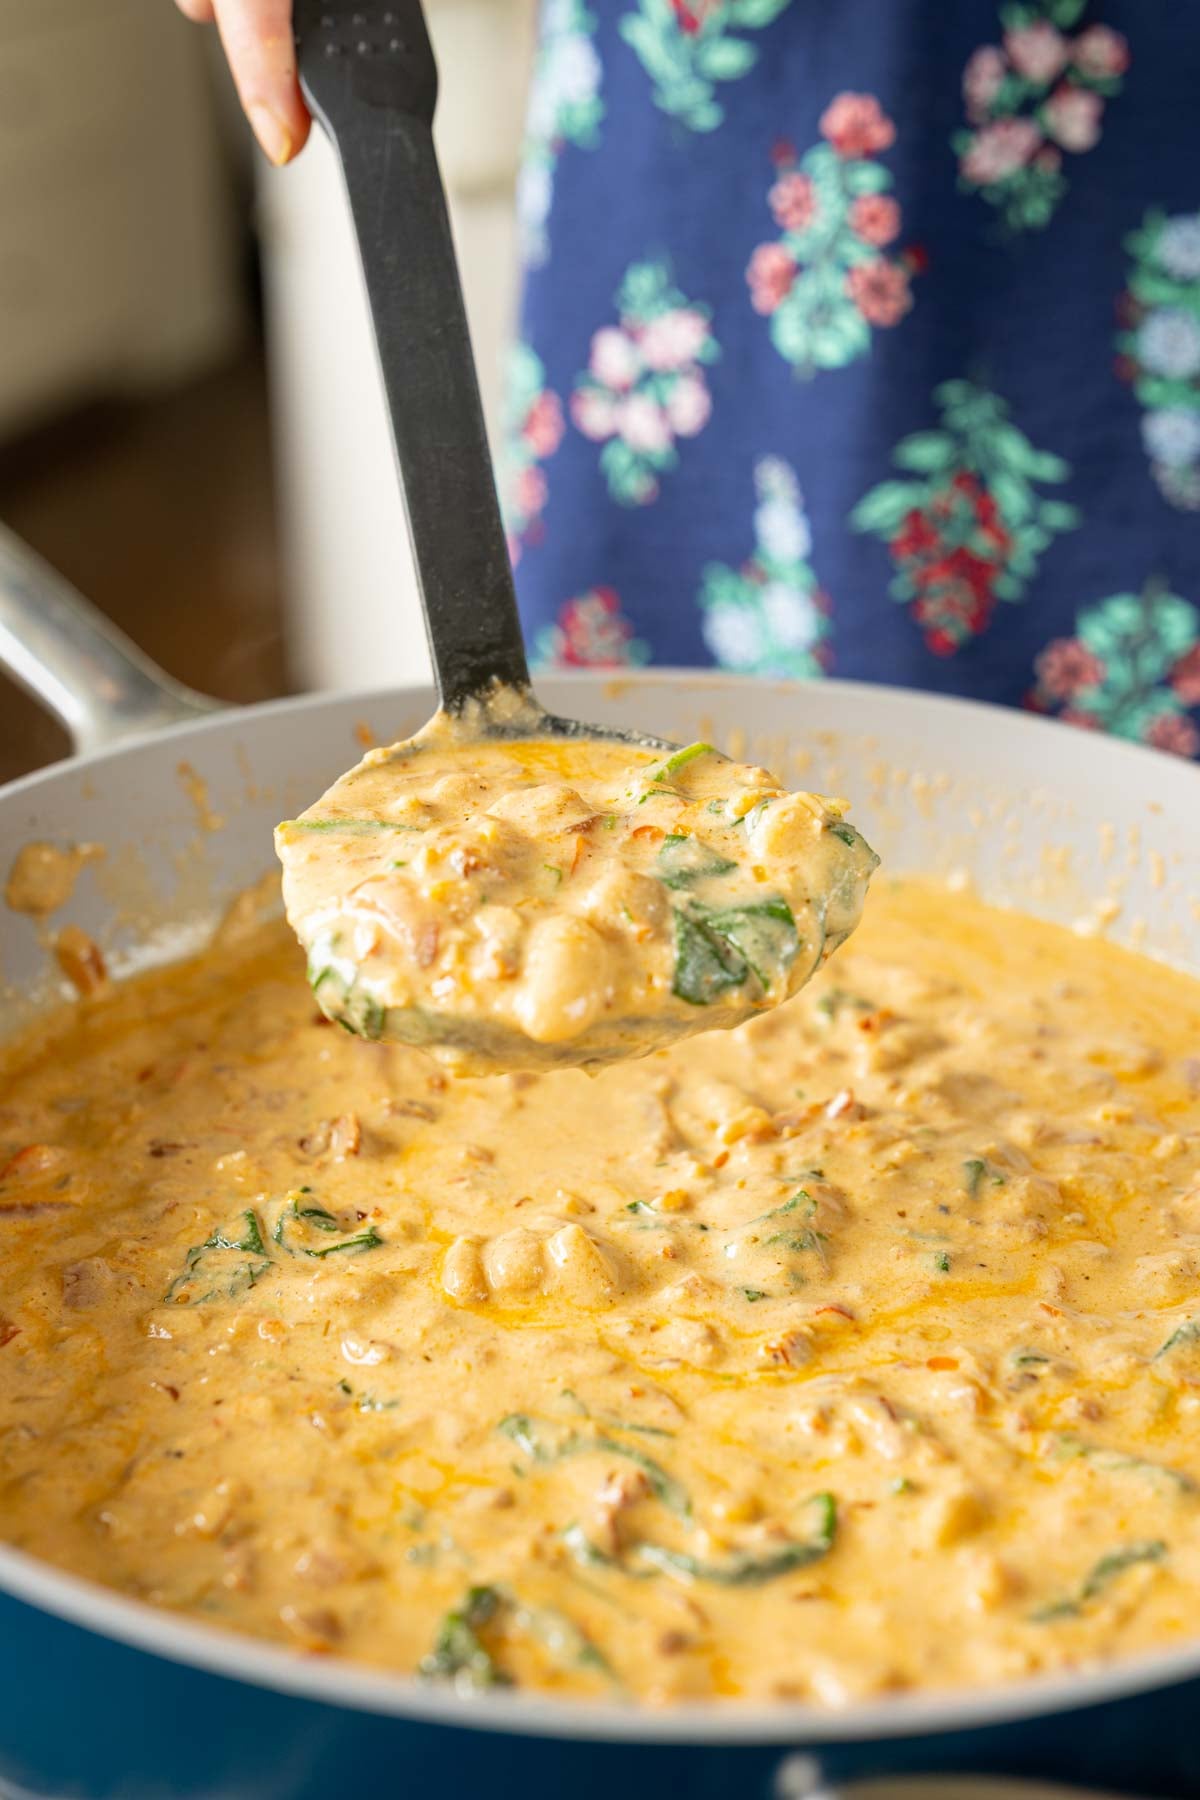
Marry me white bean soup is a creamy, smoky soup with rich, Italian flavors. That tofu cashew hemp cream packs nutrition! (gluten-free with easy soy-free and nut-free options. 23g Protein, 13g fiber 7mg iron. 1-pot, 30 minutes. Freezer friendly and budget friendly!)
What if I told you that you could make an amazing, creamy, 1-pot soup that is also comforting and nutrient-dense? It is hearty, budget-friendly, easy, and packed with protein, fiber, and iron. It is also packed with amazing flavor and is ready within 30 minutes. It is also weeknight-friendly and uses mostly pantry staples. The whole pot only costs about $5 to $6 to make.
Marry me white bean soup is creamy, hearty, and nutrient-dense. There’s 23 grams protein, 13 grams fiber, 7 mg iron, and even more nutrients in a bowl of this marry me soup! There’s protein from the white beans, cashews, hemp seeds, tofu, and nutritional yeast, and fiber from the vegetables, greens, and white beans.
To make it more hearty, you can add red lentils to the soup while simmering in the stock. The lentils add even more protein and fiber! Or, you can double up on the white beans.
The sun-dried tomato, smoked paprika, creamy texture, and garlicky flavors work really well with some pasta as well. You can also serve it with cheese toast or toasted sourdough, garlic bread, pita.
Why You’ll Love Marry Me White Bean Soup
The flavor! We build the flavor by
1. Toasting garlic and pepper flakes to infuse the oil
2. Toasting the tomato paste and sun dried tomatoes to deepen the umami
3. Using a combination of tofu hemp seeds and cashews for cream so that the cream has volume and hearty creamy flavor!
30-minute 1-pot meal, easy weeknight dinner using mostly pantry ingredients
creamy, smoky, hearty soup with tons of Protein and Fiber in every bite
Meal prep, freezer friendly.
naturally gluten-free with easy soy-free and nut-free options
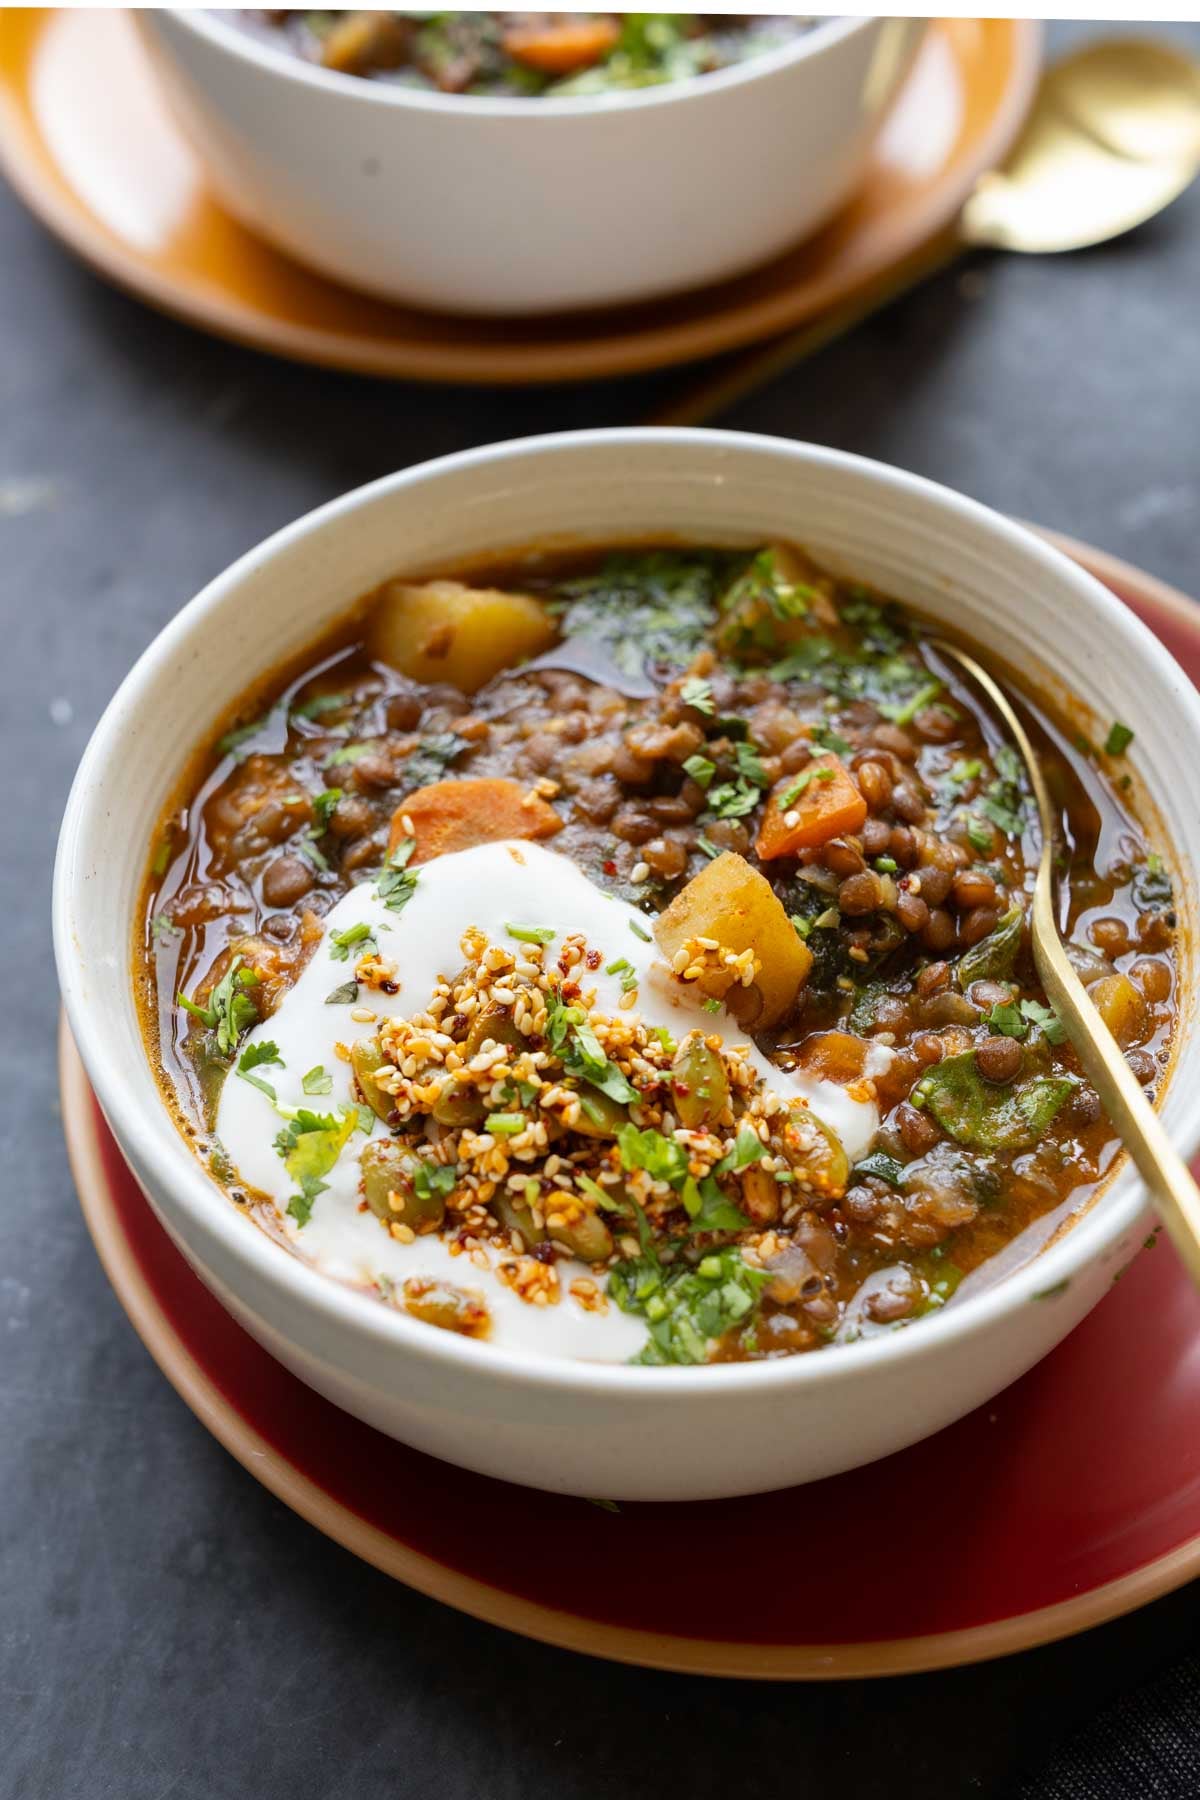
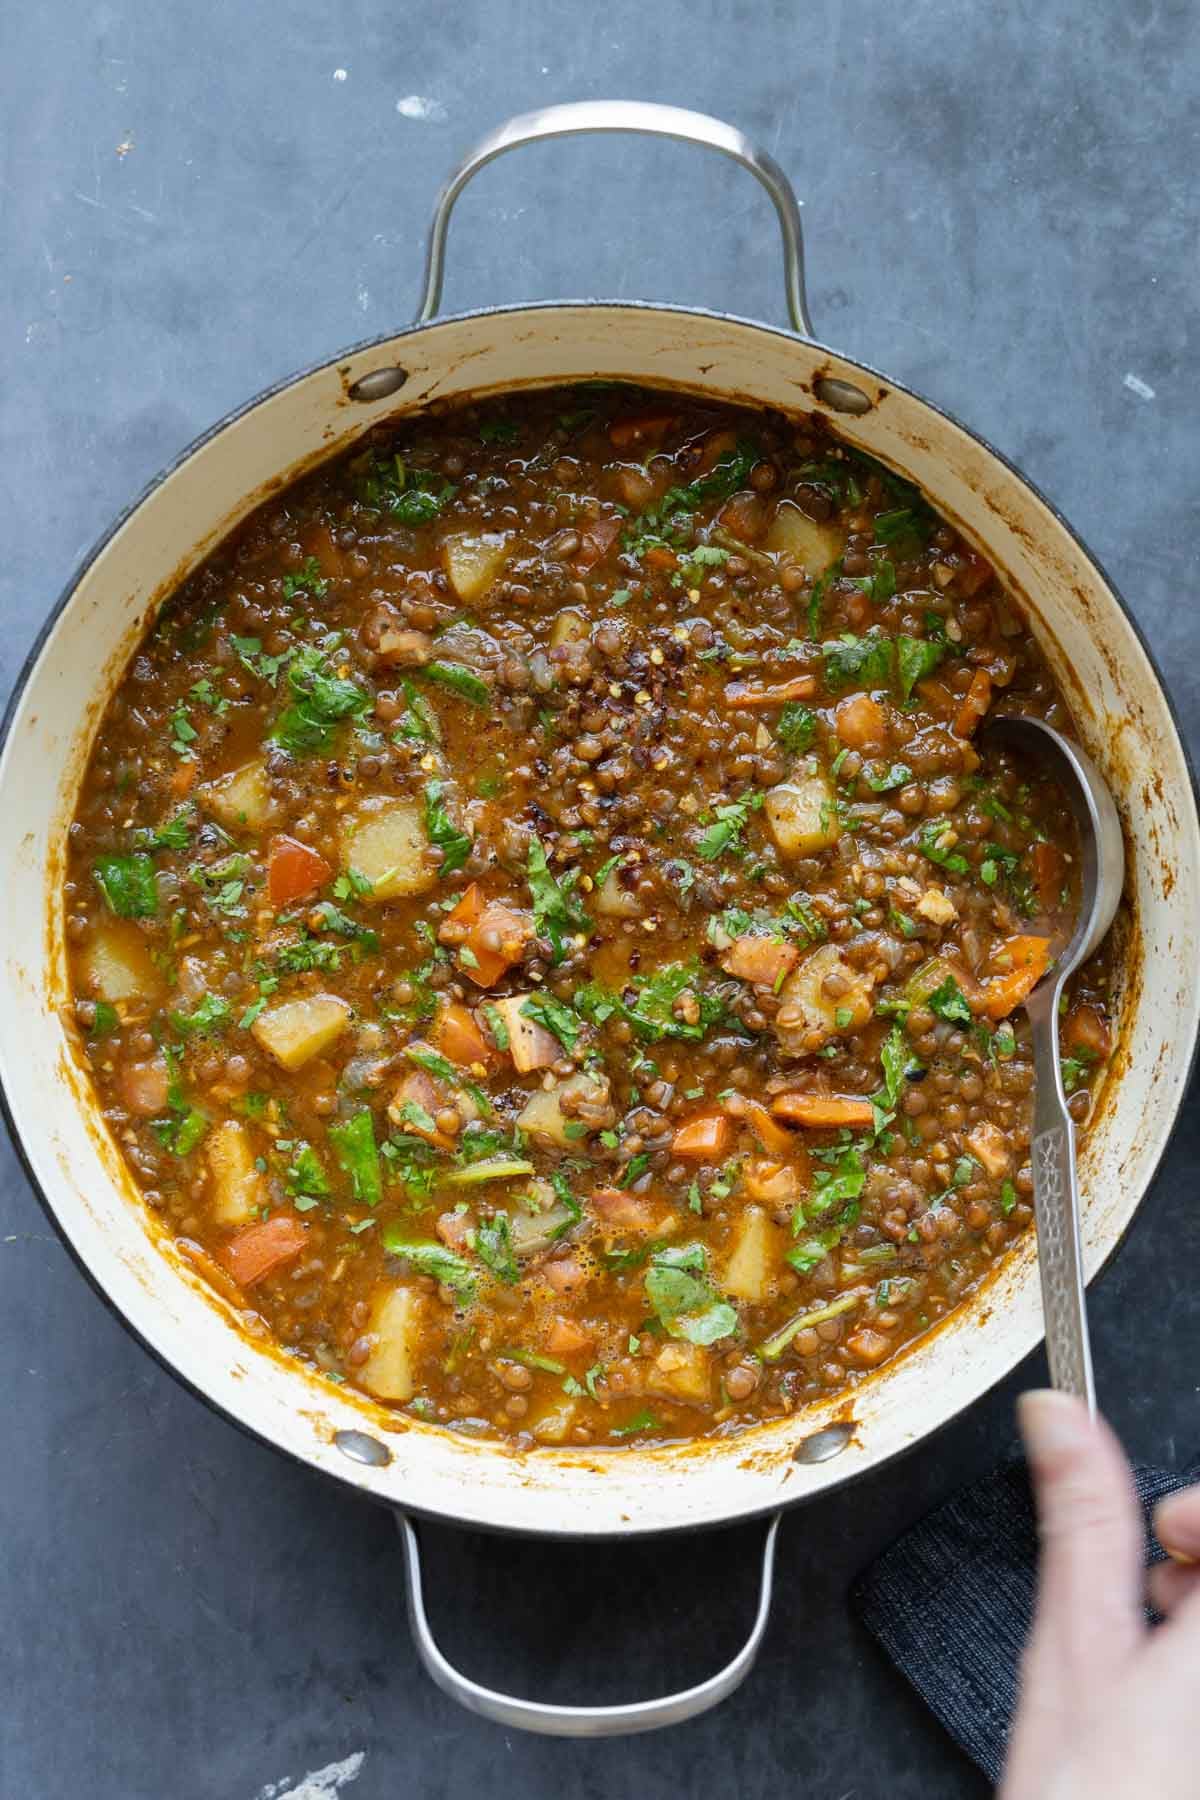
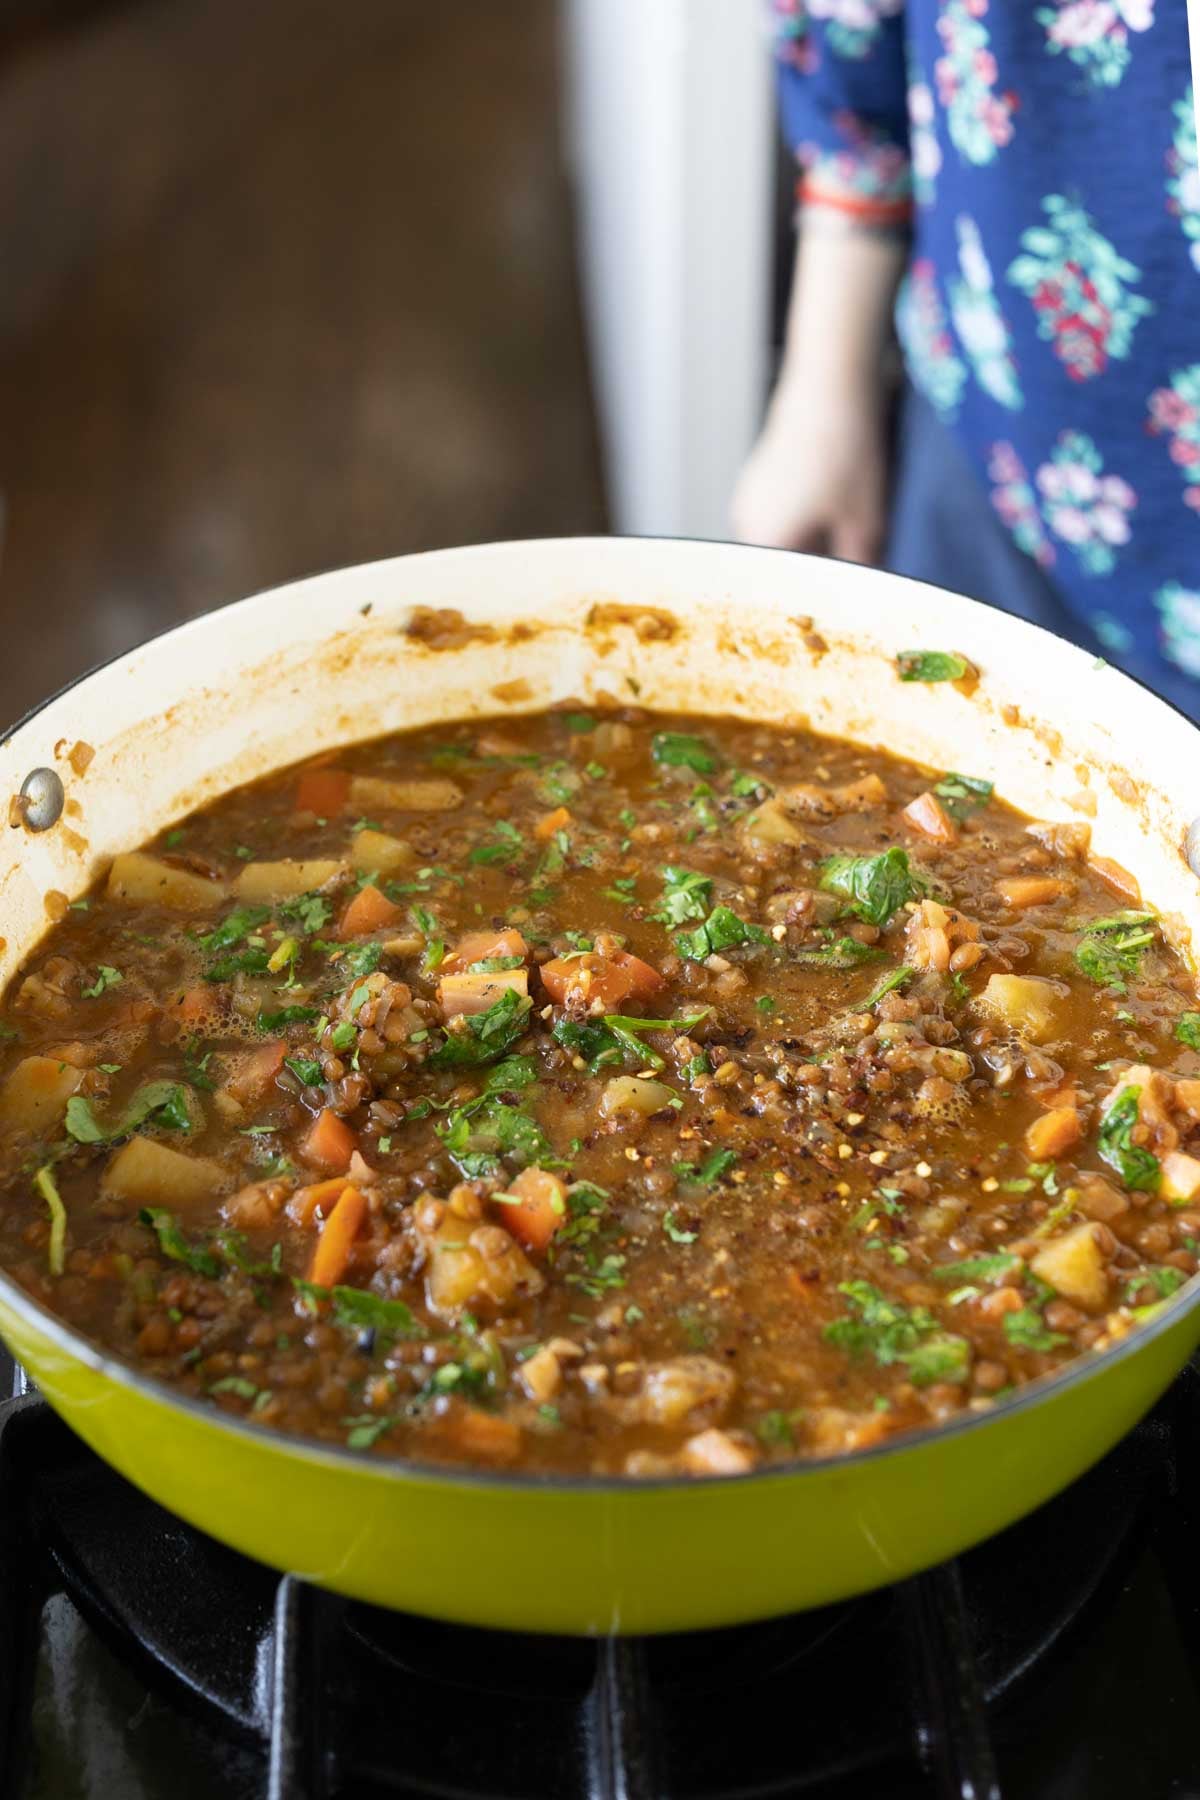
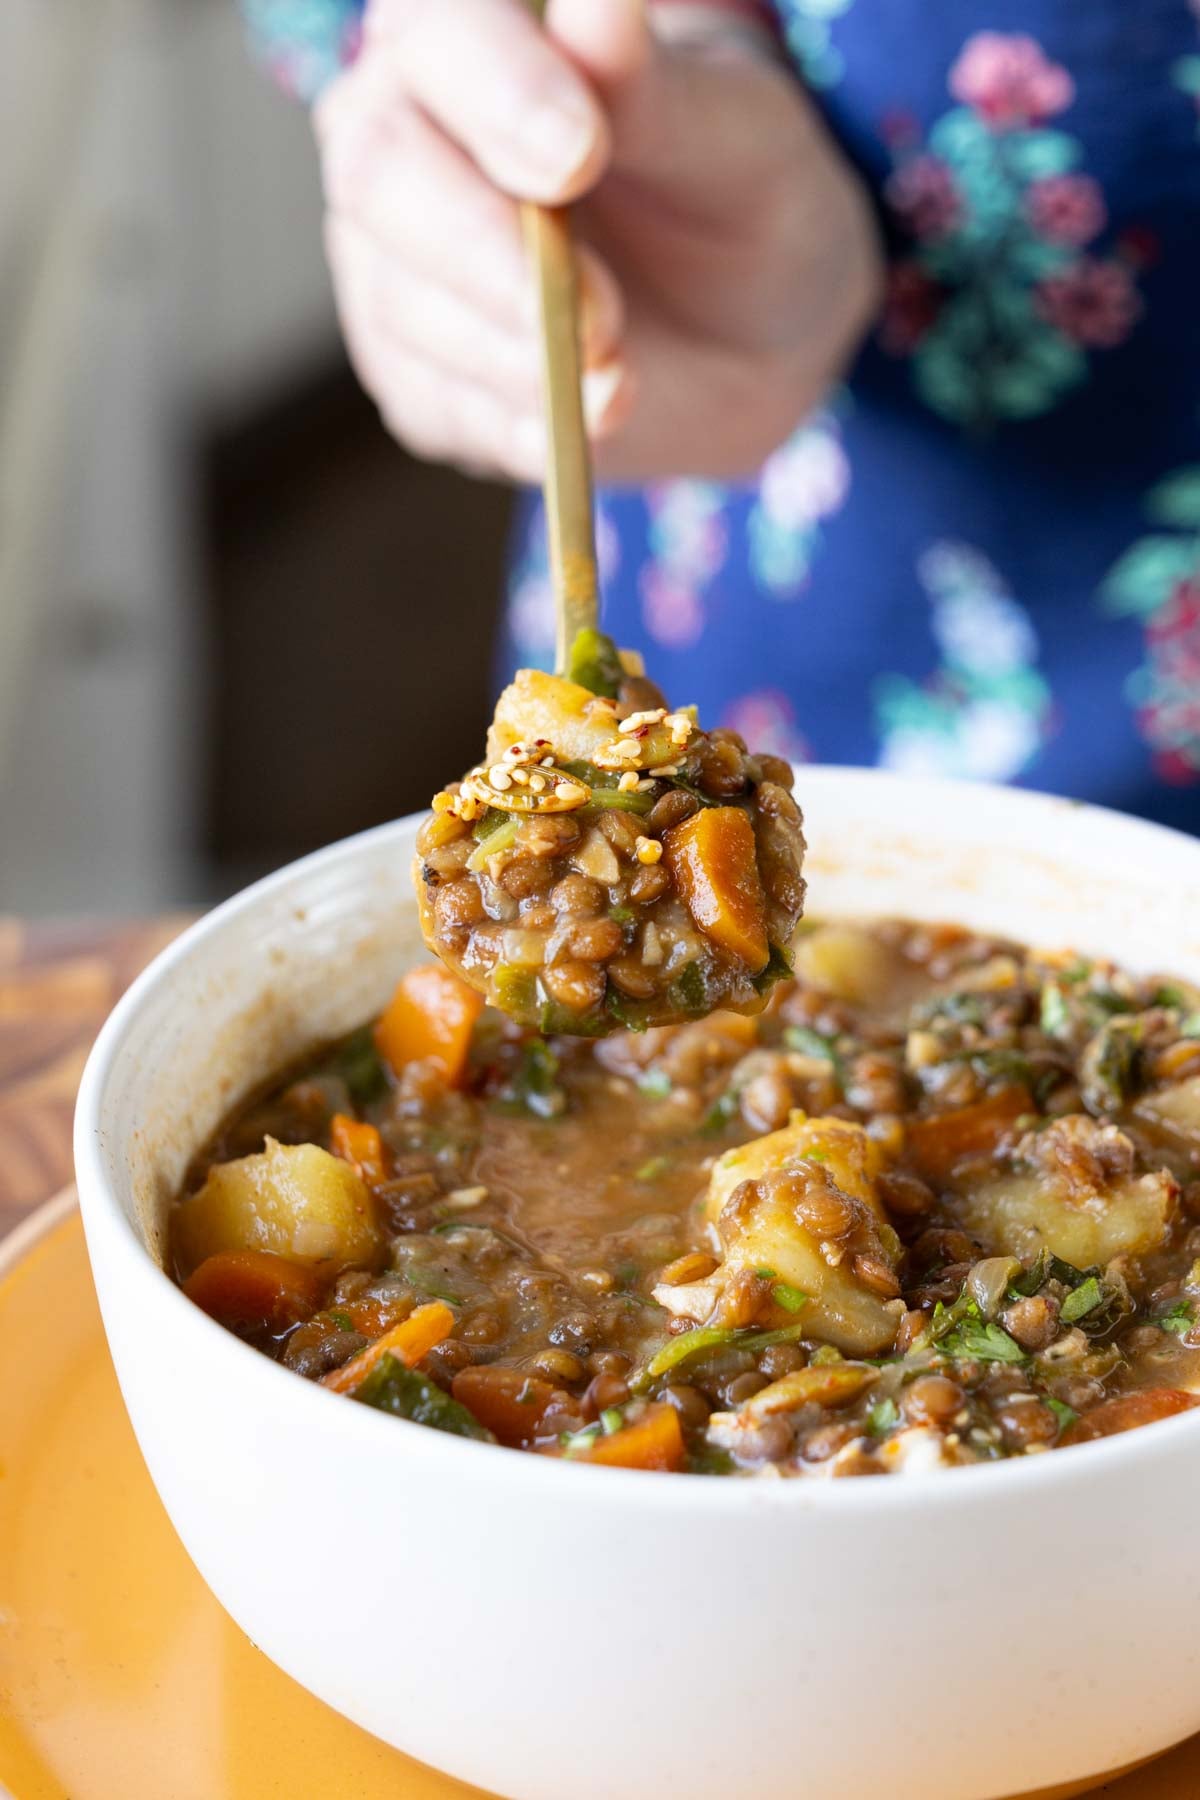
I’ve made plenty of lentil soups, but this lentil potato soup is the one I keep coming back to. It always wins on flavor and nutrition, and I’ll tell you the simple techniques that make it unbelievably flavorful every time. Each serve packs 20g Protein 14g Fiber 8mg Iron (gluten-free, soy-free, nut-free)
This pot of lentil potato soup, including the toasted seed topping, has 75+ grams of protein, 56 grams of fiber, 24 milligrams of iron(8 per serve is 44% dv), about 700 milligrams of magnesium, 12 milligrams of zinc, plenty of omega fats, and lots of vitamins A and C, along with calcium.
This lentil soup has so much flavor from the way we build up the flavor profile and spices. It is hearty with plenty of veggies and kale, and then we level it up with a toasty seed topping that not only adds amazing texture but also boosts the nutrient profile of the soup.
The lentils bring protein, fiber, iron, and folate. Kale adds vitamins K, C, and A, along with calcium. Pumpkin seeds, hemp seeds, and sesame seeds bring magnesium, zinc, calcium, omegas, and even more protein. The potatoes add vitamin B6 and potassium, while the carrots contribute beta-carotene. This lentil soup is truly a powerhouse of nutrients.
To level up this lentil potato soup, 1. we first toast the garlic in the oil. Toasting the garlic releases its flavor into the oil, and then we add the onion. The onion stops the garlic from continuing to cook, so you get perfectly golden garlic without burning it. Next, we toast the tomato paste with the onion. This caramelizes the tomato paste and builds even more umami into the soup.
2. The flavors: we build layers of flavor with herbs and spices. I use oregano, but basil or thyme work just as well.
Then, I make a quick harissa-style spice blend with ground coriander, cumin, onion powder, and smoked paprika. You can also use a prepared harissa blend, sumac, shawarma spice blend, baharat, curry powder, or Cajun seasoning. All of these work wonderfully here. I also add black pepper to deepen the flavor and add a gentle heat.
These layers of herbs and spices create an incredibly flavorful broth for the lentils and potatoes to cook in.
3. The potatoes are added midway through cooking, so they become perfectly tender while still holding their shape. They soak up all of the delicious broth without falling apart. If you prefer a thicker soup, you can add the potatoes at the beginning, so they break down into the broth.
Toward the end of cooking, we stir in plenty of kale to make the soup even more nutrient-dense.
4. We make a quick toasted seed topping. This adds to much texture and flavor, it’s surprising and incredible! We use pumpkin seeds, hemp seeds, and sesame seeds. The seeds are toasted with lemon zest, which adds a bright, zesty flavor that pairs beautifully with their nutty richness. We finish the topping with Aleppo pepper flakes for a smoky, gentle heat. If you don’t have all three kinds of seeds, use one or two instead, but definitely make the topping!
Why You’ll Love Lentil Potato Soup
nutrient-packed pot of soup with tons of amazing flavor
easy to make with simple ingredients
versatile! Use different spice blends and additions to change the flavor profile to preference.
crunchy seed topping adds even more flavor, an incredible texture and nutrient boost
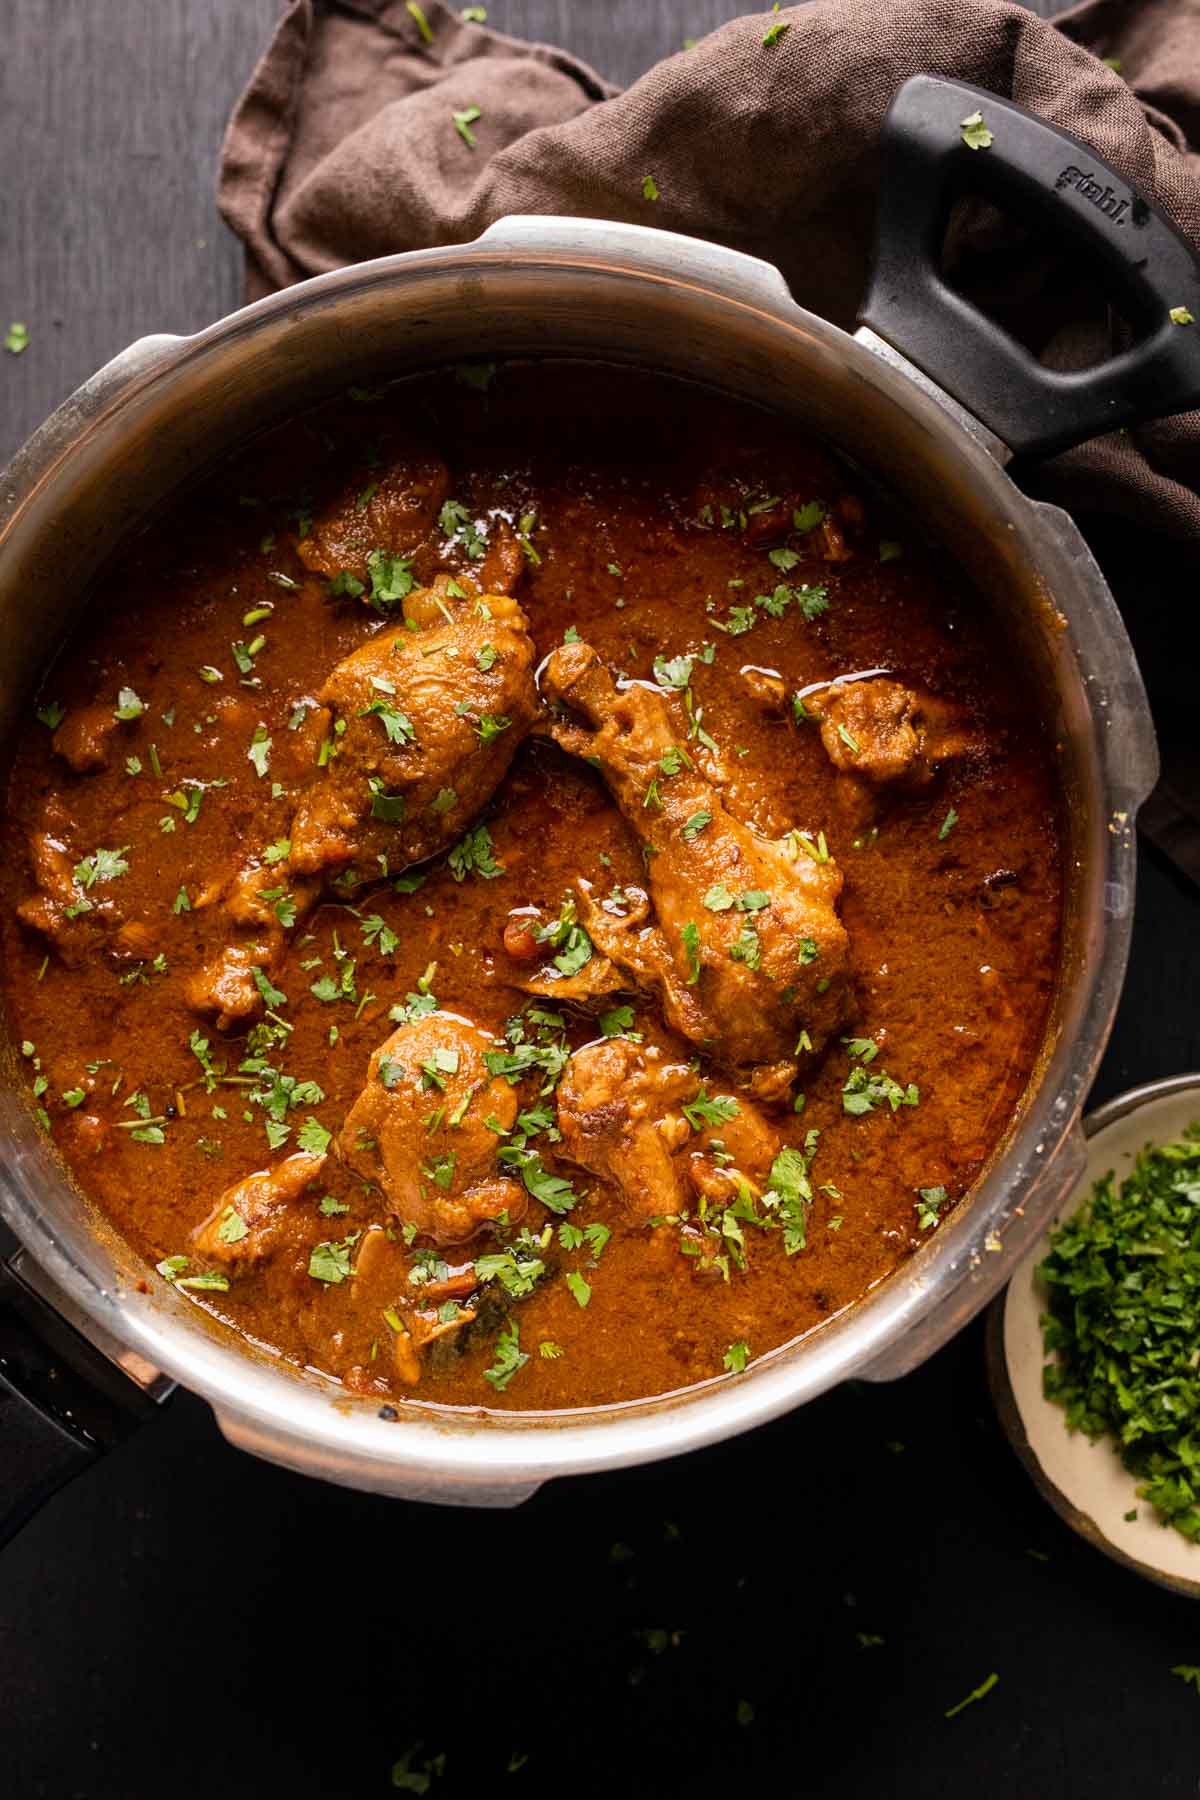
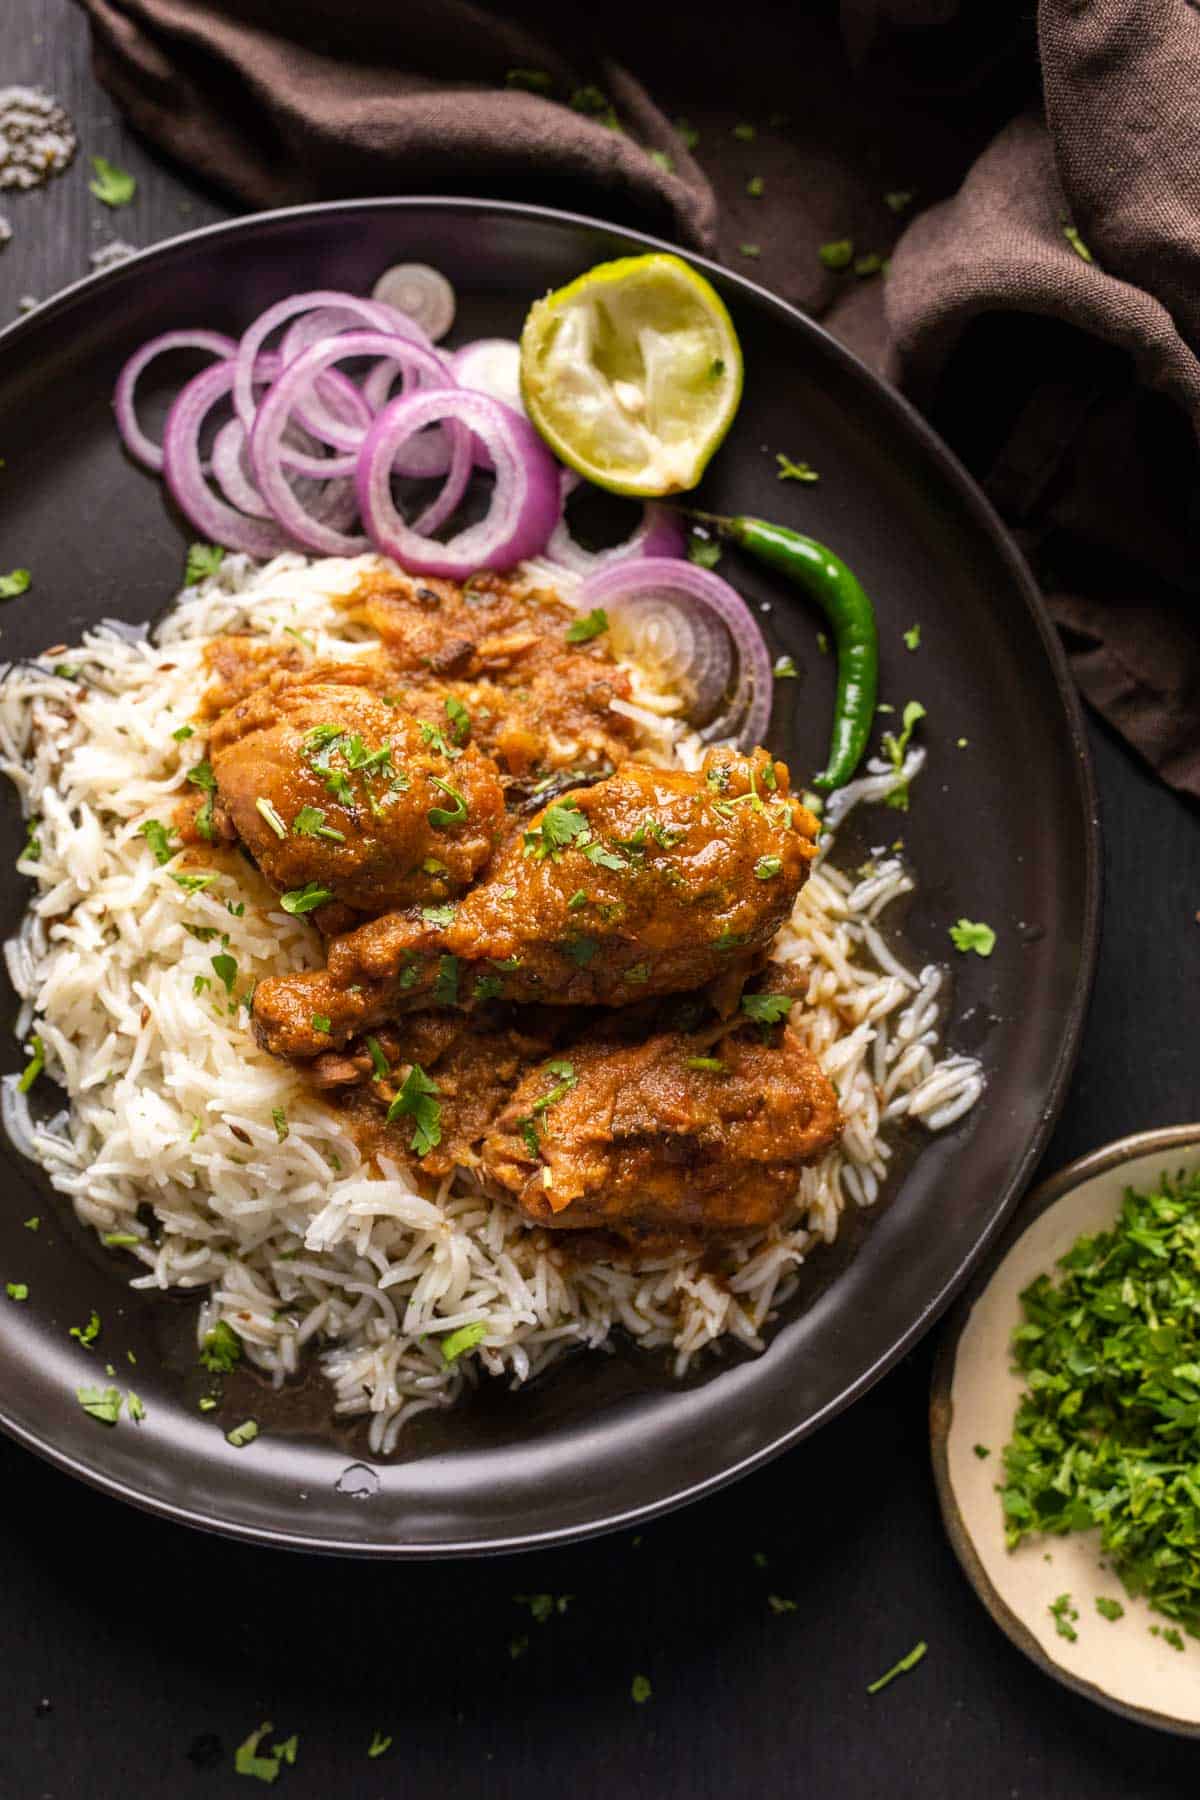
This Dhaba Style Chicken Curry stands for every road trip we’ve had with our families. Same bold flavours, hot, fragrant, and ready in under 45 minutes. Learn how to make it in a traditional pressure cooker, instant pot, and on the stovetop.
I think I’ve finally nailed it. This Dhaba Style Chicken Curry is SO good. Its legit, as close as it gets to eating it in a dhaba. Spicy, fragrant with spices, big, bold flavours and really juicy pieces of chicken.
Dhabas, for the uninitiated, are roadside restaurants that you’ll find along the highway. They’re road trip essentials and are scattered all over the country and really well-known for their bold, rustic flavors and ambience. Growing up, the highlight of any road trip was a stopover at a dhaba for steaming hot, spicy dhaba style chicken curry, dal fry or dal makhani and tandoori rotis fresh from the oven to mop it all up. These soul satisfying meals will always be etched on to my heart!
Unlike my other recipes, this one’s slightly time consuming because masala is ground and cooked till it’s color changes. This is characteristic of most Indian curries, and the slow cooking process or bhuno is what lends dishes a unique flavor.
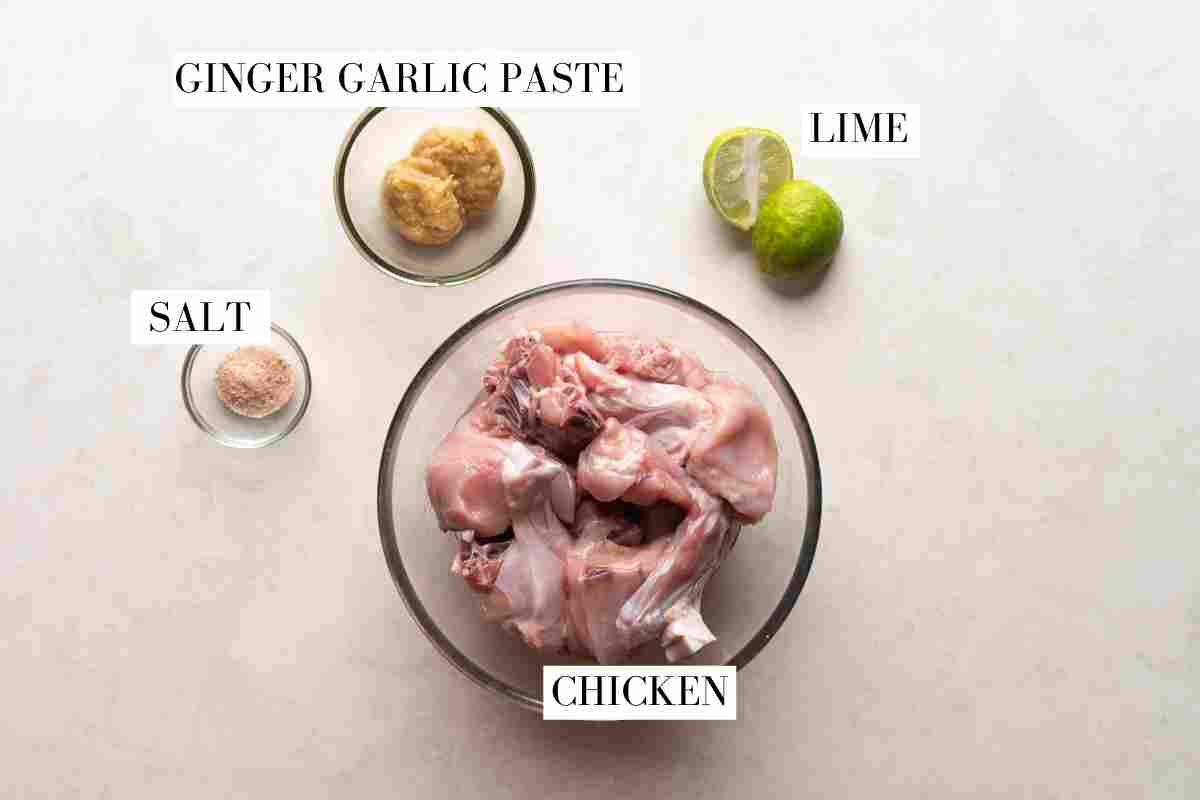
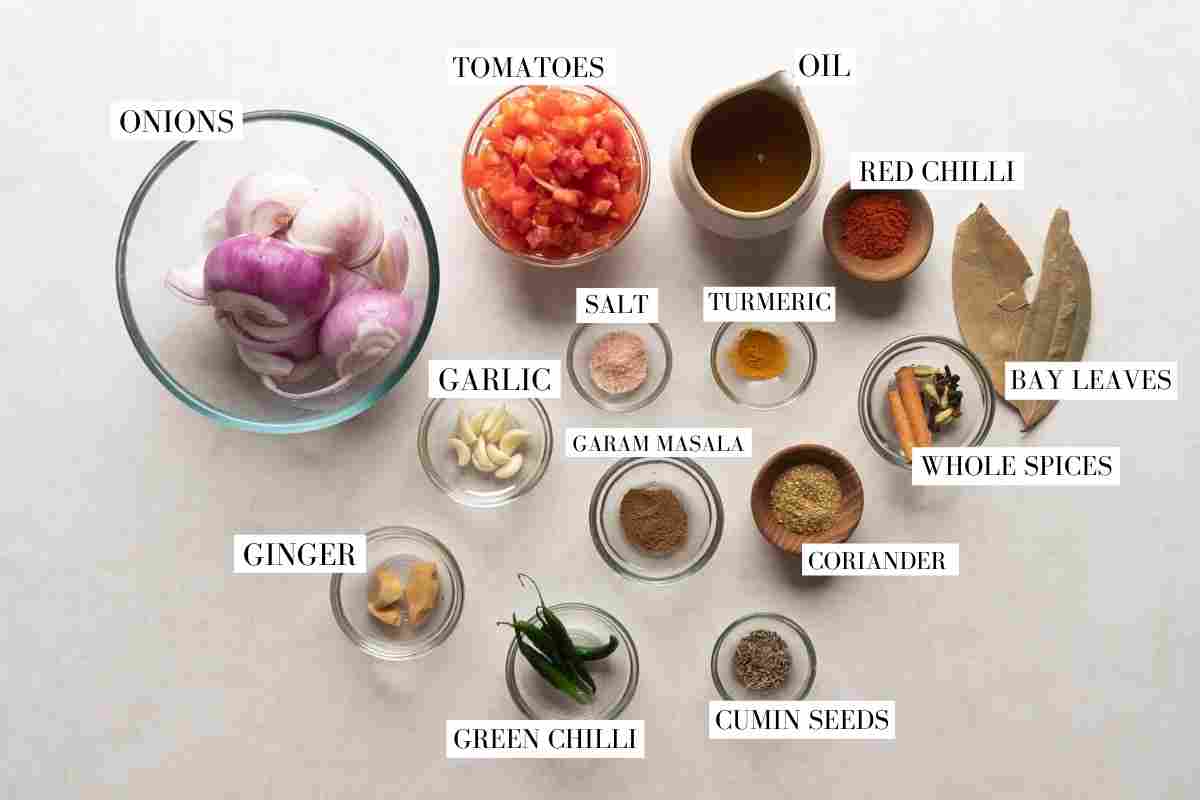
Here are the main ingredients you’ll need for this recipe:
Chicken: Bone in chicken cut into 2 inch pieces. Most Indian curries use the entire bird (thighs, breast, drumsticks)
Ginger Garlic Paste: Fresh ginger and garlic in equal parts ground to a paste with a little water. Use store bought in a pinch but fresh adds more flavour
Lime Juice: Acid helps tenderise the meat
Mustard Oil: Key to getting that unique dhaba flavour. It’s more pungent and adds a smokiness
Whole Spices: Cumin, cloves, cardamom, cinnamon and bayleaf. Skip if you don’t have but I recommend using them for that burst of flavour
Ginger & Garlic: Ground with onions. You can substitute it with 1.5 tbsp store bought or homemade ginger garlic paste
Onions: Form the main base of the gravy and add flavour, density and thickness
Green Chillies: Add heat and flavour. Use serrano peppers if you don’t have Indian green chillies available
Ground Spices: Red Chilli Powder, Turmeric Powder, Coriander Powder and Garam Masala. I highly recommend using homemade garam masala. Add it towards the middle or end of the cooking process to retain its aroma and flavour
Tempering: We use ghee, ginger, and green chillies to add an additional layer of flavor to finish off the curry. Don’t skip this step!
Why is this Chicken Curry recipe so unique
We were asking this question ourselves while trying to replicate that dhaba like flavour – How is it that common dishes taste extra unique when they come from a dhaba?
Here’s what we found: Dhabas use more oil, ghee and butter to add richness and to cook the food faster, there’s a natural smoky flavour because all the cooking is done on a really high flame or using firewood. They liberally use freshly ground spices wherever possible and finally, they end the dish with a sizzling tadka/tempering!
We’ve taken all this information and compiled it into one beautiful chicken curry.
How to make Chicken Curry
Check out the simple steps that go into making this beautiful curry
Marinate
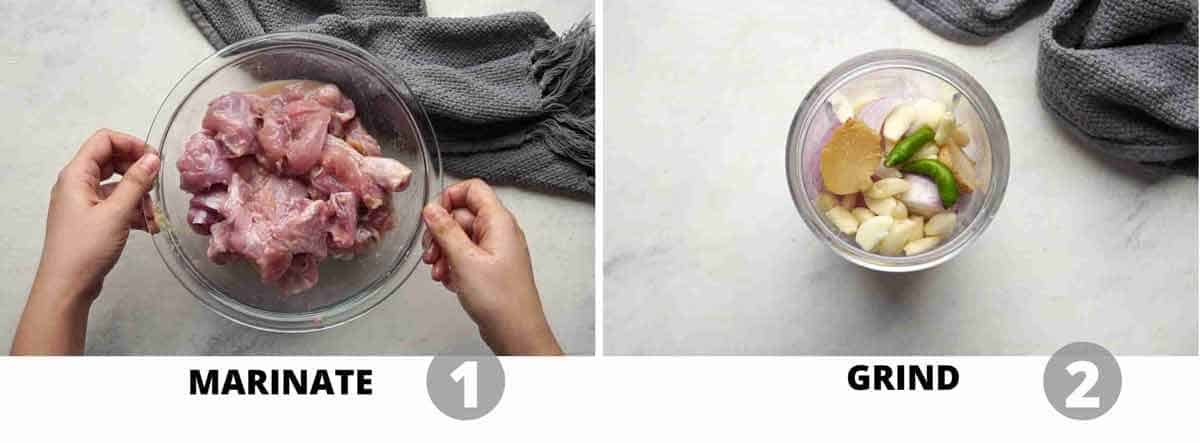
1. Marinate the chicken in ginger garlic paste, lime juice and salt. This adds flavour from within and the acid helps tenderise the meat
2. Add onions, ginger, garlic and green chillies to a chopper and pulse to get a coarse mix.
Curry
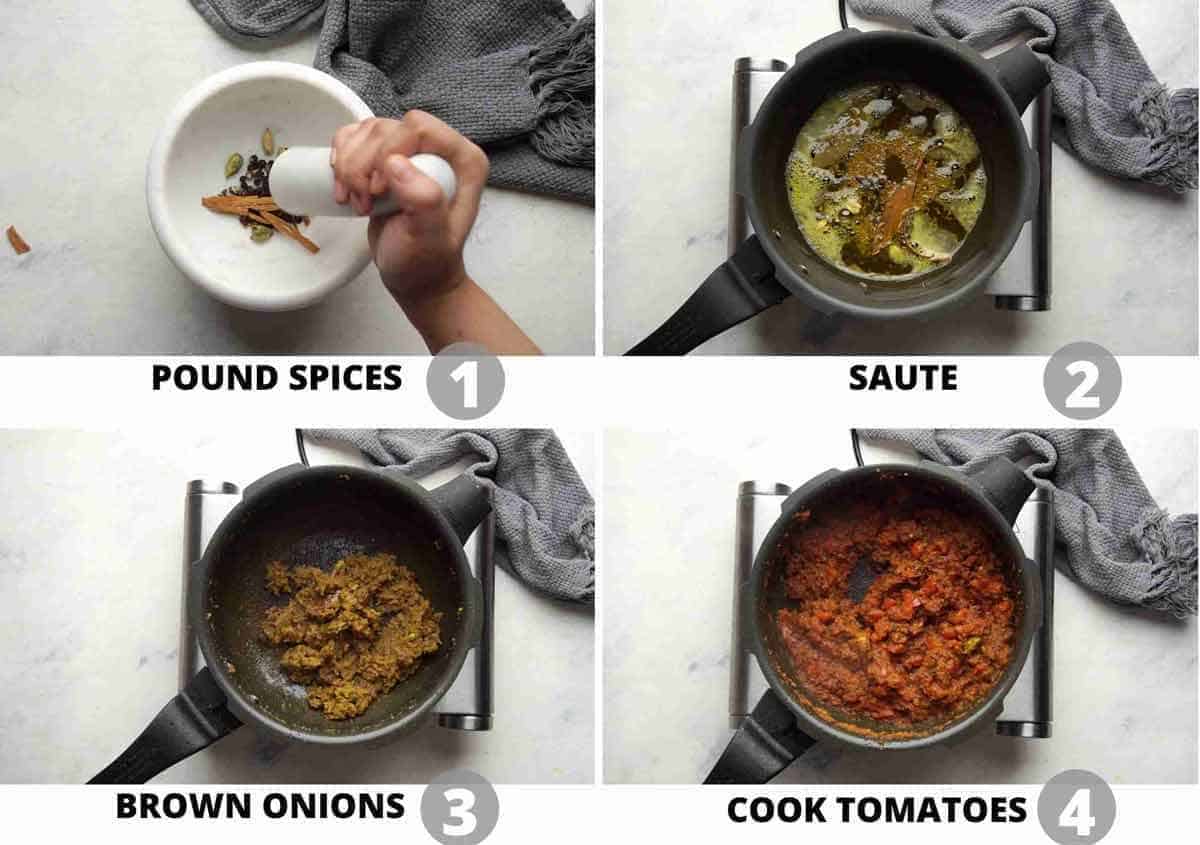
1. Pound spices roughly with a mortar pestle to break them down and release their flavour
2. Saute them in hot oil to temper them
3. Brown the onion paste in oil that’s tempered with whole spices. This is a slow cooking process where the onion paste is sauteed on a low flame till it changes colour and becomes a deep golden brown. You’ll see a thin layer of oil floating on the top and the sides – thats when you know its cooked through and isn’t raw anymore
4. Cooktomatoes and spices for a few minutes till the tomatoes become pulpy soft
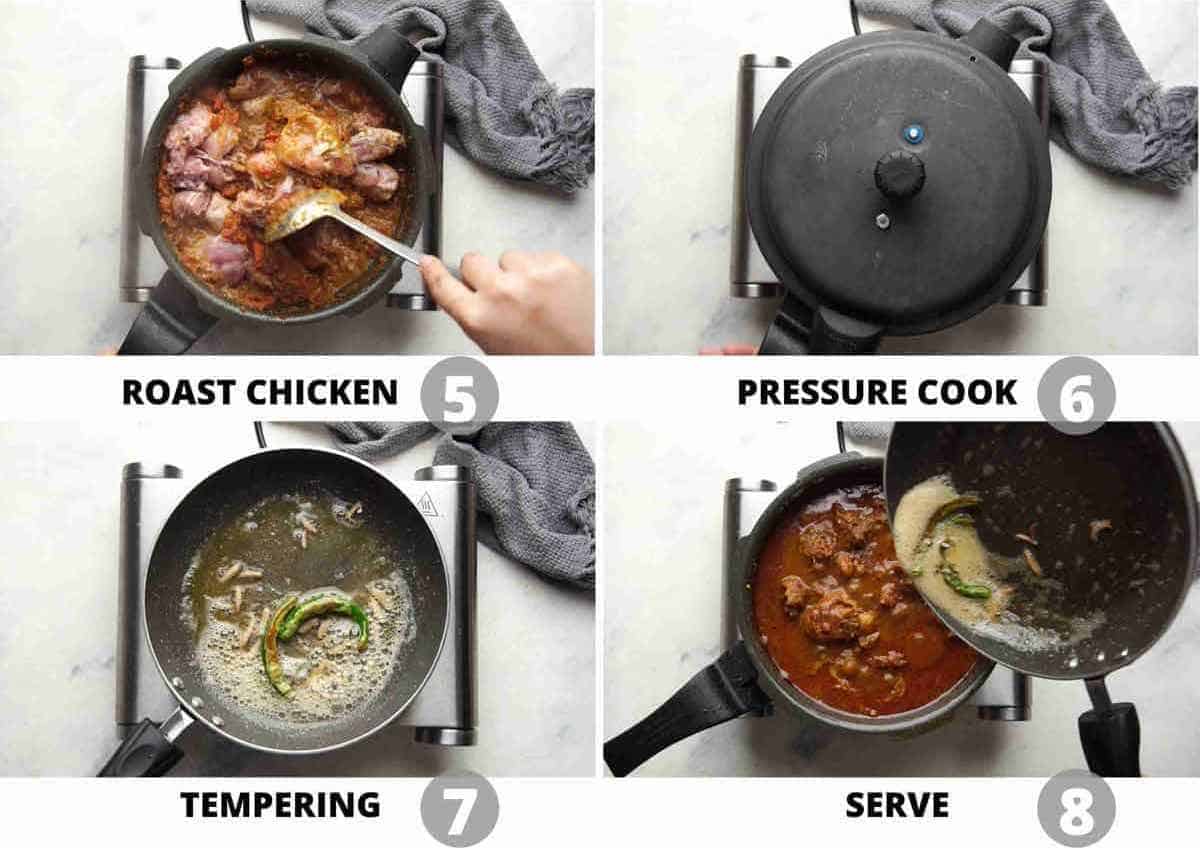
5. Roast the chicken along with garam masala in the onion tomato mixture, tossing it for a minute or two till the gravy coats all the pieces
6. Pressure Cook for 15 minutes. If using a traditional pressure cooker, start on high heat and after the first whistle, reduce the heat to low. Wait till you hear two more whistles and then turn off the flame. Let the pressure release naturally. To make instant pot chicken curry, pressure cook on high for 8 minutes
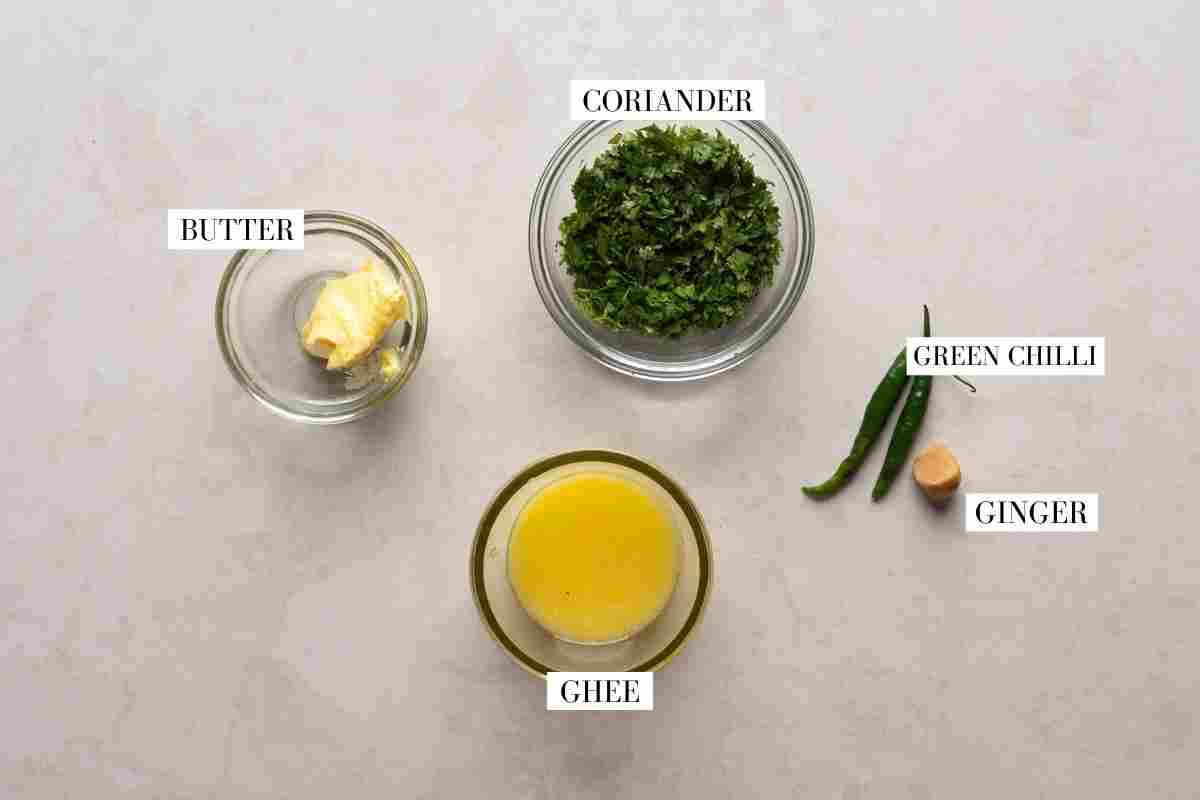
7. Temper julienned ginger and slit green chillies in butter and ghee.This adds an extra layer of flavour and gives it a nice hint of ginger
8. Serve chicken curry with tempering poured on top. Sprinkle some chopped coriander for freshness and flavour
Richa’s Top Tips
Always marinatethe chicken. The longer the better. This literally changes the game by adding flavour, seasoning, and tenderising.
Brown the onion paste. Don’t rush this process. Browning onions slowly gets rid of any raw smell and flavour. You’ll know its done when you see a little oil separating on the sides and the colour changes to a deep golden. This, in addition with the herbs, spices and tomatoes create the perfect balance.
Don’t skimp on oil. There is a fair amount of fat in this recipe in the form of oil, butter and ghee. I would not recommend skimping on oil as it will compromise the flavor.
Always use quality garam masala. I always recommend homemade garam masala. But even if using store bought, make sure its not more than a year old. Add it just before cooking the chicken so that it retains its freshness and aroma
Do not forget the tempering. It gives it that extra kick along with the richness from the ghee.
Storage Tips
If you have leftovers, let the chicken curry cool completely before transferring it to an airtight container. It will keep well in the refrigerator for 3–4 days.
If you’d like to store it for longer, you can freeze Dhaba Chicken Curry for up to 2–3 months. For convenience, portion it into freezer-safe containers so you can thaw only as much as you need.
When you’re ready to reheat, thaw the frozen curry in the refrigerator overnight and then warm it gently on the stovetop. The gravy tends to thicken as it sits, so add a splash of water while reheating if needed. Make sure the chicken is heated through before serving.
And the best part? The flavours have more time to come together as the curry sits, so leftovers can taste even better the next day. This also makes it a great make-ahead chicken curry for busy weeknights.
Serving Ideas
Wondering what to serve with Dhaba Chicken Curry? You really can’t go wrong with something that helps soak up all that delicious, spicy gravy!
If you’re craving a proper dhaba-style spread, go for tandoori roti or naan with a bowl of cool raita, sliced onions and lemon wedges on the side.
For a bigger Indian meal, add dal fryordal makhani and a simple vegetable sabzi. And don’t forget extra rotis or rice because you’ll want every last bit of that gravy!
I hope you guys enjoy this recipe as much as I do, it’s truly one of my favorites! And like all curries, this tastes even better the next day, so no need to worry about leftovers! If you love dhaba style food, check out my other favourite like Dhaba Dal Fry, Dhaba Dal Tadka, Matar Paneer, Karahi Chicken, Dal Makhani.
When you make this recipe, don’t forget to send me pictures over on my IG @my_foodstory. I love seeing your recreations!
The best dhaba style chicken curry recipe! Spicy, hot, fragrant curry made with ground spices, onions and tomatoes, and perfect for a family lunch or dinner.
Marinate the chicken pieces with ginger garlic paste, lime juice and salt. Cover and set aside while you prep everything else
Add onions, ginger, garlic and green chillies to a chopper and pulse to get a coarse mix.
Heat oil in a pressure cooker or a large heavy bottom pan. Add cumin seeds. Roughly pound all the whole spices (bay leaves, cinnamon, cardamom, peppercorns and cloves) and add to the oil.
once they start to splutter, add the onion mix. Cook the onion mix on a low flame, stirring occasionally till it is reduced to a golden brown mix and you see a thin layer of oil along the sides
Add tomatoes, salt, turmeric powder, red chili powder (if using) and coriander powder. Cook till the tomatoes start melting, and almost form a paste.
Add chicken and garam masala powder and roast for a minute or two till the chicken pieces turn pink and get coated with the masala. Add meat masala powder, 1 ¼ cups of water, mix well.
Pressure Cooker:
At this stage, if you are using a pressure cooker, place the lid and pressure cook on high till the first whistle goes off. Then reduce the flame to low and pressure cook for two more whistles and turn off the flame. If using a different kind of pressure cooker (without a whistle system), pressure cook on high for 15 minutes. Let the pressure release naturally.
Simmer for 5-10 mins on high flame, if required, to thicken the curry (chicken leaves a lot of water). I didn't need to do this.
Stovetop Method:
If you are using a heavy bottomed pan, bring the curry to a boil, reduce the heat, cover with a lid and let it cook on medium heat for 20-25 minutes. Uncover the pan, and cook for another 10-15 minutes till the curry starts to thicken. Once the curry is ready, switch off the flame.
Instant Pot Method:
If using an instant pot, place the lid and change the vent to sealing. Pressure cook on high for 8 minutes. Release pressure manually. Simmer the curry for a few minutes to achieve the desired thickness if there is too much water.
Tempering:
In another small pan, heat ghee and butter and add green chilies and ginger. Once they start to splutter, switch off the flame and mix the tadka (or tempering) into the curry. Top with coriander.
Let the curry sit for 10-15 minutes before serving. Tastes best with rotis or rice.
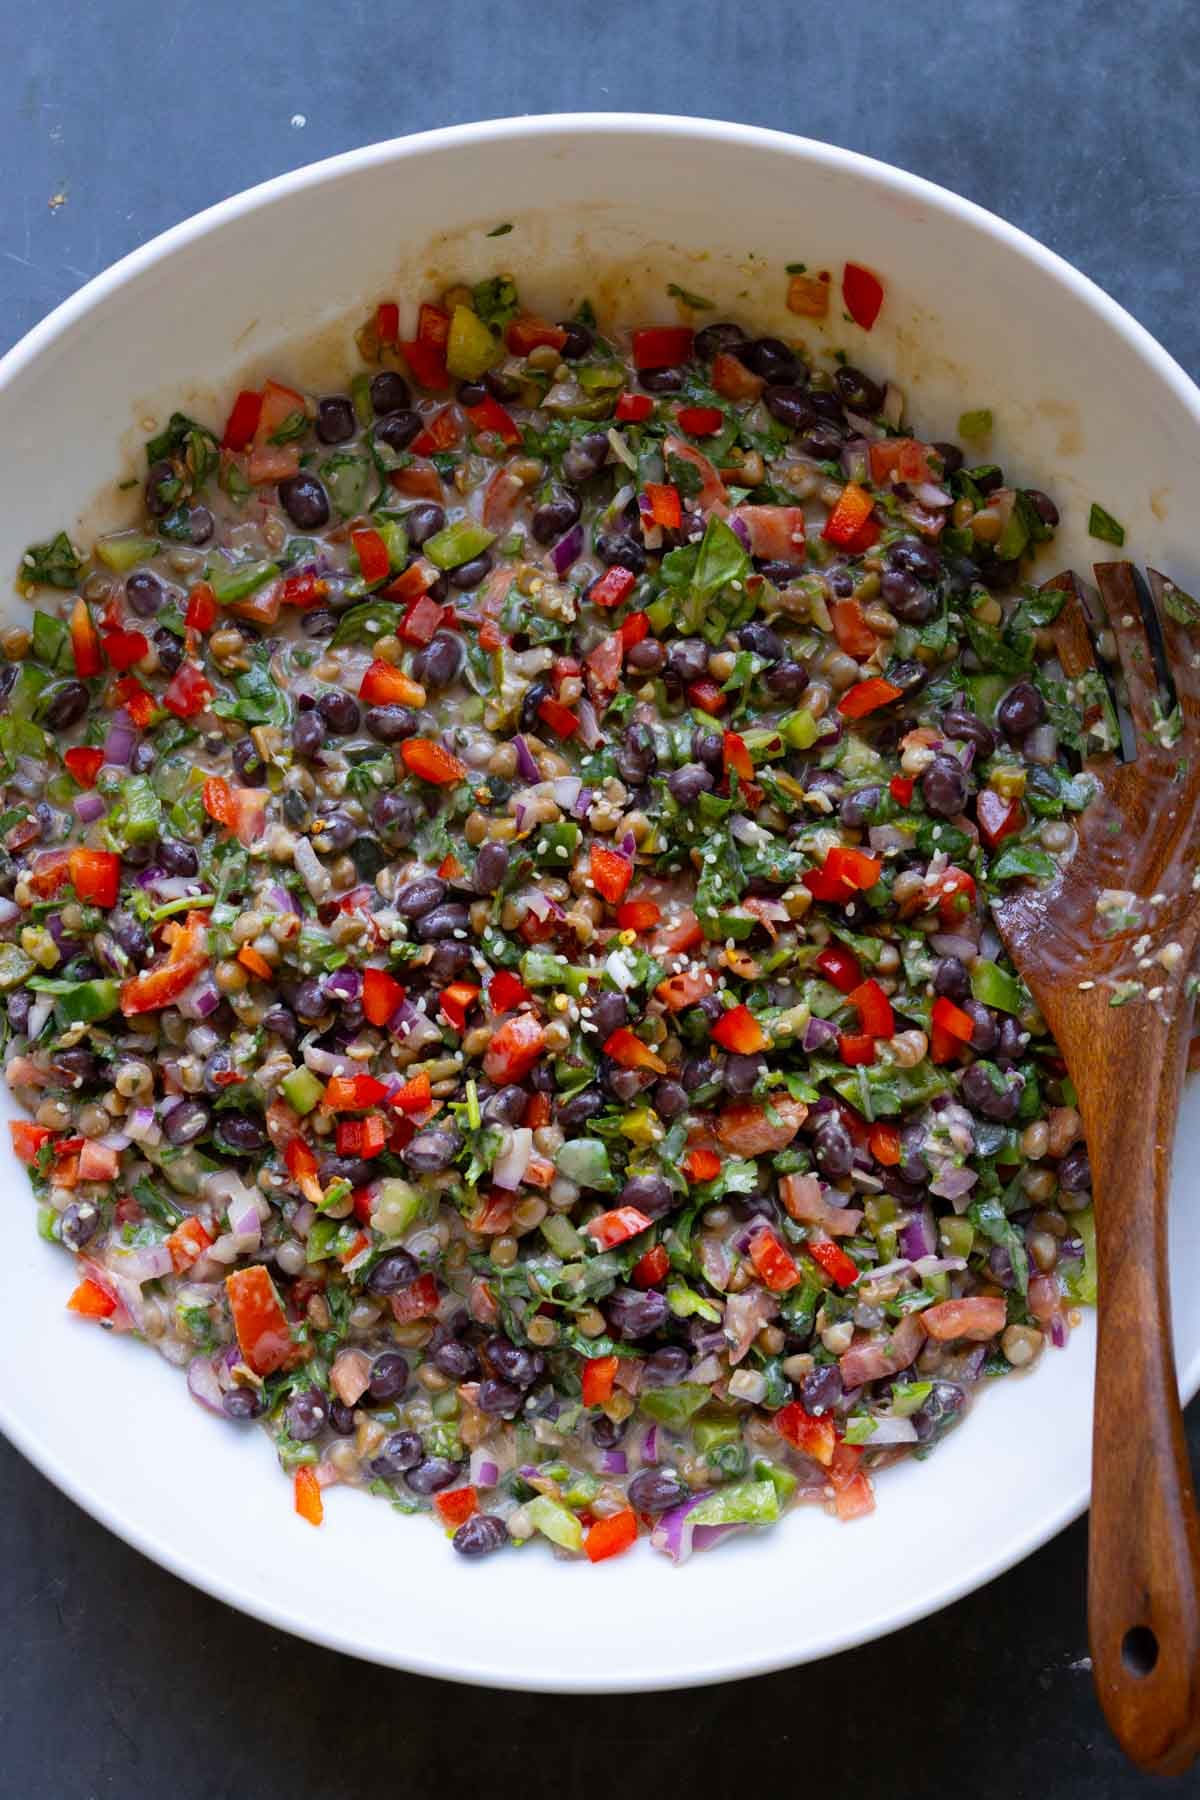
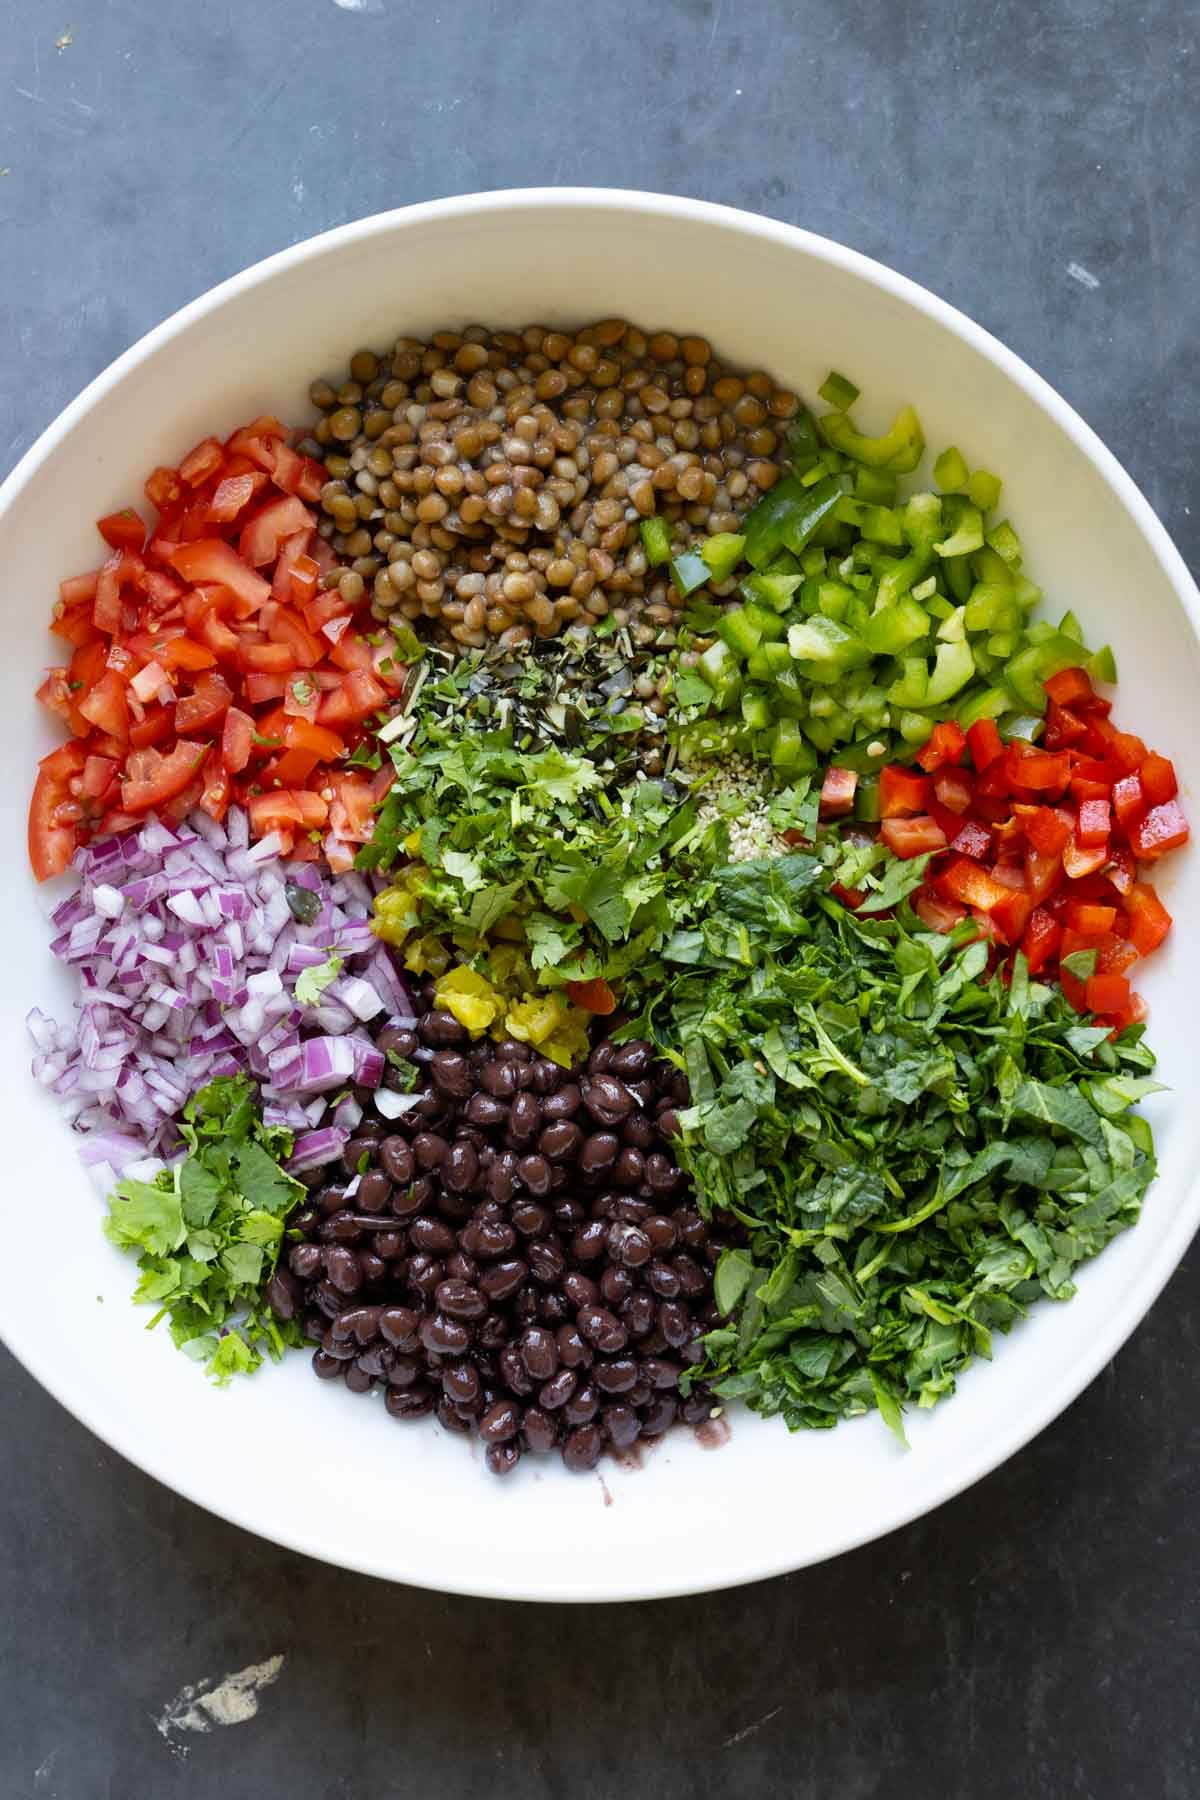
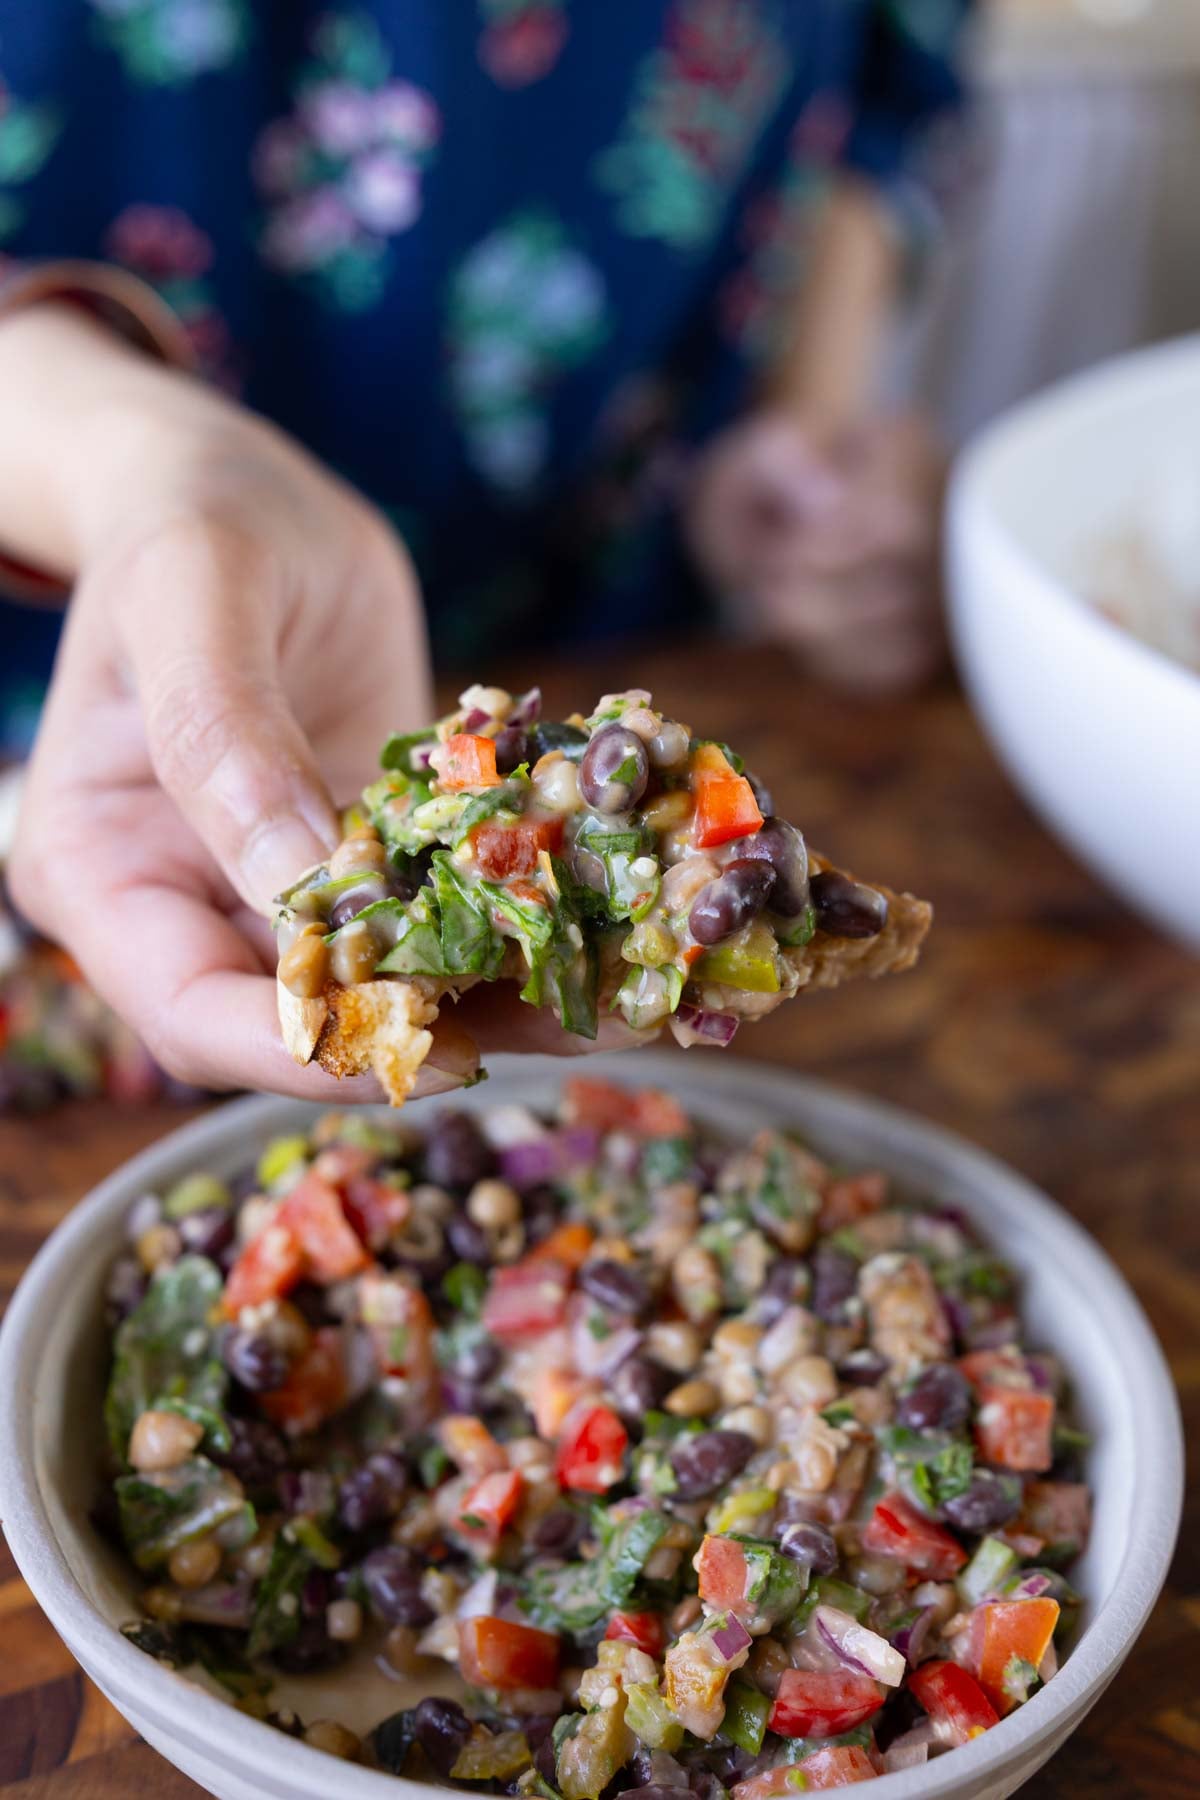
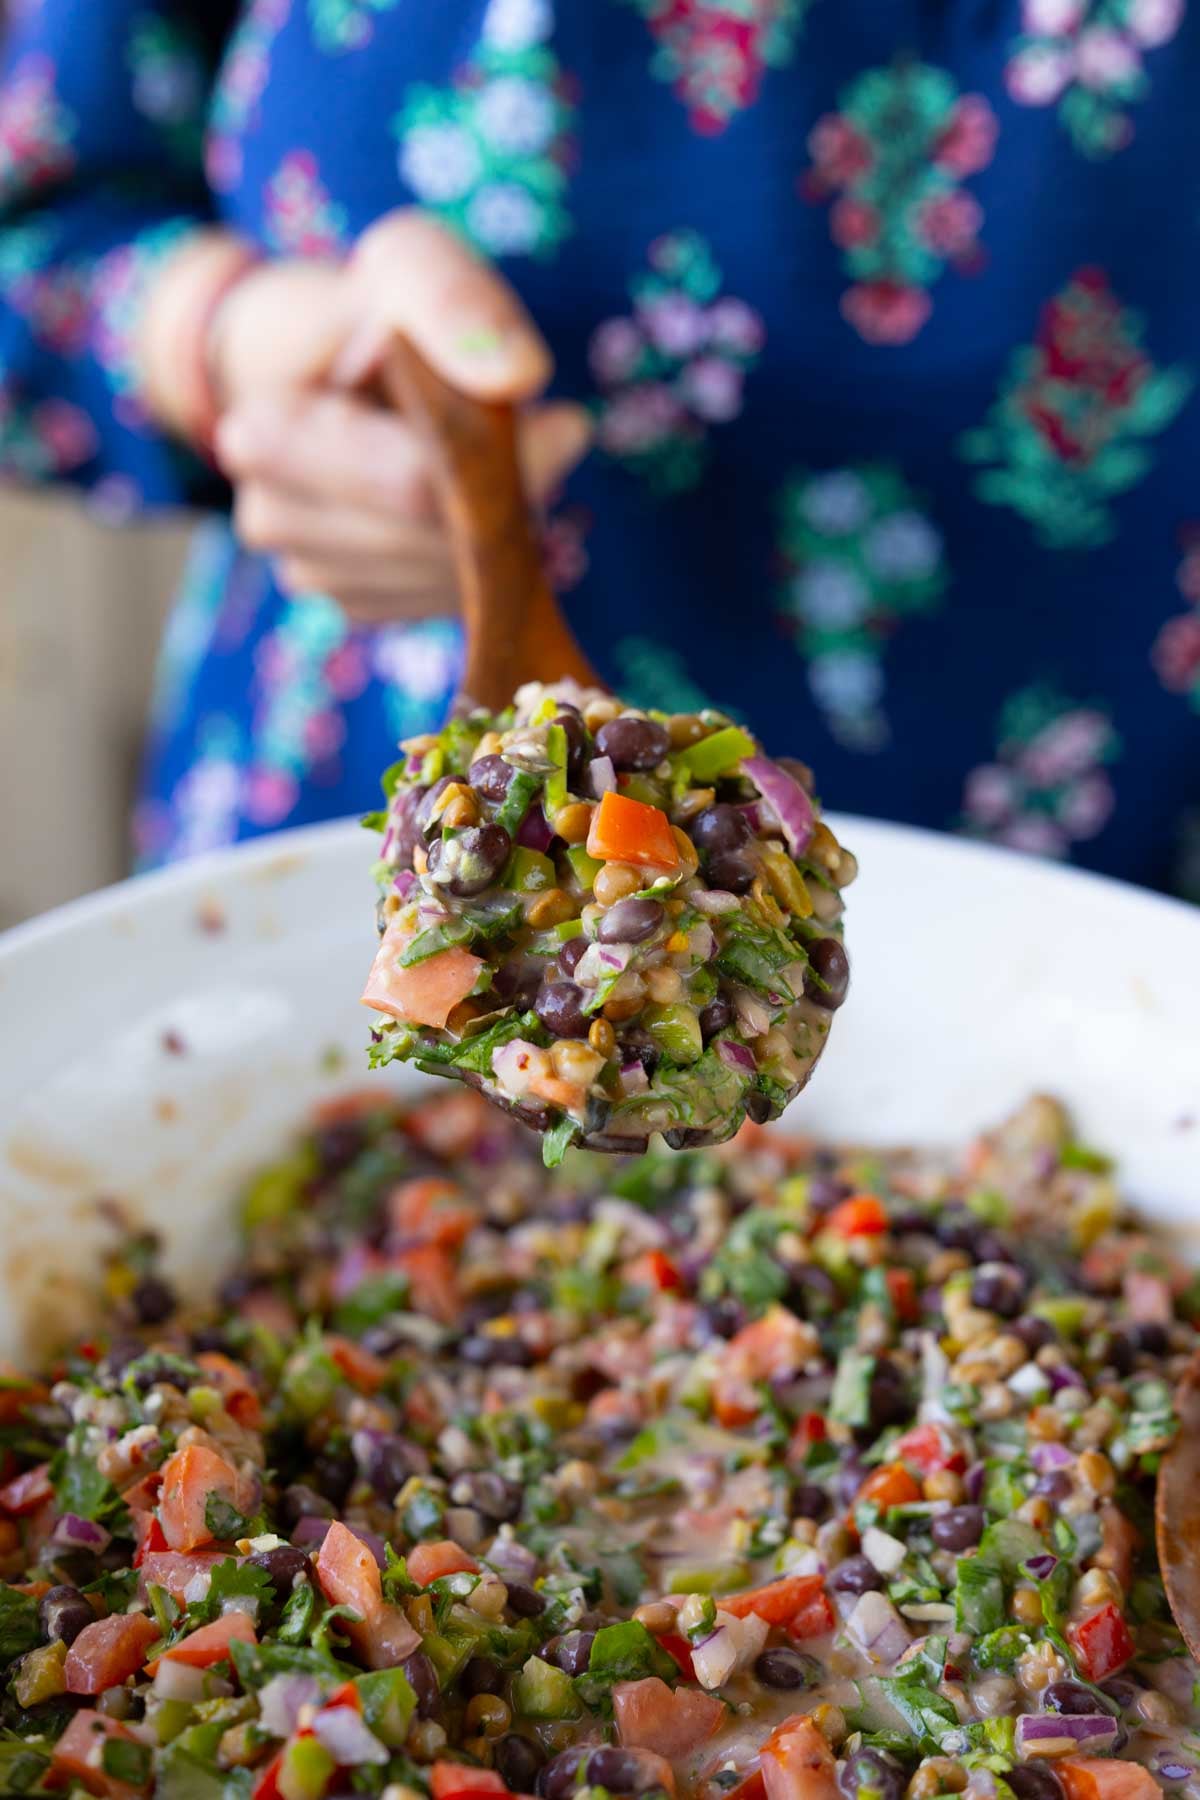
This Dense Bean Salad keeps you full for hours! Black beans, lentils, veggies, kale, seeds and a creamy, lemony dressing. High Protein, High fiber, anti-inflammatory (17 grams Protein, 14 grams fiber per serving. Gluten-free, Nut-free, option for soy-free)
This is my anti-inflammatory dense bean salad. Dense bean salads have been trending, and they are just amazing hearty meals with tons of beans and so many different combinations of flavors, textures, and veggies that you can add to them.
Beans, along with all of the vegetables and other ingredients in this salad, are a great source of fiber, protein, iron, and zinc.
The whole bowl has 65+ grams or more of protein, 50+ grams of fiber, 20+ milligrams of iron, and loads of vitamin C from the tomatoes, peppers, and lemon to help your body absorb all of that iron. There are omega-3s from the hemp seeds, along with pumpkin seeds, making this an incredibly nutrient-dense meal.
This is a great, budget-friendly, easy-to-put-together salad. There is no cooking involved. You just have to chop everything, make the dressing, toss it all together, and it’s ready. It’s also perfect for meal prep because the flavors enhance as the salad sits. The next day, it’s even more flavorful because the beans absorb all of that delicious dressing.
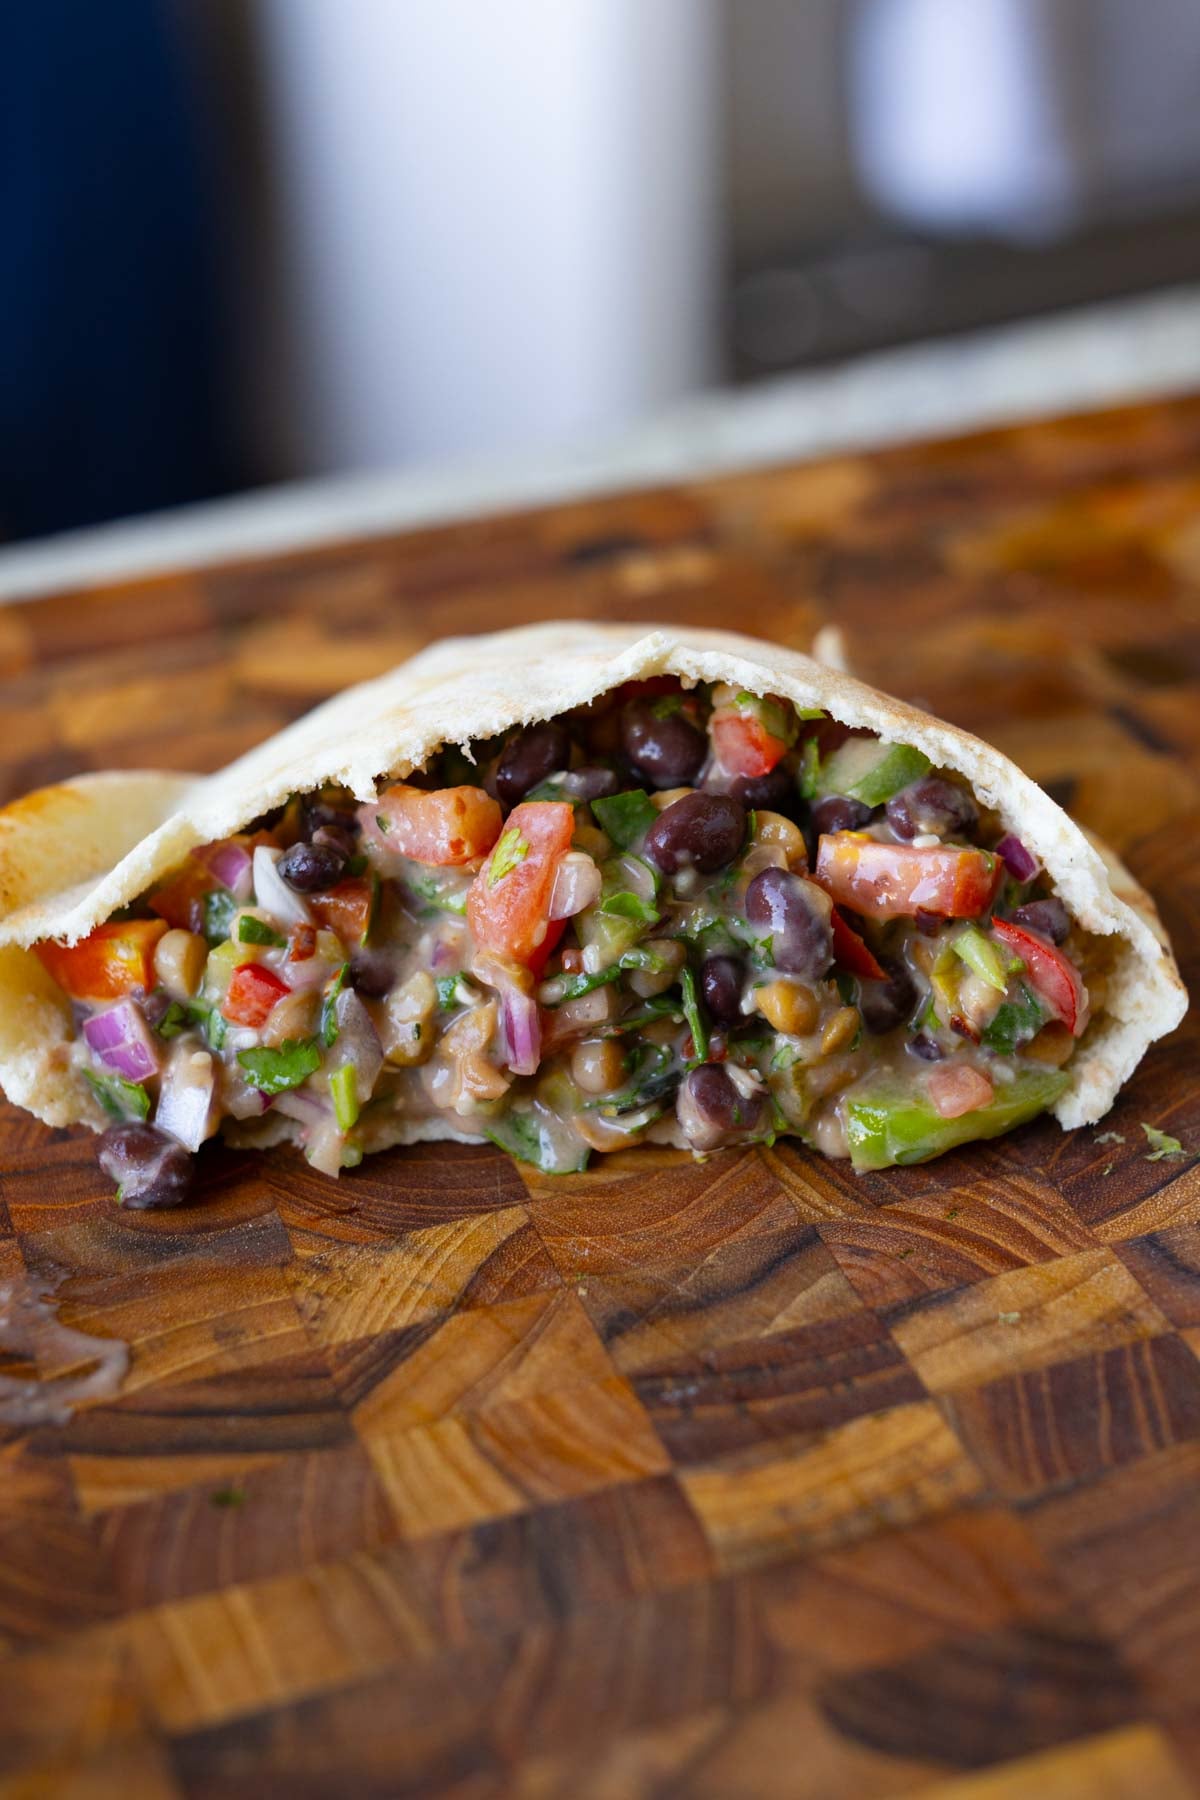
Serve this dense bean salad with tortilla chips, toasted sourdough or garlic bread, added to wraps or tacos, or served over grains, such as quinoa or farro. There are endless possibilities with this salad!
Why You’ll Love this Dense Bean Salad
easy, no-cook meal, perfect for hot weather!
packed with protein, fiber, vitamins, Antioxidants and minerals in every bowl
Anti-inflammatory ingredients
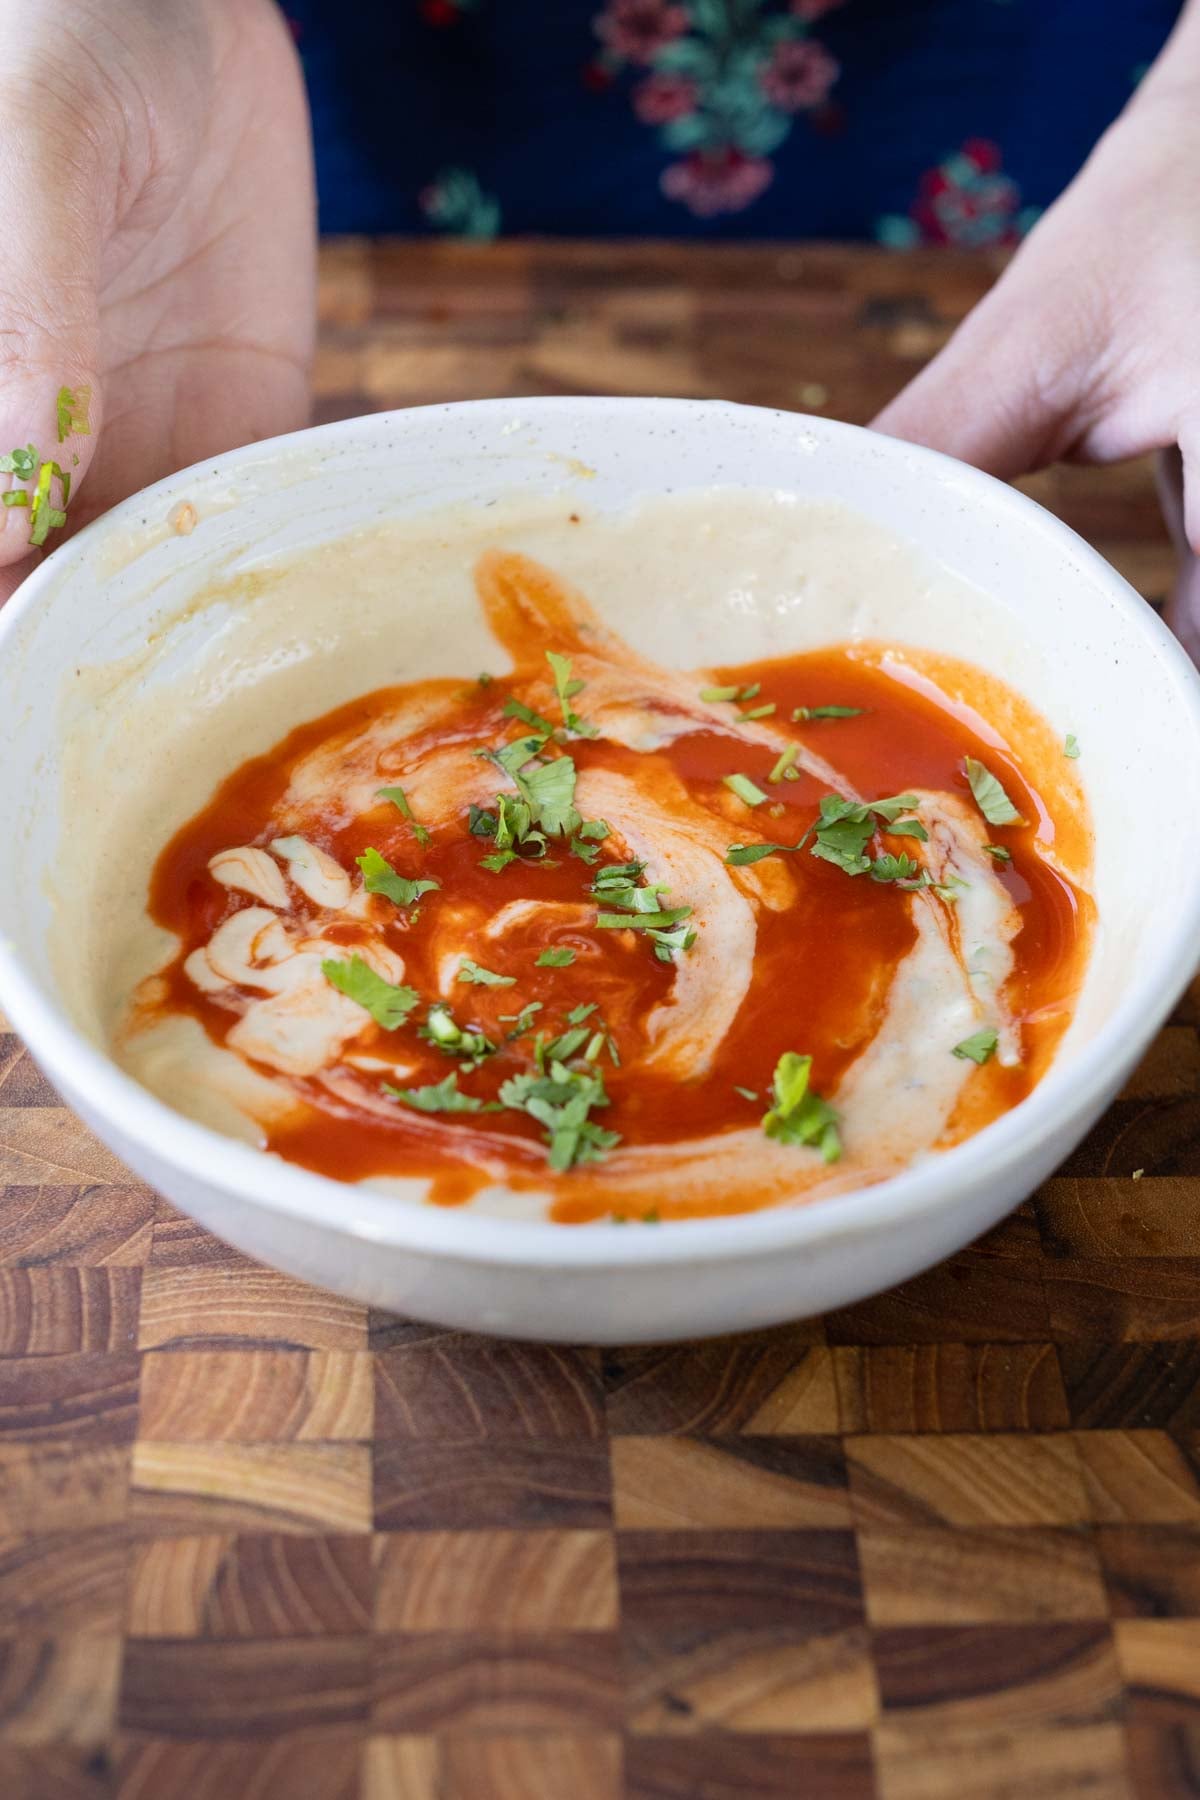
creamy lemon yogurt dressing sends the flavor profile over the top
naturally gluten-free and easy to make nut-free and soy-free
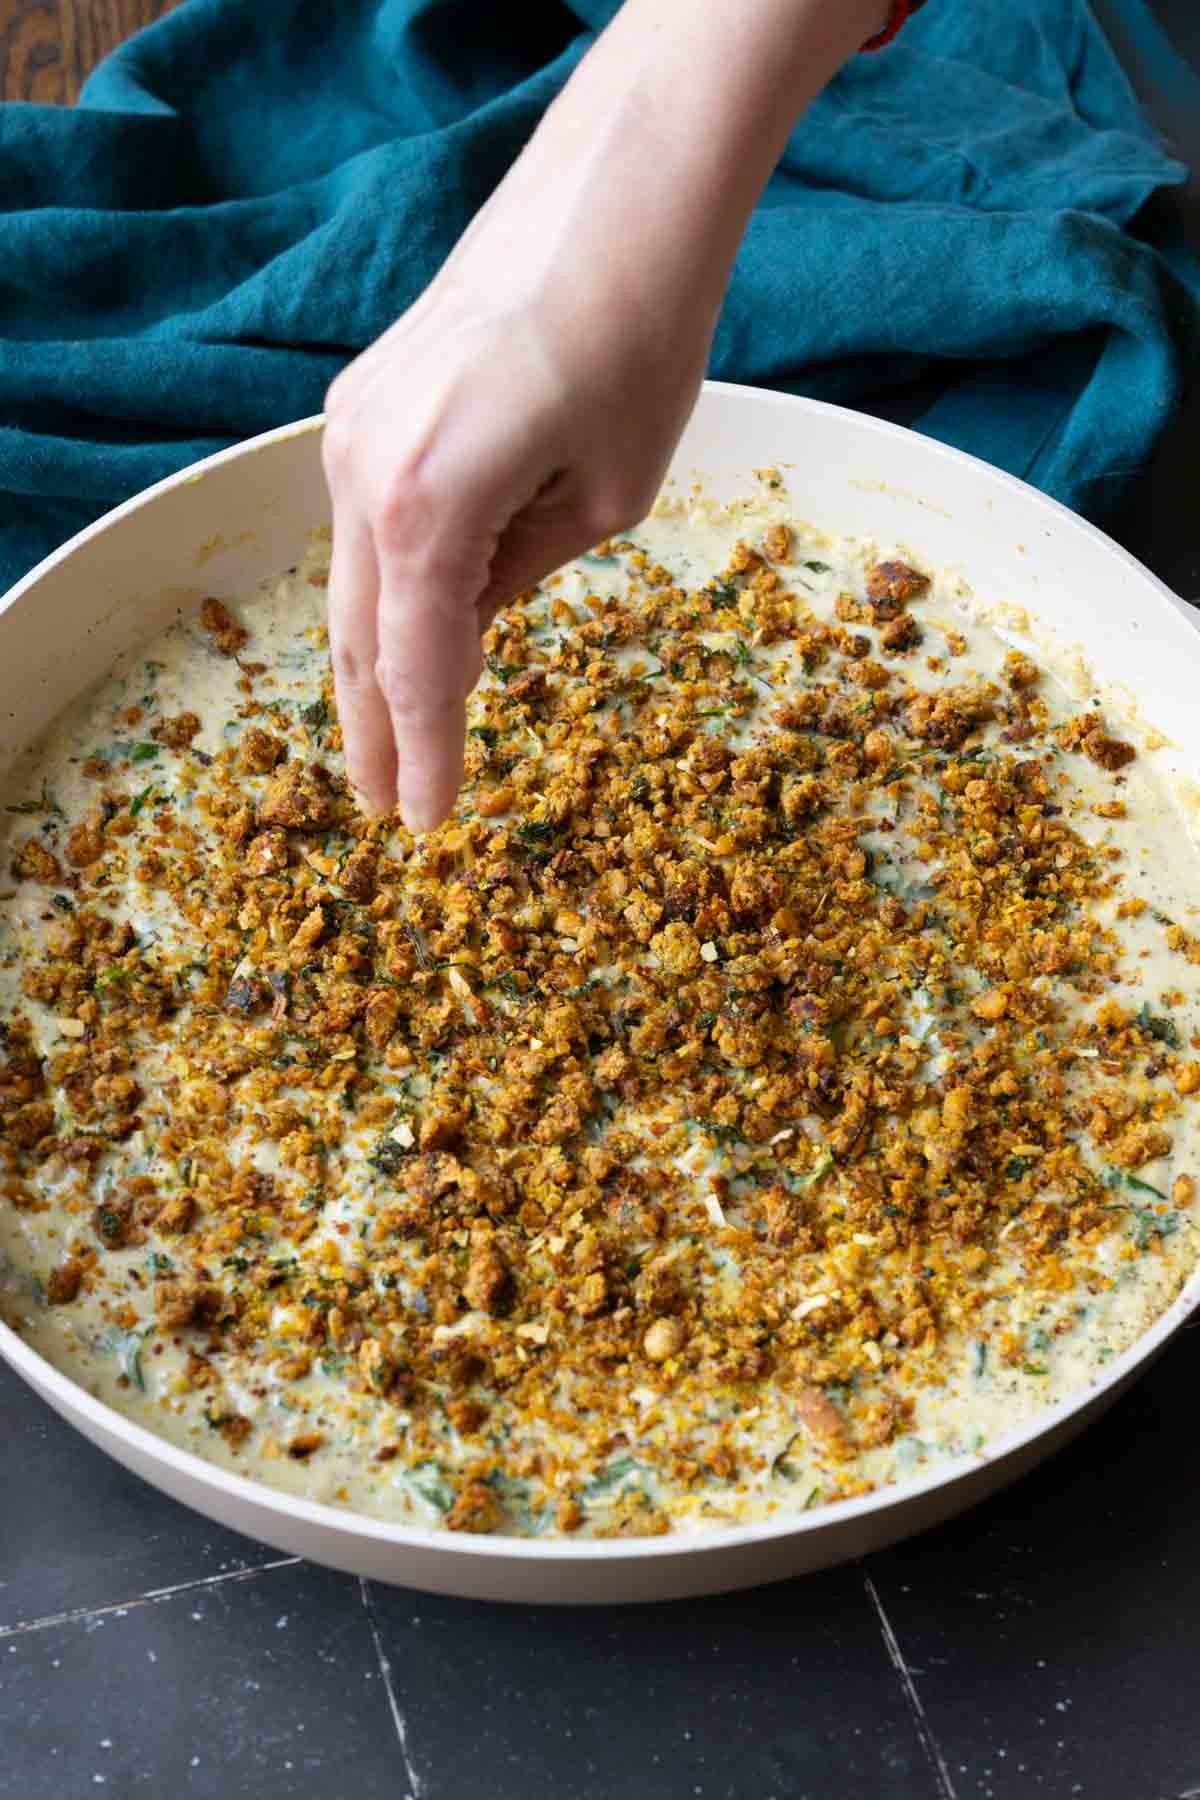
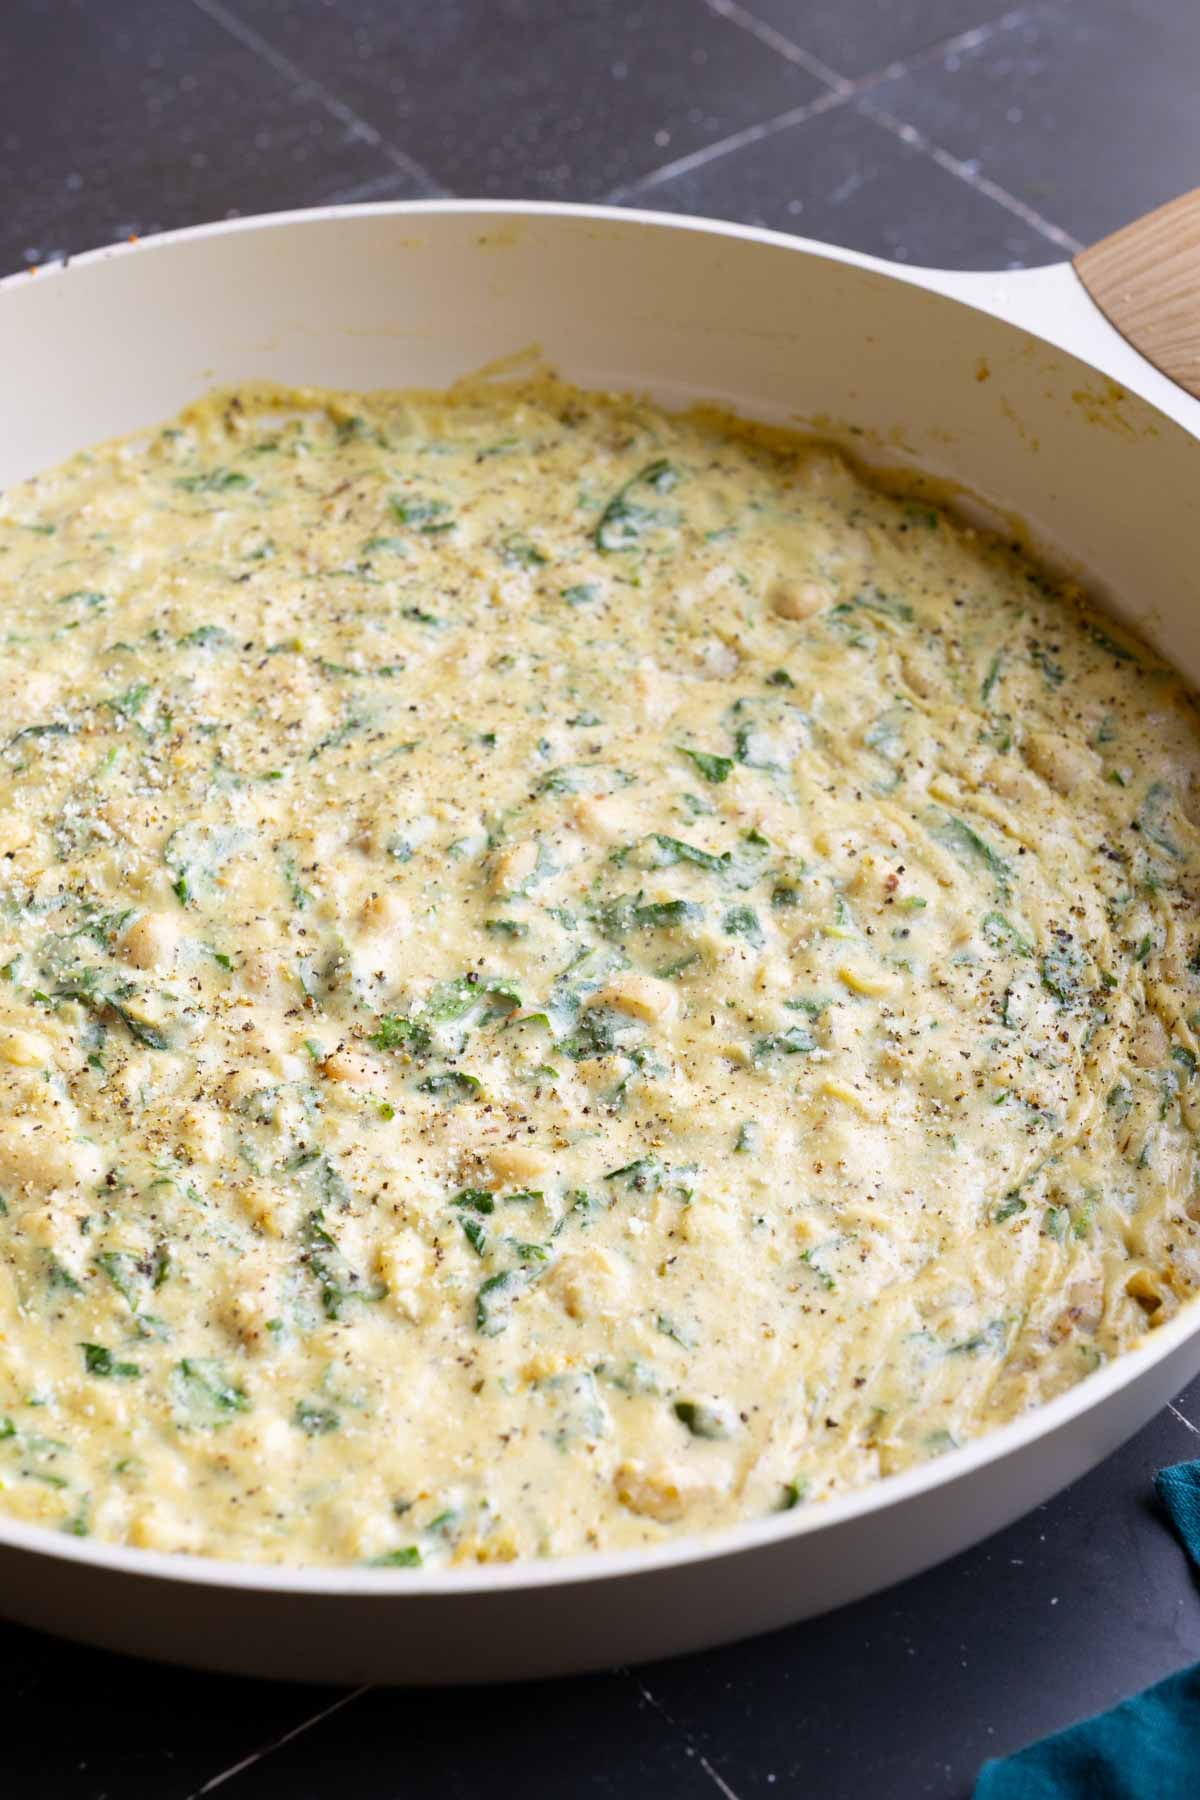
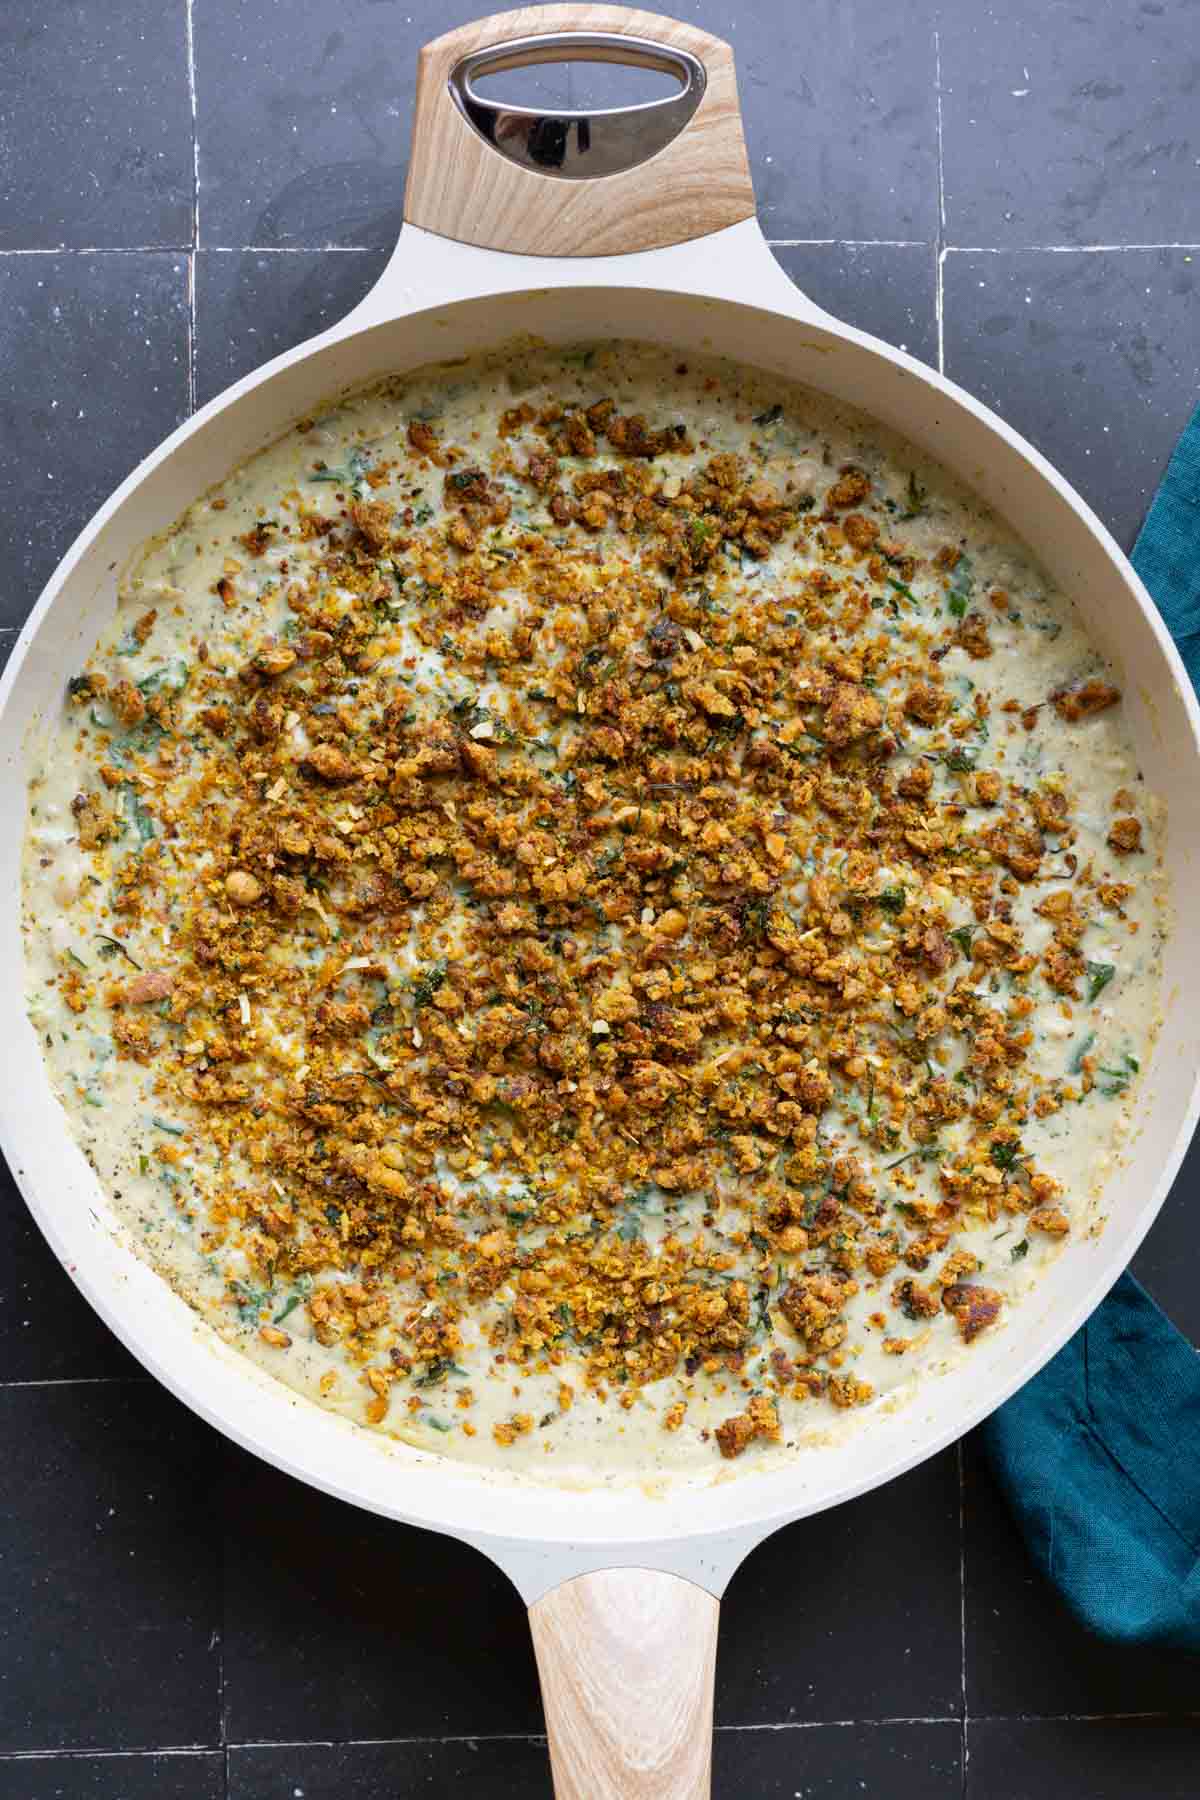
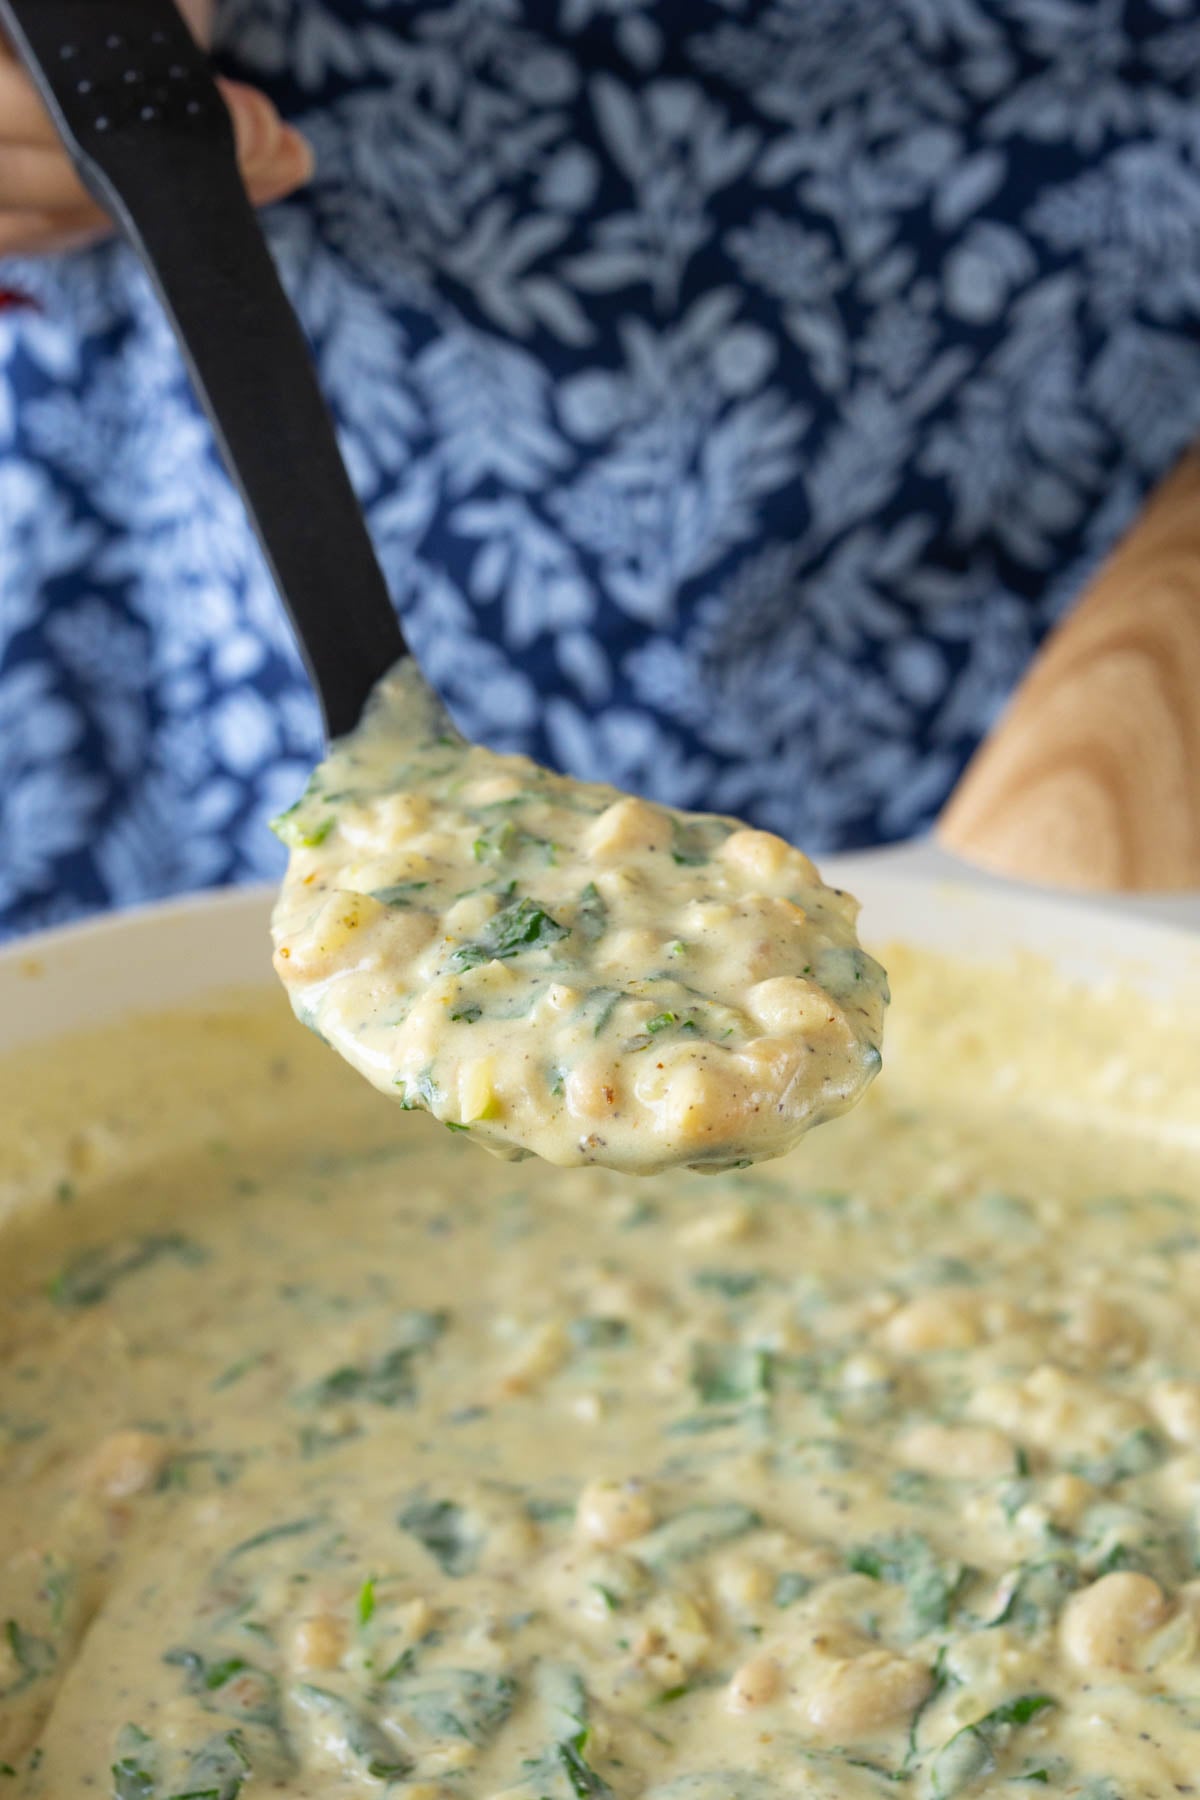
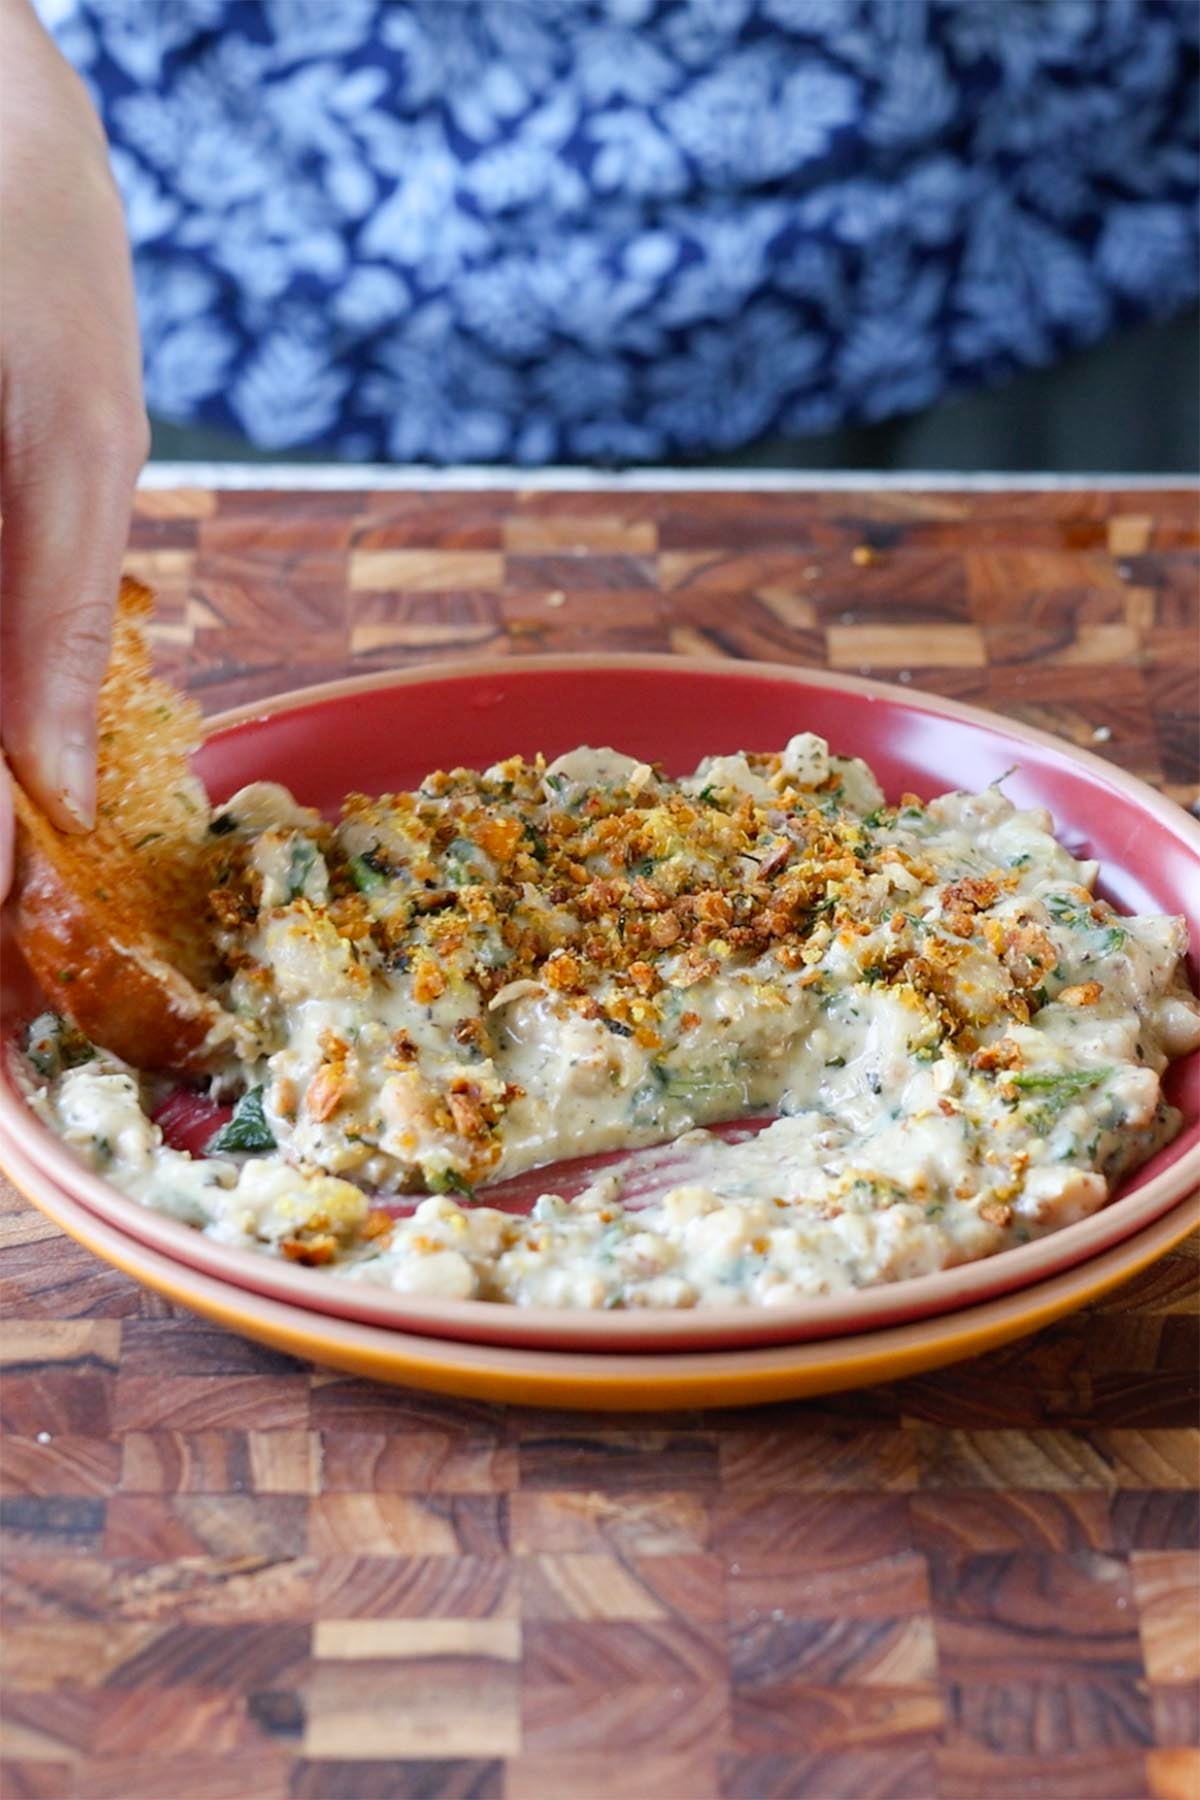
Creamy, garlicky pepper white beans with spinach, finished with an irresistible crispy chickpea crumble, is the high-protein pantry meal I make on repeat, because it doesn’t even taste like a pantry meal. (20g protein, 13g fiber, 8mg iron. Soy-free with gluten-free and nut-free options)
This creamy garlic pepper sauce with beans and kale or spinach is fantastic on its own. But then we level it up with this crispy chickpea breadcrumb topping, which adds texture, another pop of flavor, and more even protein and fiber. Think high protein croutons!
There is tons of protein in this recipe (80 grams in the entire pan) along with about 52 grams of fiber and 32 milligrams of iron. There is protein from the beans, chickpeas, cashews, hemp seeds, nutritional yeast, and kale, along with loads of fiber from the beans, chickpeas, kale, and hemp seeds.
This is a nutrient-packed meal, and you can increase the protein and fiber even more, depending on what sides you serve it with. Serve it with a side of multigrain bread or a good sourdough to bump up the protein and fiber even more. It’s also rich in iron, folate, magnesium, potassium, and B vitamins, and it comes together pretty quickly.
You can also serve it over pasta, baked potatoes, or roasted vegetables. Or make a quick bean toast by topping bread with the creamy beans and air frying for 6 to 7 minutes for a super quick and satisfying lunch. It smells so good as it’s cooking. It smells peppery, cheesy, and heavenly.
The crispy chickpeas on top are so addictive! You can use that topping over any pasta or salad. The topping alone is a must-make.
This recipe uses two cans of beans. The whole can of white beans will simmer in the creamy garlic sauce, while you are dividing up a can of chickpeas. Some of the chickpeas get blended into the sauce to make it creamy, and the rest gets crisped up to make this amazing breadcrumb topping.
Why You’ll Love Pepper Beans
super easy pantry meal that doesn’t taste like a pantry meal
High protein and fiber
crispy chickpea-breadcrumb topping, you’ll want on everything
naturally soy-free with easy gluten-free and nut-free options
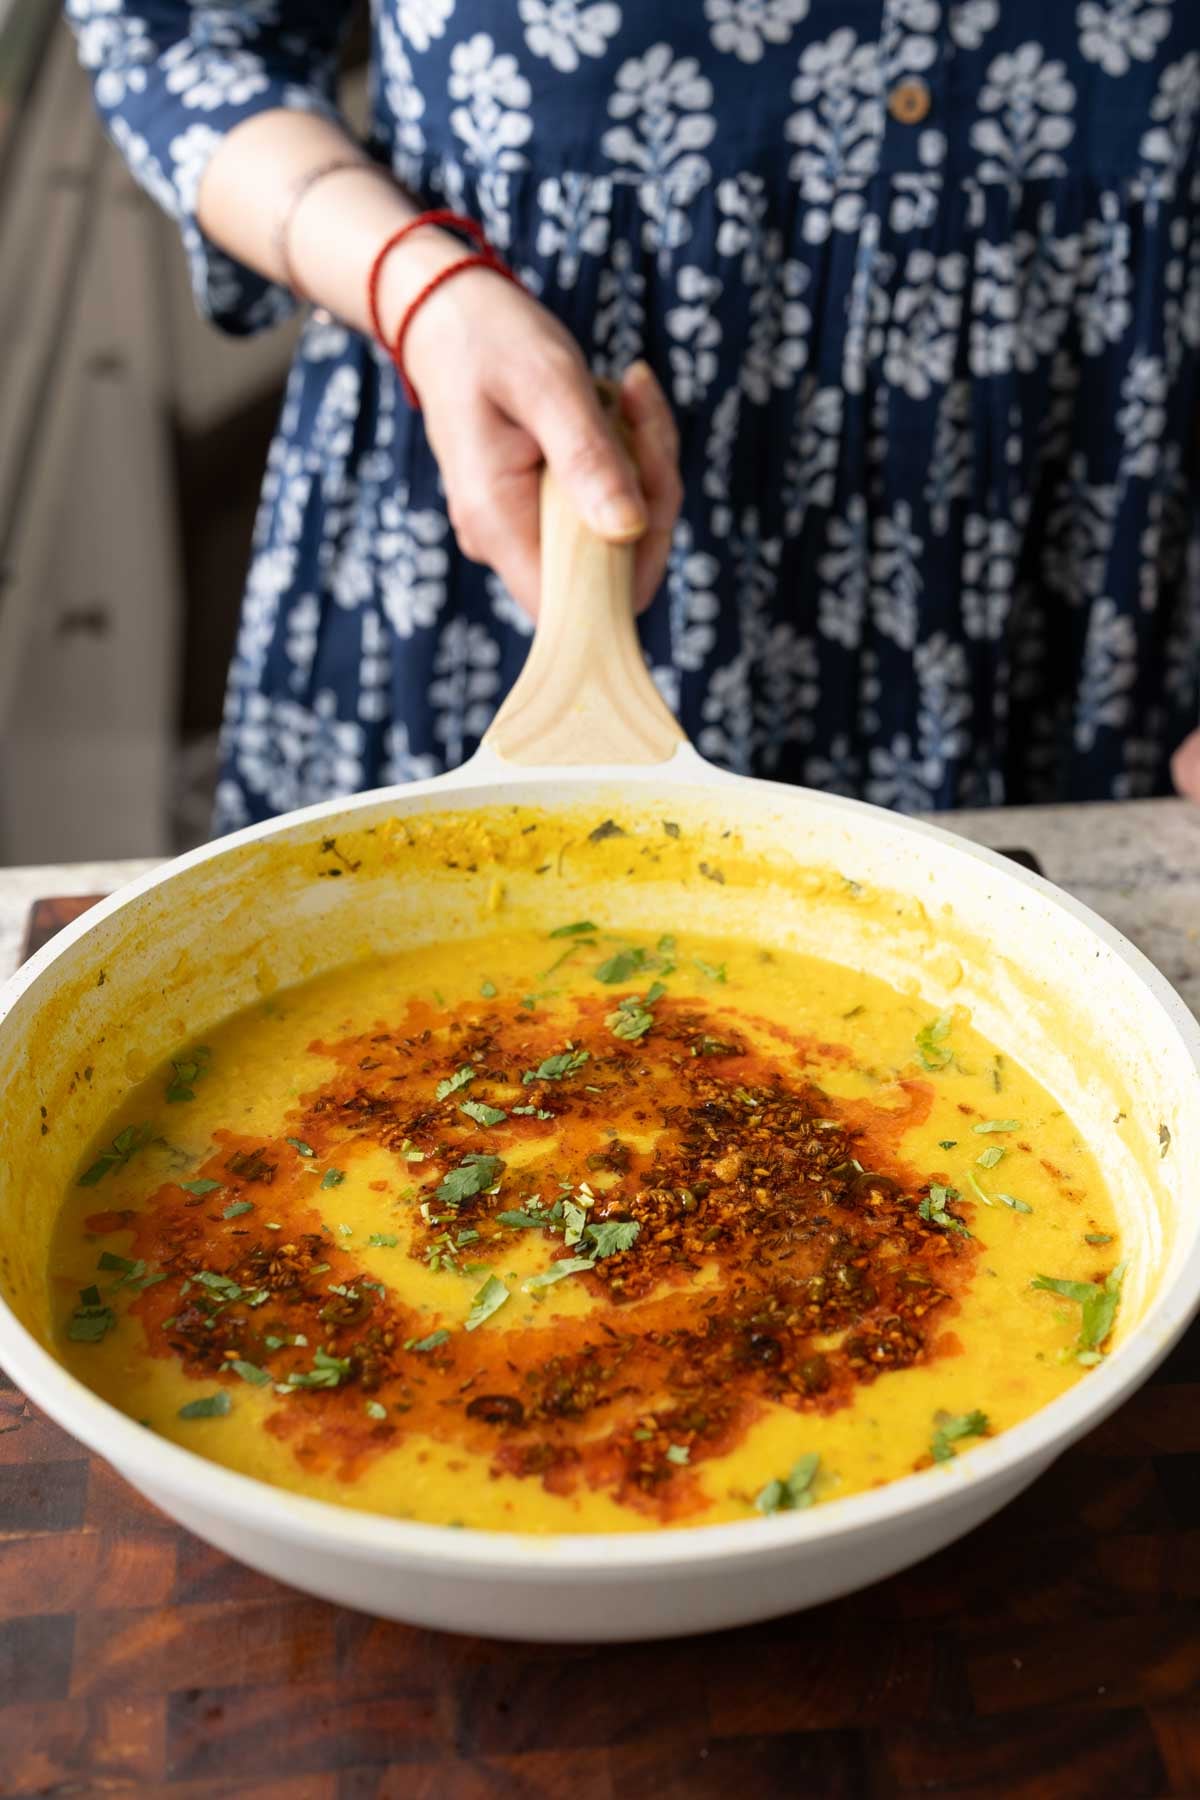
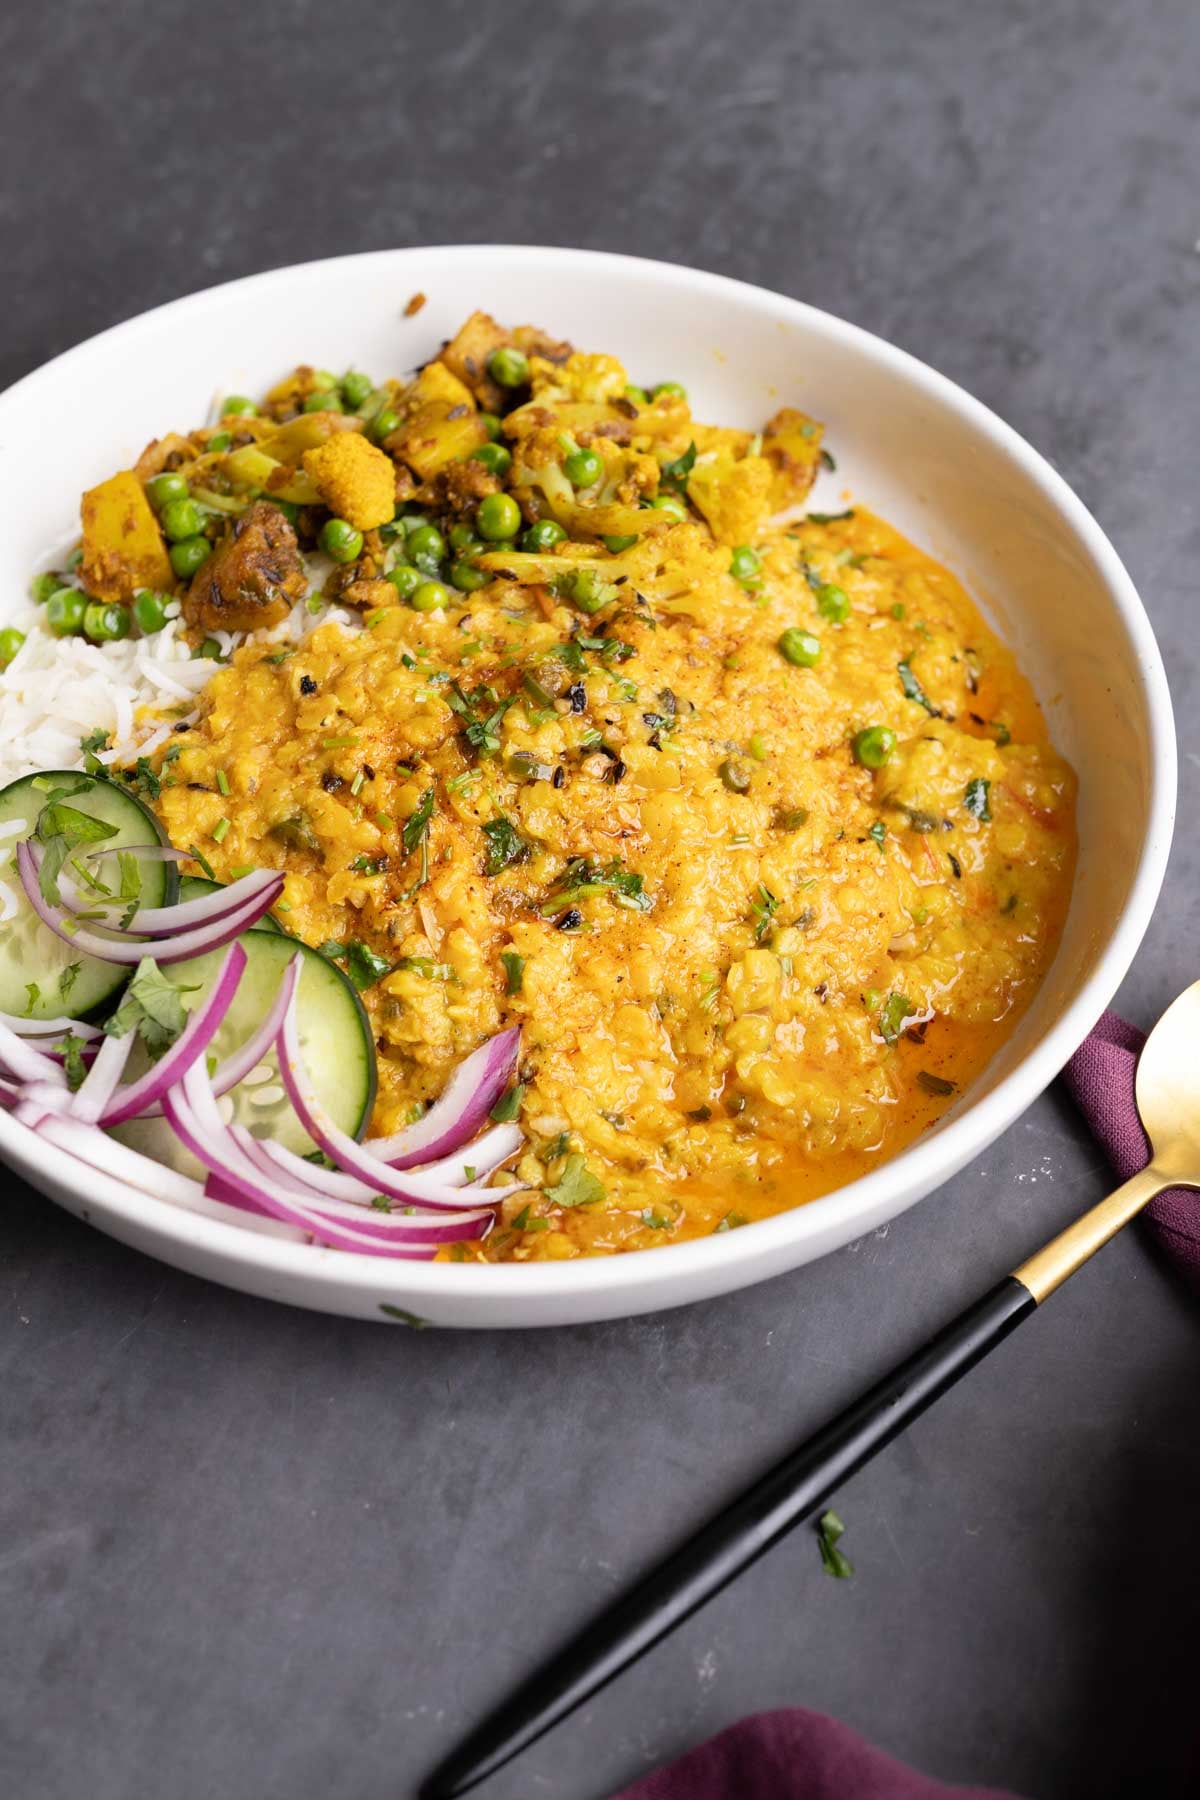
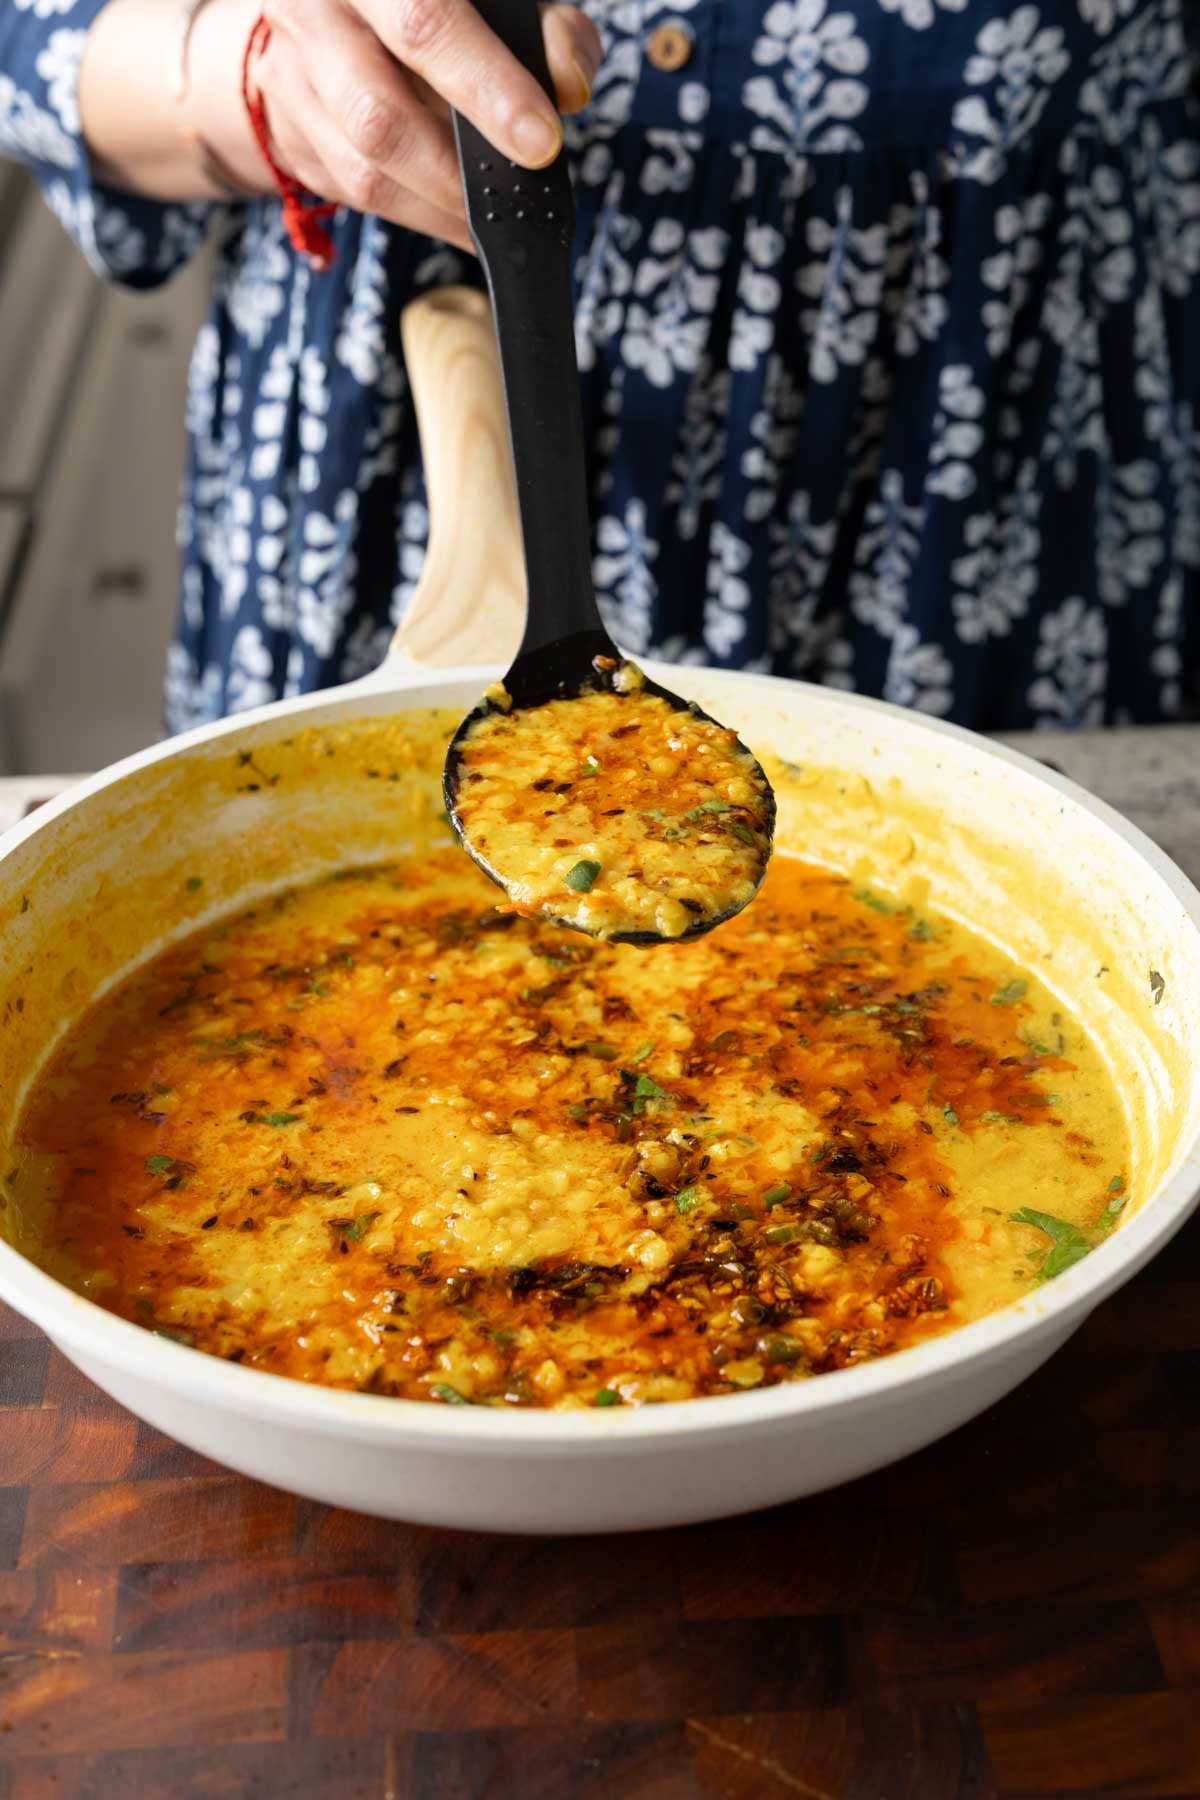
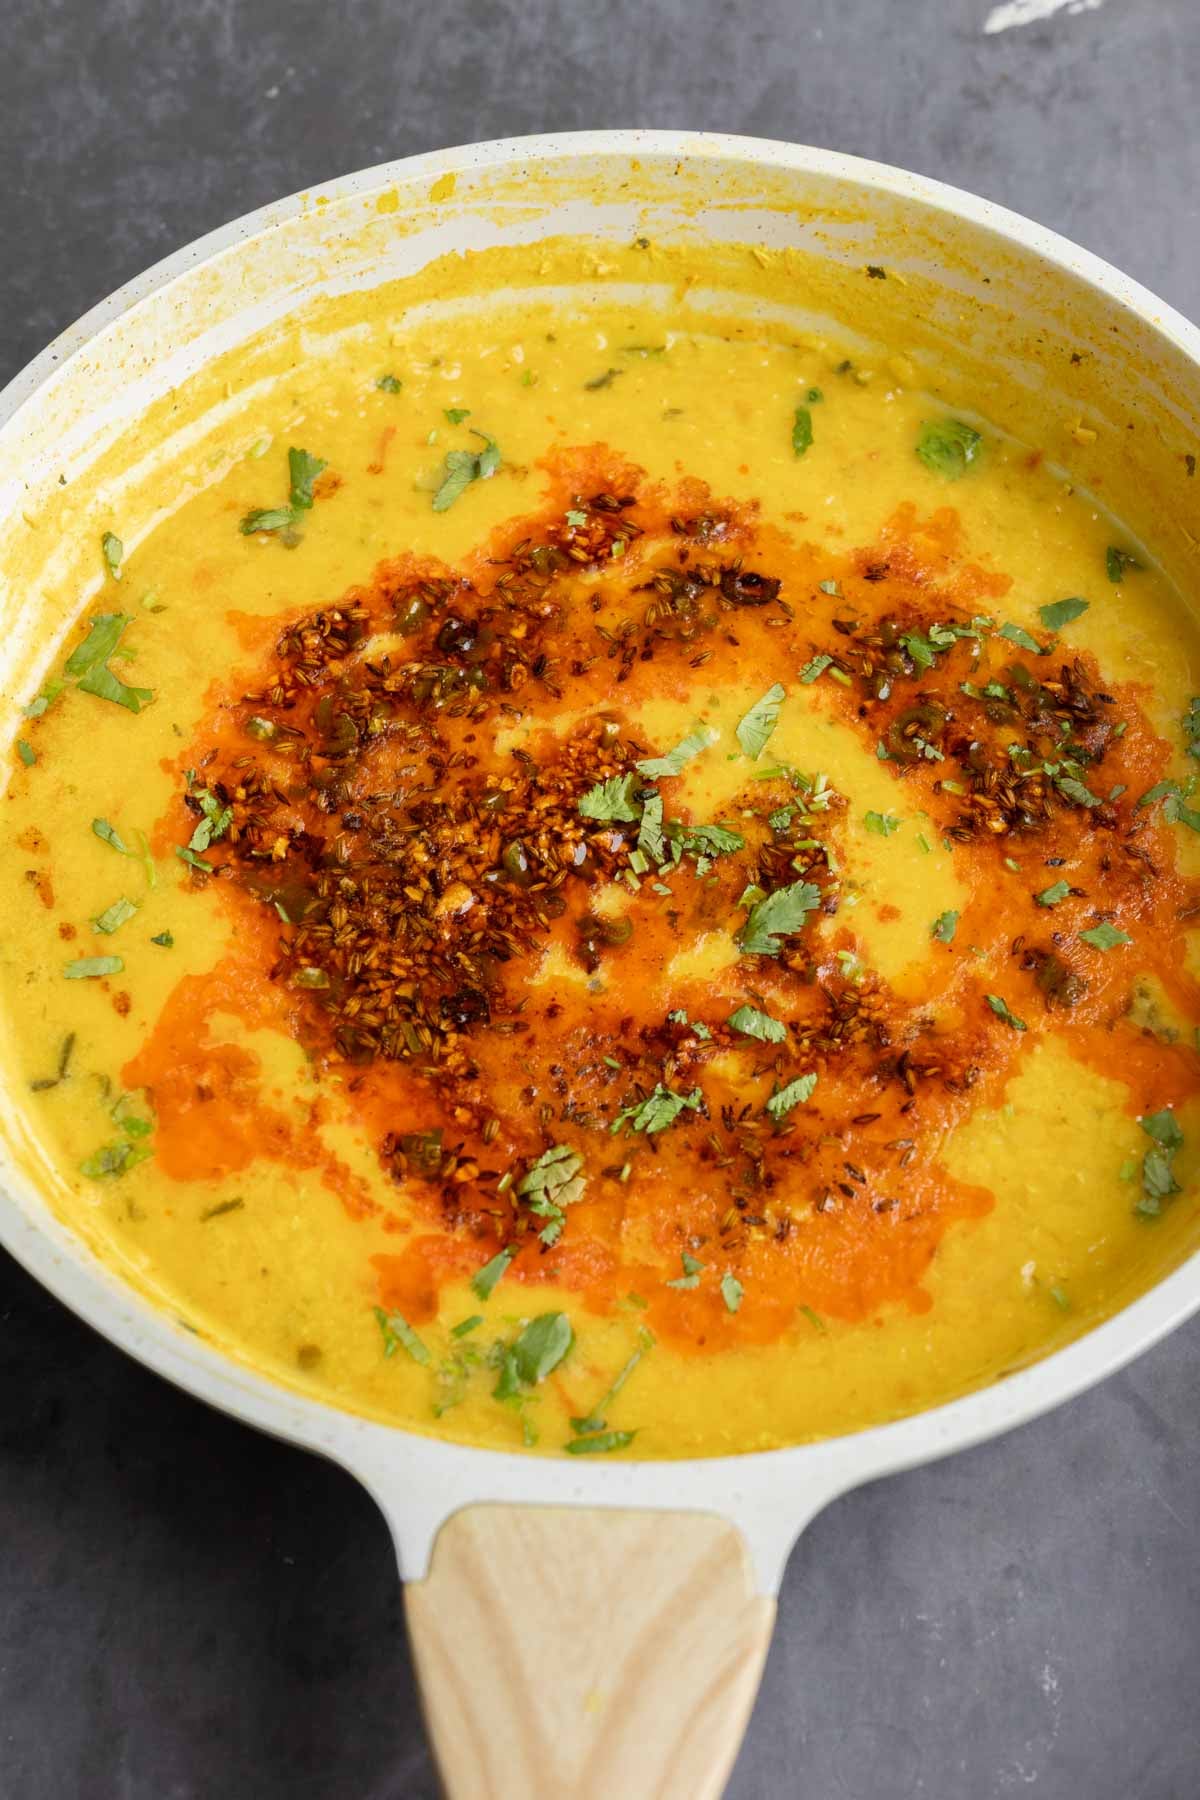
This easy jeera dal converts simple ingredients into incredible flavor! Red lentils cooked to creamy and scented with sizzling cumin, garlic, chili oil tadka. (gluten-free, soy-free, nut-free) 19 g fiber, 19 g protein!
Jeera means cumin, and dal means lentils. Together, they create a simple meal that doesn’t sacrifice flavor. This is a simple cumin-scented lentil soup that’s cozy and satisfying.
This is a simple recipe with everyday ingredients, but it makes such a delicious dal. It’s one of the simple, home-style dals that my mom used to make often.
I changed it up a little to make it slightly spicier and creamier with some non-dairy yogurt. If you cook the dal long enough, it becomes creamy on its own, so if you don’t want to add non-dairy yogurt, that works just as well.
We make this simple dal with red lentils (masoor dal), along with tomato and dried fenugreek leaves. While the lentils cook, we make an amazing tadka, which is a spiced oil with cumin seeds, green chili, and garlic. That tadka takes the dal to the next level!
This jeera dal is delicious served with your favorite Indian sides or sabzi! In the photo above, I’m serving it with my simple gobi aloo matar.
Why You’ll Love Jeera Dal
easy to make with simple ingredients
30-minute recipe with tons of flavor
while the lentils simmer, make the quick cumin spiced oil
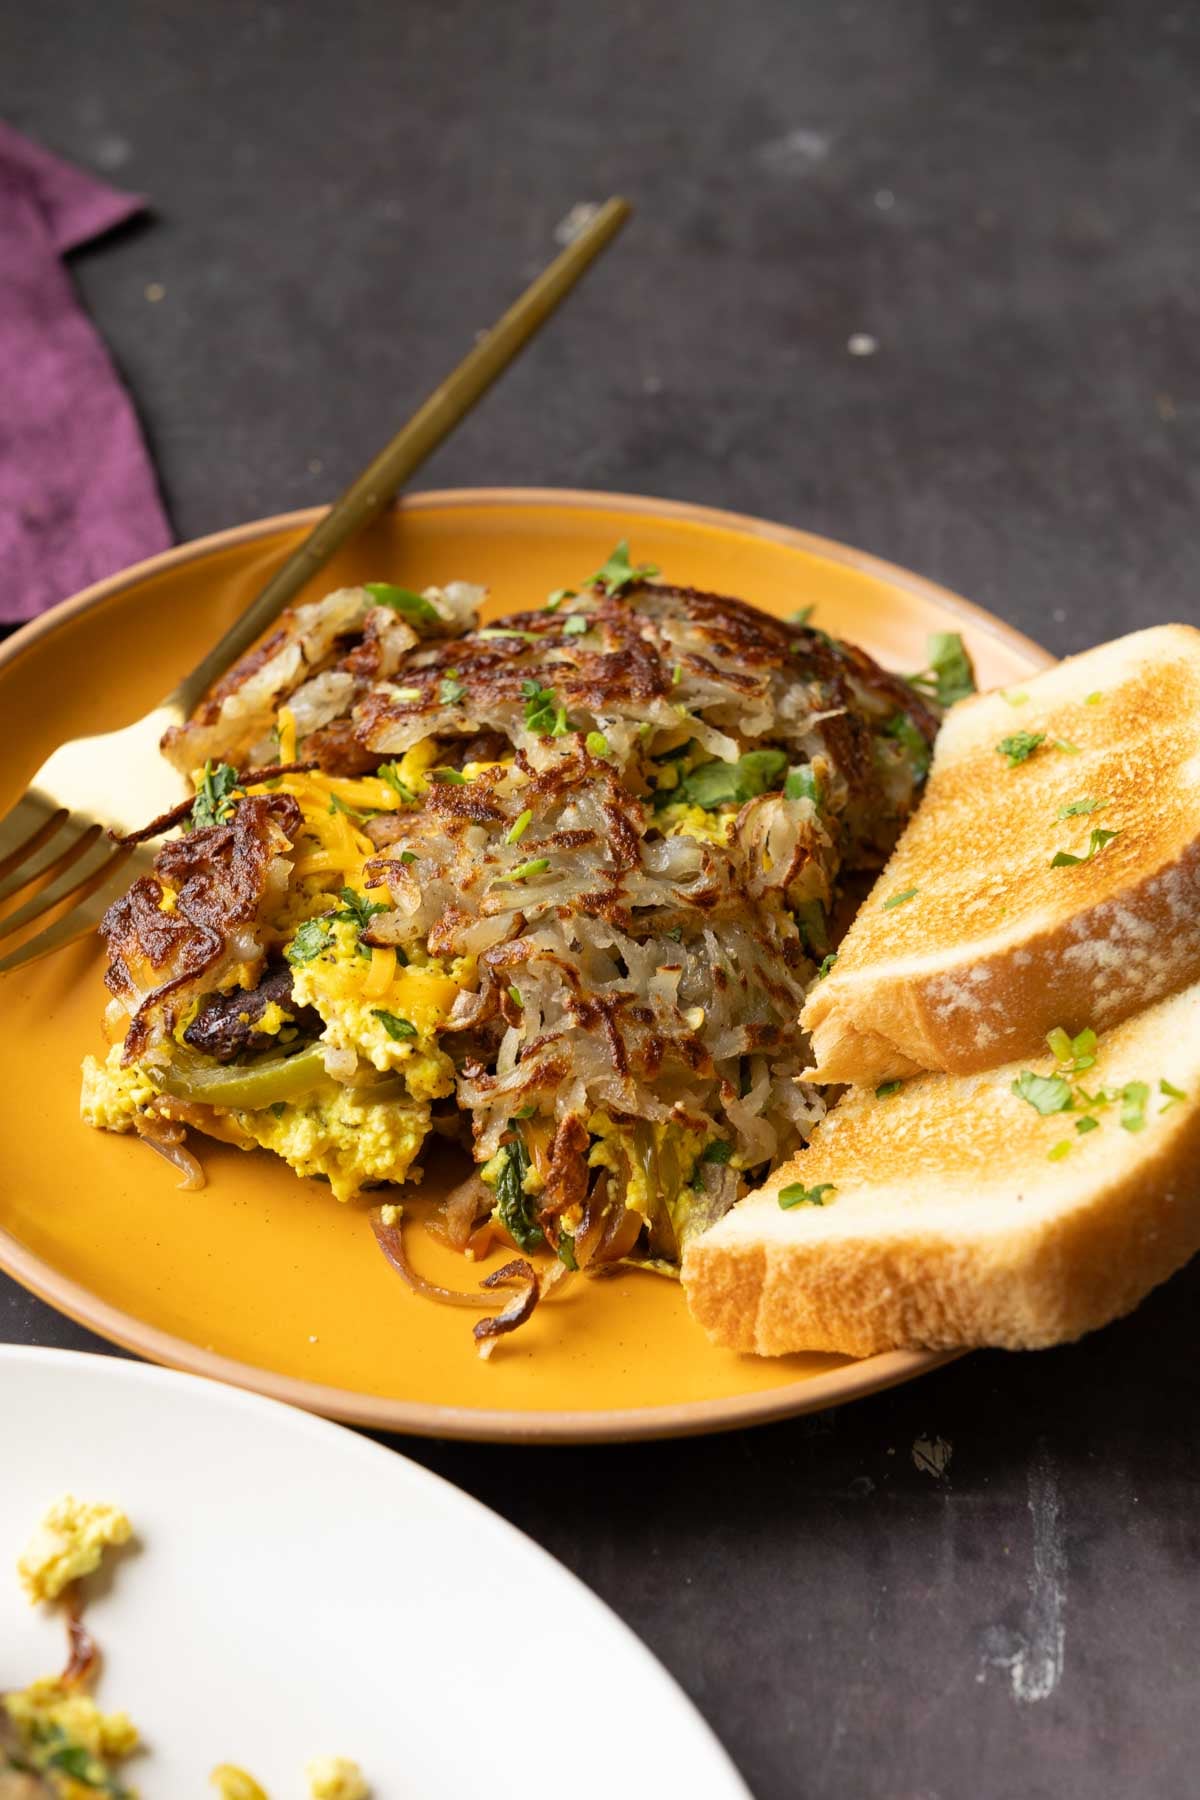
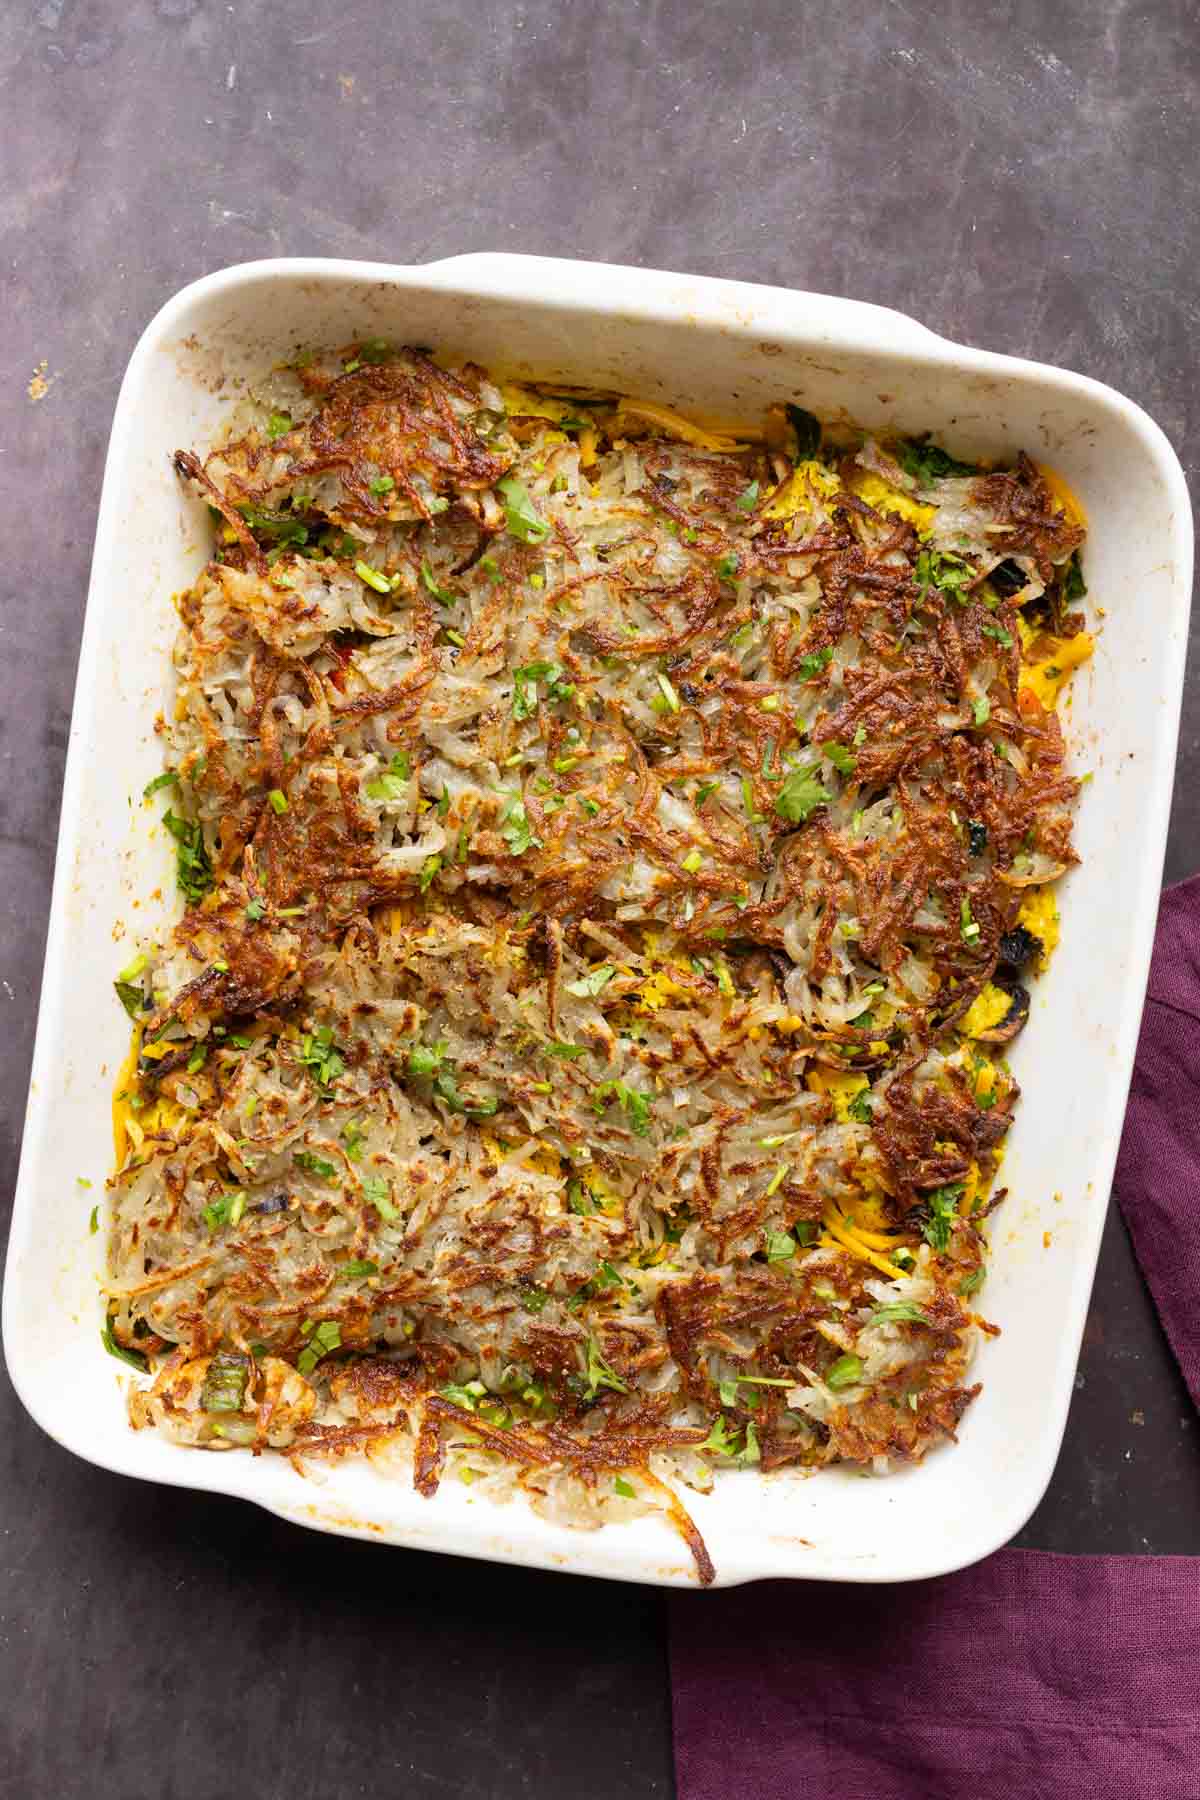
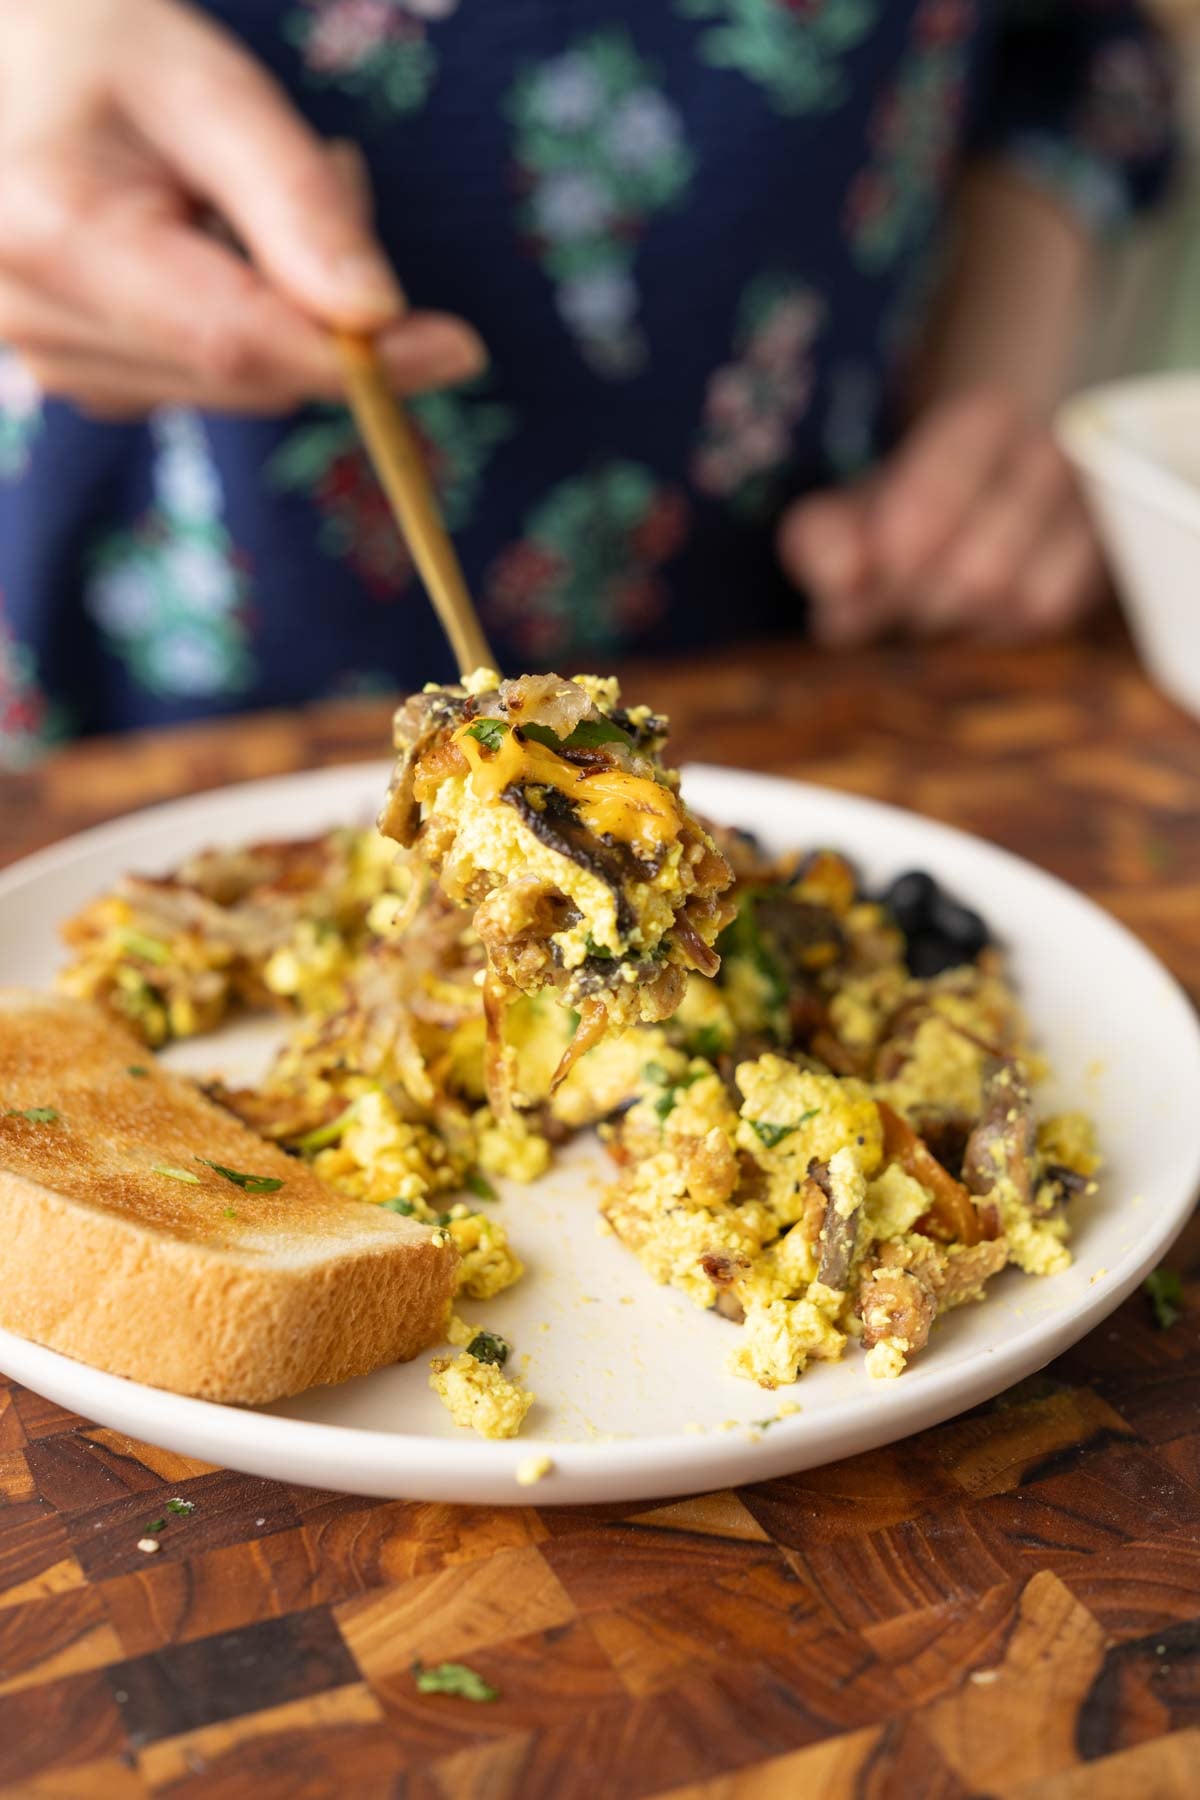
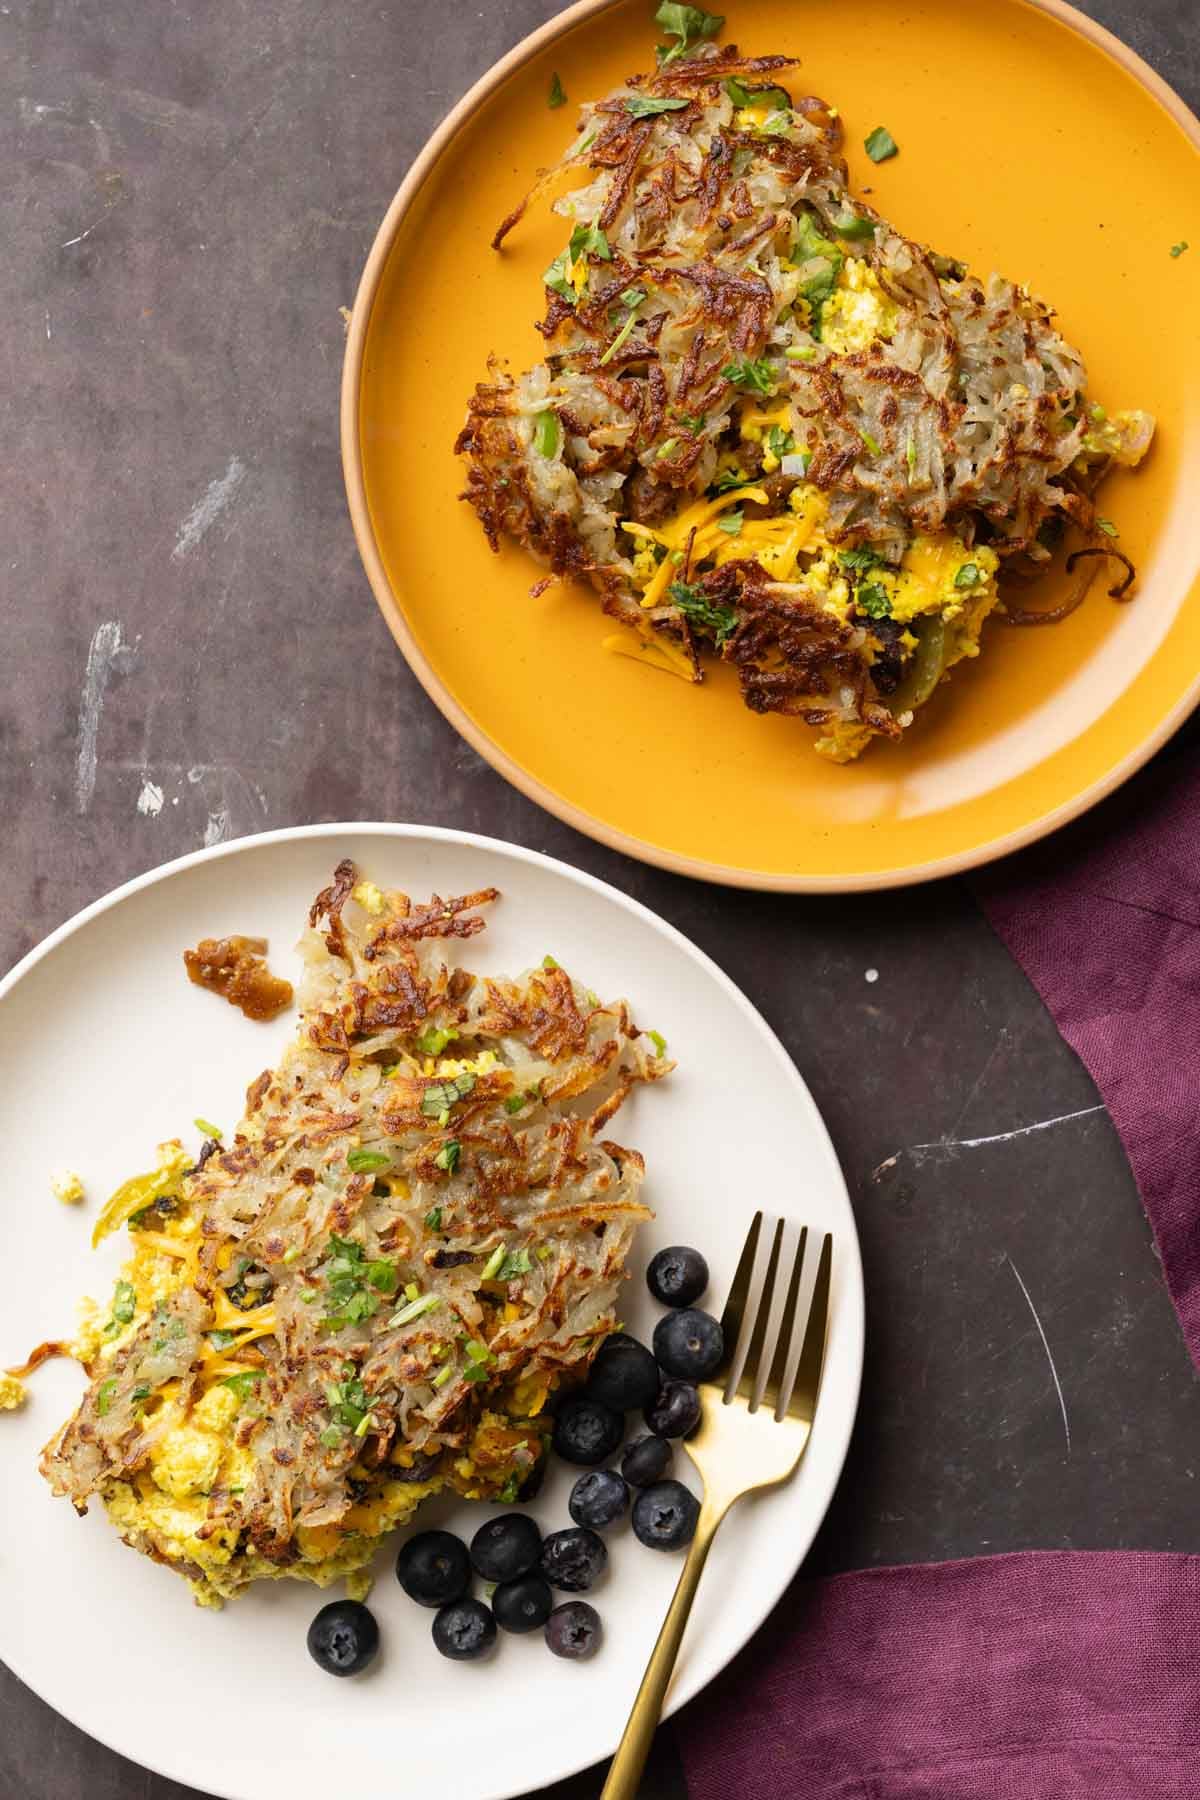
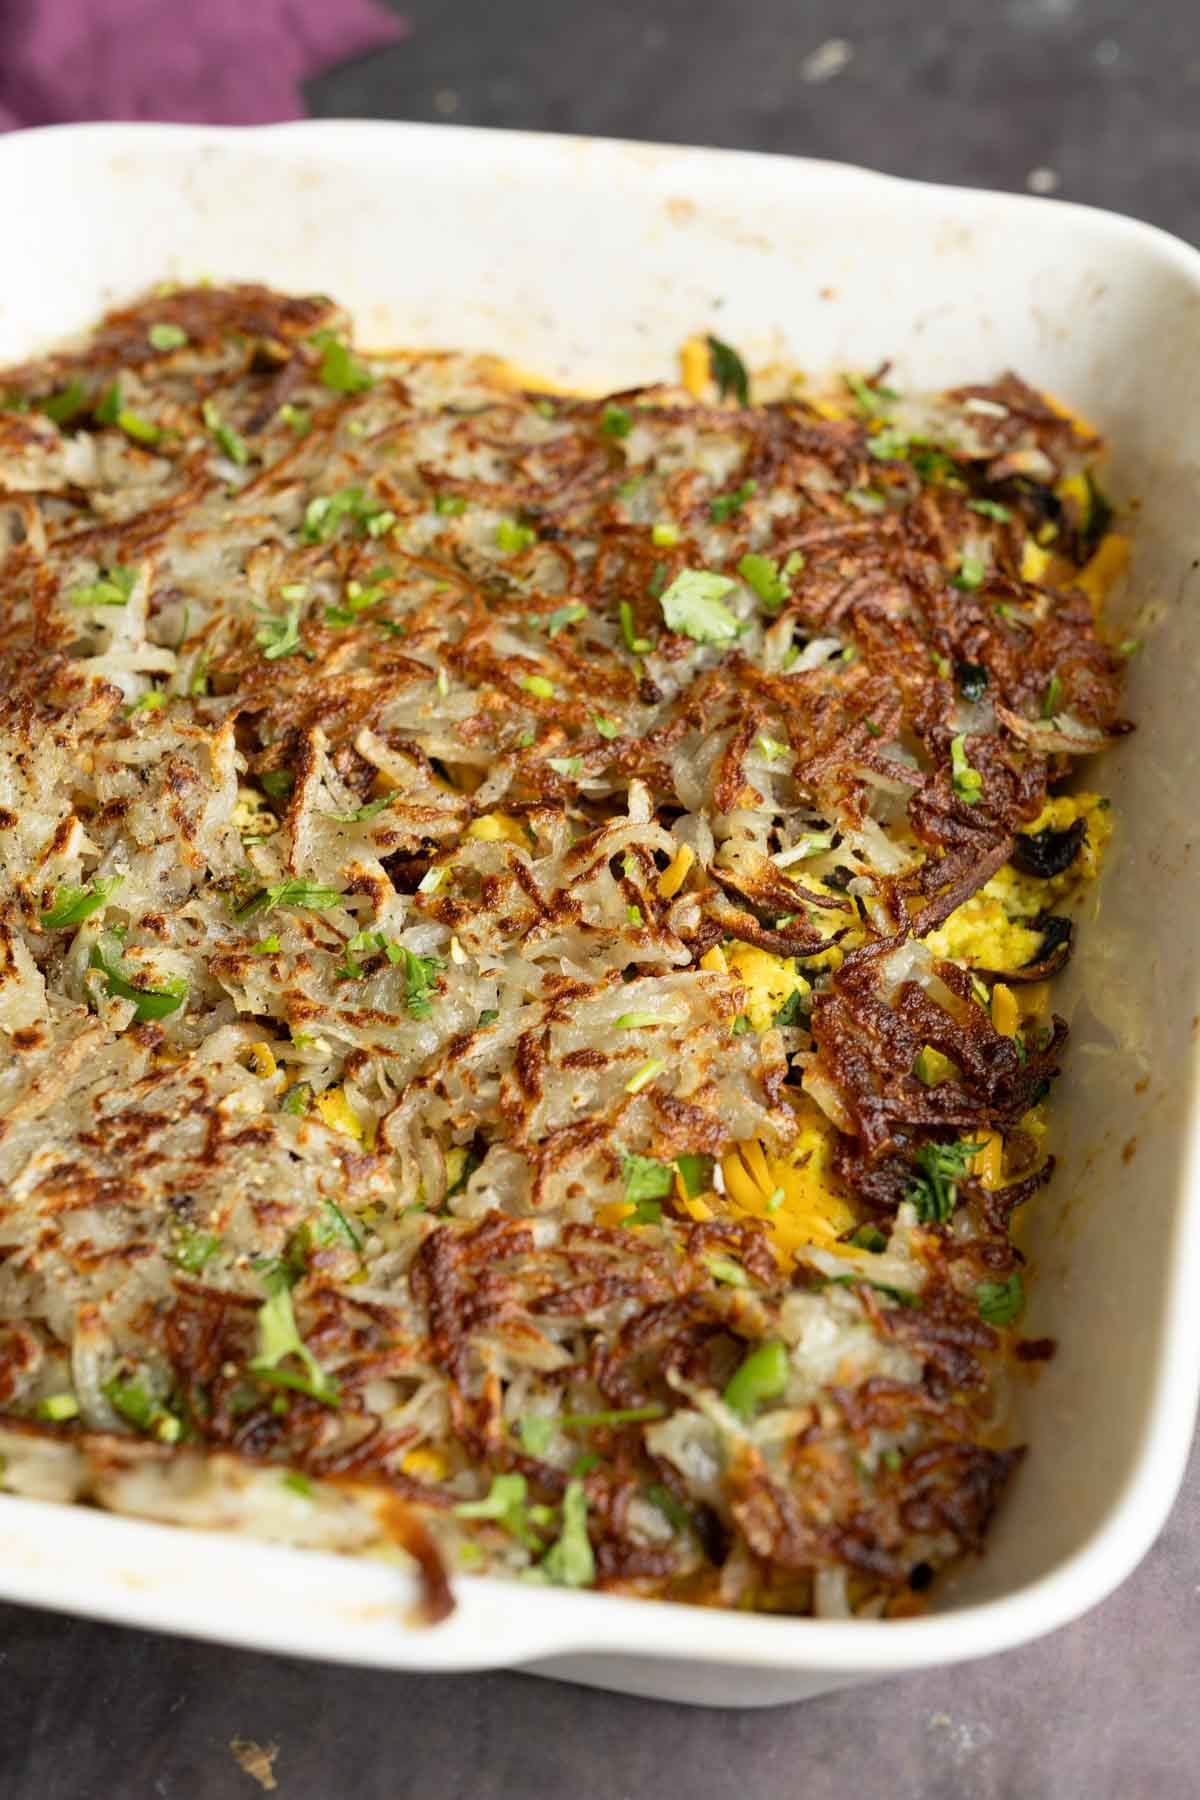
This Vegan hash-brown casserole has a crispy top, savory steak-style soy curls, fluffy tofu ’eggs.’ 27 grams of protein, rich in calcium, iron, and fiber, this is ultimate brunch centerpiece ! (27 grams protein, 8 grams fiber per serving! Gluten-free and nut-free with soy-free options.)
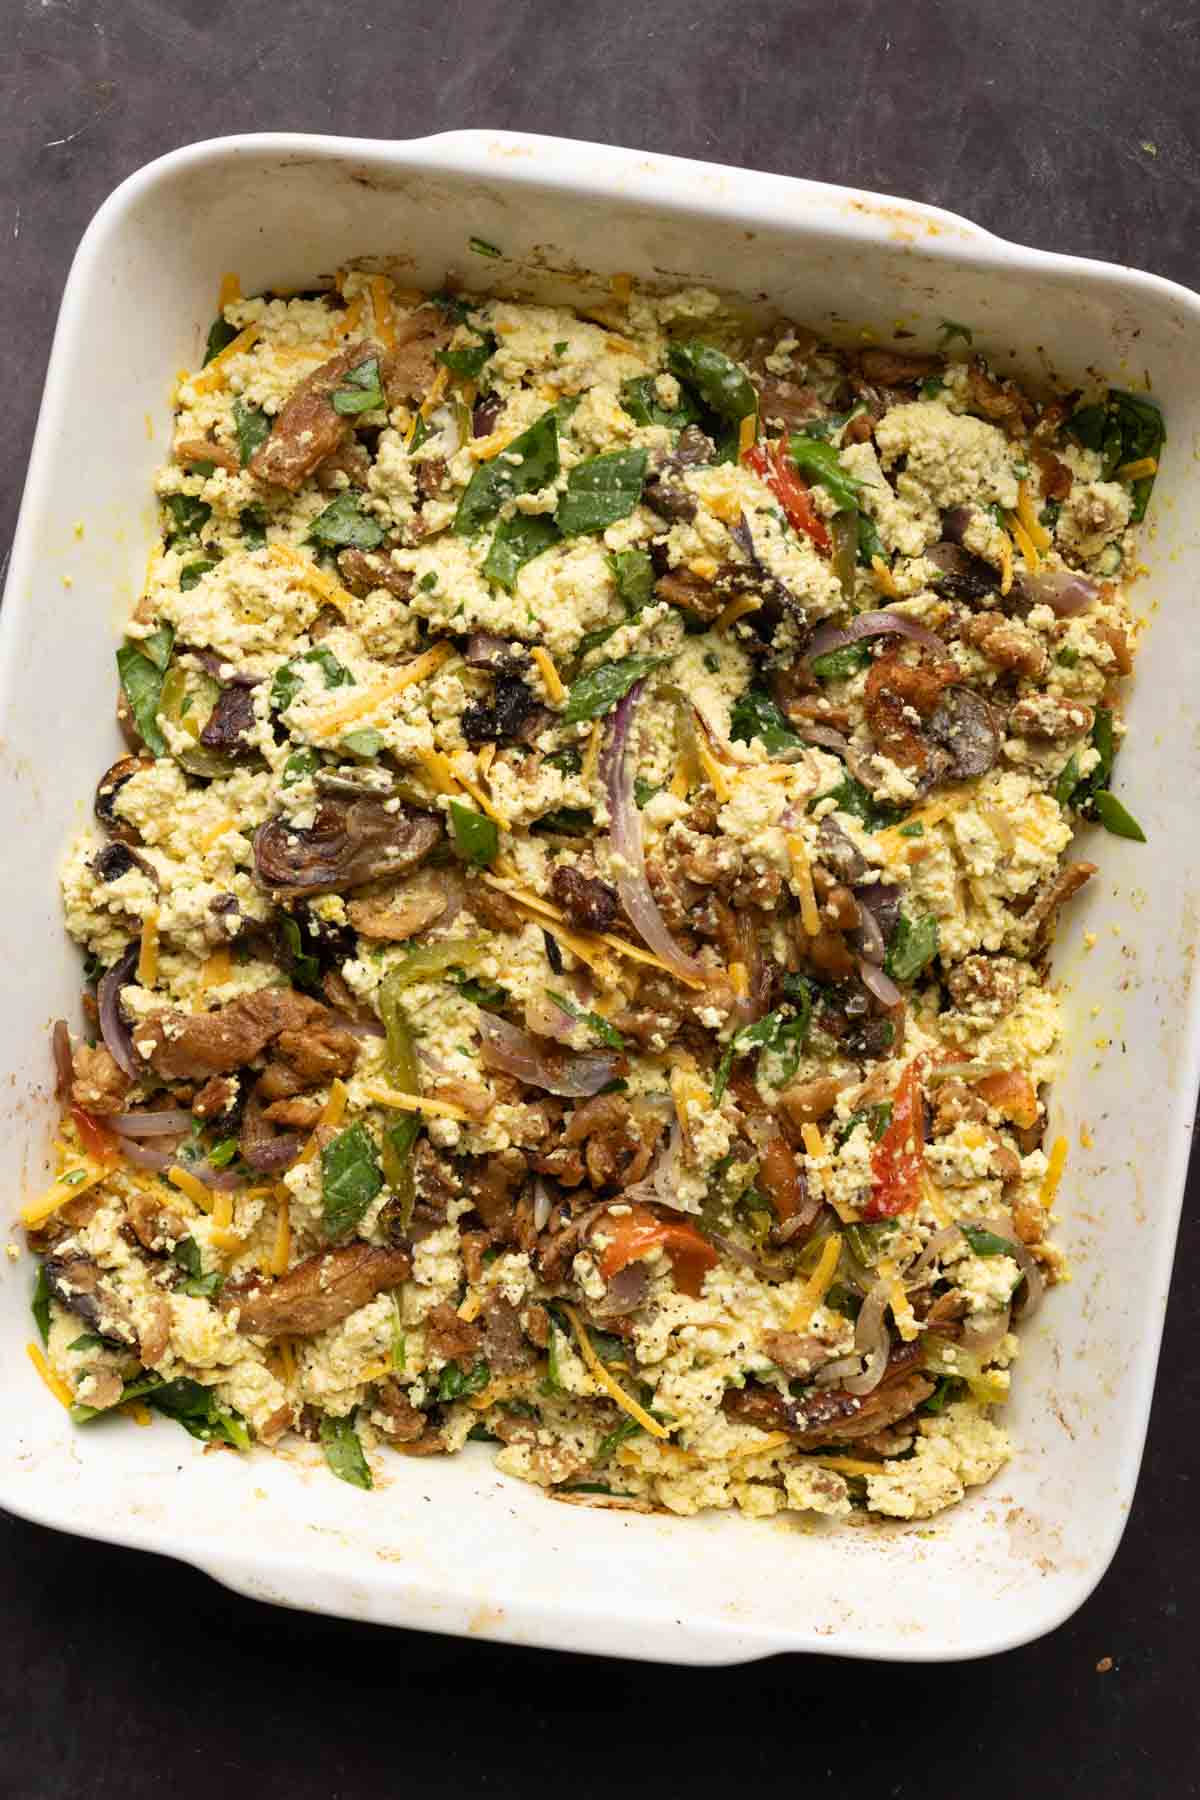
This casserole is based on the steak and eggs with hash browns from IHOP. I decided to turn it into a vegan casserole, so it has soy curls that are marinated and then baked along with onion, mushrooms, and peppers until everything starts to caramelize.
Then, we add crumbled tofu, seasonings, non-dairy yogurt or non-dairy cream, and vegan cheese. Spread that over everything, mix it up a little bit, and bake it again for a cheesy, 1-pan vegan steak and egg scramble.
While all of this is baking, we make our hash browns and crisp them in a skillet, then put them on top of the casserole before serving. You can actually serve the hash browns on the side or on top of the casserole.
I love making breakfast casseroles, like my eggs Benedict casserole and my Mexican egg casserole. In those recipes, I blend the tofu to make the egg mixture. I wanted to make a version where I didn’t have to use the blender, so there are fewer dishes to clean.
This is such a hearty breakfast, and it’s so delicious! For additional protein, you can add nutritional yeast and hemp seeds or more soy curls to the tofu mixture.
Why You’ll Love Hash Brown Casserole
27g protein
hearty, cozy breakfast casserole packed with fluffy tofu “egg”, vegan “steak”, cheese, and veggies
crispy hash brown topping
Meal prep friendly!
naturally gluten-free with nut-free and soy-free options
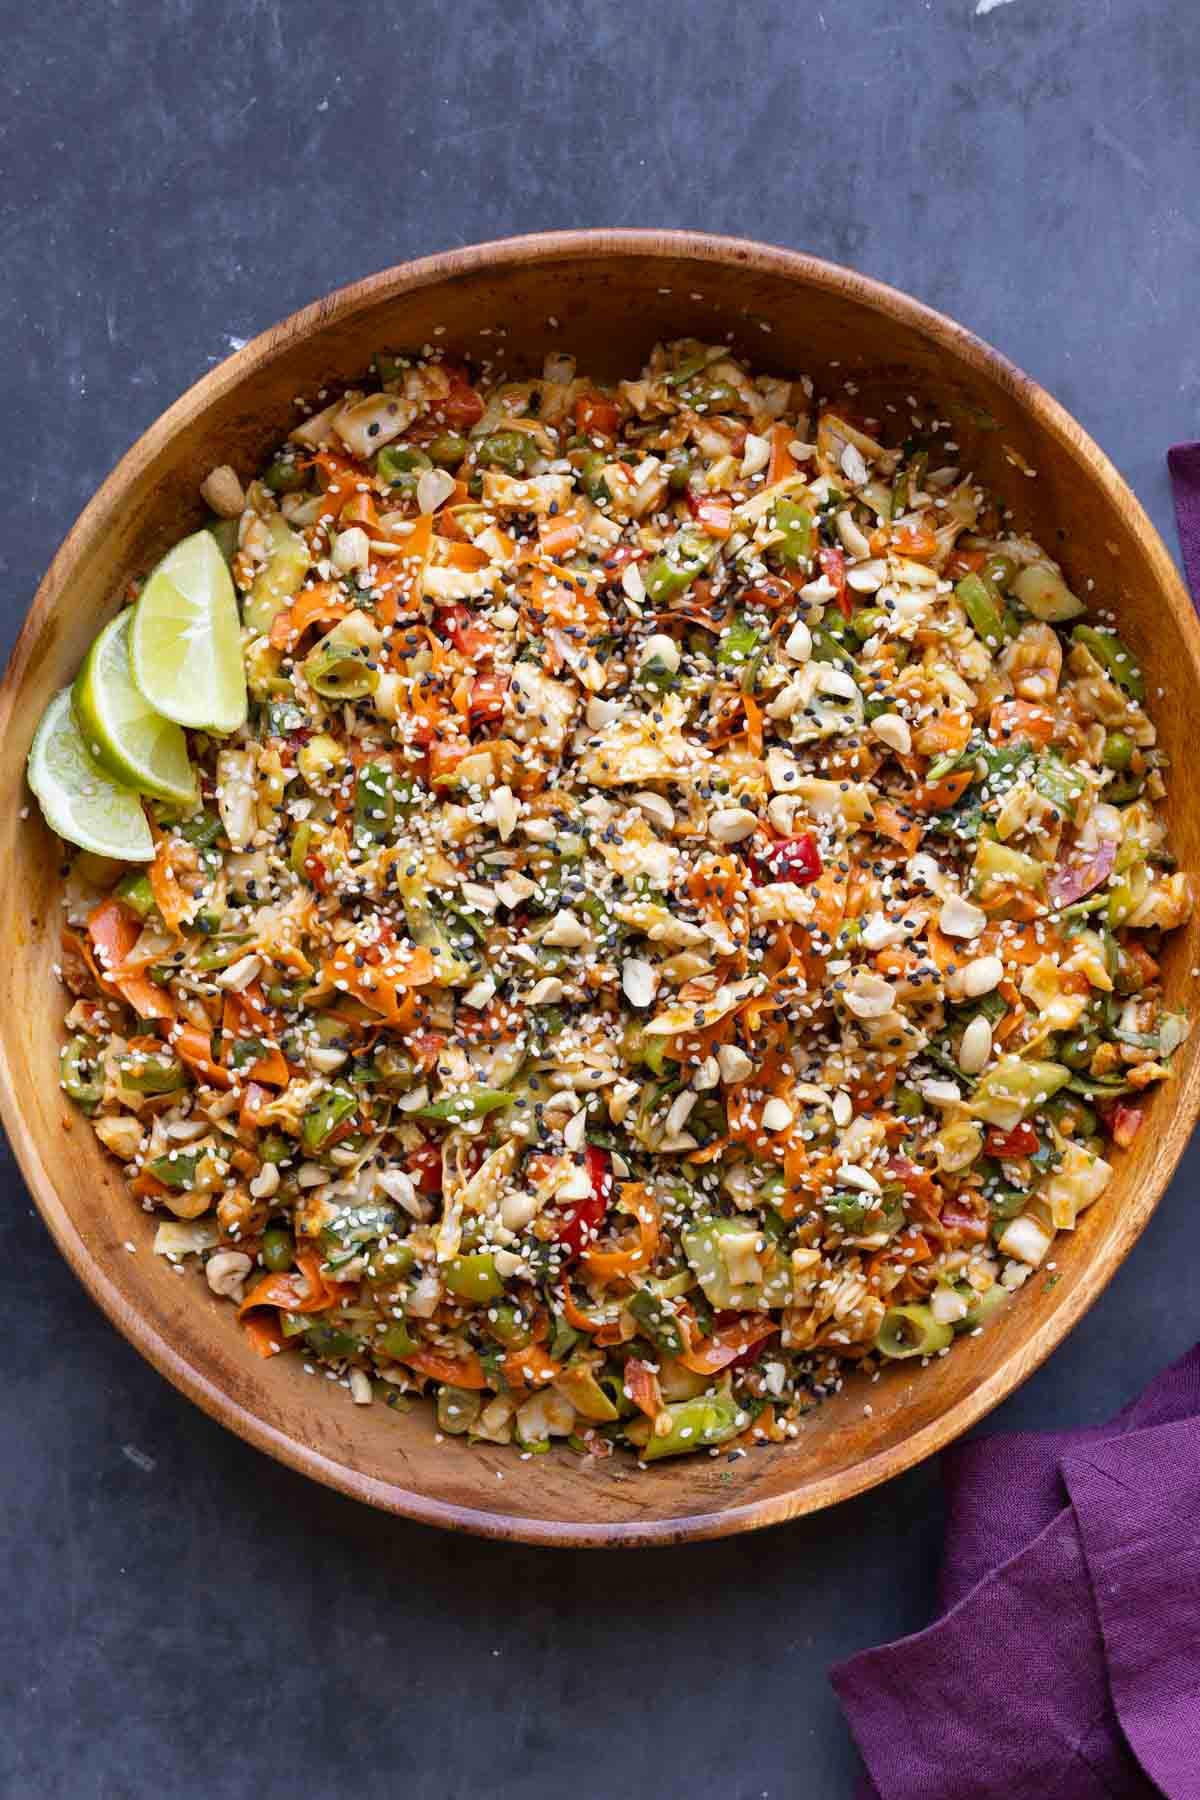
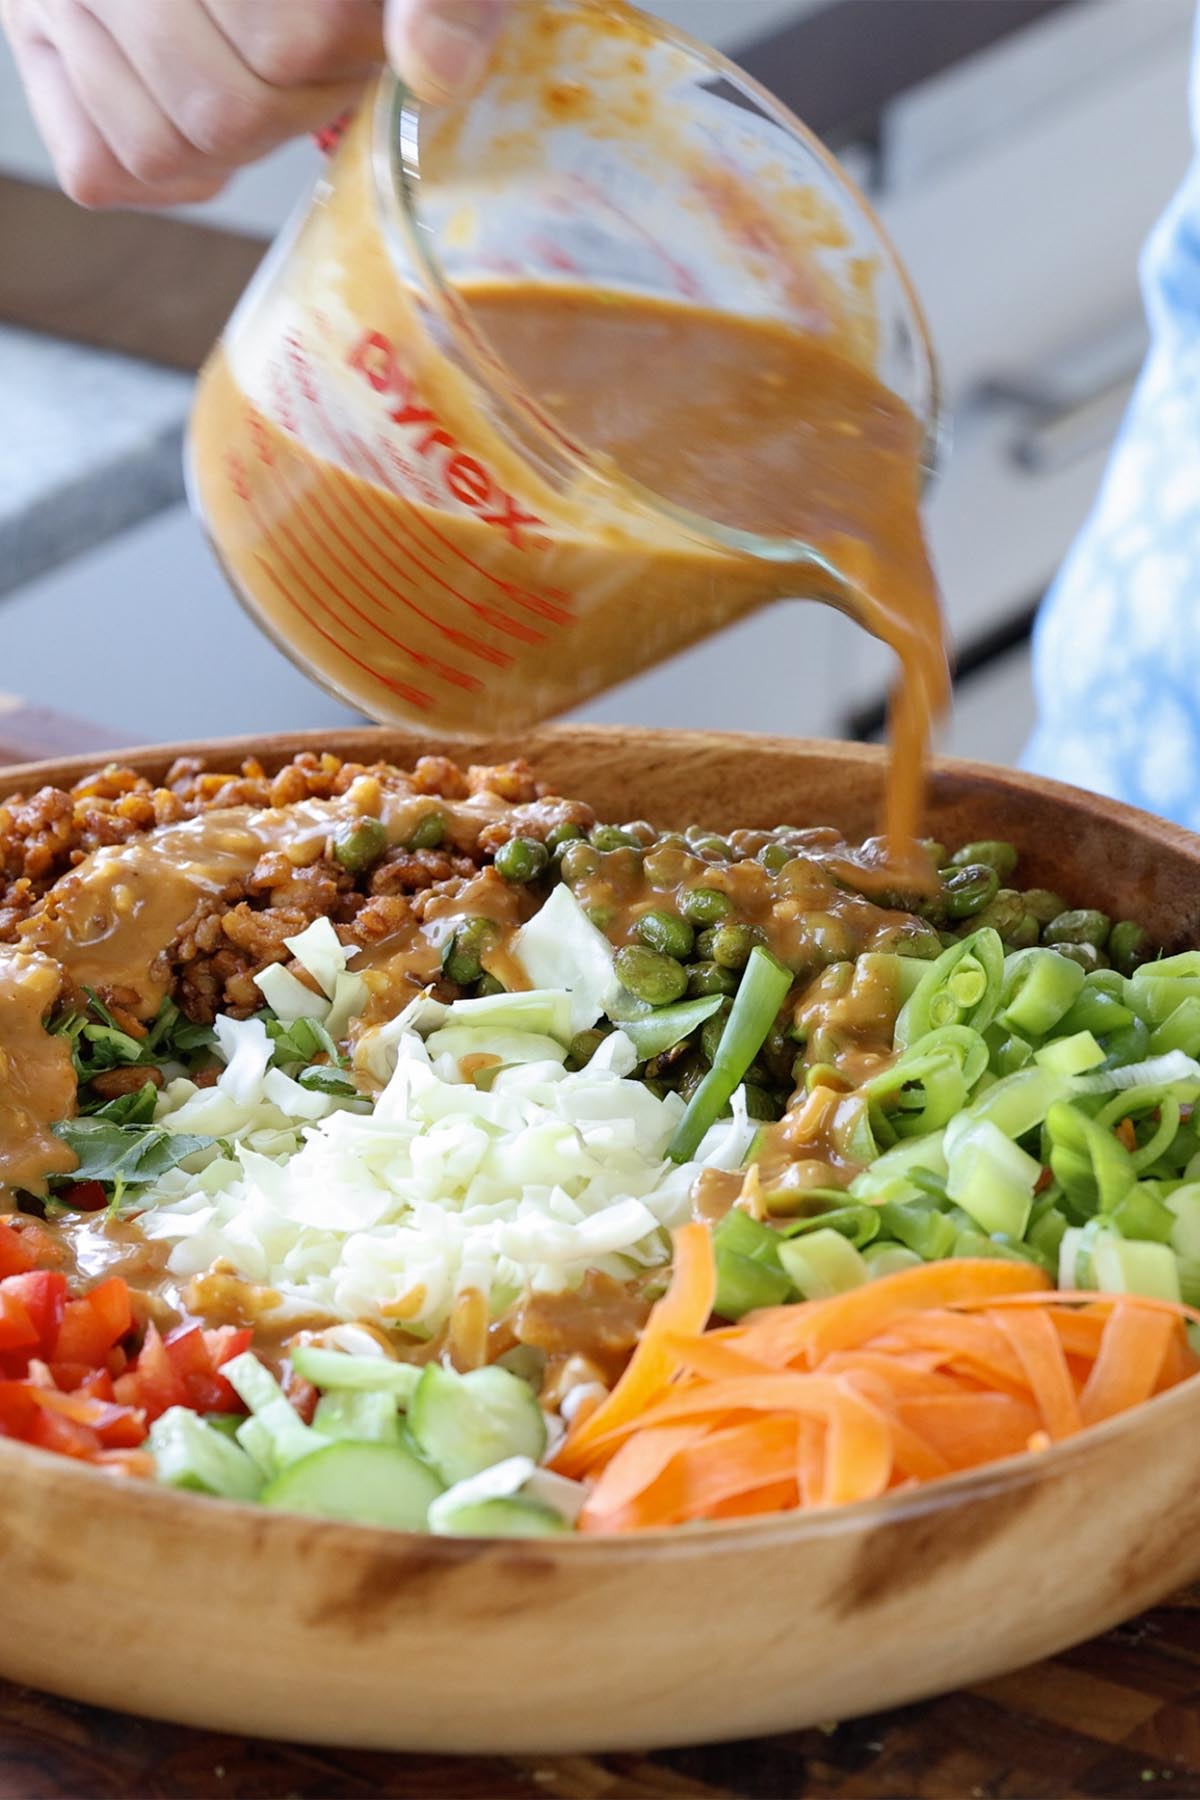
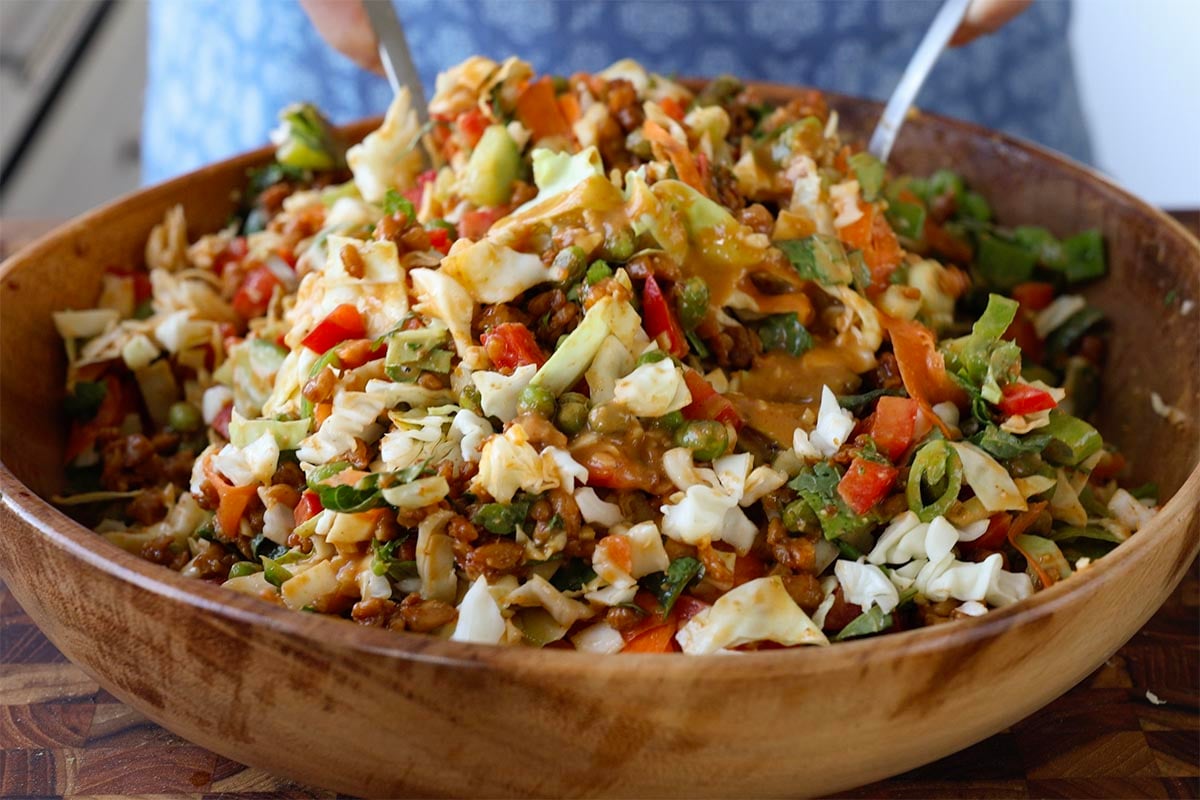
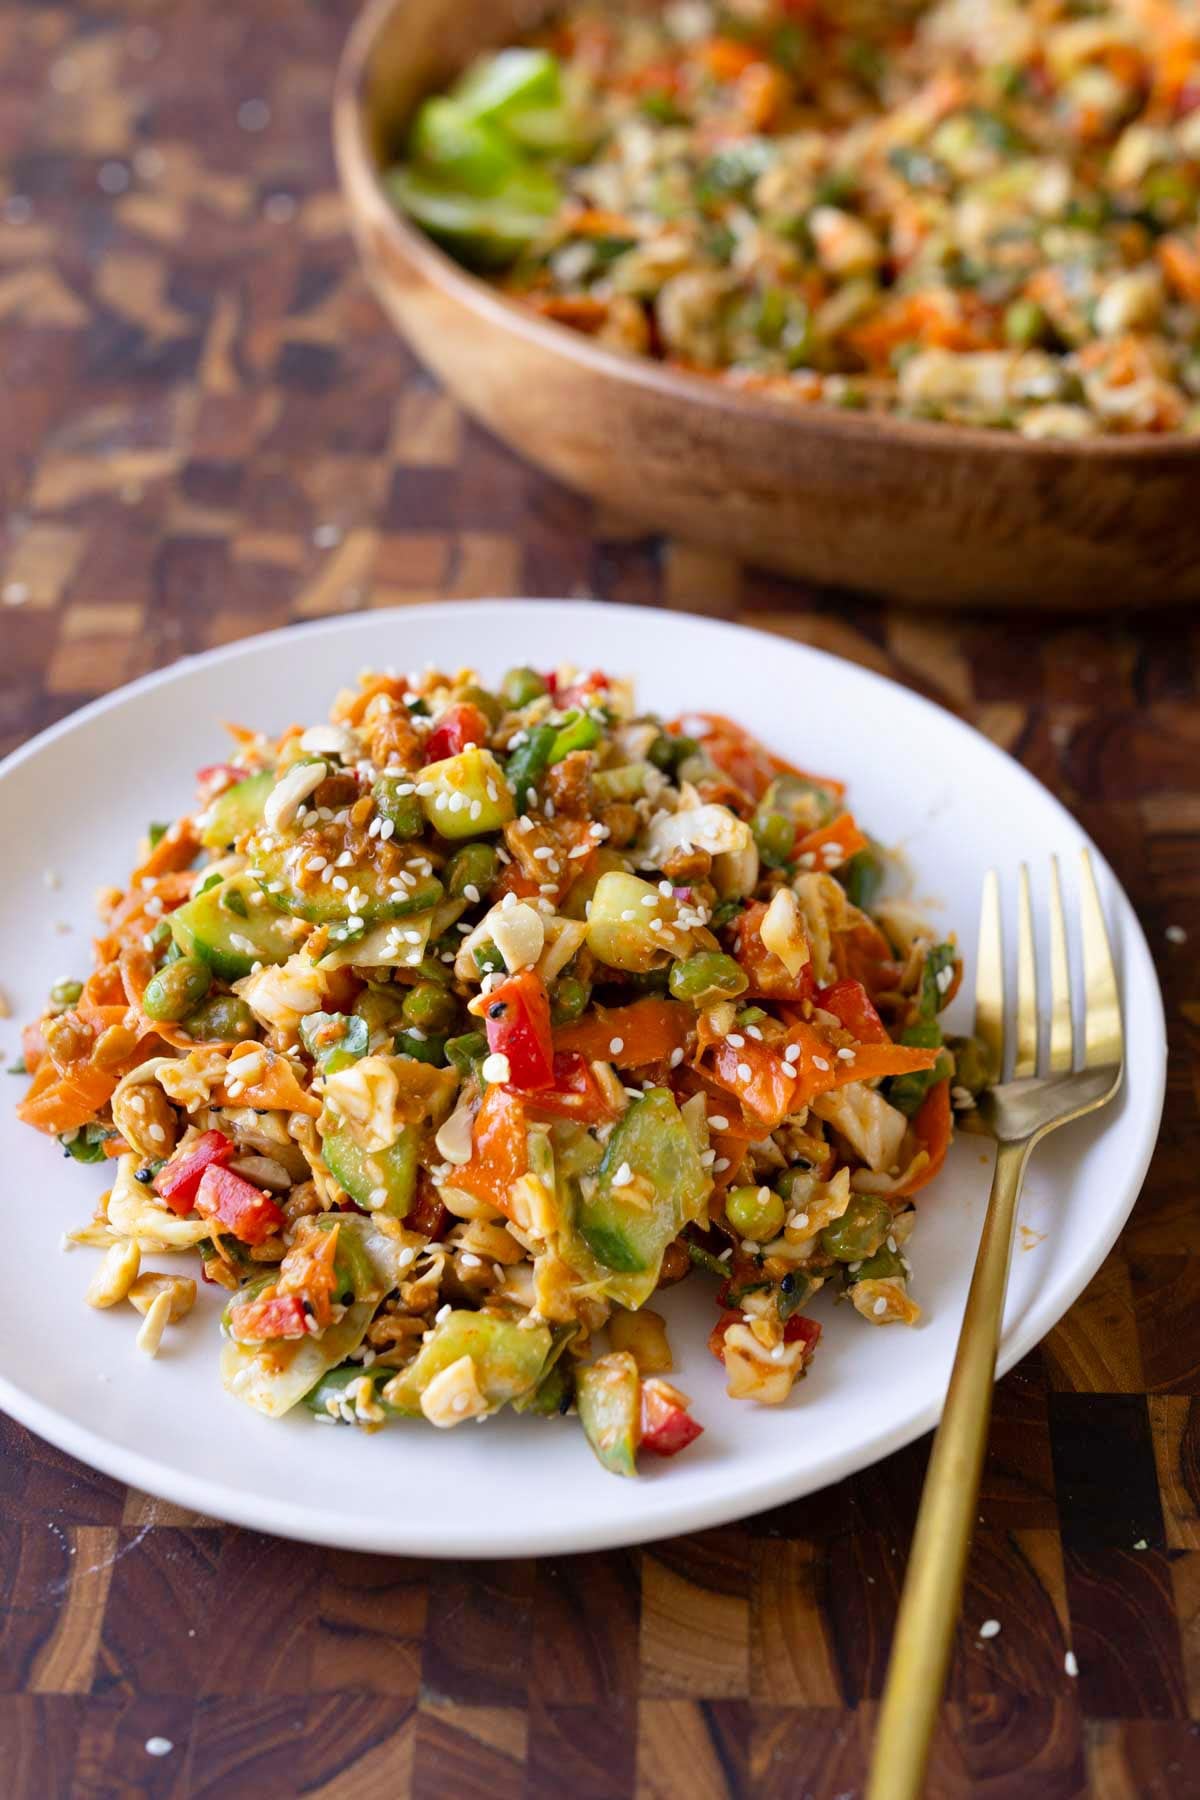
Seriously satisfying high protein salad with edamame, crispy tempeh, cabbage, carrots, kale, in a creamy peanut gochujang dressing. 23 gms of protein, meal prep friendly. (gluten-free, soy-free, and nut-free options)
This salad is so hearty, crunchy, and delicious. It has a ton of protein, fiber, vitamins, and iron. It packs over 100 grams of protein in the whole bowl, plus 30 grams of fiber, and 19 grams of iron. It’s also a great source of vitamins A, C, and K.
This is a salad that’s going to keep you satiated and satisfy your taste buds because there’s so much flavor in the dressing. I use a peanut gochujang dressing because that flavor combination is just fire. Everybody loves a peanut butter dressing, and we’re going to level it up with some gochujang. It’s so good!
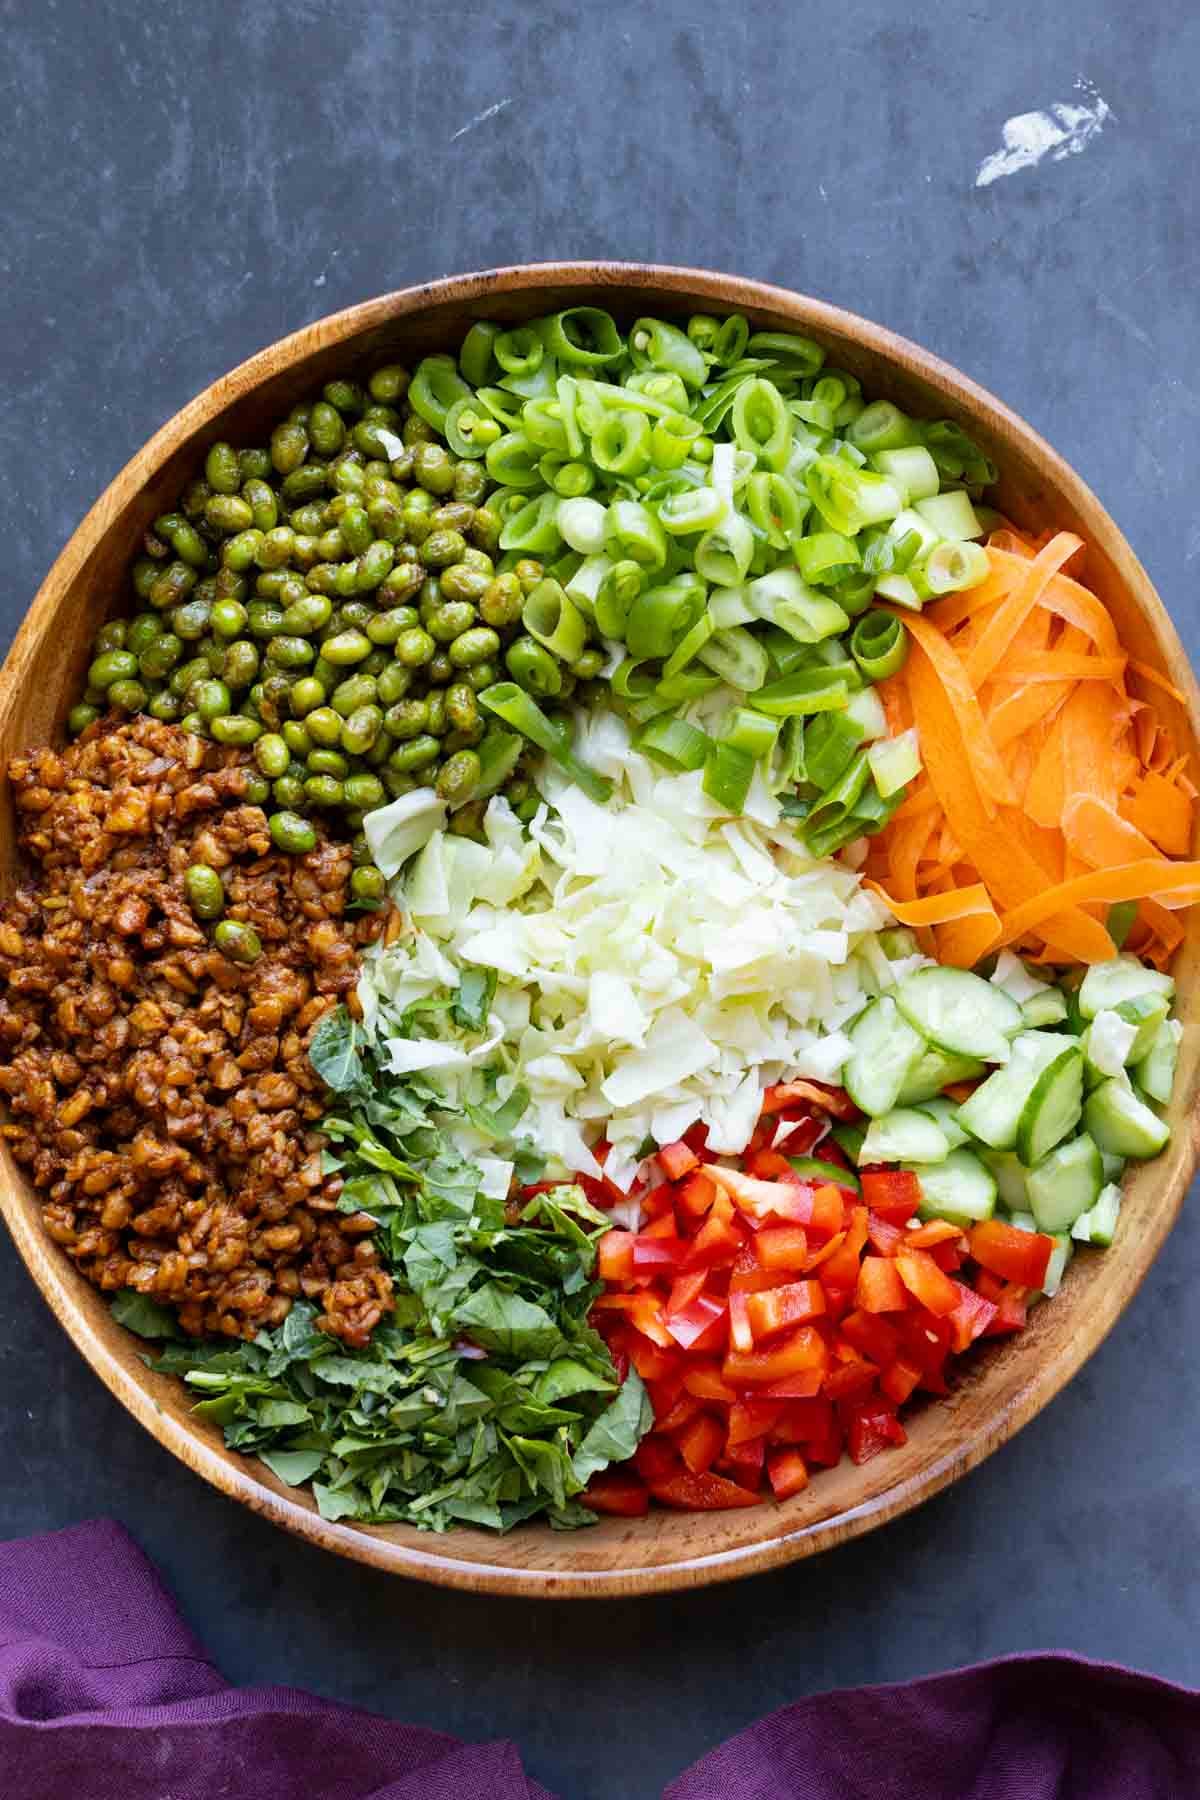
There’s protein from the creamy peanut gochujang dressing, sesame seeds and peanuts, crispy, crumbled gochujang tempeh and edamame! We add lots of veggies for even more fiber, including cabbage, carrots, bell pepper, cucumber, snap peas, green onion, and kale. You can use whichever veggies you have on hand, and use more or less to taste. If you don’t like cabbage, use lettuce instead. If you’d like more carrots, add more carrots. Just play around with the amounts based on your preference.
Then we’re going to add crispy tempeh which has been toasted and coated in a sticky gochujang and lime zest glaze, which is so amazing in this salad. This is the best way to eat tempeh!
We also add some edamame. I like to cook the edamame a little, then add soy sauce and garlic because that adds another layer of flavor and texture to the gochujang salad. You can also add the edamame as is if you prefer.
Then there are sesame seeds and peanuts for added crunch and even more protein. The peanut butter dressing is very flavorful. If you’re allergic to peanuts, use almond butter or cashew butter instead.
Why You’ll Love Peanut Gochujang Salad
amazing flavors and textures from creamy peanut butter, spicy gochujang, and lots of crunchy veggies, nuts, and tempeh
packed with protein, fiber, and vitamins
perfect for picnics, parties, and potlucks
easy to make gluten-free, soy-free, and even nut-free
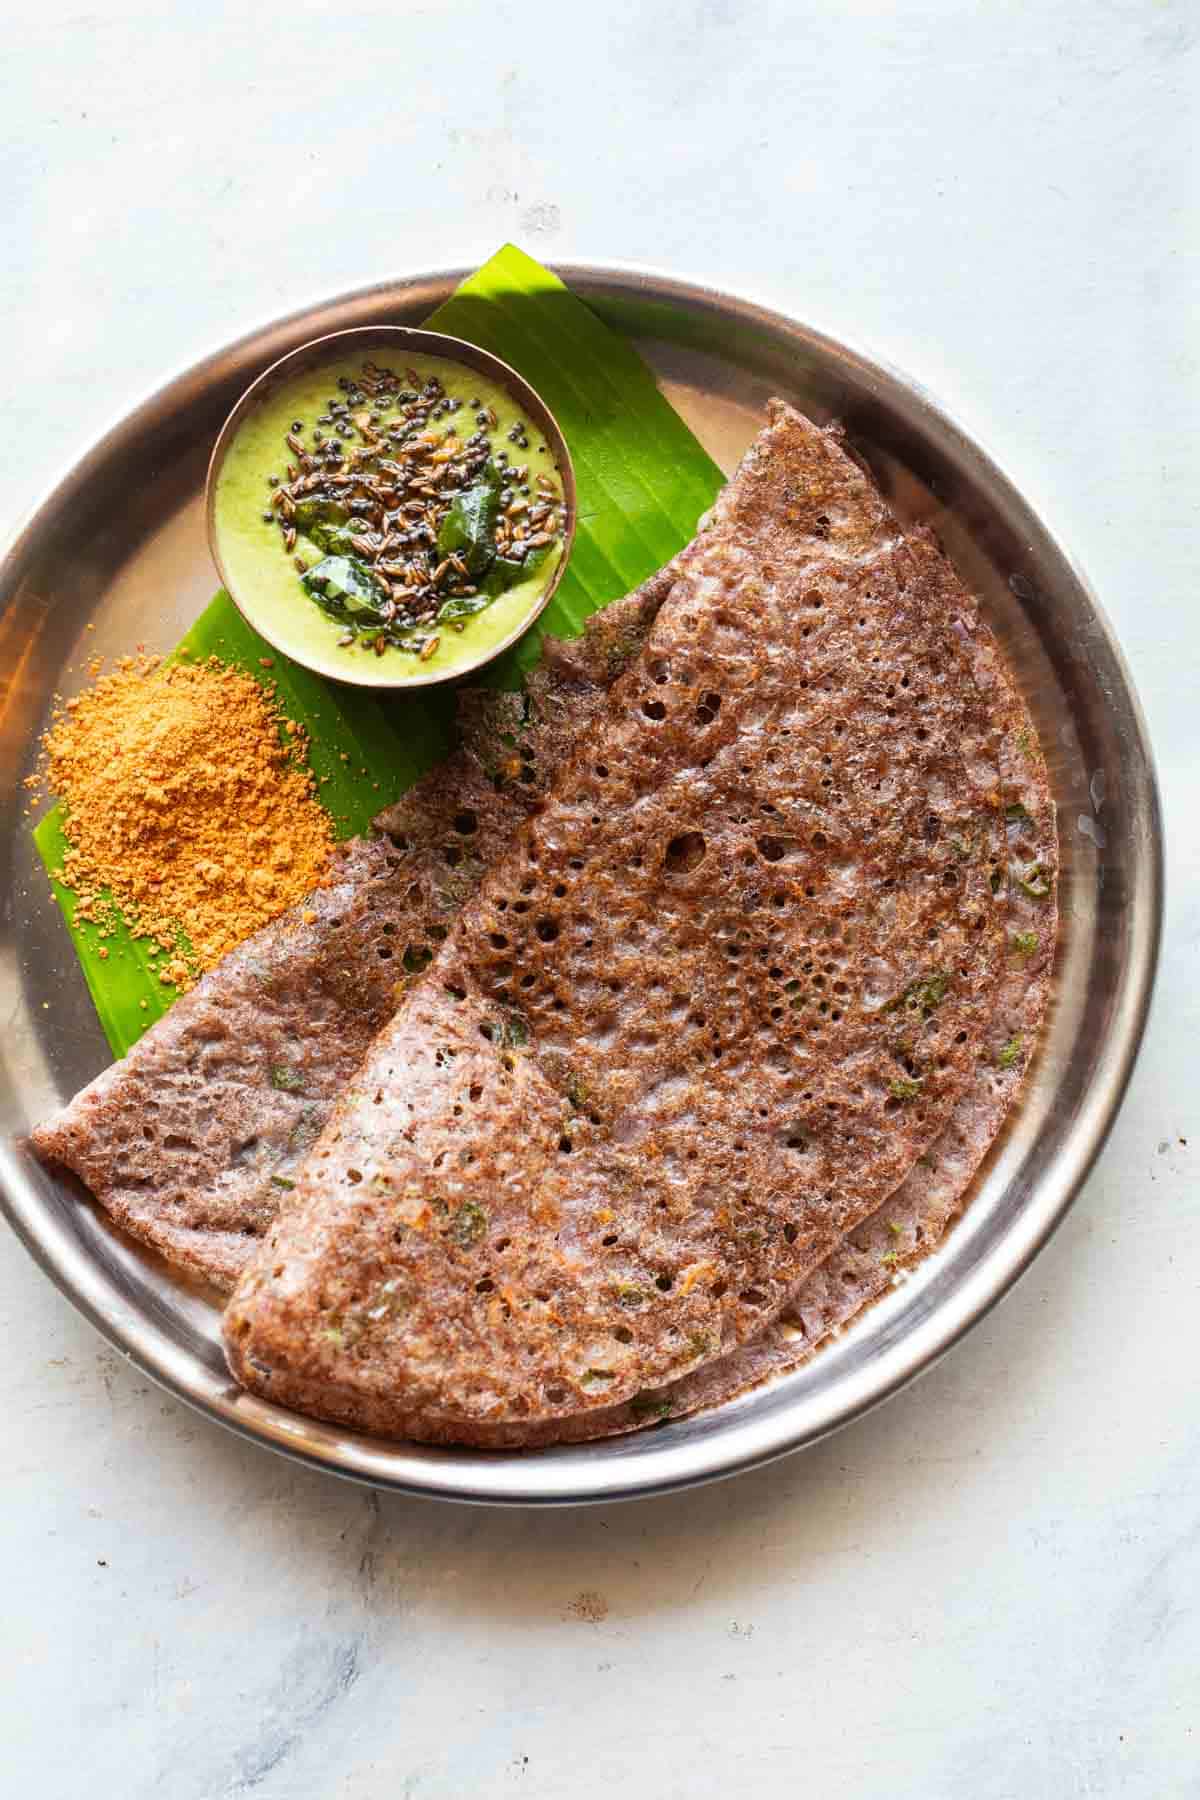
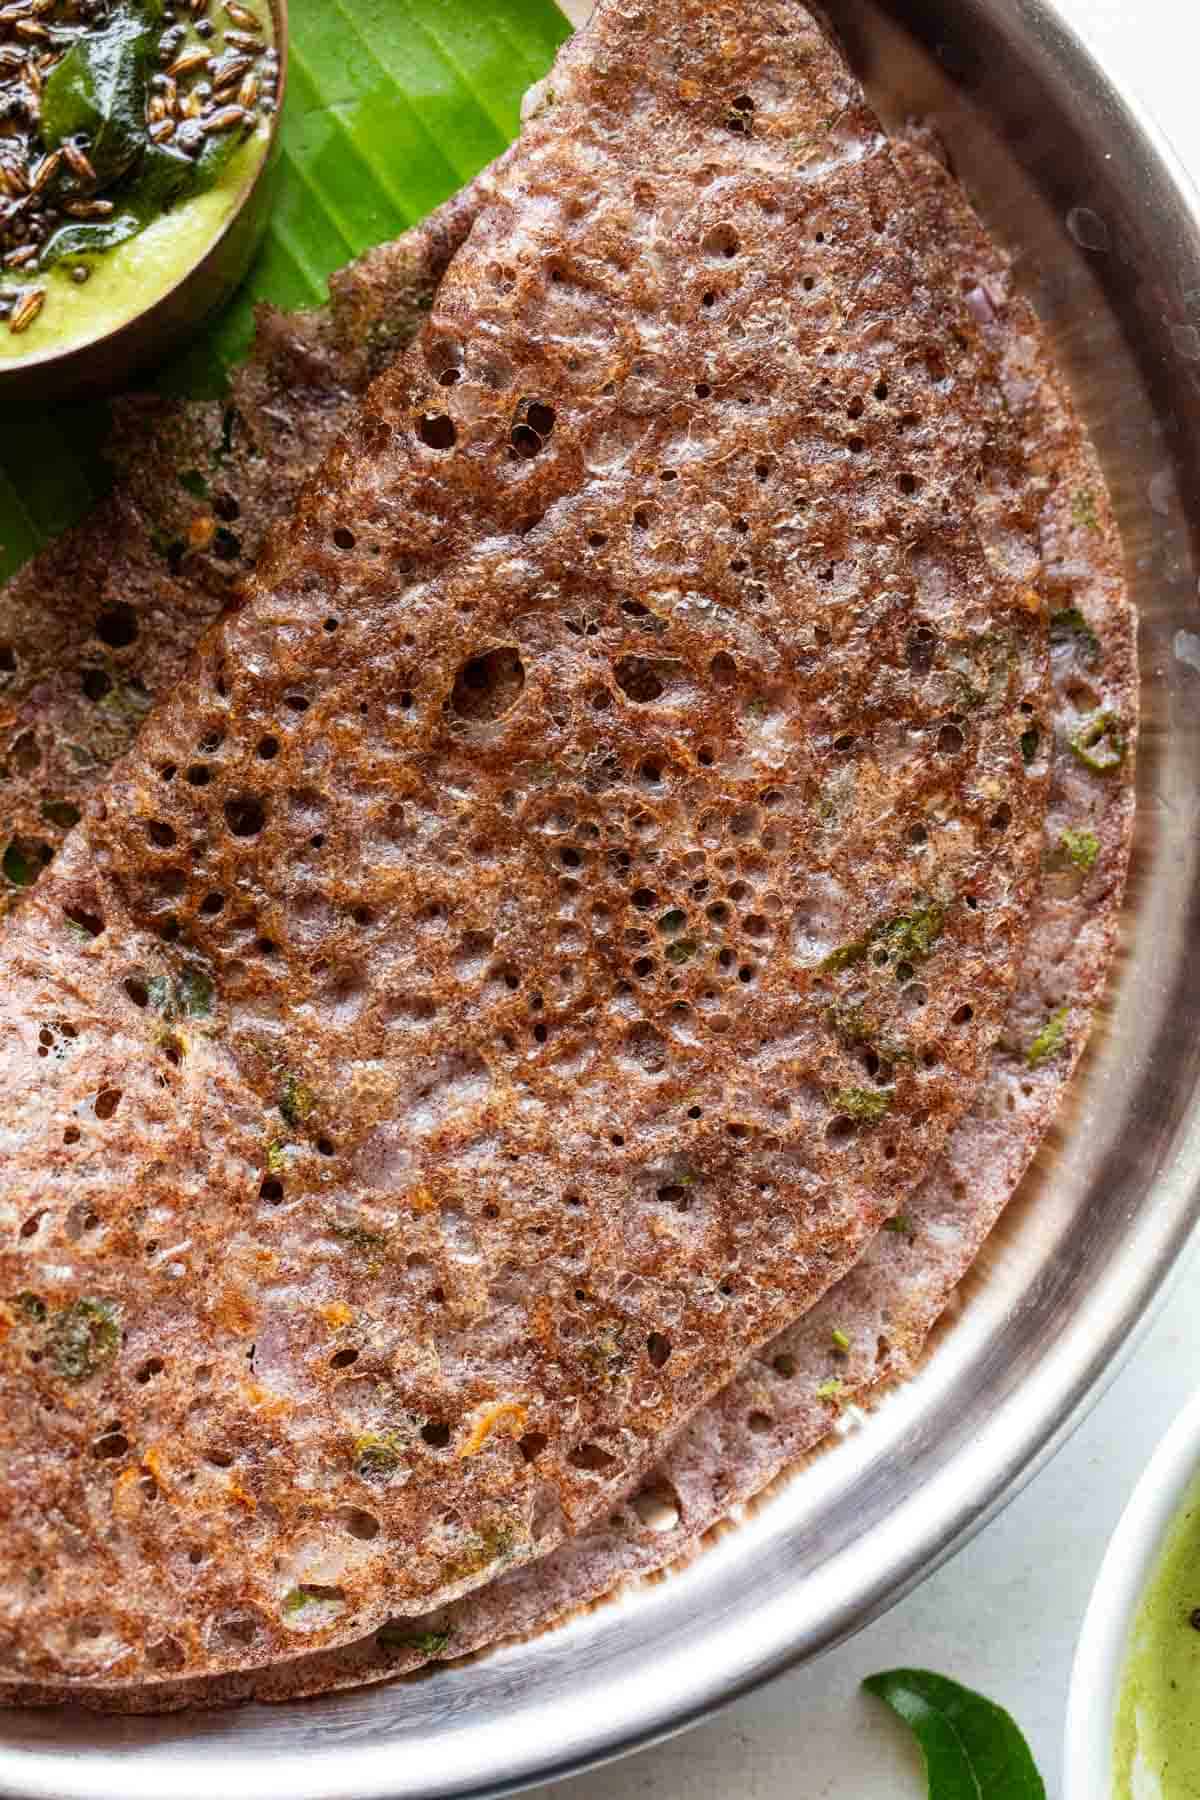
Crispy, nutritious and such an easy breakfast – Instant Ragi Dosa is best enjoyed with coconut chutney and podi. One of my favourite millet recipes and a really easy way to incorporate them in your diet.
We’ve spoken about how I’m trying to incorporate more millets in my diet and this by far is my favourite recipe. In fact now that I think about it, Ragi or Finger Millet is my most used millet. Because its so easy to incorporate – I use it to make ragi crepes, pancakes, cake and even ragi soup.
And today I have this delicious Instant Ragi Dosa for you – a super healthy, hearty breakfast that takes minutes to put together. Dosa is our go-to breakfast on my days and we do a lot of different kinds – regular dosa, oats dosa, banana dosa, millet dosa with a fermented batter, neer dosa, banana dosa and chilla. This Ragi Dosa is a current favourite because its more filling than regular dosa, doesn’t need fermentation and is a great way to incorporate ragi into the diet.
If you want to learn more about millets, including the types, how to cook them, ideas to include them in your diet and a lot more, make sure to check out my Millets 101 article.
Ingredients for Ragi Dosa
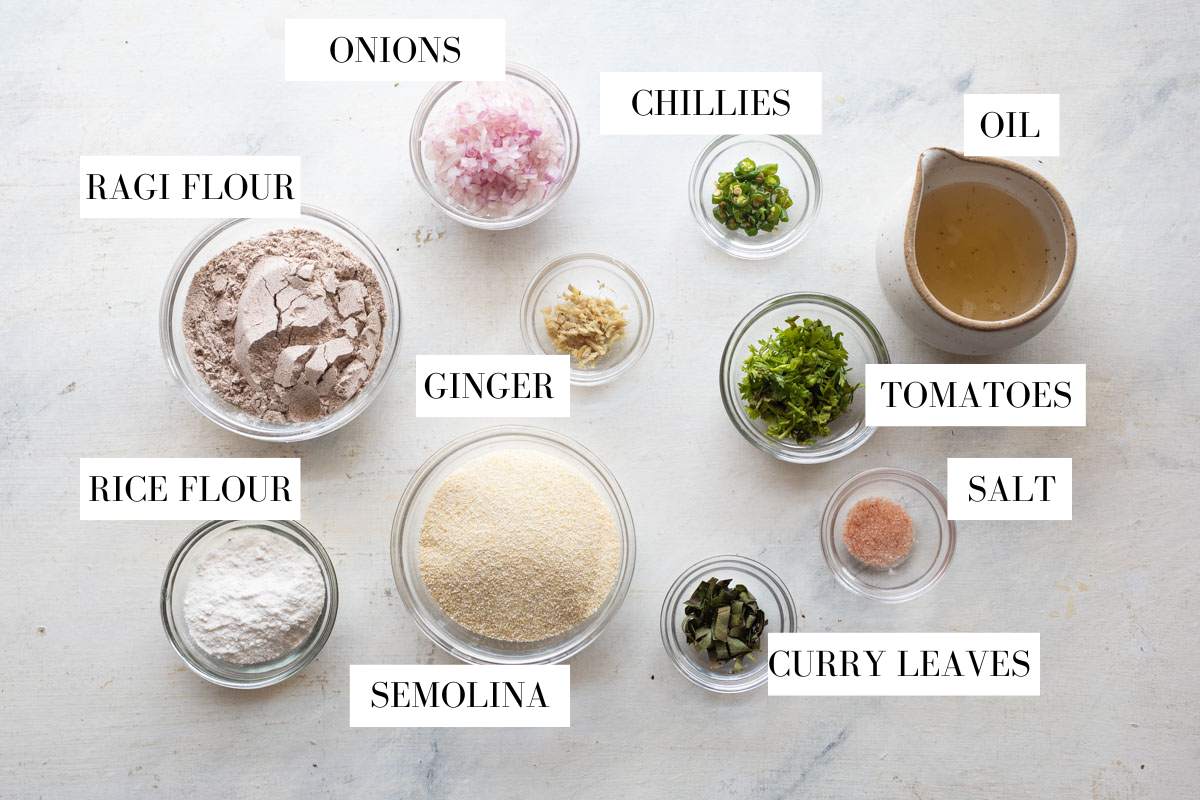
Here’s a quick picture of all the ingredients you’ll need for ragi dosa. Ragi flour or Finger Millet Flour is easily available at most places these days.
Ragi flour: Aka finger millet flour. It’s easily available in most stores both online and offline in India. If you’re outside India, you should be able to find it in any Indian supermarket near you
Semolina: Rava or semolina helps achieve that lacy, crispy texture of dosa. It also gives the dosa batter more body and prevents the dosa from falling apart
Rice flour: Helps make the batter light and airy and the dosa crispy
Onions: For texture and flavor in ever bite
Greens: Chopped coriander leaves and curry leaves add a lovely earthy flavor and freshness
Ginger: Finely chopped for flavor and aroma
Green chillies: Finely chopped for a kick of heat
Salt: For seasoning
Oil: Any neutral-flavored oil helps to prevent the dosa from sticking and makes it crispy. You can also use butter or ghee instead
Benefits of Finger Millet
Rich in calcium: Finger millet, also known as ragi, is naturally high in calcium, which supports strong bones and teeth.
Good source of fibre: Its fibre content can help support digestion and keep you feeling fuller for longer.
Naturally gluten-free: Ragi is a great grain option for people looking to include more gluten-free foods in their diet.
Provides plant-based iron: It contains iron, which plays an important role in supporting healthy red blood cell production.
Contains essential nutrients: Ragi provides nutrients such as magnesium, phosphorus and potassium, making it a wholesome addition to everyday meals.
Steady source of energy: Its combination of complex carbohydrates and fibre makes it a nourishing choice for breakfast, snacks or meals.
Frequently Asked Questions
Is ragi dosa healthier?
Yes, ragi dosa is much healthier than regular dosa thanks to its higher fiber content, and more nutrients such as calcium and iron.
Why is my ragi dosa sticking to the pan?
If your ragi dosa is sticking to the pan, the pan may not be at the right temperature or the batter may be too thick. Make sure the pan is well heated, use a thin, pourable batter, and avoid flipping the dosa until the edges are crisp and naturally start to release. If you’re using cast iron, a well-seasoned pan also makes a big difference.
Can I make instant ragi dosa without rava or semolina?
Yes, you can make instant ragi dosa without rava or semolina, but the dosa may be slightly less crispy and can be more delicate. Rava adds structure and helps create crisp edges, so if you leave it out, make sure the batter is thin and cook the dosa a little longer until it releases easily from the pan.
Richa’s Top Tips
Add water little by little. While making the batter, start by mixing all the dry flours with a little water to make a thick, lump free paste. Then add the other ingredients and water to make a thin, flowing batter
Rest the batterfor at least 30 minutes. This helps the semolina to swell up. The batter is best consumed on the same day, but can also be made the previous night and kept
Give the batter a stir before each dosa. This helps mix any flour thats settled at the bottom
Always pour the batter, not spread. Unlike regular dosas, the batter doesn’t have to be spread. It should be poured and swirled around on a hot pan. As it hits the pan, it’ll set into a lacy pattern. If you see any large unfilled pockets, pour a little batter to fill them (watch the video to see how this is done)
Cook the dosas on a low flame. This ensures they cook well and become crispy
The consistency of the batter should be like milk. The batter can thicken so you might have to add a little more water to the batter mid way to adjust the consistency.
Storage Instructions
Dosa batter: Store leftover batter in an airtight container in the refrigerator for up to 1 day. The rava will continue to absorb liquid, so add a splash of water and whisk well before making the dosas.
Cooked dosa: Ragi dosa is best eaten fresh as it tends to lose its crispiness as it sits. If you do have leftovers, refrigerate them in an airtight container for up to 1 day.
Reheating: Reheat leftover dosas on a hot tawa for a couple of minutes on each side to bring back some of the crispness. Avoid microwaving as it can make them soft and chewy.
Serving Ideas
Instant ragi dosa tastes best hot and crisp, straight off the pan. Here are a few things you can serve it with:
Coconut chutney: A classic pairing that works beautifully with the nutty flavour of ragi.
Tomato or onion chutney: Great if you like a little extra tang and spice.
Sambar: Serve with a bowl of hot sambar for a more filling breakfast or meal.
Potato masala: Add a spoonful of South Indian-style potato masala and fold the dosa for a delicious ragi masala dosa.
Curd or yoghurt: A simple option that works especially well with a spicy chutney on the side.
Chutney powder: Sprinkle some podi over the dosa and drizzle with a little ghee for an easy, flavourful option.
This dosa is really versatile. You can also add some grated carrots or thinly sliced cabbage to the batter. Another great addition is to stuff the dosa with grated paneer, or crack an egg on it while its cooking. Choose from my trio of chutney recipes for a super delicious breakfast.
Ragi dosa is an instant dosa recipe that’s also a great way to include millets in your diet. It doesn’t need any grinding or fermenting. Rich in iron and fibre, these dosas are healthy, hearty & nutritious. The trick is to make sure the batter is the consistency of milk.
Add Ragi Flour, Rice Flour, Semolina and salt to a large mixing bowl. Add half the water and mix well to form a lump free batter. Add all the other ingredients and the remaining water to the bowl. The consistency of the batter should be like milk.
Rest the batter for 30 minutes.
Making the Dosa:
Heat a non-stick tawa or a seasoned cast iron tawa on medium heat.
Once hot, take a ladle full of batter and pour from about a 1-2 inch height in a circular motion starting from the edge to the center. Don't try to spread the batter, always pour it around the pan.
As the batter hits the hot pan, you’ll see the dosa setting with small holes. These holes allow the steam to escape and help make the dosa crispy. If there are any big holes, you can fill them up with a little batter. Turn the flame to low, drizzle ½ teaspoon oil and let it cook for a couple of minutes or till it turns golden.
The dosas take 4-5 minutes to cook on a low flame. Flip the dosa and cook for another minute or two.
Serve hot with coconut chutney or any other chutney of your choice.
Video
Notes
For Gluten Free ragi dosa, skip sooji rava or semolina. Dosas will taste as good, but will be a little thinner.
You may also add grated veggies like carrots, cabbage, beetroot etc to the batter if you like.
Leftover batter can be refrigerated and will stay fresh for up to 3 days.
You can use any Dosa Tawa, but I personally like using a Nonstick Tawa as the dosa doesn’t stick to the tawa and is easier to flip.
Feel free to use oil or ghee to cook the dosa
Give the batter a stir before each dosa. This helps mix any flour thats settled at the bottom
Cook the dosas on a low flame so that they cook well and become crispy
You might have to add a little more water to the batter mid way in case the batter becomes too thick. It should be the consistency of milk.
Unlike regular dosas, the batter doesn’t have to be spread. It should be poured and swirled around on a hot pan. As it hits the pan, it’ll set into a lacy pattern. If you see any large unfilled pockets, pour a little batter to fill them (watch the video to see how this is done).
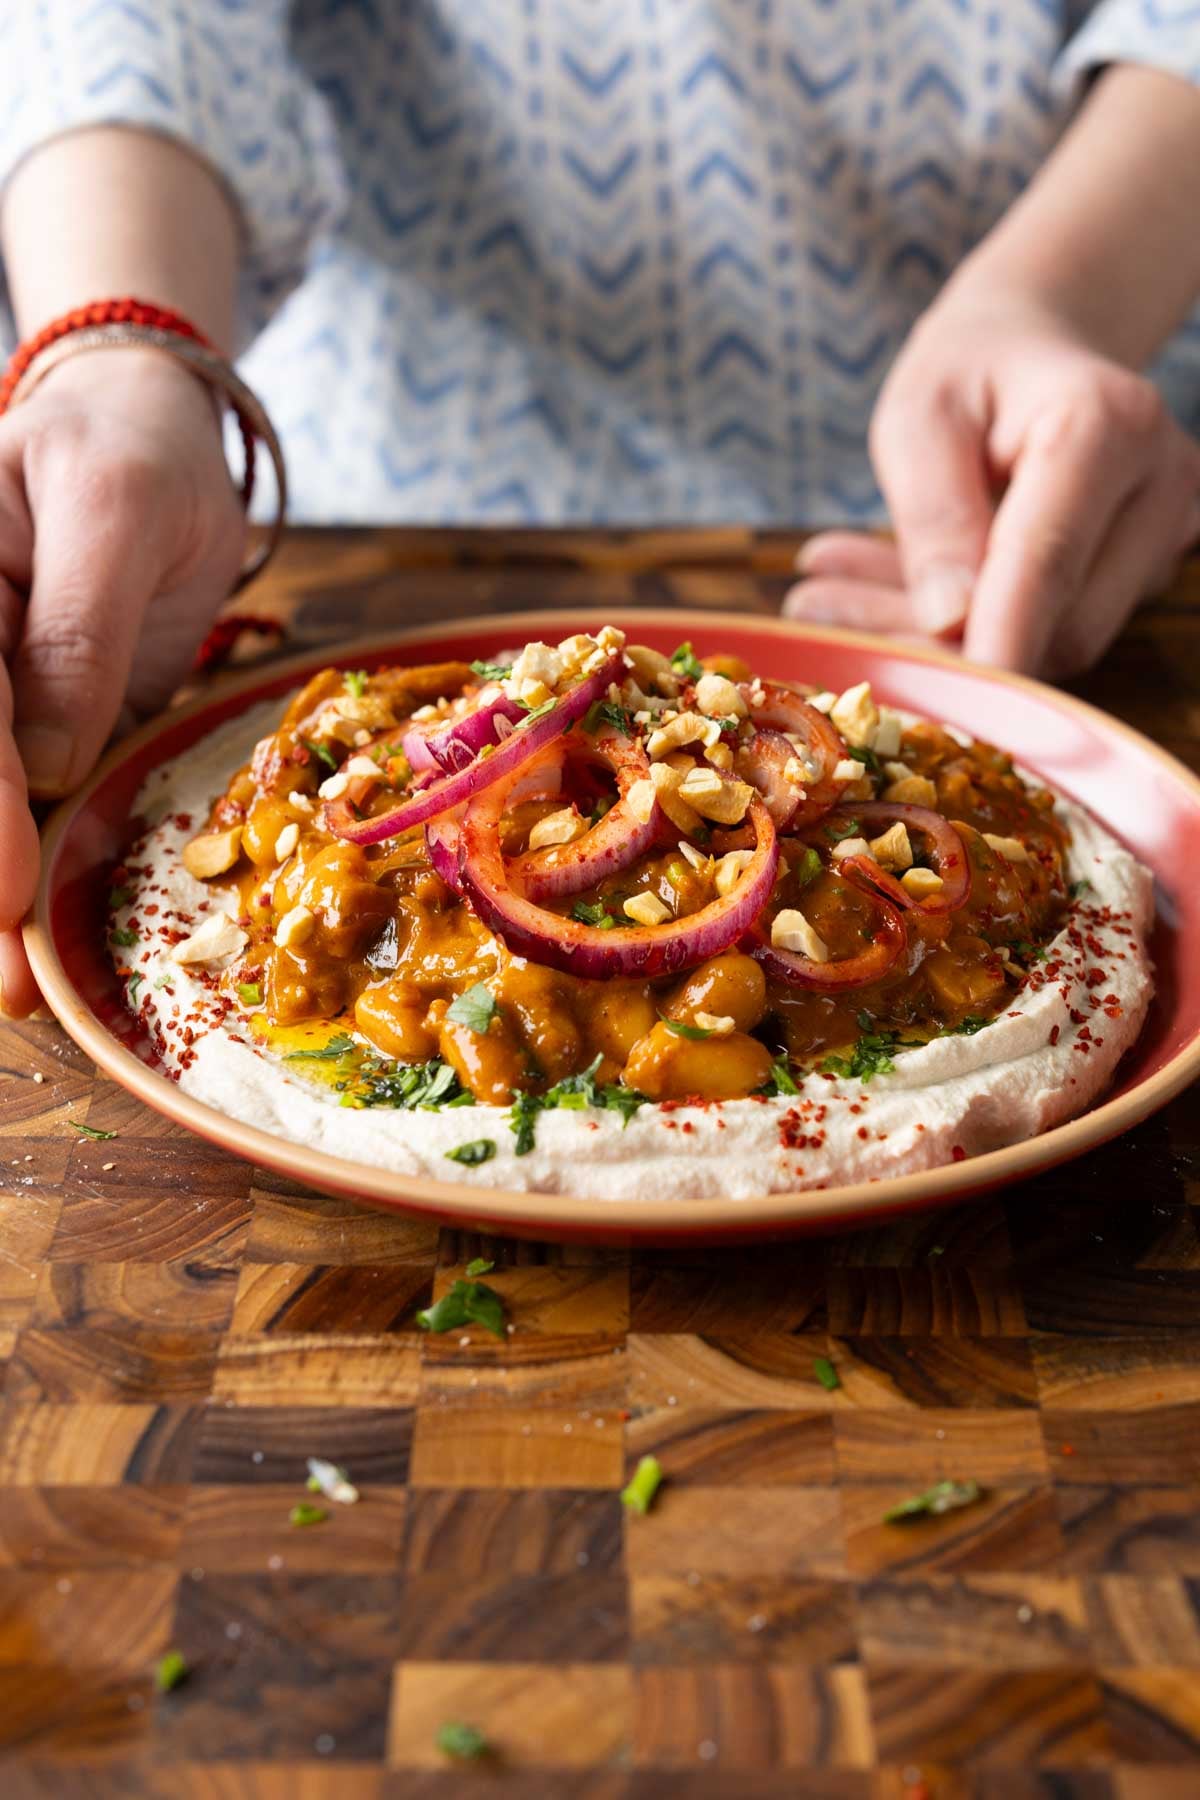
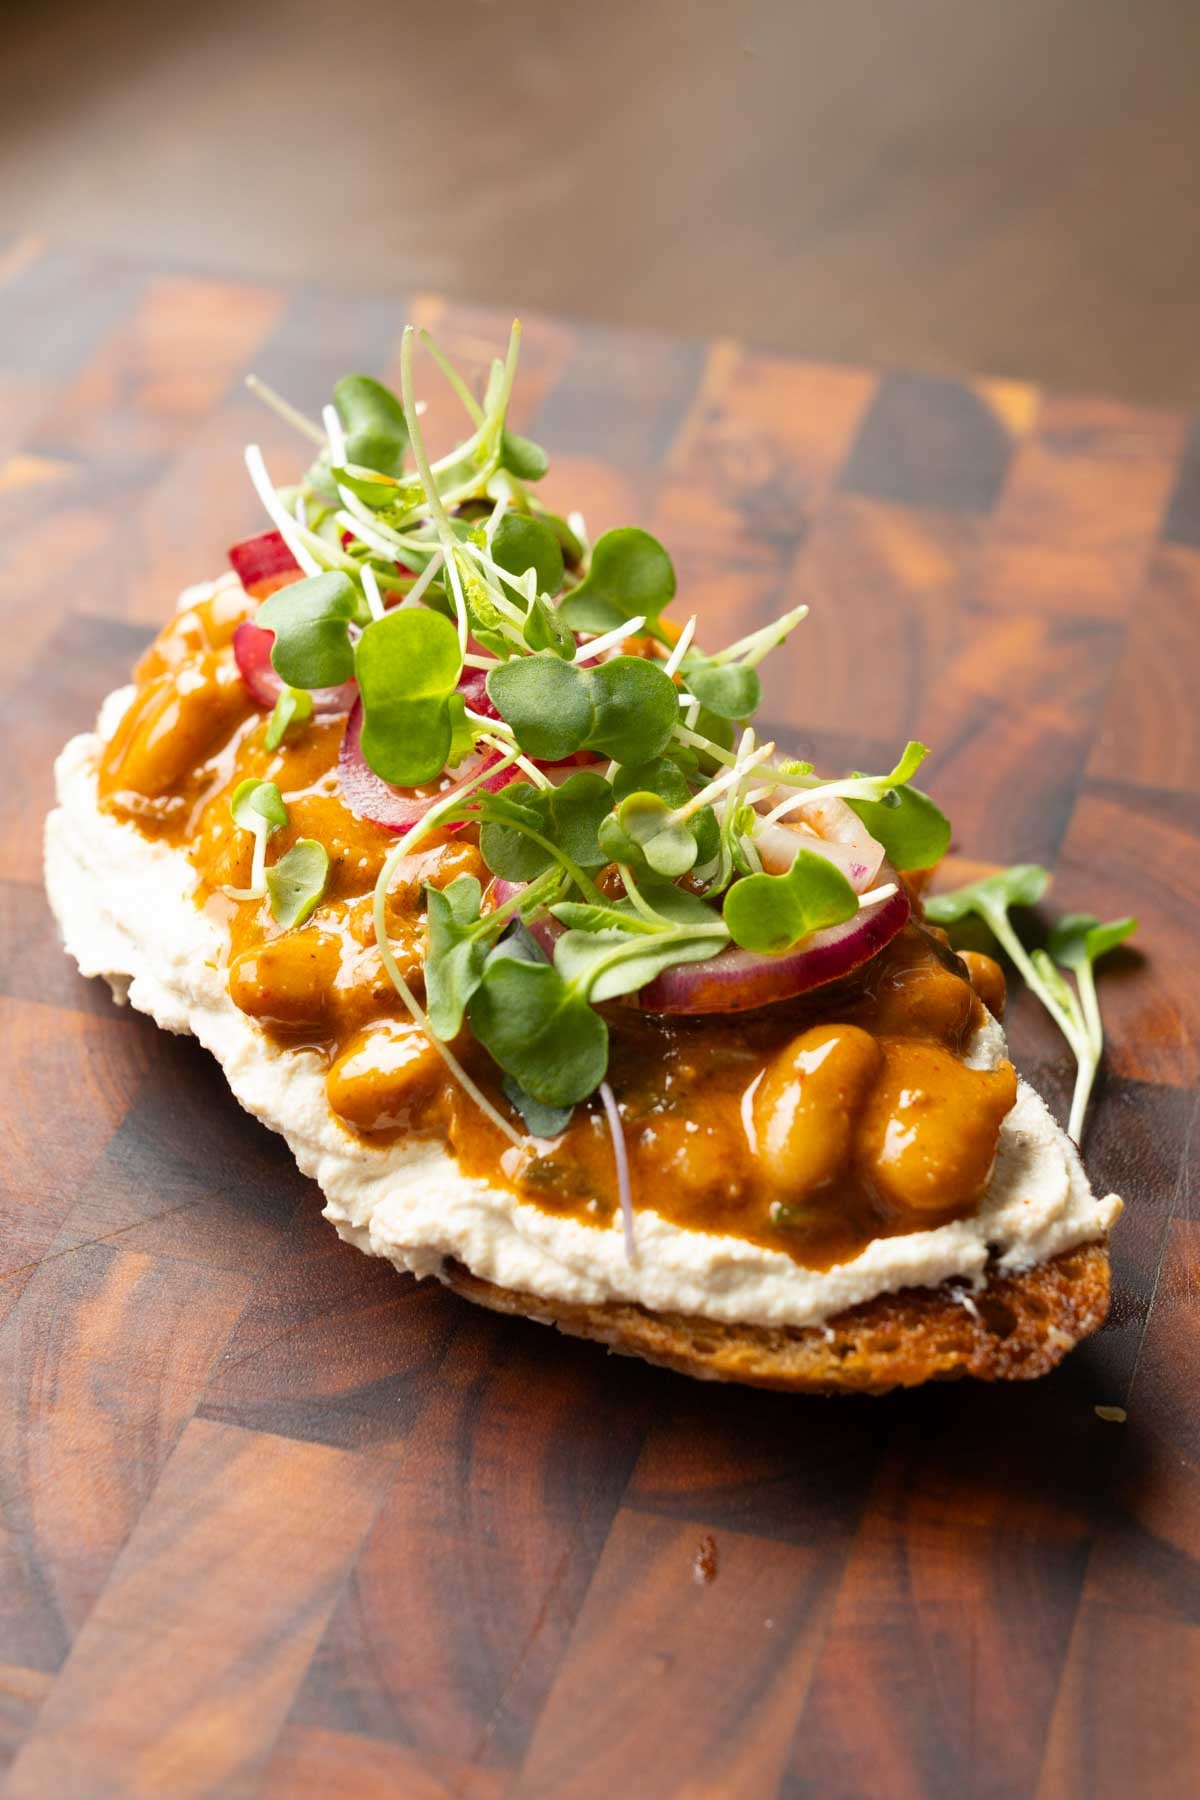
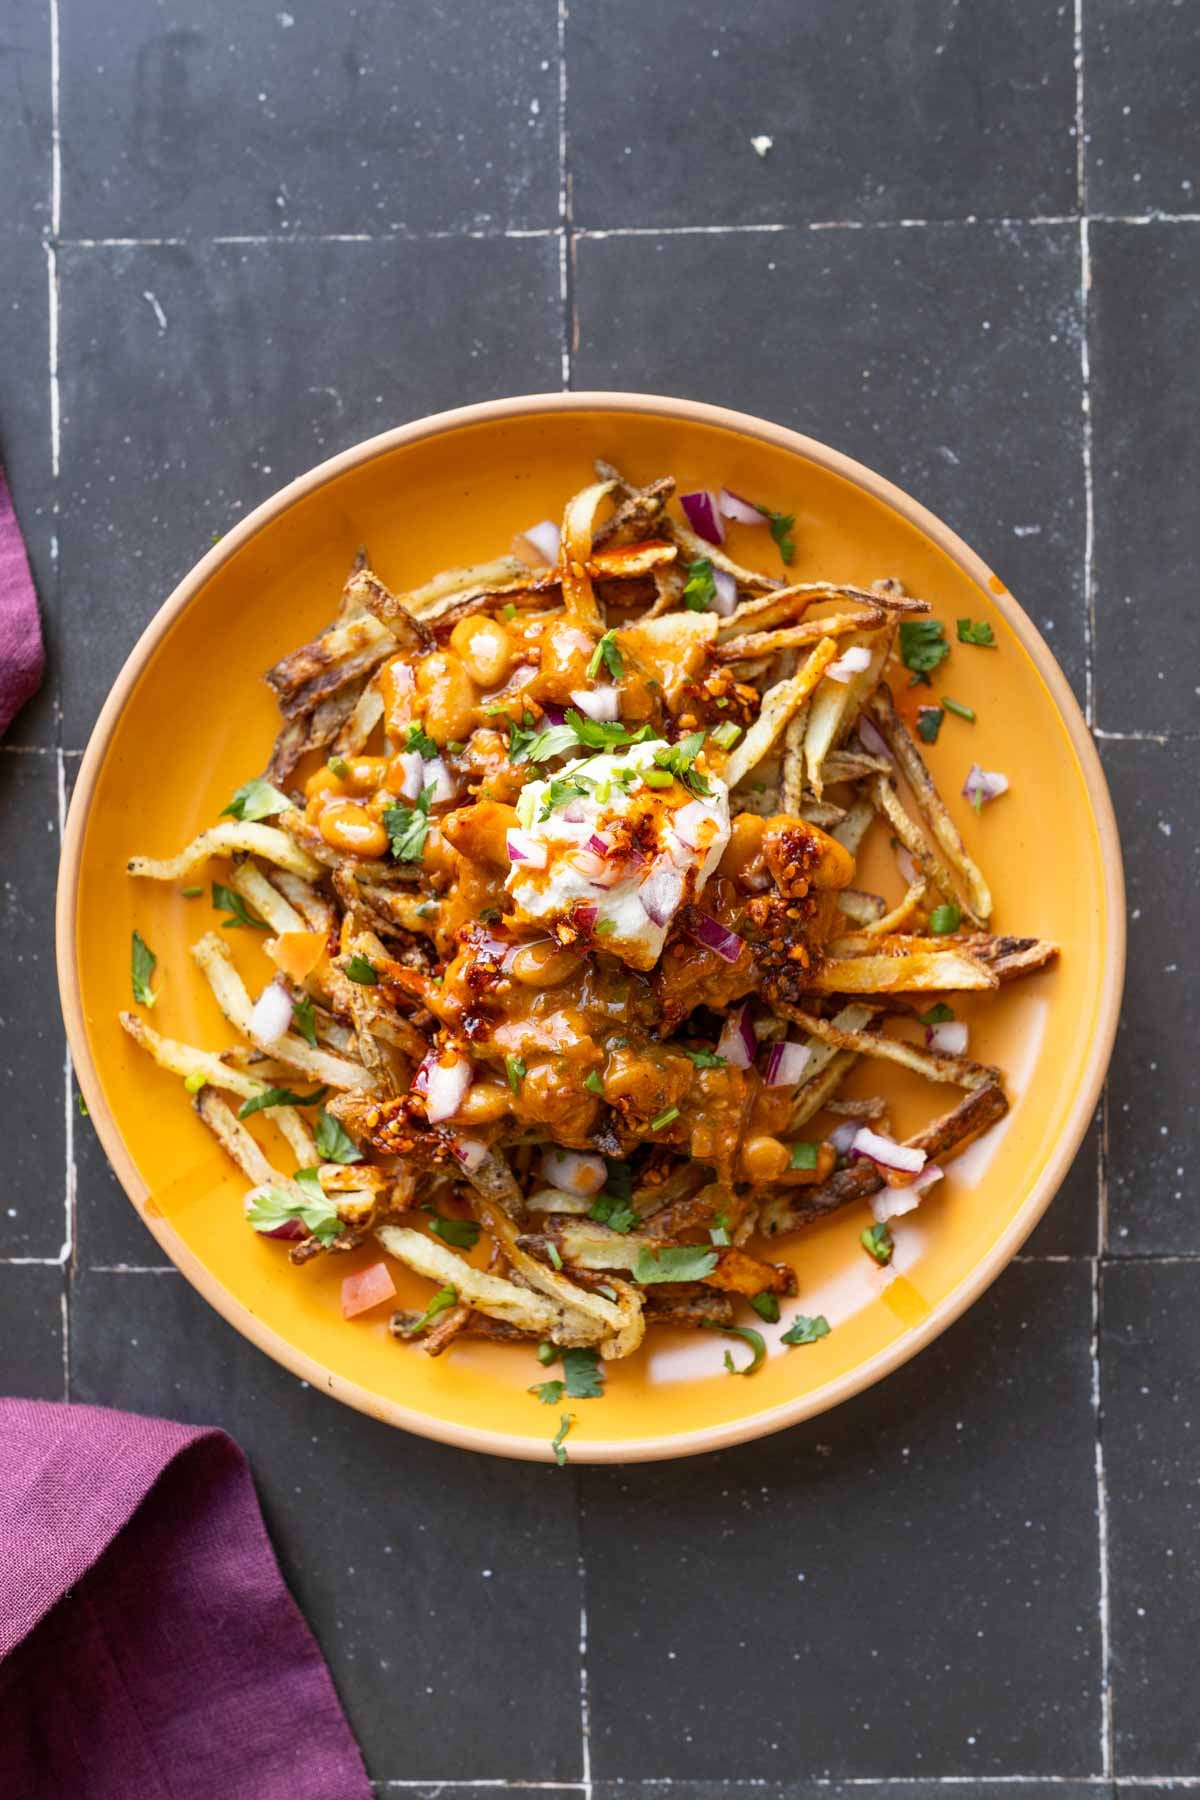
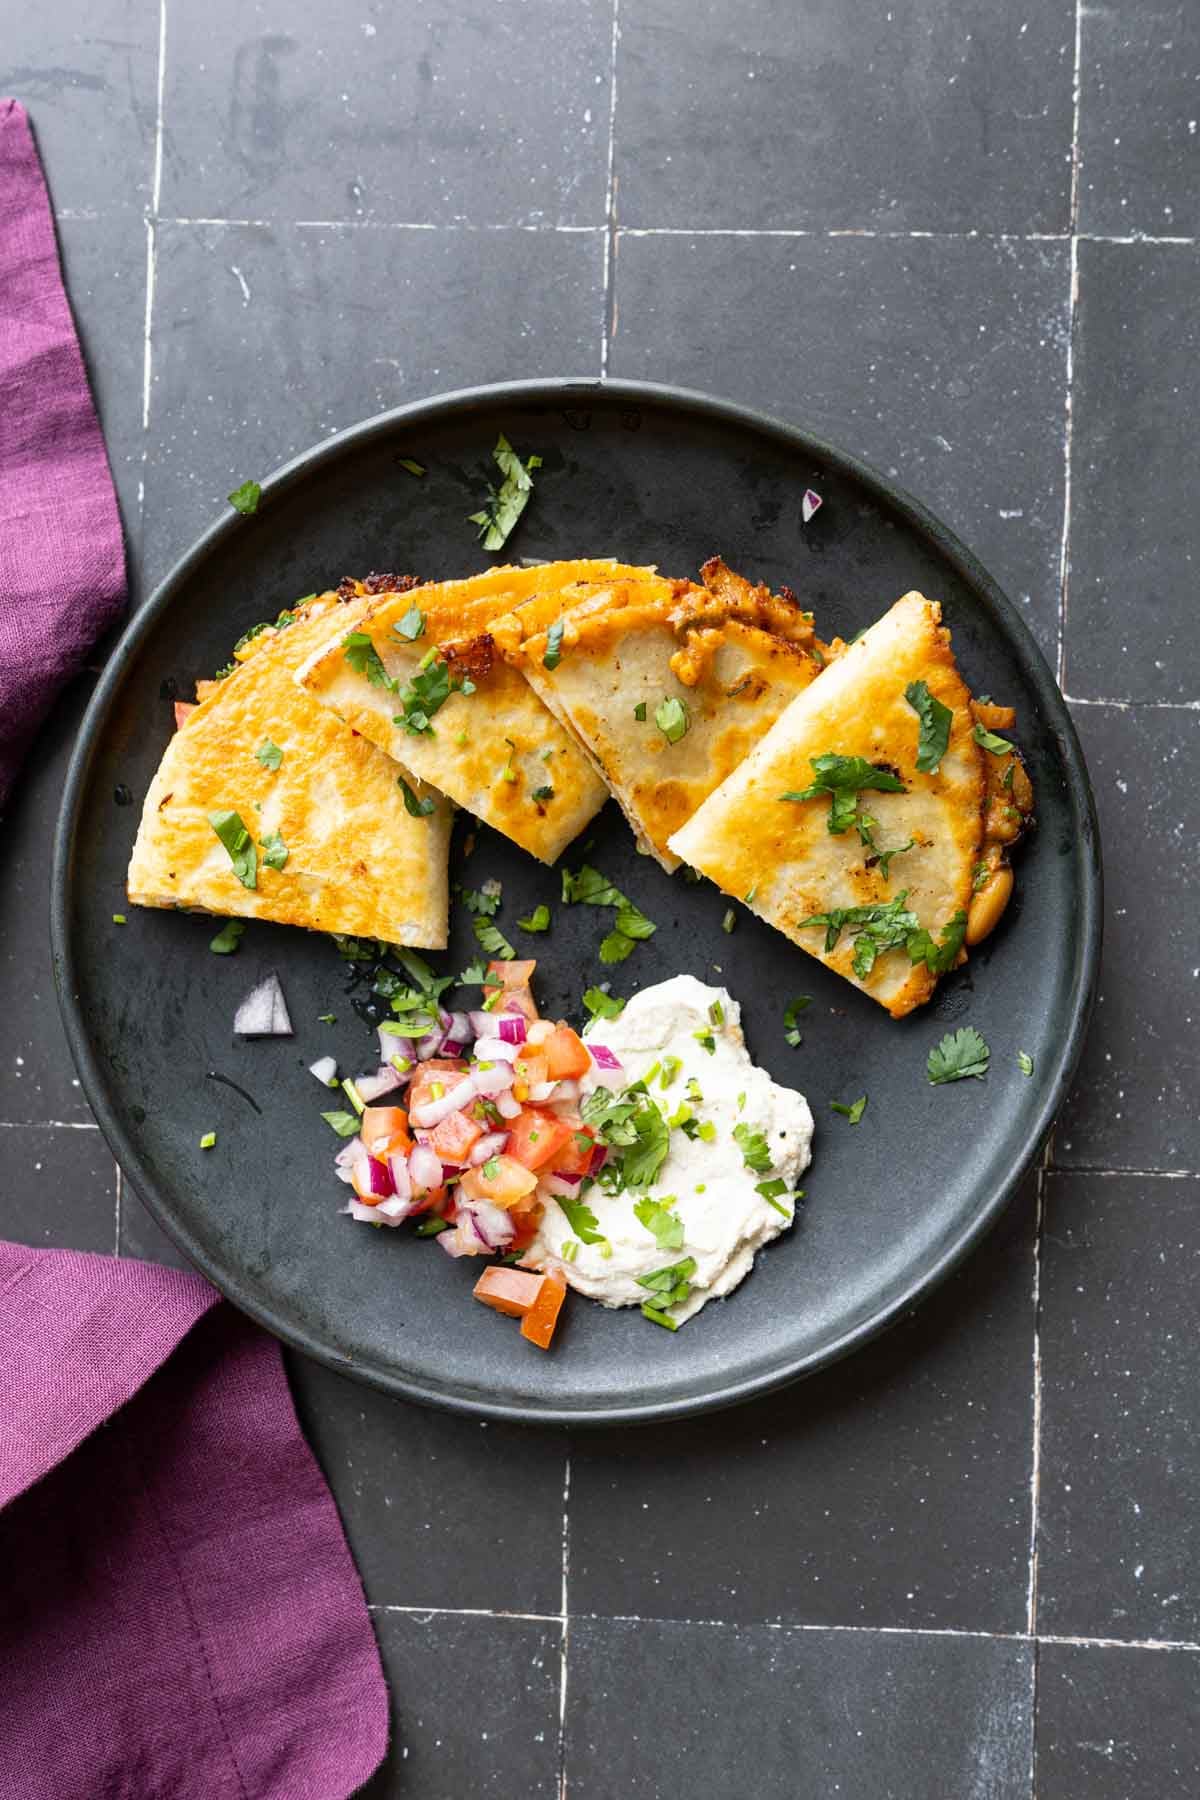
High protein, bold chili ginger garlic beans with cumin tofu and spicy onion salad. 30 minutes recipe, serve on toast, fries, baked potatoes, in smashed tacos, wraps or bowl. nut-free and gluten-free, 22 grams protein and 10 grams of fiber)
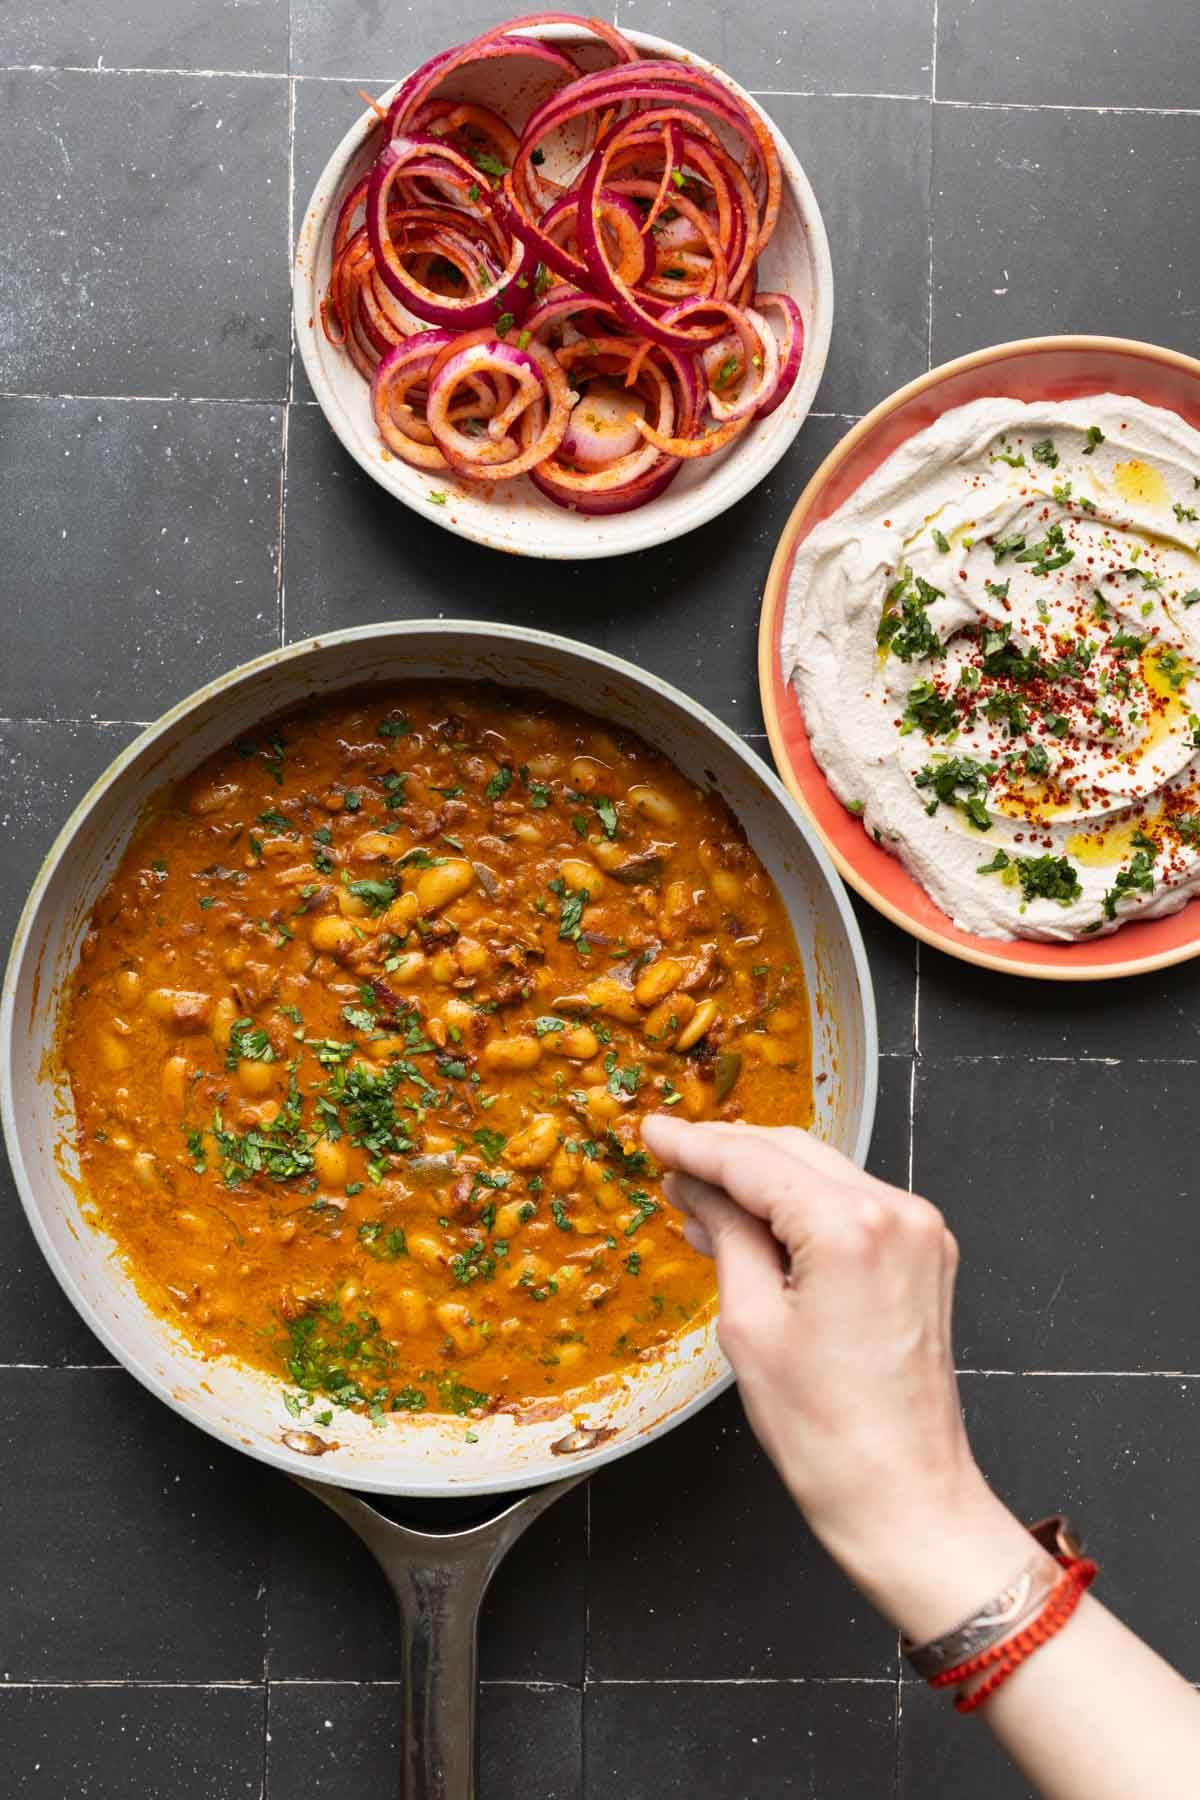
When weeknight dinners feel a little same-old, these chili ginger garlic beans are about to wake things up. They’re saucy, punchy, and layered with heat, balanced by creamy cumin-lime whipped tofu and a quick spicy onion salad. It’s bold, high-protein, and done in about 30 minutes.
Pile them on toast, tuck it into a baked potato, a dip platter, over roasted veg, in a wrap or go full comfort mode over crispy fries. One recipe, many moods. I prepped these and my garlic vinegar chickpeas and serve them in so many ways – watch on my YouTube channel !
We are reimagining Indian food today with beans majestic, a plant-based spin on chicken majestic. If you want a more traditional vegan version of Indian chicken majestic, check out my tofu majestic recipe. It’s super easy and full of flavor!
When people think of Indian food, they tend to think of Indian curries. But Indian cuisine that goes so far beyond curries and other saucy dishes served with flatbread and rice. There are so many creative ways that you can serve classic Indian dishes!
These saucy, chili garlic curry leaf beans are basically taking the sauce inspired from my tofu majestic, simplifying it, and adding beans to it. And it works so beautifully! It’s saucy, spicy, delicious, and pairs really well with lots of different components.
We make the beans along with a creamy, whipped tofu and pair these with a quick onion ring salad. Then, we’re going to pair these components in lots of different ways: on toast, as a dip, over baked potatoes or crispy potatoes(chili cheese fries style), or as crispy tacos!
Why You’ll Love Chili Garlic Beans
1-pan white beans packed with amazing Indian flavors
creamy, curry-inspired, blender tofu whip takes only minutes to make
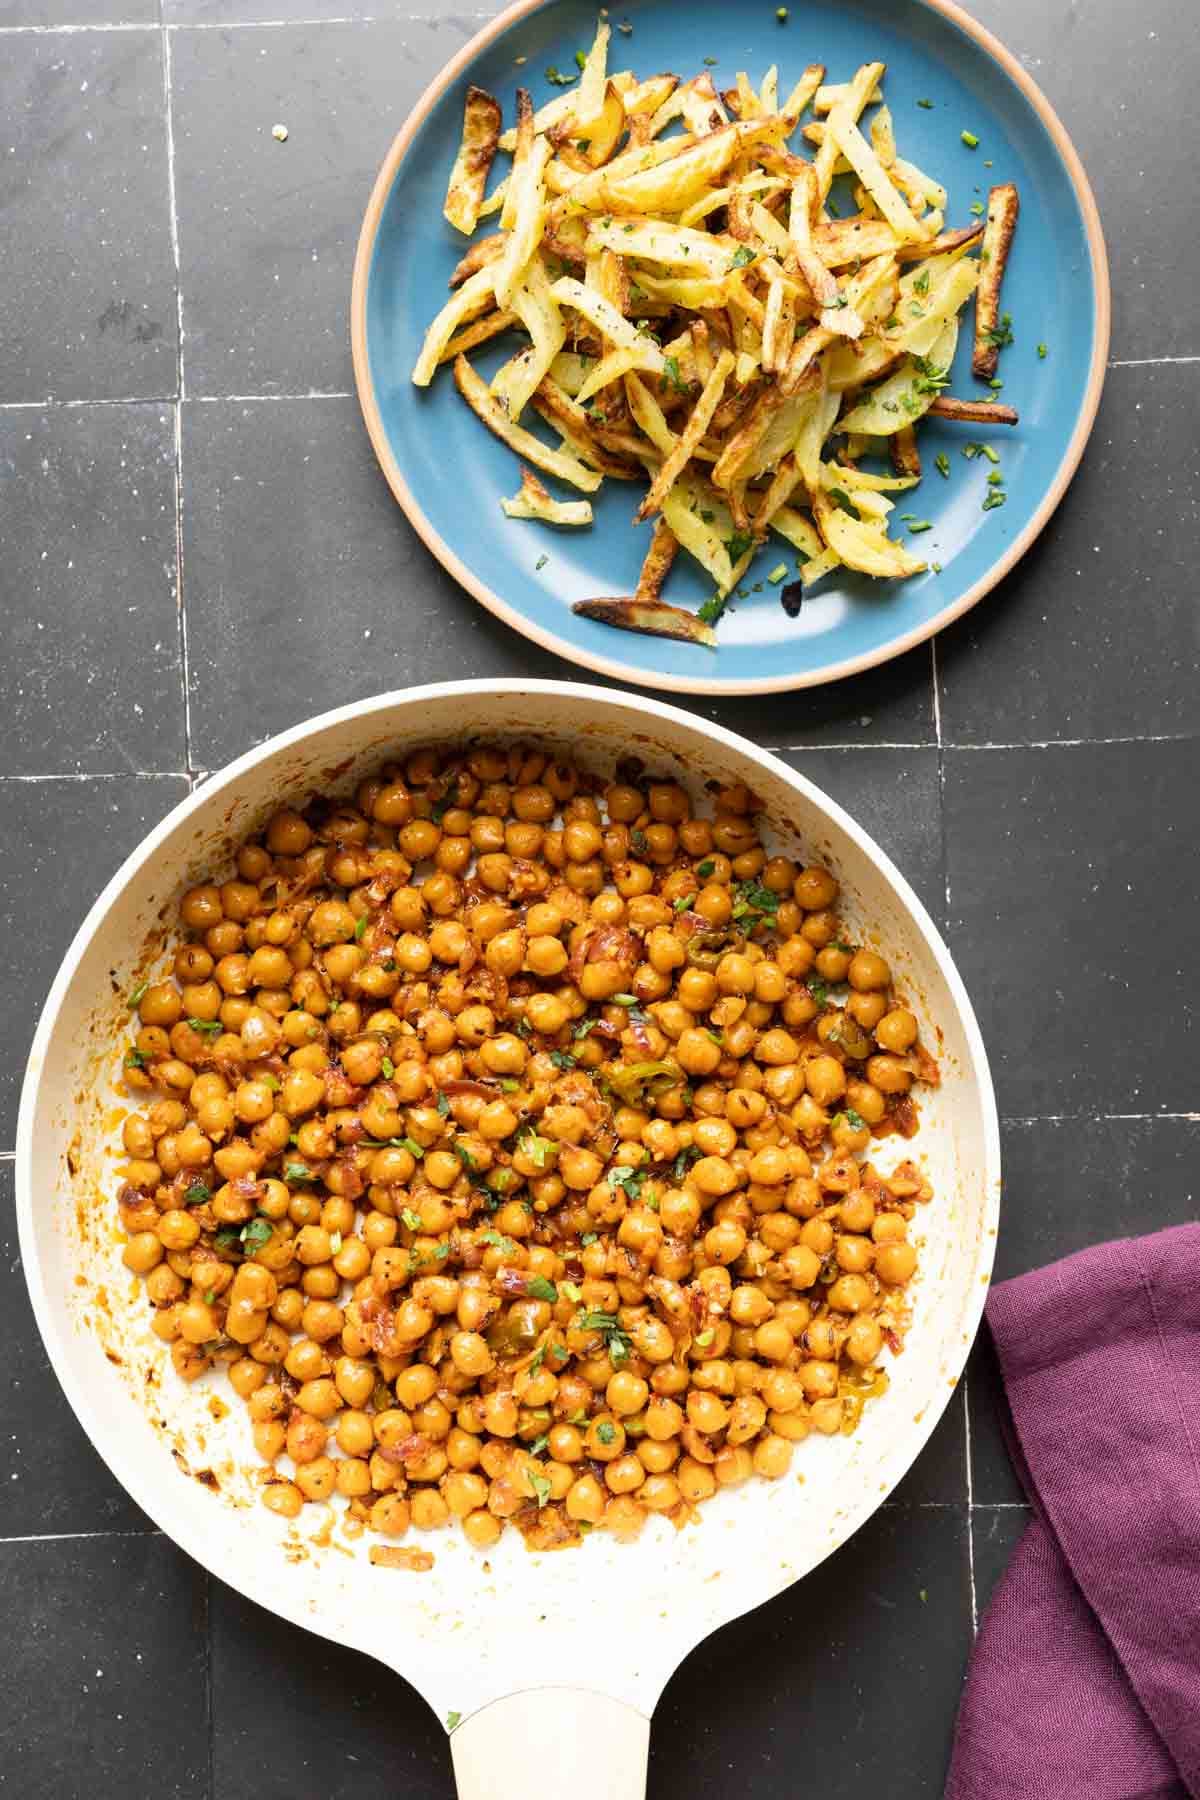
Chili Garlic Vinegar Chickpeas, 15 minute, bold ginger garlic heat and a vinegar snap. Use them on crispy potatoes, stuff pitas, smash tacos, toss salads, or top papadam nachos. Make once, meals and snacks all week. (gluten-free, soy-free, nut-free) 18g protein 15g fiber
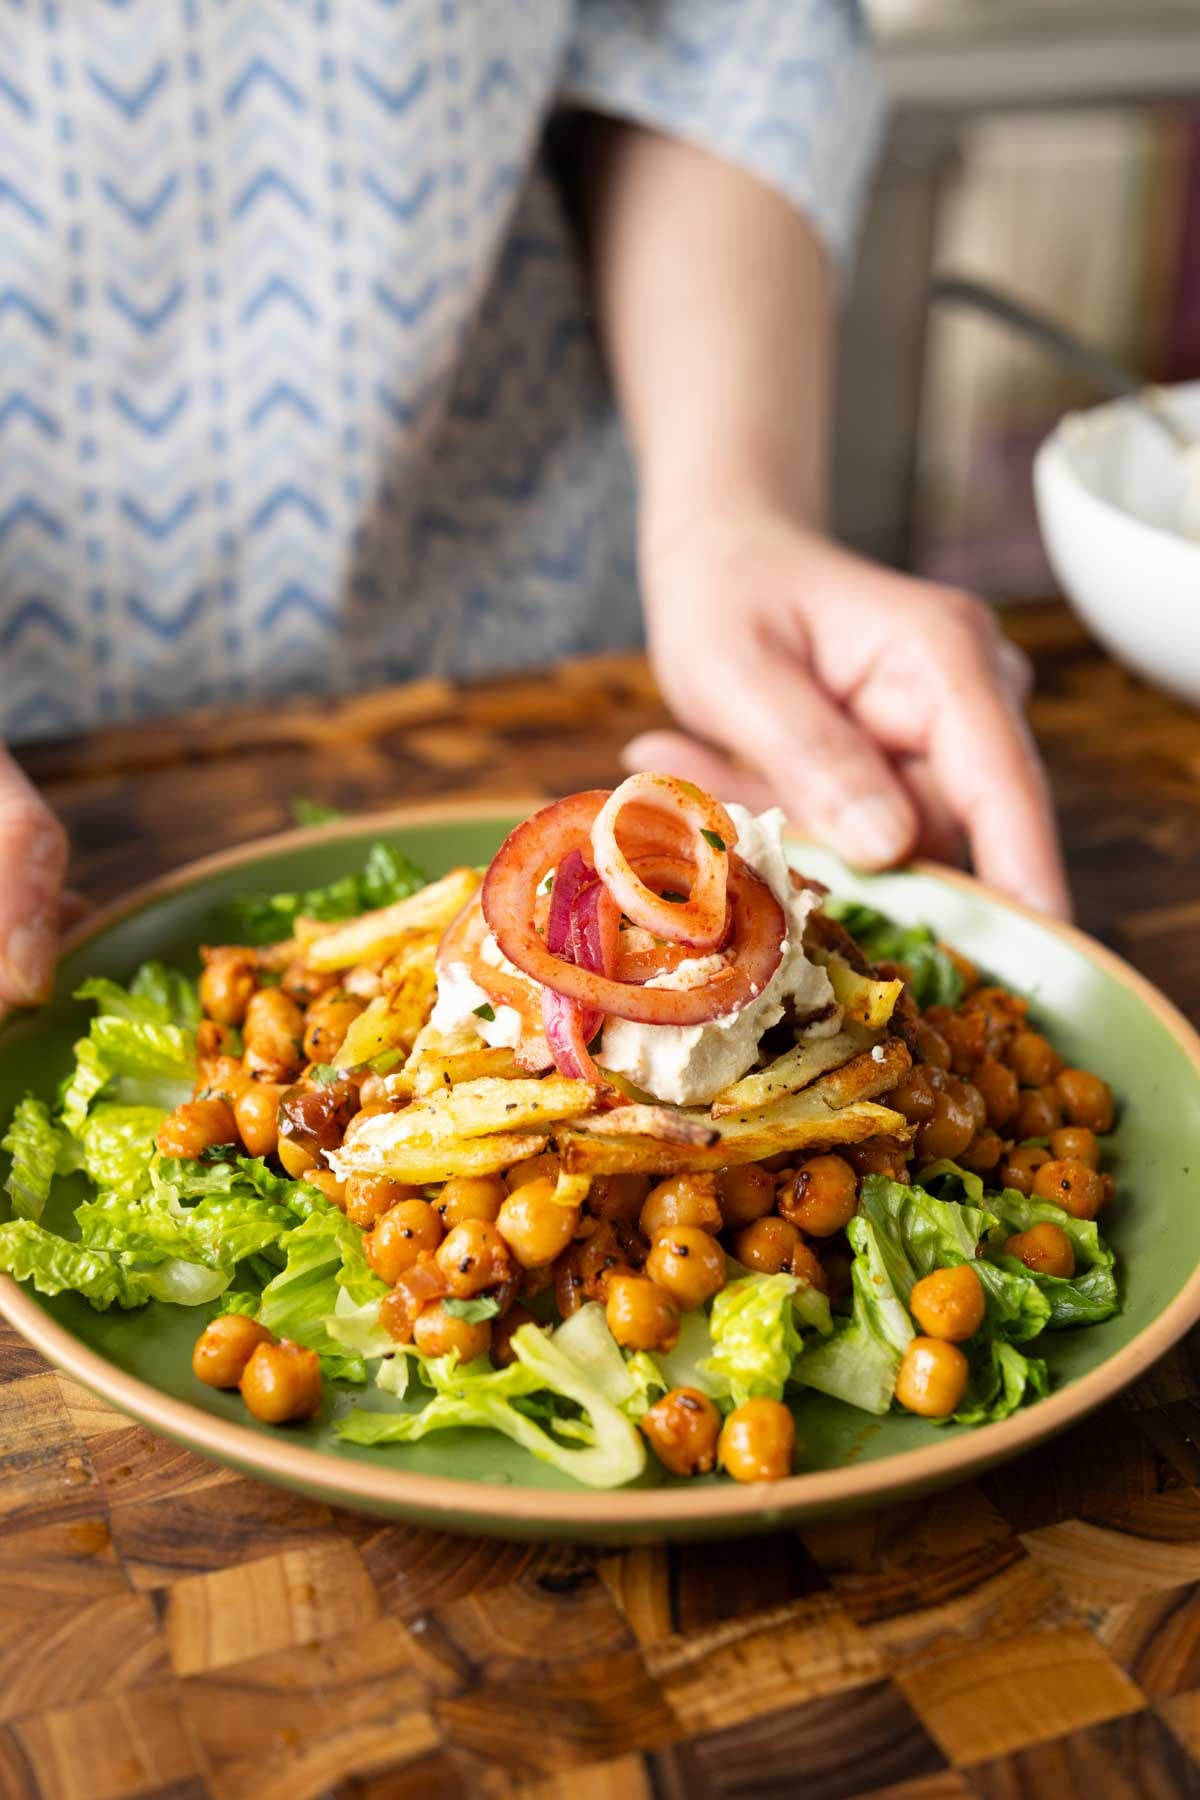
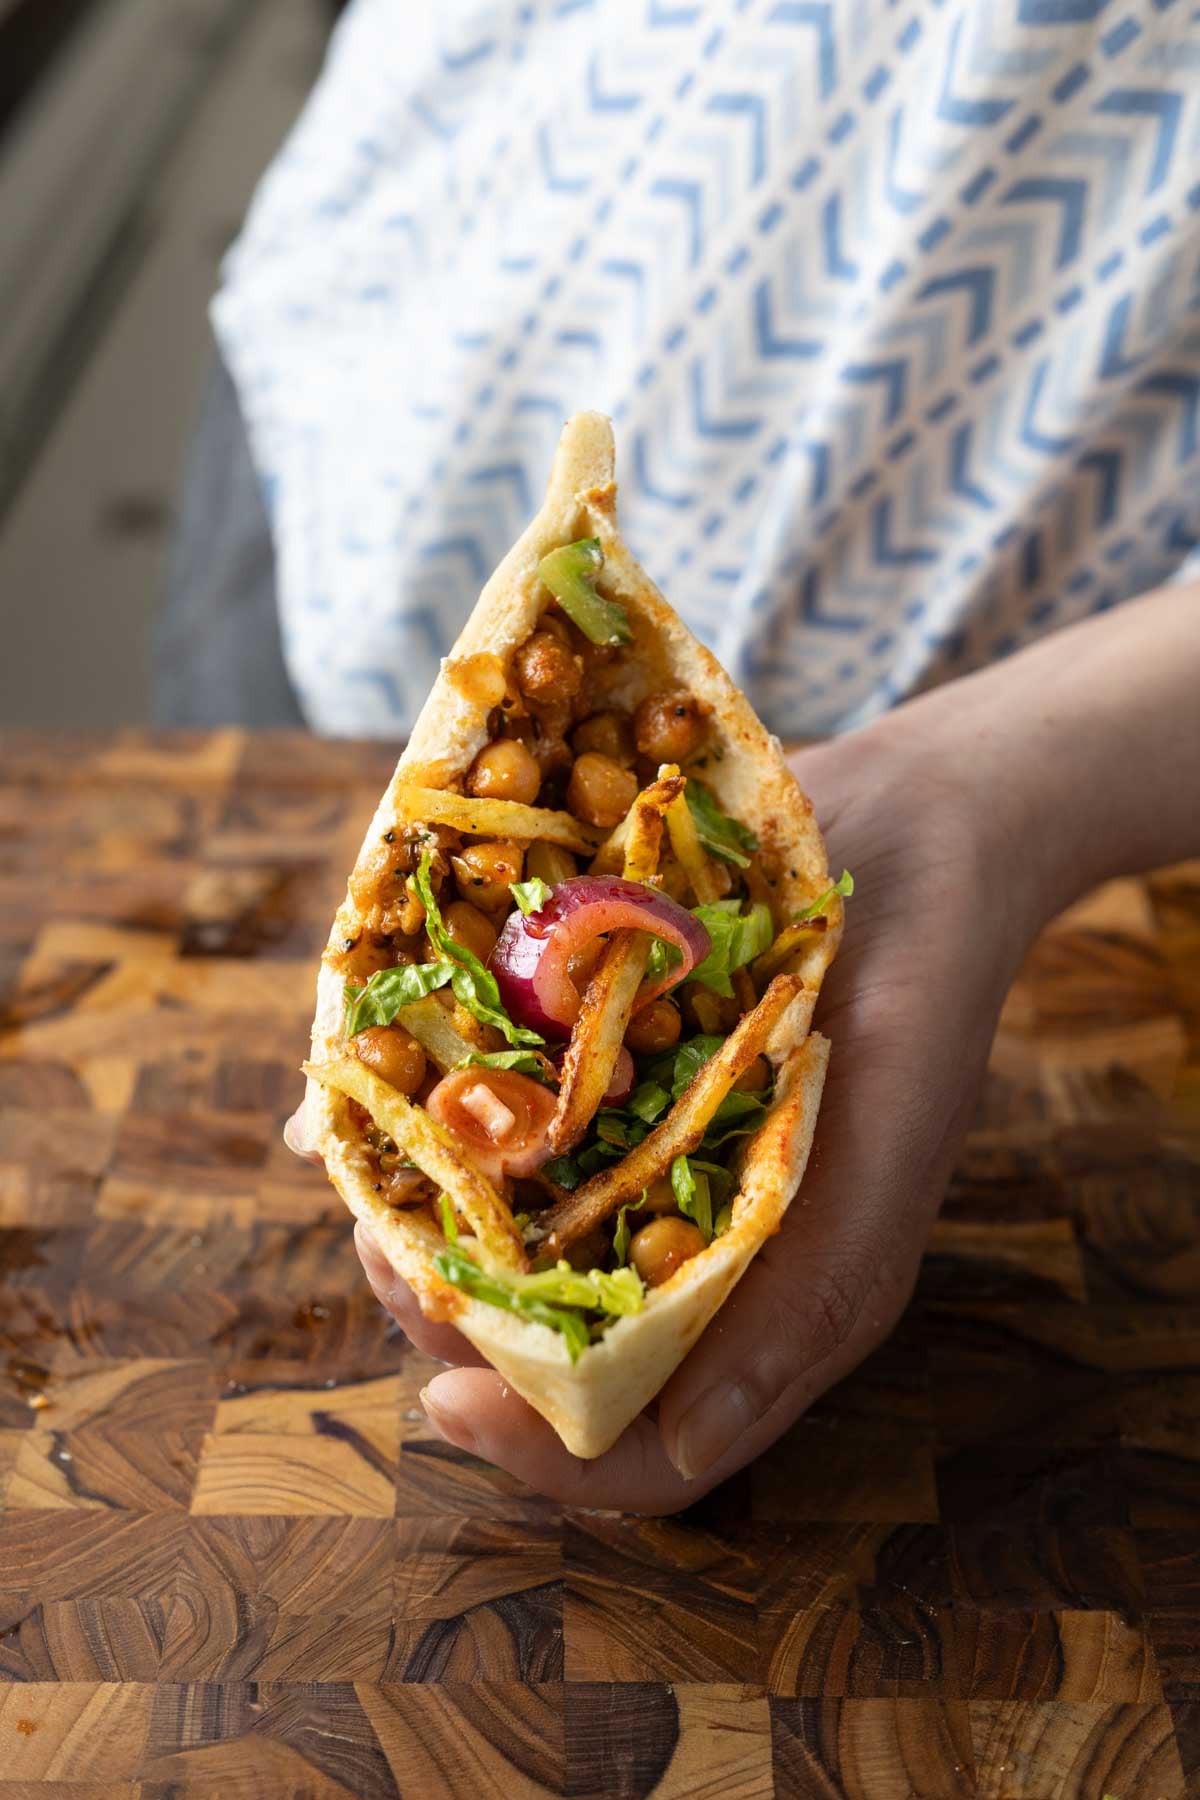
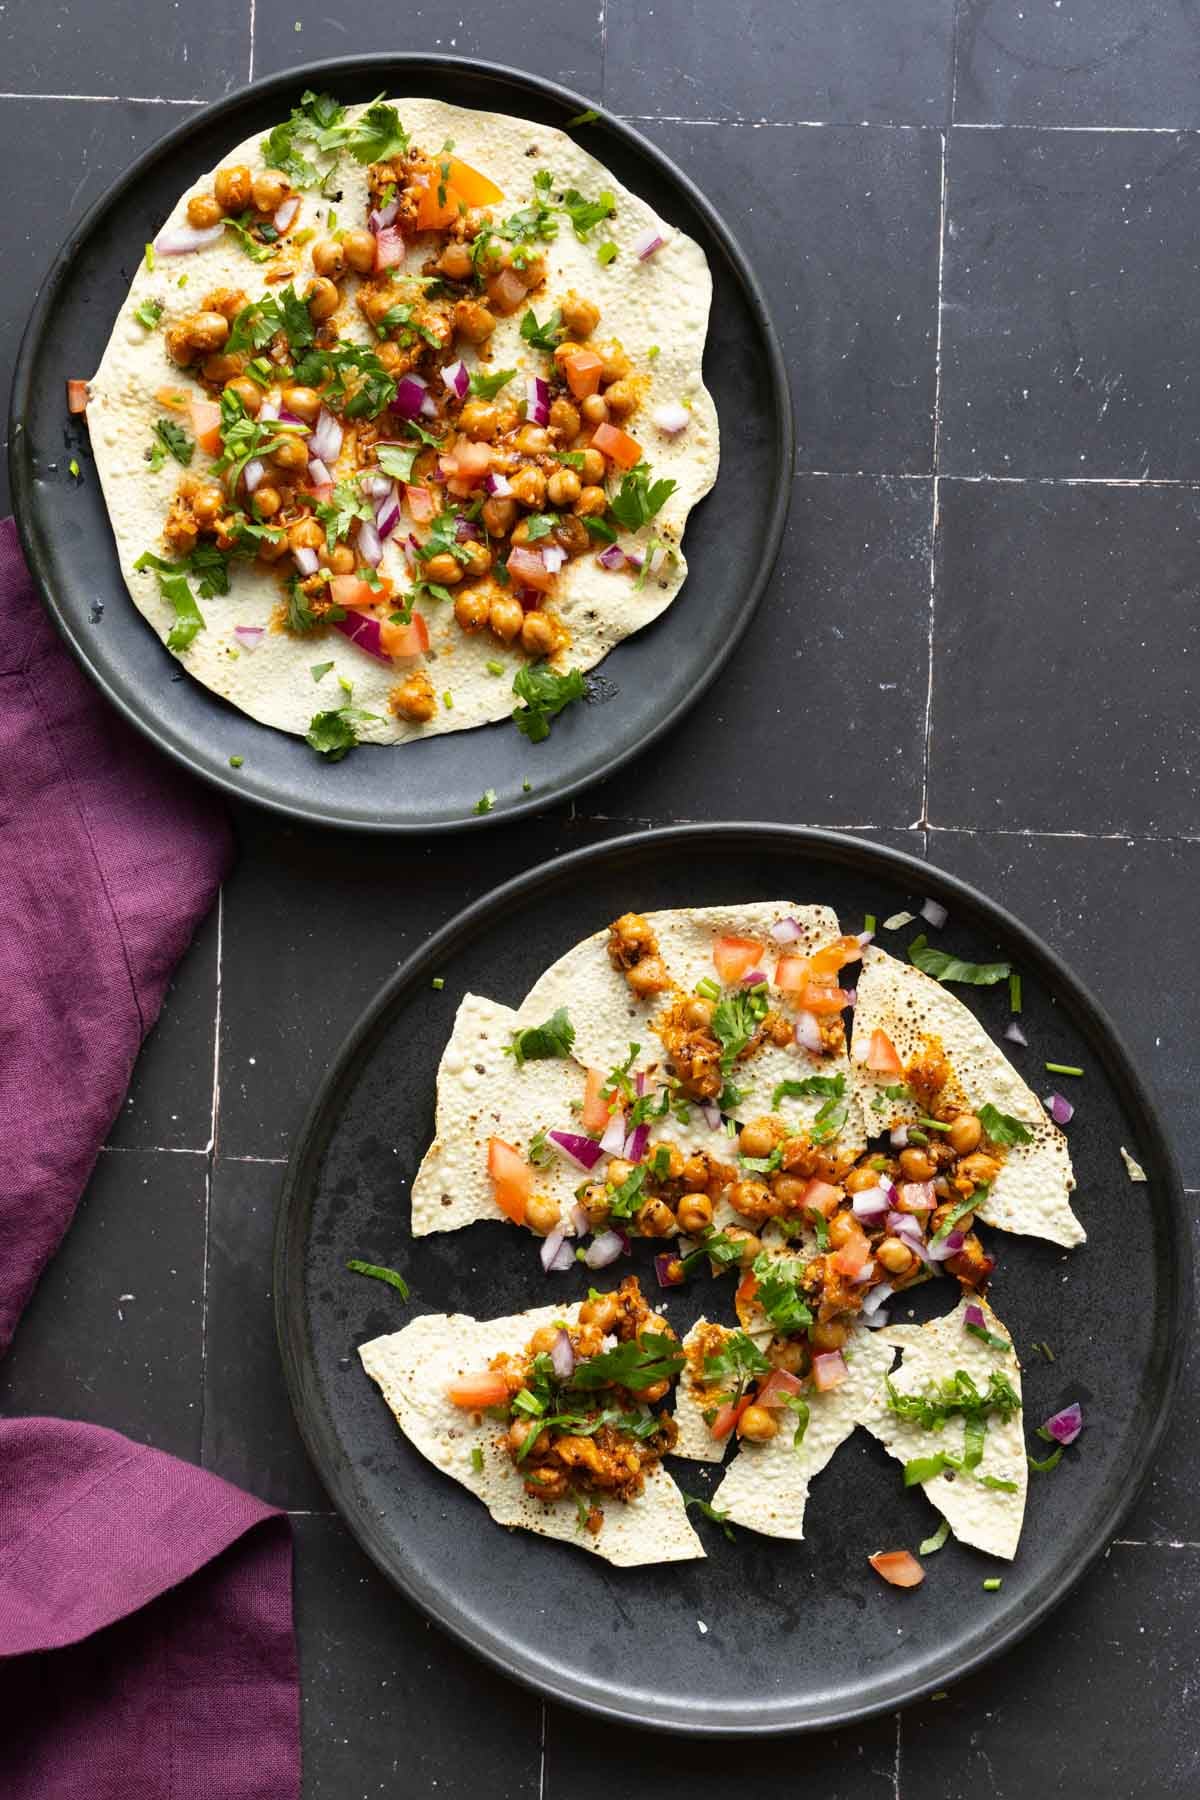
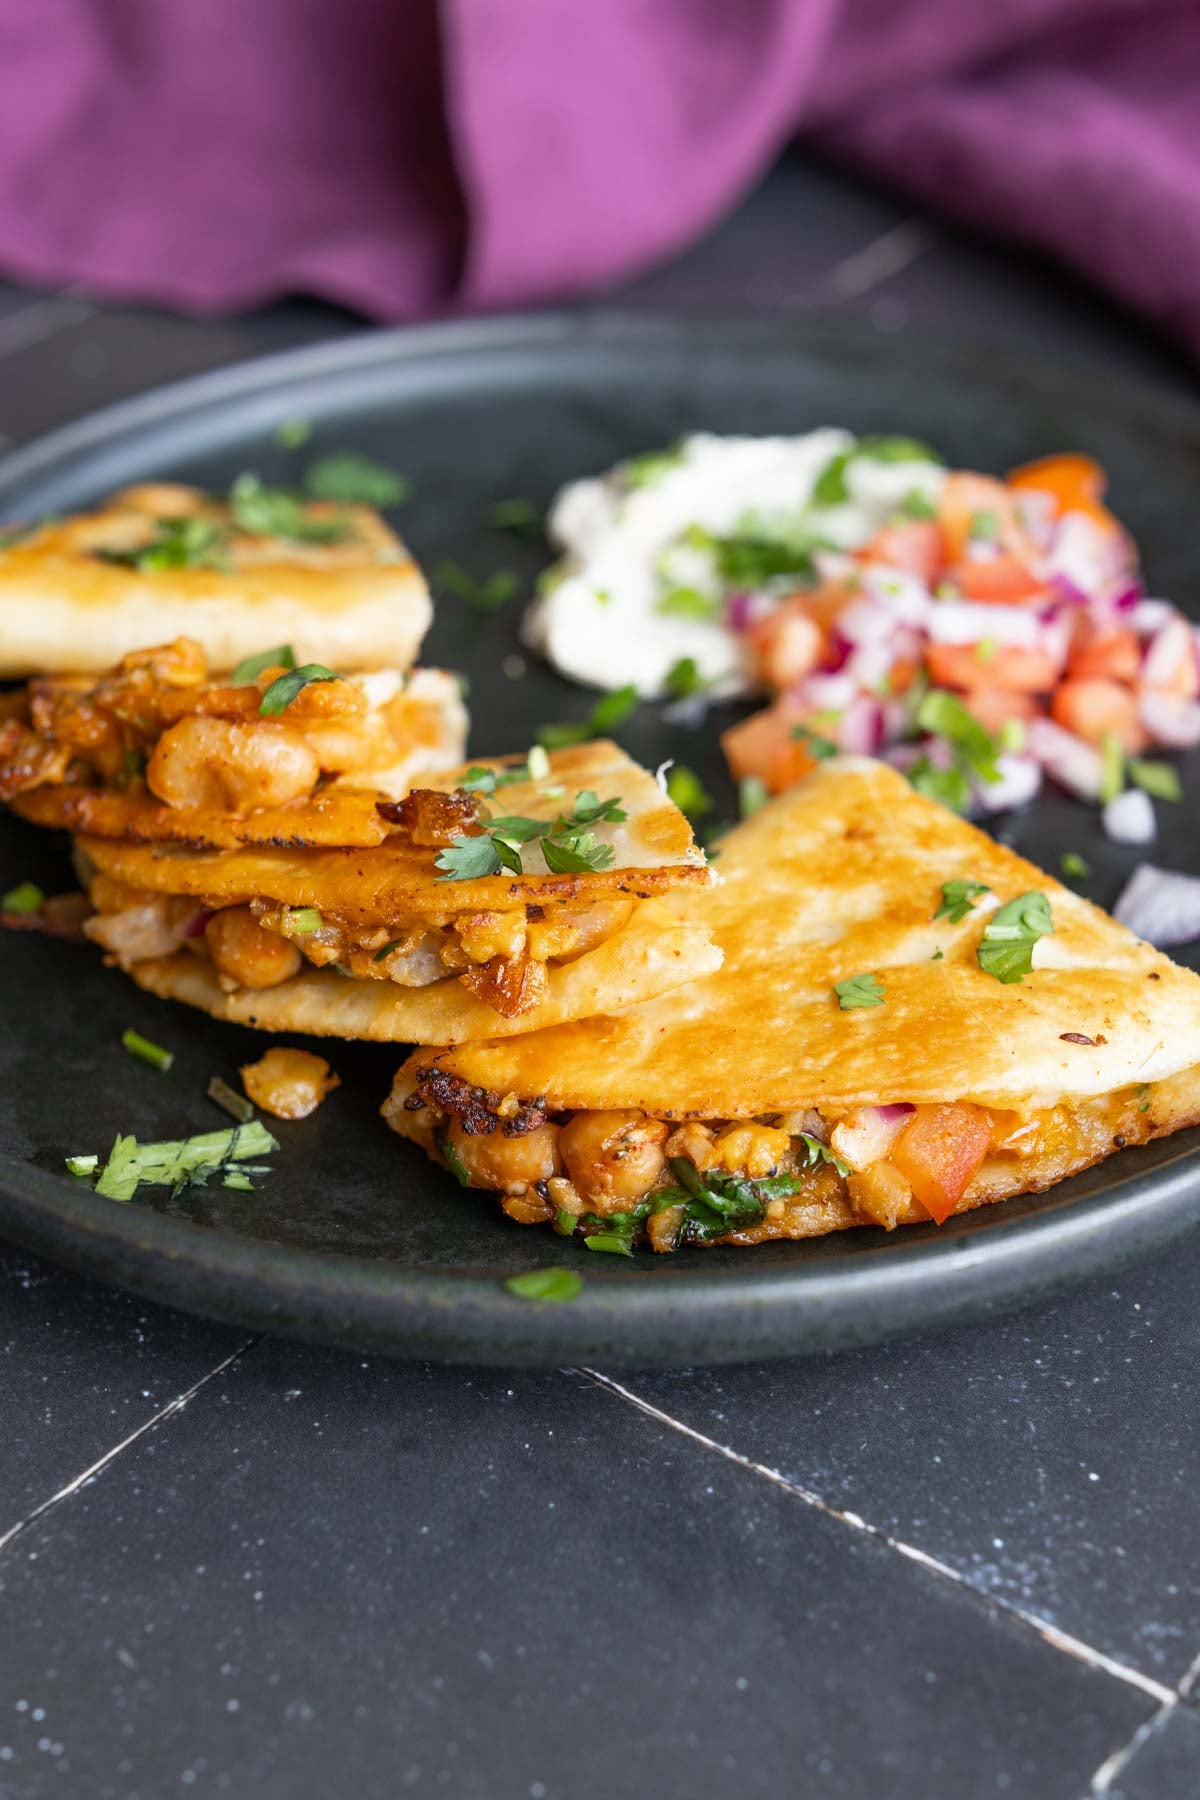
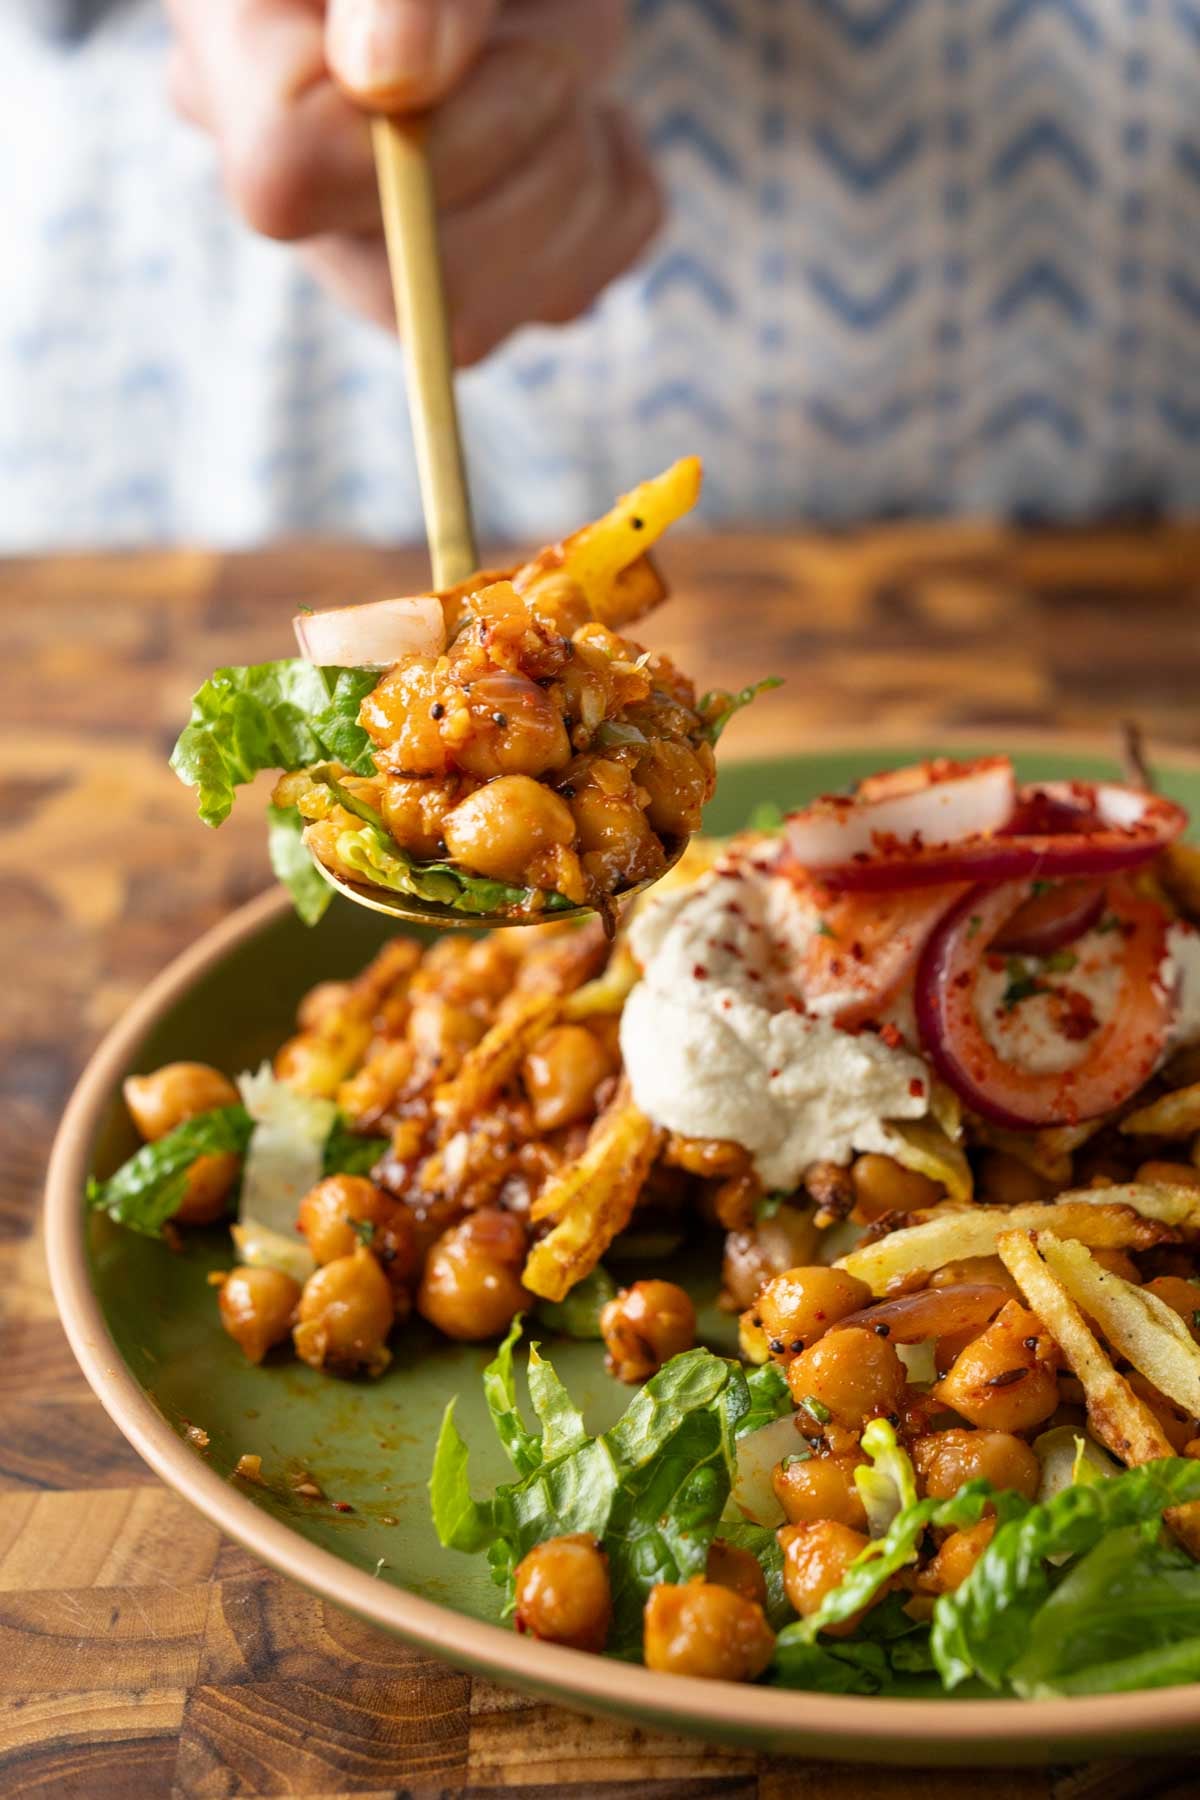
These tangy spicy 15 minute chickpeas are wildly flavorful and so versatile. Ginger for warmth, garlic for depth, chilies for spark, vinegar for snap. Cook these once, and you’ve got a building block for the week. Put them on crispy potatoes, stuff a pita, smash a taco, toss a salad, or make fusion pappadum nachos! These chili garlic vinegar chickpeas are inspired from my Nepali potatoes. I took that flavor profile and put it with the chickpeas, because it’s just so incredibly delicious.
For the chickpeas, we’re making this dry sauce of garlic, ginger, and green chilies and also adding some whole spices, like mustard seeds and cumin seeds. We are adding vinegar in the end, so the chickpeas pick up that tanginess and aromatic flavors from the sauce and get so flavorful and tender.
Pappadum nachos below
They are just so addictive, especially served with the easy baked or air fried crispy potatoes strips.
You can serve these chickpeas and potatoes together in various ways: as a bowl with salad greens, to make papadum nachos, in smashed tacos, or stuffed into warm pita bread. No matter how you serve them, you are going to love them!
Why You’ll Love Chili Garlic Chickpeas
easy, 1-pan chickpeas cook while the potato strips crisp up in the air fryer
full of rich, deep Indian flavors
versatile! Serve as a salad, nachos, tacos, or stuffed into a pita

 Login