โŒ

Reading view

There are new articles available, click to refresh the page.

How To Fold Curved Lines in Metal Without Fancy Tools

Folding a sheet of metal in a straight line is one thing, but how does one fold multiple curved lines into a sheet of aluminum without fancy machines? [John] demonstrates how to do exactly that with little more than hand tools and a fair bit of patience. The secret is drilling a lot of small holes along each fold line.

Complex shapes are possible with planning, hand tools, and patience.

First, a bit of background. [John] wanted to fabricate a curved piece of aluminum as cover that would match the sleek aerodynamic lines of a Belly Tank Lakester. The trick is that there isnโ€™t a single straight line to be found, and the fold lines are all curves. How can one do such folding with only hand tools?

[John] found that fabrication was possible by drilling small holes all along each fold line, then carefully bending as needed. The line of holes weakens the metal, acting like a score line, and allow the required curves to be made cleanly. Thereโ€™s some finishing work and straightening involved, but the hard part of making the actual folds is taken care of.

One method that didnโ€™t work was cutting a shallow groove in the metal to create something like a pre-scored fold line. [John] tried this and found that while the metal does indeed fold along the weakened line, the aluminum tends to crack in the process. When making a line of holes instead, the metal between each hole bends nicely.

This technique does mean the finished part ends up with small perforations along each fold, but the part is mounted on the bottom of the car and [John] says that heโ€™d have to look quite closely to notice. A little polishing goes a long way, too.

We have covered many ways to bend sheet metal and while machinery exists to do it exceedingly well, great results can be had with little more than simple tools and some patience.

Watch [John] go through the process in the video embedded below, or skip to 7:55 if you just want to see the end result.
Corners Lifting On 3D Prints? Guide Gives Prevention Tips

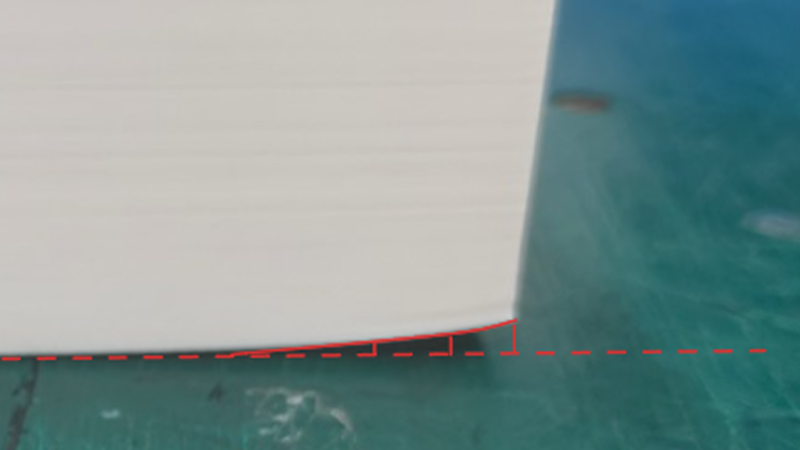
Large prints have a risk of warping, by which we mean corners can lift off the print bed as the object sort of curls inward on itself. Itโ€™s not always due to poor filament quality or an unclean build plate. Sound like something youโ€™ve dealt with? Check out this handy roundup to understand why it happens, and learn ways to prevent it.

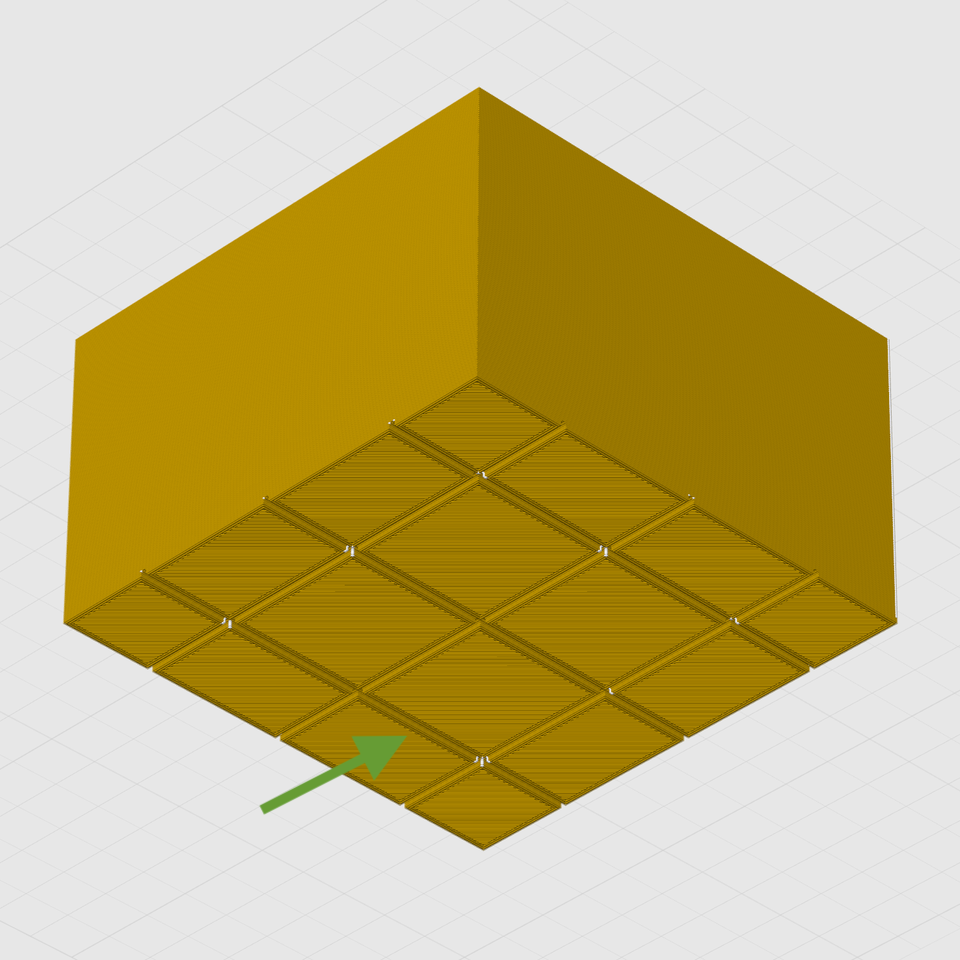
A big flat area with sharp corners is susceptible to warping. Breaking the footprint into a grid pattern helps distribute stresses instead of concentrating them at the corners.

The reason some objects have trouble while others donโ€™t is physics. Deposited plastic shrinks ever so slightly as it cools, and some shapes โ€” like wide, flat surfaces with sharp corners โ€” are worse for this than others. This sort of problem is what the guide addresses with a number of techniques.

Some are simple, like turning on brims which increases an objectโ€™s footprint. This increased surface area offers more adhesion, but also increases heat transfer from the print bed into the model, slowing the cooling process. Thinner walls and an altered infill pattern is another option. Other techniques are more complex.

The most effective methods involve modifying the model itself to reduce or eliminate stress points. One such method is to break the modelโ€™s footprint into multiple zones with a shallow grid. Instead of one big flat bottom, the object has multiple smaller ones. Because big flat areas are more susceptible to warping than small ones, turning the bottom into a grid pattern helps spread those stresses out and prevent lifting.

If you design your own models, youโ€™ll find several design tips worth keeping in mind. Itโ€™s always smart to practice good DFM (Design For Manufacturability) which means taking 3D printer strengths and weaknesses into account when designing an object. In this case, it can help prevent print failures. Good DFM can also make parts much, much stronger just by designing in the right features.

Straight Talk on 3D Printing Footwear At Home

Printed footwear is an intriguing idea, but as far as projects go it is somewhat more complex than it first appears. This guide to 3D printing your own clogs not only provides a solid process, but also acts as a list of the challenges and pitfalls involved. After all, a piece of footwear is actually a fairly large object. Failed prints can be costly and time-consuming, so a guide like this is a valuable resource.

First of all, a 3D printer that can handle multi-material printing is called for. The footwear itself will be printed in TPU 90A as a sweet spot for hardness, but the print will require supports and those supports will need to peel away cleanly. The solution is a shoe printed in TPU with a rigid support structure of PLA. Using two different materials in the same print with anything remotely resembling efficiency calls for either a dual-nozzle print head, or a multi-toolhead printer.

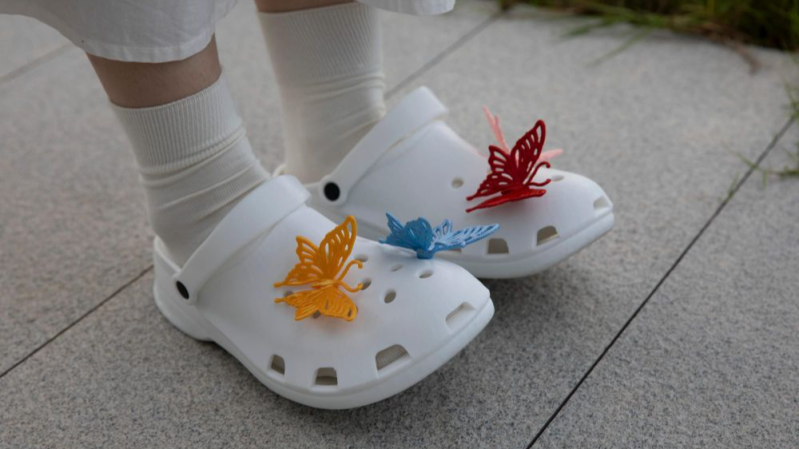
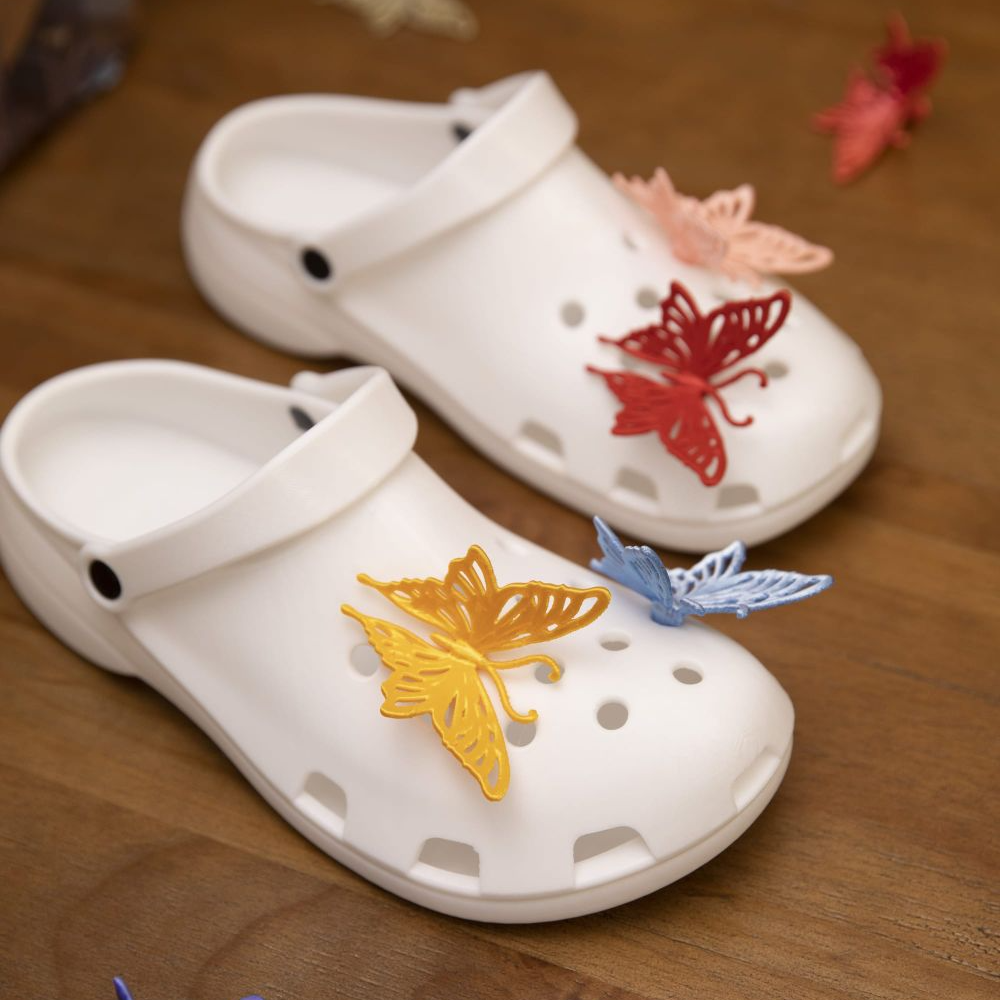
3D printing oneโ€™s own clogs can be rewarding, if not necessarily cost-effective.

Here we want to take a moment and say that while the guide itself suggests PETG is also a suitable support structure, we suspect this might only be true for the exact filament formulations used in the guide. The safer approach is to use PLA. Why? As weโ€™ve seen in other tests, PETG has been observed to stick extremely well to flex filaments in general, whereas PLA doesnโ€™t really want to stick to anything other than PLA. The exact formulations of TPU and PETG used in the guide might be compatible with one another, but in general we recommend sticking to PLA as a rigid support for flexible filament.

Assuming a capable printer and suitable materials are nailed down, one also needs to worry about keeping the TPU dry. It is very sensitive to moisture, which directly affects print quality. Youโ€™ll also need to dial in the settings โ€” a gyroid-patterned infill of 15% provides the right amount of โ€œsquishโ€, which is most effectively fine-tuned by changing the infill pattern rather than the density.

Is it worth the time and effort and filament cost to print oneโ€™s own pair of slip-ons versus simply buying a pair of Crocsยฎ? Maybe not, but it can still be rewarding and this guide will help minimize any failed prints in the process. And if you do get a nice print but the TPU is sticking a little too well to the build plate, reach for the isopropyl alcohol.

โŒ