Prosecutors accused 21-year-old student Zyaire Wilkins of publishing on Steam several fake video games that contained malware, infecting thousands of victims, and stealing crypto from some of them.
Valve recently released a new version of the Steam Controller, which features a wired USB puck that serves both as charger and dedicated, low-latency wireless receiver. The downside is they aren’t currently available for purchase separately, but that’s not a worry because you can now make your own thanks to [safijari]’s OpenPuck project.
OpenPuck uses the highly affordable Pro Micro NRF52840 board, programmed to emulate the wireless receiver portion of the puck, meaning one can pair their Steam Controller to it just like they would with the factory puck. A major part of the project was naturally documenting the wireless protocol, but there’s also an array of extra features offered by OpenPuck.
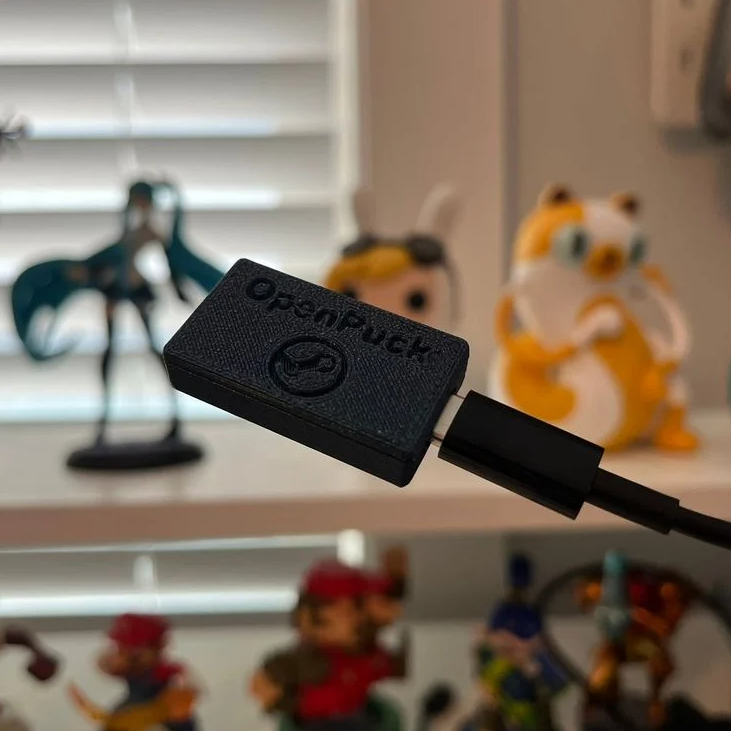
OpenPuck offers features over and above the factory offering. [image: 3d printed case by jaki-gh]Hitting button combos lets one conveniently emulate Xbox, Nintendo Switch, or Sony PlayStation controllers. Meaning OpenPuck can for example be plugged into a Nintendo Switch and it will see OpenPuck as an official wired controller, complete with motion sensor and haptic feedback.
Why is it necessary for this emulation to be done from OpenPuck? Because while the Steam Controller has tight integration with Steam Input — a sort of highly useful translation layer for controller inputs — that integration also means the controller’s best features only work while Steam is running. OpenPuck’s ability to emulate other console controllers makes it flexible in a way the factory puck isn’t, and a user can make the most of a single controller this way.
It’s worth noting that while the real puck has the ability to charge the controller (whether or not the user makes it walk itself), the OpenPuck doesn’t have this ability. Does that mean one must still use the factory puck for charging? Not at all, as the Steam Controller charges just fine over a USB-C connection.
There’s a short video below that demonstrates the flashing and setup, so check it out if you think it might be useful to you.
Valve has always designed hacker-friendly hardware, and in that spirit, [NaKyle Wright] released Inkterface, a design for an E-ink faceplate to fit the recently released Steam Machine. As far as projects go, this one is meticulously documented, so give it a peek.
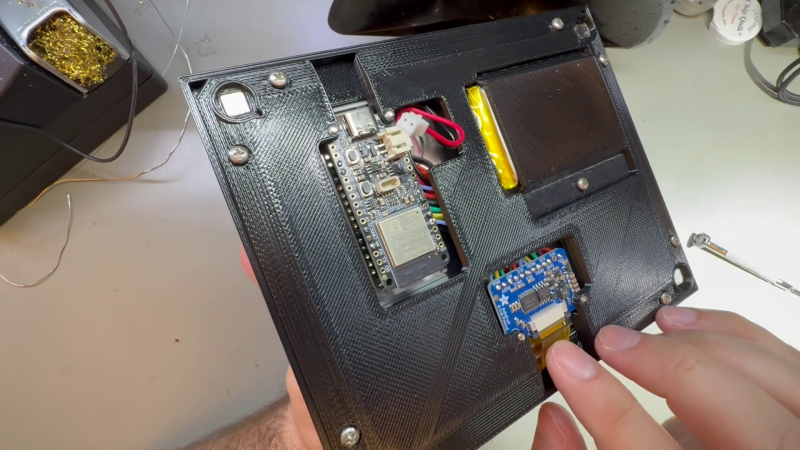
The system uses a selection of components that include a 5.83″ E-ink panel and driver board, a small lithium-polymer battery, and an ESP32-based controller board. [NaKyle] used a Feather V2 and display from Adafruit, so you might be in for some GPIO changes if you go with a different board. A cleverly-designed 3D printed frame and bezel hold everything just so, creating a snug assembly with minimal wiring hassles.
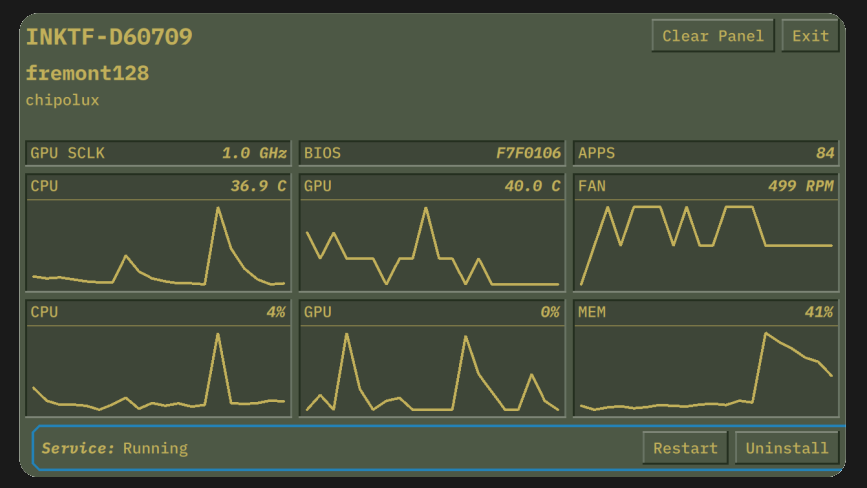
A small service can be easily configured to control how the display updates.
The faceplate is wireless and self-contained, attaching with the help of four magnets. On the software side, the host machine communicates over Bluetooth, and a service takes care of pushing updates. An app for configuring and talking to the display will be available on Steam eventually, but in the meantime one can install that part manually.
[NaKyle]’s bill of materials calls for specific components, but the underlying design is very modular. Should one wish to make hardware or component changes, alterations to the 3D printed parts might be needed as well. Fortunately, [NaKyle] includes the .step files alongside the .stl models. We love to see that, because it makes tweaking or customizing so much more accessible. A homebrewed version of this E-ink panel might be just the thing to complement a homebrewed Steam machine.
Be sure to also check out the repository of Steam hardware, which contains drawings and 3D models of the Steam Deck and Steam Controller, useful for designing holders or custom brackets or whatever else one may need.

 Login
Login