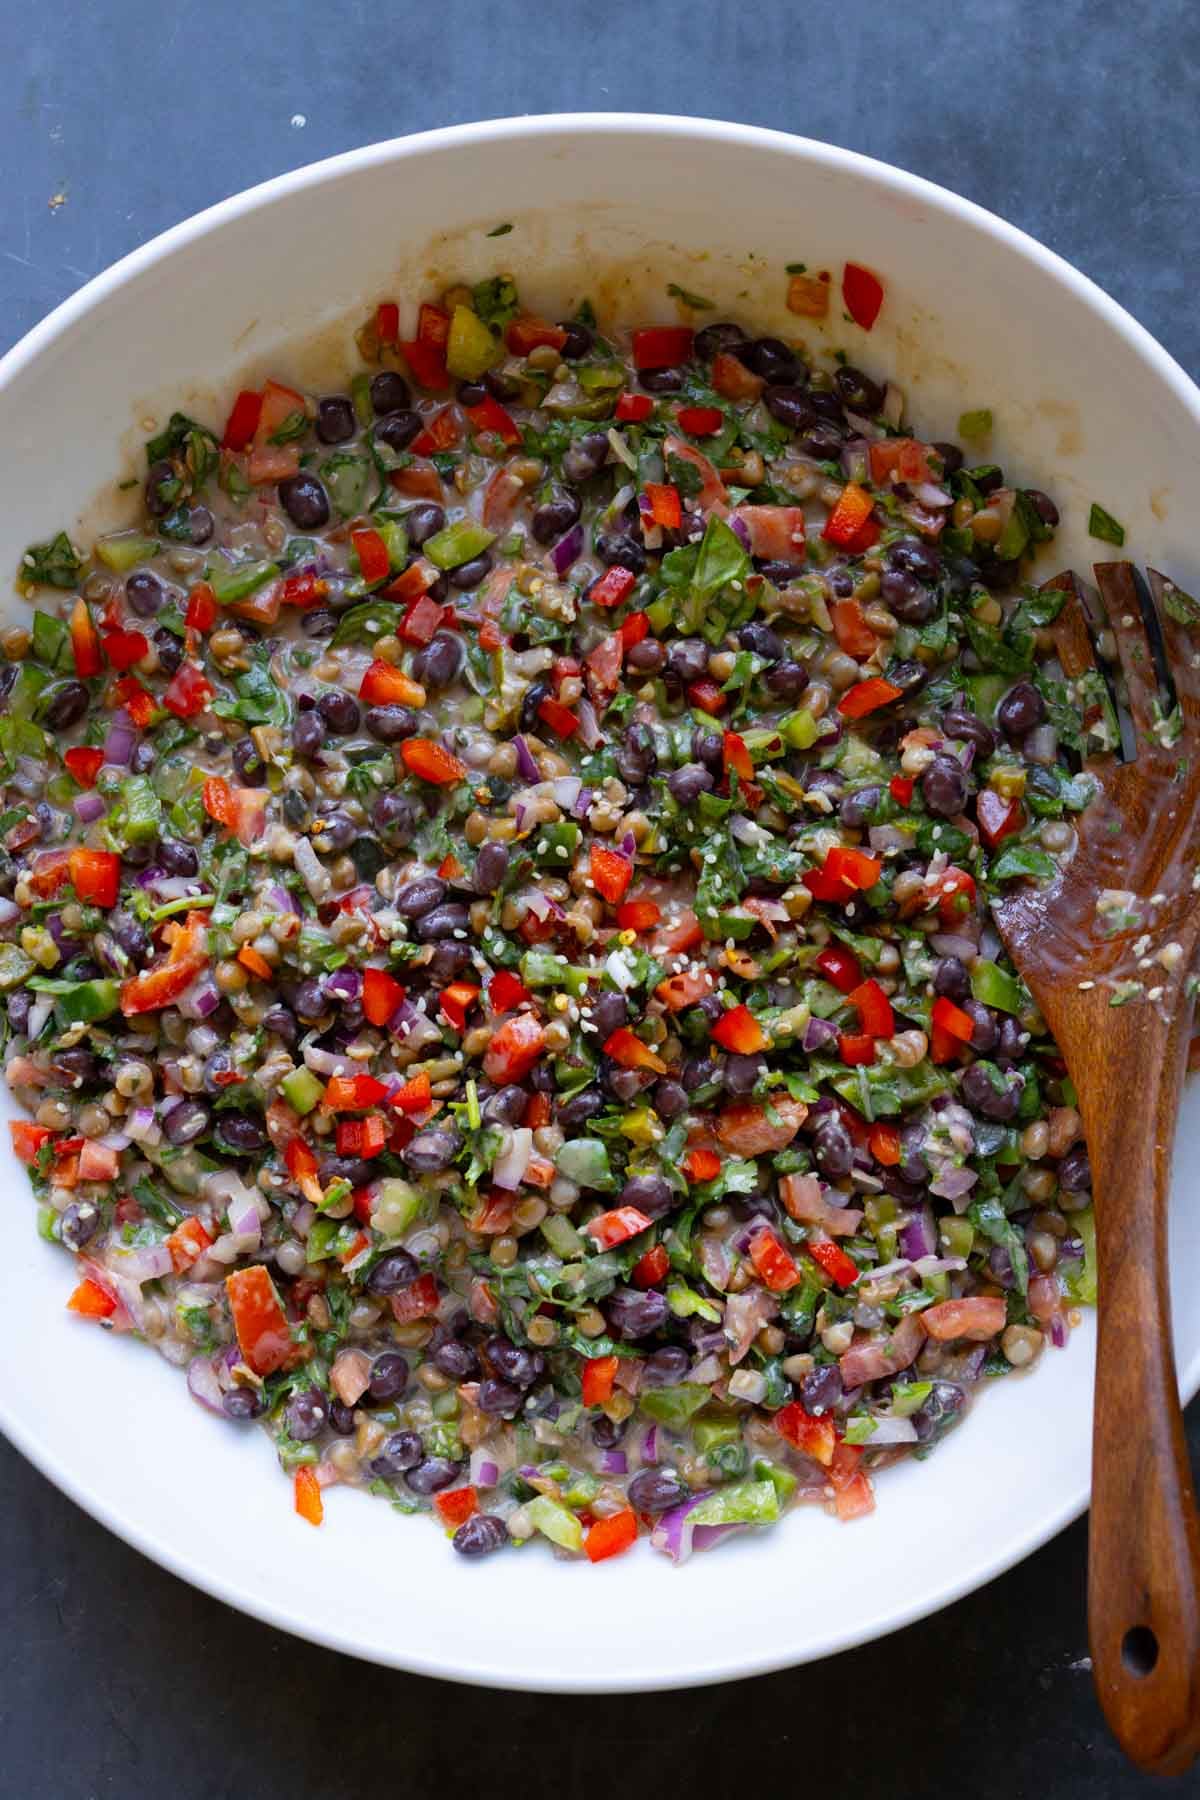
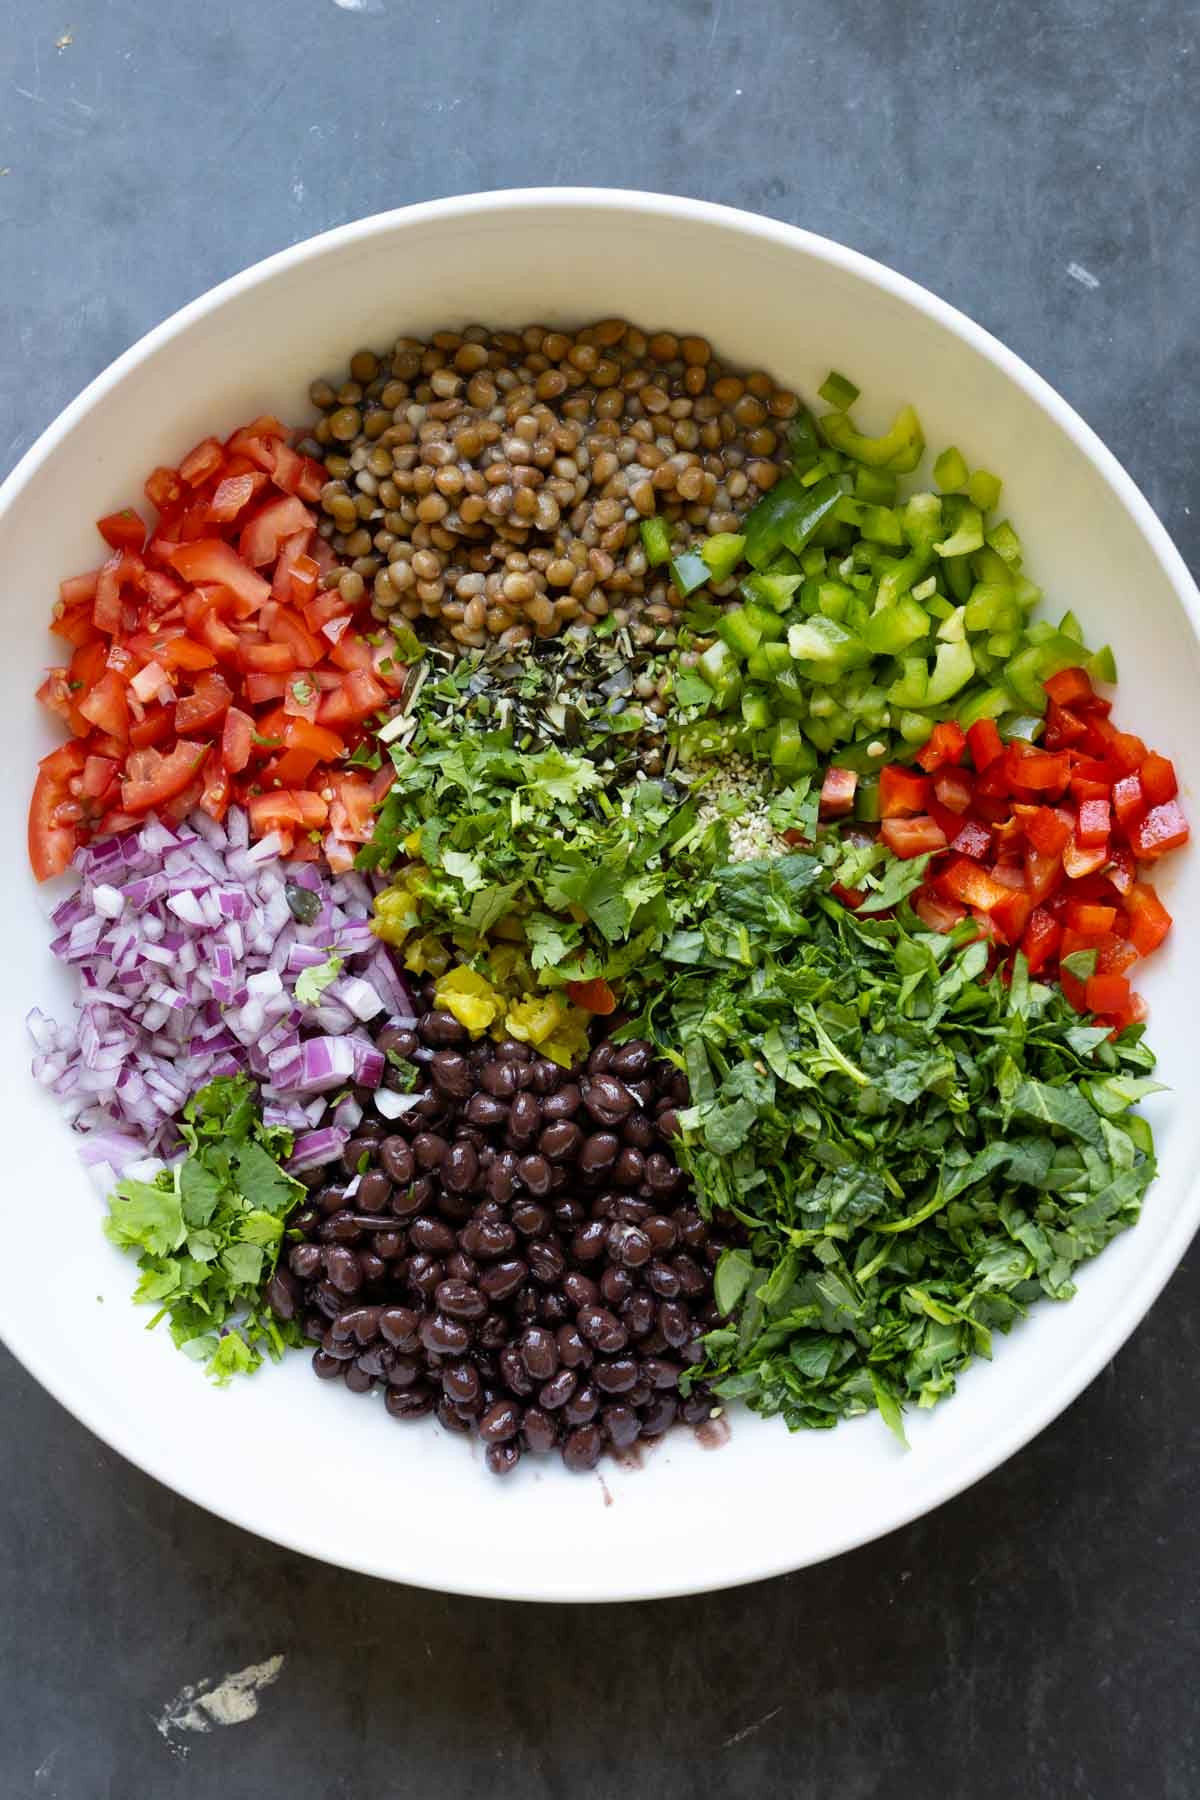
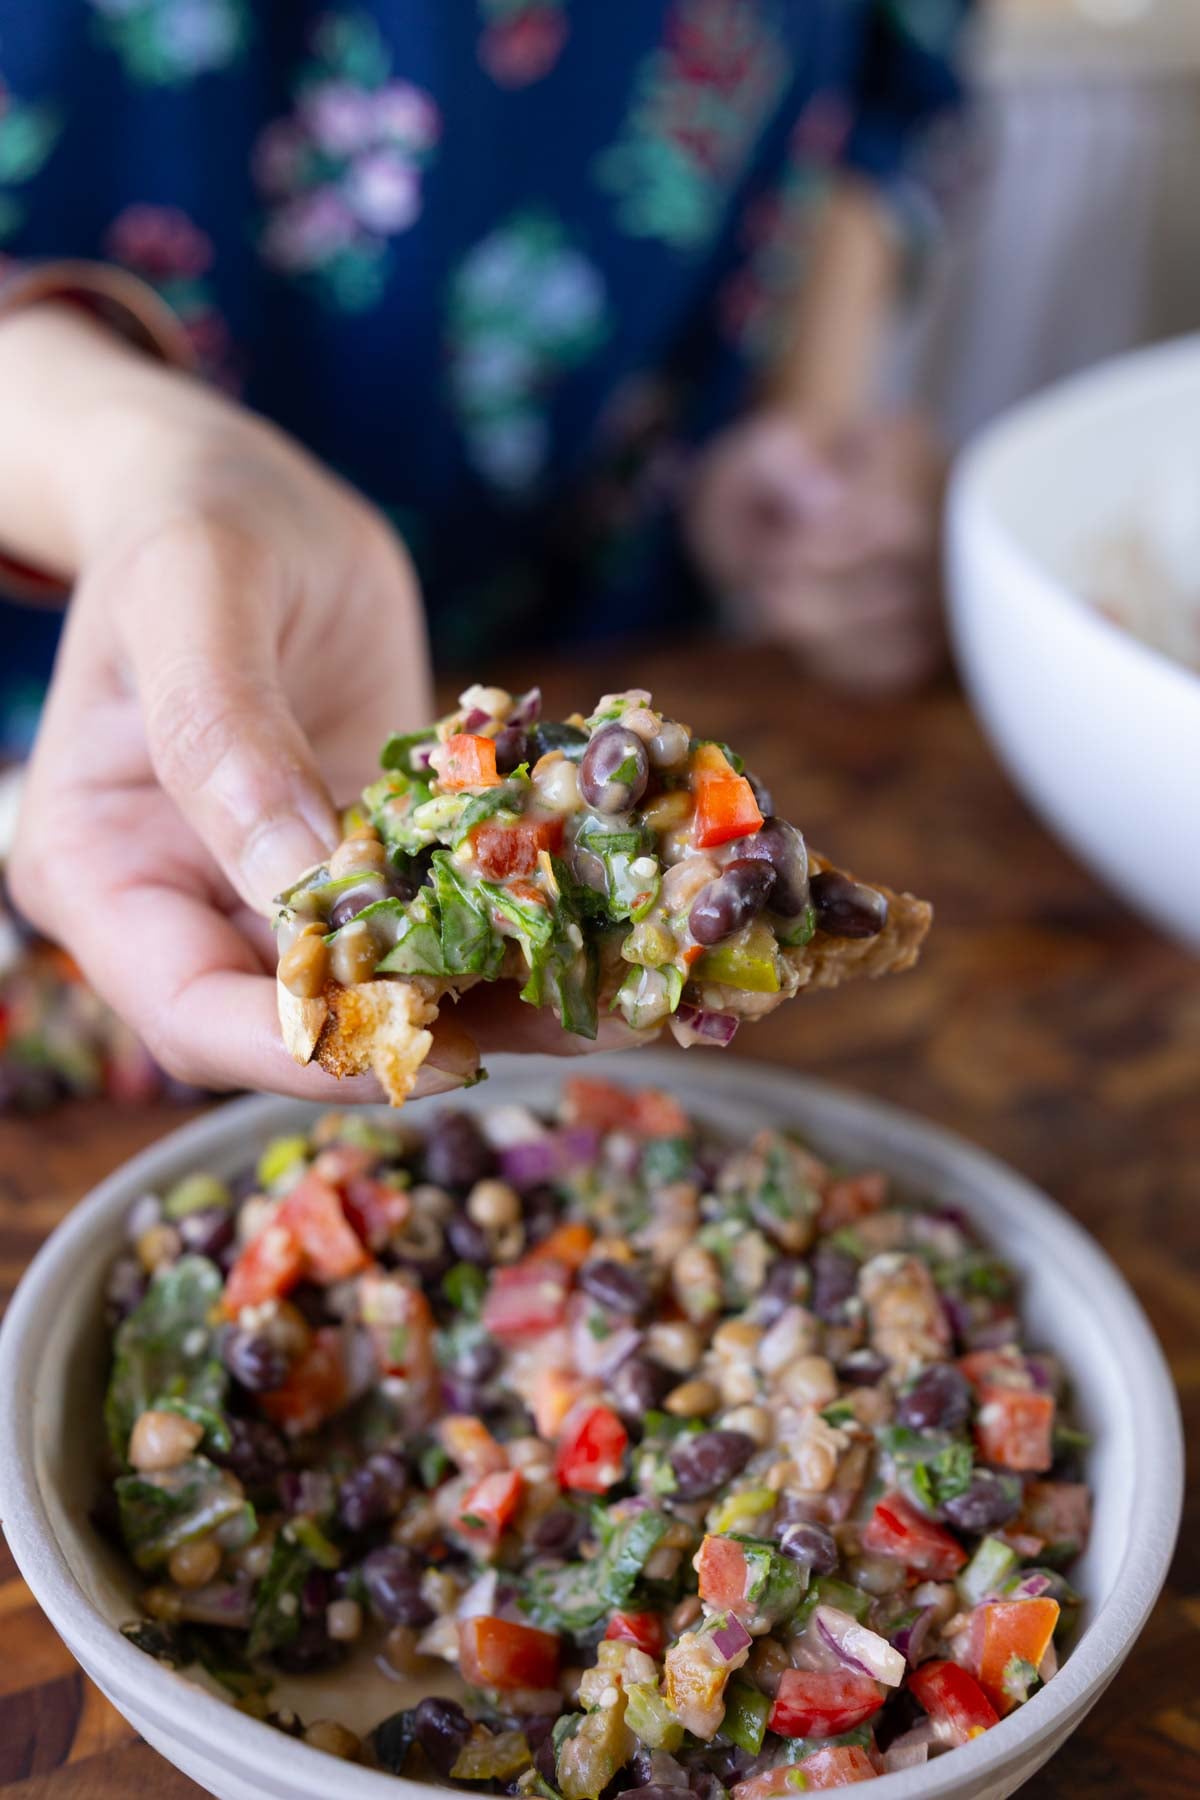
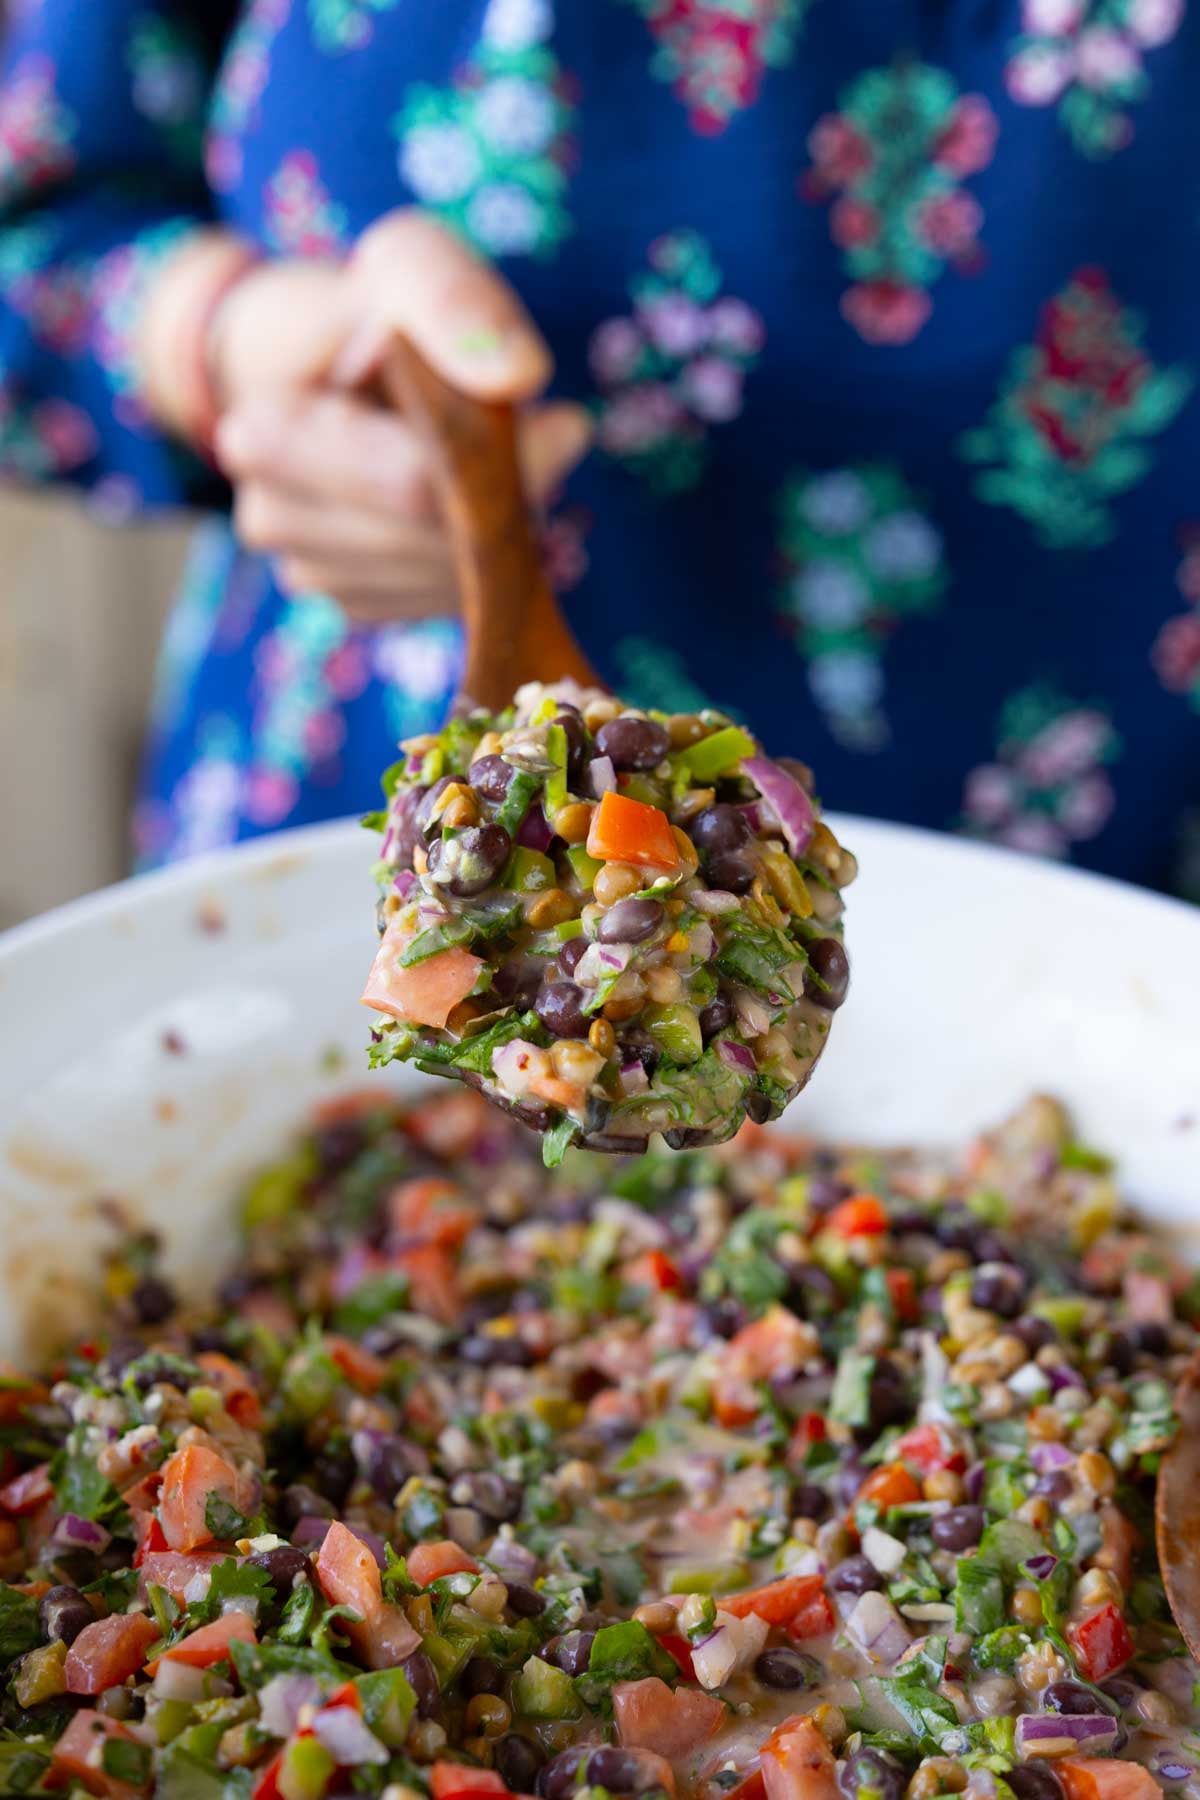
This Dense Bean Salad keeps you full for hours! Black beans, lentils, veggies, kale, seeds and a creamy, lemony dressing. High Protein, High fiber, anti-inflammatory (17 grams Protein, 14 grams fiber per serving. Gluten-free, Nut-free, option for soy-free)
This is my anti-inflammatory dense bean salad. Dense bean salads have been trending, and they are just amazing hearty meals with tons of beans and so many different combinations of flavors, textures, and veggies that you can add to them.
Beans, along with all of the vegetables and other ingredients in this salad, are a great source of fiber, protein, iron, and zinc.
The whole bowl has 65+ grams or more of protein, 50+ grams of fiber, 20+ milligrams of iron, and loads of vitamin C from the tomatoes, peppers, and lemon to help your body absorb all of that iron. There are omega-3s from the hemp seeds, along with pumpkin seeds, making this an incredibly nutrient-dense meal.
This is a great, budget-friendly, easy-to-put-together salad. There is no cooking involved. You just have to chop everything, make the dressing, toss it all together, and it’s ready. It’s also perfect for meal prep because the flavors enhance as the salad sits. The next day, it’s even more flavorful because the beans absorb all of that delicious dressing.
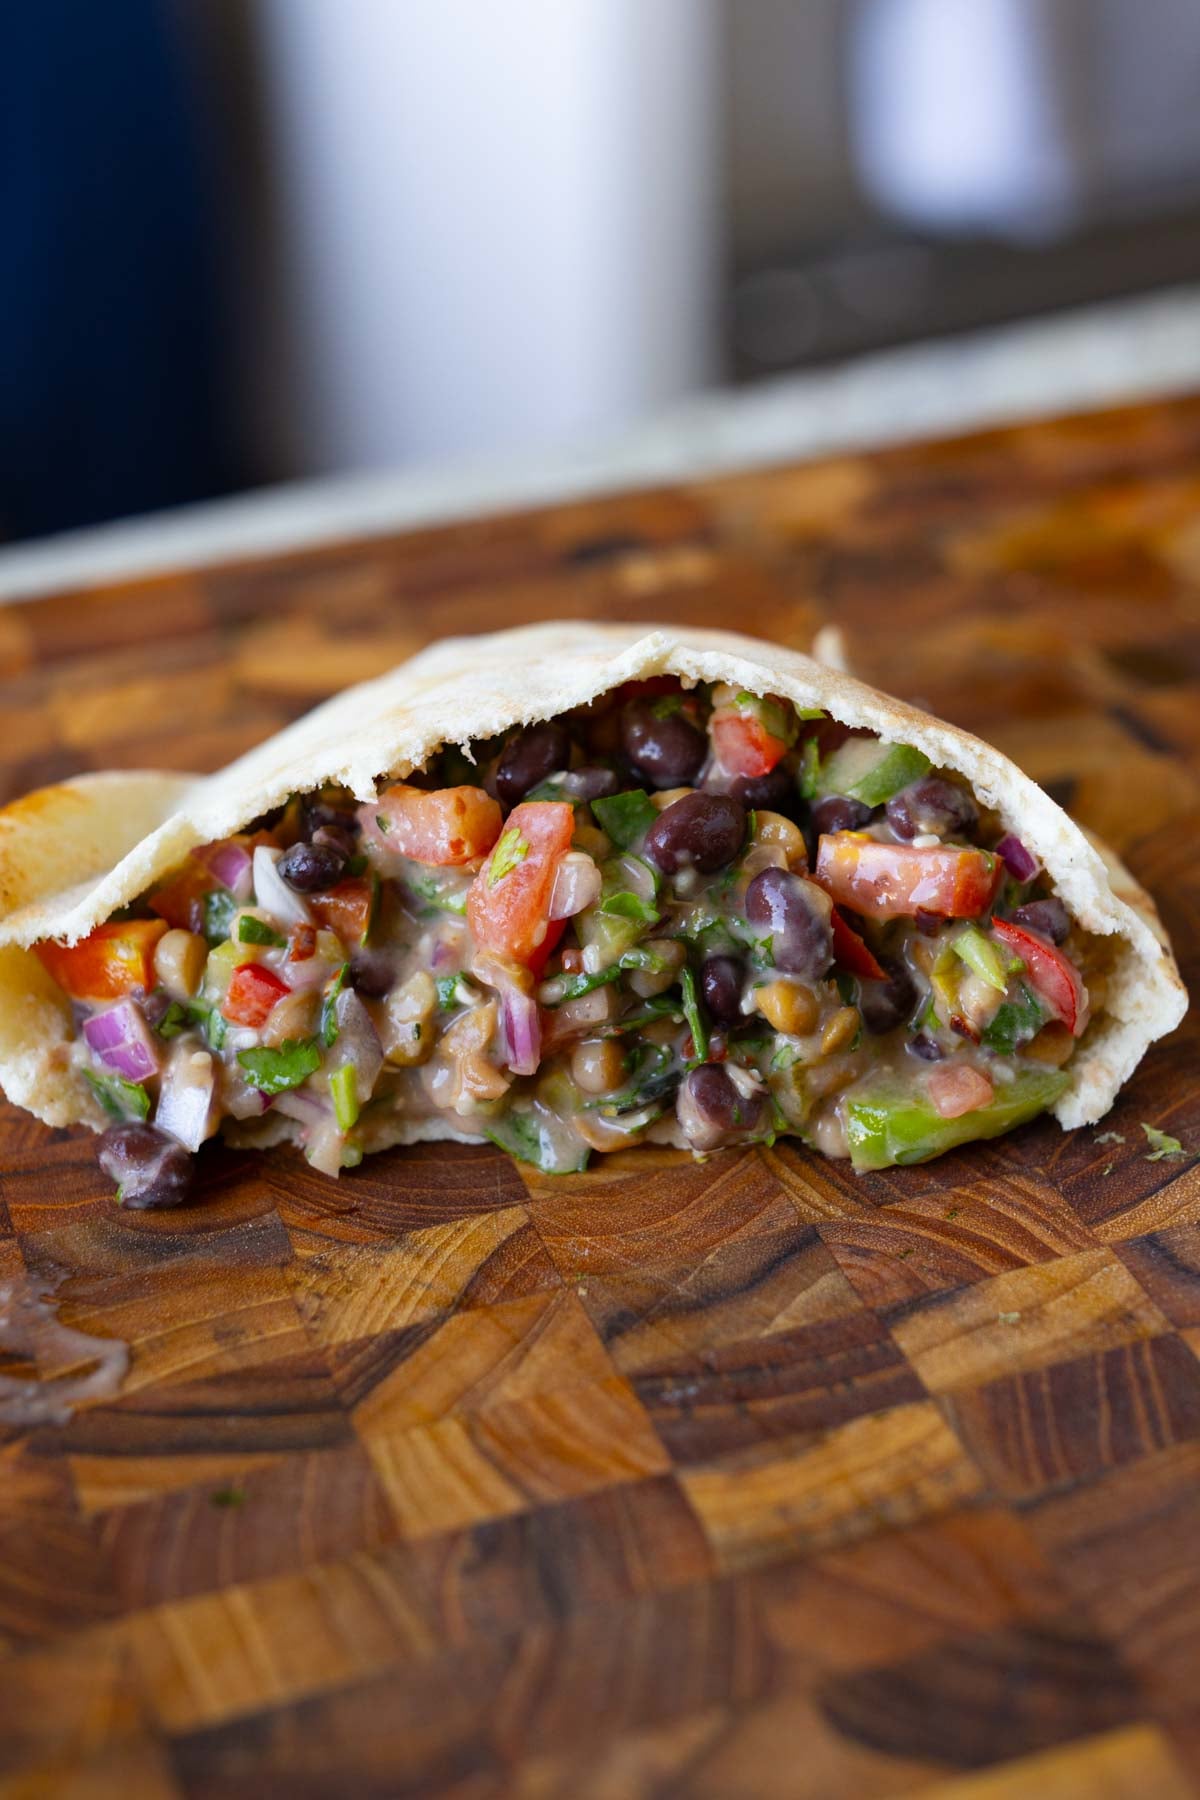
Serve this dense bean salad with tortilla chips, toasted sourdough or garlic bread, added to wraps or tacos, or served over grains, such as quinoa or farro. There are endless possibilities with this salad!
Why You’ll Love this Dense Bean Salad
easy, no-cook meal, perfect for hot weather!
packed with protein, fiber, vitamins, Antioxidants and minerals in every bowl
Anti-inflammatory ingredients
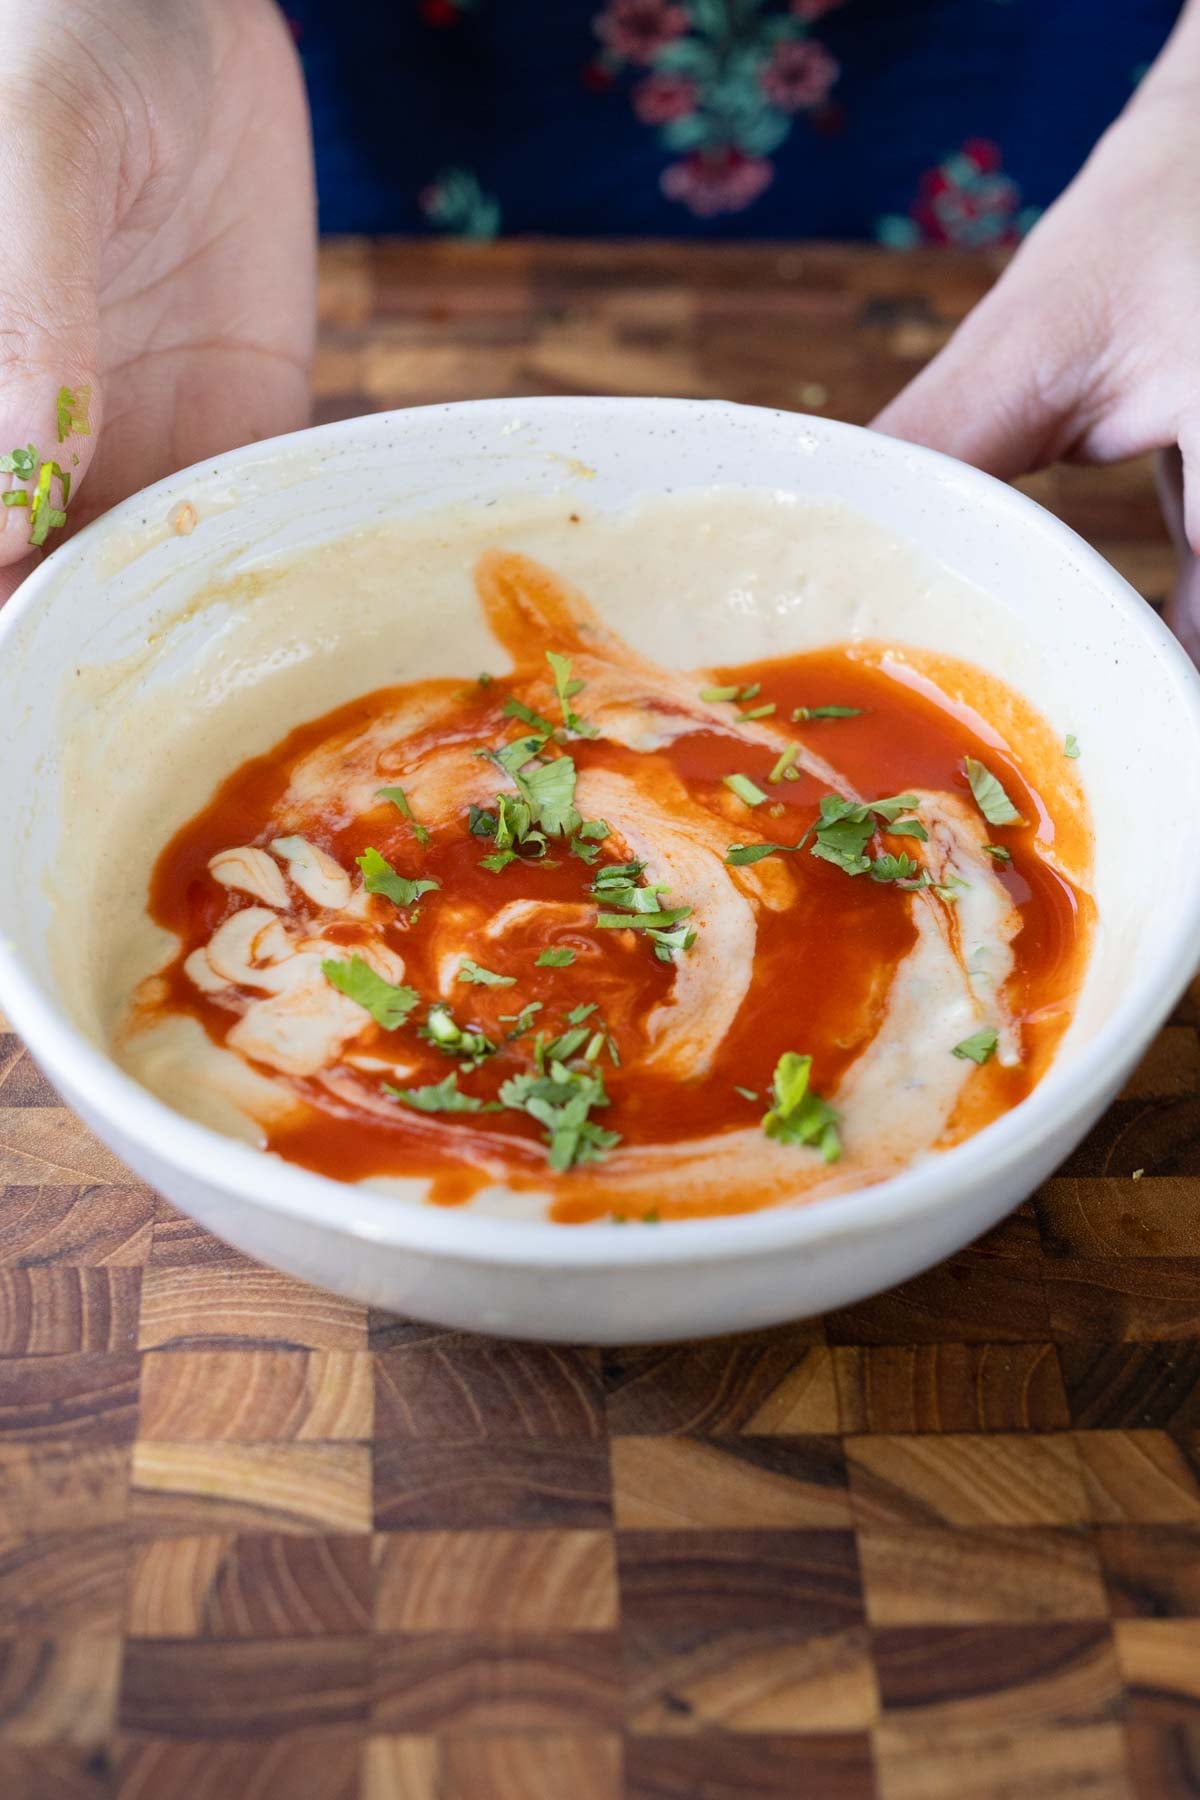
creamy lemon yogurt dressing sends the flavor profile over the top
naturally gluten-free and easy to make nut-free and soy-free
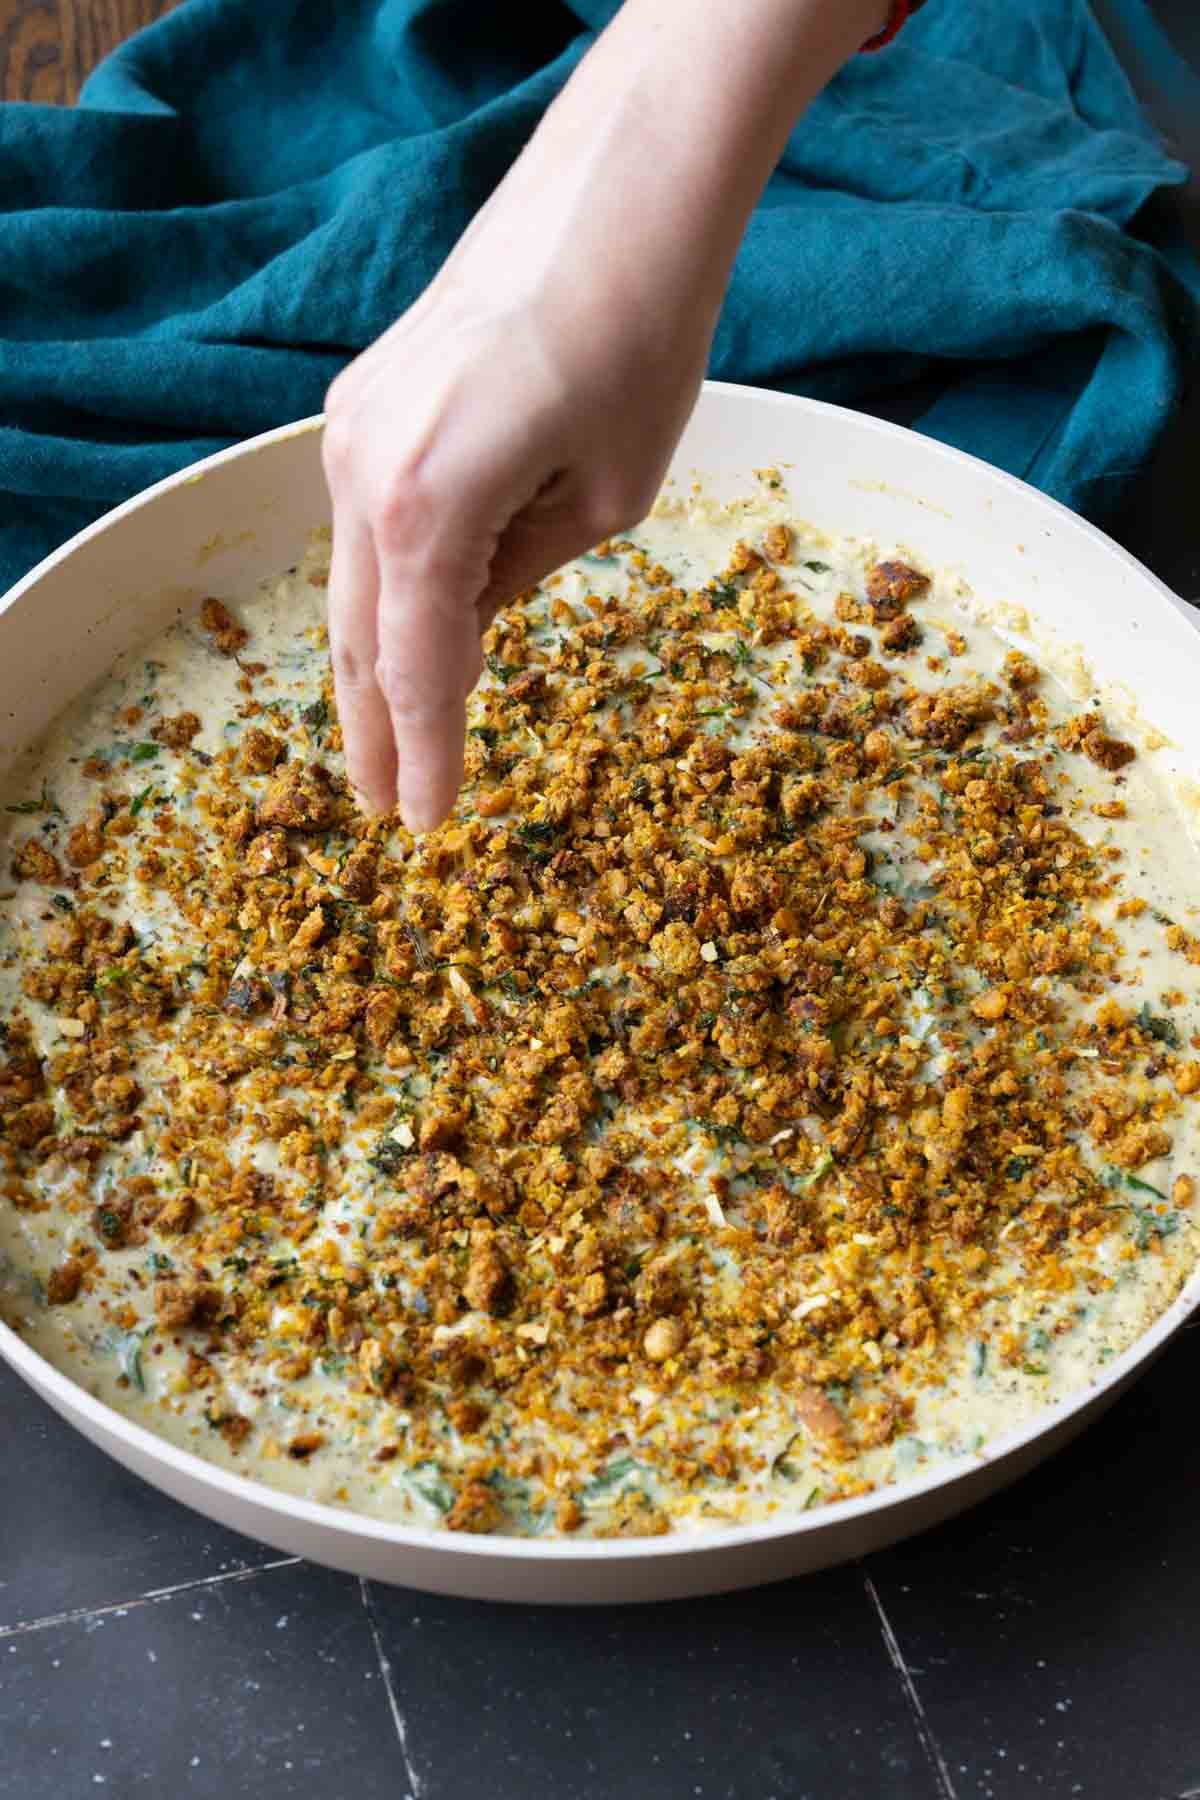
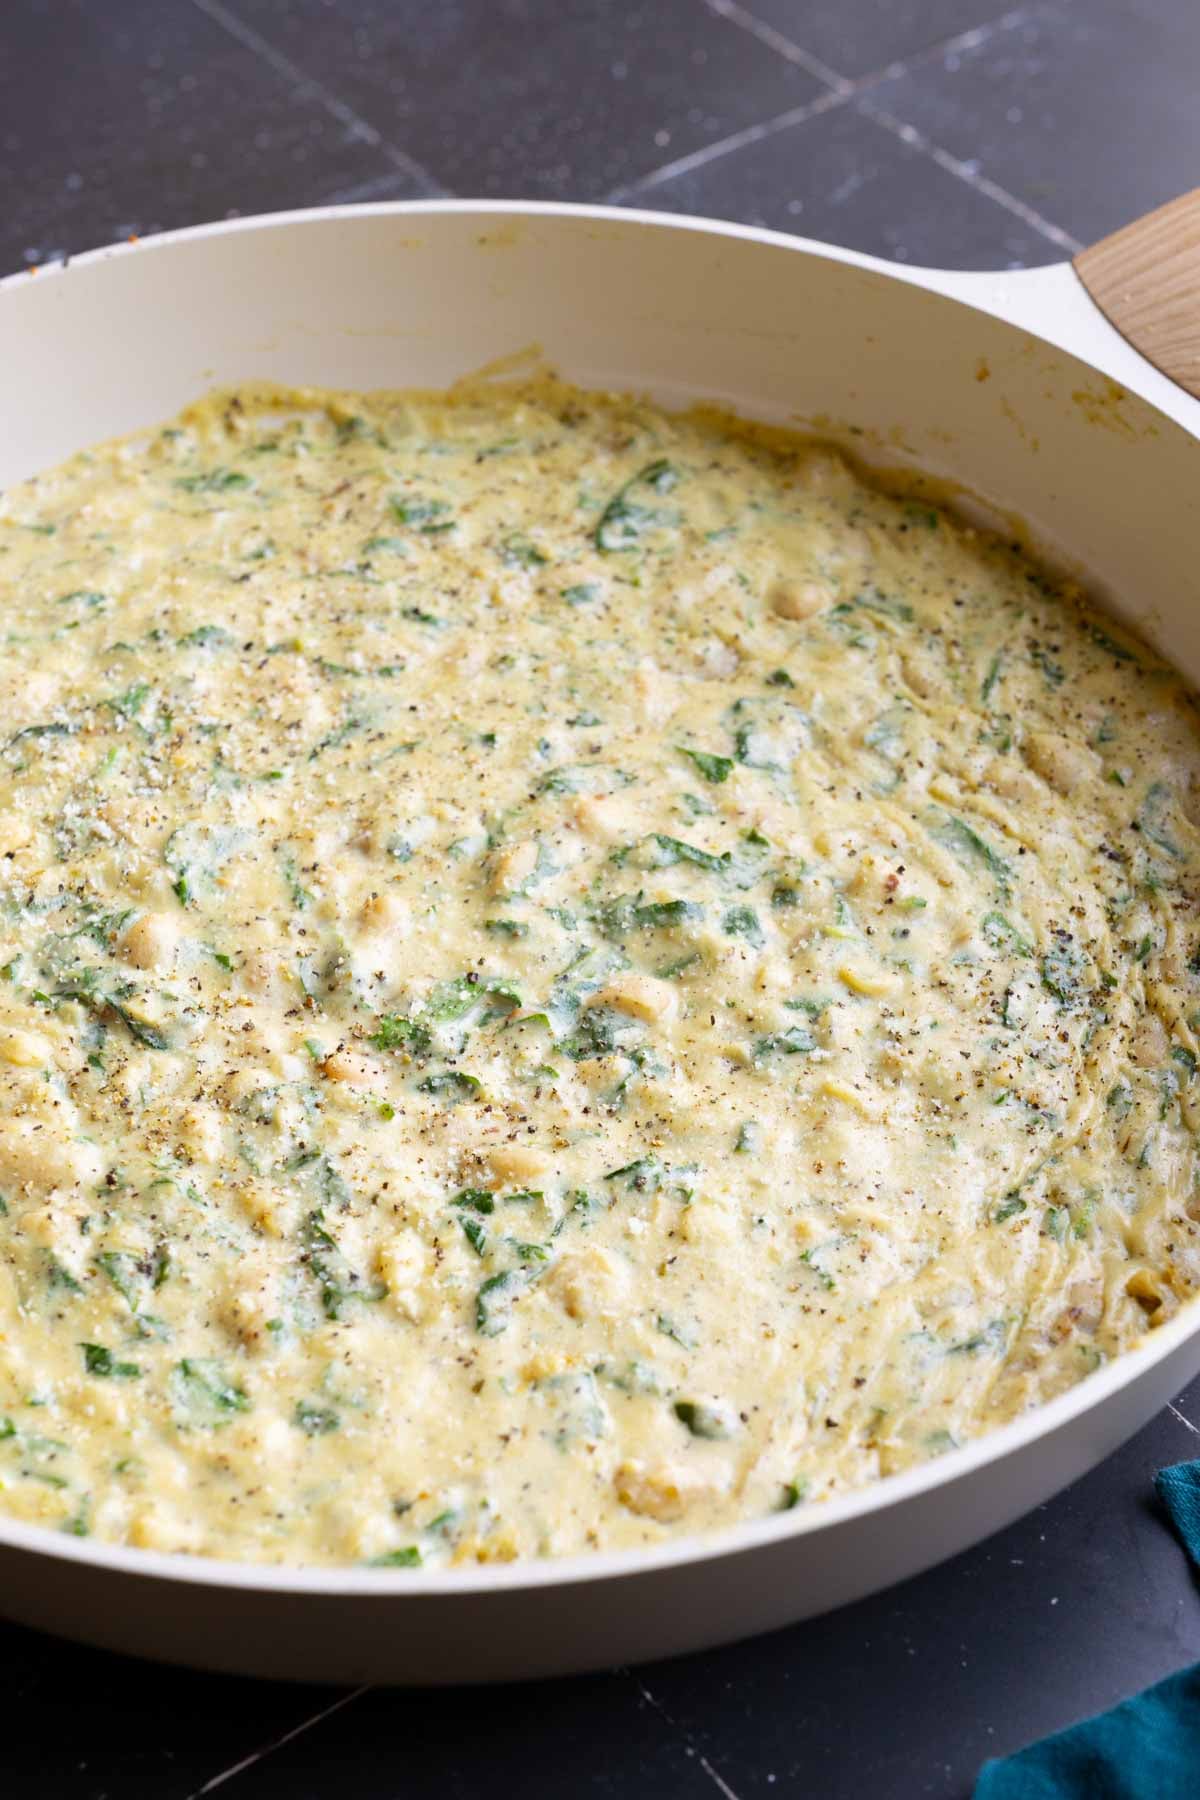
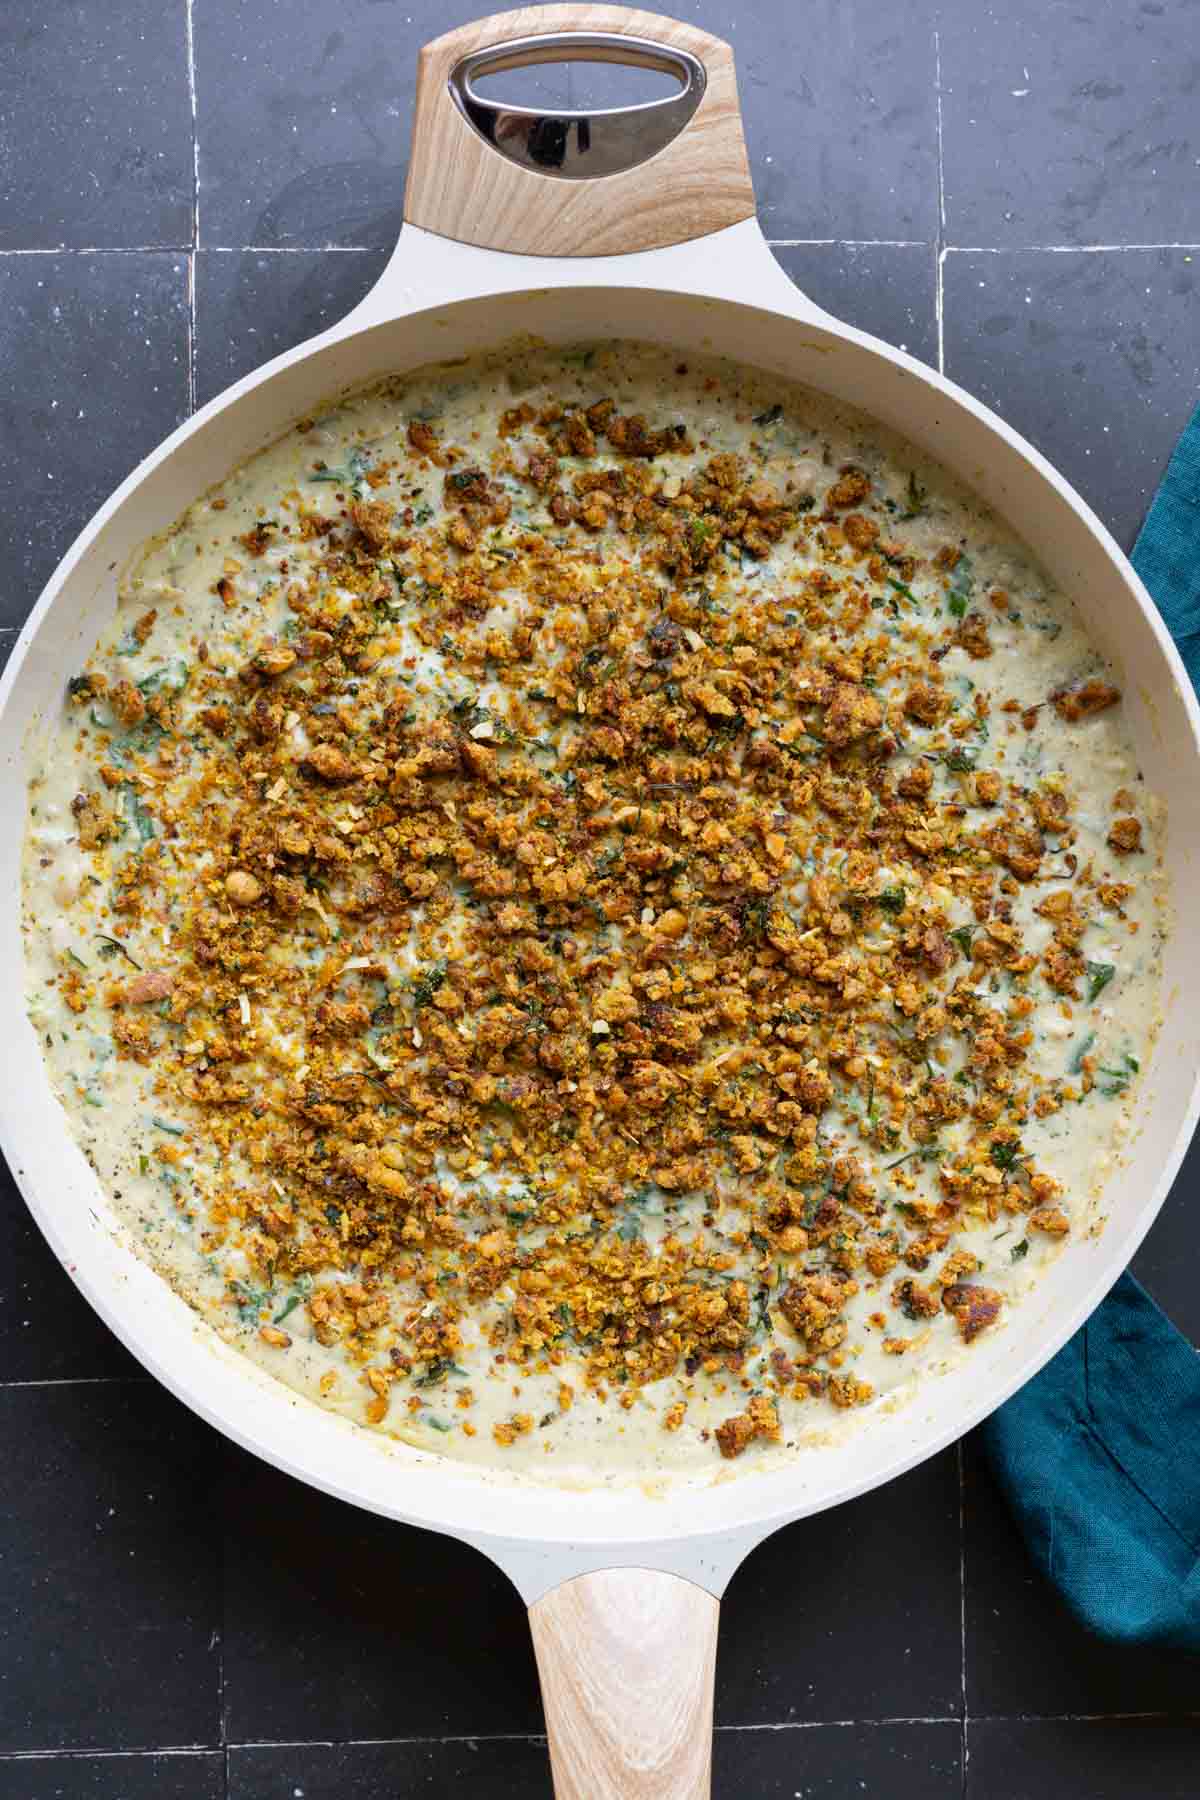
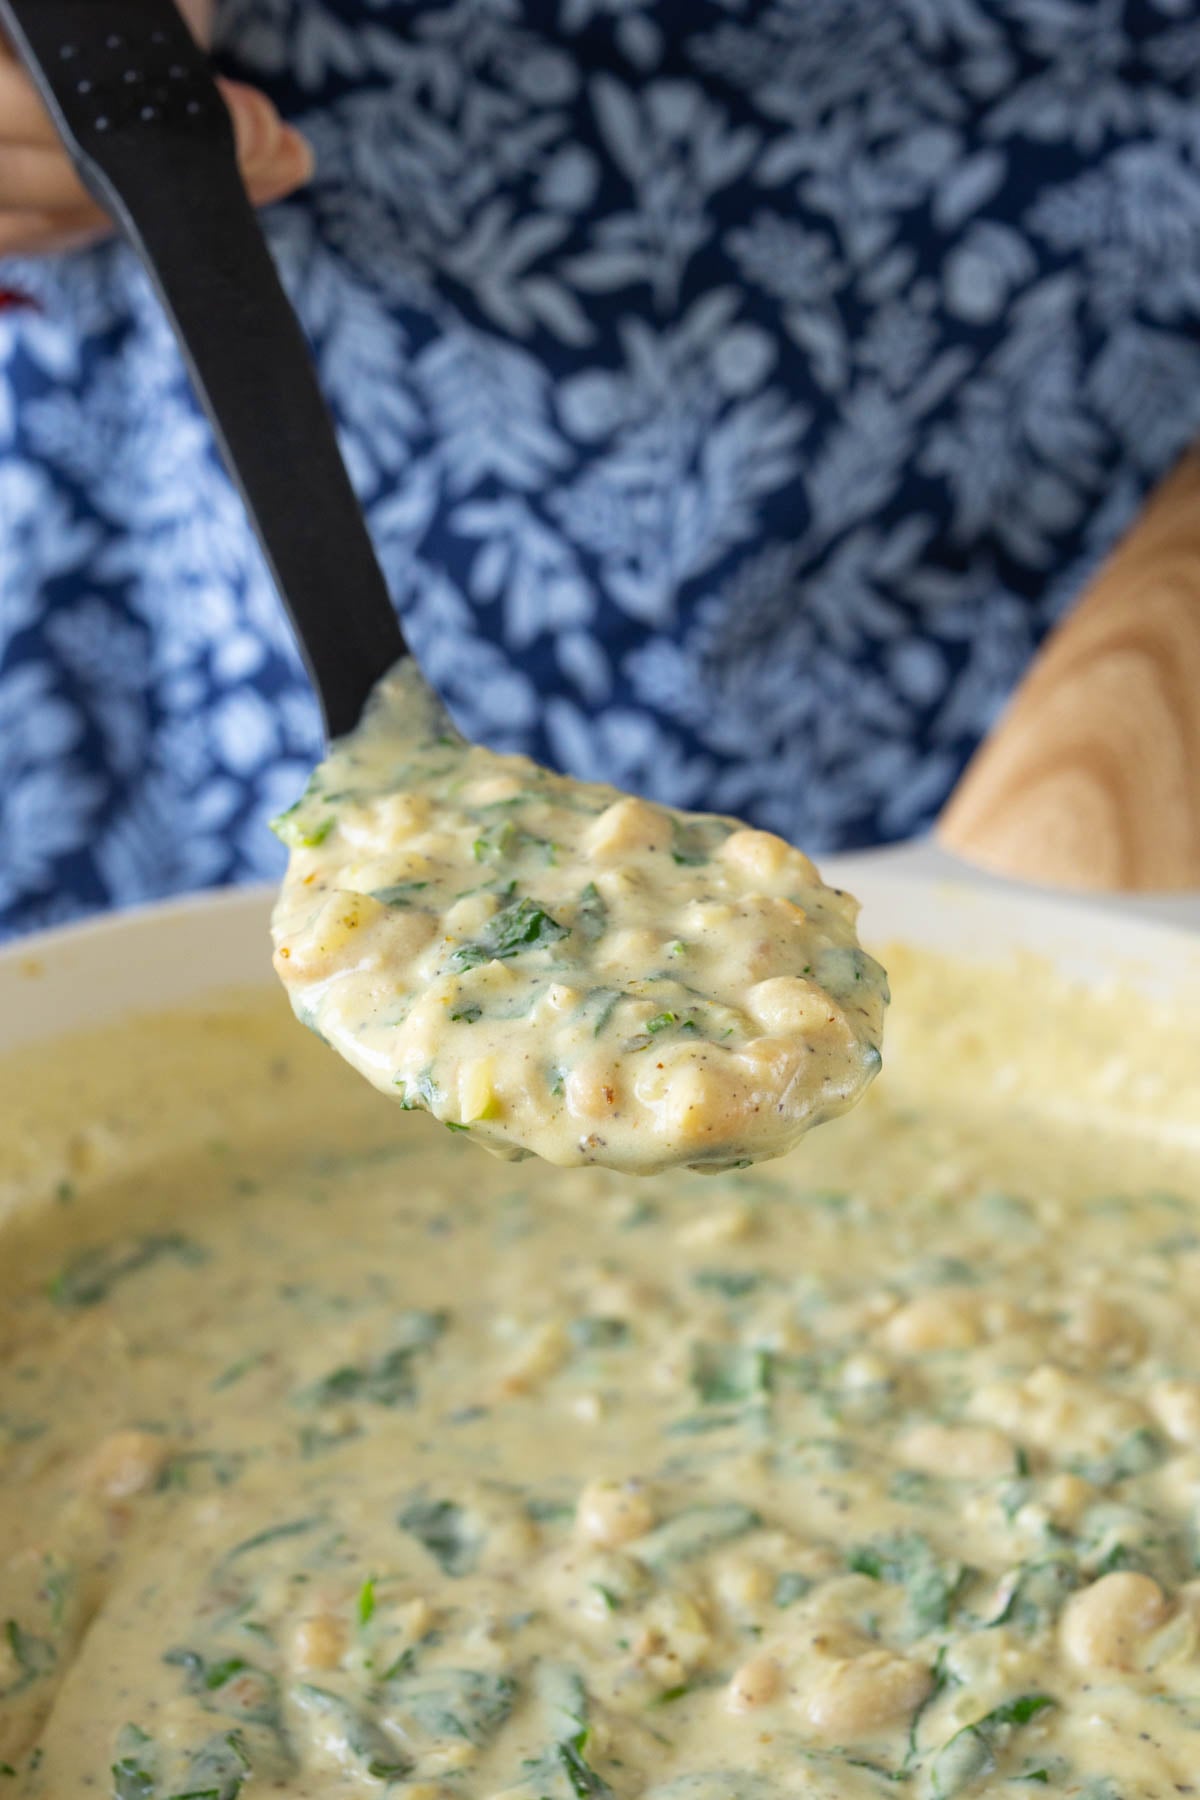
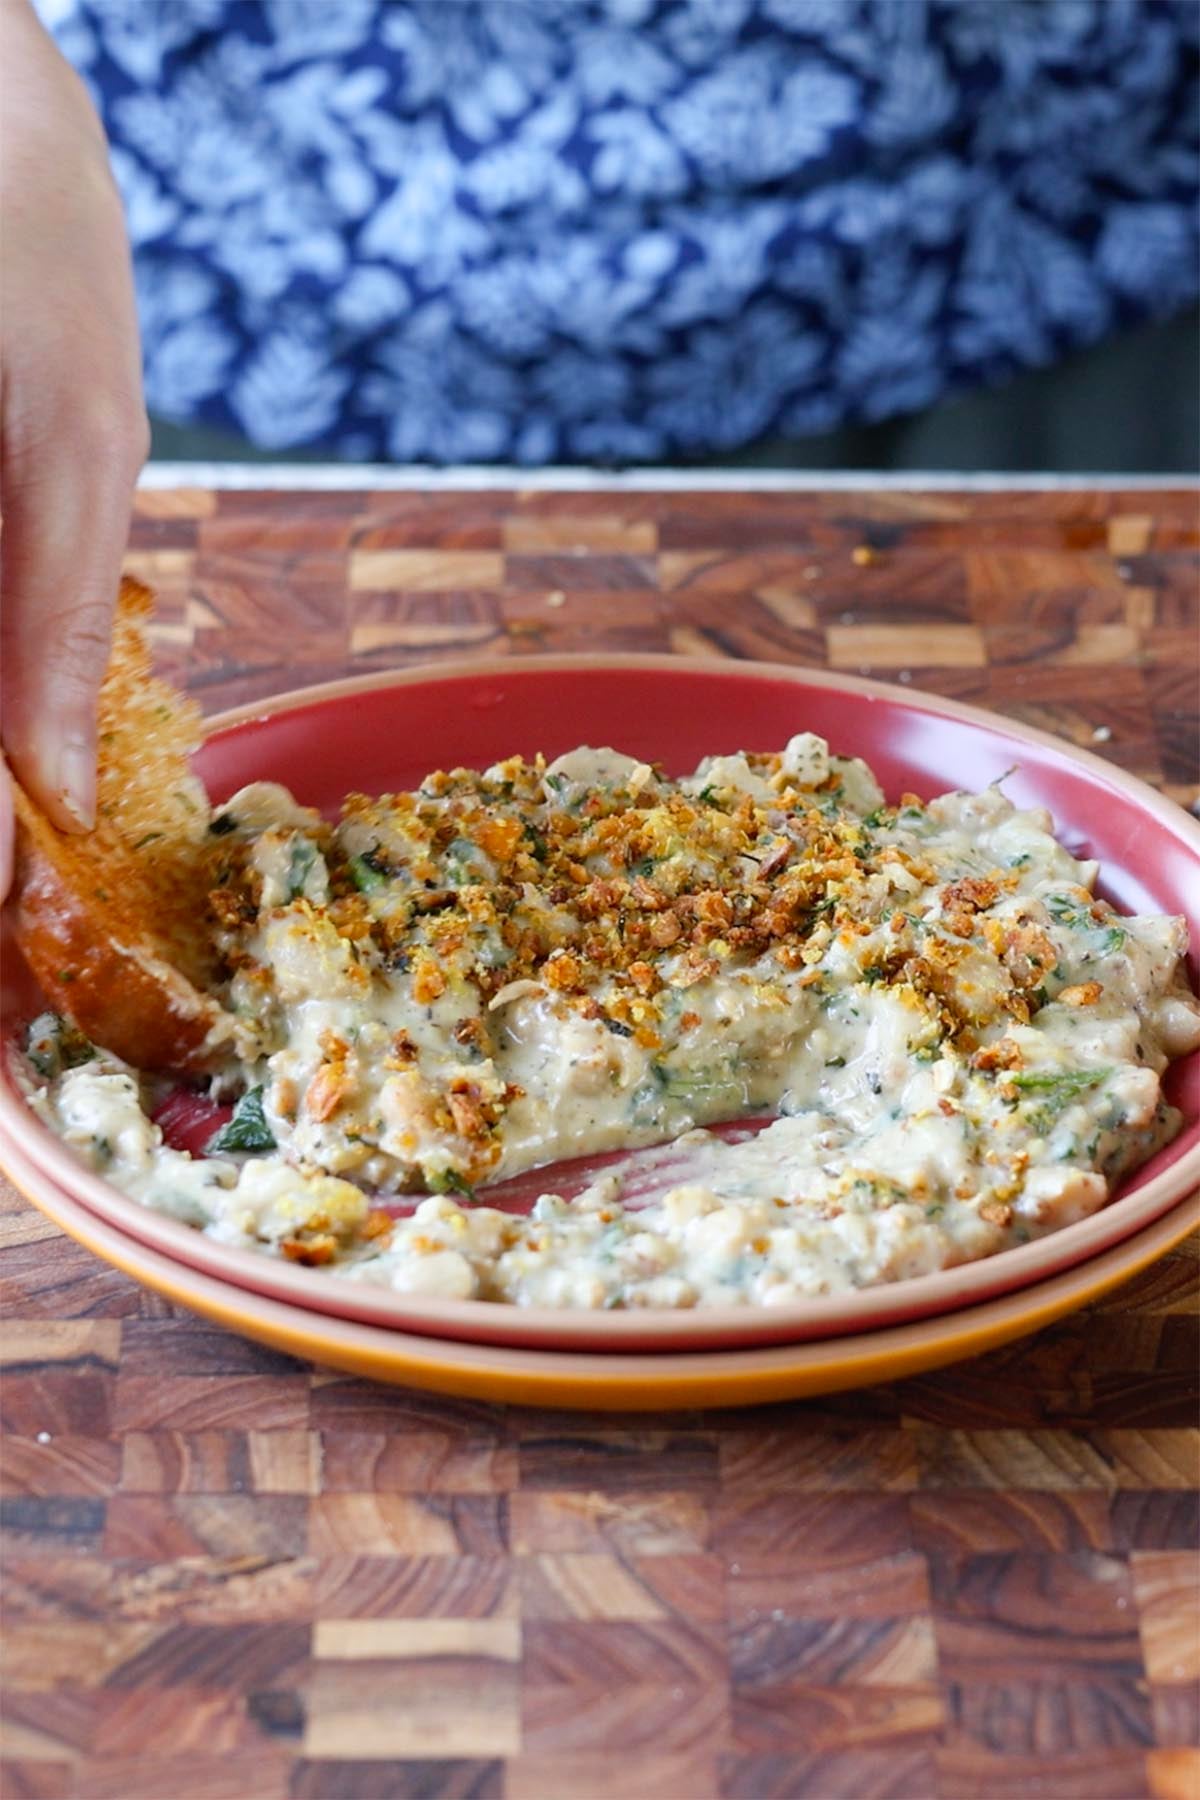
Creamy, garlicky pepper white beans with spinach, finished with an irresistible crispy chickpea crumble, is the high-protein pantry meal I make on repeat, because it doesn’t even taste like a pantry meal. (20g protein, 13g fiber, 8mg iron. Soy-free with gluten-free and nut-free options)
This creamy garlic pepper sauce with beans and kale or spinach is fantastic on its own. But then we level it up with this crispy chickpea breadcrumb topping, which adds texture, another pop of flavor, and more even protein and fiber. Think high protein croutons!
There is tons of protein in this recipe (80 grams in the entire pan) along with about 52 grams of fiber and 32 milligrams of iron. There is protein from the beans, chickpeas, cashews, hemp seeds, nutritional yeast, and kale, along with loads of fiber from the beans, chickpeas, kale, and hemp seeds.
This is a nutrient-packed meal, and you can increase the protein and fiber even more, depending on what sides you serve it with. Serve it with a side of multigrain bread or a good sourdough to bump up the protein and fiber even more. It’s also rich in iron, folate, magnesium, potassium, and B vitamins, and it comes together pretty quickly.
You can also serve it over pasta, baked potatoes, or roasted vegetables. Or make a quick bean toast by topping bread with the creamy beans and air frying for 6 to 7 minutes for a super quick and satisfying lunch. It smells so good as it’s cooking. It smells peppery, cheesy, and heavenly.
The crispy chickpeas on top are so addictive! You can use that topping over any pasta or salad. The topping alone is a must-make.
This recipe uses two cans of beans. The whole can of white beans will simmer in the creamy garlic sauce, while you are dividing up a can of chickpeas. Some of the chickpeas get blended into the sauce to make it creamy, and the rest gets crisped up to make this amazing breadcrumb topping.
Why You’ll Love Pepper Beans
super easy pantry meal that doesn’t taste like a pantry meal
High protein and fiber
crispy chickpea-breadcrumb topping, you’ll want on everything
naturally soy-free with easy gluten-free and nut-free options
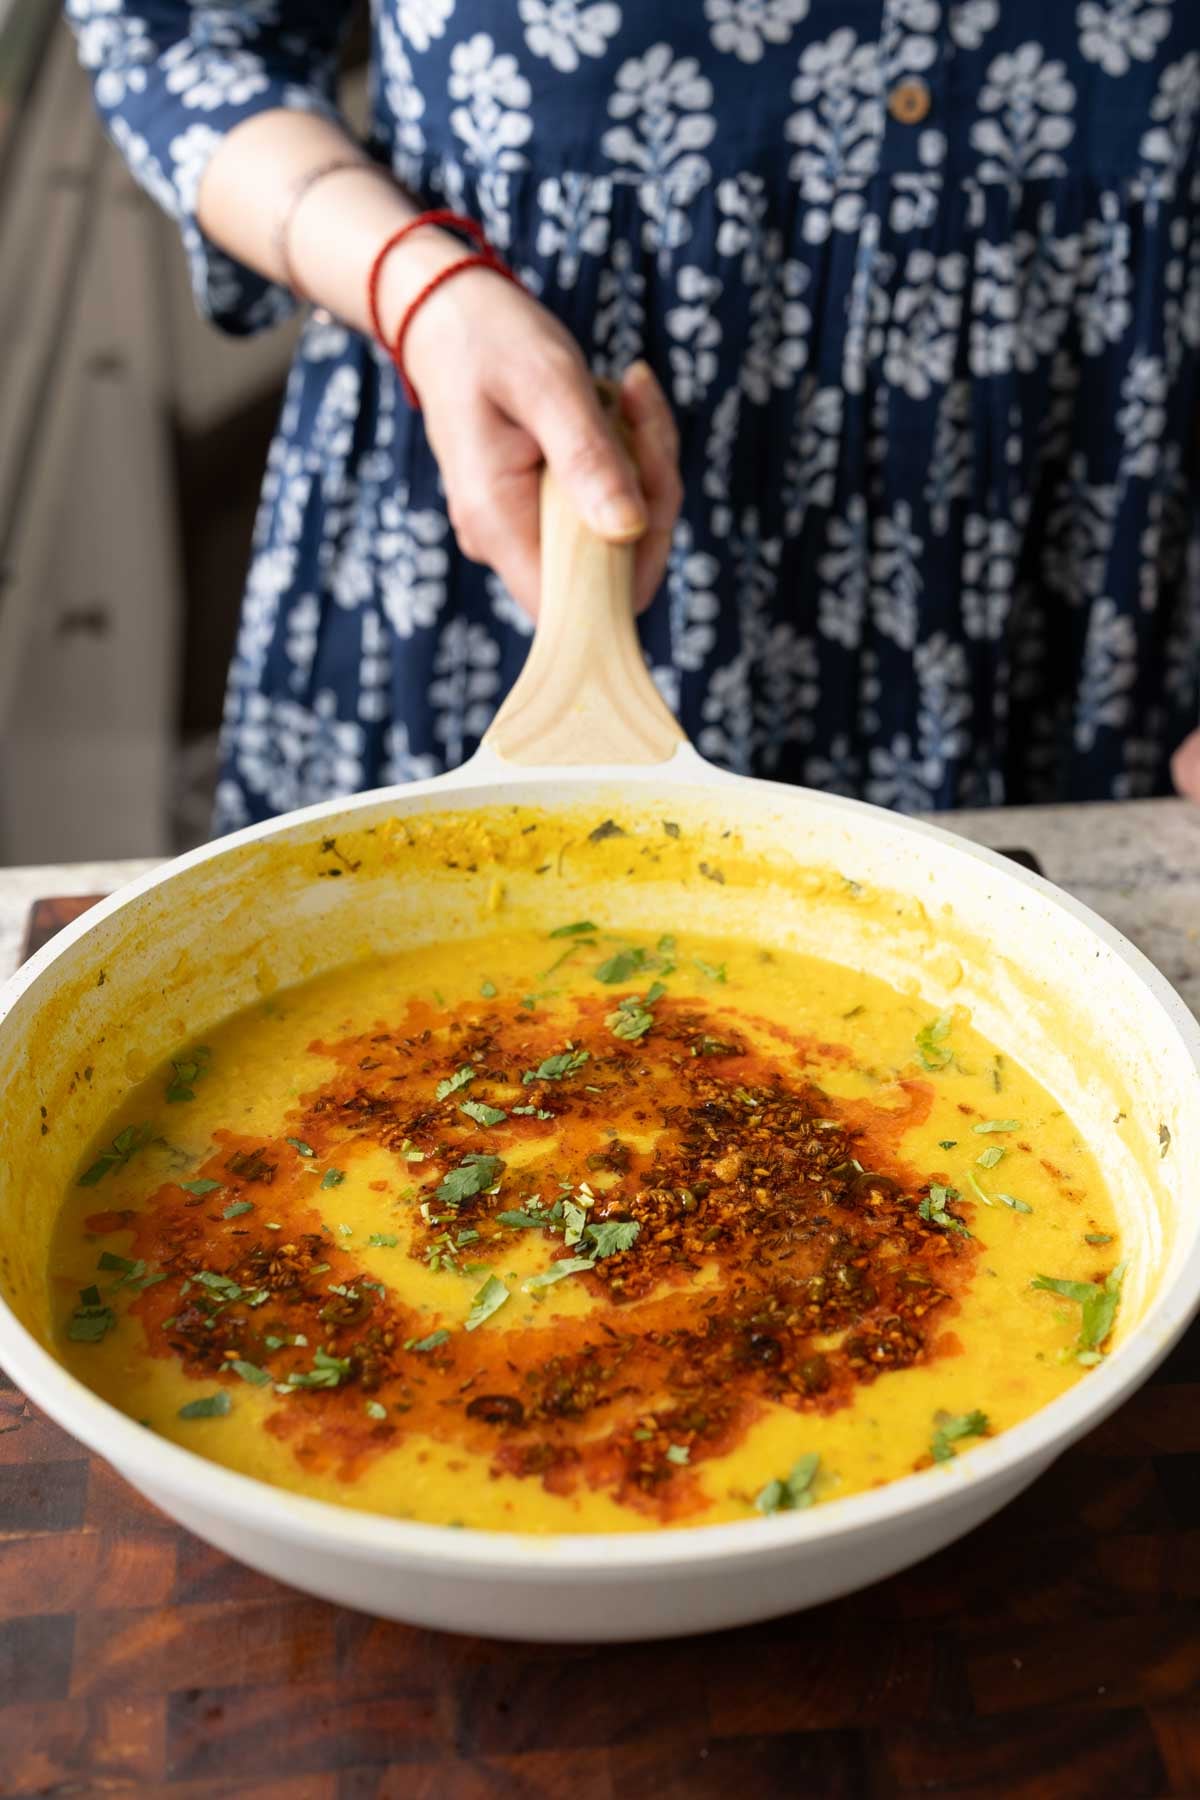
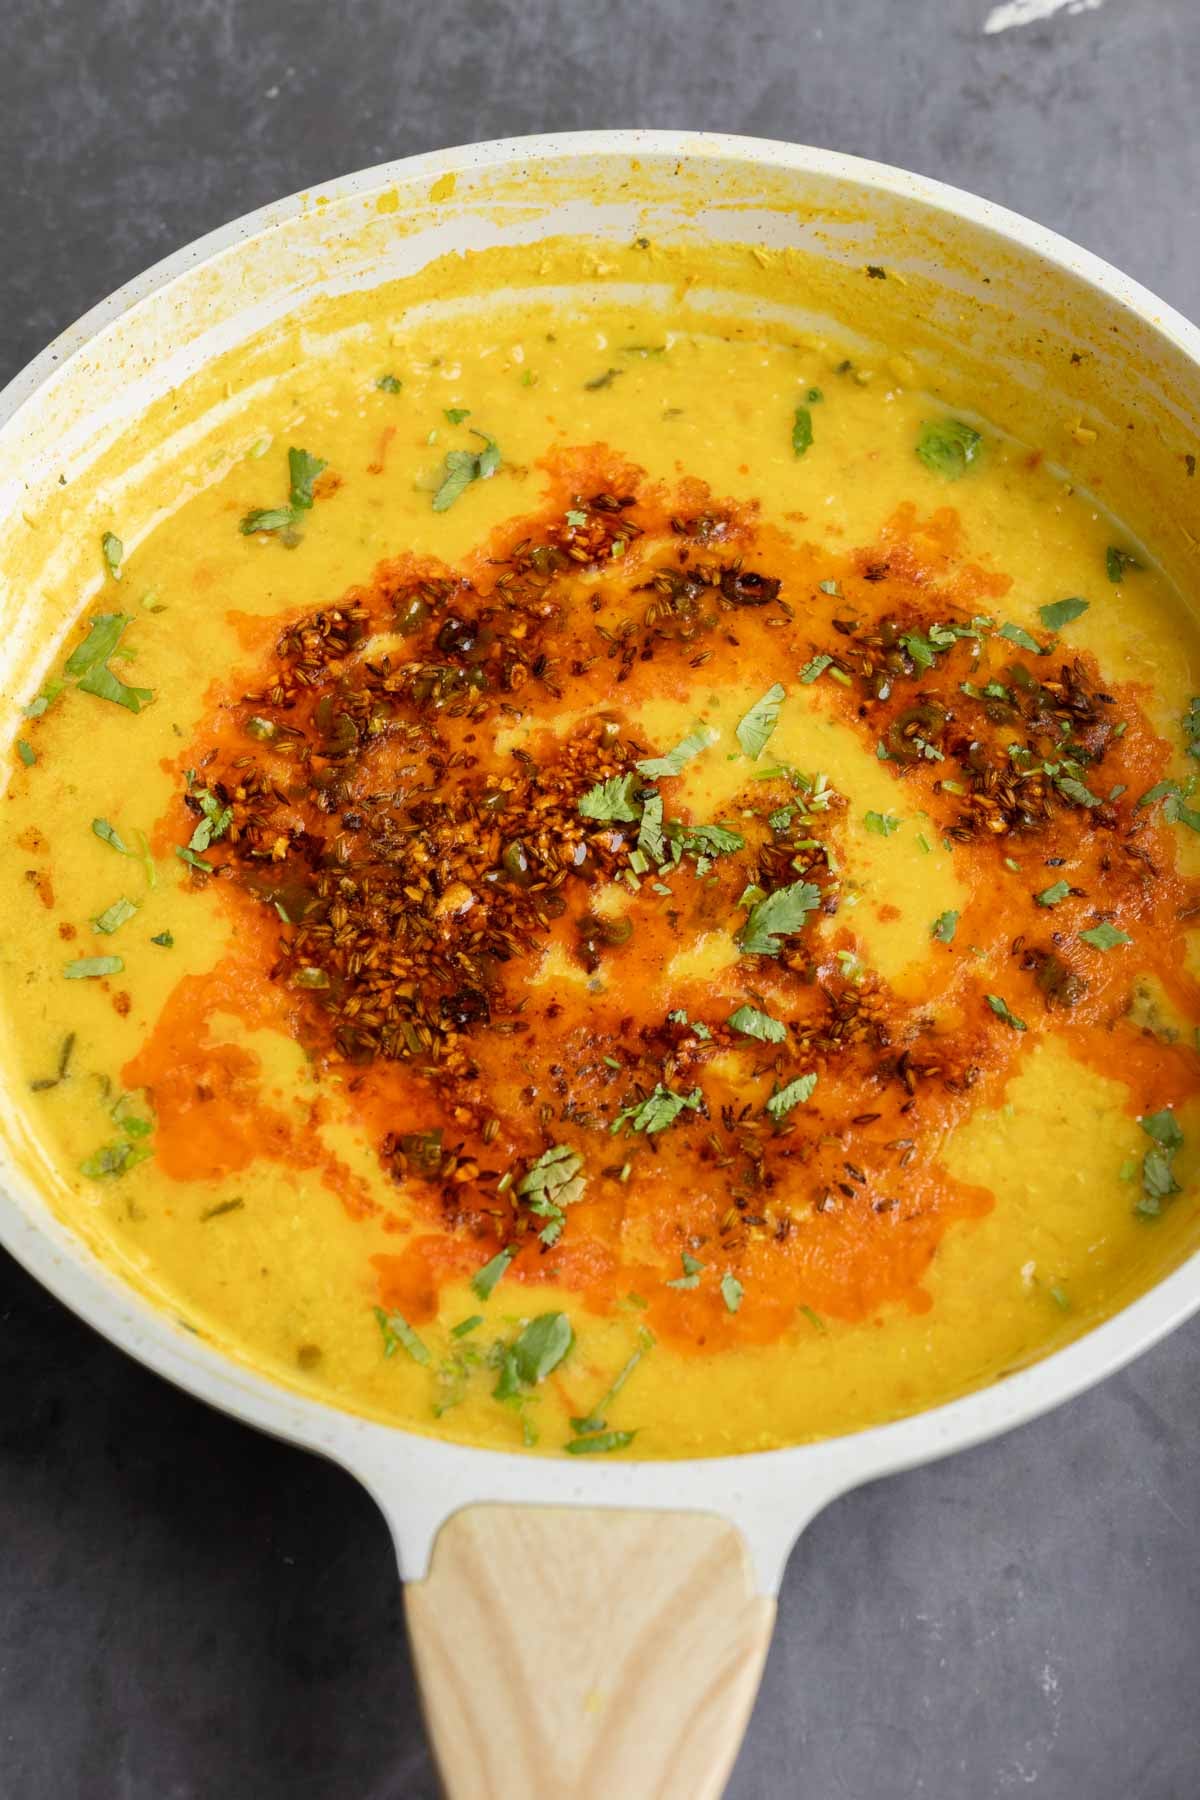
This easy jeera dal converts simple ingredients into incredible flavor! Red lentils cooked to creamy and scented with sizzling cumin, garlic, chili oil tadka. (gluten-free, soy-free, nut-free) 19 g fiber, 19 g protein!
Jeera means cumin, and dal means lentils. Together, they create a simple meal that doesn’t sacrifice flavor. This is a simple cumin-scented lentil soup that’s cozy and satisfying.
This is a simple recipe with everyday ingredients, but it makes such a delicious dal. It’s one of the simple, home-style dals that my mom used to make often.
I changed it up a little to make it slightly spicier and creamier with some non-dairy yogurt. If you cook the dal long enough, it becomes creamy on its own, so if you don’t want to add non-dairy yogurt, that works just as well.
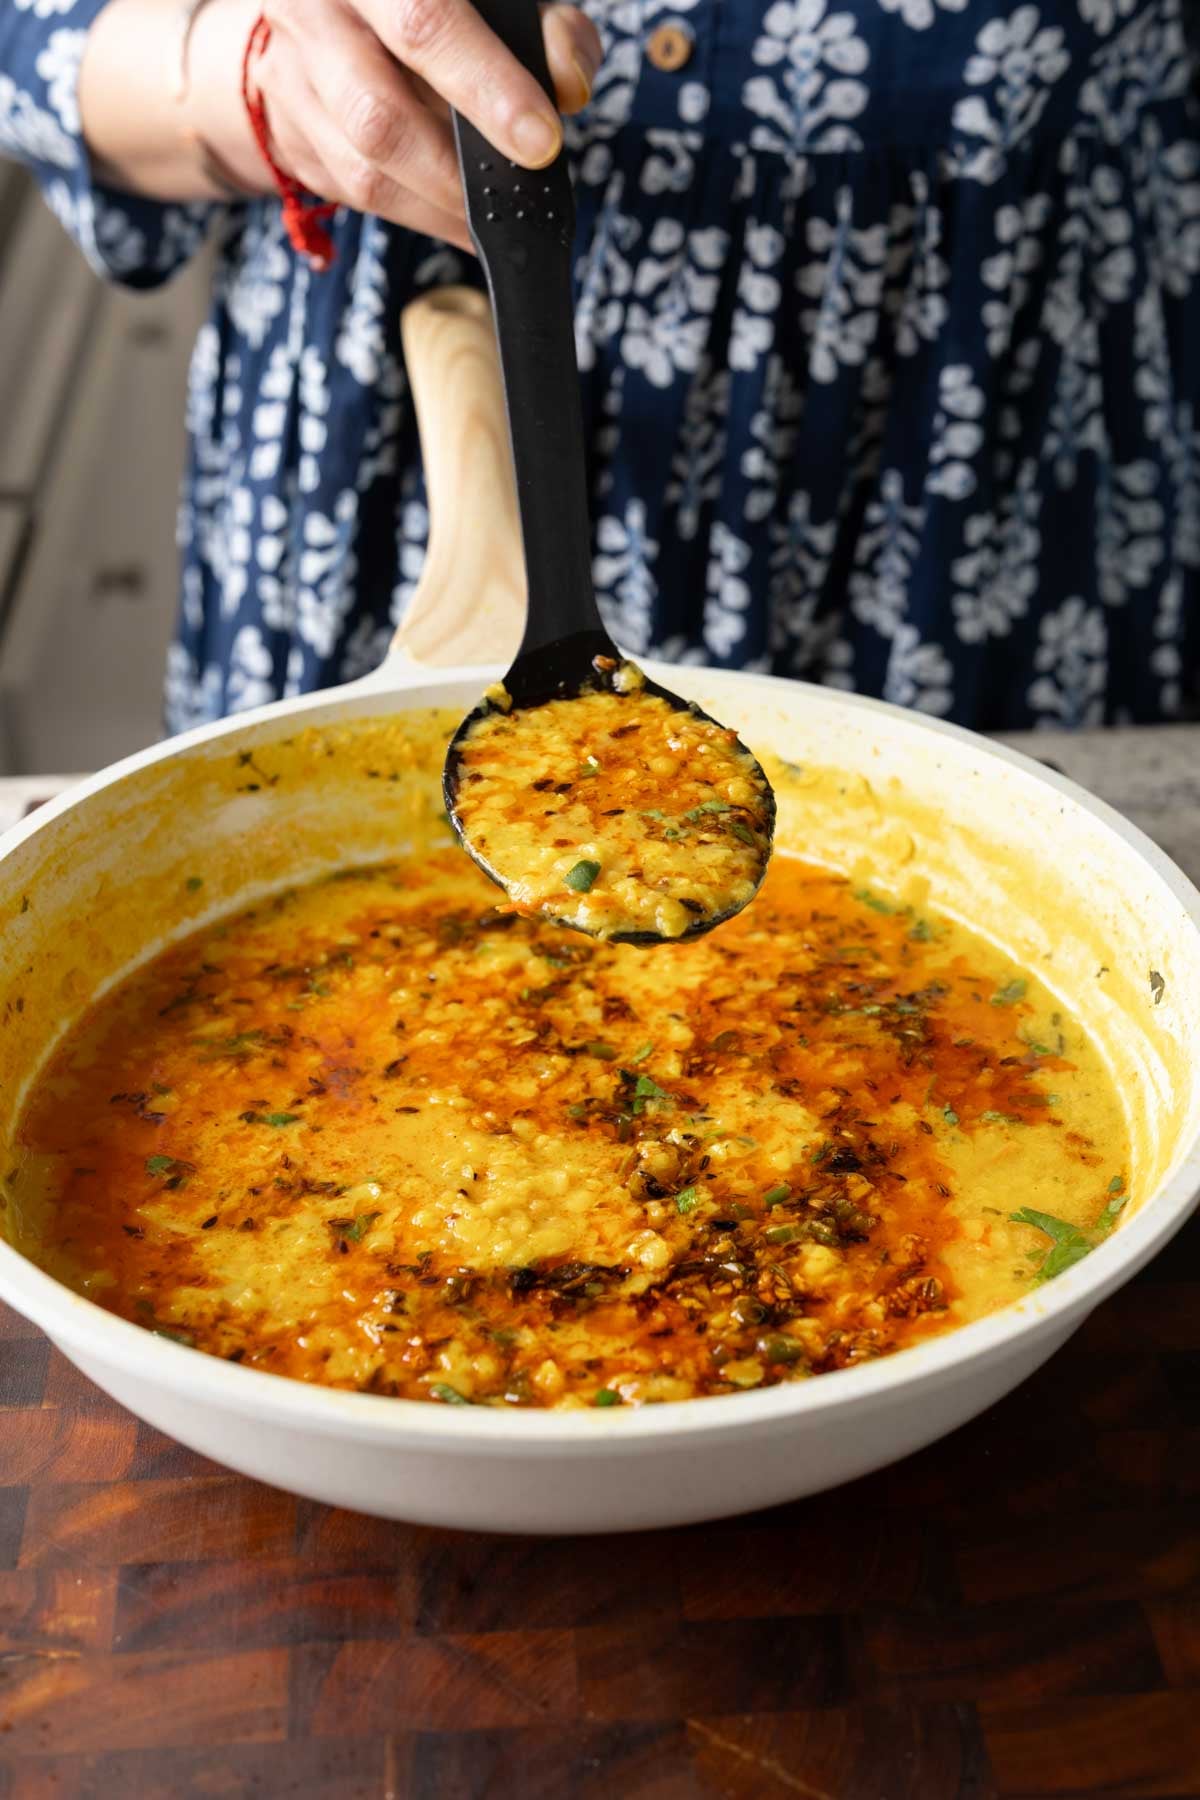
We make this simple dal with red lentils (masoor dal), along with tomato and dried fenugreek leaves. While the lentils cook, we make an amazing tadka, which is a spiced oil with cumin seeds, green chili, and garlic. That tadka takes the dal to the next level!
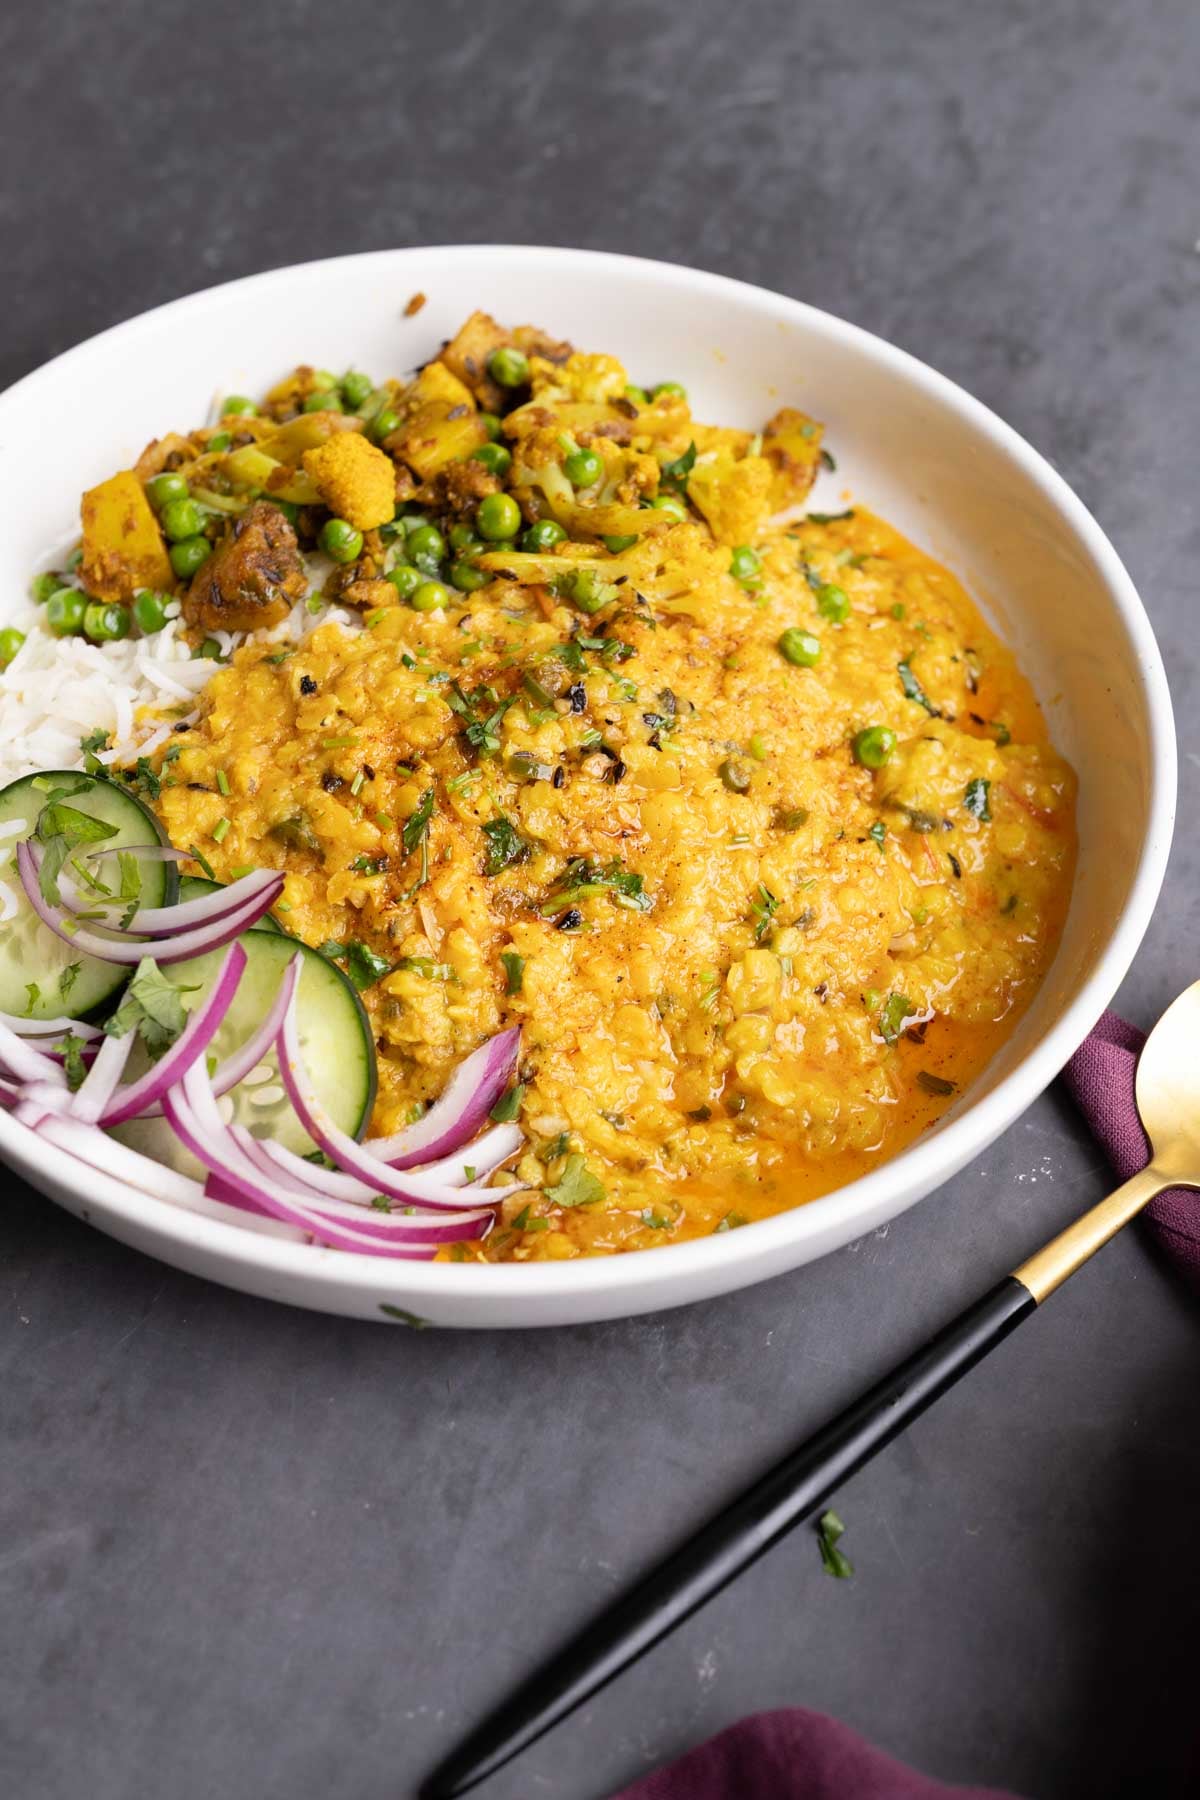
This jeera dal is delicious served with your favorite Indian sides or sabzi! In the photo above, I’m serving it with my simple gobi aloo matar.
Why You’ll Love Jeera Dal
easy to make with simple ingredients
30-minute recipe with tons of flavor
while the lentils simmer, make the quick cumin spiced oil
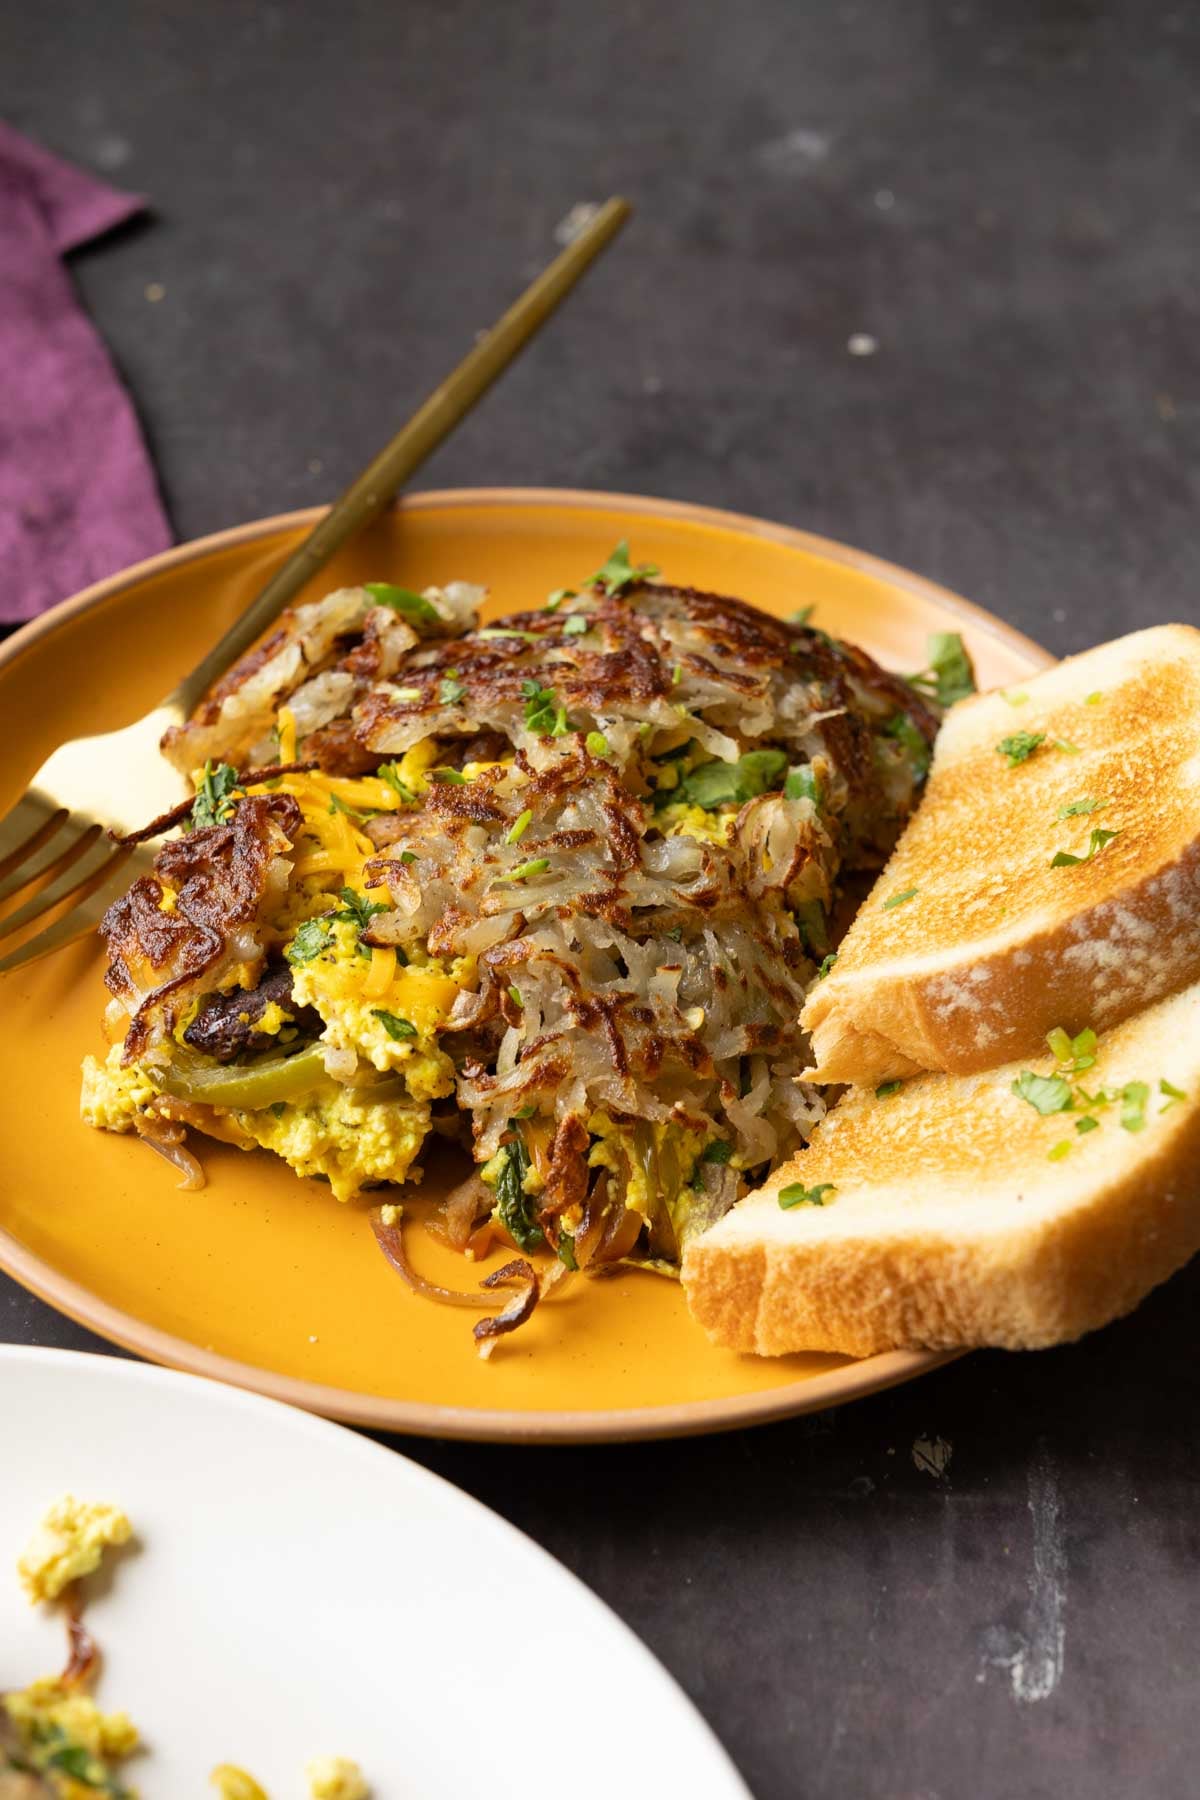
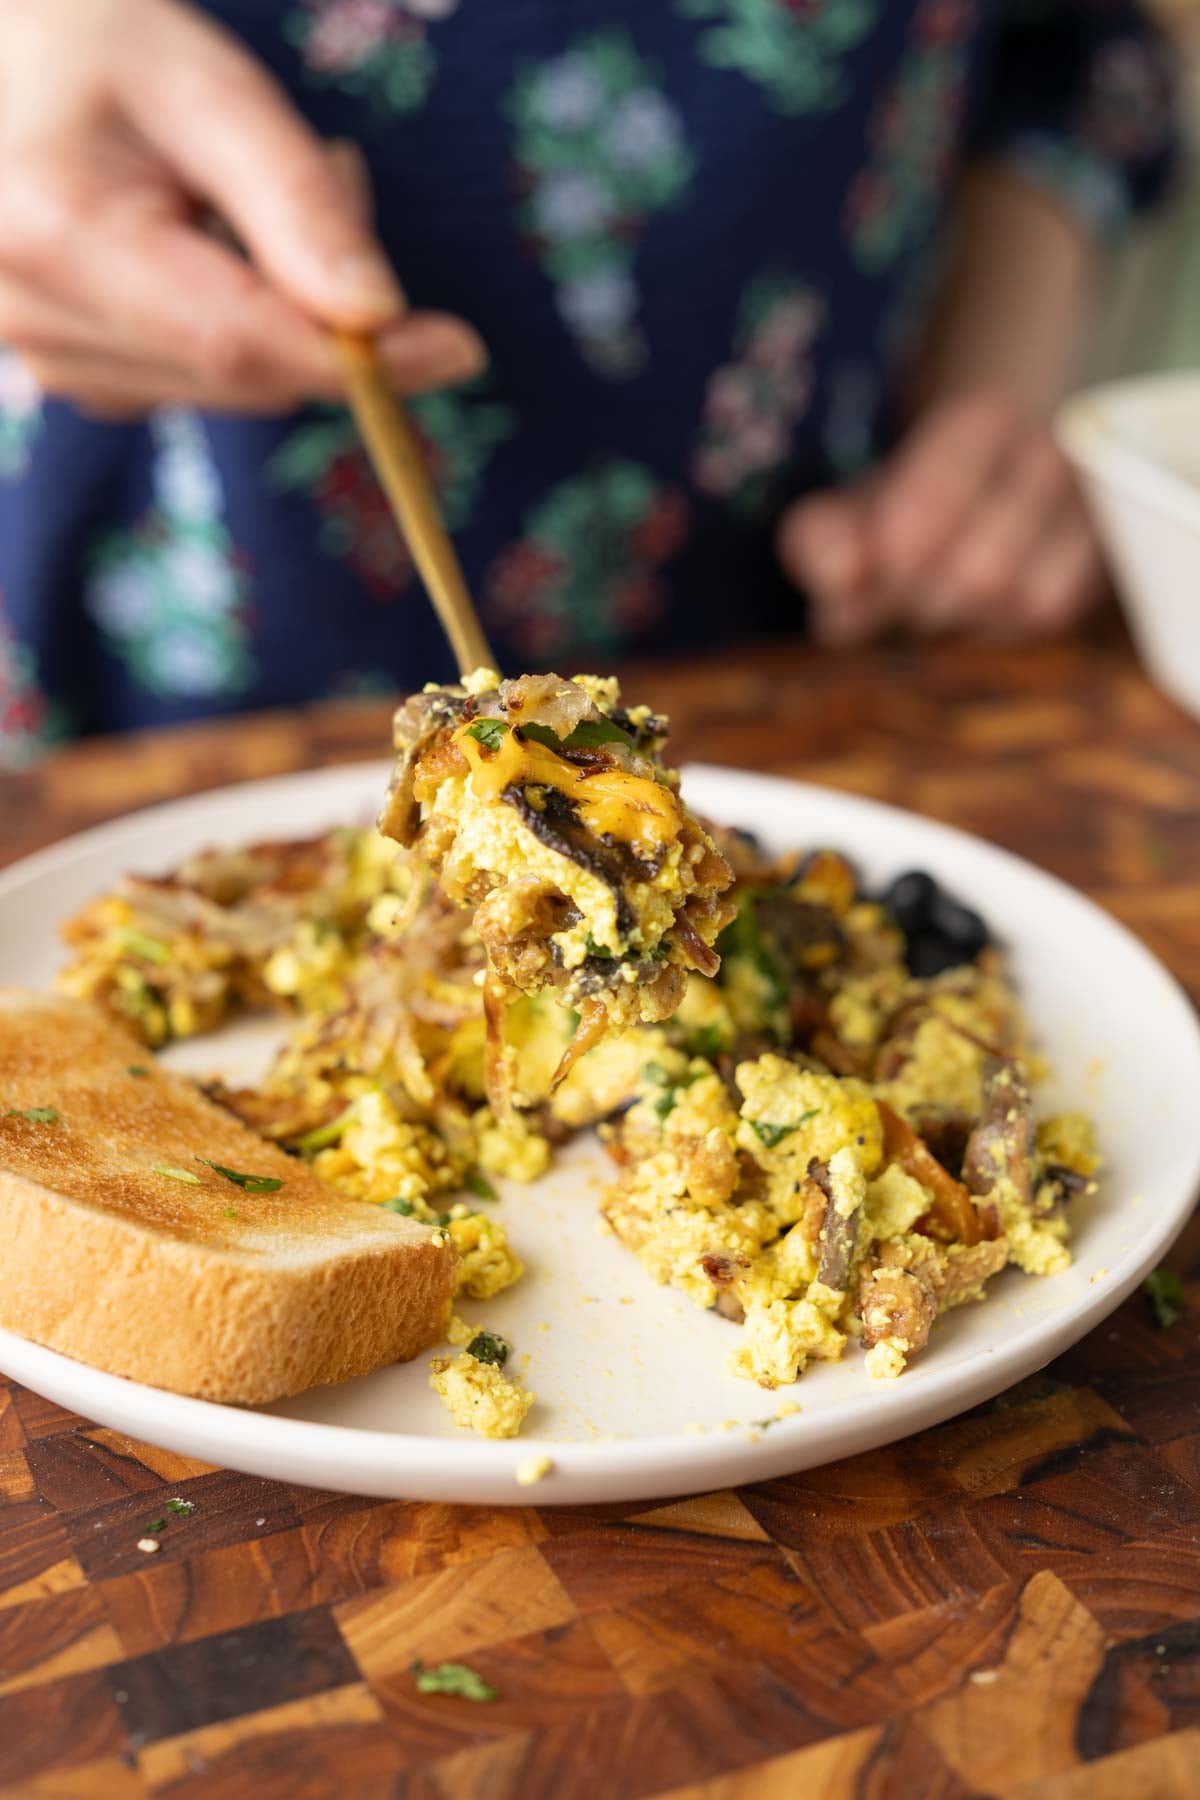
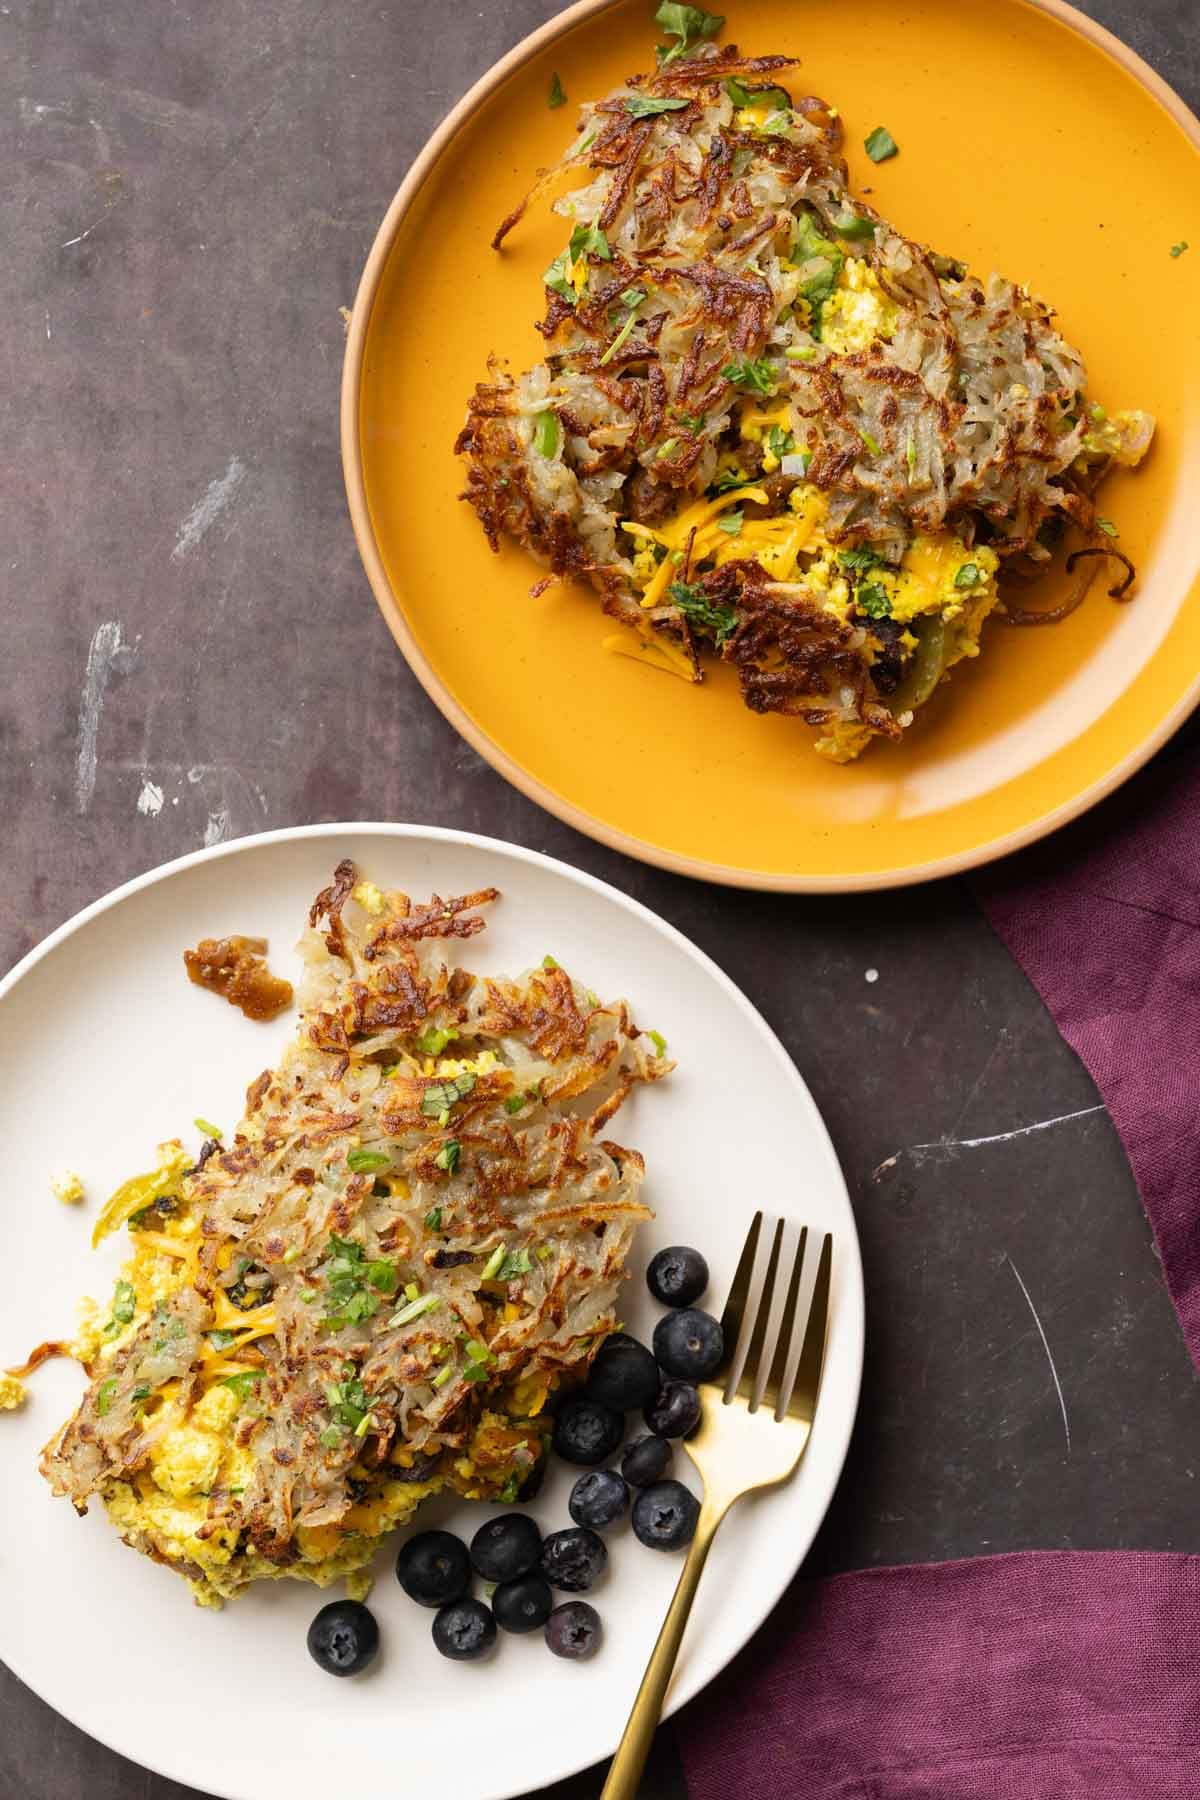
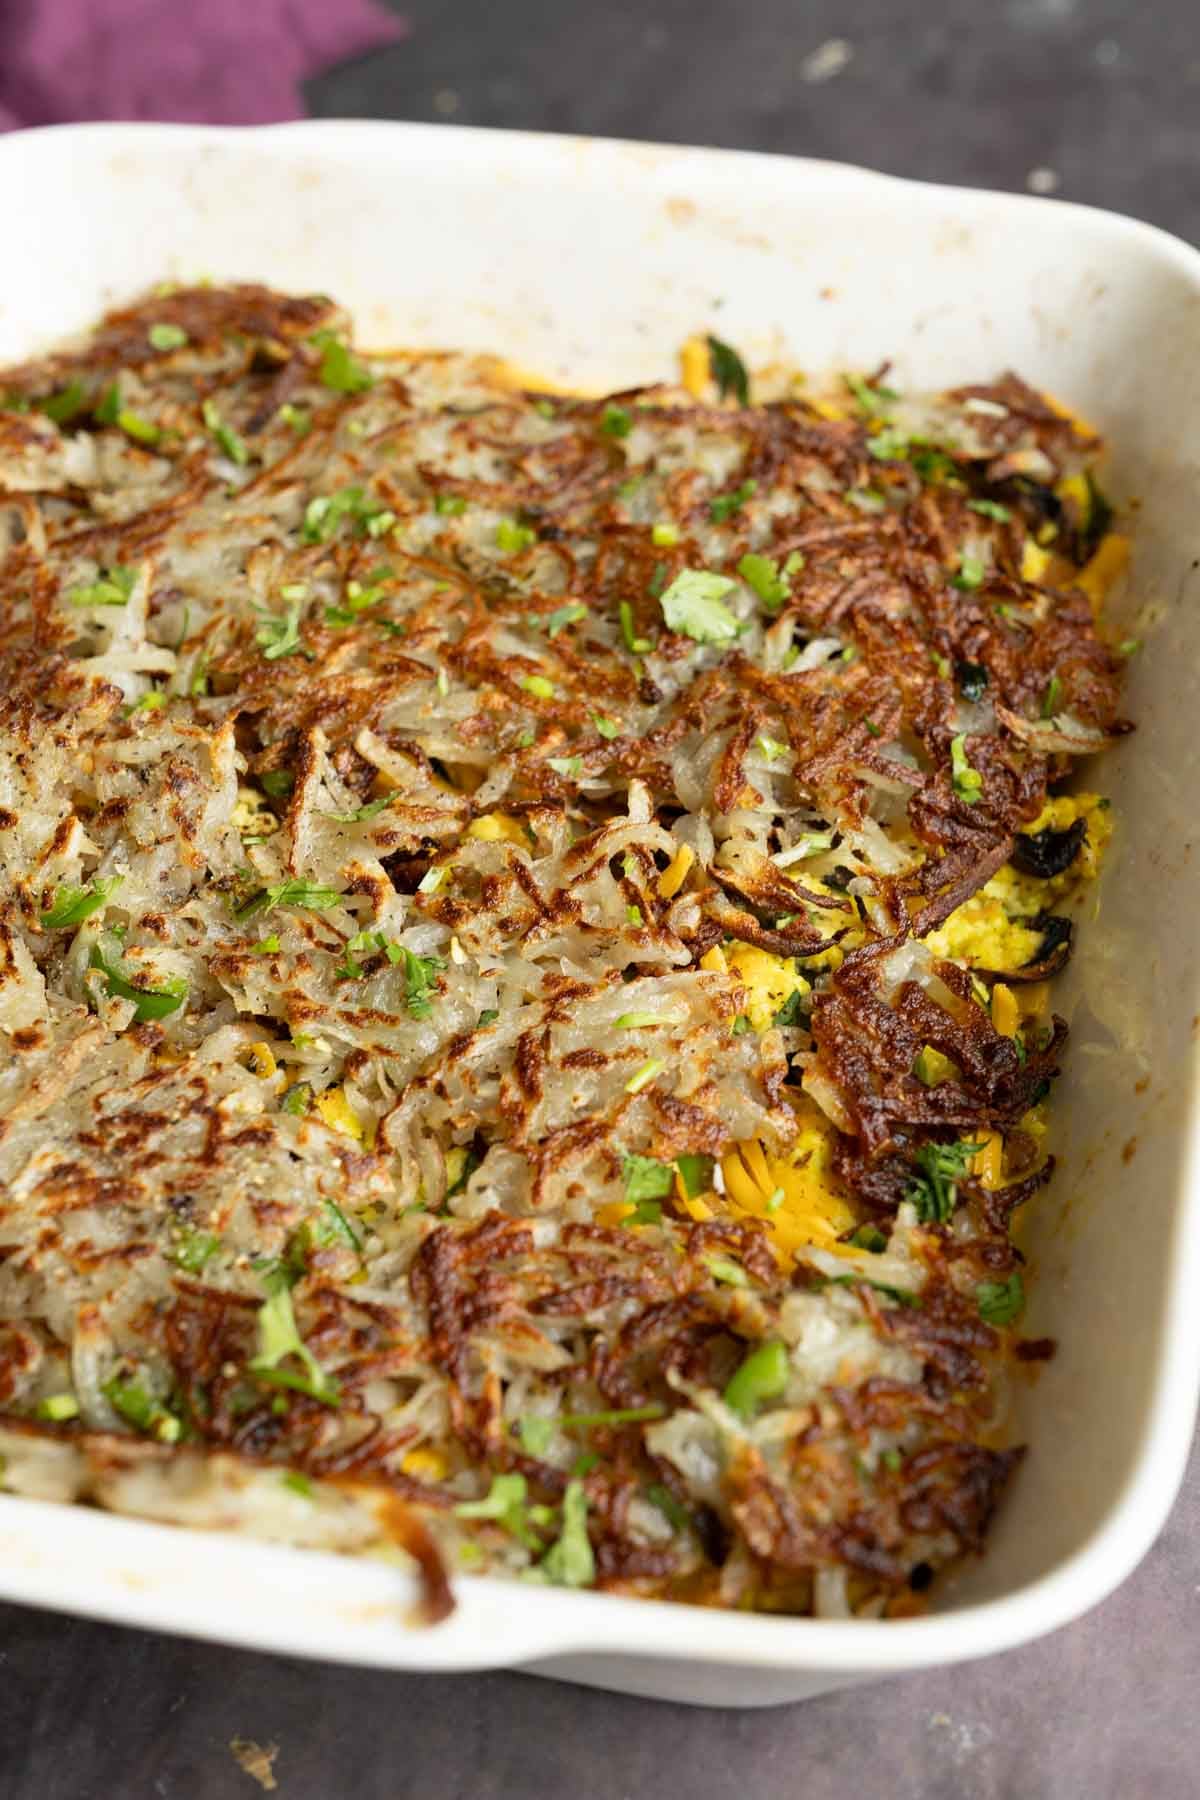
This Vegan hash-brown casserole has a crispy top, savory steak-style soy curls, fluffy tofu ’eggs.’ 27 grams of protein, rich in calcium, iron, and fiber, this is ultimate brunch centerpiece ! (27 grams protein, 8 grams fiber per serving! Gluten-free and nut-free with soy-free options.)
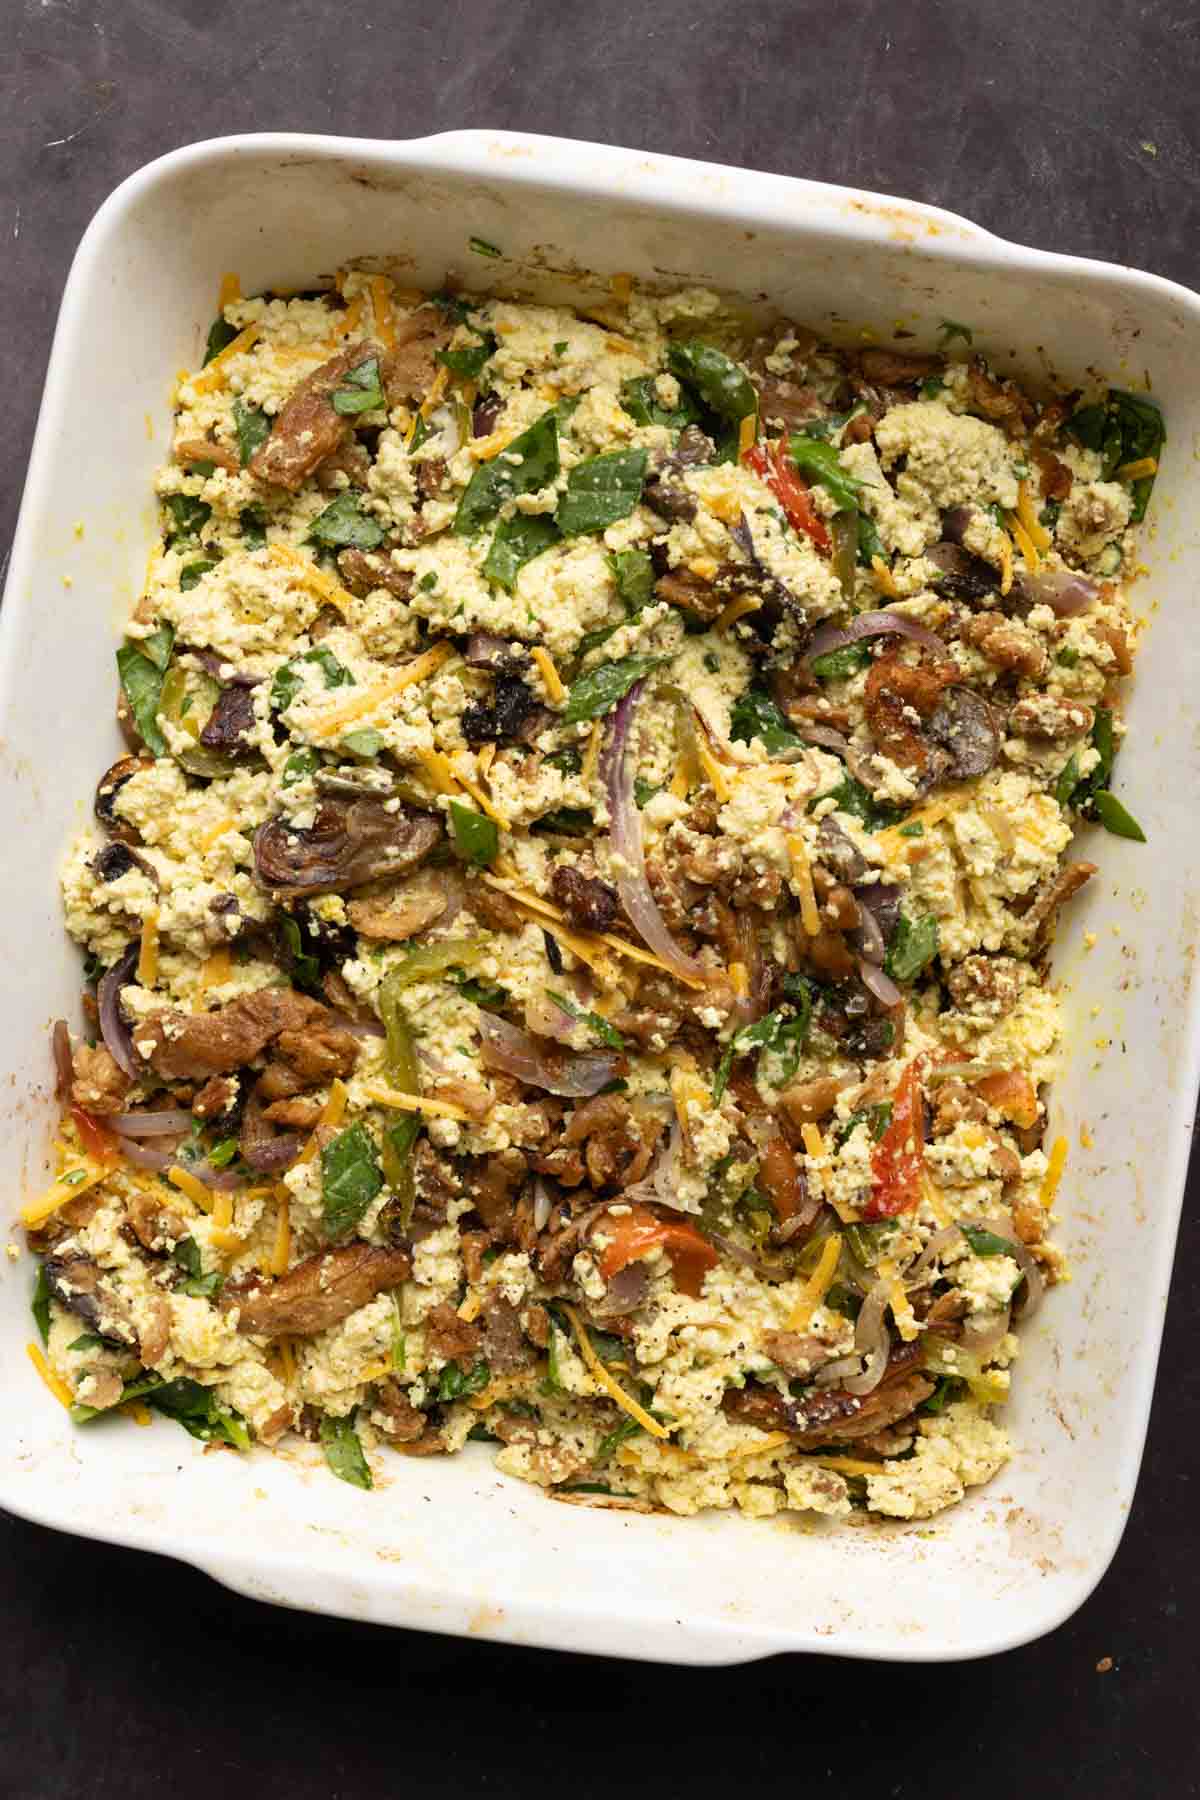
This casserole is based on the steak and eggs with hash browns from IHOP. I decided to turn it into a vegan casserole, so it has soy curls that are marinated and then baked along with onion, mushrooms, and peppers until everything starts to caramelize.
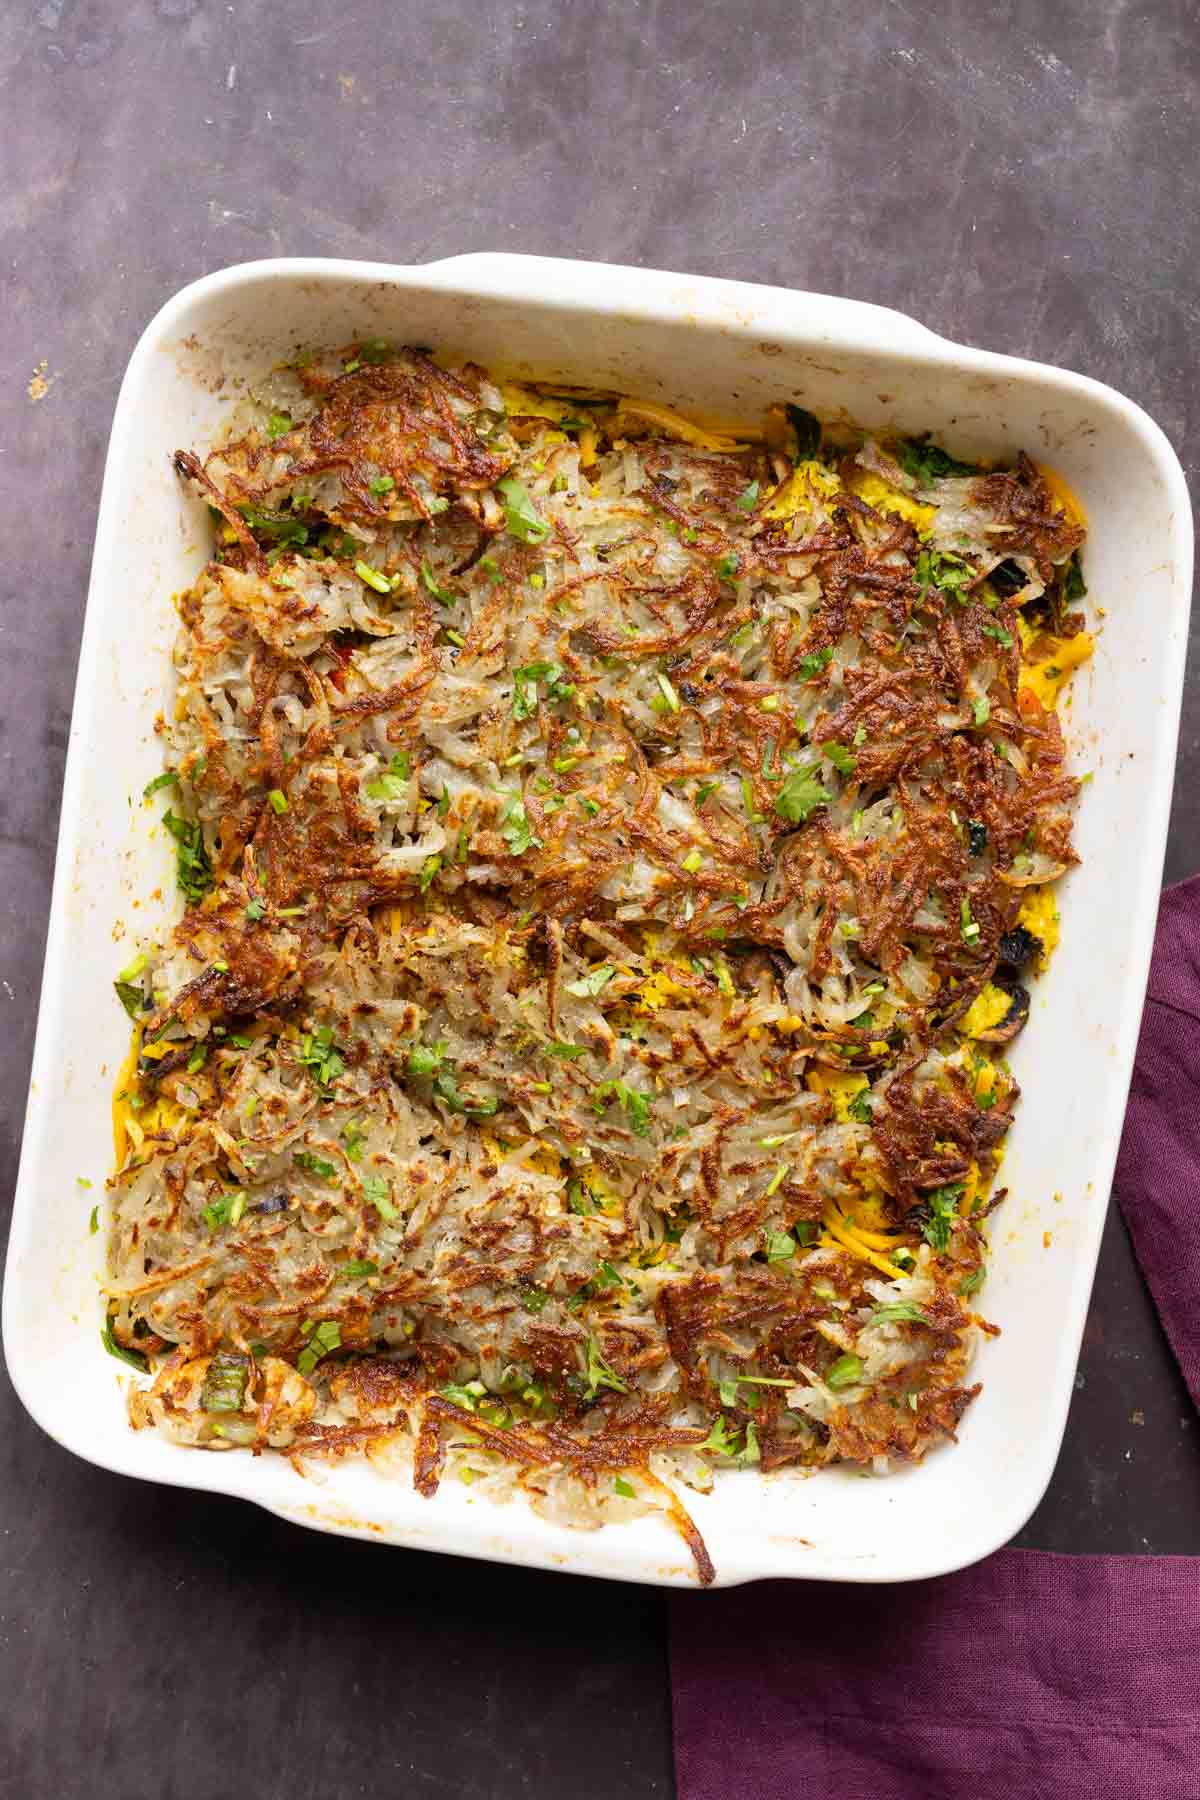
Then, we add crumbled tofu, seasonings, non-dairy yogurt or non-dairy cream, and vegan cheese. Spread that over everything, mix it up a little bit, and bake it again for a cheesy, 1-pan vegan steak and egg scramble.
While all of this is baking, we make our hash browns and crisp them in a skillet, then put them on top of the casserole before serving. You can actually serve the hash browns on the side or on top of the casserole.
I love making breakfast casseroles, like my eggs Benedict casserole and my Mexican egg casserole. In those recipes, I blend the tofu to make the egg mixture. I wanted to make a version where I didn’t have to use the blender, so there are fewer dishes to clean.
This is such a hearty breakfast, and it’s so delicious! For additional protein, you can add nutritional yeast and hemp seeds or more soy curls to the tofu mixture.
Why You’ll Love Hash Brown Casserole
27g protein
hearty, cozy breakfast casserole packed with fluffy tofu “egg”, vegan “steak”, cheese, and veggies
crispy hash brown topping
Meal prep friendly!
naturally gluten-free with nut-free and soy-free options
Black Rice Aapam is a wholesome twist to the traditional south indian favourite (rice aapam), made with nutrient rich black rice also known as “the forbidden rice”. The naturally earthy, nutty flavour of black rice gives these Aapams a unique depth of flavour and more intense taste than the white rice Aapams. Light, flavourful and...
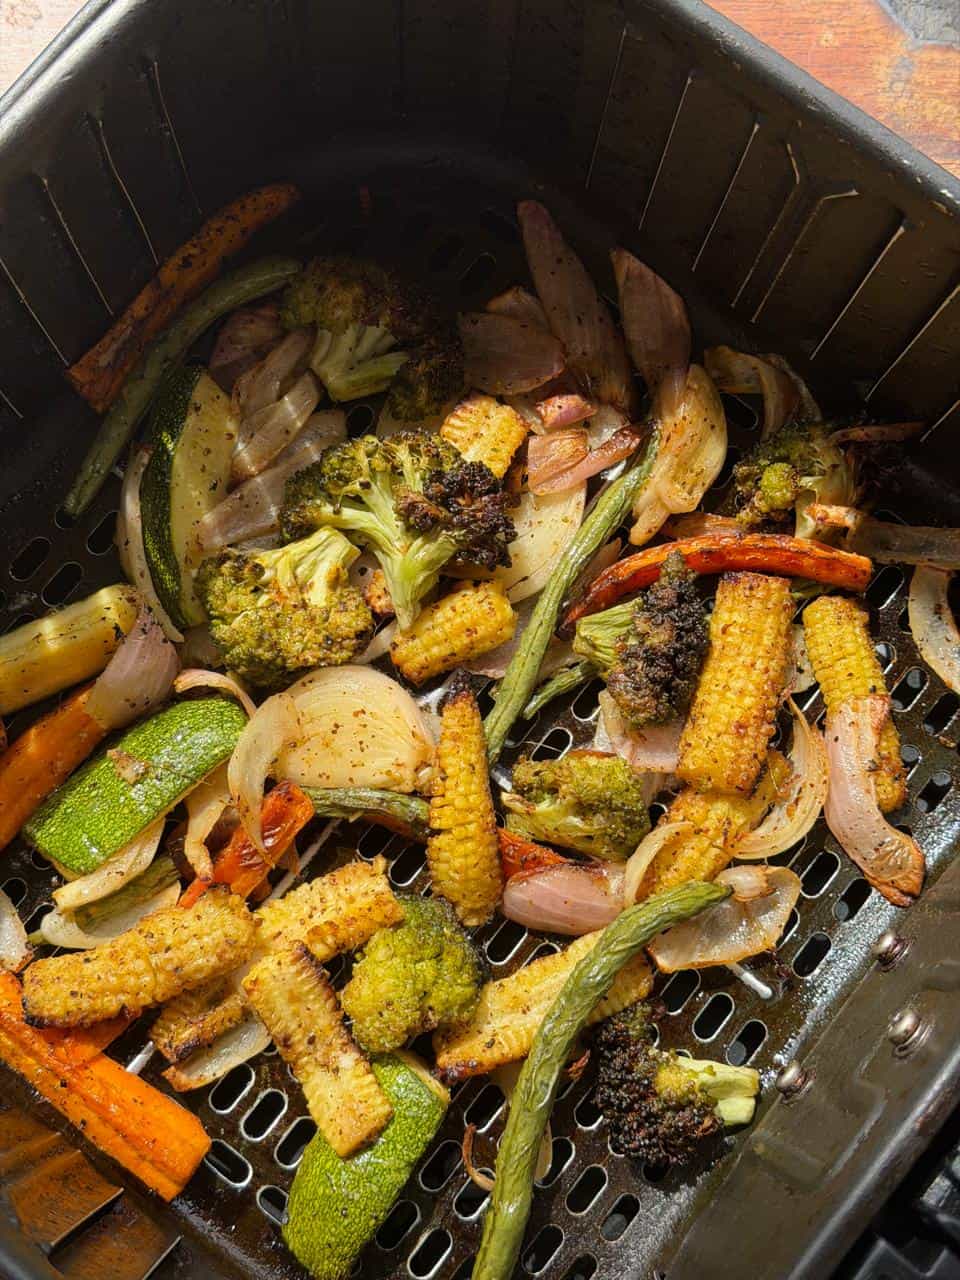
These air fryer roasted veggies is the easiest side dish I make at home! They go with pretty much everything, and the air fryer gets them perfectly golden and tender without any fuss.
These air fryer roasted vegetables have become our go-to side for pretty much every non-veg meal we make at home. They need barely any oil and no babysitting, which frees me up to focus on the main dish. Plus, that roasted, slightly charred flavour of the veggies makes them so addictive!
To make these roasted air fryer veggies, I have used babycorn, carrots, broccoli, beans, zucchini, and onions, but you can swap in whatever vegetables your family enjoys. If you’ve been using your air fryer regularly for recipes like our air fryer chicken tikka or air fryer lemon garlic chicken, these roasted vegetables make the perfect side to go with them.
Vegetables: Babycorn, carrots, broccoli florets, beans, zucchini, and onion
Seasoning: Salt and crushed pepper
Dijon mustard: Adds slight tanginess and depth of flavor. You can also use kasundi instead
Oil: Olive oil or any neutral cooking oil
Water: A couple of tablespoons added to the outer basket to prevent the vegetables from drying out while roasting
Frequently Asked Questions
What types of vegetables work best in the air fryer?
Root vegetables like potatoes, carrots, and sweet potatoes work brilliantly because they hold their shape and caramelise well. Broccoli, cauliflower, bell peppers, zucchini, beans, and onions are all great too. The key is to group vegetables with similar cooking times together so nothing ends up overcooked or underdone.
Can I use frozen veggies for this recipe?
Fresh is recommended because frozen vegetables release a lot of water as they thaw, which prevents them from crisping up in the air fryer. If frozen is all you have, thaw them completely and pat them very dry before tossing with oil and seasoning.
Why are my veggies not browning?
Usually one of three reasons. Not enough oil on the surface, too many vegetables crowded in the basket, or the air fryer wasn’t preheated. The vegetables need space for the hot air to circulate, a thin coating of oil to help them brown, and a fully preheated air fryer to start crisping immediately.
Do I need to flip the vegetables while air frying?
You don’t need to flip individual pieces, but giving the basket a gentle shake or toss halfway through helps everything cook more evenly.
Richa’s Top Tips
Cut the vegetables into large pieces. They shrink significantly while roasting, so what looks like a big chunk raw will be the perfect size by the time it’s done. Small pieces will shrivel up and dry out.
Add the vegetables in stages based on cooking time. Babycorn and carrots take longer, so they go in first. Broccoli, beans, zucchini, and onions cook faster and get added halfway through. This way everything finishes at the same time without anything being overcooked or undercooked.
Line the basket with baking paper. This traps the natural juices from the vegetables and prevents them from drying out while roasting. It also makes cleanup much easier.
Add water to the outer basket. Just a couple of tablespoons. This creates a little steam that keeps the vegetables moist on the inside while the air fryer crisps up the outside.
Storage Tips
In the fridge: Store in an airtight container for up to 3 days. The vegetables hold their flavour well but will soften as they sit.
Freezing: Not recommended. Roasted vegetables lose their texture once frozen and thawed, especially broccoli and beans, which turn mushy.
Reheating tip: Pop them back in the air fryer at 200°C for 3-4 minutes to crisp them up again. The oven works too but takes longer. Avoid the microwave, as it makes them soft and steamy rather than crispy.
Serving Ideas
These air fryer vegetables are a side dish at heart, so they pair well with almost anything:
With Chicken Ghee Roast: A plate of rich, spicy ghee roast with these roasted vegetables on the side makes for a really balanced meal.
With Pepper Mutton Fry: The simplicity of the roasted veggies pairs perfectly alongside a bold, peppery mutton fry.
In a grain bowl: Pile them over some cooked quinoa or rice, add a spoonful of hummus, and drizzle with olive oil for a healthy, filling lunch.
In a wrap: Stuff them into a warm whole wheat pita with some hummus and pickled onions for a quick vegetarian meal.
With Mediterranean Quinoa Salad: Toss the roasted veggies into this salad while they’re still warm for a heartier, more substantial version.
Customisation Ideas
Go Mediterranean: Toss the vegetables with dried oregano, garlic powder, and a squeeze of lemon after roasting. Crumble some feta on top while they’re still hot.
Make it Indian: Swap the salt and pepper for chaat masala, amchur, and kashmiri chilli powder. Finish with a squeeze of lemon, and your masaledar roasted veggie chaat is ready.
Add paneer or chicken: Toss marinated paneer cubes or chicken pieces in with the second batch of vegetables. They crisp up beautifully in the air fryer alongside the veggies.
Try different vegetables: Sweet potatoes, potatoes, mushrooms, bell peppers, and cauliflower all roast really well in the air fryer. Use whatever is in your fridge and adjust the timing accordingly.
Did You Know?
Roasting vegetables at high heat triggers the Maillard reaction, the same chemical process that makes a steak taste so good. When vegetables are exposed to temperatures above 150°C, the natural sugars and amino acids on their surface react with each other and create hundreds of new flavour compounds that don’t exist in the raw vegetable. That’s why roasted carrots taste sweeter than boiled ones, and why roasted broccoli has a nuttiness that steamed broccoli never will. The air fryer is particularly good at this because it circulates heat directly around the food, creating more surface contact than an oven.
If you’ve never roasted vegetables in the air fryer before, give this recipe a try, and I think you’ll wonder why you didn’t start sooner. It’s one of the easiest, most useful things your air fryer can do. Share your pictures with me on Instagram @my_foodstory when you try it.
Watch Roasted Vegetables in Air Fryer Recipe Video
Making Air Fryer Roasted Veggies is the easiest, quickest way to have a delicious side ready in minutes! Serve with a non-veg main, add to salads, sandwiches, or wraps… the options are endless.
3-4teaspoonolive oil or any neutral flavoured cooking oil
2tablespoonswater
Instructions
Pre-heat the airfryer at 200C and line the basket with baking paper. Refer note 1
Add carrots and babycorn to a bowl, add ¼ teaspoon pepper, ¼ teaspoon salt, 1 teaspoon dijon mustard or kasundi and 1.5 teaspoon oil and toss to combine well.
Add 2 tablespoons of water to the outer basket of the airfryer to prevent the veggies from drying out while roasting.
Add the carrots and babycorn to the airfryer basket and air fry for 12 minutes at 200C.
While the veggies are airfrying, prep the other veggies. Add onion, beans, broccoli and zucchini to the same bowl. Add the remaining ¼ teaspoon pepper, ¼ teaspoon salt, 1 teaspoon mustard, 1.5 teaspoon oil and toss to combine well.
Once the baby corn and carrots are semi-roasted, pause the air fryer and add the remaining veggies to the basket. Toss everything together.
Air fry for 12 minutes at 180 C till everything is roasted well. Depending on your air fryer and how tender you prefer the veggies, you might have to roast them for another 2-4 minutes. Transfer to a plate and serve.
Video
Notes
Cut the veggies into 1.5 inch long thick batons as they reduce in size while roasting.
You can line your air fryer basket with parchment paper if you wish.
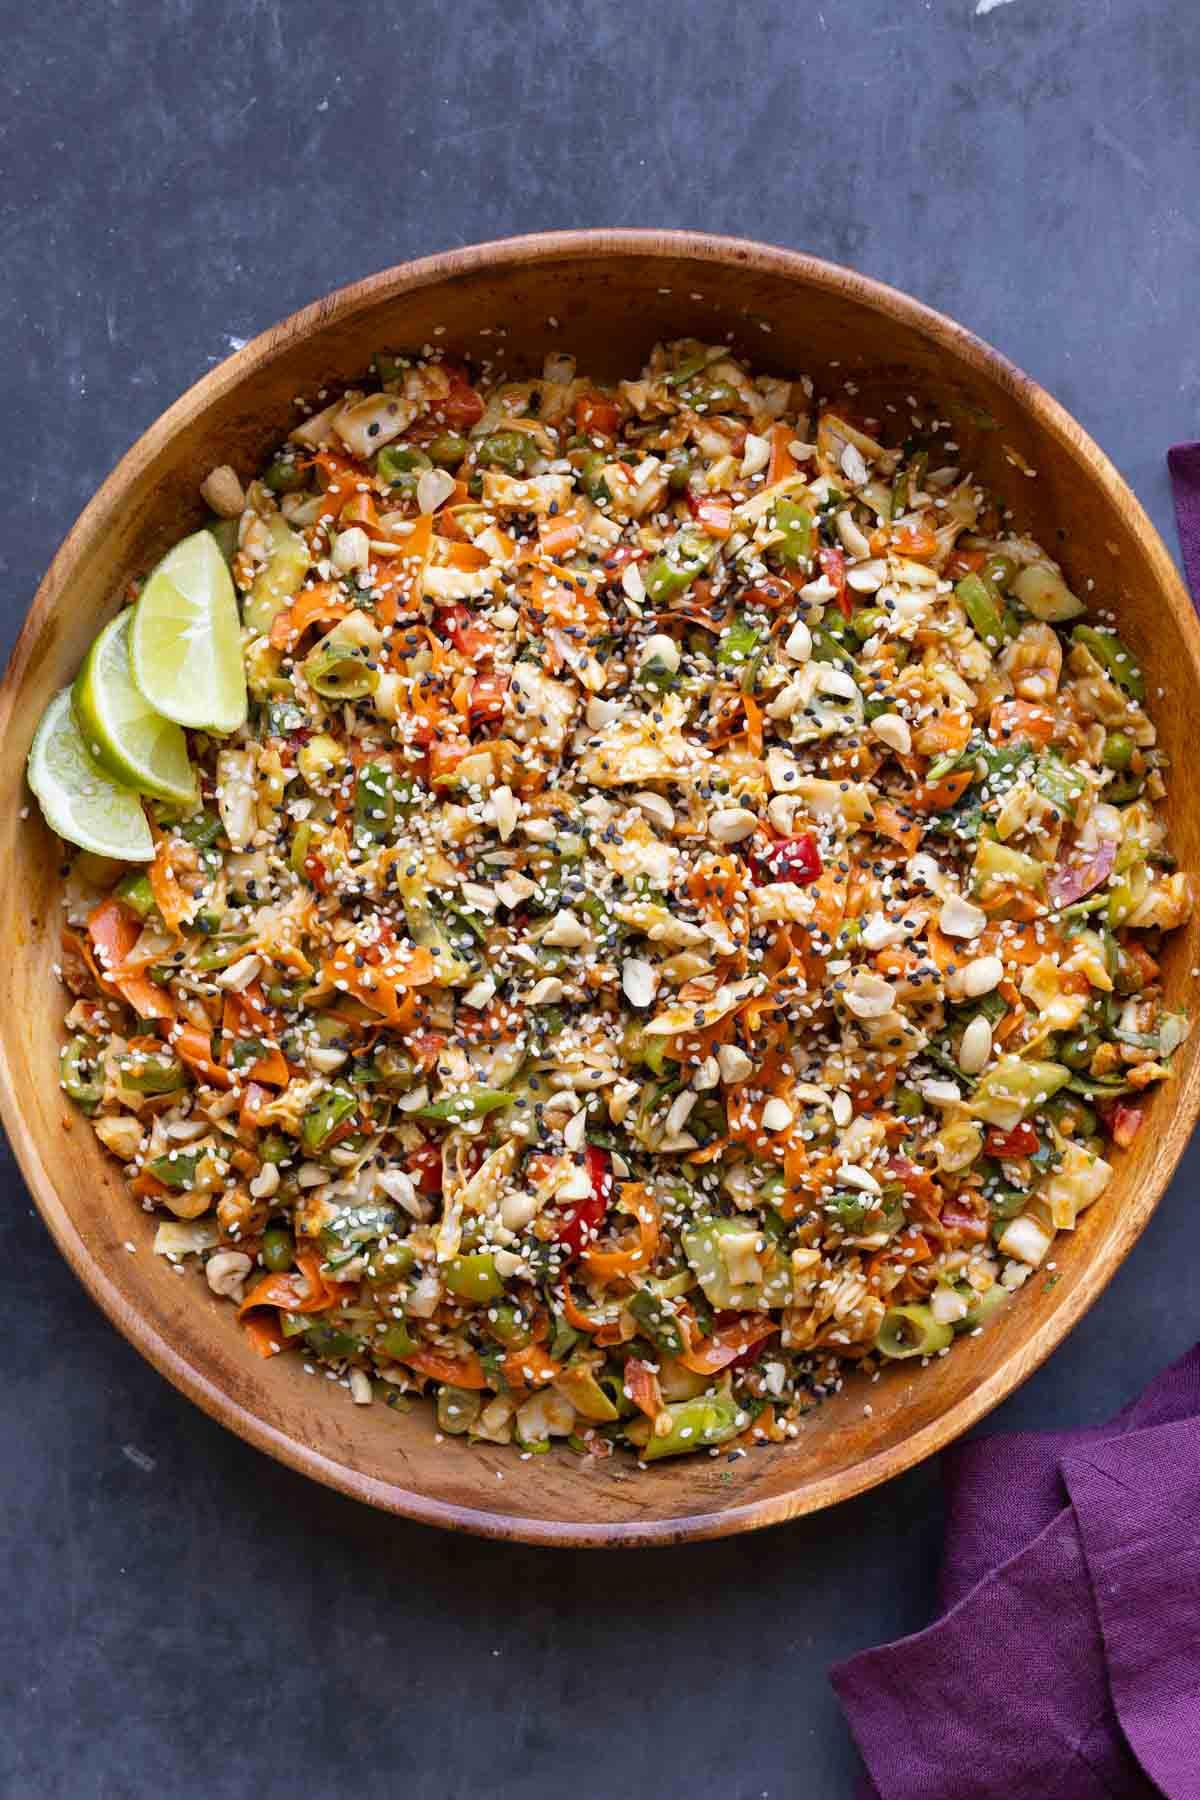
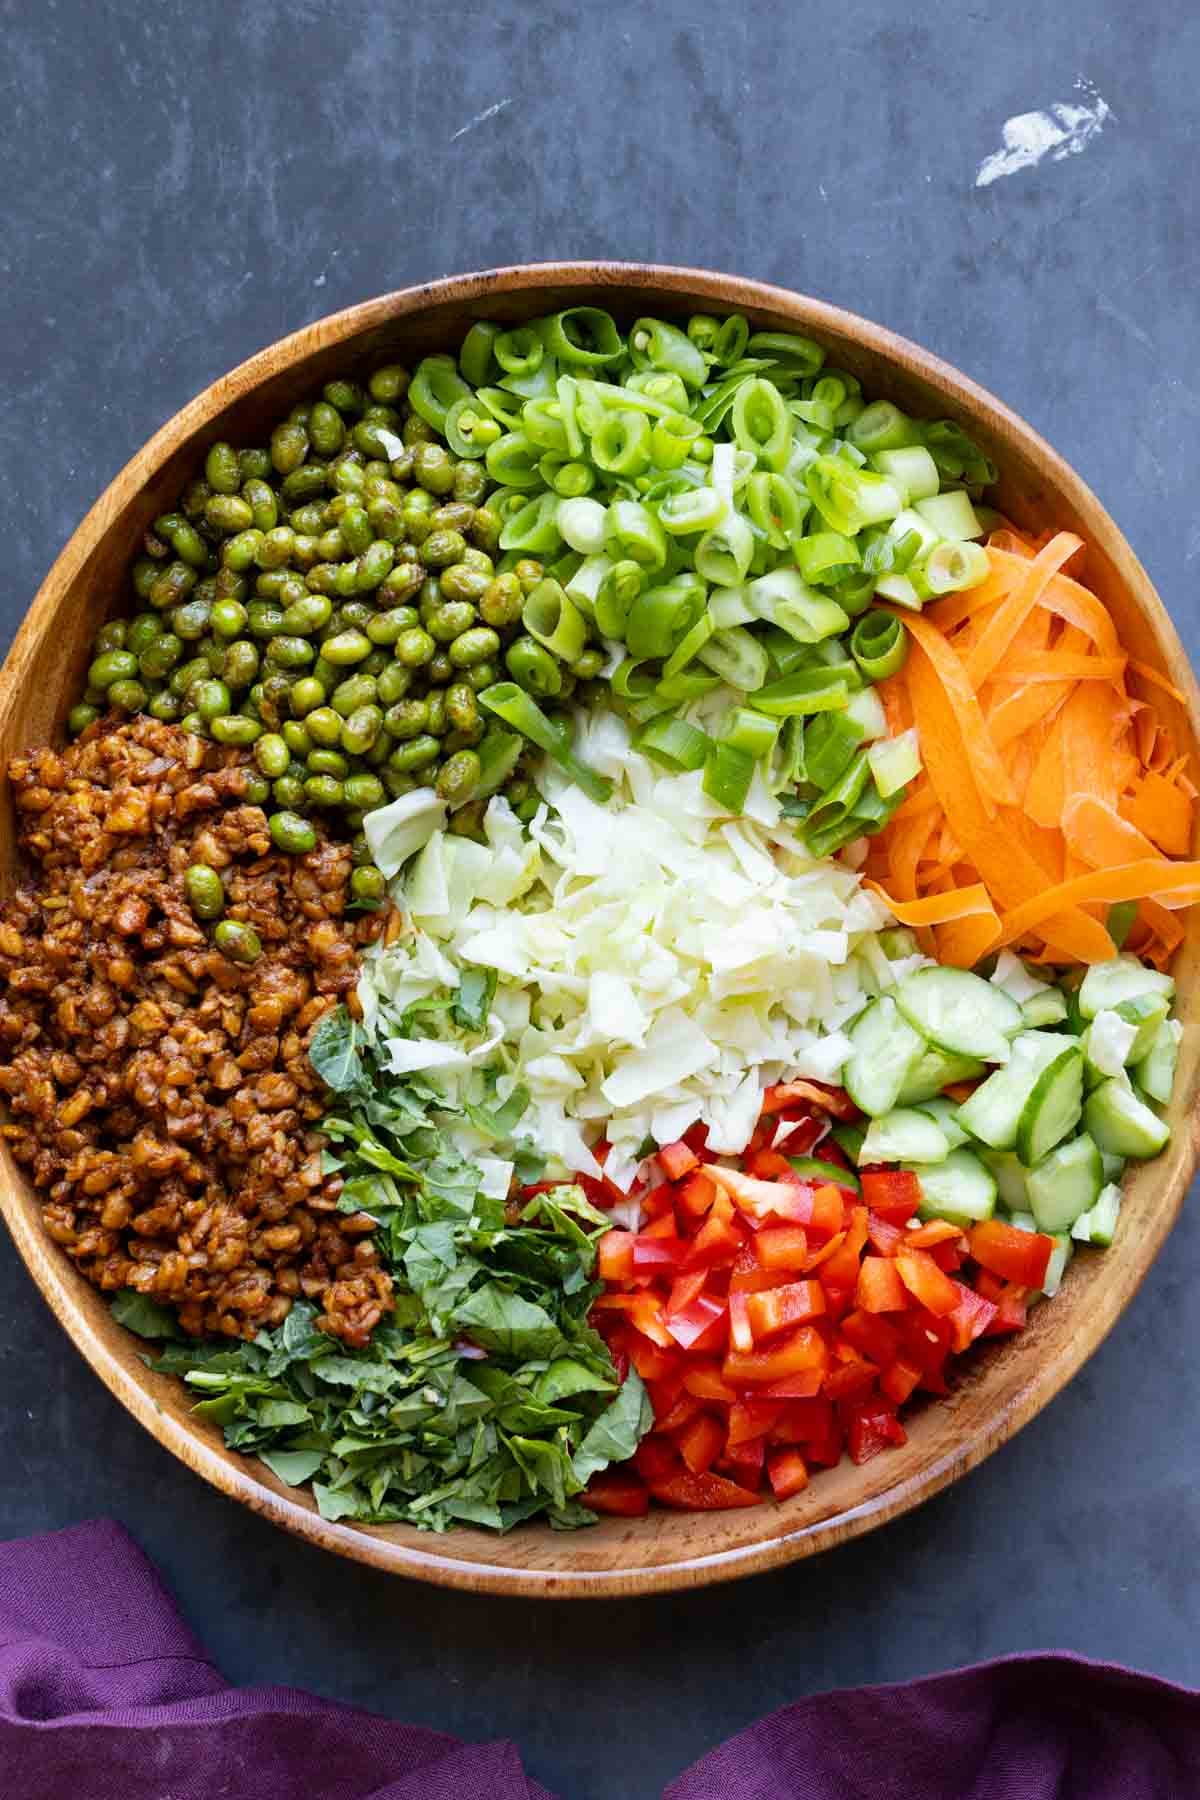
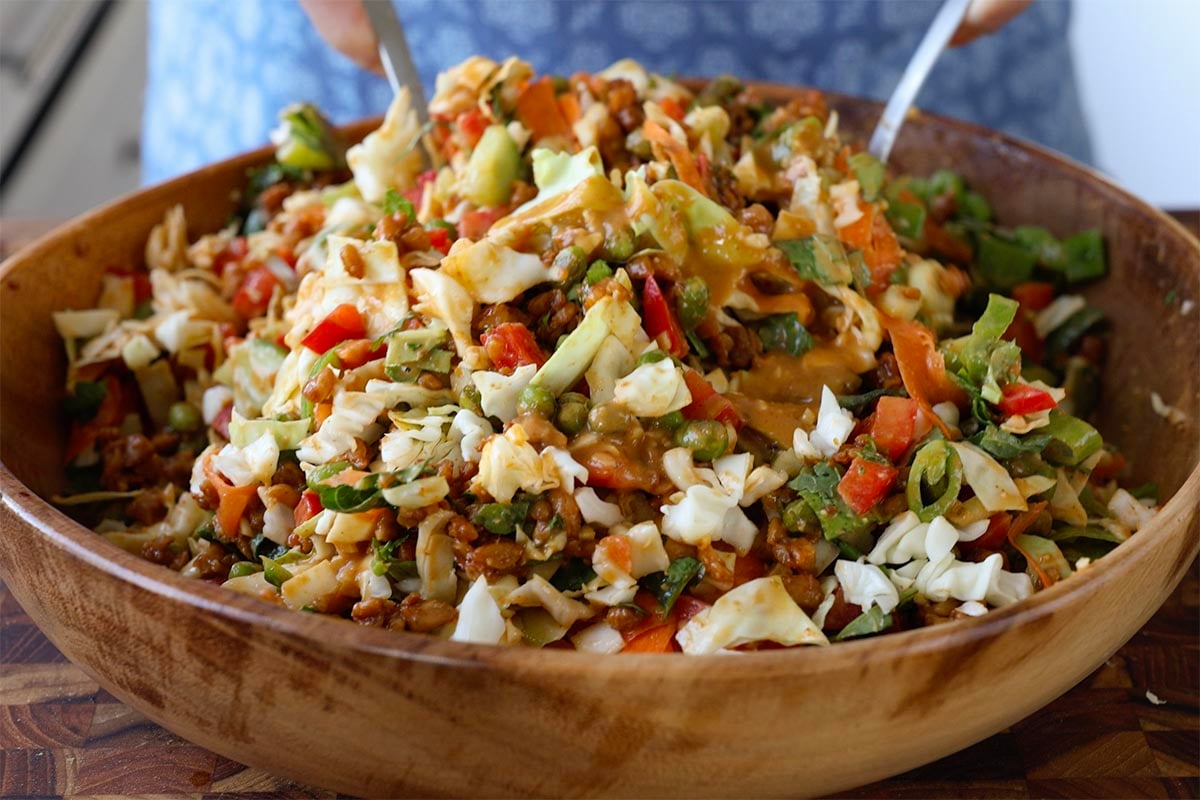
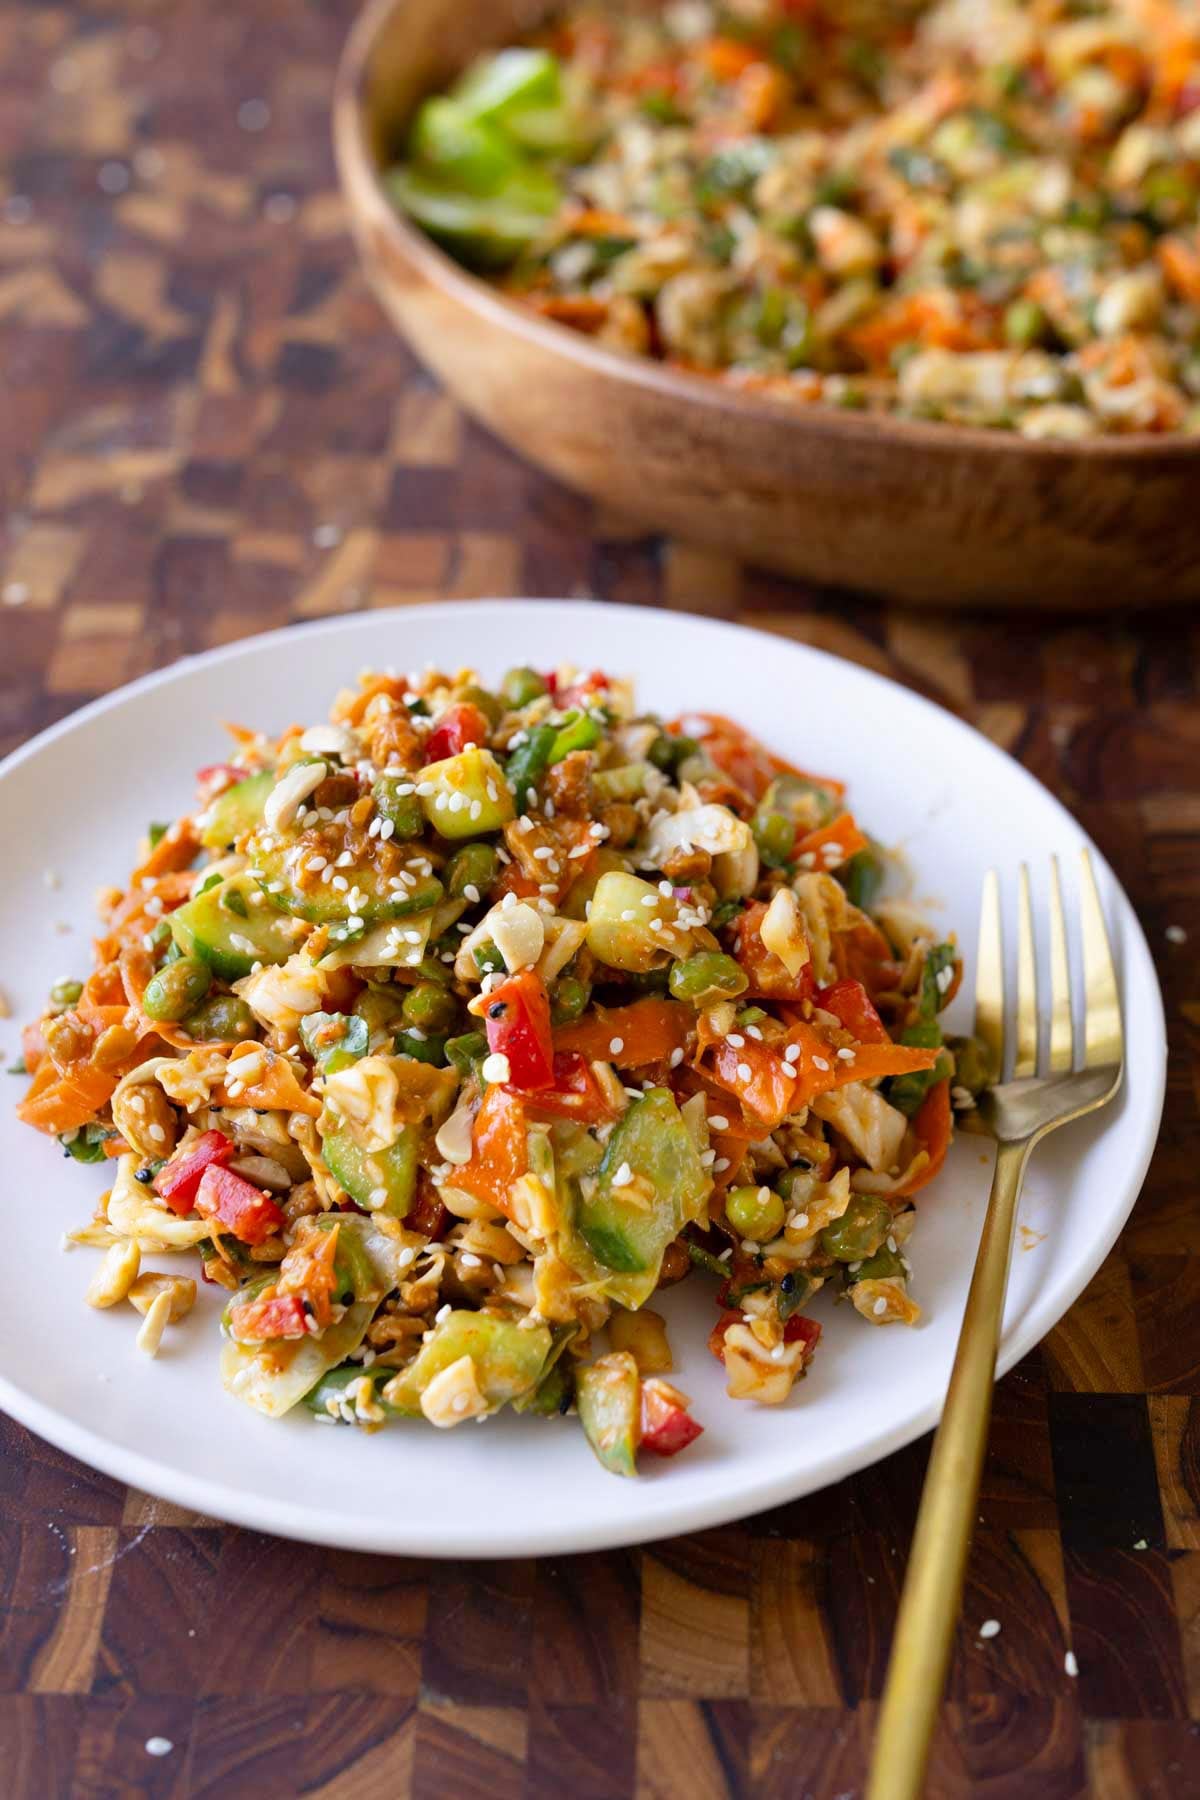
Seriously satisfying high protein salad with edamame, crispy tempeh, cabbage, carrots, kale, in a creamy peanut gochujang dressing. 23 gms of protein, meal prep friendly. (gluten-free, soy-free, and nut-free options)
This salad is so hearty, crunchy, and delicious. It has a ton of protein, fiber, vitamins, and iron. It packs over 100 grams of protein in the whole bowl, plus 30 grams of fiber, and 19 grams of iron. It’s also a great source of vitamins A, C, and K.
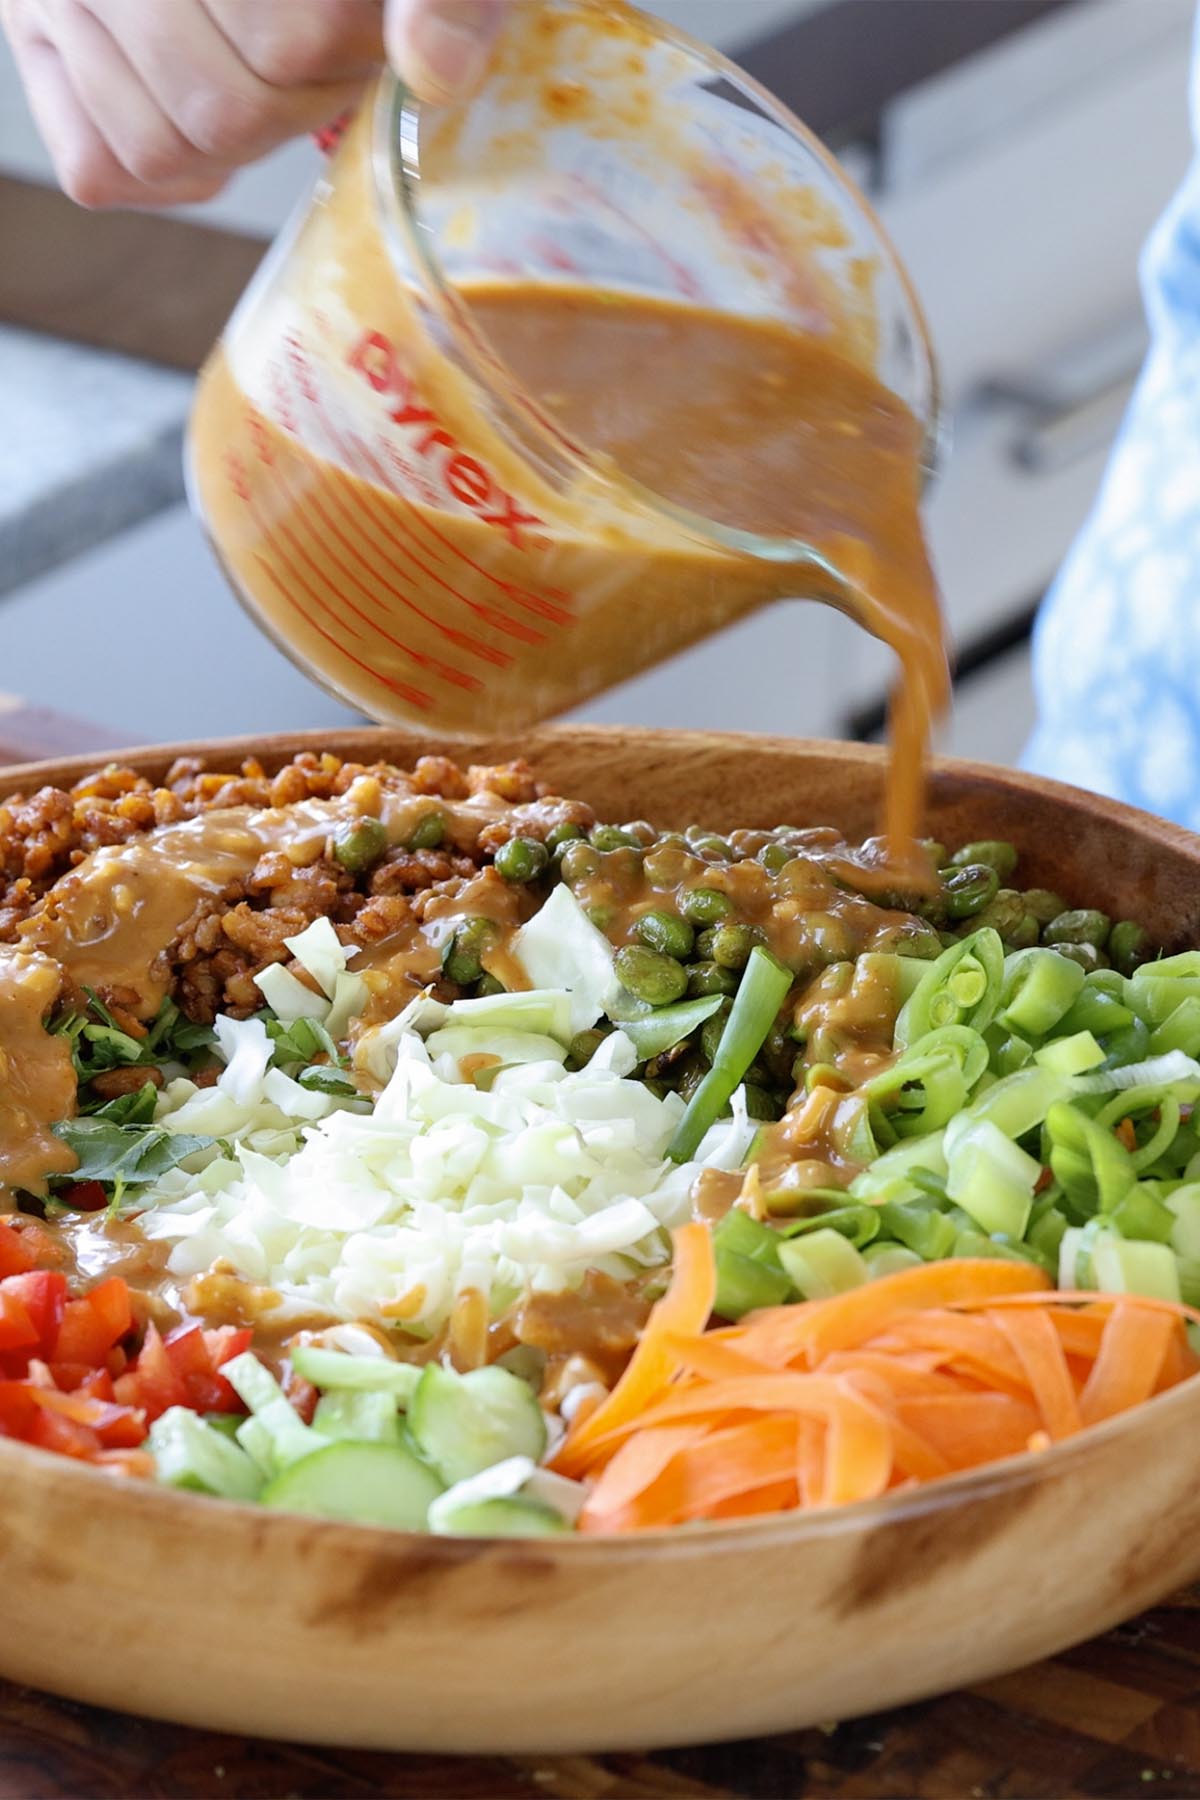
This is a salad that’s going to keep you satiated and satisfy your taste buds because there’s so much flavor in the dressing. I use a peanut gochujang dressing because that flavor combination is just fire. Everybody loves a peanut butter dressing, and we’re going to level it up with some gochujang. It’s so good!
There’s protein from the creamy peanut gochujang dressing, sesame seeds and peanuts, crispy, crumbled gochujang tempeh and edamame! We add lots of veggies for even more fiber, including cabbage, carrots, bell pepper, cucumber, snap peas, green onion, and kale. You can use whichever veggies you have on hand, and use more or less to taste. If you don’t like cabbage, use lettuce instead. If you’d like more carrots, add more carrots. Just play around with the amounts based on your preference.
Then we’re going to add crispy tempeh which has been toasted and coated in a sticky gochujang and lime zest glaze, which is so amazing in this salad. This is the best way to eat tempeh!
We also add some edamame. I like to cook the edamame a little, then add soy sauce and garlic because that adds another layer of flavor and texture to the gochujang salad. You can also add the edamame as is if you prefer.
Then there are sesame seeds and peanuts for added crunch and even more protein. The peanut butter dressing is very flavorful. If you’re allergic to peanuts, use almond butter or cashew butter instead.
Why You’ll Love Peanut Gochujang Salad
amazing flavors and textures from creamy peanut butter, spicy gochujang, and lots of crunchy veggies, nuts, and tempeh
packed with protein, fiber, and vitamins
perfect for picnics, parties, and potlucks
easy to make gluten-free, soy-free, and even nut-free
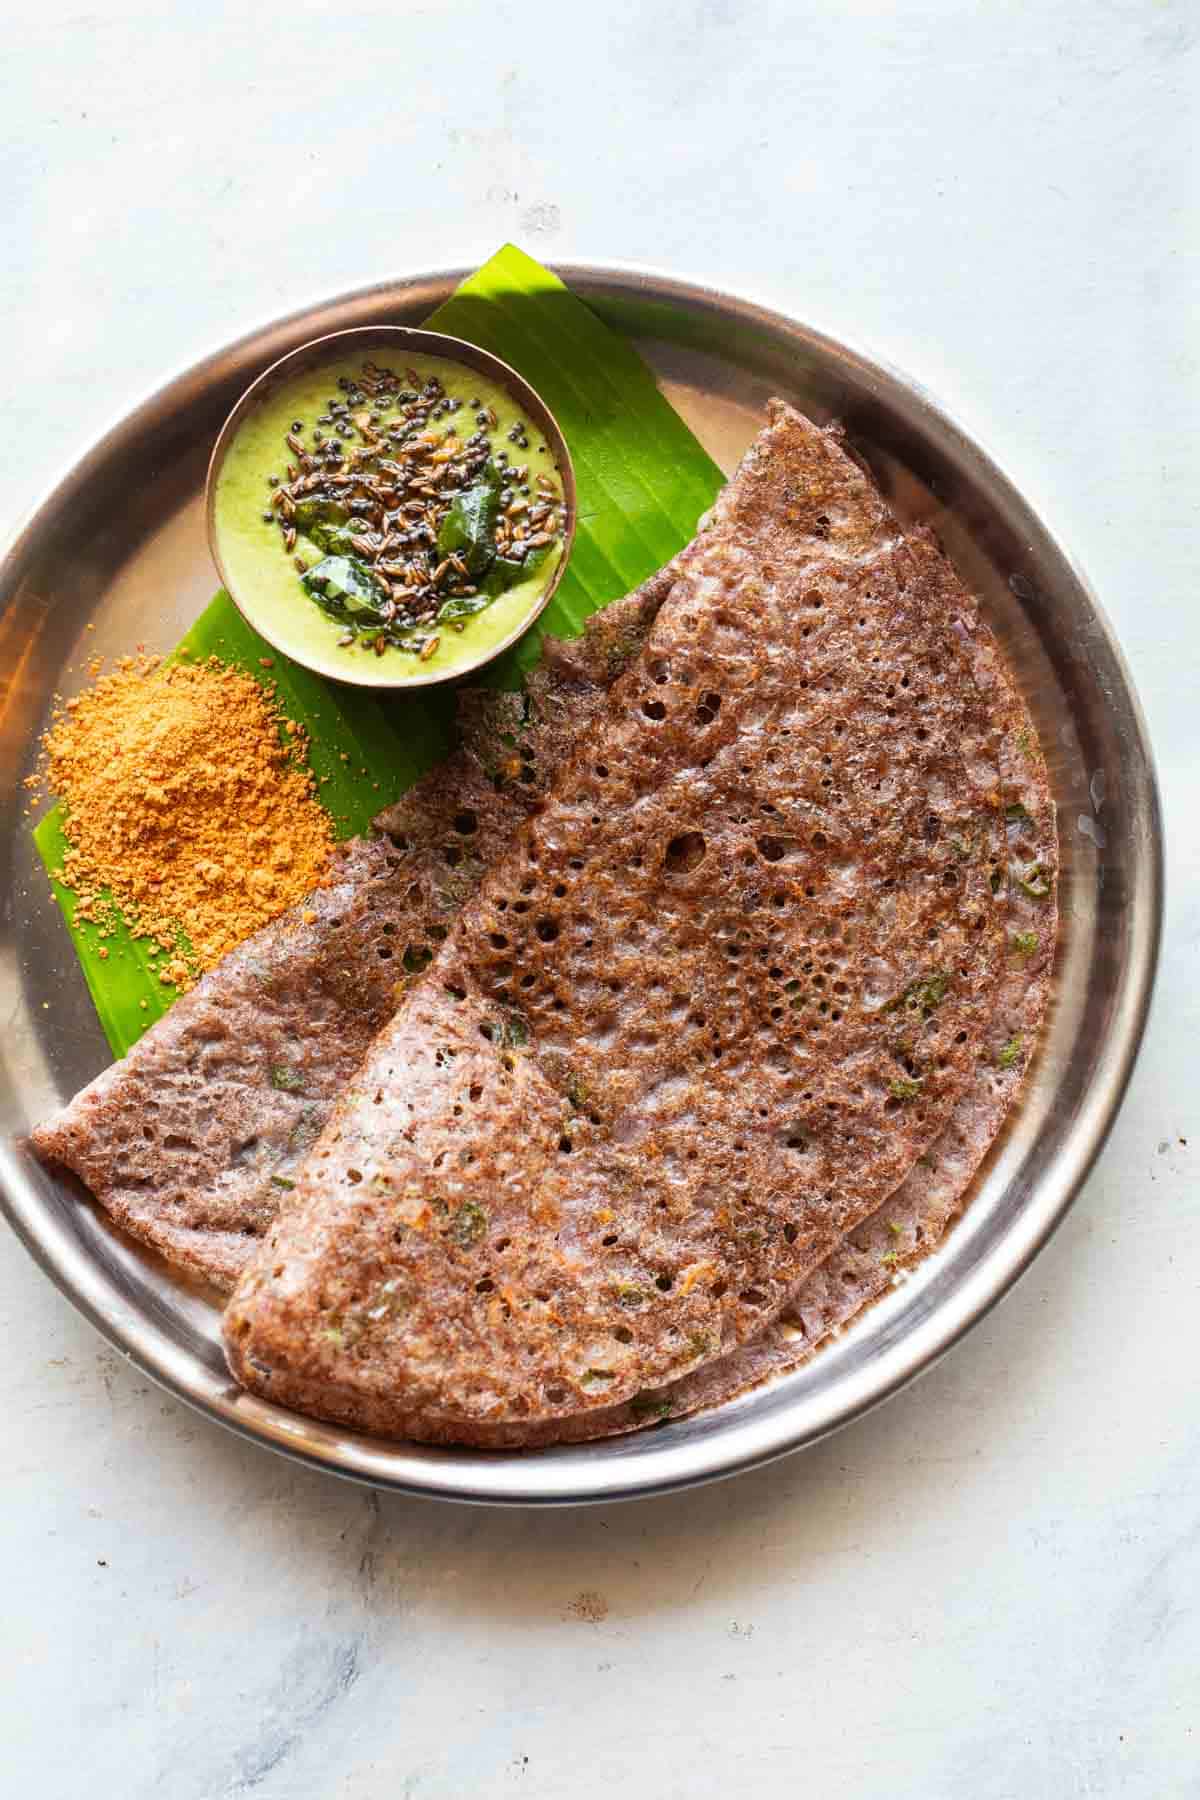
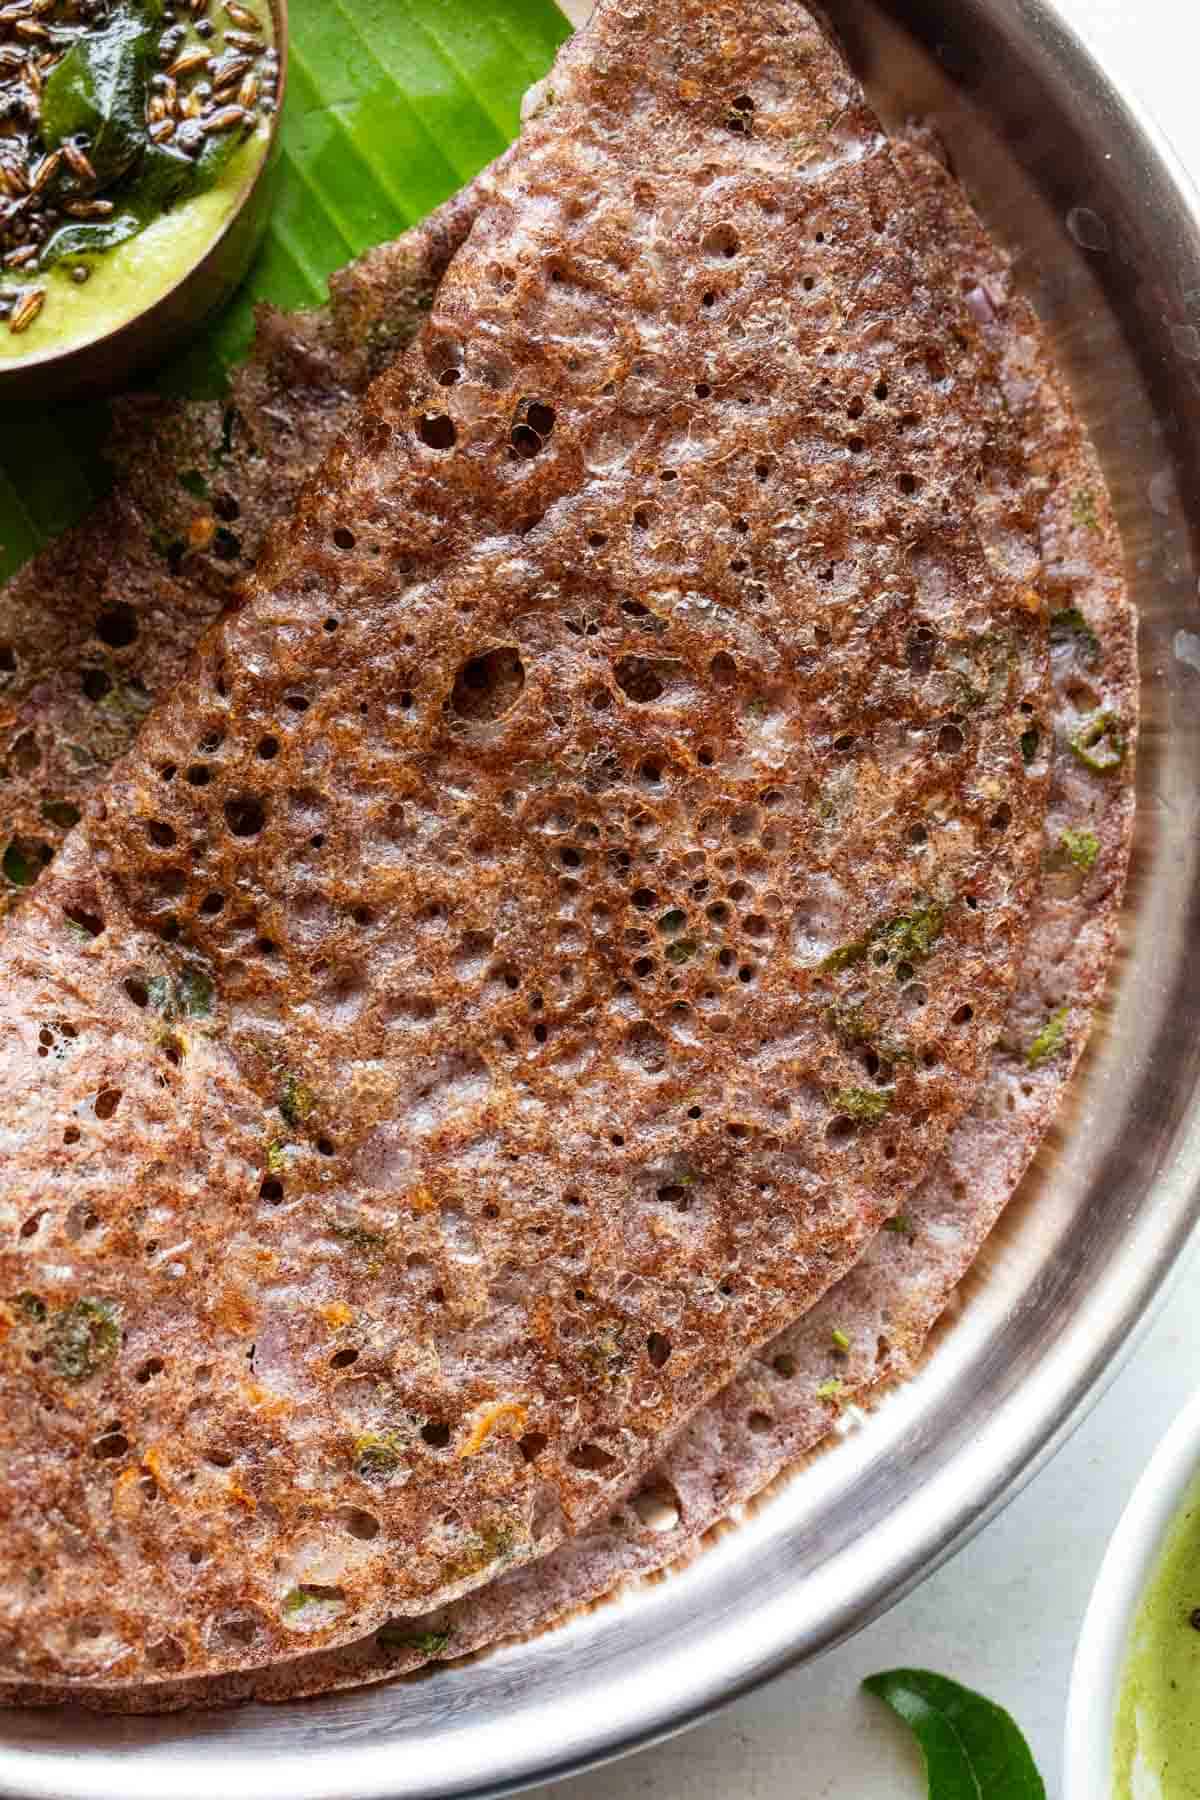
Crispy, nutritious and such an easy breakfast – Instant Ragi Dosa is best enjoyed with coconut chutney and podi. One of my favourite millet recipes and a really easy way to incorporate them in your diet.
We’ve spoken about how I’m trying to incorporate more millets in my diet and this by far is my favourite recipe. In fact now that I think about it, Ragi or Finger Millet is my most used millet. Because its so easy to incorporate – I use it to make ragi crepes, pancakes, cake and even ragi soup.
And today I have this delicious Instant Ragi Dosa for you – a super healthy, hearty breakfast that takes minutes to put together. Dosa is our go-to breakfast on my days and we do a lot of different kinds – regular dosa, oats dosa, banana dosa, millet dosa with a fermented batter, neer dosa, banana dosa and chilla. This Ragi Dosa is a current favourite because its more filling than regular dosa, doesn’t need fermentation and is a great way to incorporate ragi into the diet.
If you want to learn more about millets, including the types, how to cook them, ideas to include them in your diet and a lot more, make sure to check out my Millets 101 article.
Ingredients for Ragi Dosa
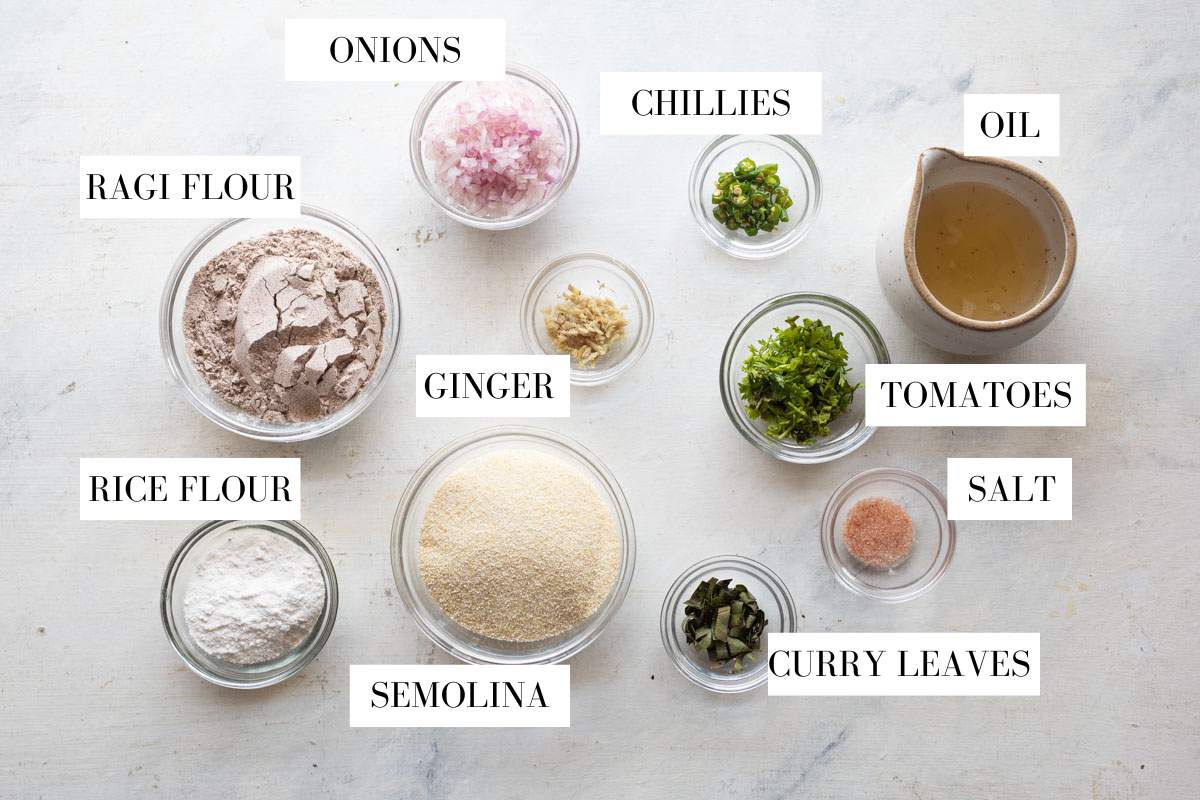
Here’s a quick picture of all the ingredients you’ll need for ragi dosa. Ragi flour or Finger Millet Flour is easily available at most places these days.
Ragi flour: Aka finger millet flour. It’s easily available in most stores both online and offline in India. If you’re outside India, you should be able to find it in any Indian supermarket near you
Semolina: Rava or semolina helps achieve that lacy, crispy texture of dosa. It also gives the dosa batter more body and prevents the dosa from falling apart
Rice flour: Helps make the batter light and airy and the dosa crispy
Onions: For texture and flavor in ever bite
Greens: Chopped coriander leaves and curry leaves add a lovely earthy flavor and freshness
Ginger: Finely chopped for flavor and aroma
Green chillies: Finely chopped for a kick of heat
Salt: For seasoning
Oil: Any neutral-flavored oil helps to prevent the dosa from sticking and makes it crispy. You can also use butter or ghee instead
Benefits of Finger Millet
Rich in calcium: Finger millet, also known as ragi, is naturally high in calcium, which supports strong bones and teeth.
Good source of fibre: Its fibre content can help support digestion and keep you feeling fuller for longer.
Naturally gluten-free: Ragi is a great grain option for people looking to include more gluten-free foods in their diet.
Provides plant-based iron: It contains iron, which plays an important role in supporting healthy red blood cell production.
Contains essential nutrients: Ragi provides nutrients such as magnesium, phosphorus and potassium, making it a wholesome addition to everyday meals.
Steady source of energy: Its combination of complex carbohydrates and fibre makes it a nourishing choice for breakfast, snacks or meals.
Frequently Asked Questions
Is ragi dosa healthier?
Yes, ragi dosa is much healthier than regular dosa thanks to its higher fiber content, and more nutrients such as calcium and iron.
Why is my ragi dosa sticking to the pan?
If your ragi dosa is sticking to the pan, the pan may not be at the right temperature or the batter may be too thick. Make sure the pan is well heated, use a thin, pourable batter, and avoid flipping the dosa until the edges are crisp and naturally start to release. If you’re using cast iron, a well-seasoned pan also makes a big difference.
Can I make instant ragi dosa without rava or semolina?
Yes, you can make instant ragi dosa without rava or semolina, but the dosa may be slightly less crispy and can be more delicate. Rava adds structure and helps create crisp edges, so if you leave it out, make sure the batter is thin and cook the dosa a little longer until it releases easily from the pan.
Richa’s Top Tips
Add water little by little. While making the batter, start by mixing all the dry flours with a little water to make a thick, lump free paste. Then add the other ingredients and water to make a thin, flowing batter
Rest the batterfor at least 30 minutes. This helps the semolina to swell up. The batter is best consumed on the same day, but can also be made the previous night and kept
Give the batter a stir before each dosa. This helps mix any flour thats settled at the bottom
Always pour the batter, not spread. Unlike regular dosas, the batter doesn’t have to be spread. It should be poured and swirled around on a hot pan. As it hits the pan, it’ll set into a lacy pattern. If you see any large unfilled pockets, pour a little batter to fill them (watch the video to see how this is done)
Cook the dosas on a low flame. This ensures they cook well and become crispy
The consistency of the batter should be like milk. The batter can thicken so you might have to add a little more water to the batter mid way to adjust the consistency.
Storage Instructions
Dosa batter: Store leftover batter in an airtight container in the refrigerator for up to 1 day. The rava will continue to absorb liquid, so add a splash of water and whisk well before making the dosas.
Cooked dosa: Ragi dosa is best eaten fresh as it tends to lose its crispiness as it sits. If you do have leftovers, refrigerate them in an airtight container for up to 1 day.
Reheating: Reheat leftover dosas on a hot tawa for a couple of minutes on each side to bring back some of the crispness. Avoid microwaving as it can make them soft and chewy.
Serving Ideas
Instant ragi dosa tastes best hot and crisp, straight off the pan. Here are a few things you can serve it with:
Coconut chutney: A classic pairing that works beautifully with the nutty flavour of ragi.
Tomato or onion chutney: Great if you like a little extra tang and spice.
Sambar: Serve with a bowl of hot sambar for a more filling breakfast or meal.
Potato masala: Add a spoonful of South Indian-style potato masala and fold the dosa for a delicious ragi masala dosa.
Curd or yoghurt: A simple option that works especially well with a spicy chutney on the side.
Chutney powder: Sprinkle some podi over the dosa and drizzle with a little ghee for an easy, flavourful option.
This dosa is really versatile. You can also add some grated carrots or thinly sliced cabbage to the batter. Another great addition is to stuff the dosa with grated paneer, or crack an egg on it while its cooking. Choose from my trio of chutney recipes for a super delicious breakfast.
Ragi dosa is an instant dosa recipe that’s also a great way to include millets in your diet. It doesn’t need any grinding or fermenting. Rich in iron and fibre, these dosas are healthy, hearty & nutritious. The trick is to make sure the batter is the consistency of milk.
Add Ragi Flour, Rice Flour, Semolina and salt to a large mixing bowl. Add half the water and mix well to form a lump free batter. Add all the other ingredients and the remaining water to the bowl. The consistency of the batter should be like milk.
Rest the batter for 30 minutes.
Making the Dosa:
Heat a non-stick tawa or a seasoned cast iron tawa on medium heat.
Once hot, take a ladle full of batter and pour from about a 1-2 inch height in a circular motion starting from the edge to the center. Don't try to spread the batter, always pour it around the pan.
As the batter hits the hot pan, you’ll see the dosa setting with small holes. These holes allow the steam to escape and help make the dosa crispy. If there are any big holes, you can fill them up with a little batter. Turn the flame to low, drizzle ½ teaspoon oil and let it cook for a couple of minutes or till it turns golden.
The dosas take 4-5 minutes to cook on a low flame. Flip the dosa and cook for another minute or two.
Serve hot with coconut chutney or any other chutney of your choice.
Video
Notes
For Gluten Free ragi dosa, skip sooji rava or semolina. Dosas will taste as good, but will be a little thinner.
You may also add grated veggies like carrots, cabbage, beetroot etc to the batter if you like.
Leftover batter can be refrigerated and will stay fresh for up to 3 days.
You can use any Dosa Tawa, but I personally like using a Nonstick Tawa as the dosa doesn’t stick to the tawa and is easier to flip.
Feel free to use oil or ghee to cook the dosa
Give the batter a stir before each dosa. This helps mix any flour thats settled at the bottom
Cook the dosas on a low flame so that they cook well and become crispy
You might have to add a little more water to the batter mid way in case the batter becomes too thick. It should be the consistency of milk.
Unlike regular dosas, the batter doesn’t have to be spread. It should be poured and swirled around on a hot pan. As it hits the pan, it’ll set into a lacy pattern. If you see any large unfilled pockets, pour a little batter to fill them (watch the video to see how this is done).
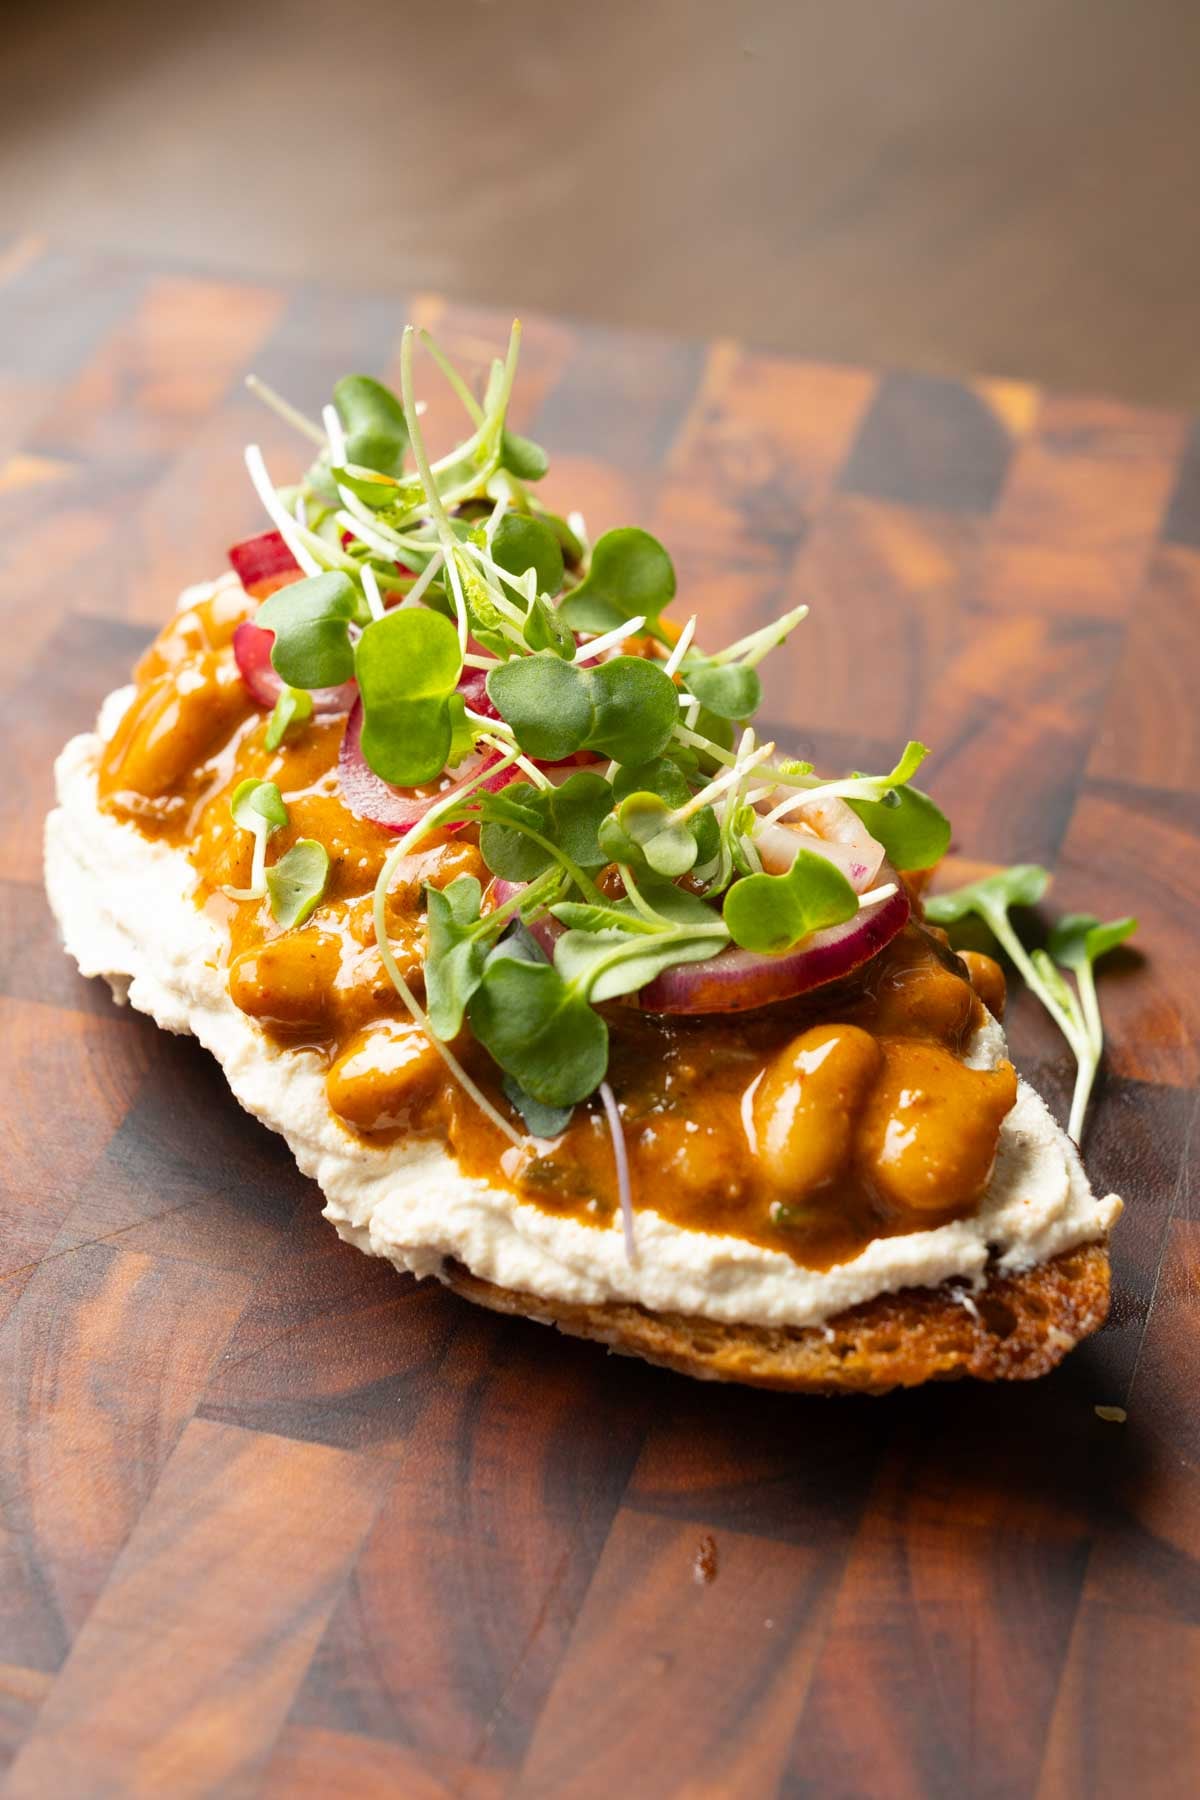
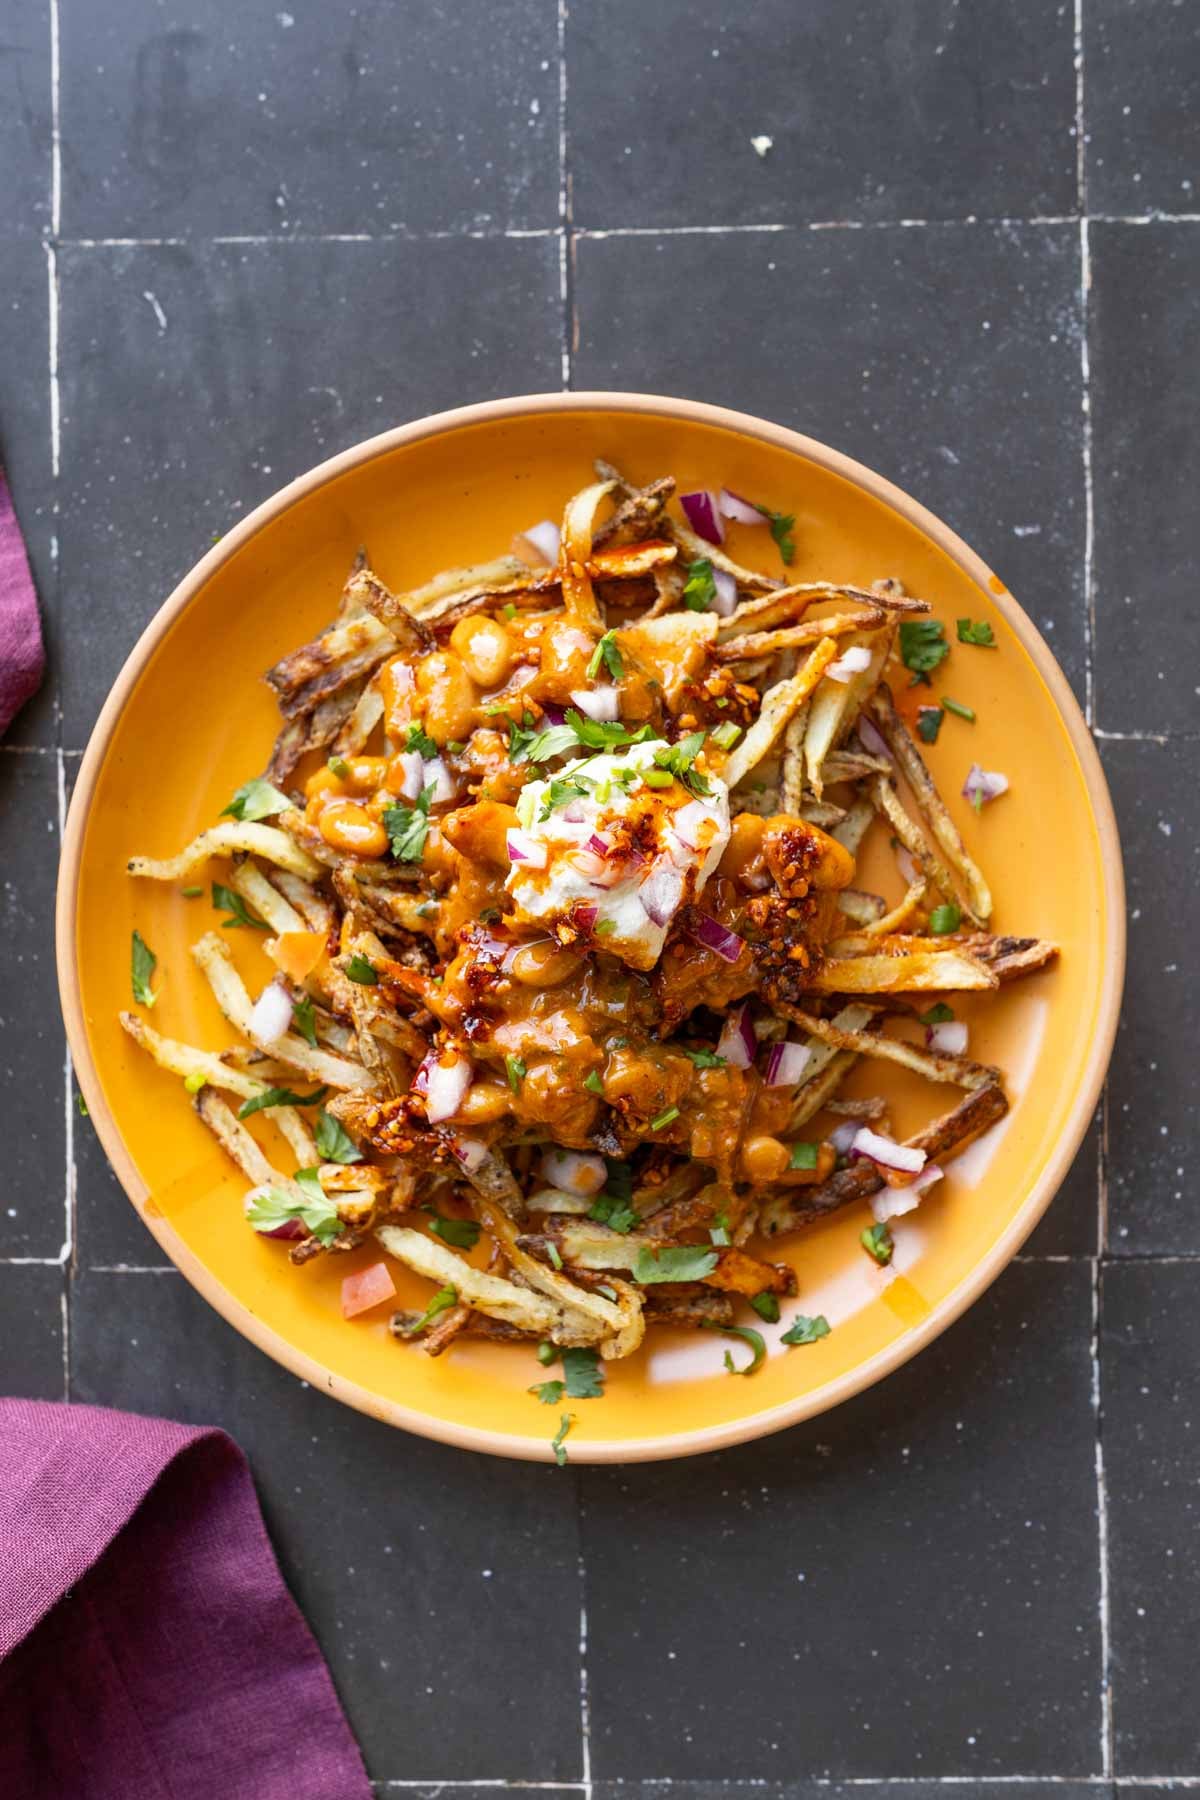
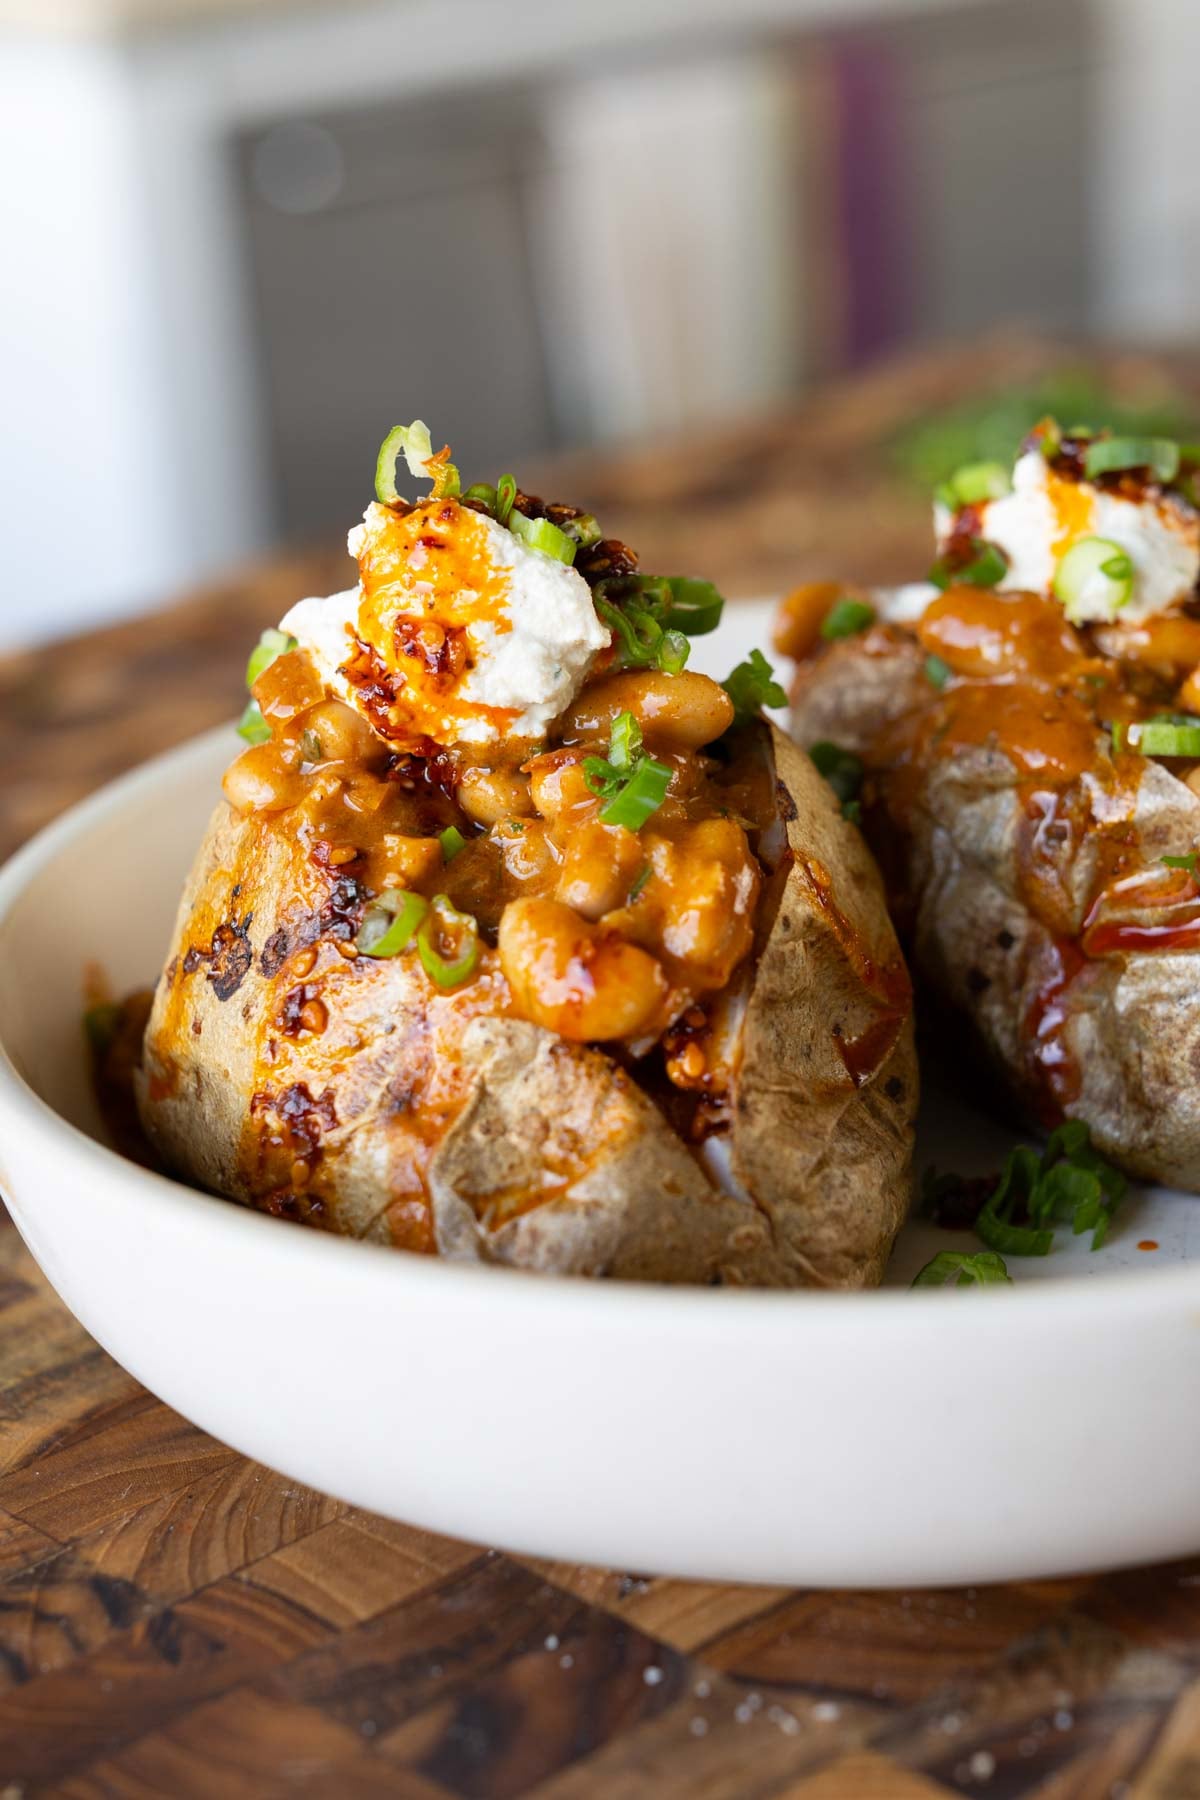
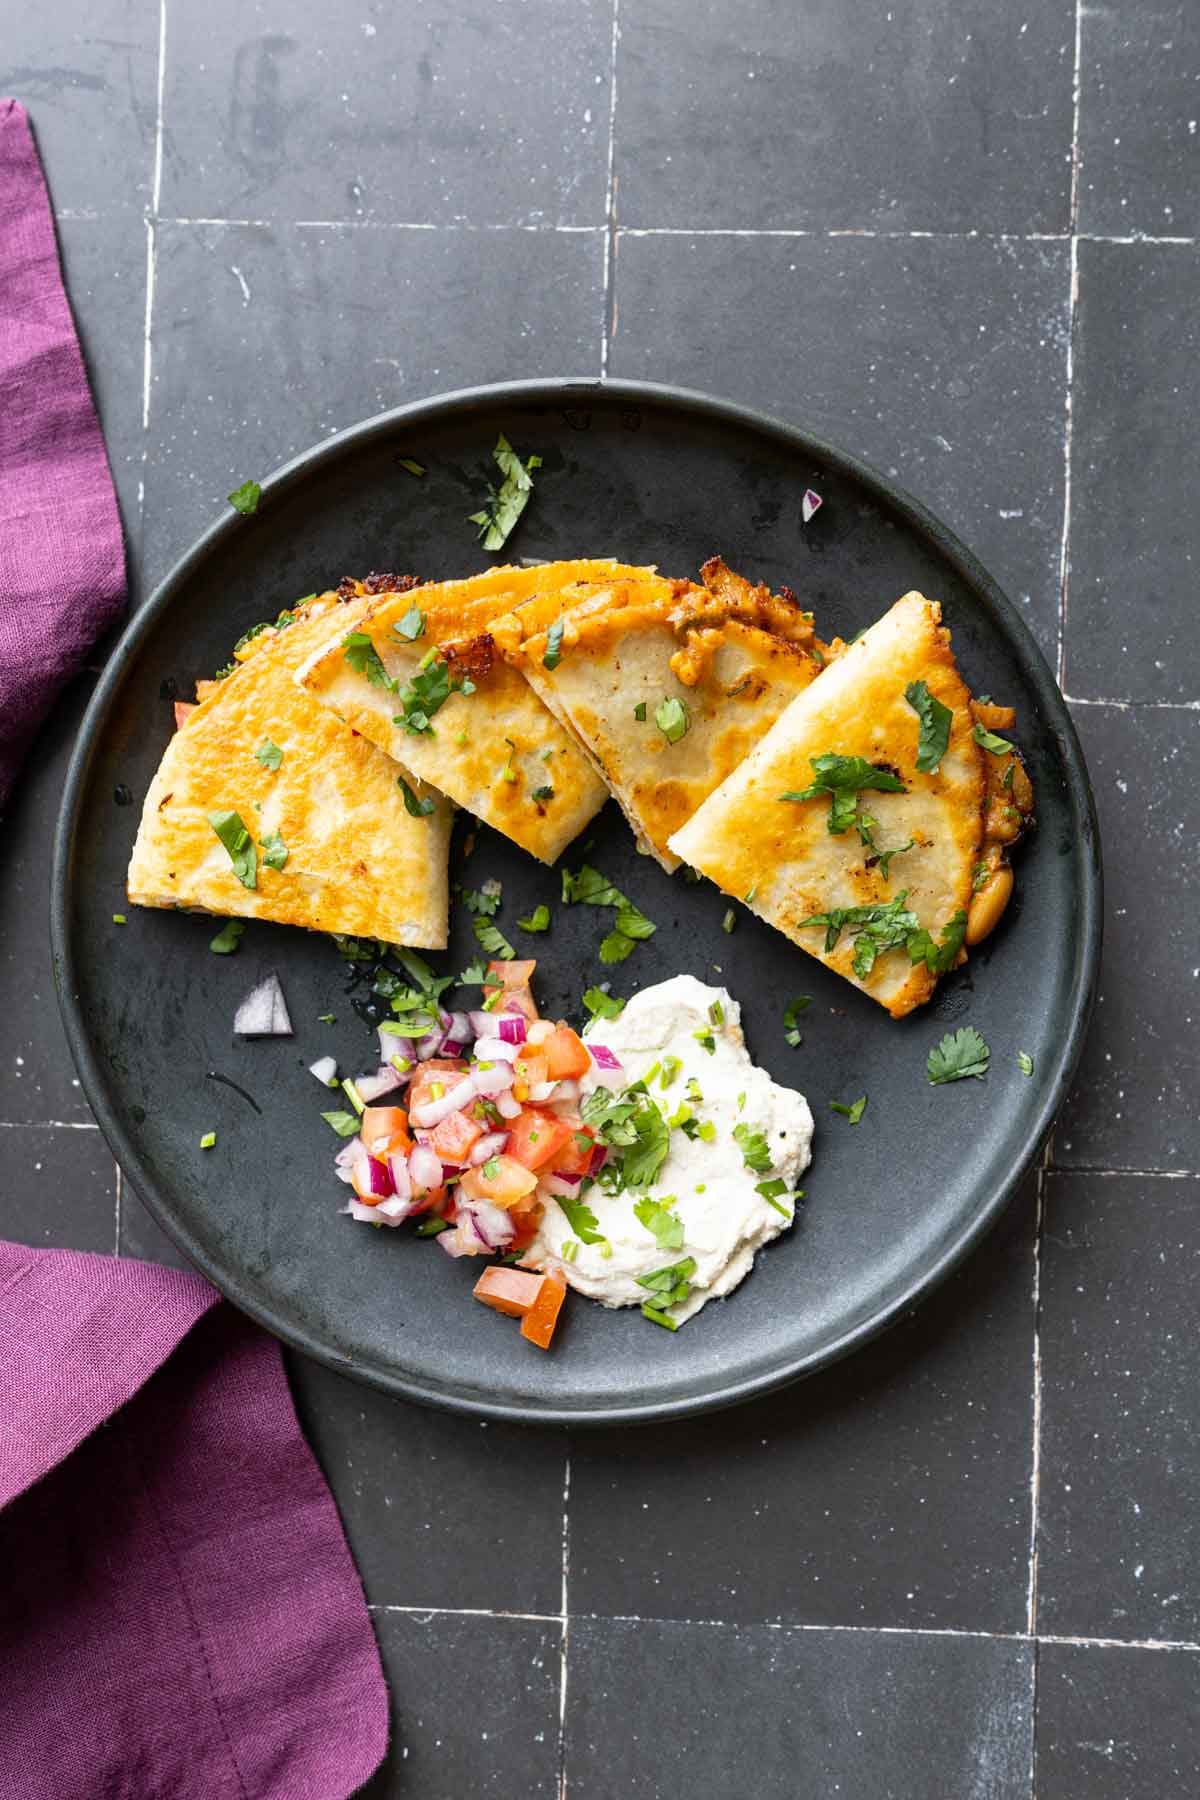
High protein, bold chili ginger garlic beans with cumin tofu and spicy onion salad. 30 minutes recipe, serve on toast, fries, baked potatoes, in smashed tacos, wraps or bowl. nut-free and gluten-free, 22 grams protein and 10 grams of fiber)
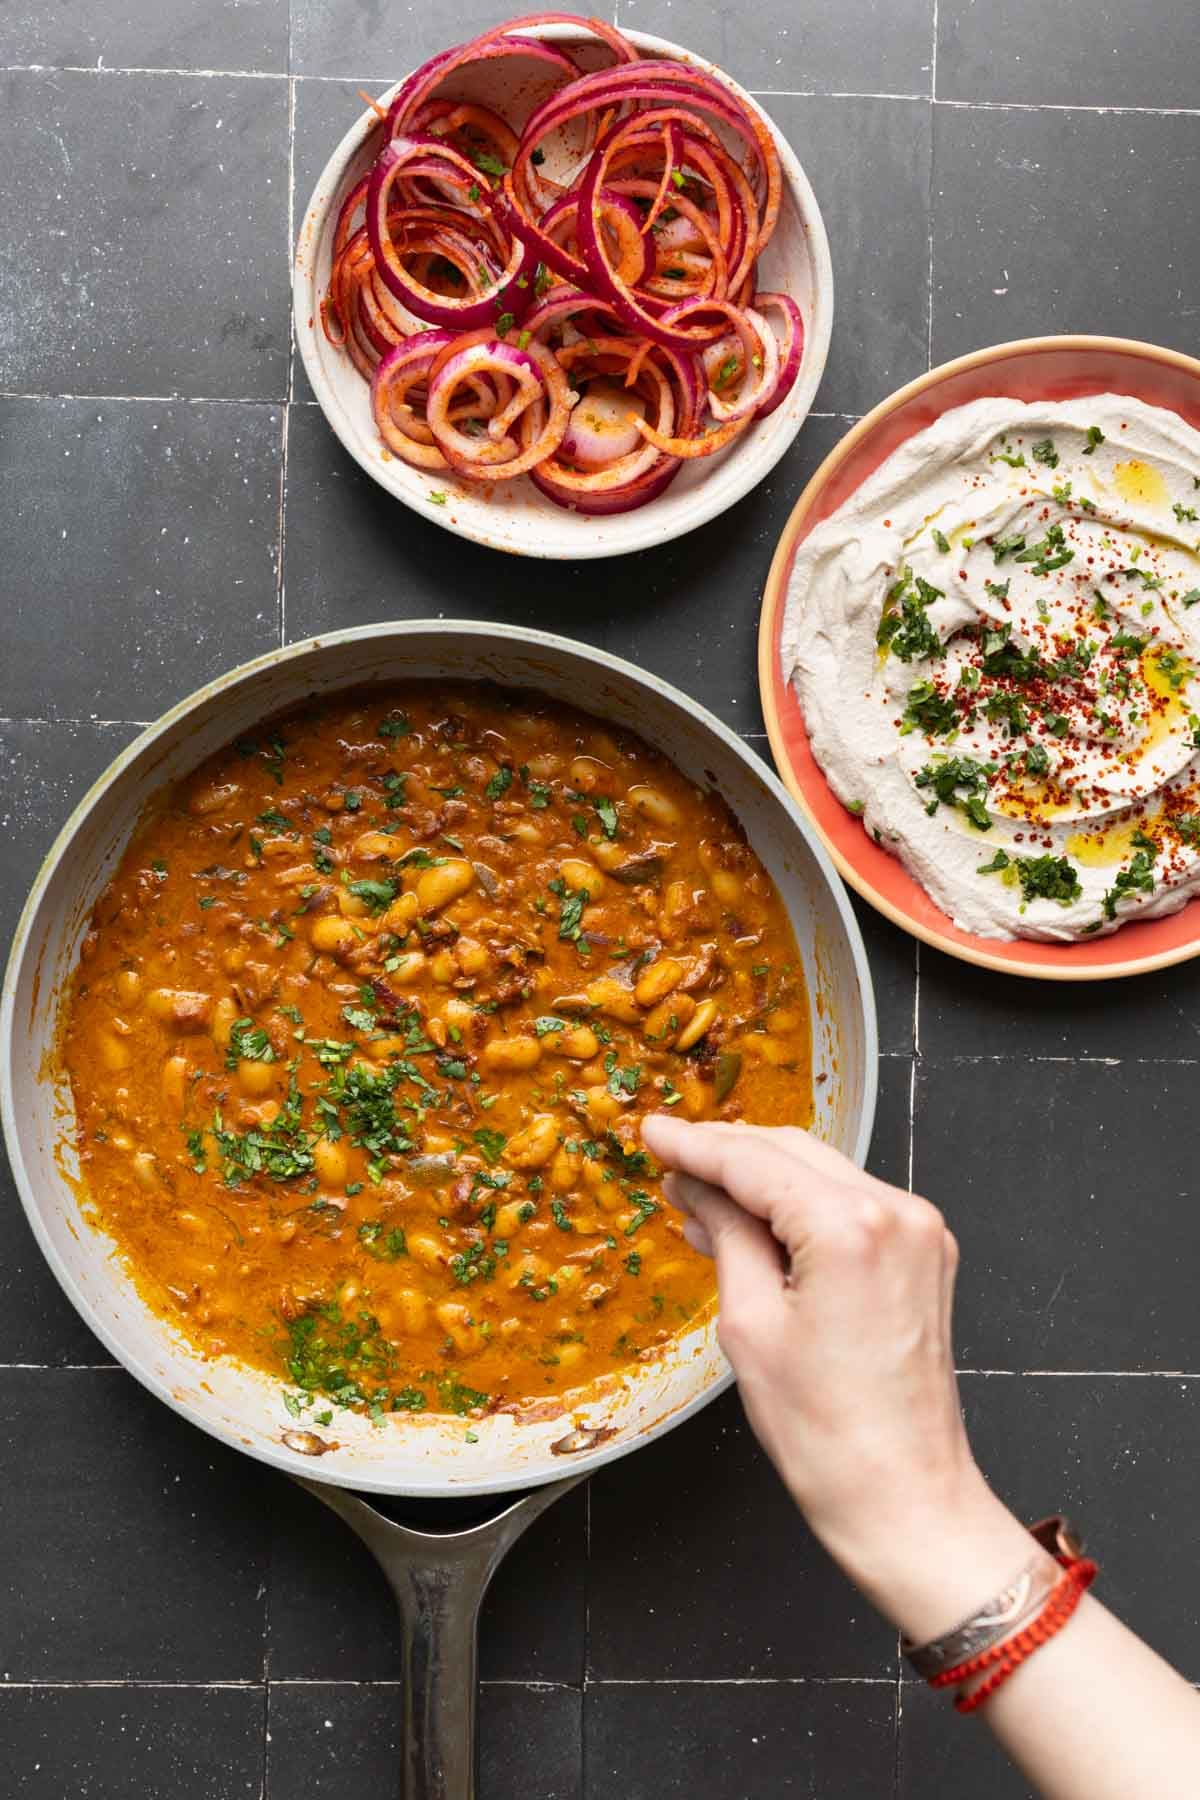
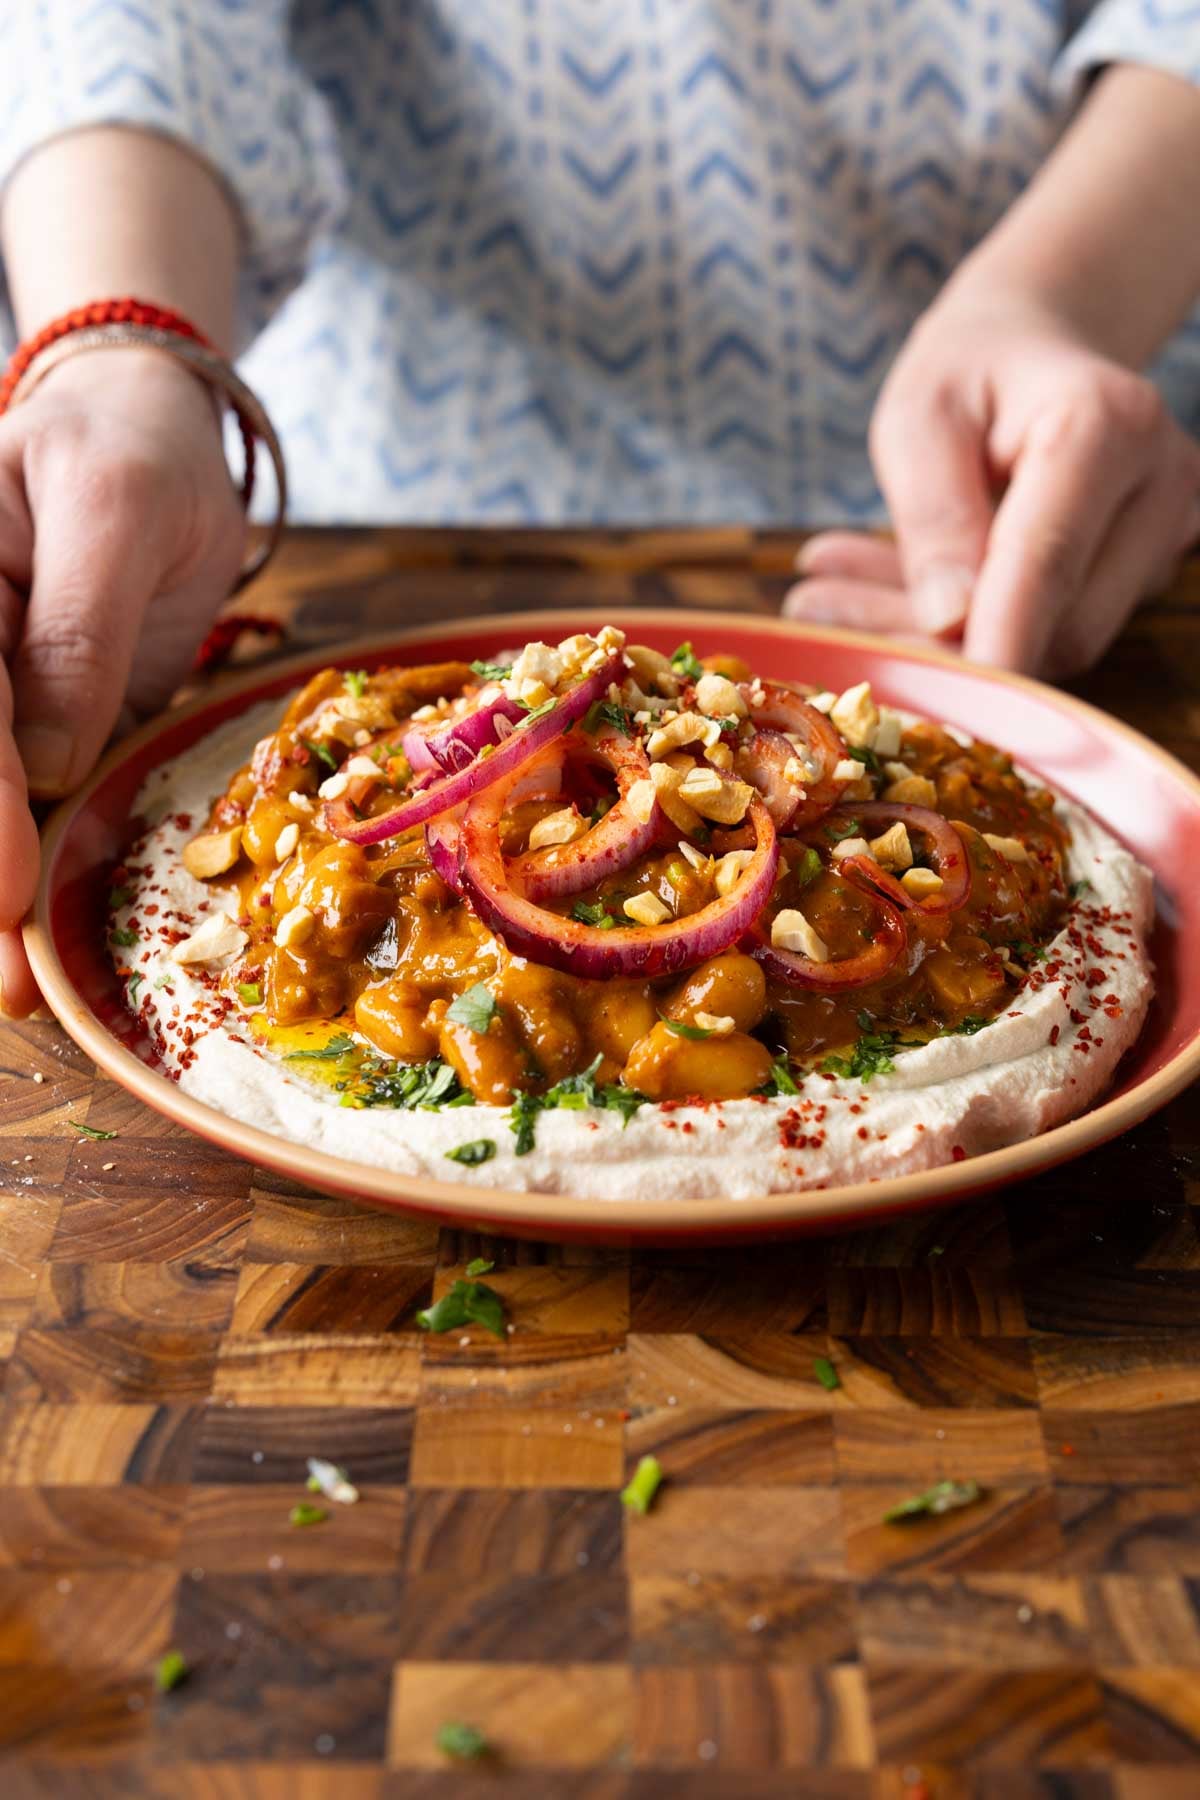
When weeknight dinners feel a little same-old, these chili ginger garlic beans are about to wake things up. They’re saucy, punchy, and layered with heat, balanced by creamy cumin-lime whipped tofu and a quick spicy onion salad. It’s bold, high-protein, and done in about 30 minutes.
Pile them on toast, tuck it into a baked potato, a dip platter, over roasted veg, in a wrap or go full comfort mode over crispy fries. One recipe, many moods. I prepped these and my garlic vinegar chickpeas and serve them in so many ways – watch on my YouTube channel !
We are reimagining Indian food today with beans majestic, a plant-based spin on chicken majestic. If you want a more traditional vegan version of Indian chicken majestic, check out my tofu majestic recipe. It’s super easy and full of flavor!
When people think of Indian food, they tend to think of Indian curries. But Indian cuisine that goes so far beyond curries and other saucy dishes served with flatbread and rice. There are so many creative ways that you can serve classic Indian dishes!
These saucy, chili garlic curry leaf beans are basically taking the sauce inspired from my tofu majestic, simplifying it, and adding beans to it. And it works so beautifully! It’s saucy, spicy, delicious, and pairs really well with lots of different components.
We make the beans along with a creamy, whipped tofu and pair these with a quick onion ring salad. Then, we’re going to pair these components in lots of different ways: on toast, as a dip, over baked potatoes or crispy potatoes(chili cheese fries style), or as crispy tacos!
Why You’ll Love Chili Garlic Beans
1-pan white beans packed with amazing Indian flavors
creamy, curry-inspired, blender tofu whip takes only minutes to make
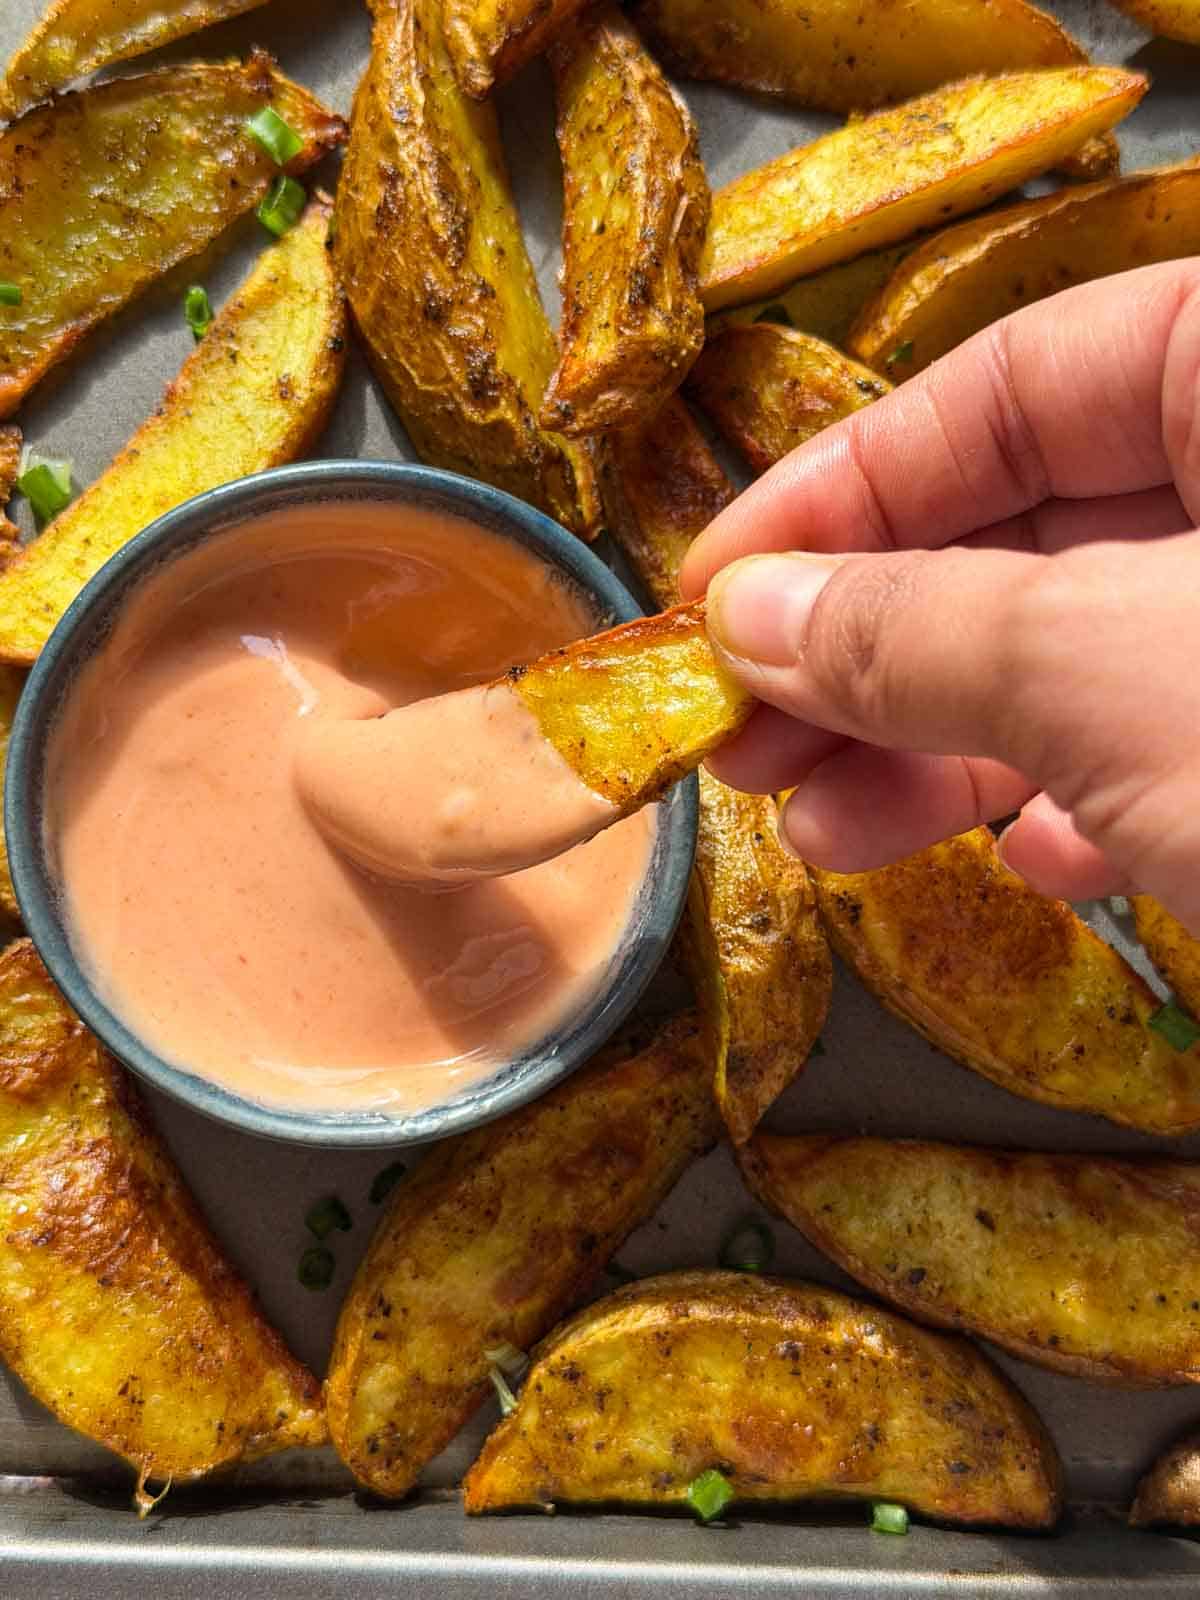
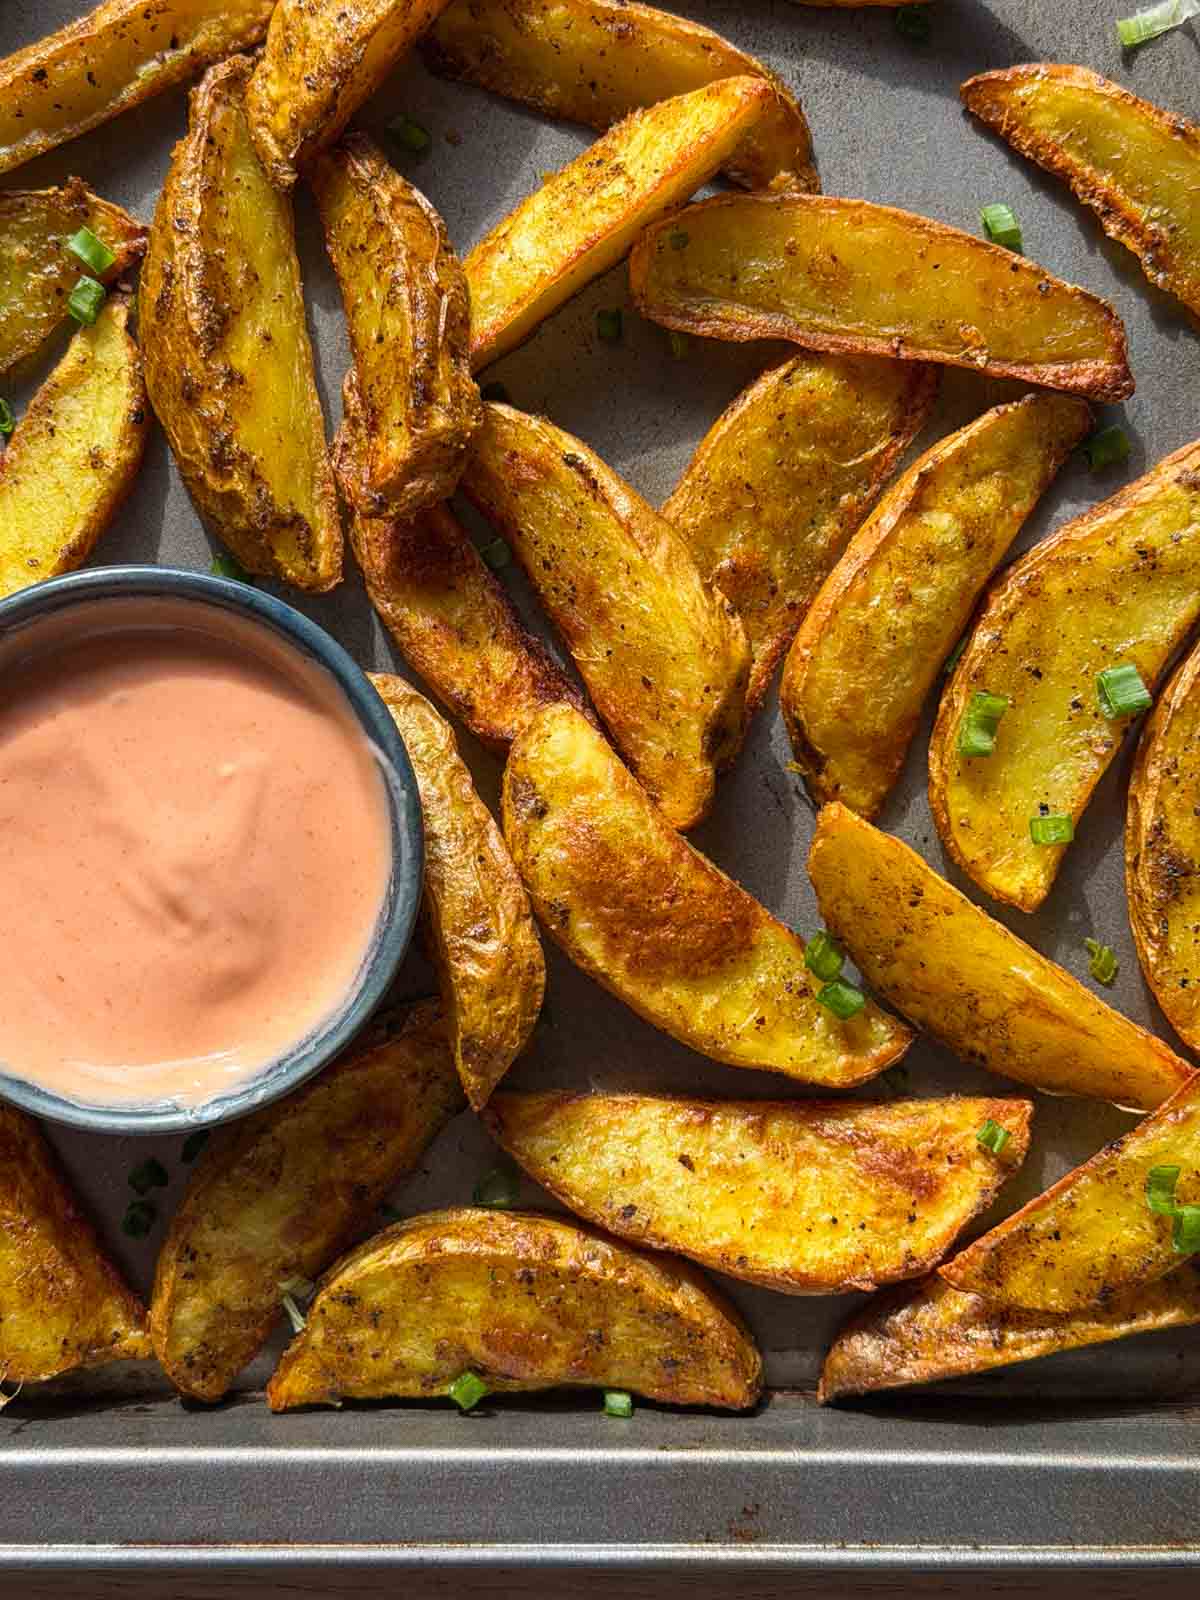
Making potato wedges in air fryer is easy-peasy! This is a quick and mess-free masala potato wedges recipe that cooks that delivers perfect results each time.
There is nothing more delicious than a plate of hot potato wedges and a couple of dip options. It’s nostalgic, comfort food that always works right from being a kiddie snack to beers and conversations with friends.
This masala potato wedges come together in the air fryer, which means no deep frying, no excess oil, and no guilt. And the result is the same delicious golden-brown, crispy outside and creamy, fluffy insides that are so hard to resist. I love eating these on their own, but they taste so good with roast chicken, burgers and sandwiches, and salads among other things., You need to try this air fryer potato wedges recipe today!
jump to section: masala potato wedges in air fryer
Potato: Cut into wedges with the skin on. I have used an older crop of regular Indian potatoes, but Russet potatoes or Yukon Gold work really well if you’re outside India
Ginger garlic paste: Adds a lovely flavor and aroma
Spices: Turmeric powder, cumin powder, and crushed pepper add for flavor and color
Salt: To season
Corn flour: Helps the masala coat the potatoes evenly and makes the wedges light and crispy
Oil: I have used sunflower oil, but any neutral-flavored oil with a high-smoke point will work for this recipe
Frequently Asked Questions
Why are my potato wedges not crispy?
This happens for a number of reasons like excess moisture in potatoes, an overcrowded air fryer basket, too much oil, and not enough cooking time. But to troubleshoot, make sure to soak and wipe the potatoes thoroughly, sprinkle a little extra cornflour, and try air frying them for a minute or two.
Do I need to peel the potatoes?
Nope! Potato wedges actually taste better with skin on. The skin adds extra texture and crisps up beautifully in the air fryer. Just give the potatoes a good scrub before cutting them into wedges.
Can I use sweet potatoes instead?
Yes, but sweet potato wedges cook a little differently. They won’t become quite as crispy as regular potatoes because they contain more moisture and natural sugars. Reduce the cooking time slightly and avoid overcrowding the basket. I would recommend trying out my air fryer sweet potato fries recipe instead.
Richa’s Top Tips
Cut the wedges into the same size to help them cook evenly.
If making a large batch, cook in batches: Make sure to line the potato wedges in a single layer with space in the between. An overcrowded basket can steam the potatoes instead of crisping and browning them.
Soak the potatoes well: Soaking the potatoes is an important step to strip away excess starch, prevent steaming, and have crispy wedges. Please don’t skip this step.
Storage Tips
Refrigerate: Even though these are best served fresh, you can store any leftovers in the fridge for up to 3 days in an airtight container.
Freezer: Cool down the fries completely and line them on a tray. Stick it into the freezer overnight and then transfer to a freezer-safe bag and store for up to 3 months.
Reheat: You can easily reheat these in the air fryer at 180℃ for about 5 minutes if refrigerated and about 8 to 10 minutes if frozen.
Serving Ideas
These air fryer potato wedges taste incredible with any dip. Here are some of my favorites!
When it comes to potato wedges seasoning, the world is your oyster! Once you’ve got the basic method down, you can play around with different spice blends depending on what you’re craving.
Classic Garlic Herb: Garlic powder, onion powder, dried oregano, dried parsley and black pepper.
Peri Peri: Peri peri seasoning, smoked paprika and a pinch of garlic powder for spicy, smoky wedges.
Cheesy Parmesan: Toss the hot wedges with grated parmesan, garlic powder and chopped parsley just before serving.
Indian Masala: Chaat masala, roasted cumin powder, Kashmiri chilli powder and a squeeze of fresh lemon juice.
Cajun: Cajun seasoning with a pinch of smoked paprika for bold, smoky flavour.
Lemon Pepper: Lemon pepper seasoning with a little garlic powder for bright, zesty wedges.
Italian Herb: Italian seasoning, garlic powder and a sprinkle of parmesan for wedges that pair beautifully with pasta.
Spicy BBQ: Smoked paprika, garlic powder, onion powder, chilli powder and a pinch of brown sugar for a sweet and smoky finish.
Tandoori: Tandoori masala with a little Kashmiri chilli powder and dried fenugreek leaves (kasuri methi) for an Indian-inspired twist.
Tip: If you’re adding parmesan, fresh herbs or lemon juice, do it after the wedges come out of the air fryer. This keeps the cheese from burning and the herbs tasting fresh.
Whether you’re serving them as a snack, a side or loading them up with your favourite toppings, these air fryer potato wedges are always a hit. They’re crispy on the outside, fluffy on the inside, and so easy to customise with different seasonings. Once you try them, you’ll wonder why you ever bought frozen wedges!
If you make this recipe, DM me your pictures or tag me in stories over on my IG @my_foodstory ❤️
Making potato wedges in air fryer is easy-peasy! This is a quick and mess-free masala potato wedges recipe that cooks that delivers perfect results each time.
1 ½tablespoonssunflower or any neutral flavored cooking oildivided
Instructions
Wash and cut the potatoes into wedges with skin-on. keep them soaked in water till using as they turn brown if exposed to air.
4 potatoes
Drain the potato wedges and pat dry with a kitchen towel. Add to a bowl.
Add ginger garlic paste, salt, crushed pepper, turmeric powder, cumin powder, cornflour, ½ tablespoon sunflower oil and combine it all to ensure the wedges are coated well.
Pre-heat air fryer at 200C and brush the basket with oil.
Place the potato wedges on the air fryer basket with some gap between each. Brush with a few drops of oil and air fry at 200C for 5 minutes. Brush with oil, flip and air fry at 200C for 5 minutes or until they are golden & crisp.
1 ½ tablespoons sunflower or any neutral flavored cooking oil
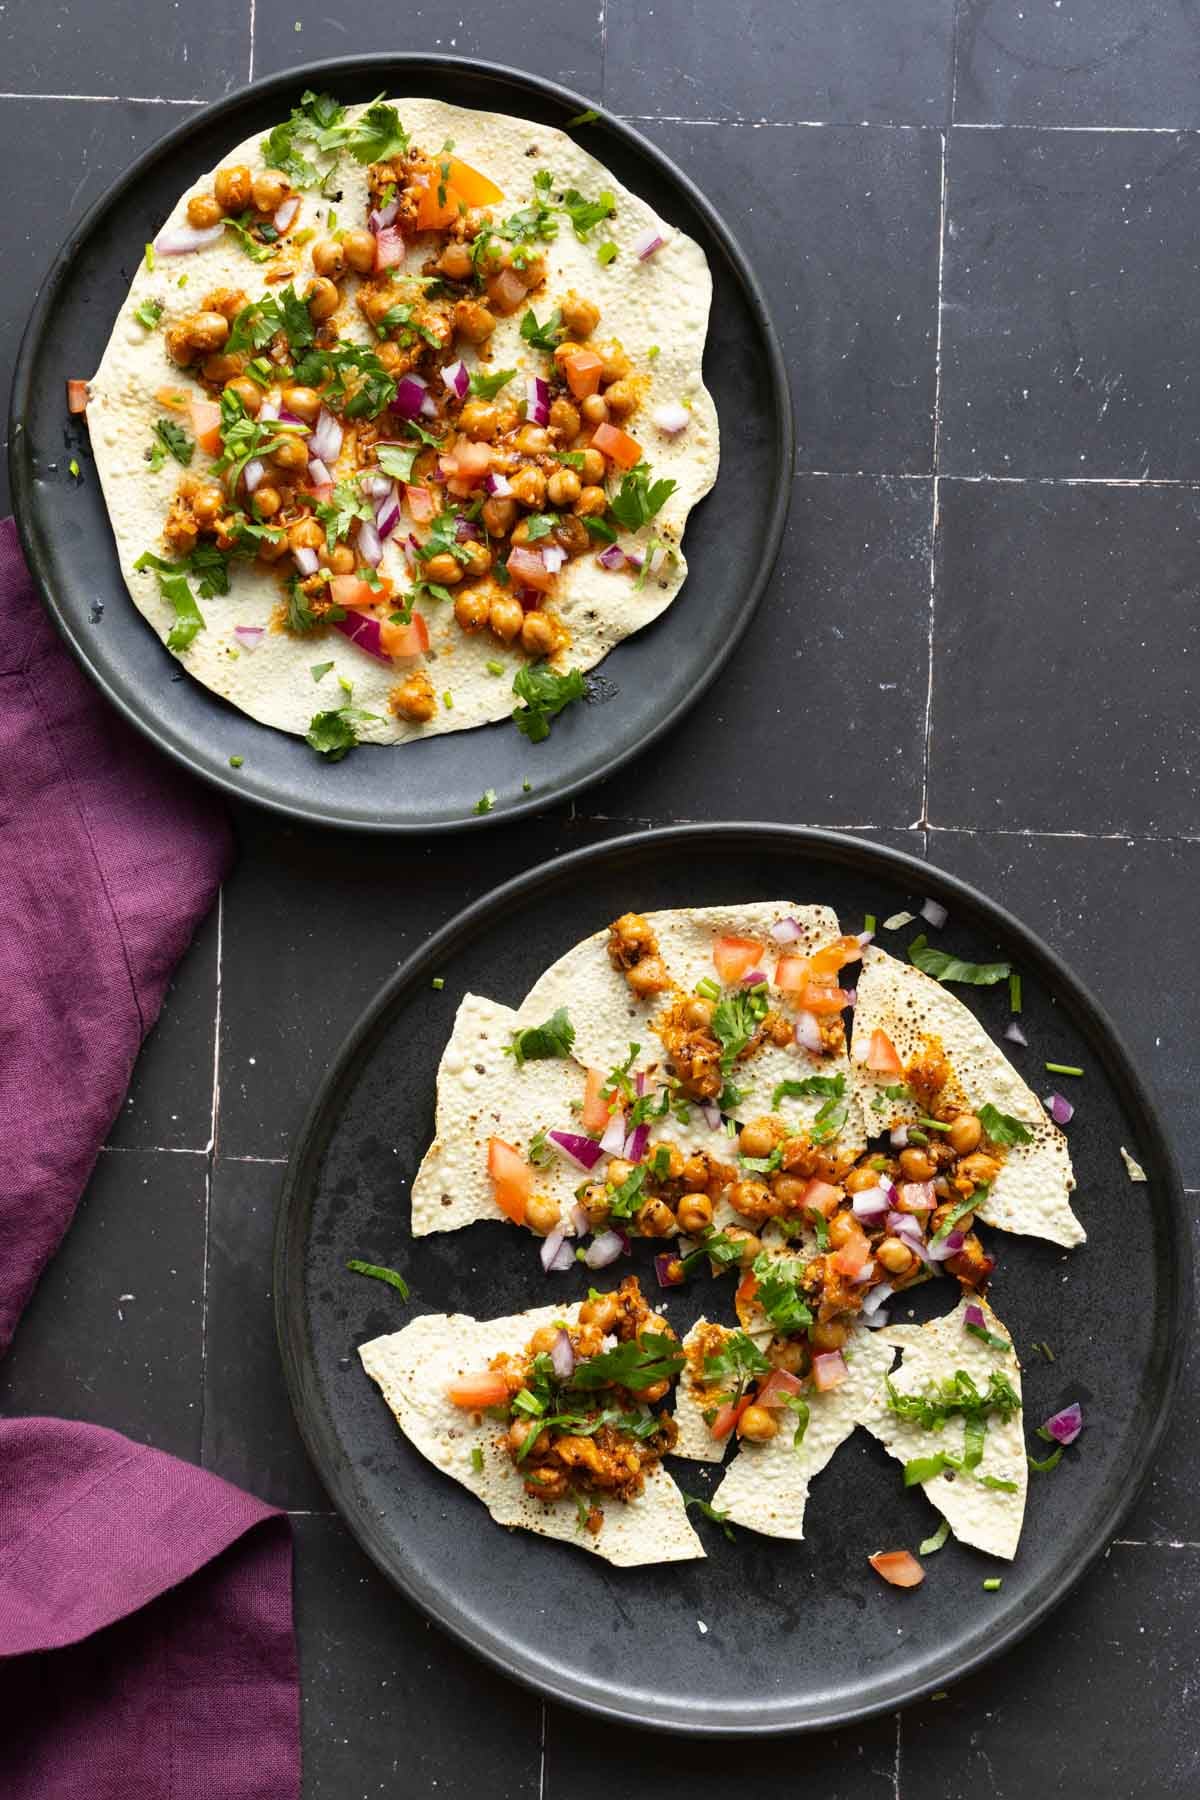
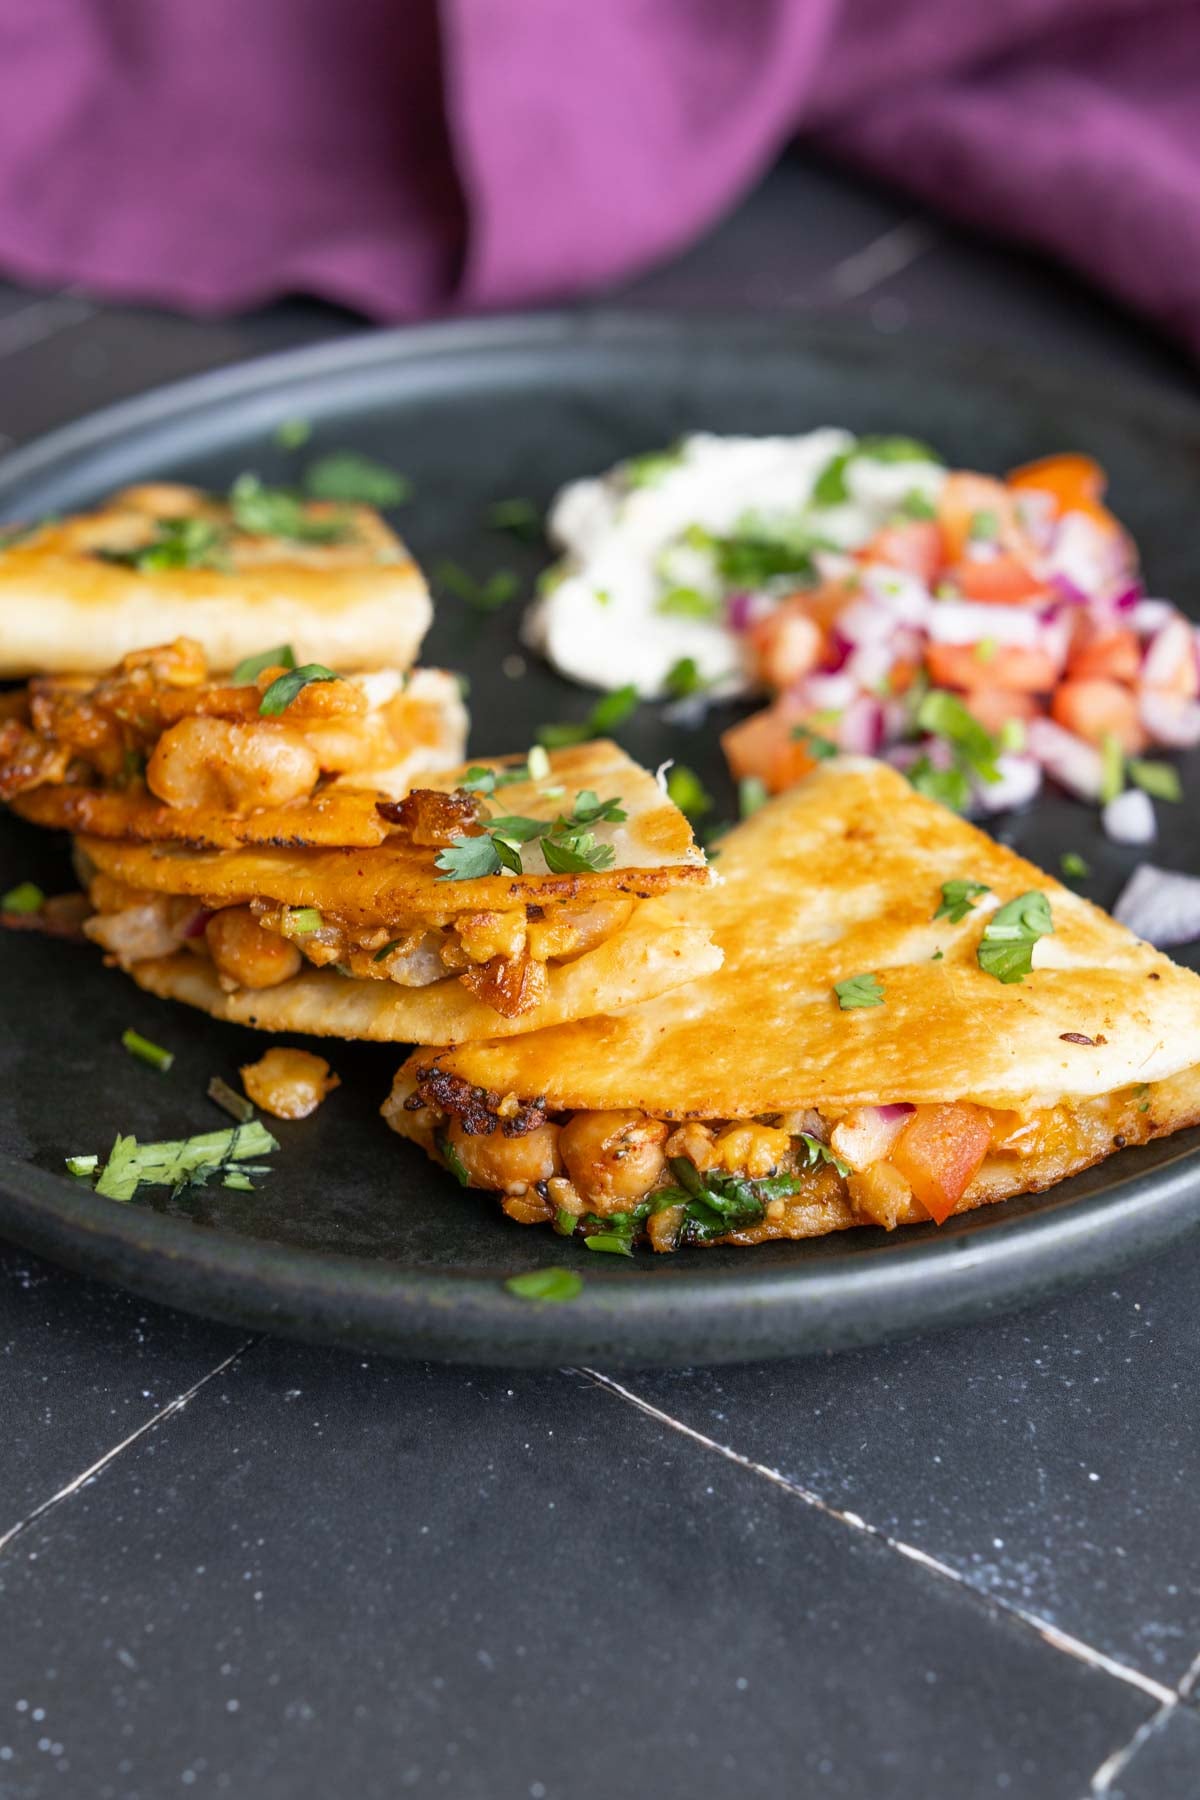
Chili Garlic Vinegar Chickpeas, 15 minute, bold ginger garlic heat and a vinegar snap. Use them on crispy potatoes, stuff pitas, smash tacos, toss salads, or top papadam nachos. Make once, meals and snacks all week. (gluten-free, soy-free, nut-free) 18g protein 15g fiber
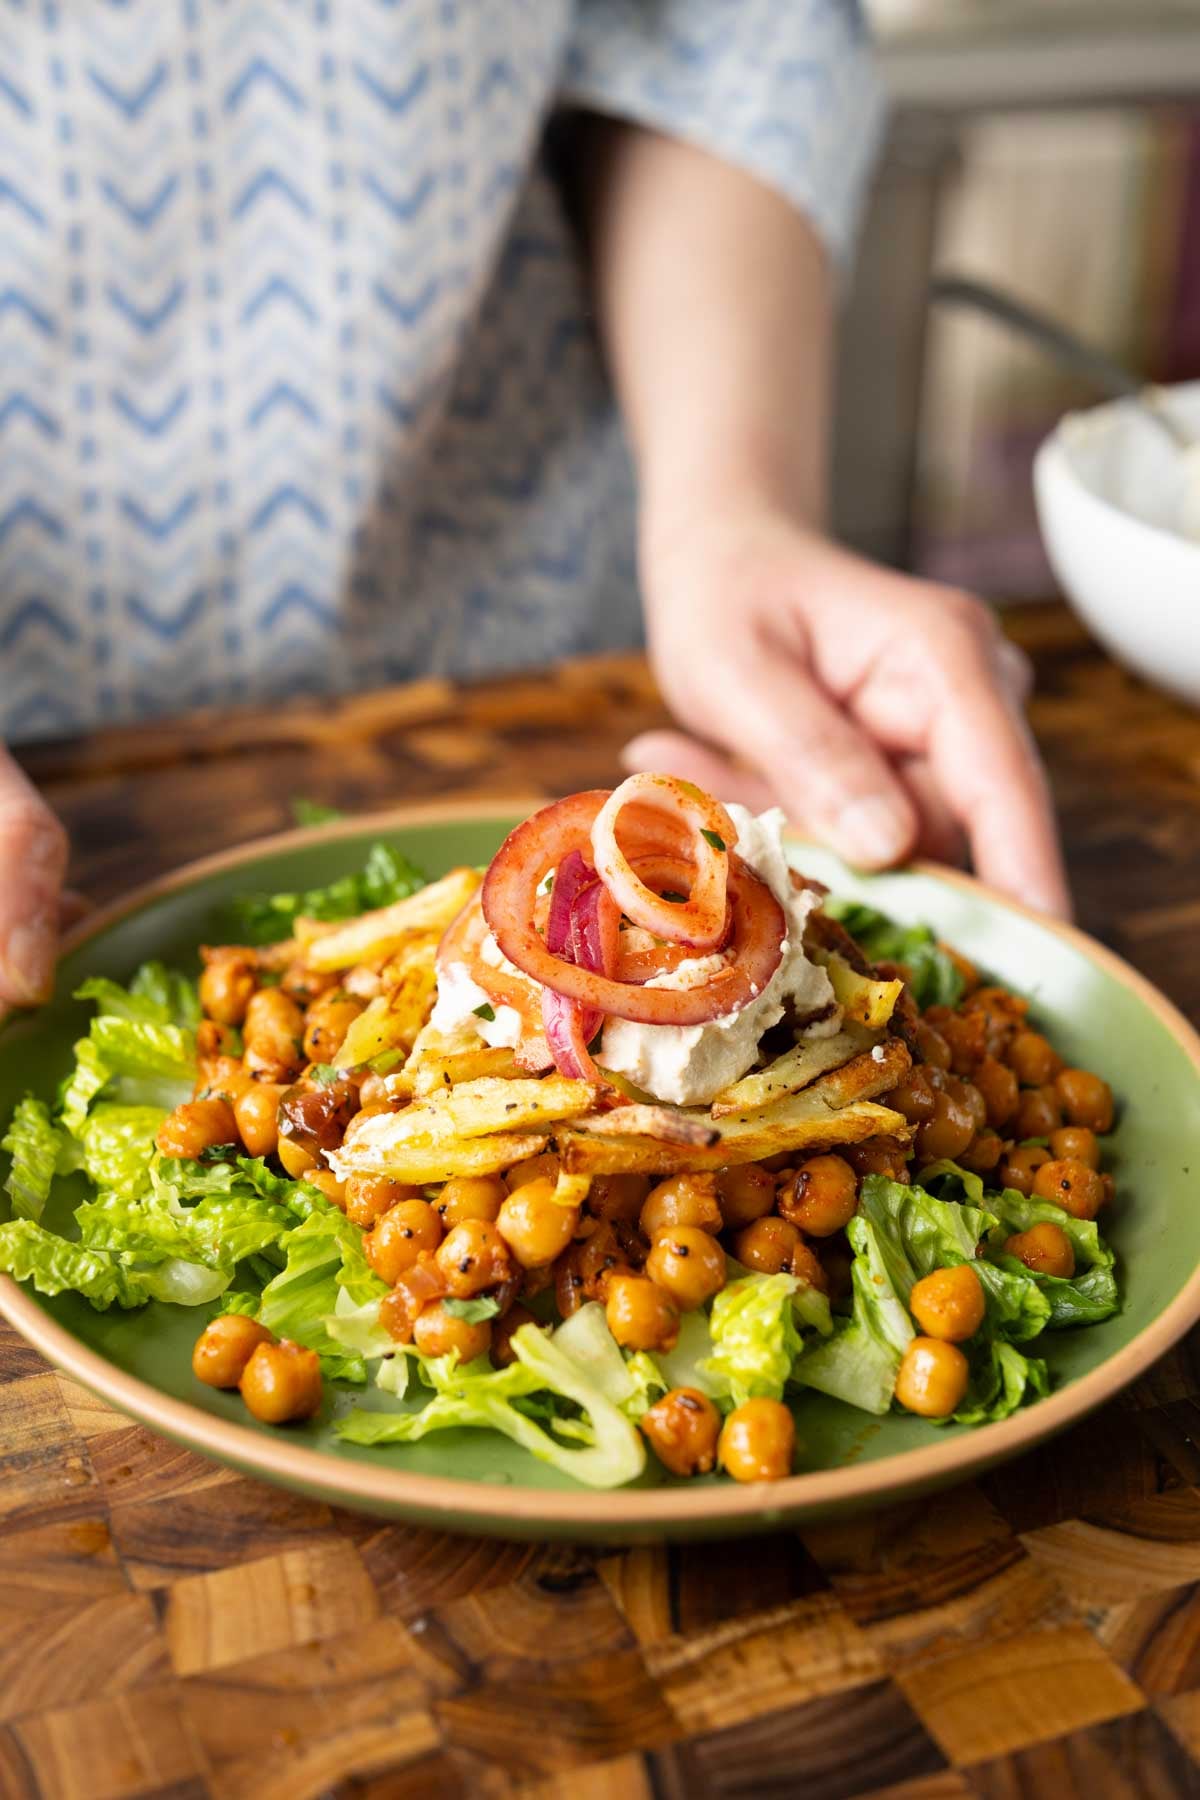
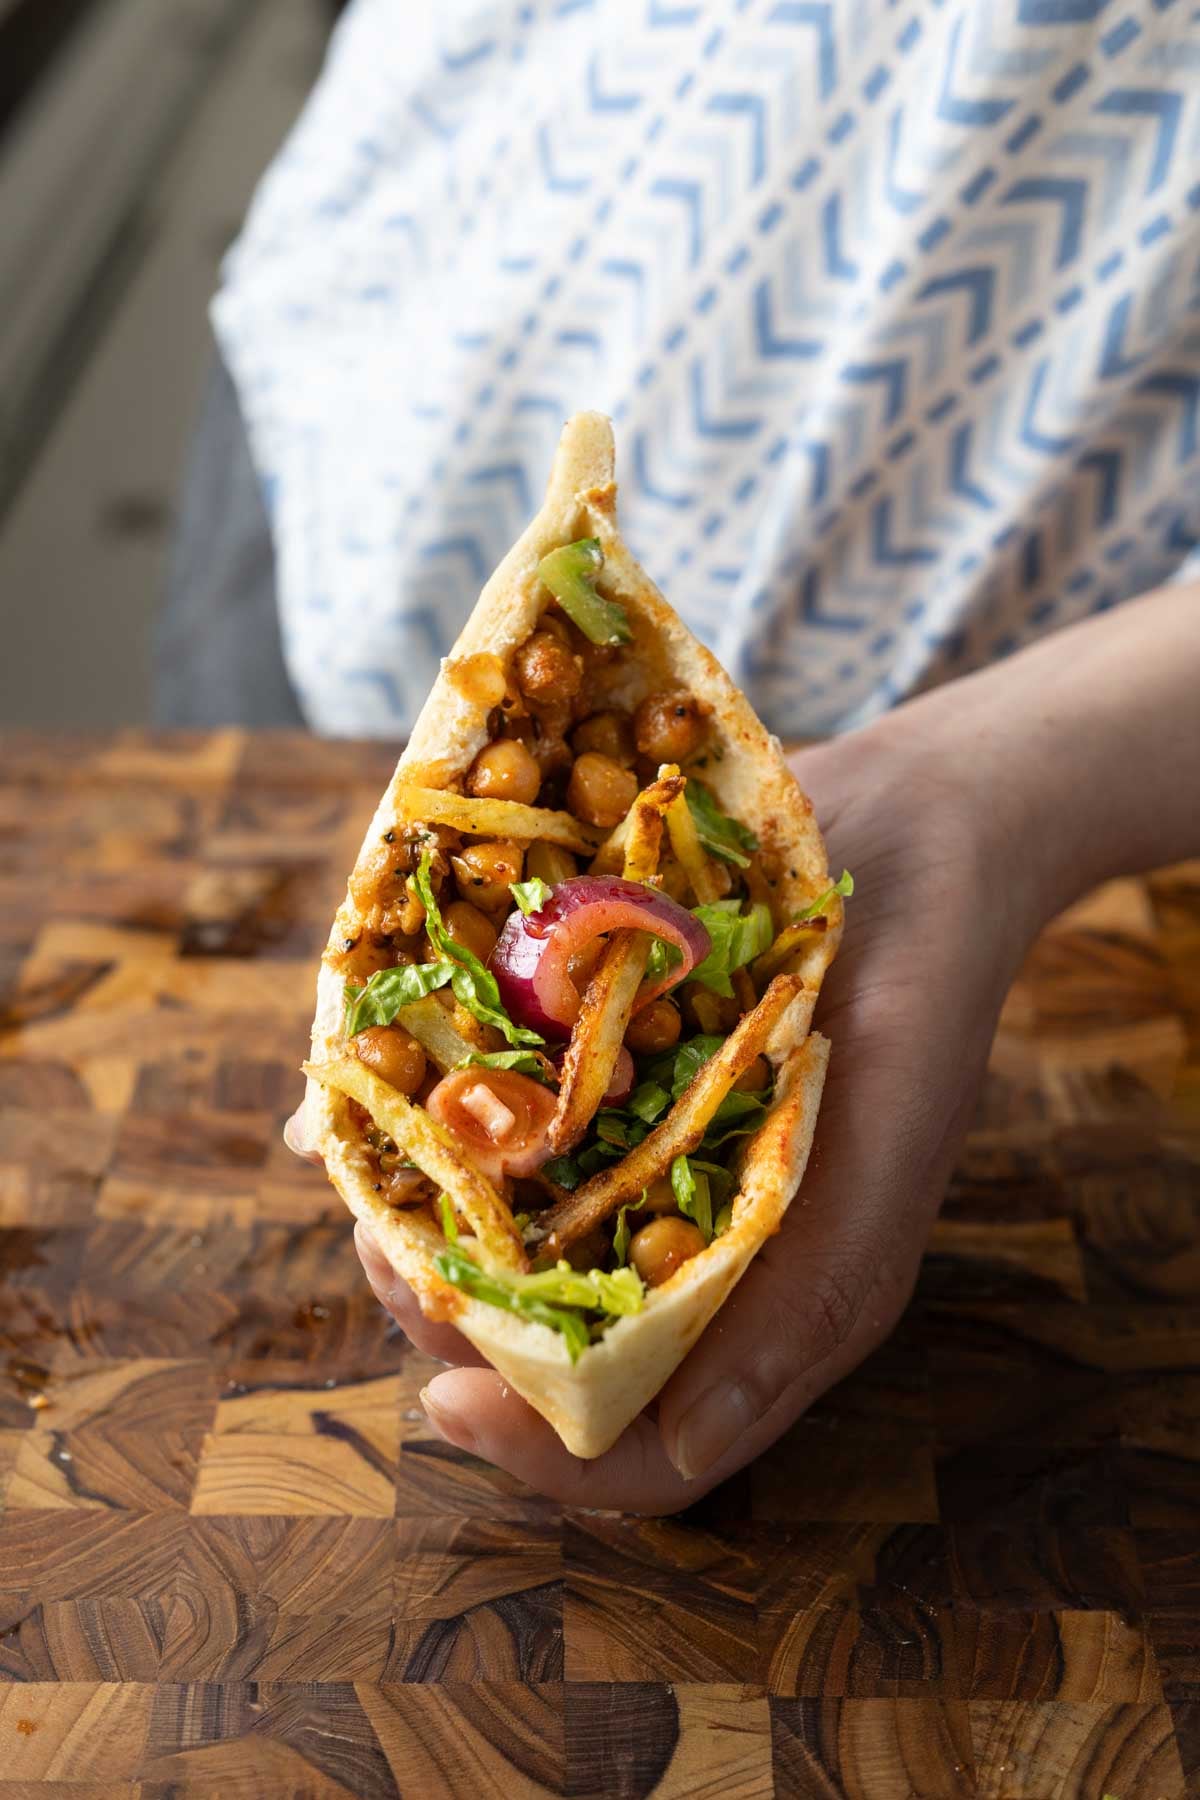
These tangy spicy 15 minute chickpeas are wildly flavorful and so versatile. Ginger for warmth, garlic for depth, chilies for spark, vinegar for snap. Cook these once, and you’ve got a building block for the week. Put them on crispy potatoes, stuff a pita, smash a taco, toss a salad, or make fusion pappadum nachos! These chili garlic vinegar chickpeas are inspired from my Nepali potatoes. I took that flavor profile and put it with the chickpeas, because it’s just so incredibly delicious.
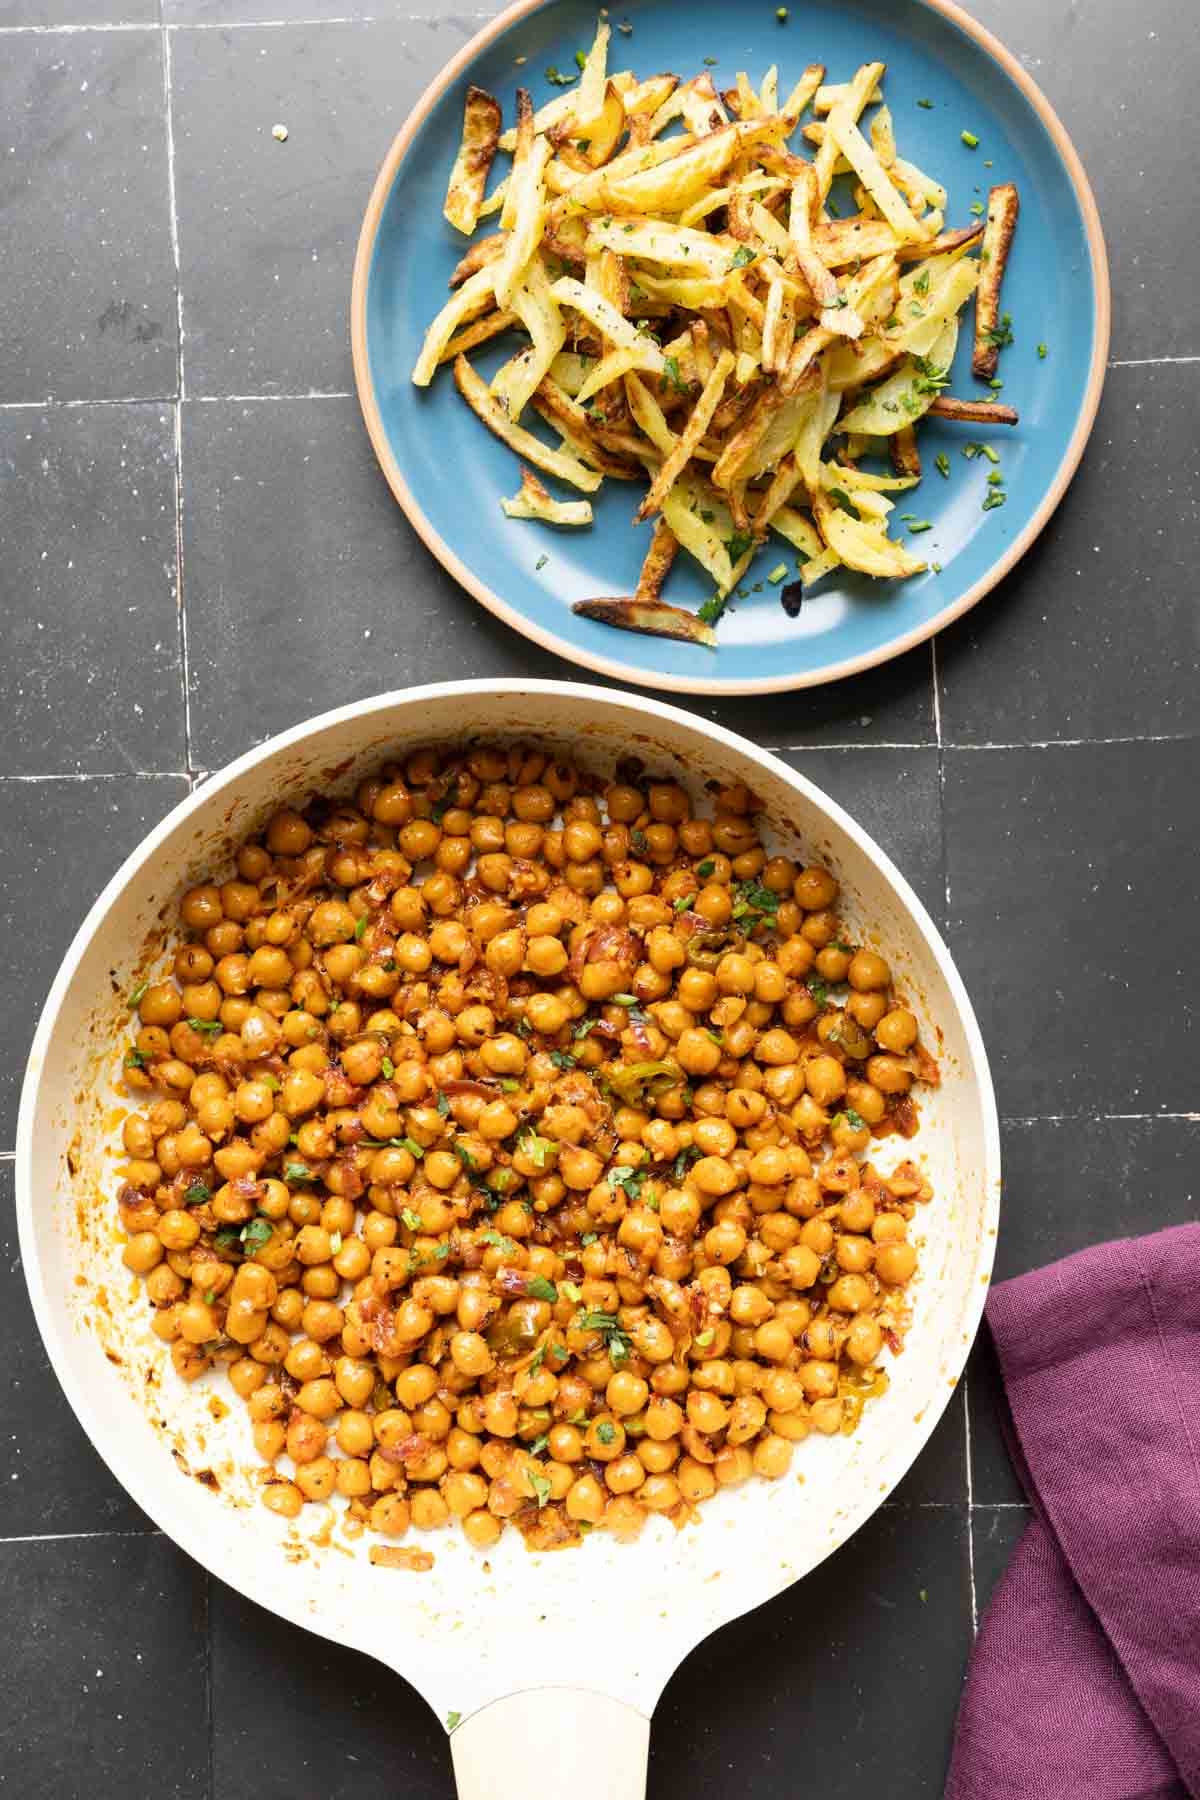
For the chickpeas, we’re making this dry sauce of garlic, ginger, and green chilies and also adding some whole spices, like mustard seeds and cumin seeds. We are adding vinegar in the end, so the chickpeas pick up that tanginess and aromatic flavors from the sauce and get so flavorful and tender.
Pappadum nachos below
They are just so addictive, especially served with the easy baked or air fried crispy potatoes strips.
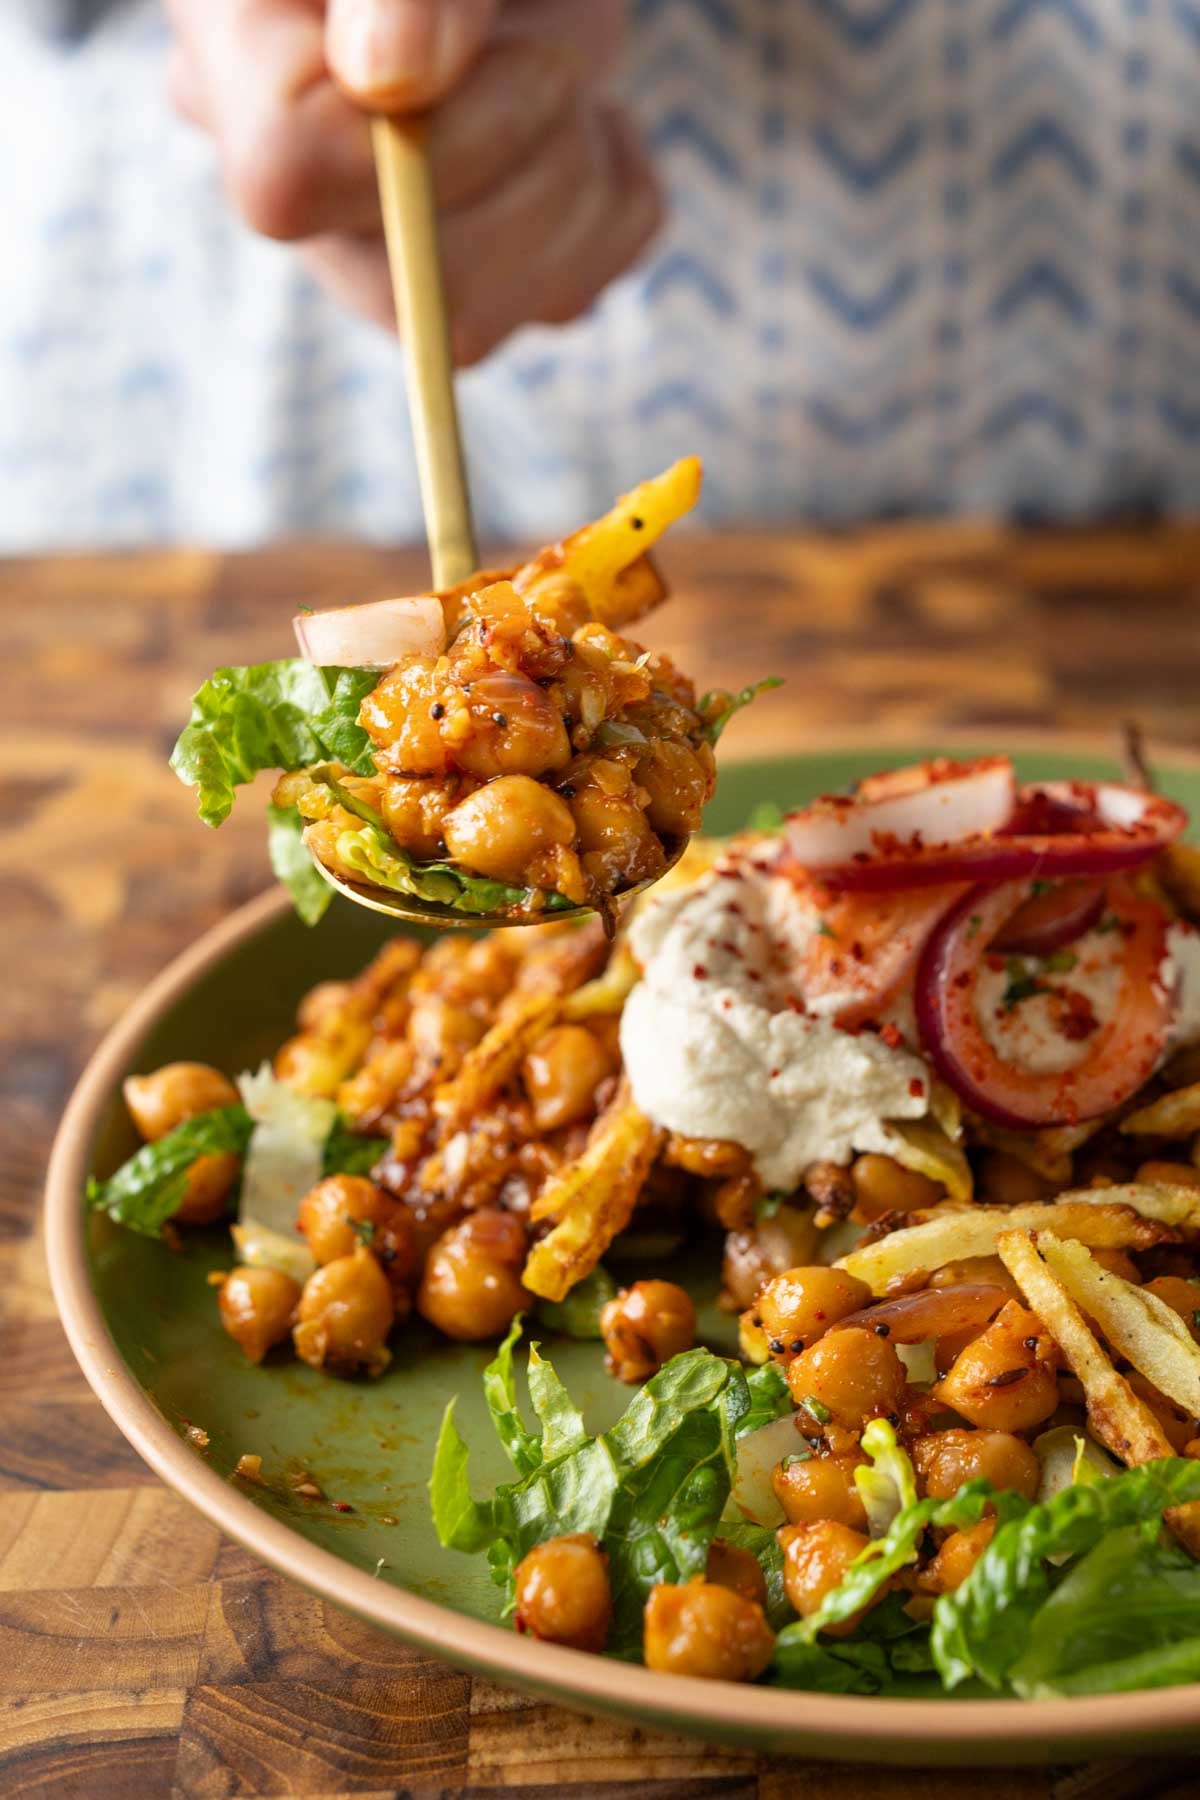
You can serve these chickpeas and potatoes together in various ways: as a bowl with salad greens, to make papadum nachos, in smashed tacos, or stuffed into warm pita bread. No matter how you serve them, you are going to love them!
Why You’ll Love Chili Garlic Chickpeas
easy, 1-pan chickpeas cook while the potato strips crisp up in the air fryer
full of rich, deep Indian flavors
versatile! Serve as a salad, nachos, tacos, or stuffed into a pita
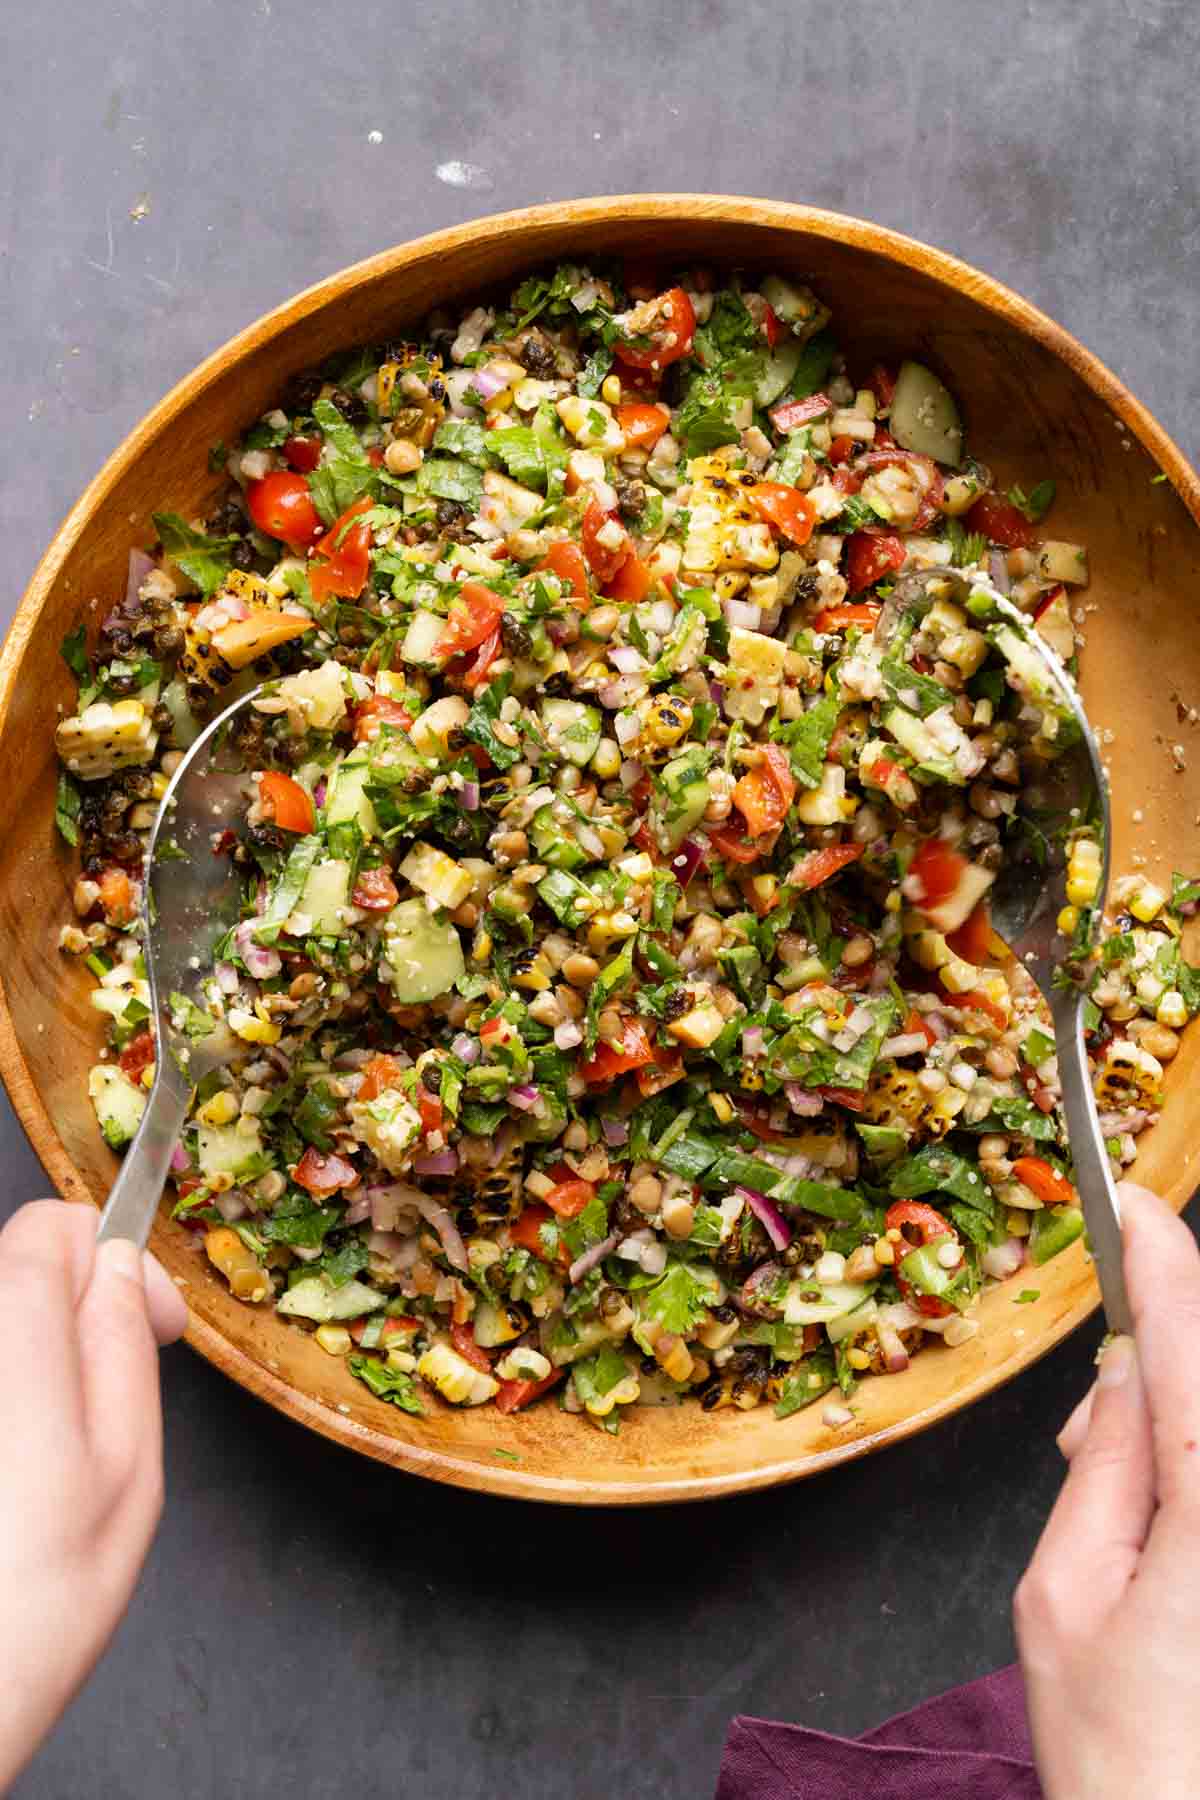
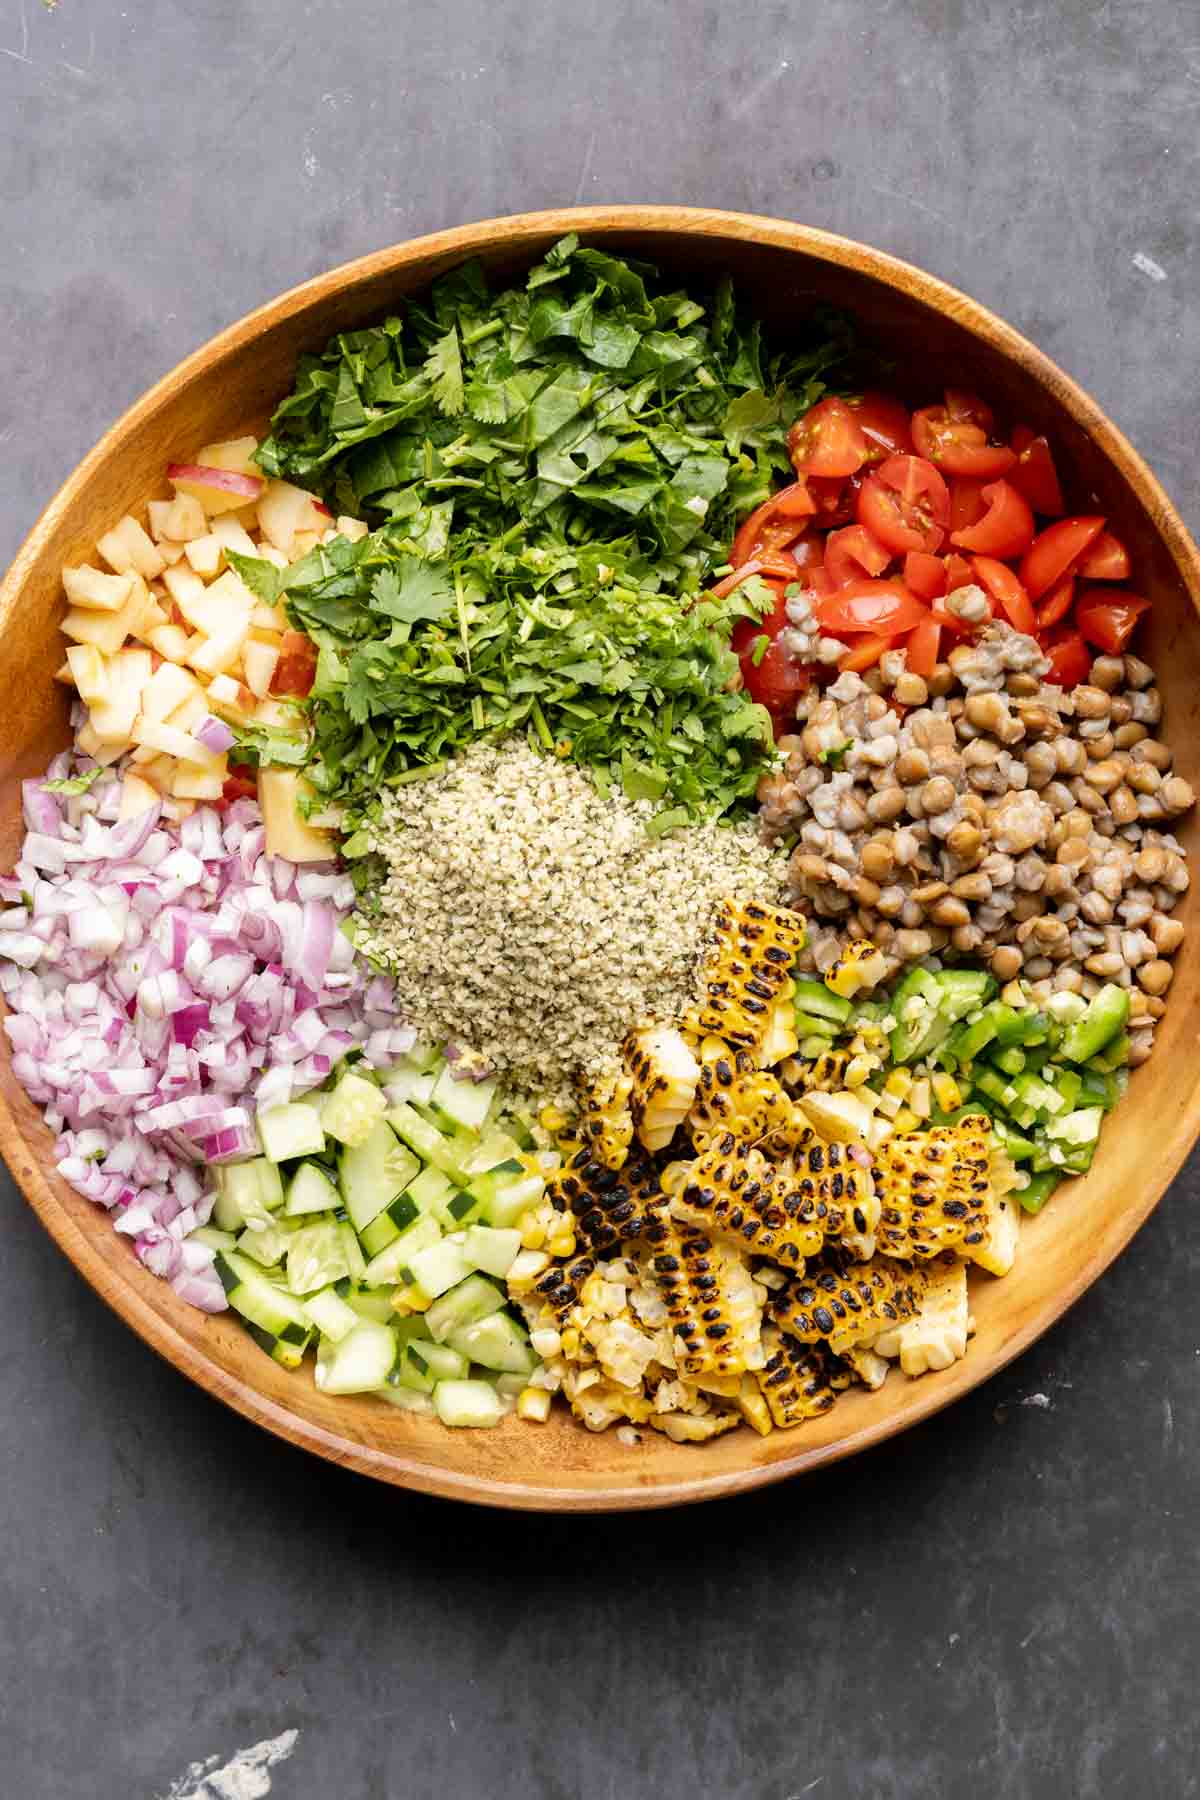
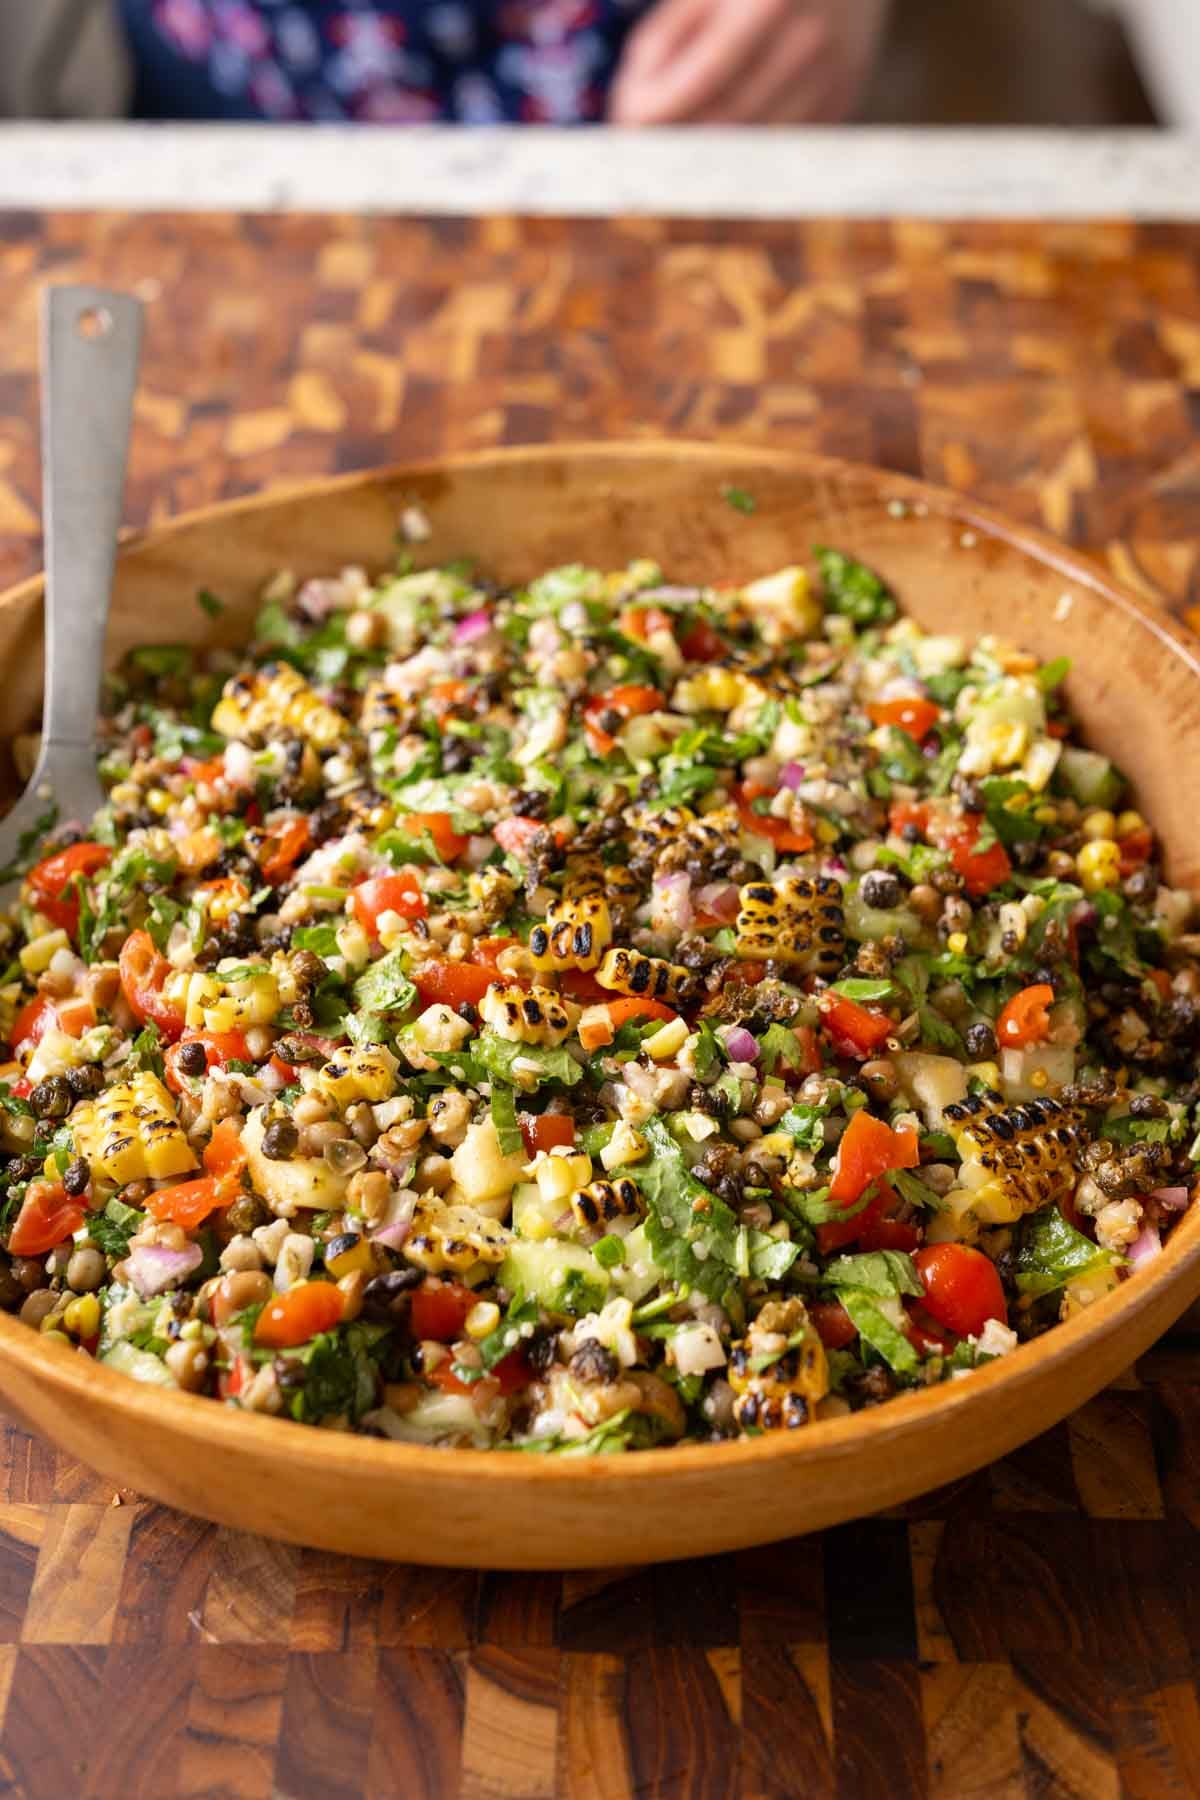
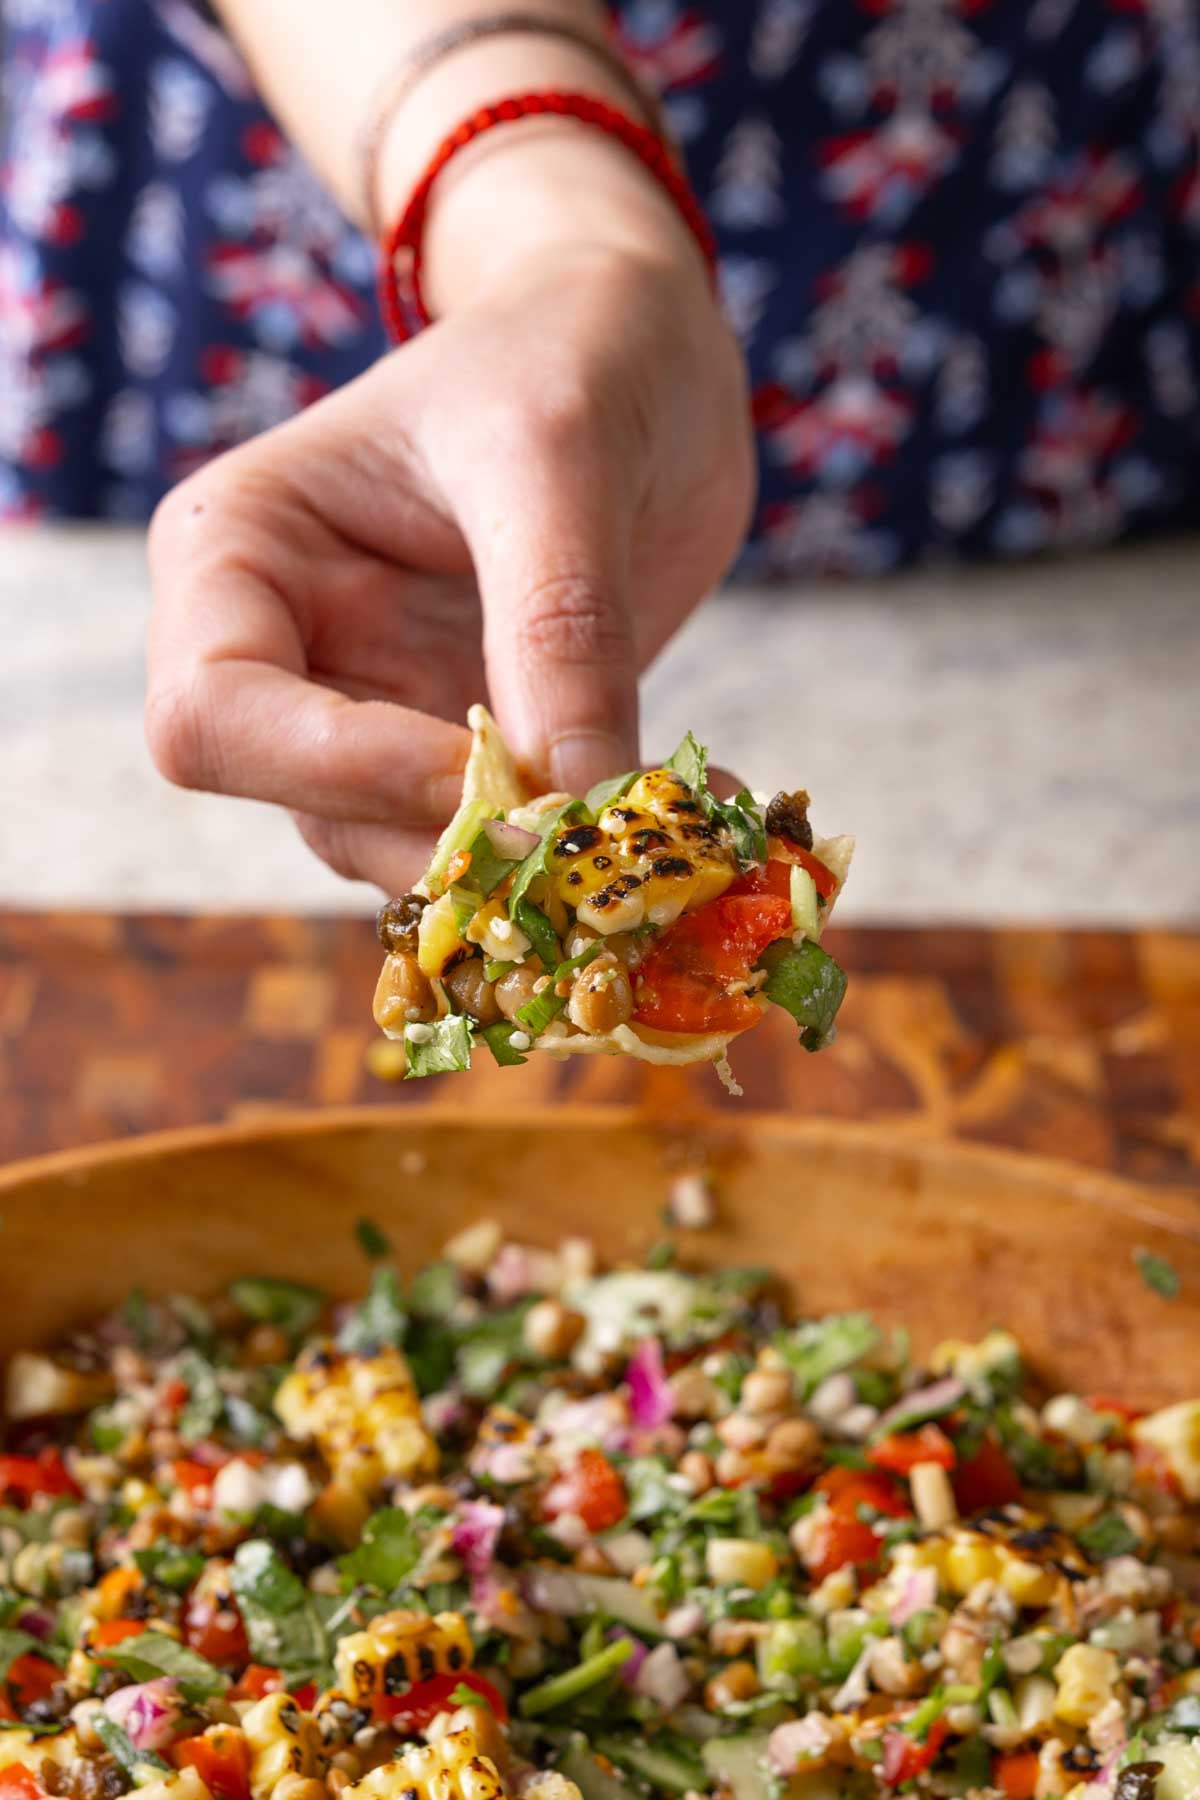
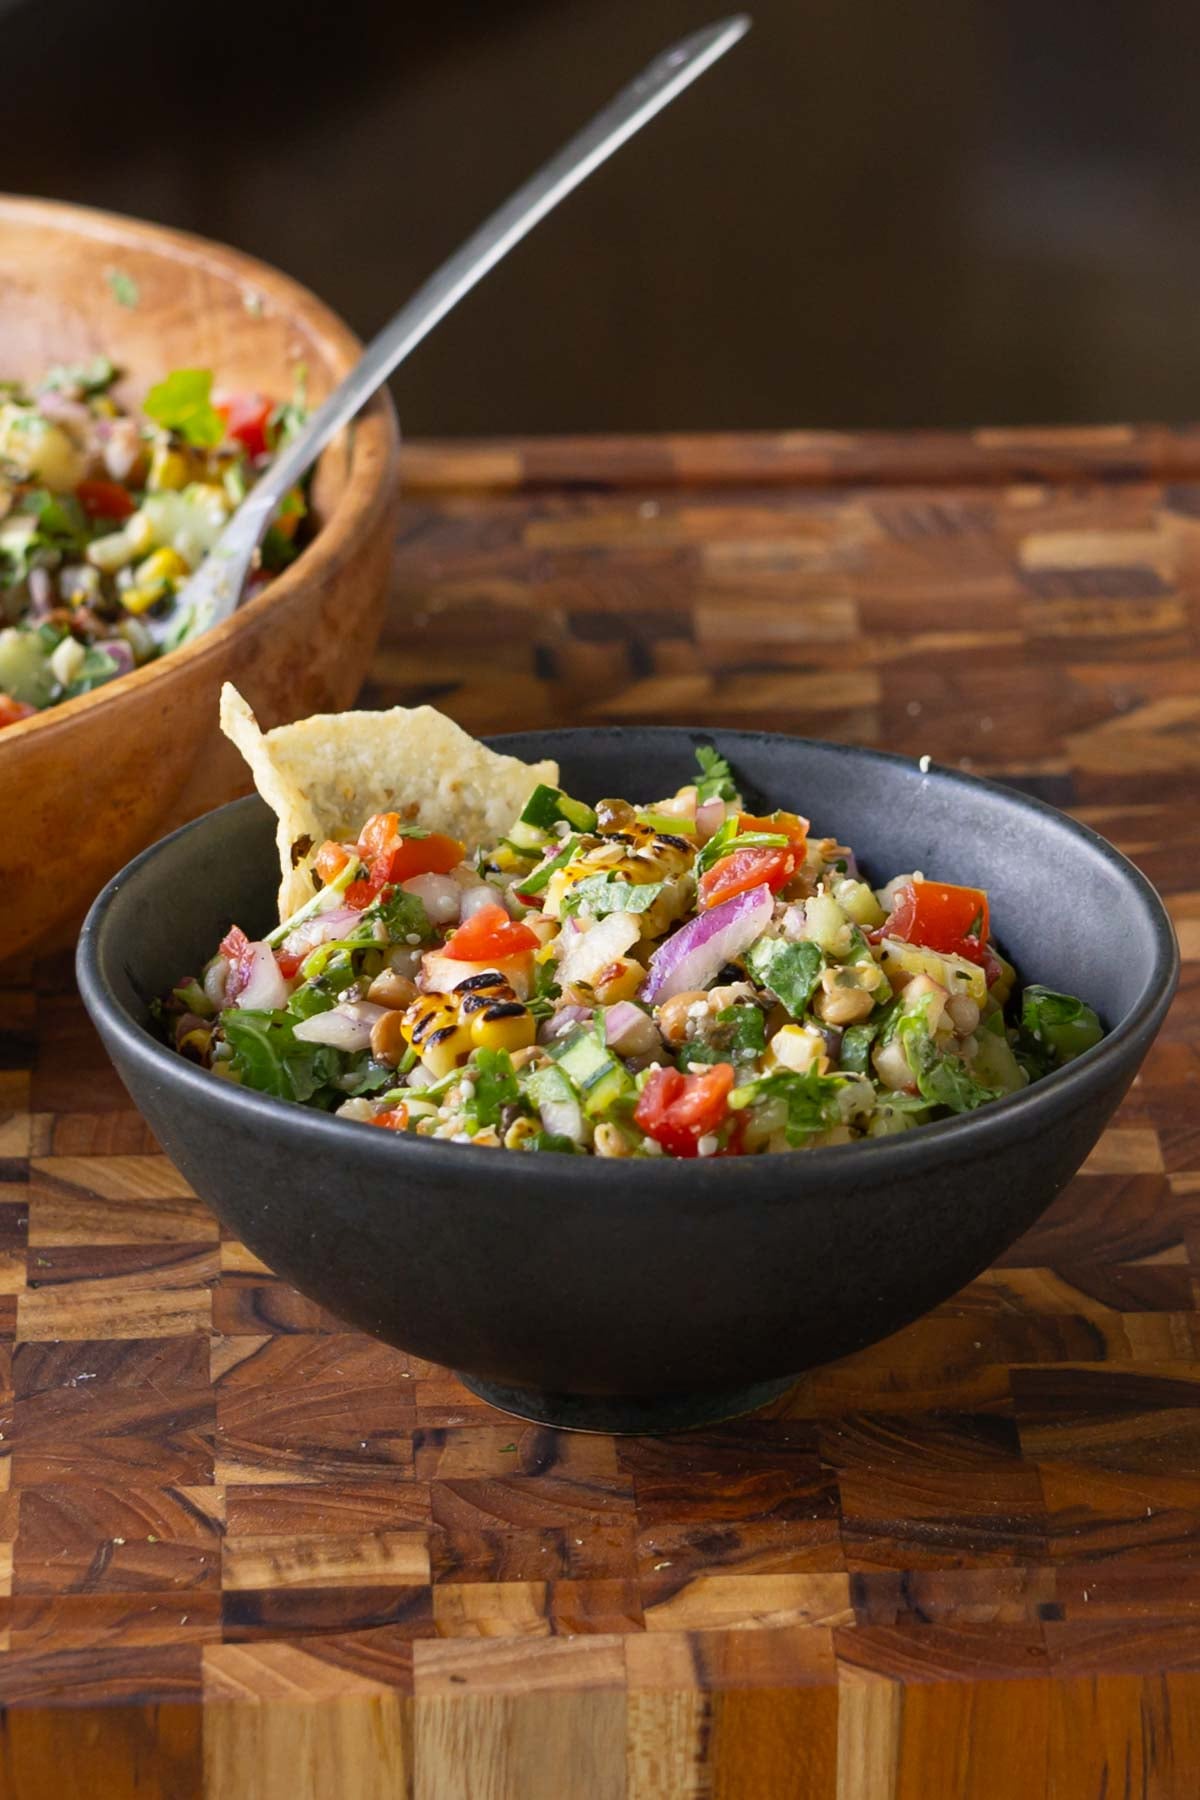
Flavor-packed lentil dip comes together fast with serious protein and fiber punch! Lentils, roasted corn, veggies and crispy capers with herby pepper lime dressing is perfect for parties, potlucks, cookouts, and snacking! (gluten-free, soy-free, nut-free) High fiber, protein and iron!
This is the perfect lentil dip for summer. I was inspired by a lentil dip that went viral on TikTok, where you just take some lentils, add bruschetta and feta, Instead of those flavors, we’re adding a load of veggies and a fantastic dressing, and also crisp capers! All these flavors and textures have made this my fave this summer!
This lentil dip is a great source of protein, fiber, vitamin C, B vitamins, potassium, magnesium, and iron and omegas. Protein from the lentils hemp seeds nutritional yeast, fiber from the veggies, lentils, kale. Major flavor boost from the Crispy capers! This indulgent Lentil dip packs a flavor and nutrition punch!
There’s the protein from the lentils. There are the fresh, crunchy veggies, jalapeño, and onion. There’s sweetness from the corn and the apple, the tart freshness from the cherry tomatoes, and refreshing vibrancy from the lime zest. There’s also kale in the dip, hidden along with some herbs, so it’s a great way to sneak in kale.
The nutritional yeast adds a bit of cheesiness and protein, while the hemp seeds bump up the protein and texture even more. And all of that balances out with a hint of spice from the jalapeño and the pepper flakes and a savory burst of flavor from the crispy capers.
You can use whichever veggies you have on hand. If you don’t like lentils, you can use chickpeas or white beans and add some more spices to the dressing.
Make this dip and serve it with tortilla chips, crispy crackers, garlic bread or baguette slices. You can also use it to make wraps with pita bread or tortillas. It’s a versatile lentil dip that will disappear in no time.
Why You’ll Love this Lentil Dip
protein- and veggie-packed dip with amazing flavors and textures
quick and easy herb-lime dressing comes together in 1 jar
crispy capers add a little crunch and a ton of umami
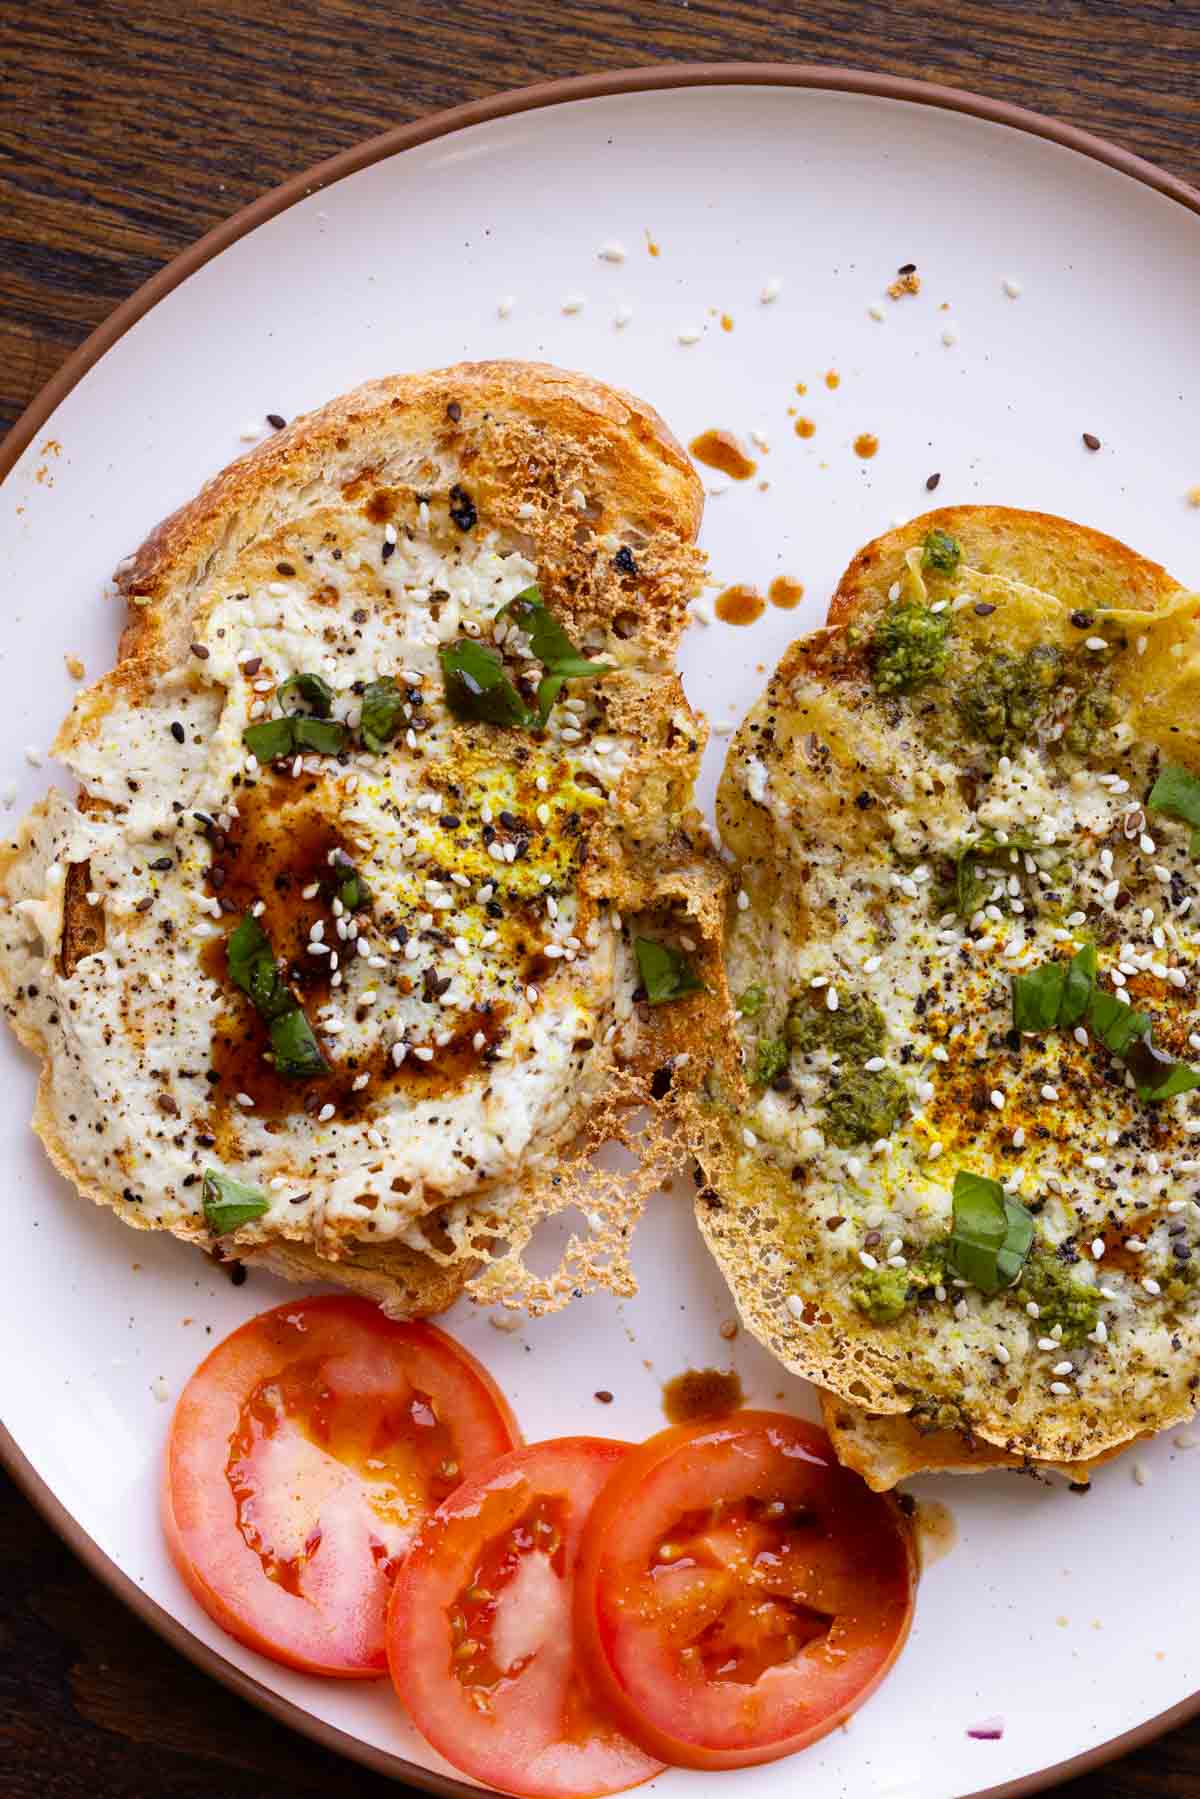
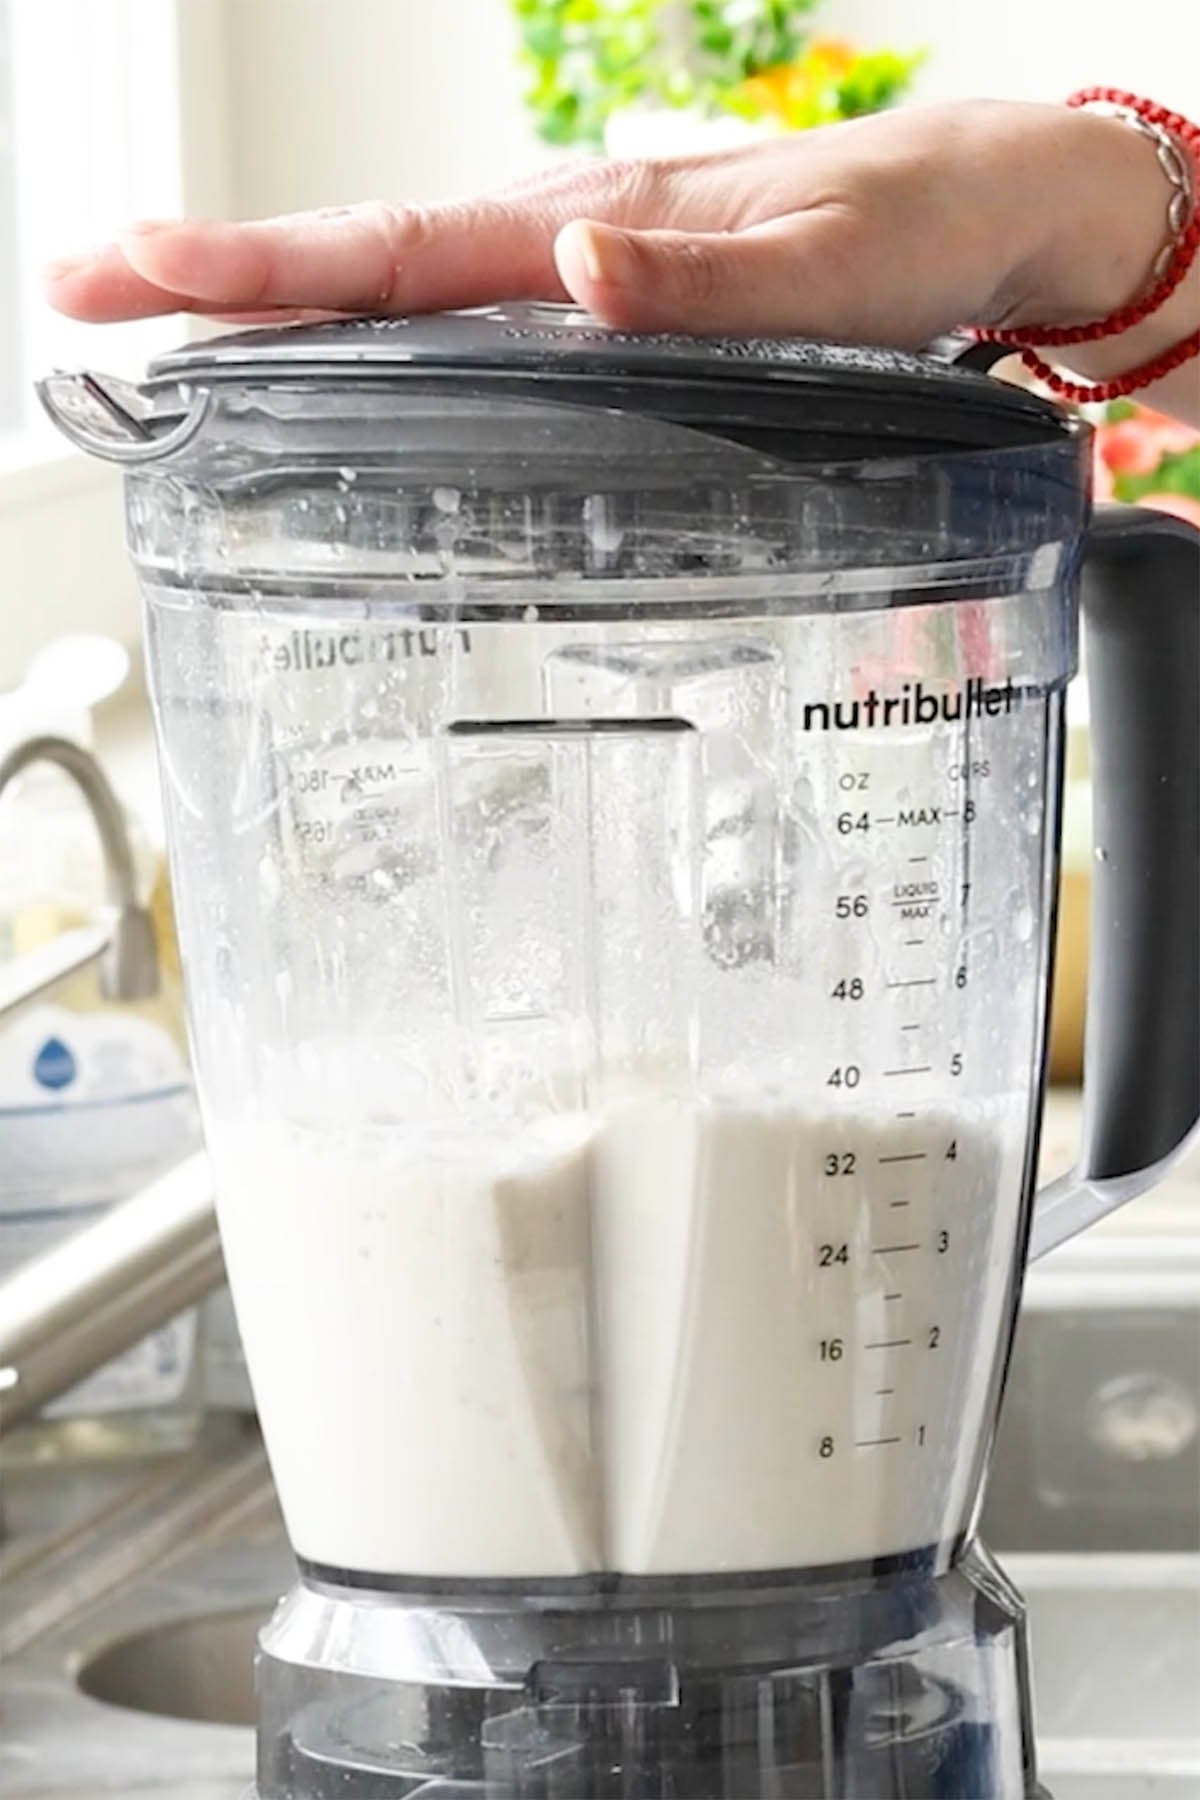
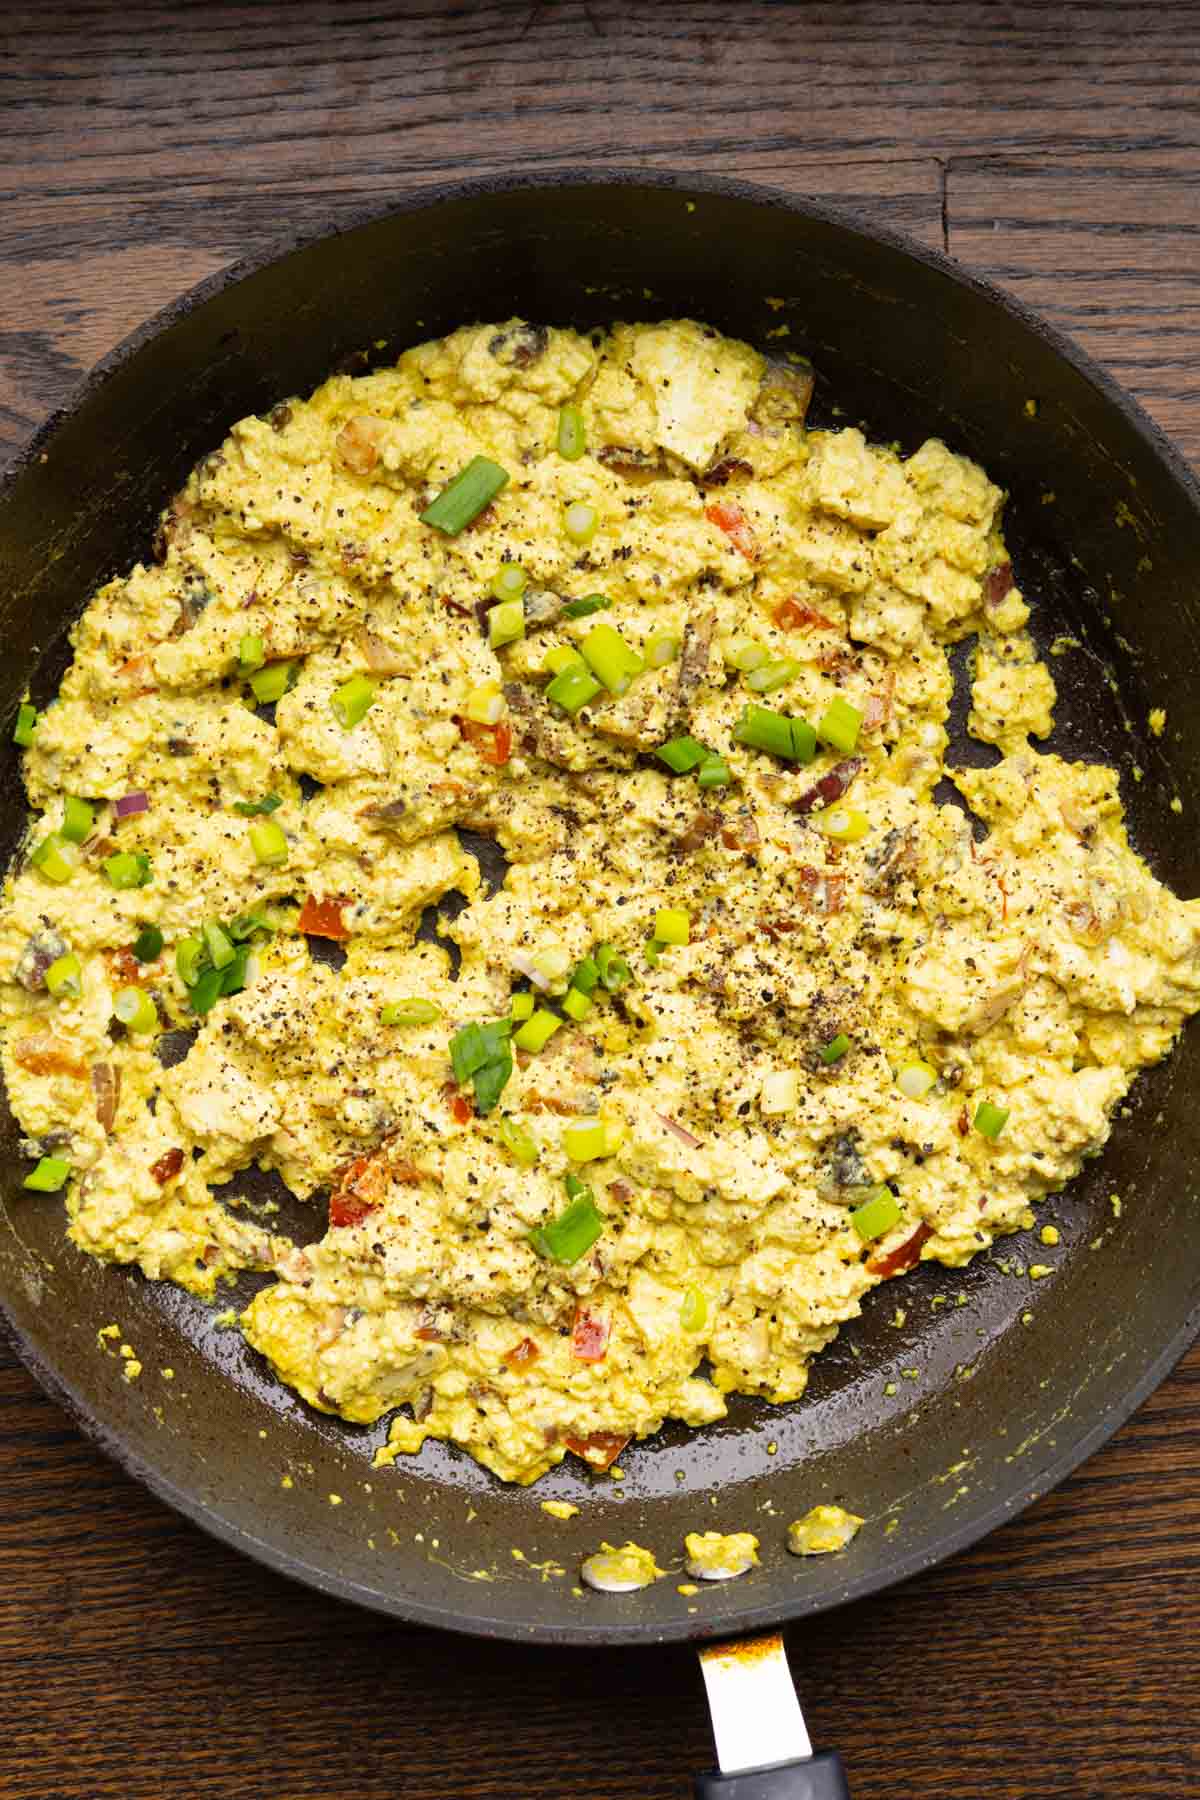
Have you ever whipped your tofu? This one simple trick turns a block of tofu into a creamy, versatile breakfast base – sweet or savory – that powers 9 different recipes. Make a batch, keep it in the fridge, and you’ve got easy vegan breakfasts ready all week long.
This video went viral!
Blending tofu into a thick, creamy base is a game-changer for breakfast meal prep. I whip up a batch, keep it in the fridge, and use it all week to make egg fry, omelettes, waffles, tofu chia pudding, protein pancakes, and so much more.
If I am planning to use it for only savory breakfast, I add the cornstarch and salt, otherwise I just blend tofu and water as the base and store it.
Try these whipped tofu recipes, and let me know other ways you use whipped tofu cream!
If you’d love to have all of these recipes in one place, here’s the free PDF guide I shared in my YouTube video — perfect for printing and keeping in your kitchen
Why You’ll Love Whipped Tofu
Quick and easy to make.
A protein-packed base with endless sweet and savory uses.
Naturally gluten-free and nut-free.
You can also use whipped tofu in recipes such as pasta sauce and mozzarella cream, or to thicken curries and make them extra creamy.
This epic roasted garlic chili coconut tofu sandwich stars this toasty, flavor-packed chili-garlic-coconut chutney(Indian Vada Pav Chutney) that coats the tofu paired with this creamy, herbed yogurt sauce and tangy pickled cabbage. 18g Protein 7g fiber!
I am so excited to bring you another sandwich in my series of reimagining sandwiches inspired by popular Indian street food! This one is spicy, nutty, coconutty, sweet, crunchy, creamy, and tangy all at once. It’s such an incredible combination of flavors and textures. Don’t miss all the summer sandwiches in the series! These are some of my best sandwiches, Big flavor, and nutrient dense! Watch me make them on my YouTube channel! 🌶️
These stacked, make ahead friendly sandwiches and the Indian jalapeño popper toasts (15g protein per toast!) and my Indian crispy Chikin tofu sandwich, all pack incredible flavor and also Protein and fiber!
We’re going to make this chili garlic coconut chutney, which is a dry condiment (lasun chutney) often found in vada pav, a popular Indian sandwich. Vada pav usually has that chutney and a green chutney, and then there is this fried fritter of potatoes that’s tucked into bread. It’s so delicious.
I’m taking that amazing chutney and adding it on top of some tofu slices and baking them, then using them to fill up the coconut tofu sandwich. We’re piling them high in the sandwich along with a creamy, cooling, herby yogurt sauce as well as some tangy pickled cabbage. You can also use other pickled vegetables in this sandwich and add some roasted veggies, as well. This is a very flexible sandwich.
The main flavor component of this coconut tofu sandwich is that chili garlic chutney, so don’t skimp on it. Definitely make that chutney, and don’t skimp on the garlic or the chili when you do. They give it an amazing flavor.
You want to use super firm tofu for the best results, but extra firm tofu works, as well. I like to slice it thin, almost like deli slices, because the more surface area, the more flavor you get from all of that chutney.
The chili garlic chutney has loads of garlic that gets toasted, then process it up with toasted sesame seeds, peanuts, toasted coconut, and a good amount of Kashmiri chili powder. I use Kashmiri chili powder a lot in my Indian recipes. If you don’t have it, you definitely need to get some. It has a very distinctive flavor and isn’t overly hot, so you can use it in non-Indian recipes, as well, in place of paprika. It adds beautiful color and amazing flavor. You can find Kashmiri chili powder online or at Indian grocery stores.
We make the yogurt sauce with yogurt, herbs, lime juice, and a little maple syrup to balance the savoriness. The pickled cabbage is simply cabbage pickled with vinegar, salt, sugar, and pepper flakes. You can use the same ingredients to pickle other vegetables, like cucumber, radishes, or onions, as well.
This sandwich has amazing flavors and textures in every bite!!!
Why You’ll Love this Coconut Tofu Sandwich
toothsome tofu smothered in toasty, flavor-packed chili garlic coconut chutney
creamy, herbed non-dairy yogurt sauce
crunchy, tangy pickled cabbage contrasts all of those rich, deep flavors
This spin on Indian chilli cheese toast is absolutely decadent and delicious. It’s sort of like an Indian-inspired jalapeño popper cheese toast! Each toast has 10-15gm Protein, and ready in 15 minutes!
This is another recipe in my series of amazing, hearty summer sandwiches inspired by popular Indian sandwiches. I’m reimagining those sandwiches or components from those sandwiches. The goal is to create sandwiches with lots of texture and flavor while also making them hearty, high in protein and fiber, easy to make, and perfect for an easy summer lunch. These toasts boast 10 to 16 rams of protein and 5 to 7 grams of fiber per toast!
Indian chilli cheese toast is usually very simple. It doesn’t have anything other than green chillies and cheese, sometimes with a few veg like onion and peppers, herbs, and seasonings. The two main ingredients are shredded cheese and green chillies. It doesn’t have any bean chili. This is all about green chilli.
That combination of green chillies, cheese, salt, pepper, and chaat masala tastes incredible, so I took that idea and added tofu for extra protein and volume. I also added nutritional yeast for more flavor and protein and hemp seeds for even more protein. Then, I added a generous amount of green chillies, piled everything onto toasted sourdough, and broiled it.
Most of the time involved is simply chopping the vegetables and green chillies and crumbling the tofu. After that, it only takes about three minutes under the broiler.
I also make a crispy tempeh and garlic topping to level up the texture and flavor and add even more protein. The crispy garlic is incredibly delicious on top. I add Kashmiri chili powder to the tempeh for color and that deep Kashmiri chili flavor, along with lime zest. All of these flavor combinations are just heavenly.
Depending on the size of your toast and how much filling you use, you can get anywhere from 10 grams of protein up to 16 grams of protein per slice. It also depends on the bread you’re using. Whole grain bread usually has even more protein! If you want to keep it gluten-free, use gluten-free bread, a gluten-free tortilla, or my almond flour gluten-free naan as the base.
You can broil these chilli cheese toasts, air fry them, or even put them on a grill. This recipe is crispy, cheesy, spicy, zesty, and packed with incredible flavor and texture. It’s an absolutely fabulous combination. You need these cheese toasts in your life! And see recipe notes for more flavor combinations!
Why You’ll Love Chilli Cheese Toasts
crisp bread topped with creamy chilli-cheese mixture that turns golden brown in the oven
crispy, savory, tangy crumbled lime tempeh topping adds even more flavor and texture!
This crispy curry tofu sandwich has amazing, sweet-and-savory garam masala caramelized onions, curry leaf chilli oil glaze and a creamy yogurt sauce with swirls of chili oil. It’s sort of an Indian-inspired hot honey situation, and it’s so delicious!
This summer I am bringing you sandwiches inspired by popular Indian sandwiches. This one is a crispy spicy Chikin sandwich made vegan with crispy tofu that is coated in a curry leaf chili oil glaze, topped with garam masala caramelized onions (these are soooooo good) and paired with a herby cooling yogurt sauce. This sandwich packs so much flavor and texture.
Unlike the usual crispy chicken sandwiches that have a batter and are deep fried, we’re making a coating with cornstarch, white rice flour, and plenty of spices. The tofu gets tossed with oil, coated in the mixture, and then baked or air fried. The white rice flour and cornstarch make everything super crispy, and the tofu is ready in about 15 minutes.
While the tofu gets crispy, we caramelize onions with garlic, garam masala, and black pepper until everything turns golden brown. These sweet, umami-filled peppery onions take the sandwich to the next level.
Then, we make the curry leaf chili oil glaze. This is the biggest star of the sandwich. The glaze is sweet, spicy, zesty, and packed with curry leaf flavor. It makes the tofu juicier and pairs amazingly with the rest of the sandwich.
We also stir some of the glaze into a yogurt sauce made with fresh herbs, such as cilantro, mint, or parsley. Then everything gets layered into a sandwich, wrap, grain bowl, or salad bowl. Each component is ridiculously delicious on its own, and together they become four times more ridiculously delicious! You can use these components separately as well. That crispy tofu is an amazing addition to bowls, wraps or salads. The curry leaf chili oil glaze is fantastic to add to any creamy dip or yogurt, to drizzle over curries , or use as salad dressing! The yogurt sauce is a fantastic dip! These components, can also be paired to make a wrap or a bowl without the bread! Every bite is an explosion of textures and flavors.
It was a struggle to name the sandwich if you have ideas for a better title do let me know!
Why You’ll Love Crispy Curry Tofu Sandwiches
Indian-inspired sandwich with tons of amazing flavors and incredible textures
garam masala caramelized onions add so much flavor and texture
versatile! Serve as a sandwich, wrap, salad, grain bowl, etc.
each component can be used separately!
easily made gluten-free, soy-free, and/or nut-free
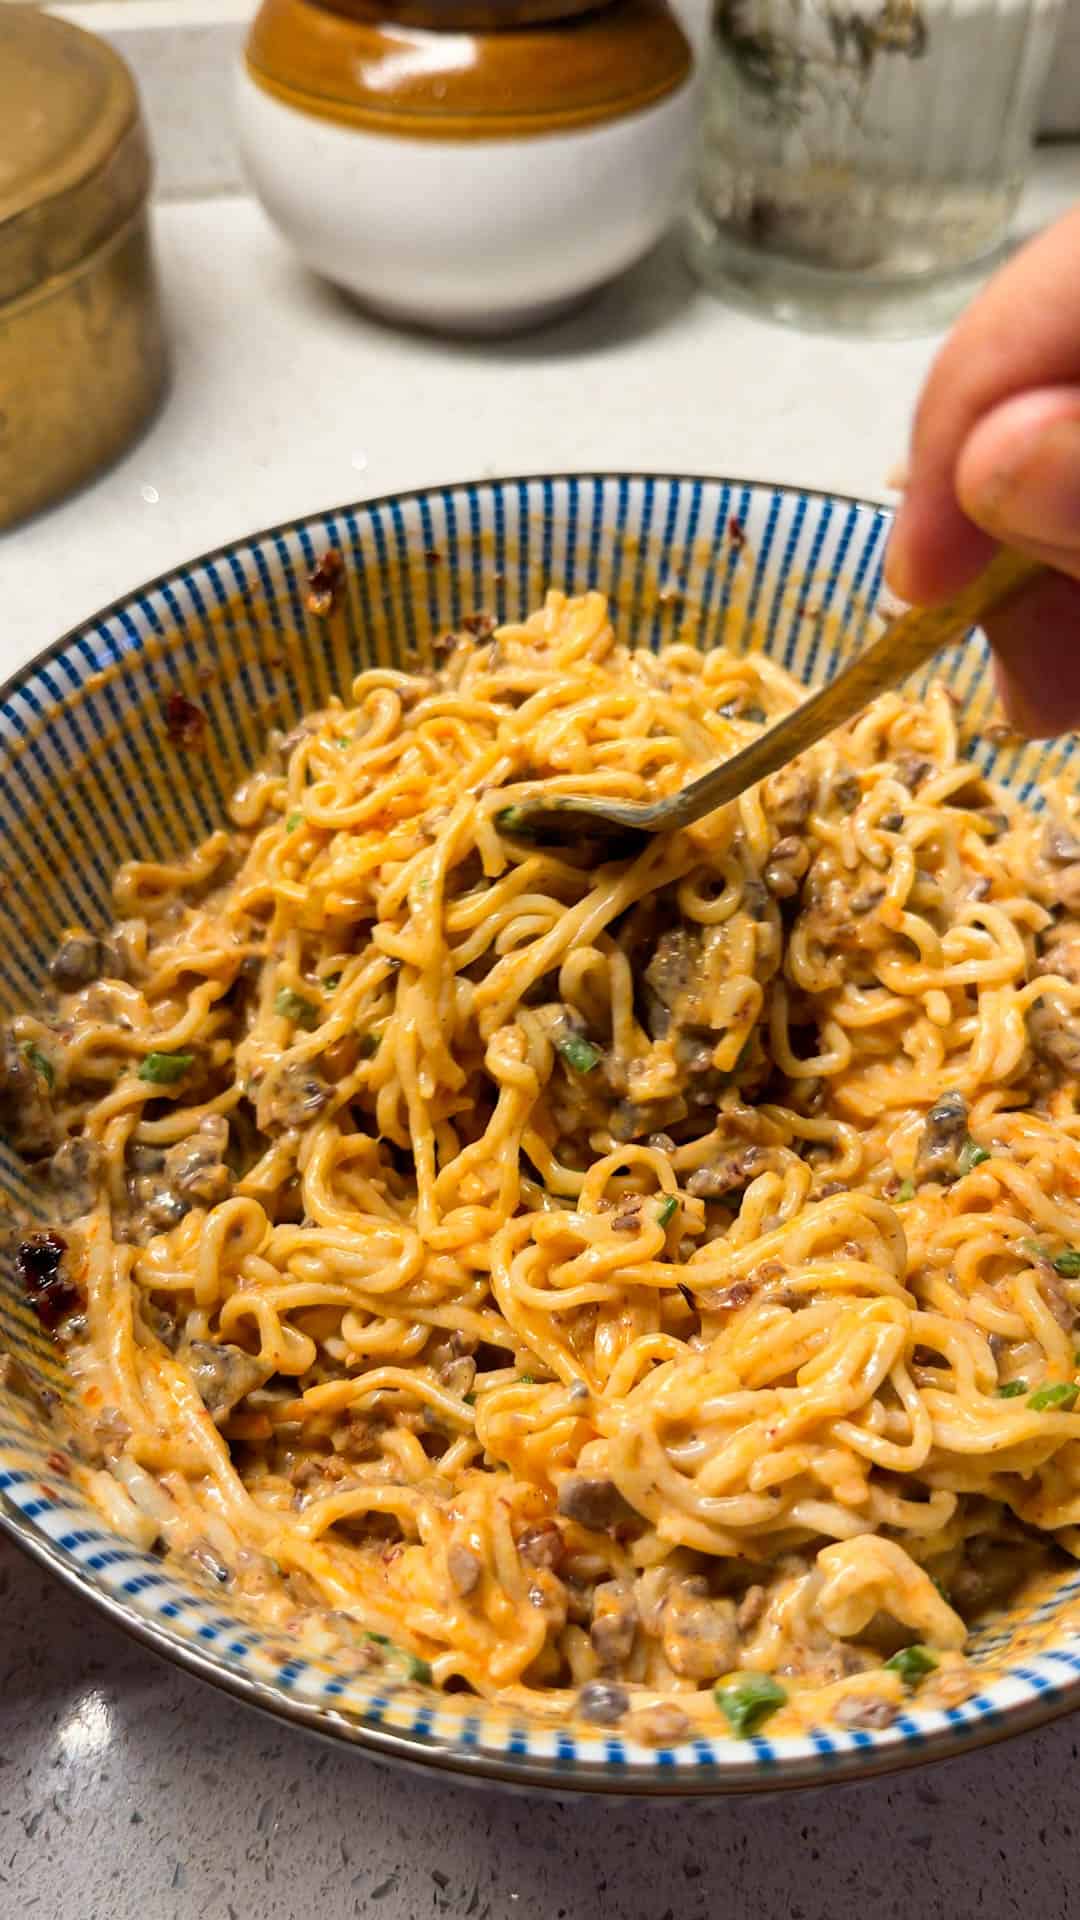
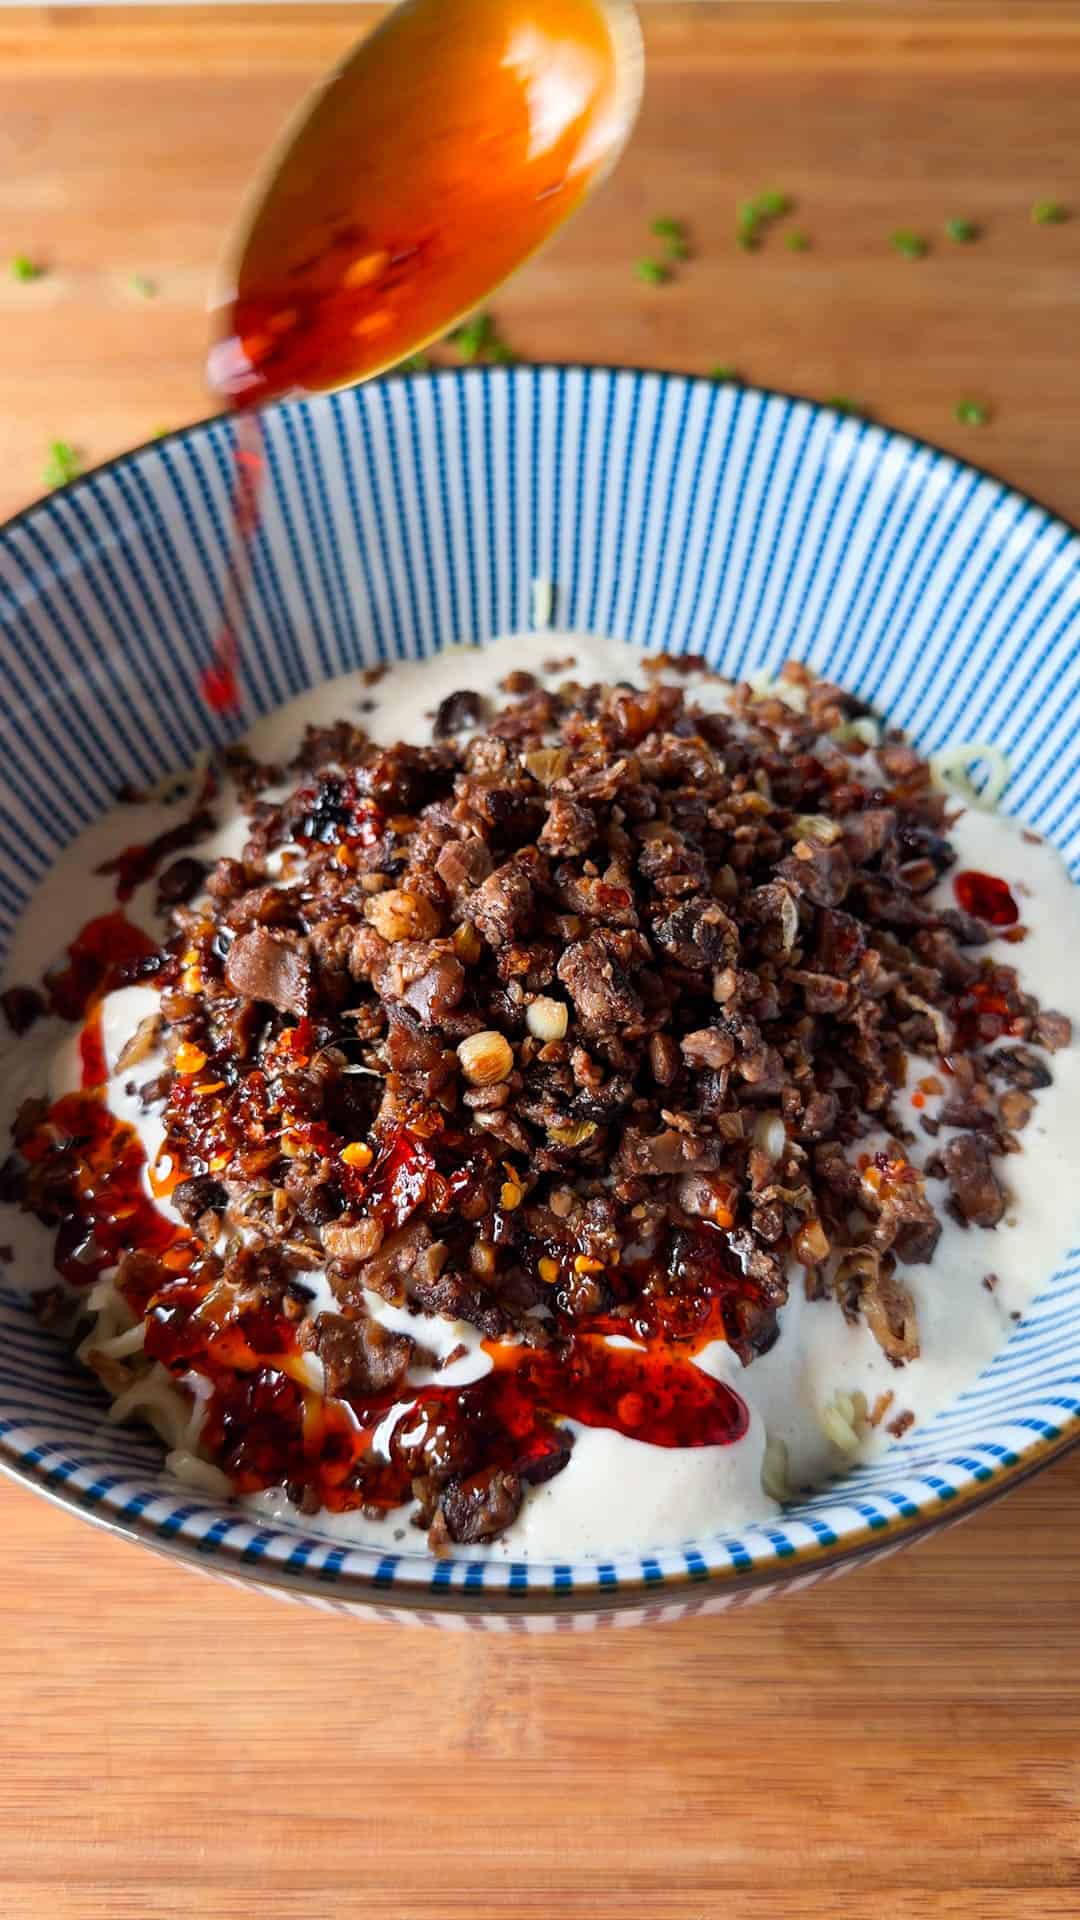
If you think tofu is boring, these creamy chilli tofu noodles are about to change your mind. Silky tofu sauce with a crispy, umami-packed tofu crumble on top makes this one of the most satisfying noodle bowls I’ve ever made at home.
We eat these creamy chilli tofu noodles so often at home that I’ve lost count. They’re warm, comforting, and have this incredible depth of flavour from the shiitake mushrooms and homemade chilli oil. And because we make both the sauce and the crumble from tofu, every serving is protein-rich, something that’s not very common with noodle dishes.
The whole thing takes about 30 minutes and uses ingredients that are easy to find. This is easily one of our favorite weeknight noodle bowls, and it’s usually on rotation with peanut butter ramen and chilli chicken noodles.
Ingredients for Creamy Chilli Tofu Noodles
Tofu: Use firm tofu for best results. It holds up well both when blended into a sauce and when crumbled and fried.
Shiitake Mushrooms: Dried, soaked in hot water for 10 minutes, and finely chopped.
Walnuts: Roughly chopped, for crunch and richness in the crumble.
Crumble Marinade: Oyster sauce, dark soy sauce, vinegar, garam masala, grated garlic, and grated ginger.
Tofu Sauce: Peanut butter, garlic, salt, and water blended with tofu.
Noodles: Any thick noodle works well here. Cook as per package instructions.
Chilli Oil: For drizzling on top before serving.
Spring Onions: Whites and greens, separated.
Oil: Any neutral cooking oil.
Frequently Asked Questions
Can I make this without oyster sauce?
Yes. Use a tablespoon of soy sauce mixed with half a teaspoon of sugar as a substitute. The flavour won’t be identical but it’ll still taste great. If you’re making this fully vegan, look for a vegetarian oyster sauce which is usually mushroom-based.
Can I use a different mushroom instead of shiitake?
You can use dried or fresh cremini, button, or oyster mushrooms. But shiitake brings a deeper umami flavour that other mushrooms don’t quite match. If using fresh mushrooms instead of dried, just chop them fine and fry a little longer to get the moisture out.
What kind of noodles work best for this recipe?
Any thick noodle works well. Udon, egg noodles, or even ramen noodles are all good options. Avoid very thin noodles like vermicelli as they get lost under the sauce and crumble.
How spicy are these chilli noodles?
The spice comes mainly from the chilli oil drizzled on top, so you have full control. Start with a teaspoon and add more if you want it hotter. Without the chilli oil, the noodles are savoury and creamy but not spicy at all.
Can I add more vegetables to the noodles?
Yes. Broccoli, bok choy, edamame, and baby corn all work well. Stir fry them quickly and add them on top with the crumble so they stay crunchy.
Richa’s Top Tips
Use firm tofu, not silken. Silken tofu is too soft and watery for both the sauce and the crumble. Firm tofu blends into a smooth sauce while still having enough structure to crumble and fry without falling apart.
Keep frying the crumble even when it looks mushy. It will turn mushy at first and that’s completely normal. Keep going on low heat for 4-5 minutes and it’ll turn golden and crispy. That’s where all the texture comes from.
Don’t overcook the noodles. They need to hold up against the sauce and crumble, so slightly undercooked is better than overdone. Drain them as soon as they’re ready.
Assemble right before eating. The sauce, crumble, and noodles are best combined at the last minute. If they sit too long, the noodles absorb the sauce and lose that saucy, coated texture you want.
Storage Tips
In the fridge: Store the sauce, crumble, and noodles separately in airtight containers for up to 2 days. Keeping them apart prevents the noodles from absorbing all the sauce and the crumble from going soft.
Freezing: Not recommended. The tofu sauce changes texture once frozen, and the noodles become mushy after thawing.
Reheating tip: Warm the noodles with a splash of water, heat the crumble on a hot pan to crisp it back up, and serve with fresh sauce. The sauce is best at room temperature or gently warmed, not hot.
Serving Ideas
These creamy chilli tofu noodles are a full meal in a bowl, but if you want to add something on the side:
With Vegetarian Gyoza Potstickers: Crispy gyoza alongside a creamy bowl of noodles is always a winning combination.
With Veg Spring Rolls: Light, crispy spring rolls are a great contrast to the rich, creamy sauce.
With Asian Slaw: Something fresh and crunchy on the side balances the richness of the tofu sauce nicely.
With a fried egg on top: If you’re not keeping it vegan, a runny fried egg over the noodles adds another layer of richness and protein.
Customisation Ideas
Add more veggies: Broccoli, bok choy, edamame, or baby corn all work really well with the recipe. You can stir-fry them quickly and add them on top with the crumble so they’re crunchy and fresh.
Make it non-veg: You can toss in shredded chicken or prawns for a very different flavour profile; the tofu sauce goes just as well with both options.
Swap the peanut butter: If you want a milder yet creamier taste, you can use cashew butter or almond butter for a slightly nuttier flavour.
Make it spicier: For a deeper, more layered spice, you can add in a teaspoon of gochujang or sriracha to the tofu sauce before blending.
Did You Know?
Tofu was invented over 2,000 years ago in China, and the most widely accepted story credits it to a happy accident. Legend says a Chinese cook accidentally curdled soy milk by adding nigari, a mineral-rich salt derived from seawater. The curds that formed were pressed together, and tofu was born. The process hasn’t changed much since. Every block of tofu you buy today is still essentially soy milk that’s been curdled and pressed.
If you’ve been looking for a plant-based meal that actually feels satisfying and comforting, this tofu noodles recipe is the one to try. The sauce is creamy, the crumble is crispy, and the chilli oil ties it all together. We make it all the time, and it hasn’t gotten old yet.
Tag me on Instagram @my_foodstory when you make it; I always love seeing these recipes in your kitchens.
Creamy, spicy, nutty, and full of umami, these Creamy Chilli Tofu Noodles are a must-try for Indo-Chinese lovers. It's loaded with flavor, easy to make, and endlessly customisable.
2shiitake mushrooms hydrated and finely choppedrefer note 1
5walnutsroughly chopped
1tablespoonoyster sauce
2teaspoonsdark soy sauce
1teaspoonvinegar
¼teaspoongaram masala powder
1teaspoongrated garlic
1teaspoongrated ginger
For sauce
100grams tofuapprox. 1 cup
2tablespoonspeanut butter
2garlic cloveswhole
1pinchsalt
¼cupwater
Other
225gramscooked noodlesapprox. 2 ½ cups
1tablespooncooking oil
2tablespoonsfinely chopped spring onion whites
¼cupfinely chopped spring onion greensdivided
1tablespoonchilli oil
Instructions
Marinating tofu
Take tofu in a bowl, add chopped shiitake mushrooms, walnuts and rest of the ingredients for the marination, give a good mix and marinate for 10 minutes.
Heat a wide pan with 1 tablespoon cooking oil, add spring onion whites and fry for a few seconds on high until fragrant, add the marinated tofu and fry on medium heat. Initially they will turn mushy but keep frying on low for 4-5 minutes till they turn golden and crispy. Add 2 tablespoons of spring onion greens and take off the heat.
1 tablespoon cooking oil, 2 tablespoons finely chopped spring onion whites, ¼ cup finely chopped spring onion greens
To serve
Take cooked noodles in a bowl, sprinkle a few drops of water and microwave for 30 seconds. add tofu sauce, top with tofu crumble, 2 tablespoons of spring onion greens, drizzle chilli oil and serve immediately.
1 tablespoon chilli oil
Video
Notes
To hydrate shiitake mushrooms, soak in hot water for 10 minutes.

 Login
Login





 if you have ideas for a better title do let me know!