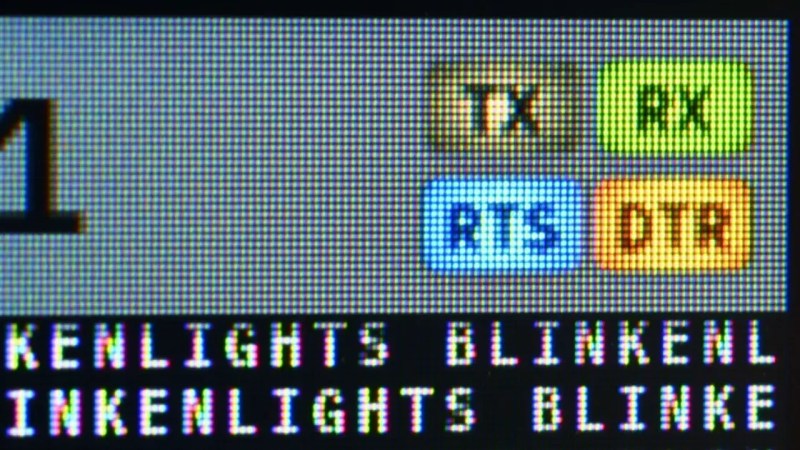
The TermDriver 2 is a USB-to-serial interface with a twist—it has a built-in screen for displaying relevant information. It can run at anywhere from 100 bit/s to 2Mbit/s, while showing you what’s happening on the wire. [James Bowman] worked on the TermDriver 2, and paid special attention to one feature—the visual look of the status indicators on the display.
[James] had hoped to make the status indicators look a little more old-school, a little more analog. His inspiration was the classic indicator panels from Apollo-era space hardware, which used bulbs behind plastic indicators. Incandescent bulbs don’t switch instantly on and off; they take time to warm and cool. This behaviour is both more pleasant, visually speaking, and would aid in making short-duration events on the TX, RX and other indicators more visible. Thus, [James] set about giving the LCD UI elements sixteen steps of brightness from off to fully on. The simulated bulbs get brighter the more rapidly activity is happening on a given pin. The indicator graphics, while tiny, are also given a nice superellipse shape, to recreate the warm centered glow of an incandescent indicator.
If you’re a UI fanatic who loves to make things as visually pleasing as possible, the work [James] has done is well worth looking at. We’ve featured other great GUI projects before, too, like this particularly visually pleasing effort. If you’ve had grand ideas in this space, be sure to tell us over on the tipsline.
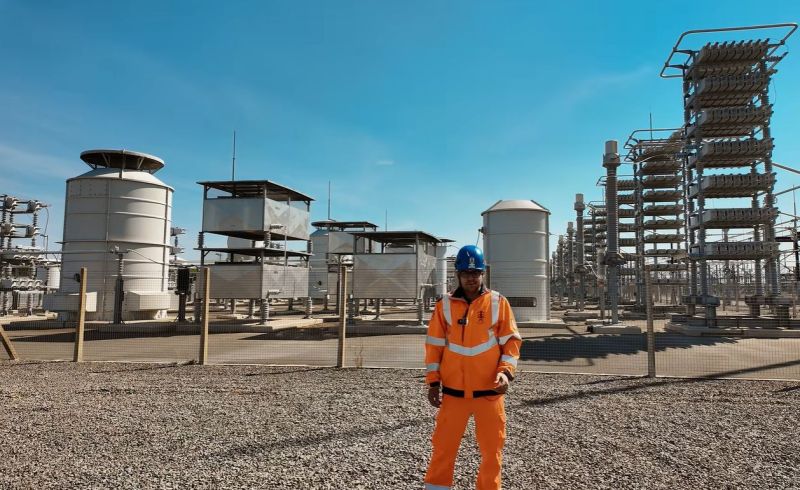
A fun way to think about a national electrical grid is as a massively upscaled electrical circuit, one in which you have multiple power supplies injecting AC power, with various bits and bobs involving resistors, inductors and capacitors in between working to synchronize and clean-up this power before it gets to the end users. Recently [Jordan Taylor], also known as [The Electric Brit] took a look at the grid’s harmonic filters that do a lot of this sinewave scrubbing after the HVDC to AC conversion.
Using a UK-based line-commutated converter (LCC) HVDC converter station as a physical example [Jordan] takes us through the elements of this harmonic filter, what it is, what it does and why it’s a necessity. The design considerations with components at this immense scale are also covered, along with the types of filters possible.
The Cliff’s Notes version is that following the conversion step from said HVDC there are harmonics introduced in the AC, not unlike in a much lower-voltage converter. This results in a noisy sinewave that can potentially cause harm to AC-powered devices, not to mention cause heating and other losses along the way. The answer is naturally to add an LC-filter, just on a slightly larger scale than for consumer electronics.
Also noted by [Jordan] is the nice synergy of these harmonic filters when it comes to absorbing and generating reactive power on the AC grid, due to their massive capacitors and inductors. This helps to dampen oscillations on the grid and thus further contributing to its stability.
These days open source is everywhere, and frankly, we couldn’t be happier about it. But even with as prevalent as open software and hardware has become, we still occasionally hear about a project that takes the concept somewhere unexpected. Which is precisely why we were so eager to hear more about the fascinating work [Phil Underwood] has been doing.
In his talk Open Source Caving: 20 Years of Making Cave Mapping Tools at Hackaday Europe 2026, [Phil] takes us through a series of progressively more advanced open hardware devices that he’s designed to increase the speed and accuracy of underground mapping efforts. Along the way, he’s learned a number of valuable lessons about designing hardware that’s robust enough to handle the uniquely challenging environment underground while still being accessible enough for a hobbyist to build and use.
Improving on the Old School
It’s not much of a stretch to assume that most Hackaday readers haven’t spent a lot of time crawling through underground passages, and as such, may not be immediately aware of how one begins to map a cave in the first place. Helpfully [Phil] starts off his talk by explaining the traditional process — which generally involves a compass, an inclinometer, a tape measure, and plenty of intricate notes.
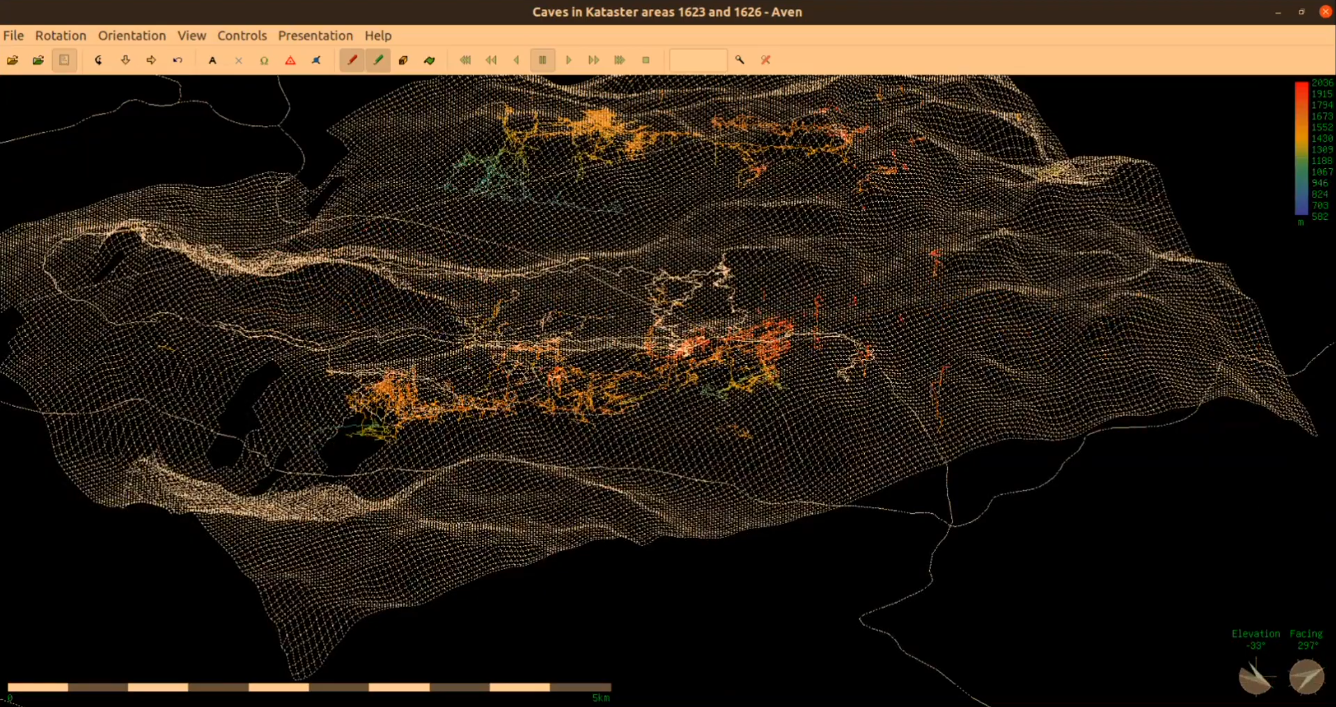
Once you’ve collected all that data and successfully returned to the surface with it, you can plug it into software and create a three dimensional map of the cave. Sprinkle in some surface topography, and you’ve got a pretty slick overview of whats above and below ground.
Like so many other cavers, [Phil] wanted a way to make that first half of the process a bit less tedious. He imagined an electronic device that could take at least some of the necessary measurements for him, but was limited by the technology and at-home production capabilities available to hobbyists in the early 2000s. There was also the cave environment to contend with: any piece of equipment used in a cave not only needs to be able to handle the dusty and cramped conditions, but must be reasonable shock resistant. If that wasn’t tricky enough, there’s also a non-zero chance that it will need to spend some amount of time underwater.
Incremental Improvements
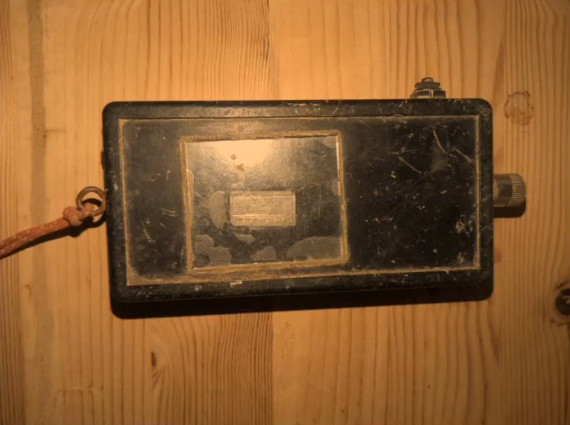
The first-generation of [Phil]’s surveying device. Undaunted, [Phil] put his first electronic caving aid together in 2008. Inside the off-the-shelf Radio Shack enclosure was an 8-bit PIC18LF2550, a dot-matrix display, an accelerometer, and a magnetometer. The data from the two sensors could be used to determine the heading and angle that the device was being held at, and while it still required the operator to manually take a distance measurement along that vector, having two-thirds of the information already computed saved considerable time and effort during surveys.
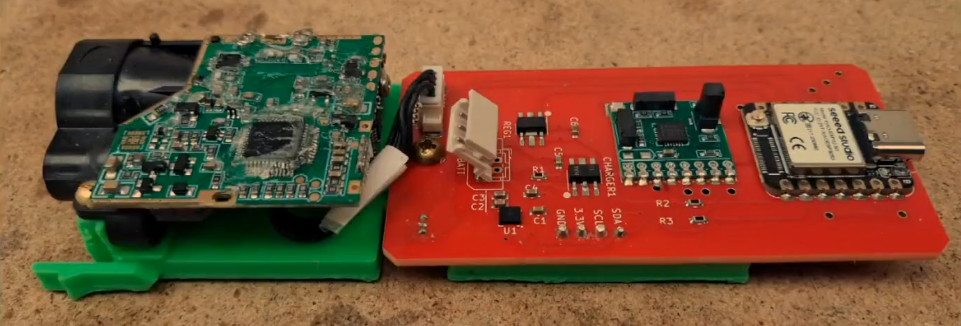
The first-generation of [Phil]’s surveying device.The next big technological leap came in 2020 — not just in terms of the device itself, but in the tools [Phil] had access to. This new device utilized a 32-bit microcontroller, a 3D printed frame, and included a laser rangefinder.
Thanks to the the increased computational capabilities offered by the modern MCU, more of the necessary calculations could be done on the device itself, which further sped up the surveying process. But [Phil] notes that the data from the laser module wasn’t always reliable, and keeping the more complex device protected from the elements introduced new challenges.
Now evolving at a faster clip, by 2023 [Phil] had improved on the design with a better integrated 3D printed case, custom silicone buttons, and a more polished user interface. At this point, he also switched over to writing the device’s firmware in CircuitPython. The lower bar of entry compared to C seemed to better resonate with those in the community, and consequently [Phil] started seeing more code contributions from outsiders.
New Dimension, New Challenges
By this point [Phil] had a pretty solid handheld device to assist in performing cave surveys, but the end result was ultimately the same as if the measurements had been taken manually. Each successive generation of the hardware made the process of gathering spatial data faster and less cumbersome, but didn’t meaningfully improve the final product.
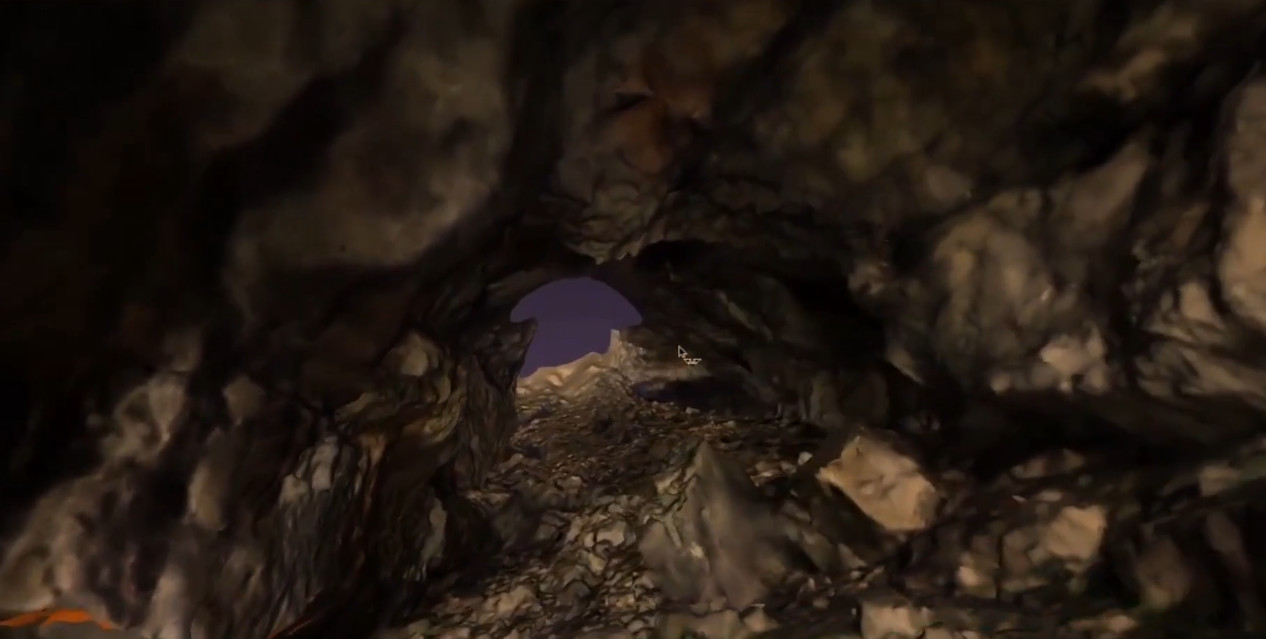
Creating higher fidelity maps would require more data and the computational power to churn through it, which is why the latest generation of [Phil]’s hardware utilizes a Raspberry Pi 5 Compute Module and a pair of low-light cameras to perform photogrammetry. When combined with the heading and angle data, this produces a textured 3D model of the inside of the cave with minimal manual effort on the part of the user.
While this latest generation of hardware is undeniably more capable than what came before it, there’s an argument to be made that it also takes a step backwards in some respects. The cameras represent a physical weak point, and [Phil] says he’s still working on an approach to more adequately handle the increased power requirements of the Pi 5 Compute Module compared to the microcontrollers used in his earlier devices. But just as with the rest of the problems faced over the last two decades, these issues will likely be resolved in time as well.
In the end, this incremental approach to hardware development may be the most valuable lesson to take away from [Phil Underwood]’s talk. It’s a safe bet that the vast majority of those who view this presentation will never find themselves exploring an underground cave system, much less mapping one. But that doesn’t mean they can’t learn from his practical and methodical approach to building the right tool for the job.

 Login
Login