For years, Samsung’s Galaxy A phones have been some of the easiest recommendations for anyone who wants to go the Android route without paying flagship prices. But that part of the lineup could soon become harder to find at a good price. According to South Korea’s Electronic Times, Samsung is cutting Galaxy A production by […]
Samsung’s Exynos 2700 beat Qualcomm’s top Snapdragon chip in internal tests, with up to 20% better CPU and gaming scores. Here’s what it means for the Galaxy S27.
For this curry, I used the mangoes readily available at Tesco for this simple mango curry. They are usually sweet and juicy, so there is no need to add any sugar or jaggery. A teaspoon Read More ...
Red Cat Holdings’ maritime division, Blue Ops, has opened orders for two new uncrewed surface vessels, an 18-foot boat built for reconnaissance and one-way attack missions and a 39-foot vessel already in low-rate production, as part of a new B-Series lineup named after each boat’s length. The company announced the family on Oct. 22, 2026. […]
AMD has released FSR 4.1 for Radeon RX 6000 cards months ahead of schedule, while Ryzen laptops and handhelds join the list and Xbox Series X|S support is coming soon.
These Gujarati-inspired theplas are made with a combination of wheat flour, chickpea flour and bajra flour (pearl millet flour). I added grated paneer, frozen methi (fenugreek leaves), fresh ginger, spices and sesame seeds for extra Read More ...
Tempered Rice also known as Thalicha Sadam in Tamil, is a simple and flavorful rice dish made by tossing cooked rice with tempered spices, onions, and basic pantry staples. This is a great way to turn leftover rice into a quick and satisfying meal. With its mild spice and flavorful tempering, this rice makes a simple yet tasty meal. It's a quick, everyday dish that works well for busy mornings or lazy evenings.
This is one of those recipes you can make when you're short on time but still want something warm and satisfying. It's ready in minutes and doesn't need any fancy ingredients - just your regular pantry staples. The crunch from onions and the flavor of spices make it hard to resist. This is also a kid-friendly recipe. You can make it milder by reducing the spice or leave out the green chili if needed.
[feast_advanced_jump_to]
About Tempered Rice
Tempered Rice is South Indian style stir-fried rice that gets its flavor from tempered spices like mustard seeds, cumin, and curry leaves. It's usually made using leftover rice, making it a smart way to reduce food waste while still enjoying a fresh, hot meal.
This recipe is also very customizable - you can add cooked vegetables or even leftover poriyal to make it more wholesome. Adjust spice levels according to your taste preference. It's an easy recipe you'll find yourself coming back to again and again.
Tempered Rice is perfect for beginners or anyone wanting a simple meal. It has no grinding or complicated steps - just a quick stir-fry, and it's ready to enjoy. Whether cooking for yourself or your family, this easy recipe is a must one to have on hand. It's simple, quick, and full of flavor - just what you need for a fuss-free meal.
This is one of my go-to recipes when I'm not in the mood to cook anything elaborate. I just toss in what I have, and it turns out comforting every single time. It reminds me of those easy after-school meals Amma used to make.
Tempered Rice Ingredients
Cooked rice - Use leftover rice for best results. Make sure it's cooled completely, so the rice stays separate or it turns mushy when tossed.
Oil - Used for tempering. You can use groundnut oil or gingerly oil or any oil of your choice.
Mustard seeds, Urad dal - Add a aroma when they crackle in hot oil and give a light crunch while eating.
Cumin seeds, Hing - Adds a warm flavor to the dish. Hing gives a subtle aroma and aids digestion.
Green chili, Curry leaves - Slit green chili gives gentle heat, while curry leaves bring a classic South Indian aroma and freshness.
Turmeric powder - This is one of the main ingredient that adds bright yellow color and flavor to this rice dish.
Onion - Use finely chopped onion. Adds a mild sweetness and crunch.
Red chili powder, Sambar powder - Red chili powder for spice and sambar powder for taste. You can adjust spice levels as per your preference.
Why This Recipe Works
This is an easy and quick to make recipe under 20 minutes.
It's a great way to use up leftover rice.
This recipe is made with simple, easy pantry ingredients.
It's easy customizable with vegetables and other spices.
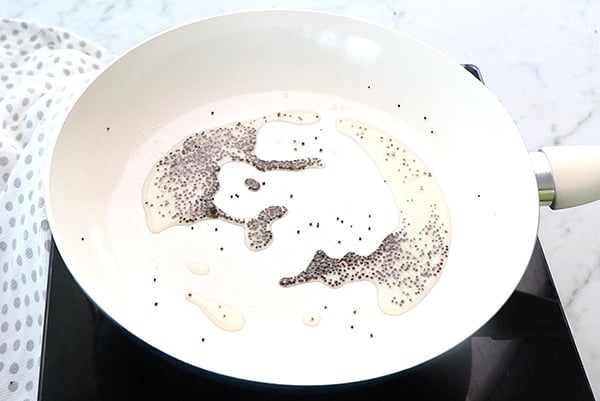
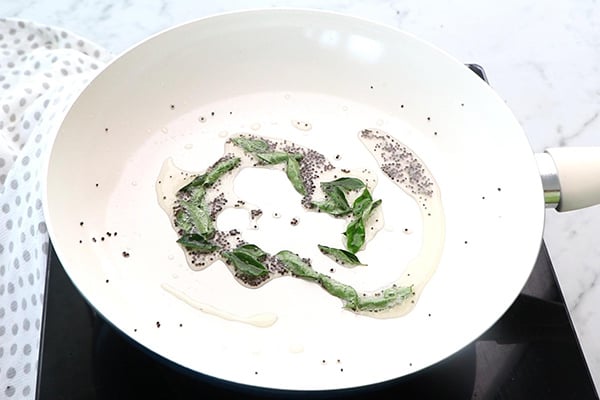
1.Keep your left over rice ready. In a pan heat oil - add the items listed under 'to temper' let it splutter. Then add turmeric powder, hing and red chili powder and mix well.
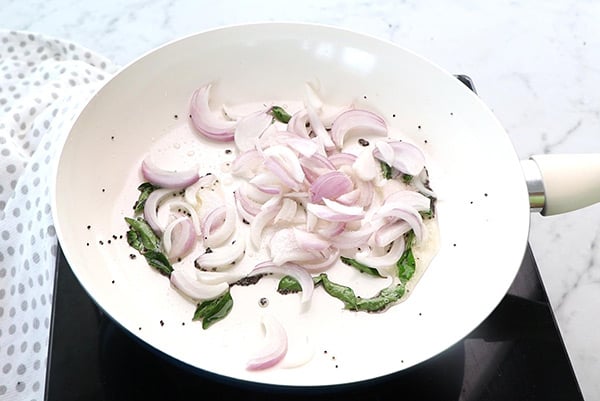
2.Then add chopped onion and sauté for 2 minutes. Add sambar powder (I forgot to add in the previous step so added it at this stage). Add required salt.
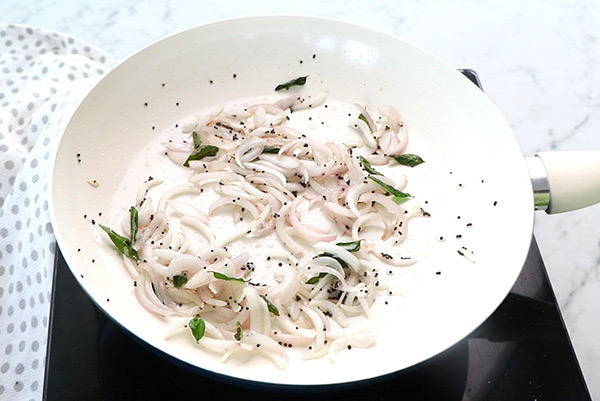
3.Saute for a minute until onions turn slightly soft. Then add cooked rice and give a quick toss.
Serve hot with papad.
Expert Tips
Soft onions - Just sauté them until they turn soft. Don't brown them as this keeps the flavor light and mild.
Spice level - You can adjust the masala to suit your taste preference. You can add some more chilies if you like it spicy or reduce for a milder version.
Tempering - Let the mustard seeds splutter fully before adding other ingredients. It brings out the full flavor and also adds a nice aroma.
Vegetable - You can add in cooked vegetables like peas, carrot, or beans to make it as simple veggie rice.
Add nuts - You can try adding nuts for extra crunch. You can add peanuts, cashews or any of your choice.
Flavor boost - Add crushed garlic while sautéing or mixed herbs. It makes the dish even more flavorful.
Serving and Storage
Serve hot or warm. You can pair it with any curry, kootu, or even just plain curd and papad. It's a light and satisfying dish that works well as a lunch or dinner option.
If you have leftovers, store them in an airtight container in the fridge. It stays fresh for about a day. Reheat before serving.
FAQS
1.Can I skip onions?
Yes, you can. Or you can use spring onions or a little garlic for a different flavour.
2.What can I serve it with?
Tastes great with curd, pickle, papad or any simple South Indian curry or kootu.
3.What type of rice works best?
Any regular white rice like ponni, sona masoori, or even basmati if you prefer.
4.Is this recipe vegan?
Yes, it's completely plant-based.
5.Can I use ghee instead of oil?
Yes, ghee adds a nice flavour. Kids usually love it with ghee.
If you have any more questions about this Tempered Rice Recipe do mail me at sharmispassions@gmail.com. In addition, follow me on Instagram, Facebook, Pinterest ,Youtube and Twitter .
Tried this Tempered Rice Recipe? Do let me know how you liked it. Also tag us on Instagram @sharmispassions and hash tag it on #sharmispassions.
Tempered Rice also known as Thalicha Sadam in Tamil, is a simple and flavorful rice dish made by tossing cooked rice with tempered spices, onions, and basic pantry staples. This is a great way to turn leftover rice into a quick and satisfying meal. With its mild spice and flavorful tempering, this rice makes a simple yet tasty meal. It's a quick, everyday dish that works well for busy mornings or lazy evenings.
Keep your left over rice ready. In a pan heat oil - add the items listed under 'to temper' let it splutter.
Then add turmeric powder, hing and red chili powder and mix well.
Then add chopped onion and sauté for 2 minutes. Add sambar powder. Add required salt.
Saute for a minute until onions turn slightly soft.
Then add cooked rice and give a quick toss.
Serve Tempered Rice hot with papad.
Notes
Soft onions - Just sauté them until they turn soft. Don't brown them as this keeps the flavor light and mild.
Spice level - You can adjust the masala to suit your taste preference. You can add some more chilies if you like it spicy or reduce for a milder version.
Tempering - Let the mustard seeds splutter fully before adding other ingredients. It brings out the full flavor and also adds a nice aroma.
Vegetable - You can add in cooked vegetables like peas, carrot, or beans to make it as simple veggie rice.
Add nuts - You can try adding nuts for extra crunch. You can add peanuts, cashews or any of your choice.
Flavor boost - Add crushed garlic while sautéing or mixed herbs. It makes the dish even more flavorful.
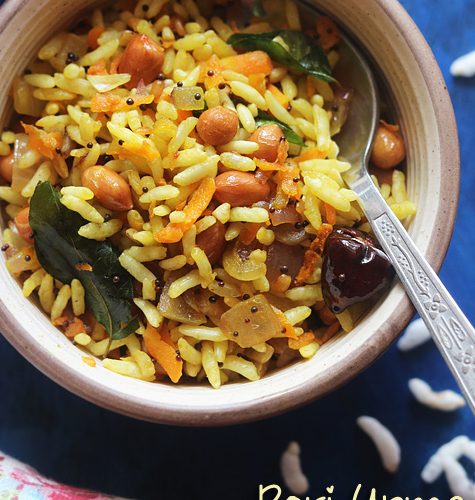
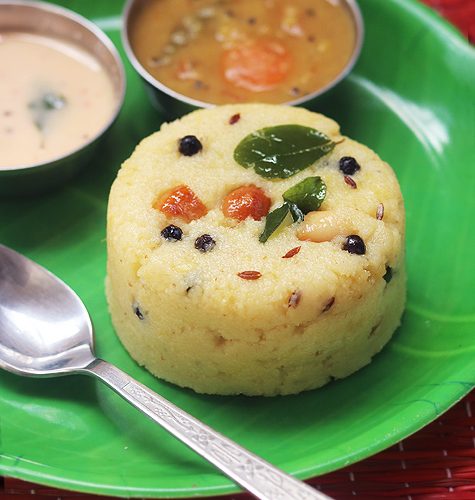
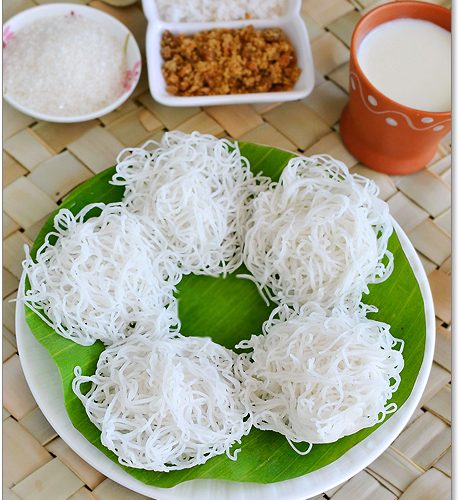
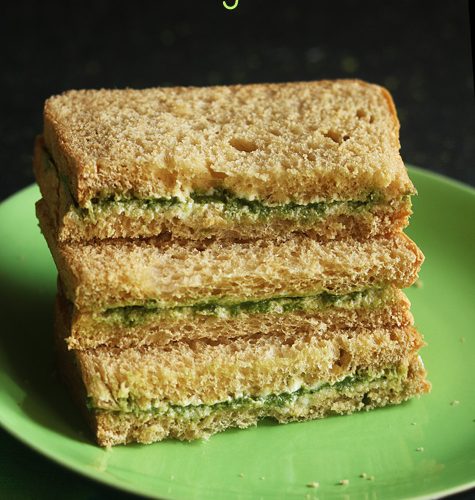
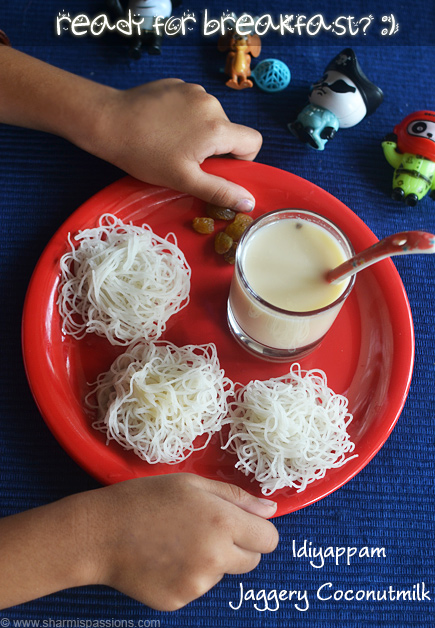
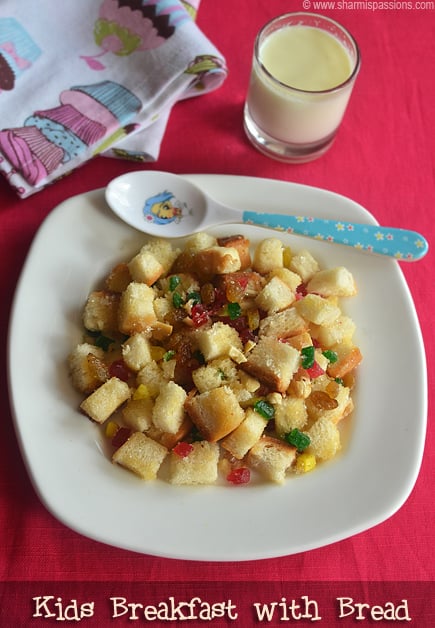
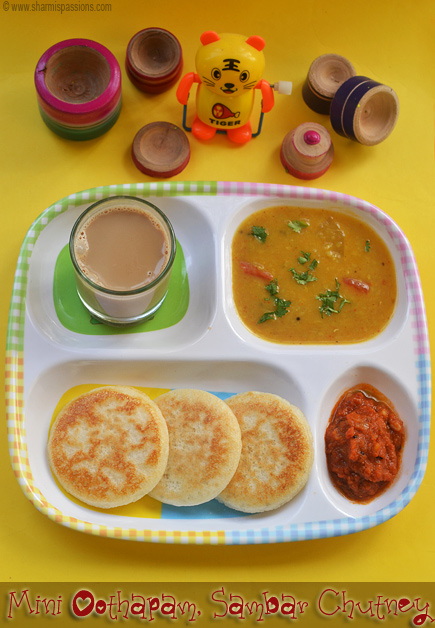
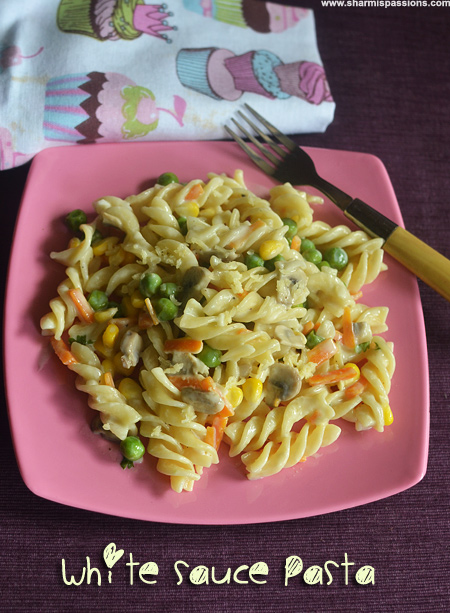
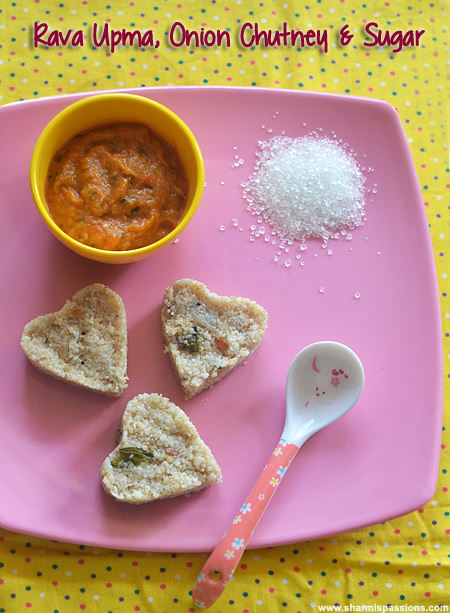
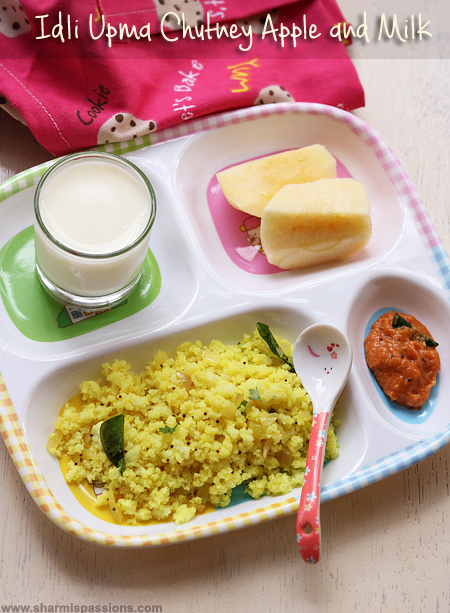
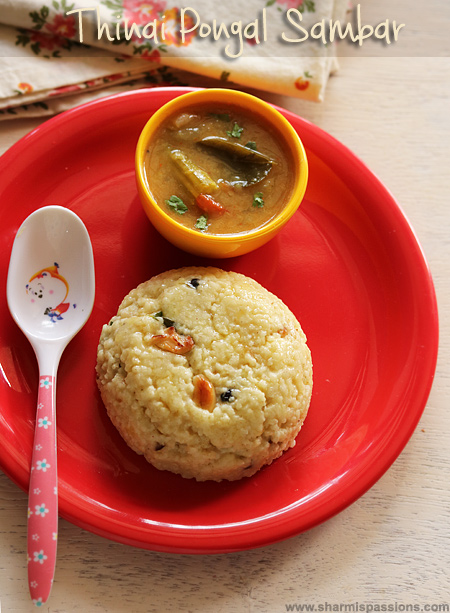
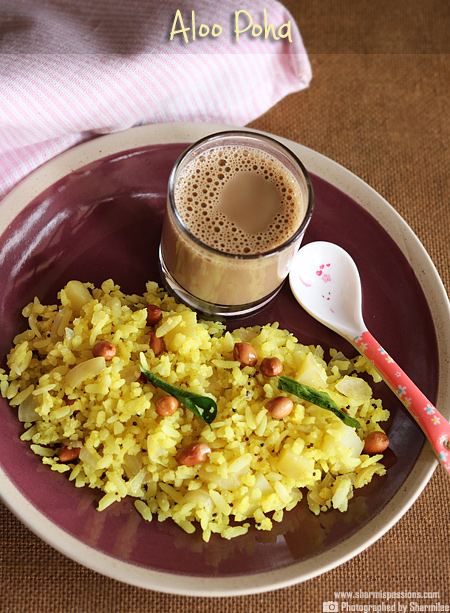
Breakfast Recipes should be nutritious, balanced and complete. A balanced breakfast includes a mix of carbohydrates preferably whole grains, protein, healthy fats, and fruits/vegetables. Here is a collection of healthy, complete and balanced breakfast recipes.
Breakfast is the most important meal of the day so skipping / eating less makes us tired easily. So presenting here 25 easy, quick and healthy kids breakfast ideas. Here I have shared mostly Indian breakfast ideas along with few other ideas too.
[feast_advanced_jump_to]
About Breakfast Recipes
The word "breakfast" literally means "to break overnight fast" from the night before. Breakfast is one of the most important meal of the day which is usually had in the morning.
A nutritious breakfast is incredibly important for kids to start their day with energy. Here are some ideas for a balanced and tasty kids breakfast. But remember to keep portions appropriate for your child's age and preference. Additionally, aim for a balance of carbohydrates, protein, and healthy fats to ensure sustained energy throughout the morning. Always consider any allergies or dietary restrictions your child might have when preparing their breakfast.
You can make easy and quick to make breakfast recipes like idli, pongal, dosa, upma and make elaborate recipes like sandwich, kichadi, paratha, rava dosa, oothapam etc during weekends.
I have shared both traditional and fancy breakfast that will be liked by all. I am sure this will help you plan a breakfast menu for your family that is nutritious and balanced.
These breakfast recipes will be perfect for all weekday mornings and lazy weekend breakfasts too. Push all the fancy and little time consuming menus to weekend. I always prefer to make idli, dosa, pongal, health mix etc for weekdays and reserve pancakes, muffins, sandwiches etc for weekends as we can enjoy breakfast at leisure.
Breakfast Recipes
You must use the category name, not a URL, in the category field.
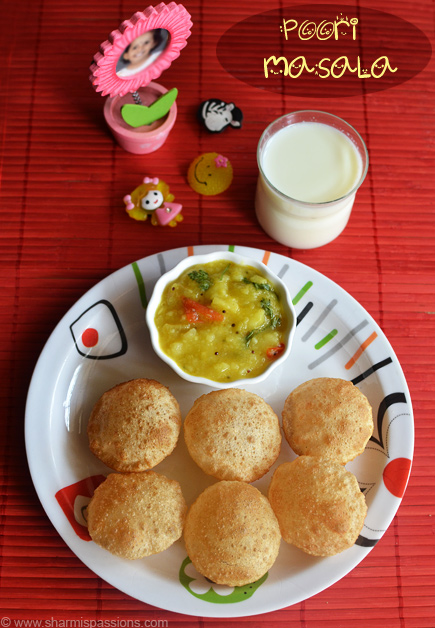
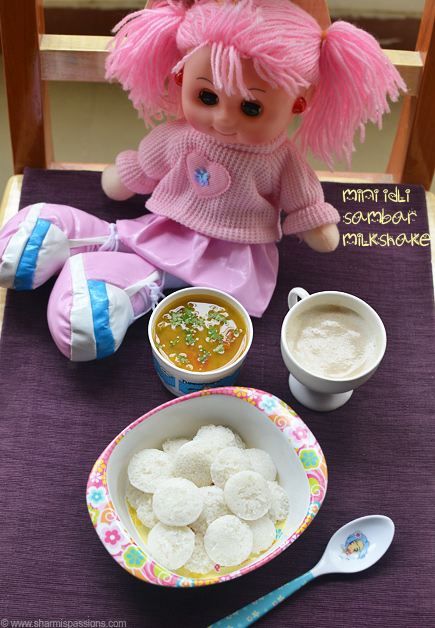
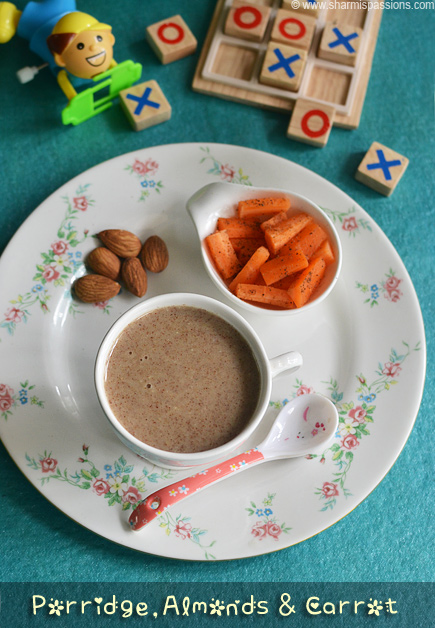
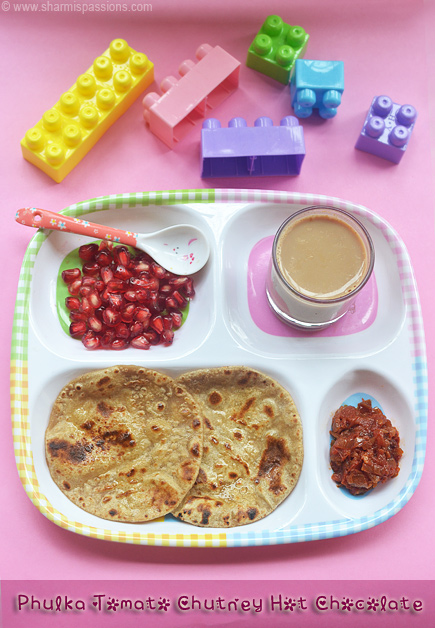
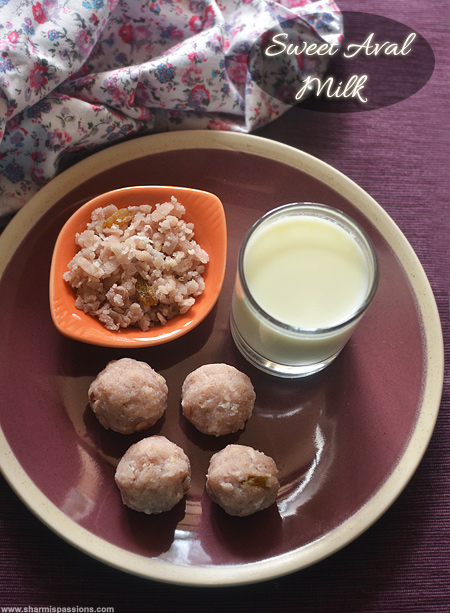
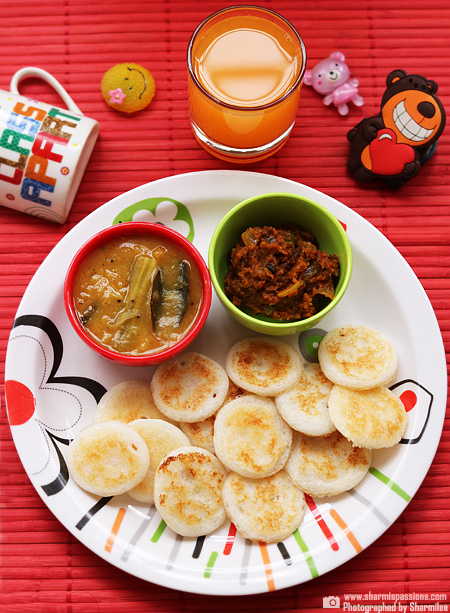
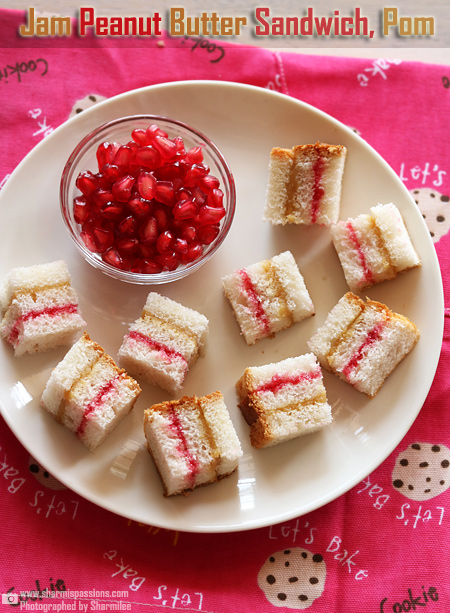
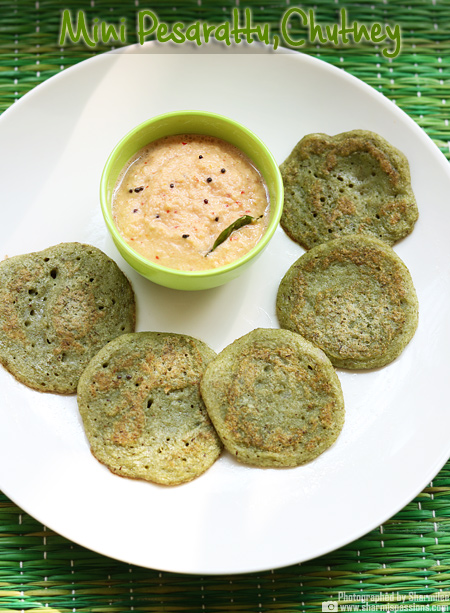
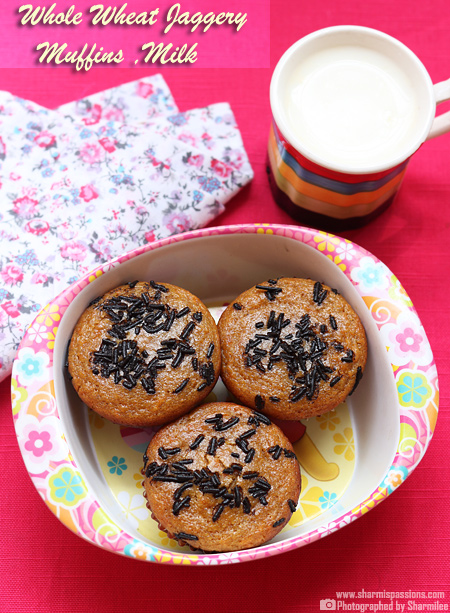
I have heard mothers complaining that kids usually skip breakfast or eat very little in their hurry to catch the bus to school. I face the same challenge of feeding mittu daily, but from this year I've started to give her breakfast first, then when she is about to leave I feed her with milk / juice. When I give milk first, it fills her tummy and she doesn't eat breakfast properly so from this year I changed her routine as suggested by her doctor. Also in the last minute its easy for her to drink so even if she leaves half the milk I don't mind as I know her breakfast will keep her tummy full till snack / lunch time.
The breakfast menu idea that I post here is my own idea and will be based on what I feed for my daughter or sometimes ideas inspired from friends and relatives too.
25 KIDS BREAKFAST IDEAS
Shared 25 kids breakfast idea here you can get the full recipes in the list above.
If you have any more questions about this Breakfast Recipes do mail me at sharmispassions@gmail.com. In addition, follow me on Instagram, Facebook, Pinterest, Youtube and Twitter .
Tried this Breakfast Recipes? Do let me know how you liked it. Also tag us on Instagram @sharmispassions and hash tag it on #sharmispassions.
Breakfast Recipes should be nutritious, balanced and complete. A balanced breakfast includes a mix of carbohydrates preferably whole grains, protein, healthy fats, and fruits/vegetables. Here is a collection of healthy, complete and balanced breakfast recipes.
Potato Chips are savoury crispy snack made by deep frying sliced potatoes and seasoning with salt and spices. This is much healthier compared to store bought packed snacks you get from the market. Also making potato chips at home is simple and you get fresh, crispy chips without any preservative or chemicals.
This recipe can be made in under an hour and most of that time is frying and cooling. You can make different flavoured chips by adding pepper, chilli powder or just keeping them plain with salt. Homemade chips stays crispy and tastes so much better than the packaged ones.
[feast_advanced_jump_to]
About Potato Chips
Potato Chips is a classic snack that has been made in homes for long time, its simple and quite easy to make. The key is using right potato and getting them crispy by frying at the correct temperature.
The texture is crispy and crunchy, and that is what make good potato chip. The edges get a little brown while rest stay golden, this the right stage for perfect chips. These chips become crispy once cooled completely and break easily when you bite.
You can season them in different ways depending on what you like, some prefer just salt, some like pepper flavour and some want spicy chips with chilli powder. The base chips stay the same, only flavouring can be changed based on preference.
I usually make this on weekends for tea time, they taste so fresh and crispy. Homemade chips are always better than anything you buy from outside.
Potato Chips comes out so crispy just like in shops. I am sure Potato Chips is loved by all, I love the plain white coloured salted version of potato chips. Mittu loves the spicy version.
Potatoes - I use light coloured cream shade potatoes, not the brown ones. Choosing correct potato is most important step for getting good chips.
Oil - I use oil for deep frying and it is important that oil is at the right temperature. Not smoking hot but hot enough to fry chips golden and crispy.
Salt - I use salt for seasoning and it bring out the flavour of potato. Use to taste because different people prefer different saltiness.
Pepper Powder - I add crushed pepper for flavour if you like pepper chips.
Red Chilli Powder - I use chilli powder if you want spicy chips. Add to taste and toss well so that it coats all the chips evenly.
How to make Potato Chips Step by Step
1.Choose a light coloured cream shade potatoes not the brown ones. This is the most important step to get perfect white coloured chips, yes choosing the correct potato matters too. Rinse it well with water.
2.Peel off the skin. Keep a bowl full of water and keep the slicer over it and slice.
3.Soaking in water avoids potatoes from browning. See how thin the slices are. Now drain water.
4.Rinse it well at least 2 to 3 times until the water runs out clean. Add salt to it and soak in water for 10 minutes.
5.Drain water completely then spread in a kitchen towel for it to dry up completely. Heat oil.
6.It should not be smoking hot, once oil is heated lower the flame to low medium. Drop a batch of potato slices. Fry, toss over and cook.
7.Fry until golden and the edges start to brown a little. This is the the right stage.
8.Drain oil, remove the chips and transfer to tissue paper to remove excess oil. Repeat for other batches too. Add salt and serve the salted version. If you like pepper flavour add crushed pepper and salt, toss it well.
9.Pepper potato chips ready. If you like spicy chips add chilli powder, salt and toss it well.
Cool down then store in airtight container.
Expert Tips
Use Sharp Slicer - I use a sharp slicer to get thin slices because thin slices fry better and become more crispy.
Keep in Water - I keep slicing over a bowl of water and slice potatoes directly into water. Soaking in water avoids potatoes from browning and they stay fresh and white.
Rinse Well - I rinse slices at least 2 to 3 times until water runs out clean. This removes starch and helps chips become more crispy when frying.
Dry Completely - I spread them on a kitchen towel until completely dry to make slices moisture free before frying because any water makes chips soggy.
Oil Temperature - It should not be smoking hot, once oil is heated I lower the flame to low medium. Temperature is important because if too hot chips burn and if too cold they become oily.
Fry Till Golden - I fry until golden and edges start to brown a little. This is the right stage for perfectly crispy chips, if you fry more they become too brown.
Drain Oil - I transfer fried chips to tissue paper immediately to remove excess oil. This makes them light and crispy, not heavy and oily.
Serving and Storage
Serve potato chips warm or at room temperature with your tea or as snack. You can simply season them with just salt or add pepper powder or red chilli powder depending on your preference. Cool down completely then store in airtight container and they stay good for a week if stored properly.
FAQS
1.Why my chips not crispy?
Potatoes not dried properly before frying is the main reason. Make sure you spread them on kitchen towel and dry completely before adding to oil.
2.Can I use any potato?
Use light coloured cream shade potatoes because they give you perfect white chips. Brown potatoes give different colour and texture so light ones work best.
3.How to make them less oily?
I just drain them on tissue paper immediately after frying to remove excess oil. This make them light and crispy without being heavy.
4.Can I store them for longer?
Store in airtight container and they stay crispy for couple of days. After that they start to lose crispness so better to make fresh batch.
5.How do I know oil is right temperature?
Oil should not be smoking hot, but hot enough that potato slice sizzle when you drop it in. Lower flame to low medium once oil is heated properly.
If you have any more questions about this Potato Chips do mail me at sharmispassions@gmail.com. In addition, follow me on Instagram, Facebook, Pinterest ,Youtube and Twitter .
Tried this Potato Chips? Do let me know how you liked it. Also tag us on Instagram @sharmispassions and hash tag it on #sharmispassions.
Potato Chips are savoury crispy snack made by deep frying sliced potatoes and seasoning with salt and spices. This is much healthier compared to store bought packed snacks you get from the market. Also making potato chips at home is simple and you get fresh, crispy chips without any preservative or chemicals.
Course Snack
Cuisine Indian
Keyword 30 mins recipes, aloo fry, aloo fry recipe, Aloo Recipes, diwali snacks, diwali snacks recipes, easy diwali snacks, easy potato fry, how to make potato fry, Potato, potato fry, potato fry recipe, Potato Recipes, savoury recipes, snack recipes
Choose a light colored cream shade potatoes not the brown ones. This is the most important step to get perfect white colored chips, yes choosing the correct potato matters too. Rinse it well with water.
Peel off the skin. Keep a bowl full of water and keep the slicer over it and slice.
Soaking in water avoids potatoes from browning. Now drain water.
Rinse it well at least 2 to 3 times until the water runs out clean. Add salt to it and soak in water for 10 mins.
Drain water completely then spread in a kitchen towel for it to dry up completely. Heat oil.
It should not be smoking hot, once oil is heated lower the flame to low medium. Drop a batch of potato slices. Fry, toss over and cook.
Fry until golden and the edges start to brown a little. This is the the right stage.
Drain oil, remove the chips and transfer to tissue paper to remove excess oil. Repeat for other batches too.
Add salt and serve the salted version.
If you like pepper flavour add crushed pepper and salt, toss it well. Pepper potato chips ready.
If you like spicy chips add chilli powder , salt and toss it well.
Cool down then store Potato Chips in airtight container.
Notes
Use Sharp Slicer - I use a sharp slicer to get thin slices because thin slices fry better and become more crispy.
Keep in Water - I keep slicing over a bowl of water and slice potatoes directly into water. Soaking in water avoids potatoes from browning and they stay fresh and white.
Rinse Well - I rinse slices at least 2 to 3 times until water runs out clean. This removes starch and helps chips become more crispy when frying.
Dry Completely - I spread them on a kitchen towel until completely dry to make slices moisture free before frying because any water makes chips soggy.
Oil Temperature - It should not be smoking hot, once oil is heated I lower the flame to low medium. Temperature is important because if too hot chips burn and if too cold they become oily.
Fry Till Golden - I fry until golden and edges start to brown a little. This is the right stage for perfectly crispy chips, if you fry more they become too brown.
Drain Oil - I transfer fried chips to tissue paper immediately to remove excess oil. This makes them light and crispy, not heavy and oily.
Poha Recipe is a popular breakfast made using flattened rice or poha, onion, spices and herbs. This Kanda Poha is a traditional authentic staple breakfast popular in Maharashtra. This takes just few minutes to put together and is perfect for breakfast.
Poha is a widely popular breakfast throughout India. This is a tasty dish which is wholesome, filling and nutritious too. Kanda Poha is easy to make, filling and comforting for breakfast, needs no side dish also.
[feast_advanced_jump_to]
About Poha Recipe (Kanda Poha)
Poha Recipe is made using flattened rice flakes, onion, spices and herbs. It is one of the easiest breakfast that even beginners or bachelors can try at home. This is Kanda Poha - 'Kanda' in Hindi means onion and 'Poha' is flattened rice flakes.
This Poha Recipe can be had for breakfast or snack or even for dinner. You can serve it as such or pair it up with any chutney of your choice. You can even garnish with some sev on top while serving, makes it taste so good with a crunch.
This Poha Recipe is highly nutritious yet light on the tummy making it ideal for snack or breakfast too. Roasted peanuts adds a nice flavour and crunch to this dish. You can replace it with cashews too. Poha with a cup of hot filter coffee is all that I want to curl up on a lazy weekend morning.
Flattened rice flakes or beaten rice absorbs water or milk easily so suitable for upma, vada, payasam etc. Many recipes can be made using rice flakes and it can be used to grind idli, dosa and appam batter to give it a spongy texture.
Quick recipes like sweet poha with jaggery or aval urundai can be made for evening snacks. Poha Chivda can also be made by deep frying poha and adding spices and nuts.
Poha means flattened rice flakes or also called as beaten rice or parched rice. It is called by different names : aval(tamil), atukulu(telugu), chirea(bengali), pauwa(hindi) etc. Poha is easily digestible and healthy too. Poha is usually crisp, thin or thick when soaked becomes soft and easy to cook.
Kanda Poha Video
Poha Recipe Ingredients
Poha - You can choose either thick poha or thin poha variety as per the availability and preference. Make sure to soak and drain accordingly that is the key for perfect poha recipe.
Onion - Use finely chopped onion, always cut it fresh and use it.
Mustard seeds - is added to oil and crackled.
Cumin seeds - is added once mustard seeds crackles, cumin seeds adds warmth and earthy flavour to the dish.
Curry leaves - is added for tempering, gives more flavour.
Green chilies - is added for spice, you can increase or decrease according to the spice level you want.
Turmeric powder - Turmeric powder is used for flavour and colour.
Peanuts - You can either add peanuts or cashew nuts for the crunch.
Coconut - is added at the final stage or while garnishing.
Coriander leaves - is added which makes the dish look more fresh and gives a good flavour.
Lemon juice - adds a slight tang to this dish.
Salt - is added to balance the flavours and taste.
How to make Kanda Poha Recipe Step by Step
Preparing Poha
1.Soak 1 cup poha in water for 2-3 minutes. I used thick poha (which I had in hand) so I soaked for 3-4 minutes. If its thin poha you can soak it for 2 minutes that is enough else it will become mushy.
2.Drain water rinse it well and set aside.
3.When you press with your fingers it should be soft and not mushy also it should not be stiff. If it is still stiff then soak for 2 more minutes. Make sure not to make poha mushy so take care while soaking.
4.Add salt to taste and ¼ teaspoon turmeric powder.
5.Mix it well toss for even mixing. Set aside.
6.Heat oil in a pan - add 2 tablespoon peanuts, roast until crisp. Transfer to a plate and set aside.
Tempering for Poha
7.In the same pan add 1 teaspoon mustard seeds let it splutter then add ½ teaspoon cumin seeds let it crackle then add few curry leaves and 1 green chilli, give a quick saute.
8.Now add 1 medium onion chopped.
9.Saute until it turns transparent.
Adding Poha
10.Add soaked and drained poha.
11.Give a quick mix.
Cooking Poha
12.Cook covered for 2 minutes. If you feel its too dry you can sprinkle little water then cook covered.
13.Now open give a quick mix. Adjust salt at this stage.
Garnishing
14.Add roasted peanuts, 1 tablespoon coconut, 1 teaspoon lemon juice and 1 tablespoon coriander leaves.
15.Give a quick mix and switch off.
Enjoy poha hot!
Expert Tips
Poha variety - Choose the right variety of poha thick is preferred for this recipe. Soaking and preparing poha is the key for perfect poha recipe. Remove speck if it is present. Rinse well before using but make sure not to make it mushy.
Vegetables - You can use carrot, peas and potato for a more filling and colorful poha recipe.
Soaking time - I usually soak the poha while starting to temper so by the time the tempering items are done poha becomes soft.Take care not to make the poha mushy so be careful in adding water. You can use thick or thin poha but accordingly soaking time will vary.
Peanuts - You can replace peanuts with cashews.
Coconut - Add more grated coconut while serving as garnish if you like the flavour.
Variation - You can add tomatoes for making a masala version of poha.
Serving & Storage
Serve it hot with a lavish sprinkle of sev and coriander leaves.
Poha can be stored for a day in room temperature not exactly a day may be for 10-12 hours depends on your climatic conditions too. After that refrigerate it, and while you serve you can reheat and serve it hot.
FAQS
1.What is poha recipe?
Poha recipe is prepared by first soaking and draining poha then cooking along with tempering spices and onion. Finally garnished with coconut and coriander leaves.
2.What to serve poha with?
Poha can be served along with chutney or garnished with sev and coconut.
3.Why does my poha turn mushy?
If poha is soaked for more time it turns mushy so take care while soaking and draining. Soak poha for 2-3 mins according to the variety you use.
4.Why is my poha hard and chewy?
Poha which is not usually soaked, cooked properly tastes chewy and hard. So make sure to soak poha for the desired amount of time.
If you have any more questions about this Poha Recipe do mail me at sharmispassions@gmail.com. In addition, follow me on Instagram, Facebook, Pinterest ,Youtube and Twitter .
Tried this Poha Recipe? Do let me know how you liked it. Also tag us on Instagram @sharmispassions and hash tag it on #sharmispassions.
Poha Recipe is a popular breakfast made using flattened rice or poha, onion, spices and herbs. This Kanda Poha is a traditional authentic staple breakfast popular in Maharashtra. This takes just few minutes to put together and is perfect for breakfast.
Soak poha in water for 2-3 mins. I used thick poha (which I had in hand) so I soaked for 3 mins. If its thin poha you can soak it for 2 mins that is enough else it will become mushy.
Drain water rinse it well and set aside.
When you press with your fingers it should be soft and not mushy also it should not be stiff. If it is still stiff then soak for 2 more mins. Make sure not to make poha mushy so take care while soaking.
Add salt to taste and turmeric powder.
Mix it well toss for even mixing. Set aside.
Heat oil in a pan - add whole peanuts, roast until crisp. Transfer to a plate and set aside.
In the same pan add mustard seeds let it splutter then add cumin seeds let it crackle then add curry leaves and green chillies, give a quick saute.
Now add chopped onion. Saute until it turns transparent.
Add soaked and drained poha. Give a quick mix.
Cook covered for 2 mins.If you feel its too dry you can sprinkle little water then cook covered.
Now open give a quick mix. Adjust salt at this stage.
Add roasted peanuts, coconut,lemon juice and coriander leaves.
Give a quick mix and switch off to complete Poha Recipe.
Video
Notes
Poha variety - Choose the right variety of poha thick is preferred for this recipe. Soaking and preparing poha is the key for perfect poha recipe. Remove speck if it is present. Rinse well before using but make sure not to make it mushy.
Vegetables - You can use carrot, peas and potato for a more filling and colorful poha recipe.
Soaking time - I usually soak the poha while starting to temper so by the time the tempering items are done poha becomes soft.Take care not to make the poha mushy so be careful in adding water. You can use thick or thin poha but accordingly soaking time will vary.
Peanuts - You can replace peanuts with cashews.
Coconut - Add more grated coconut while serving as garnish if you like the flavour.
Variation - You can add tomatoes for making a masala version of poha.
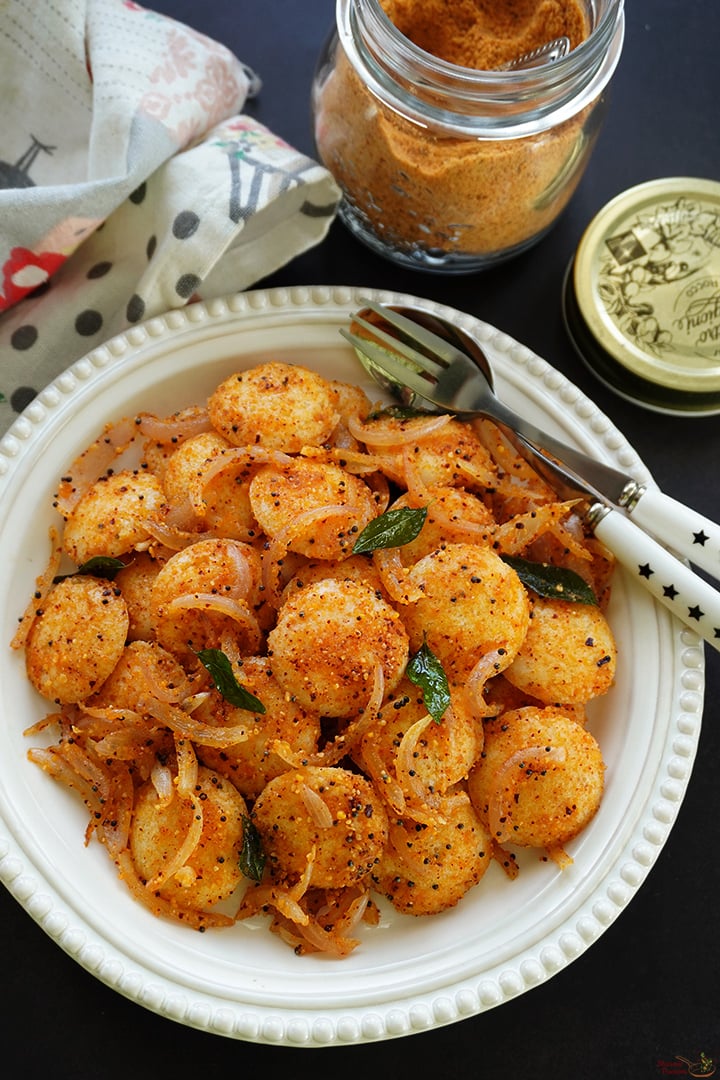
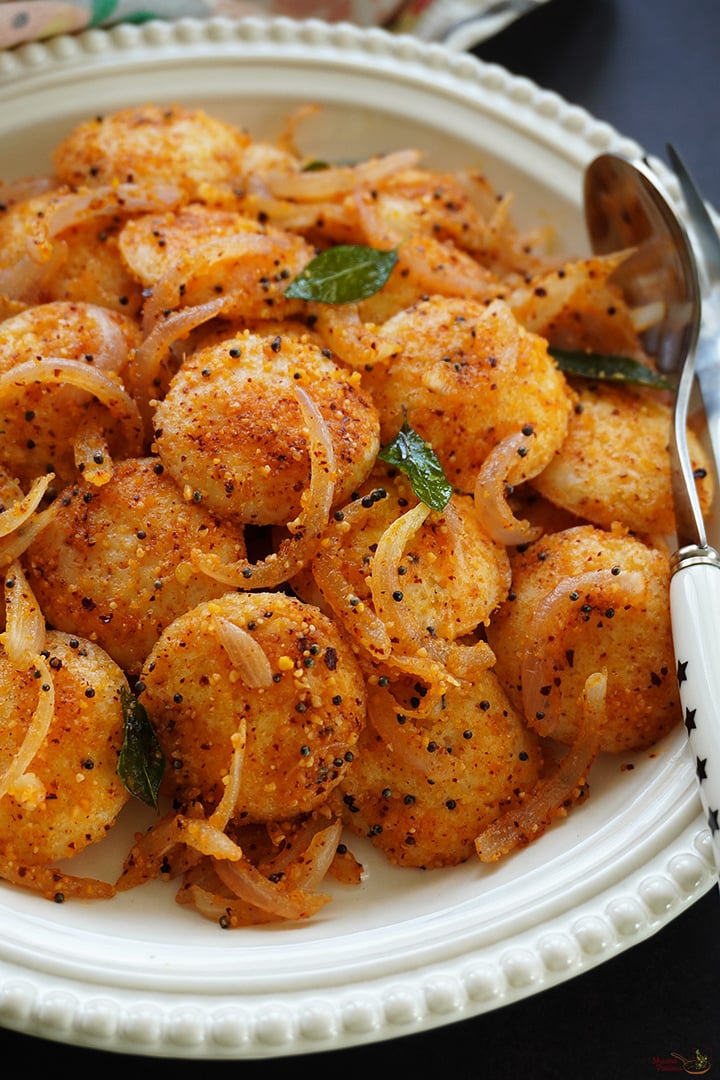
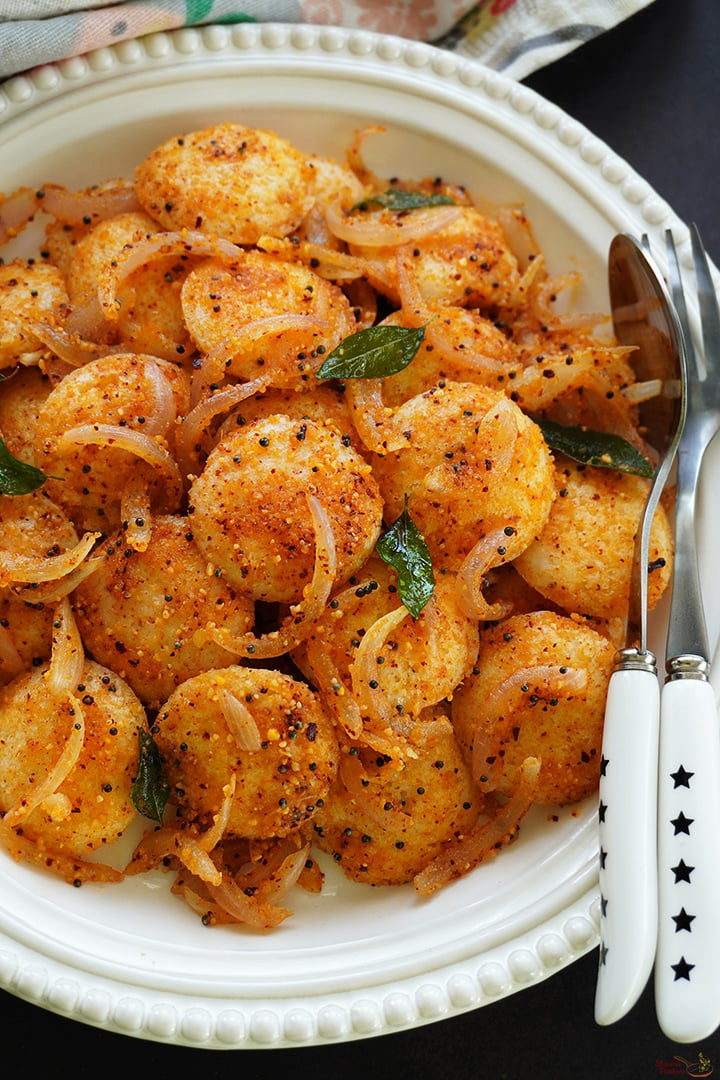
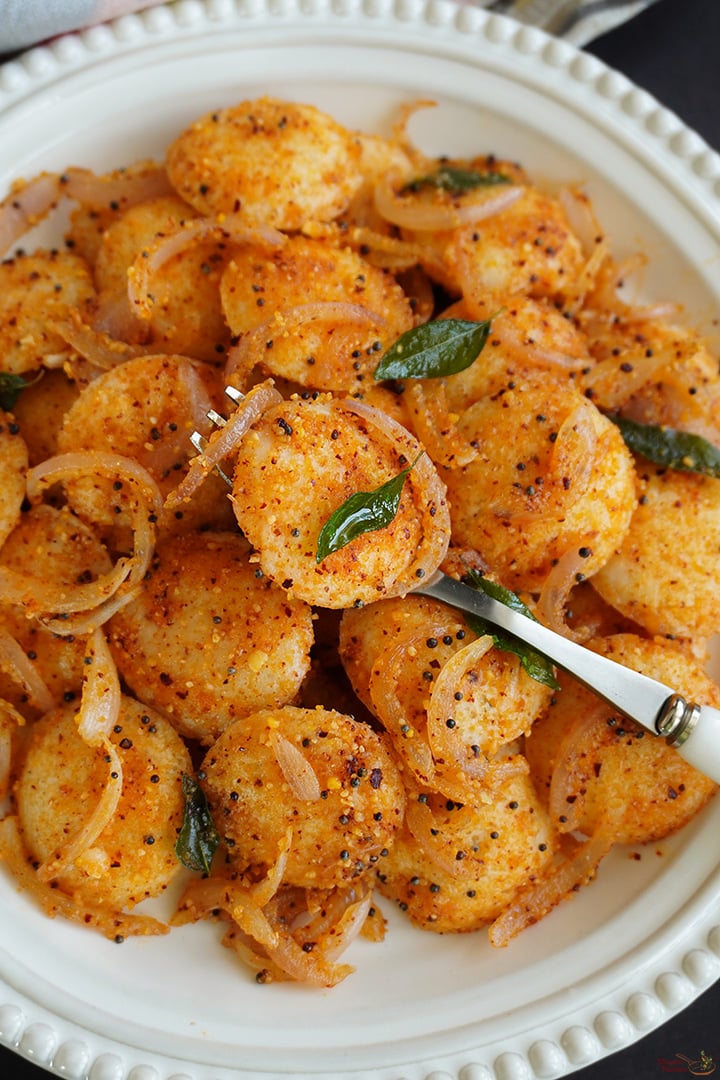
Podi Idli is a great South Indian breakfast that cab be made quickly with leftover idlis or mini idlis. It is made by tossing steamed idlis over a basic tempering along with a spicy ground lentil condiment called podi. These serve as a great snack too, kids will love it.
Podi idli is so tasty and a comforting food made with leftover idlis or mini idlis. I have always wondered how our elders turn even the leftovers to such tasty snack and avoid food wastage. So I have also stuck to this rule of no food wastage as far as I can.
[feast_advanced_jump_to]
About Podi Idli
Podi is a spicy condiment made using lentils. Idli is steamed rice cakes. So idlis tossed in podi is popularly known as Podi Idli. It is a quick South Indian breakfast made using left over idlis. Later hotels started to fancy it using mini idlis.
I started making podi ever since mittu started eating idli podi. I usually make a simple version in dosa tawa itself. But later when I tasted in restaurants and seeing kids enjoy it now this is the version I am making and everyone at home is a fan of it.
The key to a perfect tasting podi idli is idlis should be firm and podi should be slightly coarse. You can refrigerate the idlis for a while to make it a bit firm so that they don't crumble while tossing.
I always use homemade idli podi as it tastes great and is less spicy. I always have a batch of homemade idli podi as we aren't big fans of store bought ones. Once I see the bottle nearing to finish I make a fresh batch and store.
Over the years I have made so many versions of idli podi but the one posted here is our staple. For a change I try different varieties but finally come to our family staple recipe.
Podi Idli Video
Podi Idli Ingredients
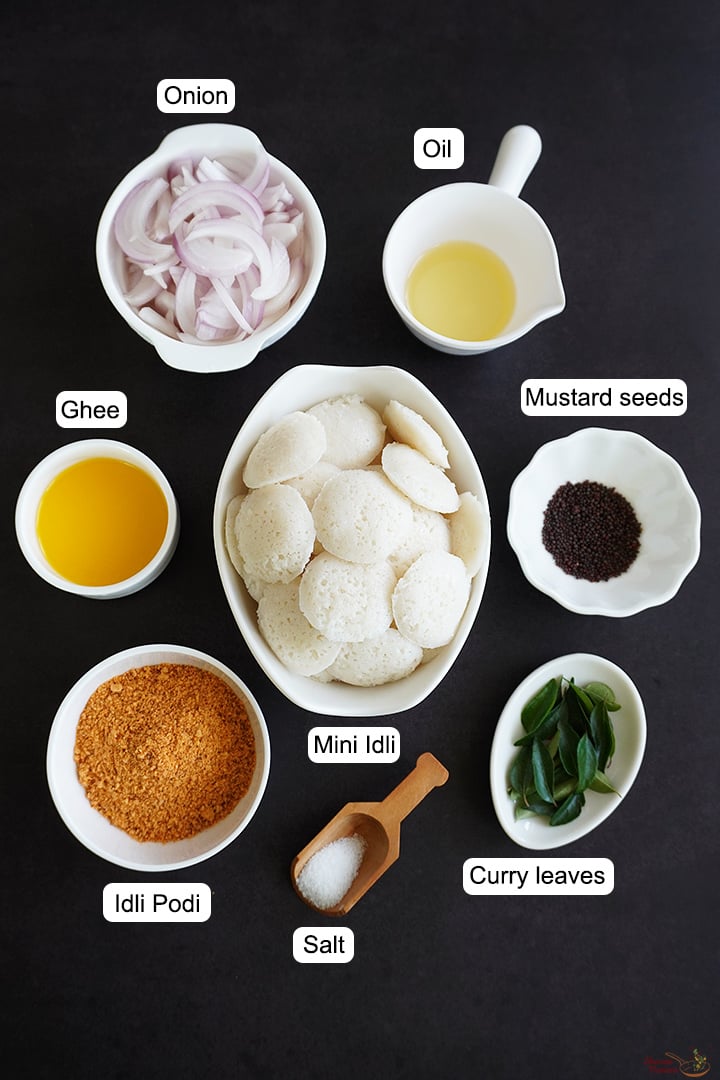
Idli - You can use mini idli or big idlis cut into cubes. Make sure to refrigerate them for minimum 15 minutes before making podi idli.
Onion - Sliced onion adds a crunch and taste to this dish so do not miss it.
Oil - I always use gingelly oil for podi idli. But you can use any cooking oil too.
Ghee - Ghee is added for flavour. You can skip it if you do not prefer.
Mustard seeds - Mustard seeds is added to oil for tempering.
Curry leaves - is added for flavour.
Idli Podi - I always use homemade idli podi. But you can use store bought idli podi too make sure it is crunchy and slightly coarse.
1.To a pan add 1 tablespoon gingelly oil. Add ½ teaspoon mustard seeds, let it splutter.
2.Add 1 small sprig curry leaves, let it splutter.
3.Add 1 medium sized onion sliced along with little salt. Idli podi already has salt so keep an eye while adding salt.
4.Saute until it turns transparent. Do not let it soften it should be slightly crunchy.
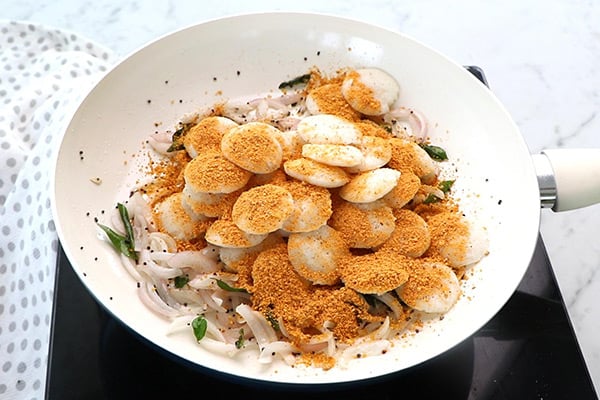
5.Add around 30 mini idlis along with 3 tablespoon idli podi. My homemade idli posi is not spicy so I added more. You can adjust according to the spice level of your idli podi.
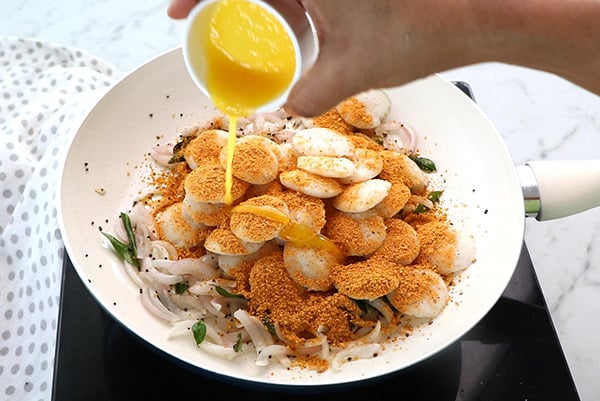
6.Add 1 ½ tablespoon ghee.
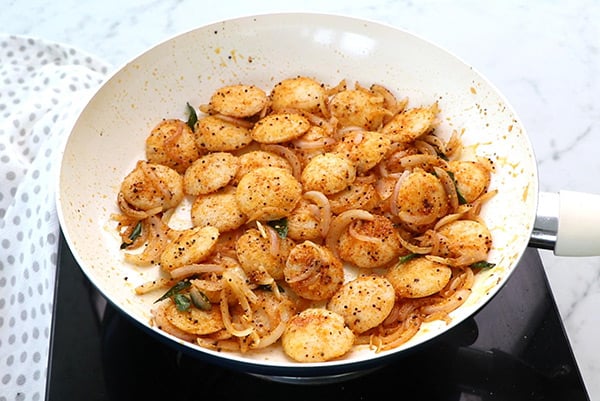
7.Give a quick mix.Toss in high flame and switch off.
Serve podi idli hot!
Expert Tips
Adding idli podi - Our recipe of idli podi is less spicy so I usually add more. But if you are using store bought then use little less as it may be spicy, adjust accordingly.
Add ons - You can add vegetables like carrot, capsicum to make it whole some. You can even add corn, peas or any other veggie of your choice. You can even add peanuts or almonds replacing cashews.
Oil - Gingelly oil is good for health so be generous in adding. You can replace it with coconut oil.
Idlis - Make sure your idlis are slightly porous so that it absorbs the podi well. So use the first batch of idli batter for best results. If you don't have mini idli mould, you can even make regular idlis, cube them and use it.
Avoid crumbling - Refrigerate steamed idlis for a while to make it firm and avoid crumbling.
Serving and Storage
Serve podi idli hot or warm for the best taste. Enjoy it as a breakfast, snack, or light dinner. It also tastes delicious with a cup of filter coffee or masala chai. Garnish with fresh coriander leaves and a drizzle of ghee for extra flavour.
FAQS
1. Can I use leftover idlis?
Yes. Leftover or a day-old idlis works very well because they hold their shape and absorb the podi without becoming mushy.
2. Can I make podi idli for lunch boxes?
Yes. Podi idli is a great lunch box recipe because it stays great and flavorful even after cooling.
3. Why is my podi idli dry?
It means there wasn't enough oil or ghee, or too much podi was used. Add a little more sesame oil or ghee and toss again for a better coating and to avoid drying.
If you have any more questions about this How to season Iron Tawa do mail me at sharmispassions@gmail.com. In addition, follow me on Instagram, Facebook, Pinterest, Youtube and Twitter .
Tried this How to season Iron Tawa? Do let me know how you liked it. Also tag us on Instagram @sharmispassions and hash tag it on #sharmispassions.
Podi Idli is a great South Indian breakfast that cab be made quickly with leftover idlis or mini idlis. It is made by tossing steamed idlis over a basic tempering along with a spicy ground lentil condiment called podi. These serve as a great snack too, kids will love it.
Course Breakfast, Snack
Cuisine Indian
Keyword chilli idli, chilli idly, easy idli for beginners, healthy idli, how to make chilli idli, how to make idli chaat, how to make idli fingers, how to make masala idli, how to make podi idli, idli milagai podi, idli podi recipe, Idli recipes, snack recipes
Prep Time 5 minutesminutes
Cook Time 10 minutesminutes
Total Time 15 minutesminutes
Servings 2
Calories 206kcal
Author Sharmilee J
Ingredients
30mini idli
1medium sized onion
1tablespoonoil
1 ½tablespoonghee
½teaspoonmustard seeds
1small sprig curry leaves
2tablespoonidli podi
salt to taste
Instructions
To a pan add 1 tablespoon gingelly oil. Add ½ teaspoon mustard seeds, let it splutter.
Add 1 small sprig curry leaves, let it splutter.
Add 1 medium sized onion sliced along with little salt. Idli podi already has salt so keep an eye while adding salt.
Saute until it turns transparent. Do not let it soften it should be slightly crunchy.
Add around 30 mini idlis along with 3 tablespoon idli podi. My homemade idli posi is not spicy so I added more. You can adjust according to the spice level of your idli podi.
Add 1 ½ tablespoon ghee.
Give a quick mix.Toss in high flame and switch off.
Serve podi idli hot!
Video
Notes
Adding idli podi - Our recipe of idli podi is less spicy so I usually add more. But if you are using store bought then use little less as it may be spicy, adjust accordingly.
Add ons - You can add vegetables like carrot, capsicum to make it whole some. You can even add corn, peas or any other veggie of your choice. You can even add peanuts or almonds replacing cashews.
Oil - Gingelly oil is good for health so be generous in adding. You can replace it with coconut oil.
Idlis - Make sure your idlis are slightly porous so that it absorbs the podi well. So use the first batch of idli batter for best results. If you don't have mini idli mould, you can even make regular idlis, cube them and use it.
Avoid crumbling - Refrigerate steamed idlis for a while to make it firm and avoid crumbling.

 Login


 Red Cat Holdings’ maritime division, Blue Ops, has opened orders for two new uncrewed surface vessels, an 18-foot boat built for reconnaissance and one-way attack missions and a 39-foot vessel already in low-rate production, as part of a new B-Series lineup named after each boat’s length. The company announced the family on Oct. 22, 2026. […]