❌

Reading view

There are new articles available, click to refresh the page.

Fixing a 1990s LEGO Electric Train Speed Regulator
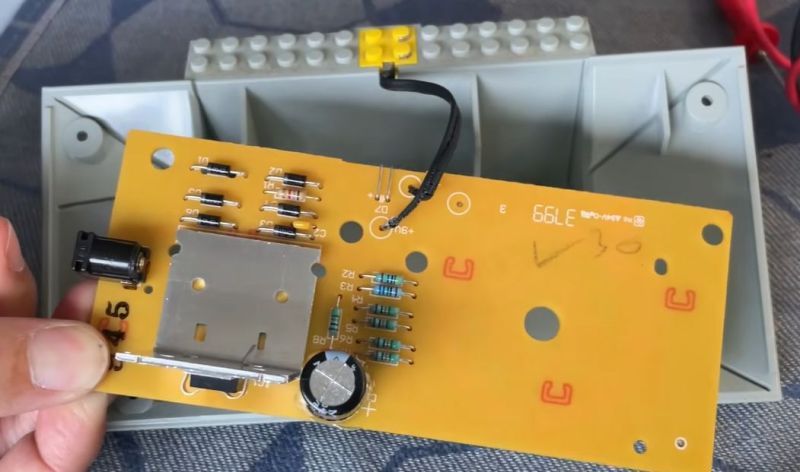
Before LEGO train sets moved to battery-powered locomotives with plastic rails, all of them worked pretty much like any other train set of the era. This meant metal rails that the locomotive’s wheels would use to pick up power from and a central controller that would inject said power and also regulate the train’s speed and direction. The LEGO 2868b Electric Train Speed Regulator is one such example, and [Nonsense Wars] recently had one under the knife to repair it.
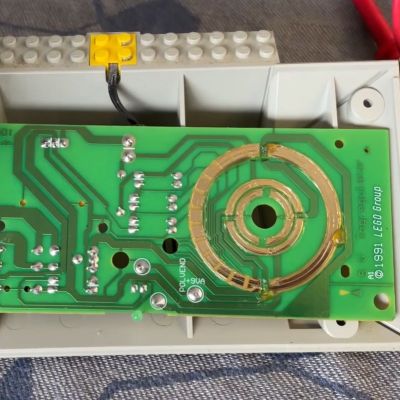
The single PCB inside is quite straightforward, with the 9-12 VAC supply input from an external power adapter, and a variable voltage regulator that sees its target voltage switched by a bank of resistors.

It are these resistors that the big yellow control switches between when you operate it, changing the output voltage and also output polarity you cross the midway point. Effectively this means that there is just one non-passive component on the PCB, in the form of the TO-220 package strapped to the big heatsink.

In this particular unit it was found to be a Fairchild KA317, which is for all intents and purposes here the same as an LM317T. One quick swap later and this controller was back in business like it was 1995.

Compared to the engineering crammed into a modern β€œsmart brick”, things really have come quite a ways in the world of LEGO.
Fixing an Expensive Seagate LaCie Hard Drive Array

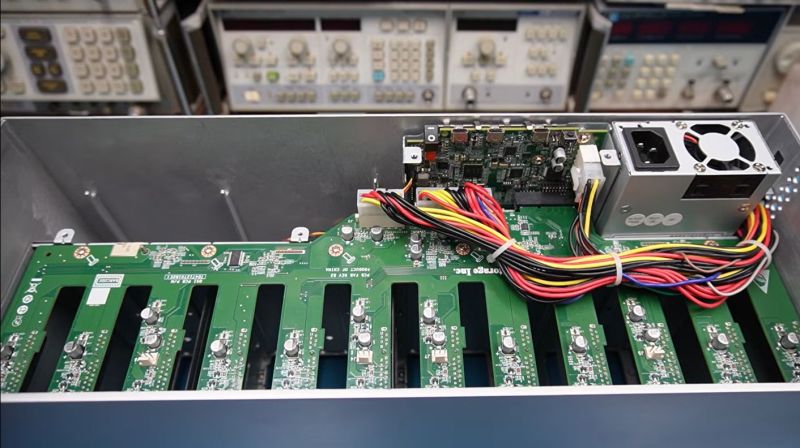
After the [Slow Mo Guys] acquired a 168 TB Seagate LaCie Thunderbolt 3-based RAID storage system back in 2019 to store their video footage, they were obviously slightly miffed when suddenly it would just refuse to power up. Naturally the device was now out of warranty, the product itself no longer produced and Seagate support was less than supportive, ergo they sent the device to [Mend it Mark] for an attempted repair.
At first inspection the device appeared to be basically unresponsive, with none of the four fans running and no signs of life other than a few lit LEDs on the main PCB after supplying power to it. After full disassembly and with no repair guide or schematics to go by [Mark] had to start from basics, first diagnosing whether all the power rails were turning on, which they weren’t.

Eventually this led to the NXP LPC11U6x-series MCU which acts as the main power management and monitoring chip in the system. [Mark] deduced that this MCU wasn’t turning on all the power rails because it was waiting for a signal from the fan controllers on the SATA backplane. With the MCU sending the right signals here, and the fans all working when directly supplied with power, ultimately it turned out that a single SI2319 or similar P-channel MOSFET in SOT-23 package near one of the fan connectors had gone faulty.

Replacing this one MOSFET seems to have fixed the RAID array, with it now happily powering up, although the real test will be once the [Slow Mo Guys] start shoving the HDDs back into it. Assuming that this was the sole fault in the system, then it was a very cheap fix in terms of materials. It’s a real shame that repair guides or schematics aren’t made available for devices like this, even if just after they stop being produced.

Repairing Traces on a Delidded Pentium III CPU Gone Wrong

Delidding a CPU involves removing the integrated heat spreader (IHS) that’s put over the bare die and the substrate that it is mounted on. The reason for this is usually to improve cooling performance, as the IHS is effectively a small heatsink between the die and the large heatsink, adding more problematic thermal interfaces. If delidding is done improperly it can cause severe damage to the substrate, as in the case of a very nice 1.3 GHz Tualatin Pentium III CPU that [Bits und Bolts] got in an eBay lot with nasty delidding damage.

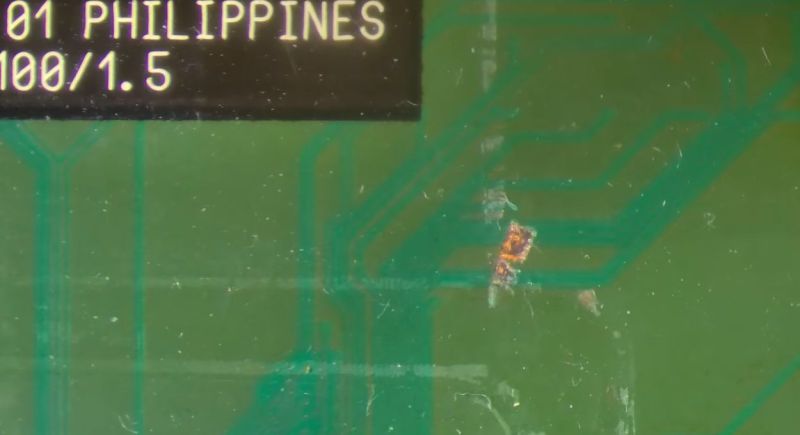
With the delidding enthusiast presumably having used brute force and ignorance combined with a prying implement, around a dozen of tiny traces on the substrate got severed, requiring tedious trace repair to fix. After confirming that with the severed traces the CPU is indeed busted, enough of the soldermask is removed to make a repair.

Any traces that were still good got covered with soldermask, while for the remainders the thinnest available copper wire was used to create new traces. Although very much doable with a good microscope and a steady hand, this is definitely one of those things that’s much easier to prevent than to fix.

With IHSes having become standard on CPUs, delidding continues to this day, with increasing risks of severed traces and ripped-off capacitors should it go wrong. Although those newer CPU substrates are probably not repairable, repairing these older CPUs instead of tossing them as e-waste seems plausible at least.

How Gold Plastic Syndrome is Killing Toys and Game Consoles

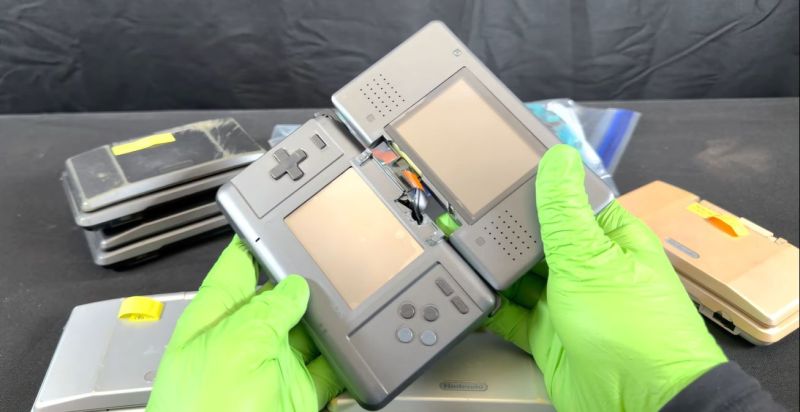
In a recent video [Sqwerks] does a deep-dive into the problem of disintegrating plastic enclosures of Nintendo DS consoles. These original NDS handheld consoles have a metallic-like coating that appears to interact with the ABS plastic, causing yellowing as well as extreme brittleness and correspondingly broken hinges. Unsurprisingly, this causes the shell to essentially disintegrate the moment you try to disassemble them for something like a screen replacement.

While somewhat the opposite of plasticizer migration into ABS from PVC insulation that we covered before, the underlying cause is probably similar, with the Transformers toy community having come to call it Gold Plastic Syndrome (GPS) based on the fact that it were mostly gold-colored parts on these plastic toys that seemed to be affected. Over time the additives used to add a cool metal sheen and swirls to the plastic appear to interact in a way that makes the ABS plastic very brittle.

Although the underlying cause of GPS doesn’t appear to be known yet, the Transformers community has documented this happening since the late 1980s and into the early 2000s, with even reports that some toys from the mid-2010s suffer from this. Whatever the underlying cause of GPS is, the result is always the same, with disintegrating brittle plastic and often a powdery residue.

In the case of NDS consoles, replacing the affected shell with a third-party replacement is still a viable option today, with [Sqwerks] recommending this solution. For other enclosures and toys where the plastic effectively is the toy, it might be that all we can do is watch them slowly disintegrate until we figure out how to revert GPS.

Fixing an Expensive Amprobe Cable Tracer With Mystery Fault

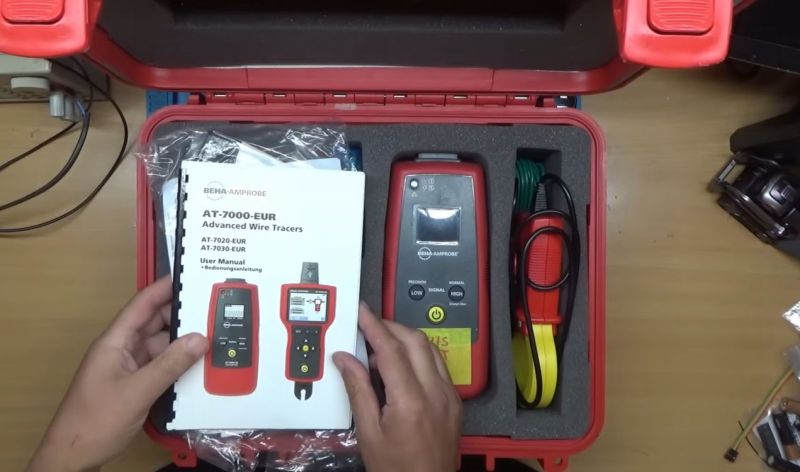
Perhaps the most annoying kinds of faults are those that involve expensive equipment that just sit around in a cupboard, only for them to just stop working at all. Such was the case with the Β£2,000 Amprobe cable trace kit that [Tom] bought for work-related purposes. After sitting around unused for a few years, the signal generating part of the kit refused to power up at all, with Fluke’s service department wanting at least Β£600 to even attempt a repair after already having had [Tom] cough up Β£70 to even get this quote.

Subsequently he instead sent it to [Buy it Fix it] on YouTube for an attempted repair, which at the very least would be a less costly option. These systems use a signal generator connected to the cable, with a separate detector wirelessly tracking this signal. By itself that doesn’t sound too complex, but as it turns out it wasn’t quite so straightforward to diagnose.

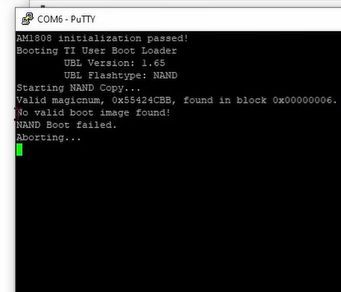
After eliminating a basic power or display issue, the SoC’s boot sequence was traced, including reading from the 128 MB NAND Flash. At first glance the unit appeared to be trying to boot and work as normal, which was confirmed after finding a serial port and seeing the log output on it. This showed that the NAND Flash’s boot image failed validation due to apparent corruption.

After desoldering the TSOP 48 Flash package and stuffing it into a reader, at first glance the data on it looked fine. After a tragic detour with Google’s Gemini chatbot that led to a lot of wasted time, the solution that the human intelligence came up with was to crack open the tracer unit in the set and ogle at its firmware, in particular the bootloader.

Comparing the two Flash dump files, there were a few flipped bits in the bootloader section, likely due to cells in the Flash having lost their charge. Writing the generator’s Flash with a corrected image led to it booting up happily again into the Linux 2.6-based firmware, seemingly no worse for wear. Of course, one has to consider here that the NAND Flash IC clearly has a few leaky cells in it, so replacing it with a fresh one could be a good idea for a long-term fix.

Reviving an SD Card With Shorted Capacitors

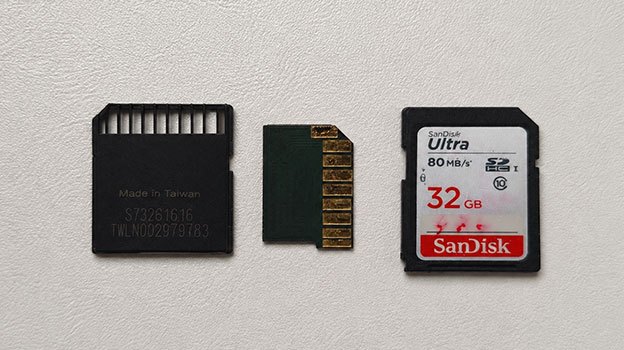
A nice thing about SD cards is that even in their non-micro format they are conveniently small. This is however a bit of a problem when an SD card stops working, as they are not exactly designed to be easy to service, or to recover data from. There is however a very good chance that the Flash memory and controller are still fine, and it’s actually one of the passives on the tiny PCB that failed, as with the 32 GB SD card that [Yevgeniy Kapishon] recently diagnosed and recovered data from for a customer.

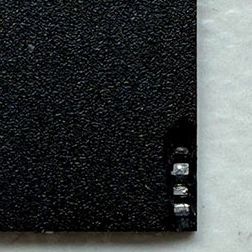
Tiny capacitors in an SD card package. (Credit: Aeson Labs)

A big hint during initial diagnostics was a clear short between the supply rail and ground, but as became clear when taking the SD card apart, this one was built as a monolithic package, without exposed components on a PCB as in older SD cards. Correspondingly an X-ray machine and thermal camera were used to figure out what was inside the package, and where the short was located.

By combining the hot spot image with the X-ray it was determined that the problem was with some passives near the edge of the package. Some careful material removal later two miniscule capacitors were found to be the culprit and gently removed. With this the short on the power rail vanished, and the SD card started working again.

Having a shorted MLCC or similar passive component is a very common failure mode in general which can cripple even the most expensive device. Even if SD cards still aren’t really repairable, it’s at least reassuring to know that in many cases the data is fairly easy to recover once you have identified and removed the offending part.

So, You Want to Fix an Old Camera

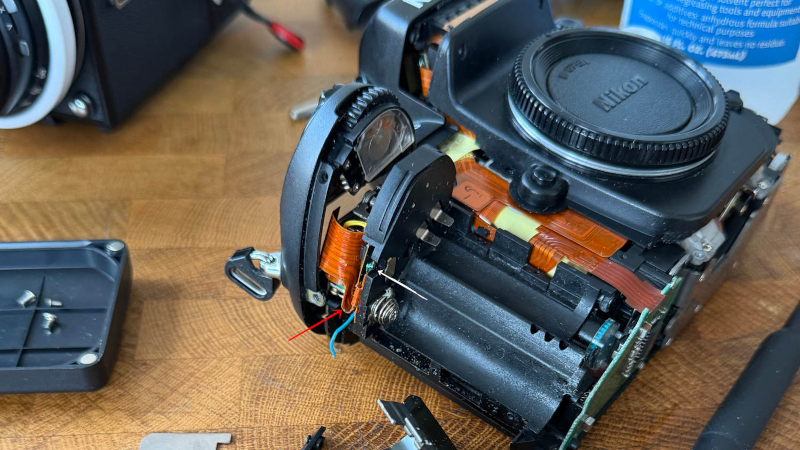
Old cameras are a fantastic way to experiment with photography, and outside a few brands, they can be an inexpensive way too. It’s easy to find older cameras in a broken condition forΒ  a lot less money, but if you’re tempted to fix one then [enthdegree] has some advice for you.

It’s ostensibly a set of notes on the disassembly and repair of a Nikon F100 35mm film SLR, but along the way it’s full of useful tips and tricks for camera disassembly. he materials you’ll need, advice on not losing screws is one, and warnings against disassembling too much is another. It’s all the stuff he wished he’d known before starting, and now you can know it too.

Fixing up old cameras in this way is rewarding, and something we’ve certainly been known to do ourselves. But it’s worth bearing in mind that it’s not for the faint-hearted, and with decades of old film cameras sitting unused, often a working example might make more sense.

❌