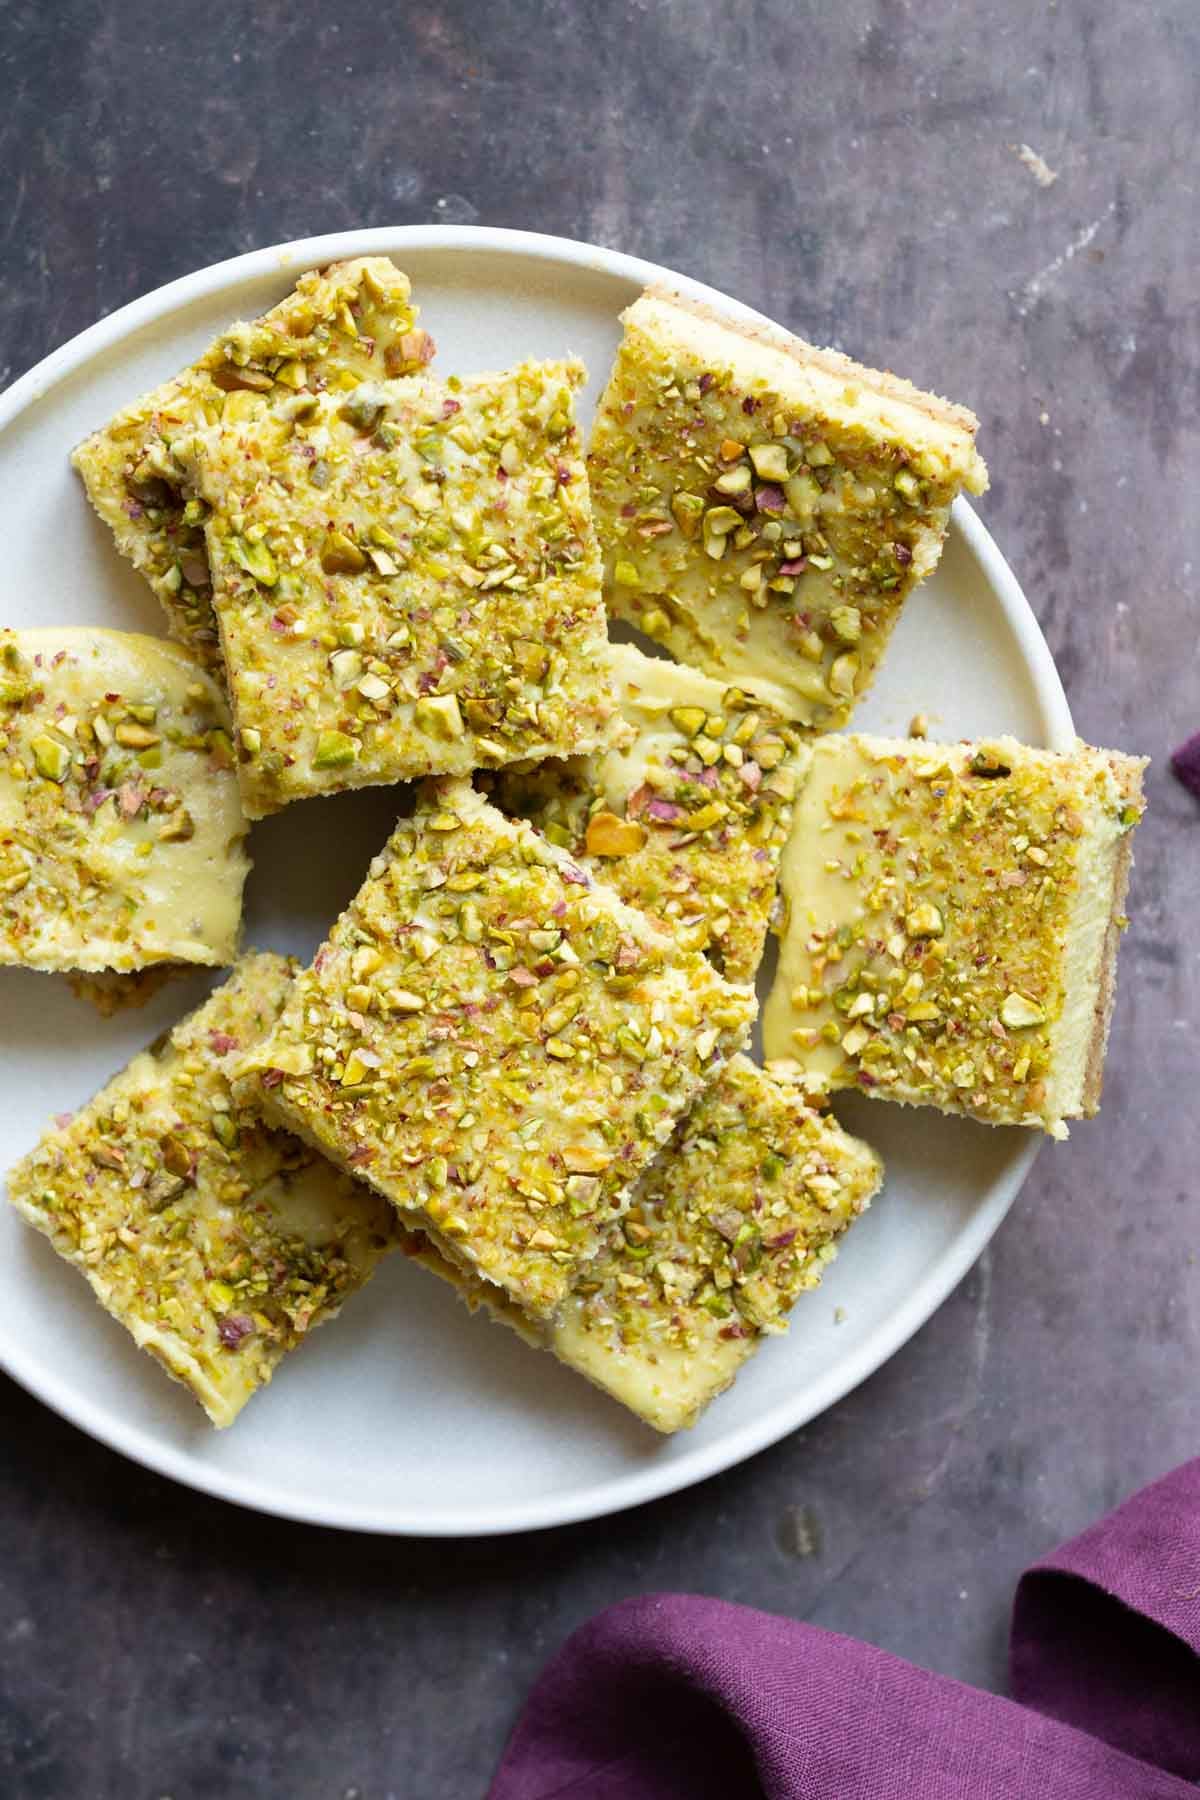
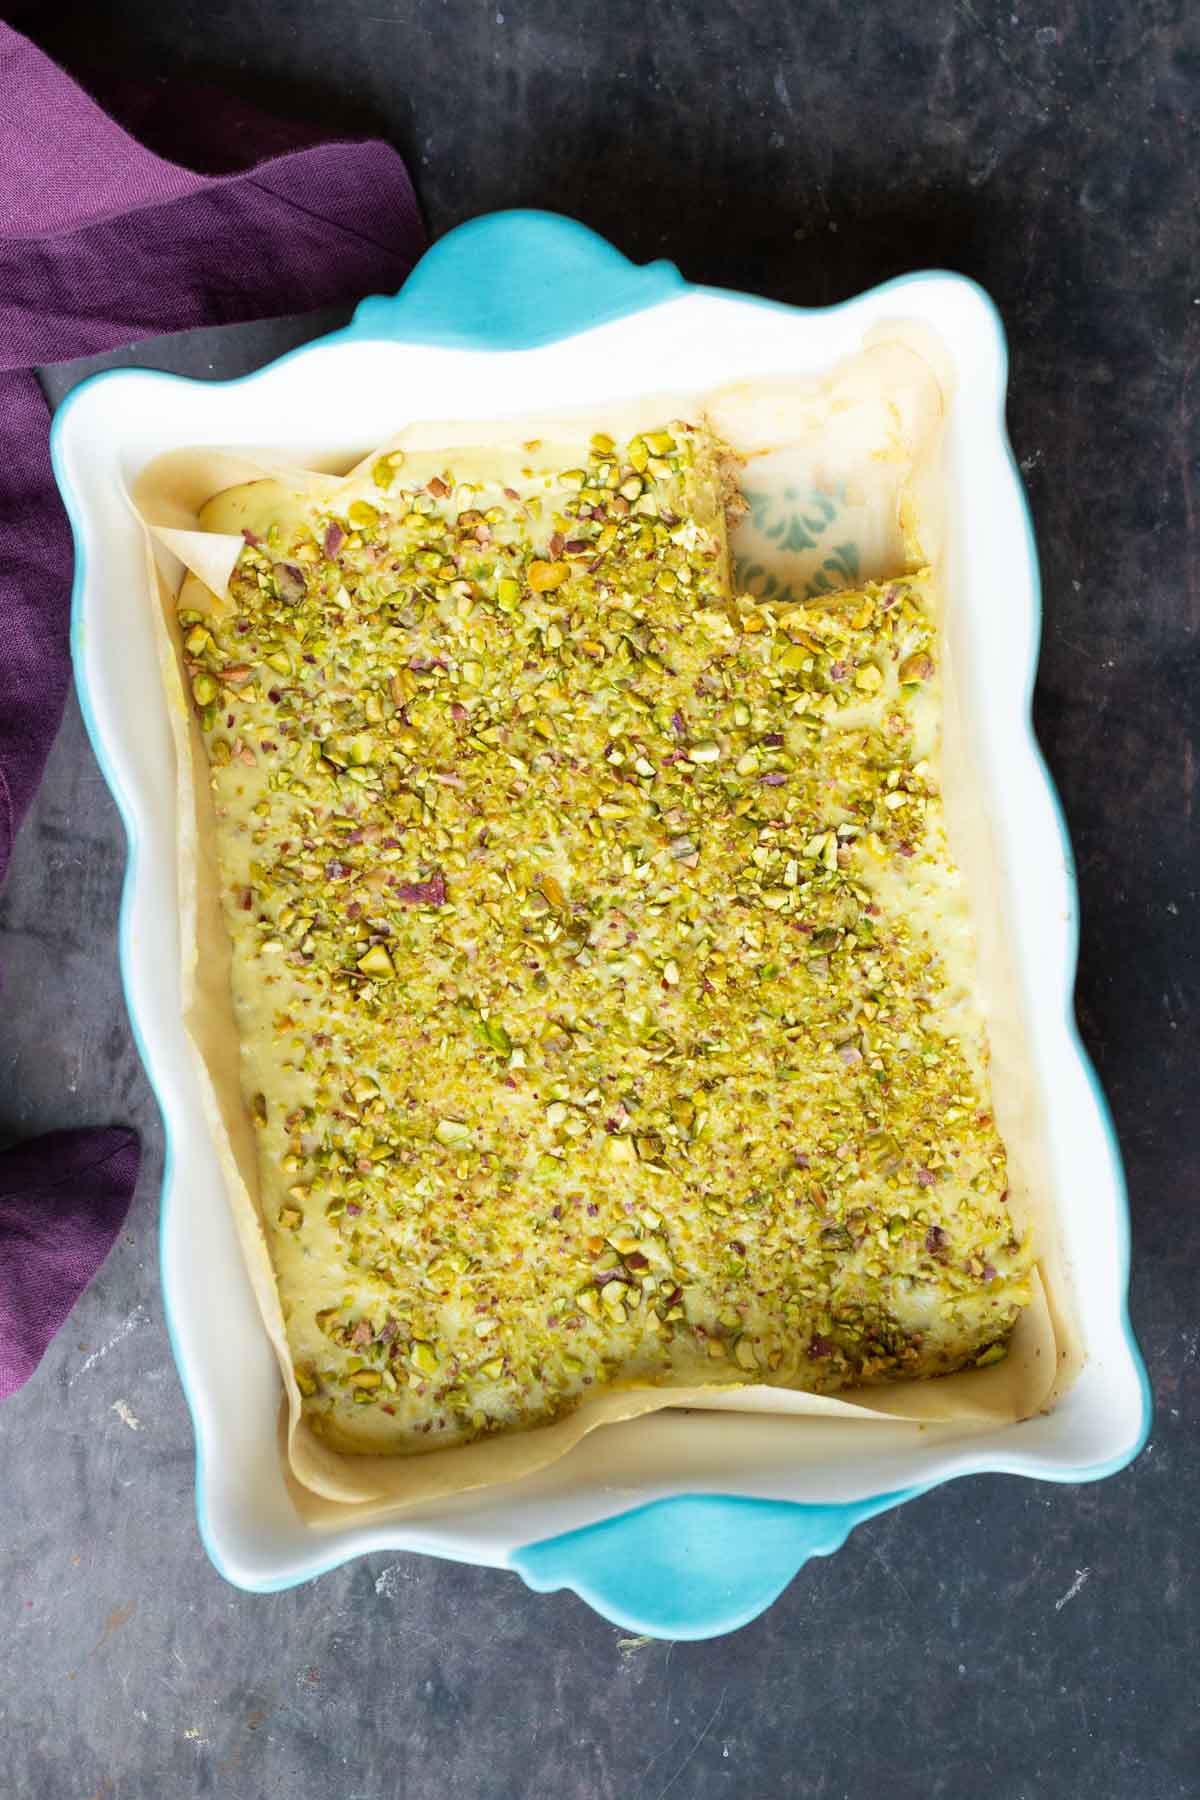
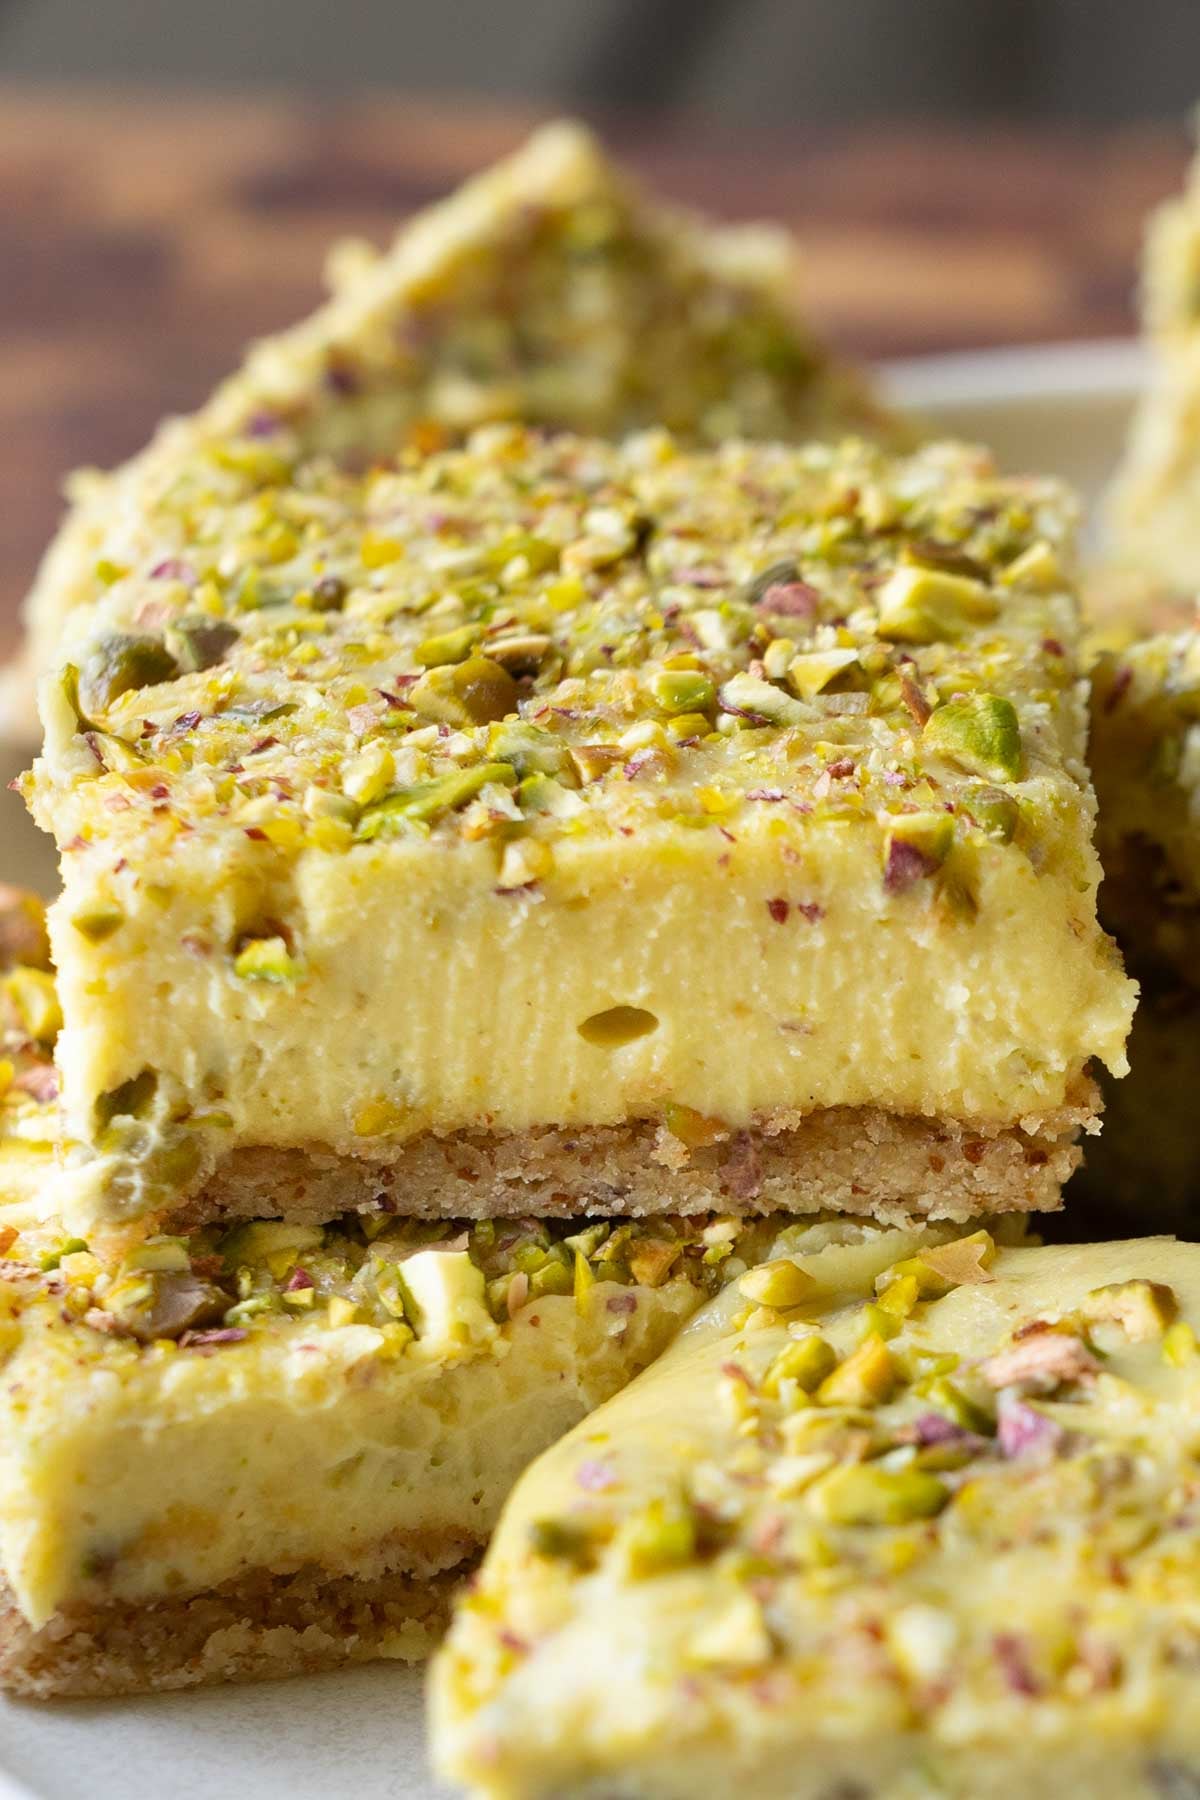
Luscious saffron, cardamom & pistachio cream layered over an almond crust! These gluten-free Kesar Pista bars secretly pack 7g protein. Perfect for Diwali or any other holiday meal! (soy-free, dairy-free, vegan)
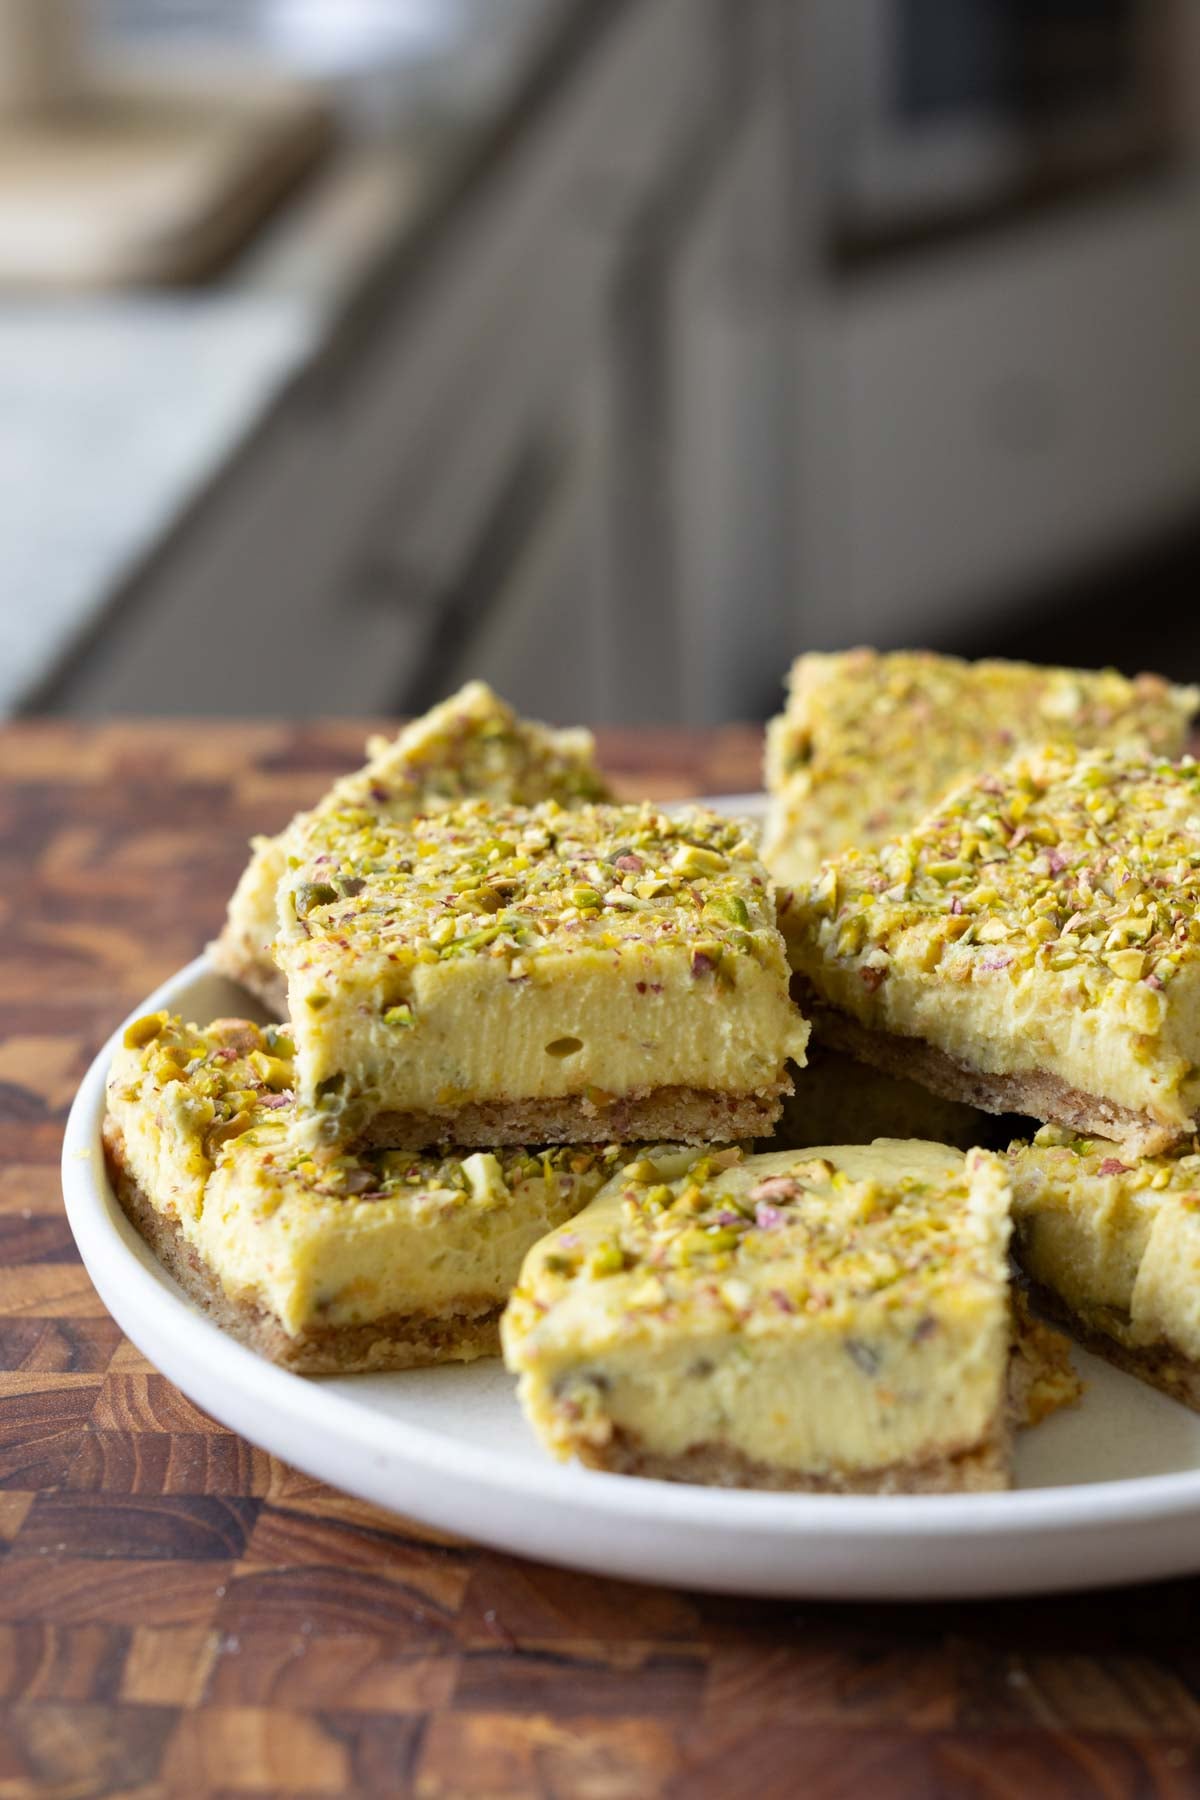
Kesar means saffron, and pista means pistachio. These saffron pistachio bars are just so delicious. I just wasn’t ready for how decadent and luxurious they were going to turn out! They’re kind of like creamy lemon bars, but with nutty pistachio and floral saffron flavors in them.
The saffron-pistachio combination is very popular in Indian desserts and also desserts from many other cuisines. These two flavors just work so amazingly well together, especially raw, fresh pistachios and floral saffron.
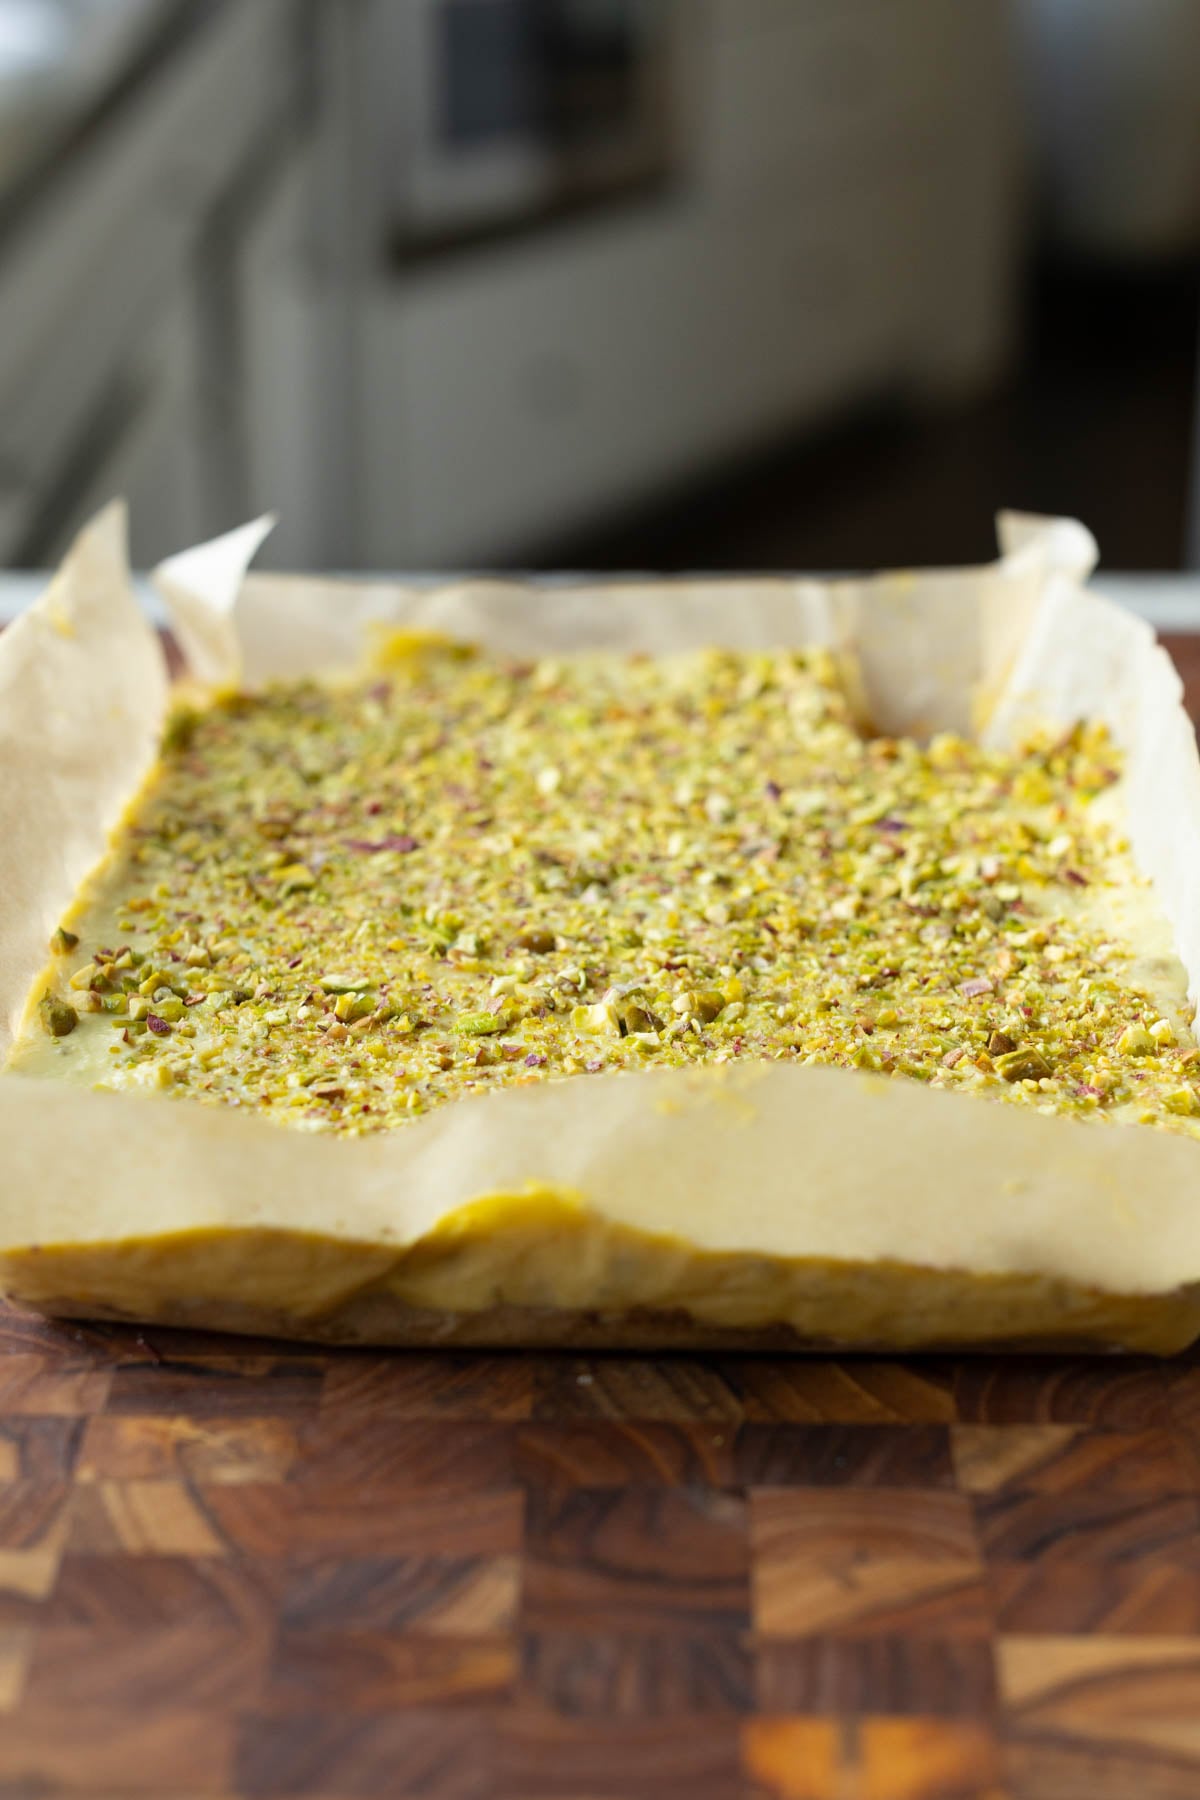
I’m using that today to make a fusion Indian dessert based on kesar burfi, kesar pista ladoo, or pedas, but I made them into these bars. We make this almond flour crust with some cardamom and then make the cream topping with cashews, coconut milk, saffron, and a little pistachio, and then top it with generous amounts of chopped pistachio. It all sets up and it becomes just amazing!
If you don’t have saffron, you can skip that flavor, and add extra cardamom, add a pinch of turmeric for color, and an extra splash of vanilla. That flavor profile pairs really well with the pistachios, as well.
Why You’ll Love Kesar Pista Bars
rich, creamy, decadent bars with nutty pistachios and floral saffron and cardamom flavors
quick almond flour crust
easy to make with simple ingredients
naturally gluten-free and soy-free with almond-free option
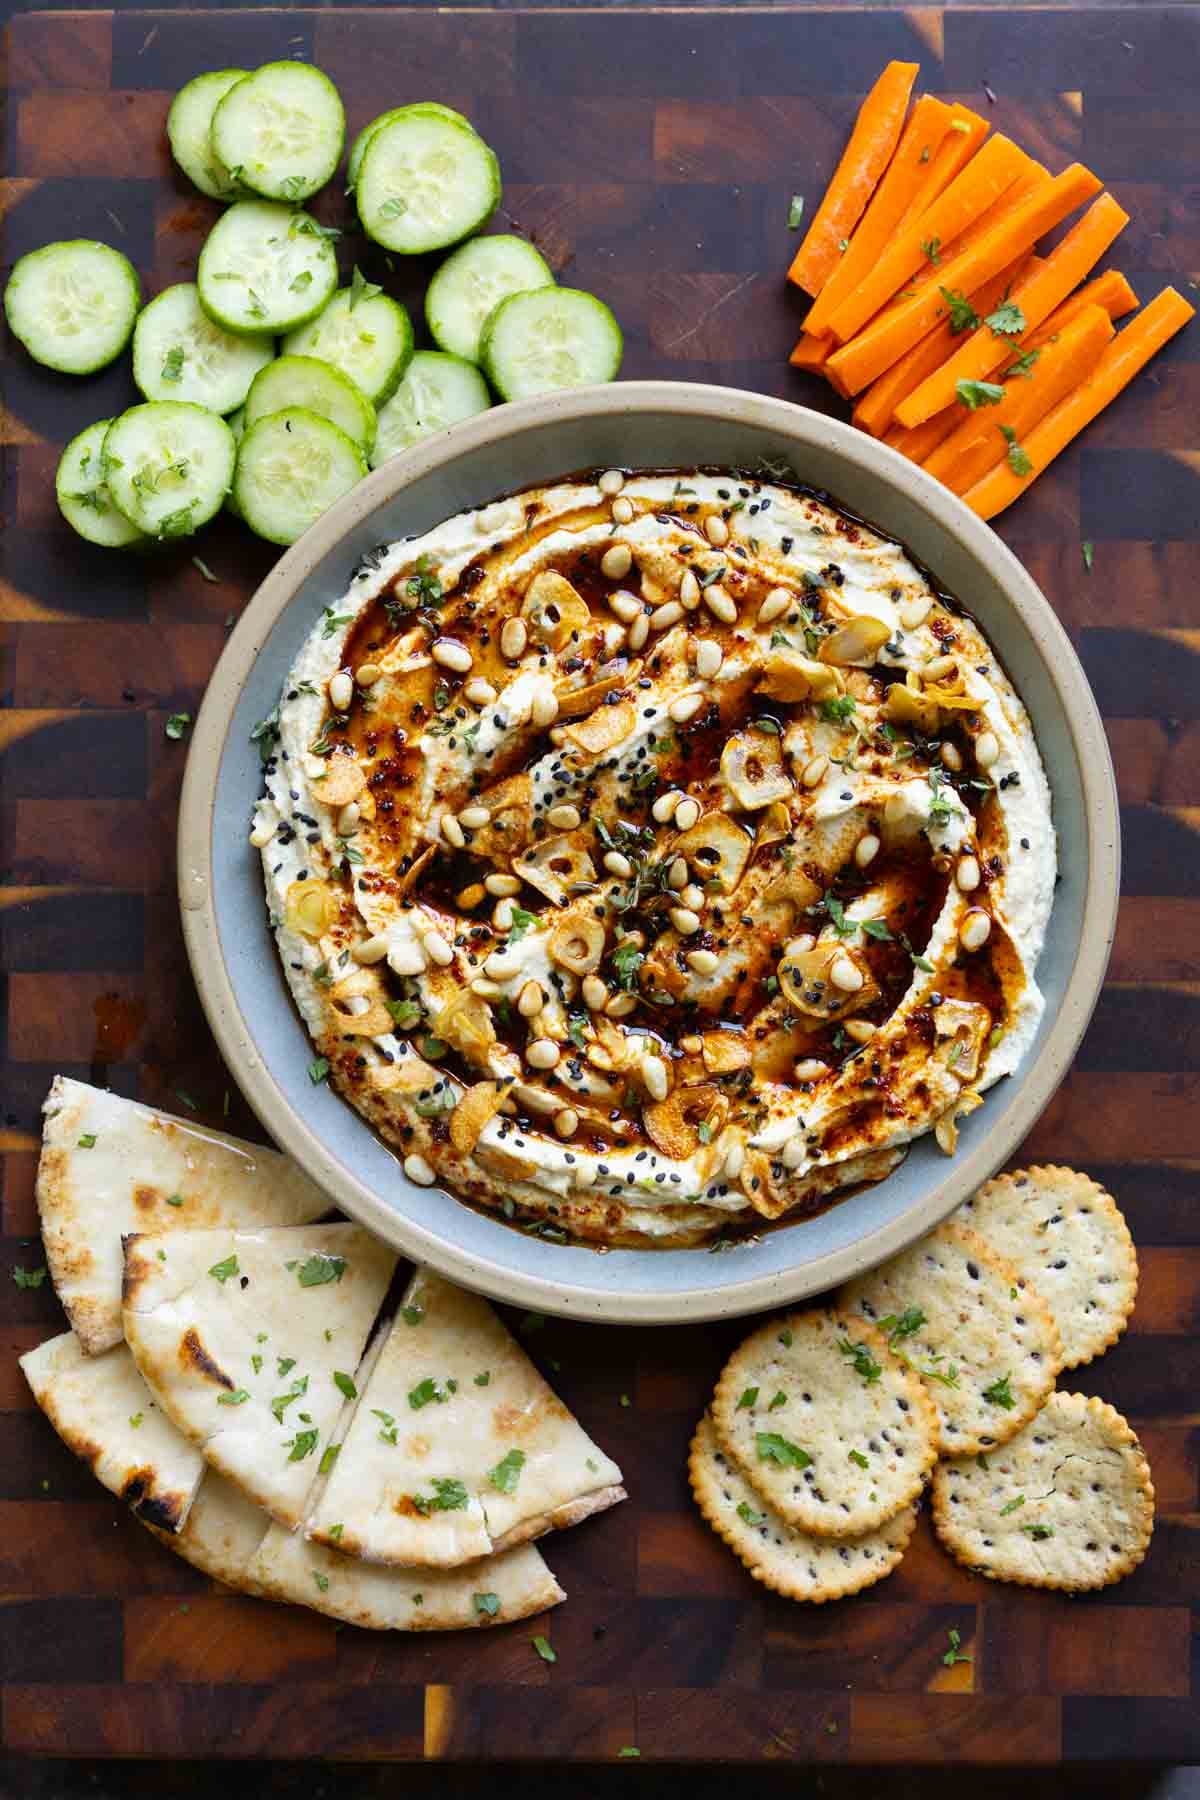
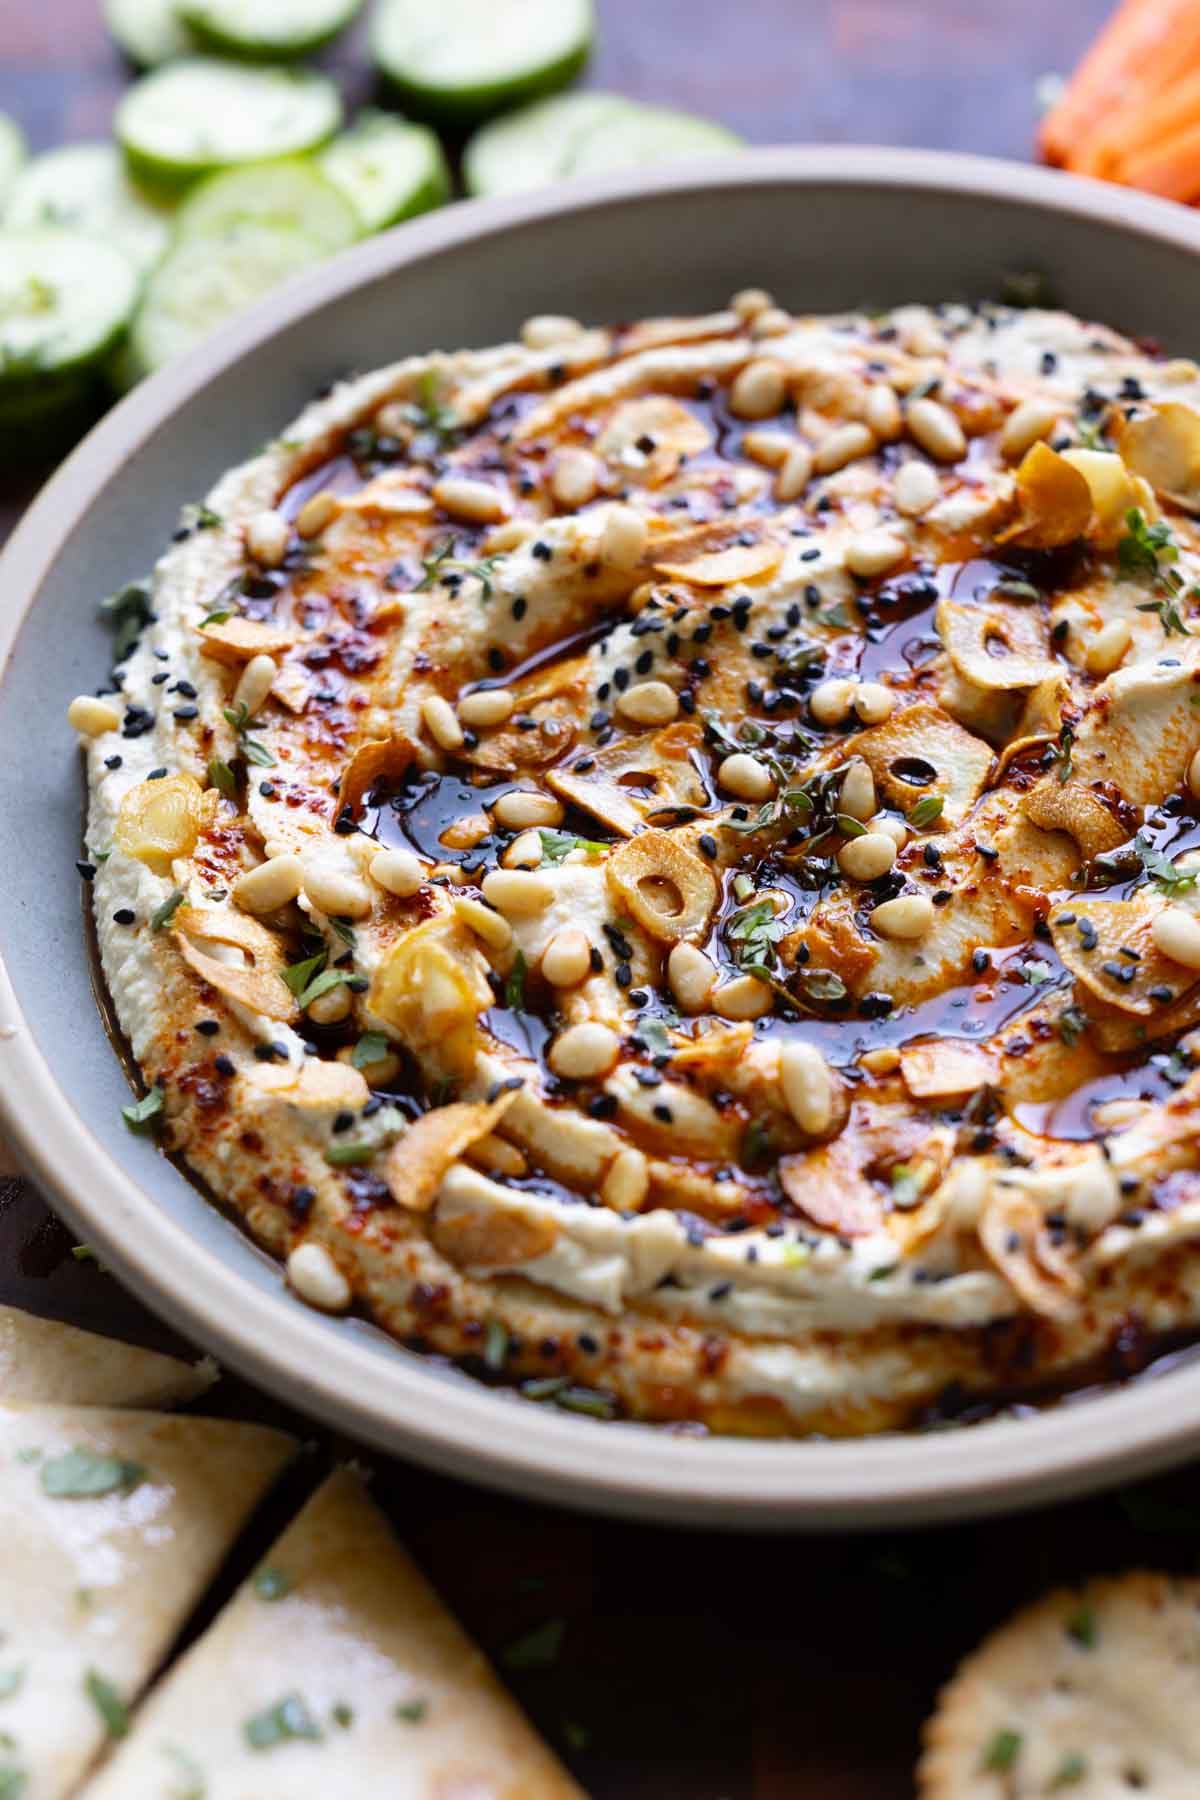
I can’t believe this is tofu! This creamy, tangy whipped tofu feta with smoky, savory, sweet, spicy ‘honey’ on top takes just 15 minutes. It’s perfect for snacking, potlucks, and holiday parties! (gluten-free and nut-free with soy-free option. 15g protein and 3g fiber per serving not including sides)
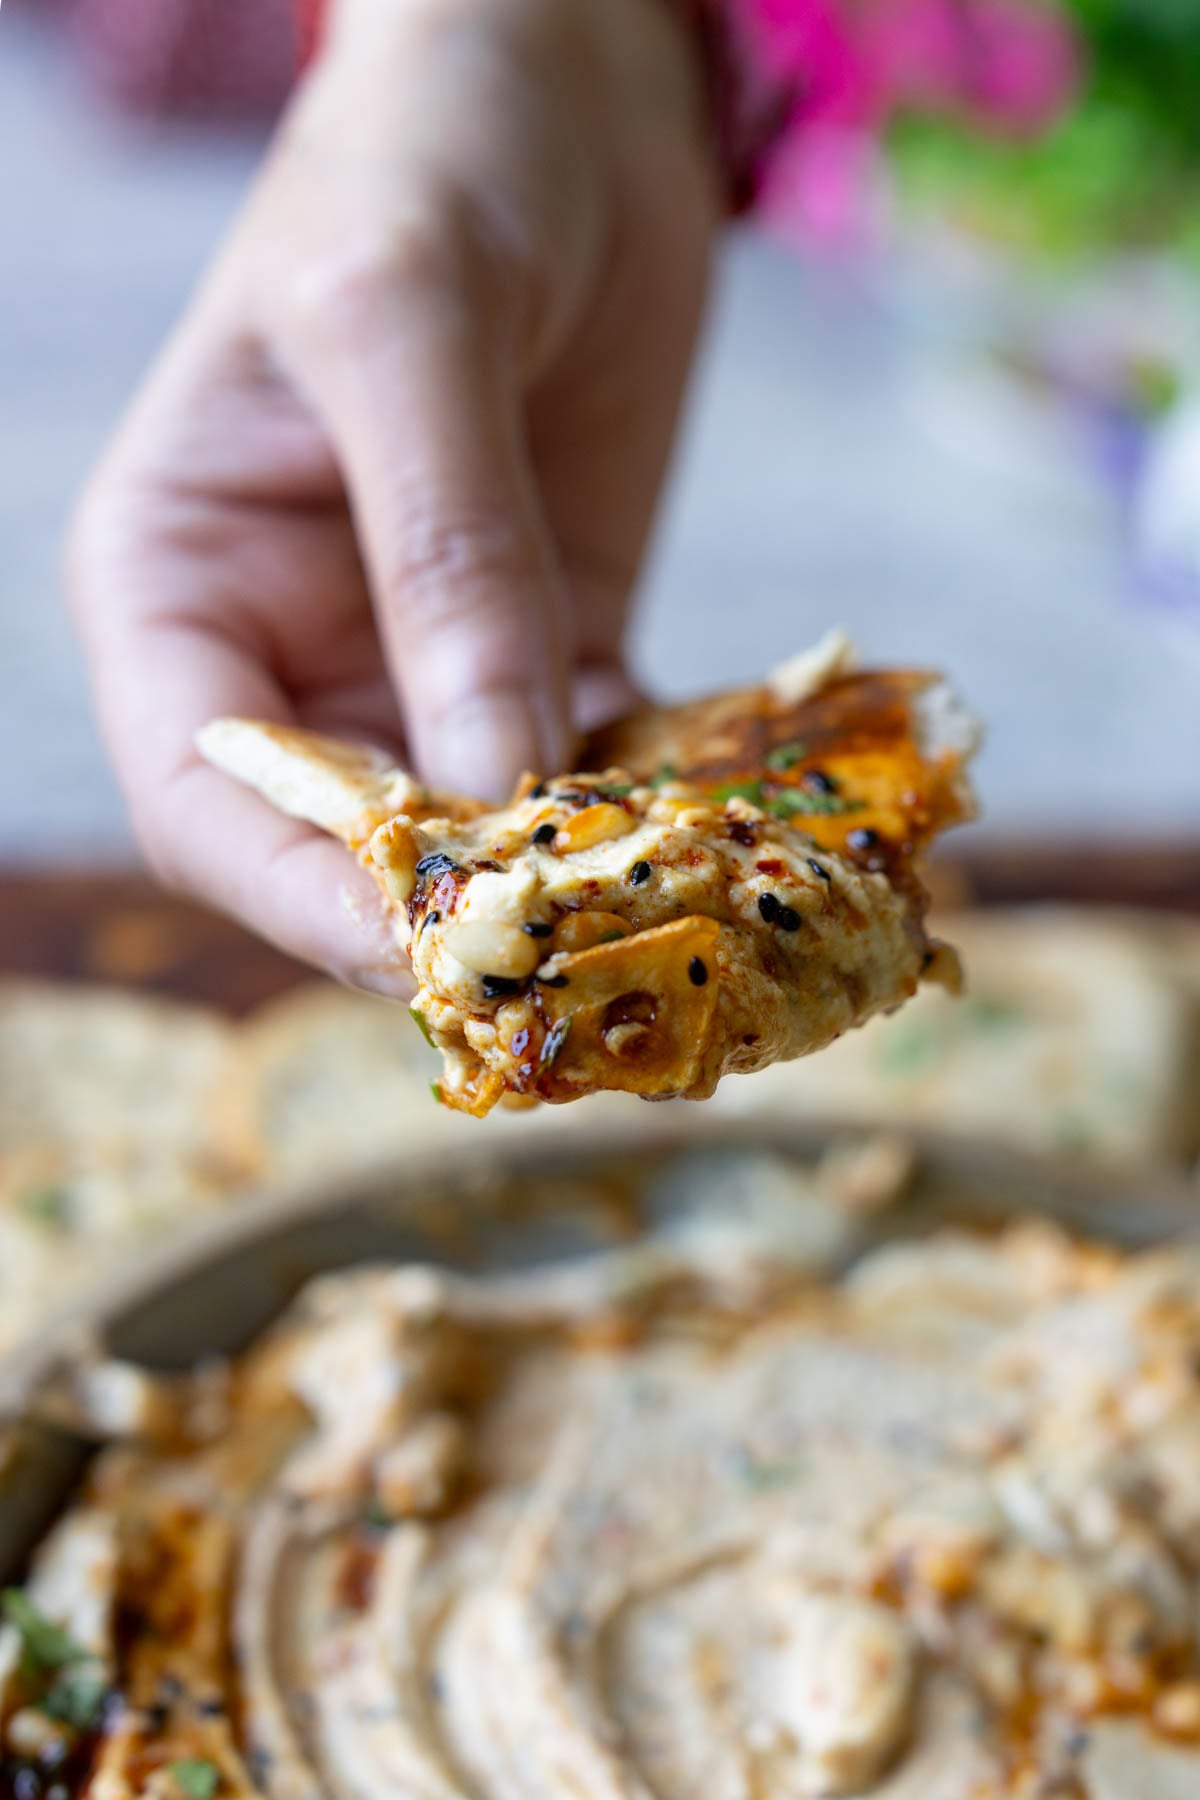
This dip, it’s luscious, tangy, creamy, delicious! Topped with a smoky savory spicy sweet topping. And it takes just 15 minutes! Once you try this dip, you’ll keep coming back with I can’t believe it’s tofu! I can’t believe it’s vegan!
We make the whipped feta with a block of tofu, but nobody will believe that it’s tofu-based. Even Dalana, my assistant, who is a level 10 tofu skeptic, said that she can’t taste the tofu in this vegan whipped feta at all.
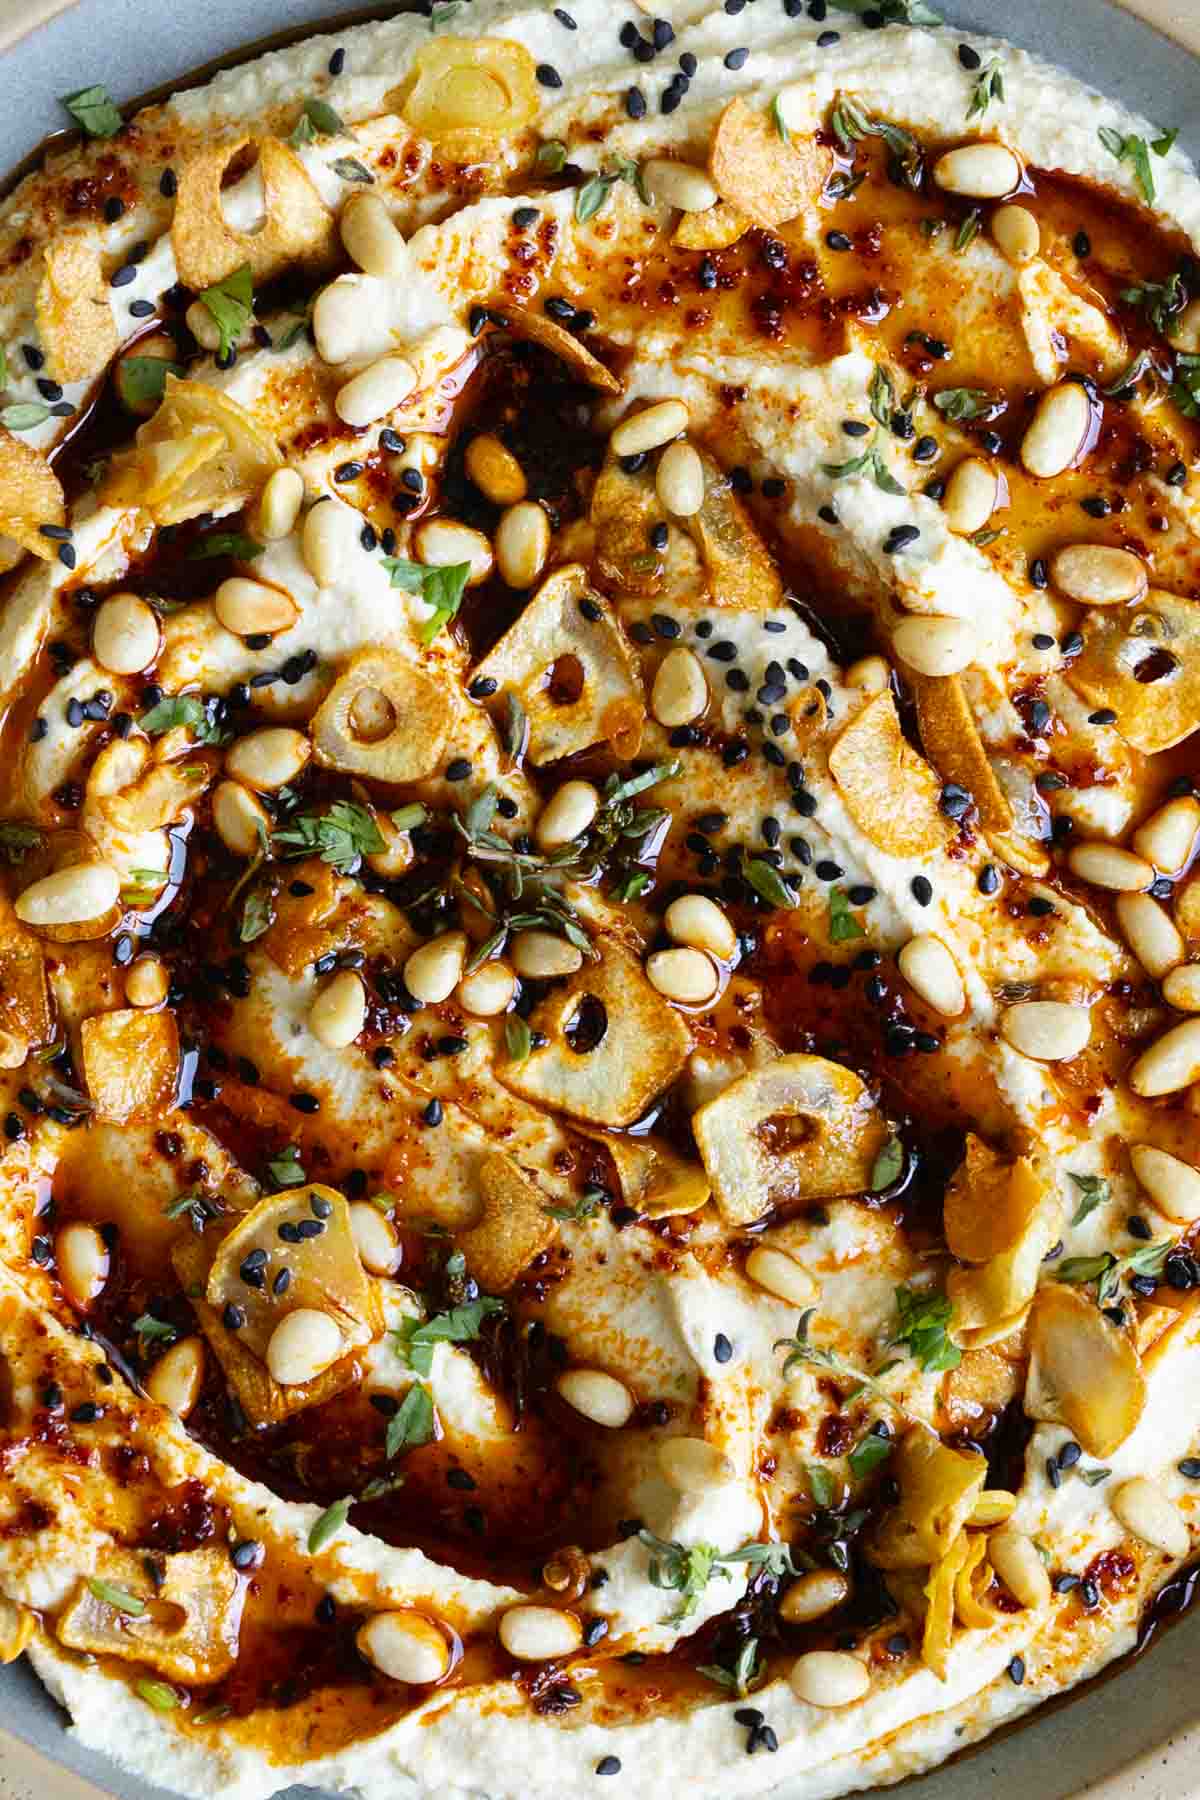
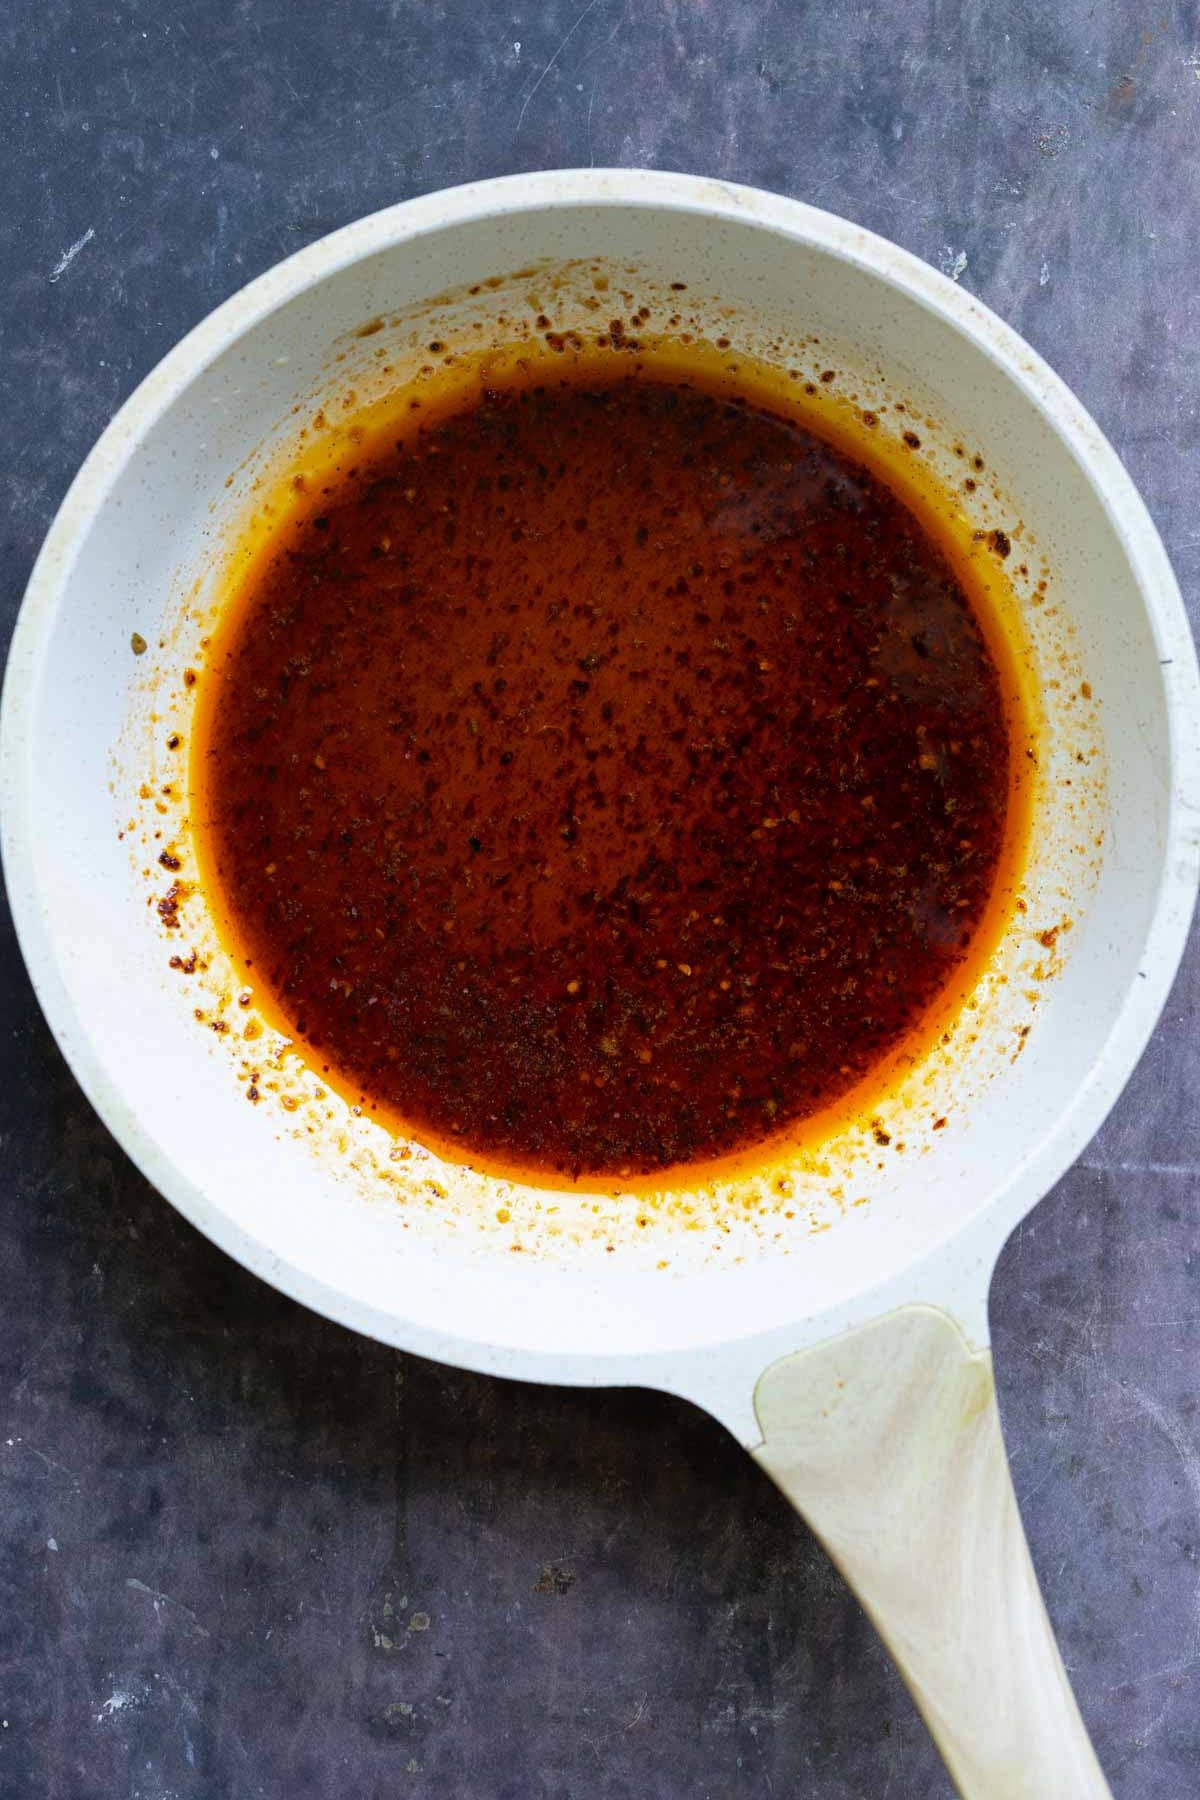
Then, we top the dip with this spicy, savory, smoky, bacon-y, hot honey kind of situation. Of course, vegan. And then there’s a crunchy topping with crisp garlic, some toasty seeds, and pine nuts.
This vegan tofu feta is easy to put together and it will disappear so quickly. You just add everything to the food processor for the tofu feta and it’s done. You crisp up a little bit of the garlic and toast the seeds, and that’s done. Mix the hot honey ingredients together, and that’s done.
It’s just an awesome dip, and it’s packed with protein, from the tofu and the seeds on top. A serving of this delicious dip has 15 grams of protein!
Whipped tofu feta is smooth, creamy, and versatile. You can serve it as a dip with a side of garlic bread, pita, veggies, or whatever else you like. You can use it to make sandwiches with crisp, fresh veggies, and it’s so filling and delicious. You can spread it on the bread with some onion and peppers and bake it to make high protein cheese toast. Or, add it to your charcuterie board with some of my other dips, like my jalapeño popper dip, spinach artichoke dip, or French onion dip. So many ways to use it!!
Why You’ll Love Whipped Tofu Feta
quick 15 minutes! and easy to make
a hit at potlucks, parties, holiday parties, etc.
creamy, protein-packed dairy-free whipped feta that no one will believe is tofu
crispy garlic and smoky-sweet vegan hot ‘honey’ topping
naturally gluten-free and nut-free with easy soy-free option
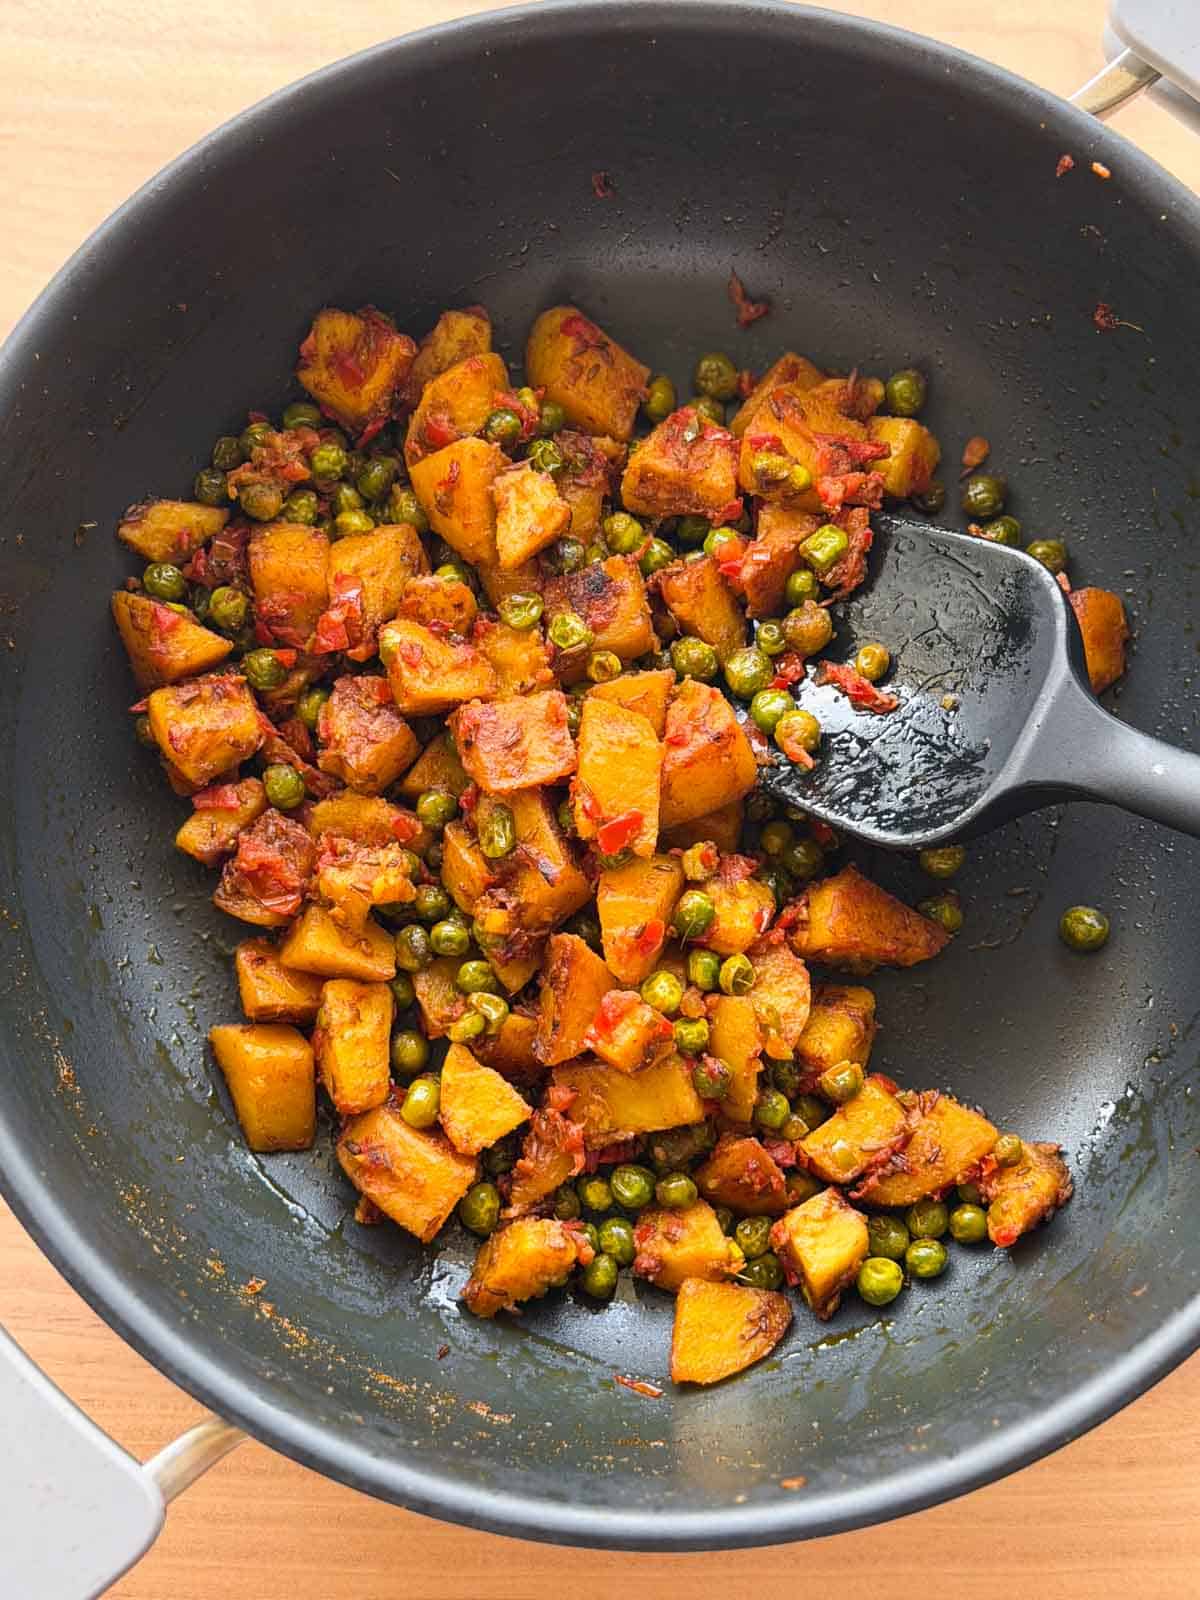
This masala aloo matar sabzi uses no onion and garlic, but is still bursting with flavor in every single bite. It’s spicy, tangy, and loaded with texture. For potato lovers, this needs to be on your lunch menu!
This masala aloo matar recipe is the perfect example of the fact that simple ingredients can create the most delicious dishes if used right. It’s got potatoes, peas, tomatoes, and a handful of everyday Indian spices, but the resulting sabzi is sooo flavorful that you’ll want to make it again and again!
My family loves eating this potato and peas curry with dal tadka and jeera rice, but I keep switching things up by plating this along with hot rotis, pooris, plain rice, and even adding it between two slices of bread to make a quick sandwich. And the vessel gets wiped clean every single time. And with two kids, you know this is a big achievement! Easy to customise, easy to make, and quite versatile, this masala aloo matar is a must-have on your weekly menu!
Potatoes: Peeled and cut into small cubes. Make sure they’re of the same size so they cook evenly and quickly
Green peas: I have used frozen, but both fresh and frozen work in this recipe
Tomatoes: For tang and texture. This forms the base of the masala in this masala aloo matar
Spices: Cumin seeds, asafoetida (hing), coriander, cumin, red chilli, and turmeric powders add color, warmth and flavor to the dish
Chilli: Finely chopped green chillies for heat. You can skip this if you have a low spice tolerance
Ginger: Finely chopped for heat, flavor and aroma
Amchur powder: AKA dry mango powder. This helps add a subtle tanginess to the sabzi. You can use a squeeze of lemon juice instead, but I highly recommend using amchur powder if you can find it
Coriander leaves: Used as garnish for a hit of earthy freshness in every bite
Salt: For seasoning
Oil: Any neutral-flavored oil with a high smoke point works well in this recipe
Frequently Asked Questions
Can I add other veggies to this recipe?
Absolutely! Cauliflower, carrots, beans, and mushrooms are some veggies that work really well in this dish. You can even add paneer if you like.
Can I add onions and garlic to this recipe?
Yes, why not! This sabzi is usually made during Navratri and we don’t eat onion and garlic during this time. But you can certainly add onion and garlic for a masala aloo matar sabzi that’s just as delicious!
Richa’s Top Tips
Cook on low heat: Keep the pan covered and cook on low heat so the potatoes soften without burning. Stir occasionally and add a splash of water if the masala starts sticking to the bottom.
Add the tomatoes later: Adding tomatoes once the potatoes are almost cooked prevents their acidity from slowing down the cooking process and helps the potatoes soften properly.
Adjust the spices to your taste: You can increase the green chilli or red chilli powder for more heat. If you prefer a tangier aloo matar, add a little extra amchur powder.
Serving Ideas
Aloo matar is one of those everyday sabzis that goes with just about anything! Here are a few ways to serve it:
With puri: Serve it alongside hot, fluffy puris for a classic combination that’s perfect for a weekend breakfast or lunch.
Storage Tips
Refrigerator: Allow the aloo matar to cool completely and transfer it to an airtight container. Refrigerate for up to 3–4 days.
Reheat: Reheat in a kadai or pan over medium-low heat, stirring occasionally. Add a splash of water if the sabzi has dried out. You can also reheat individual portions in the microwave.
Freezing: You can freeze aloo matar for up to 2 months, but keep in mind that potatoes can become slightly grainy or change texture after thawing. For the best texture, I recommend making it fresh or refrigerating it instead.
This simple aloo matar is an easy, everyday sabzi made with potatoes, green peas and a handful of pantry spices. It’s comforting, full of flavour and pairs beautifully with roti, paratha or rice. Keep this recipe handy for those days when you want a delicious homemade meal without spending too much time in the kitchen!
If you make this recipe, DM me your pictures over on my IG @my_foodstory. I love seeing your recreations!
2potatoesapprox 250 grams, peeled and cut into ½ inch cubes
¾cupfresh or frozen green peasapprox.100 grams
2teaspoonscoriander powder
½teaspooncumin powder
½teaspoonred chilli powder
½teaspoonturmeric powder
¼teaspoonamchur powder
¾teaspoonsalt
1tomatofinely chopped, approx. ½ cup
1tablespoonfinely chopped coriander leaves
Instructions
Heat oil in a kadai or pan, add cumin seeds, hing and once the cumin seeds crackle, add green chilli, ginger and saute for a few seconds till fragrant.
Add potatoes, green peas, spice powders – coriander, cumin, red chilli, turmeric, amchur, salt, mix well and cook covered on low heat for 8-10 minutes till the potatoes are 85% cooked.
Add tomatoes, mix well and cook on low heat for 4-5 minutes till the potatoes are cooked well, garnish with coriander leaves and serve.
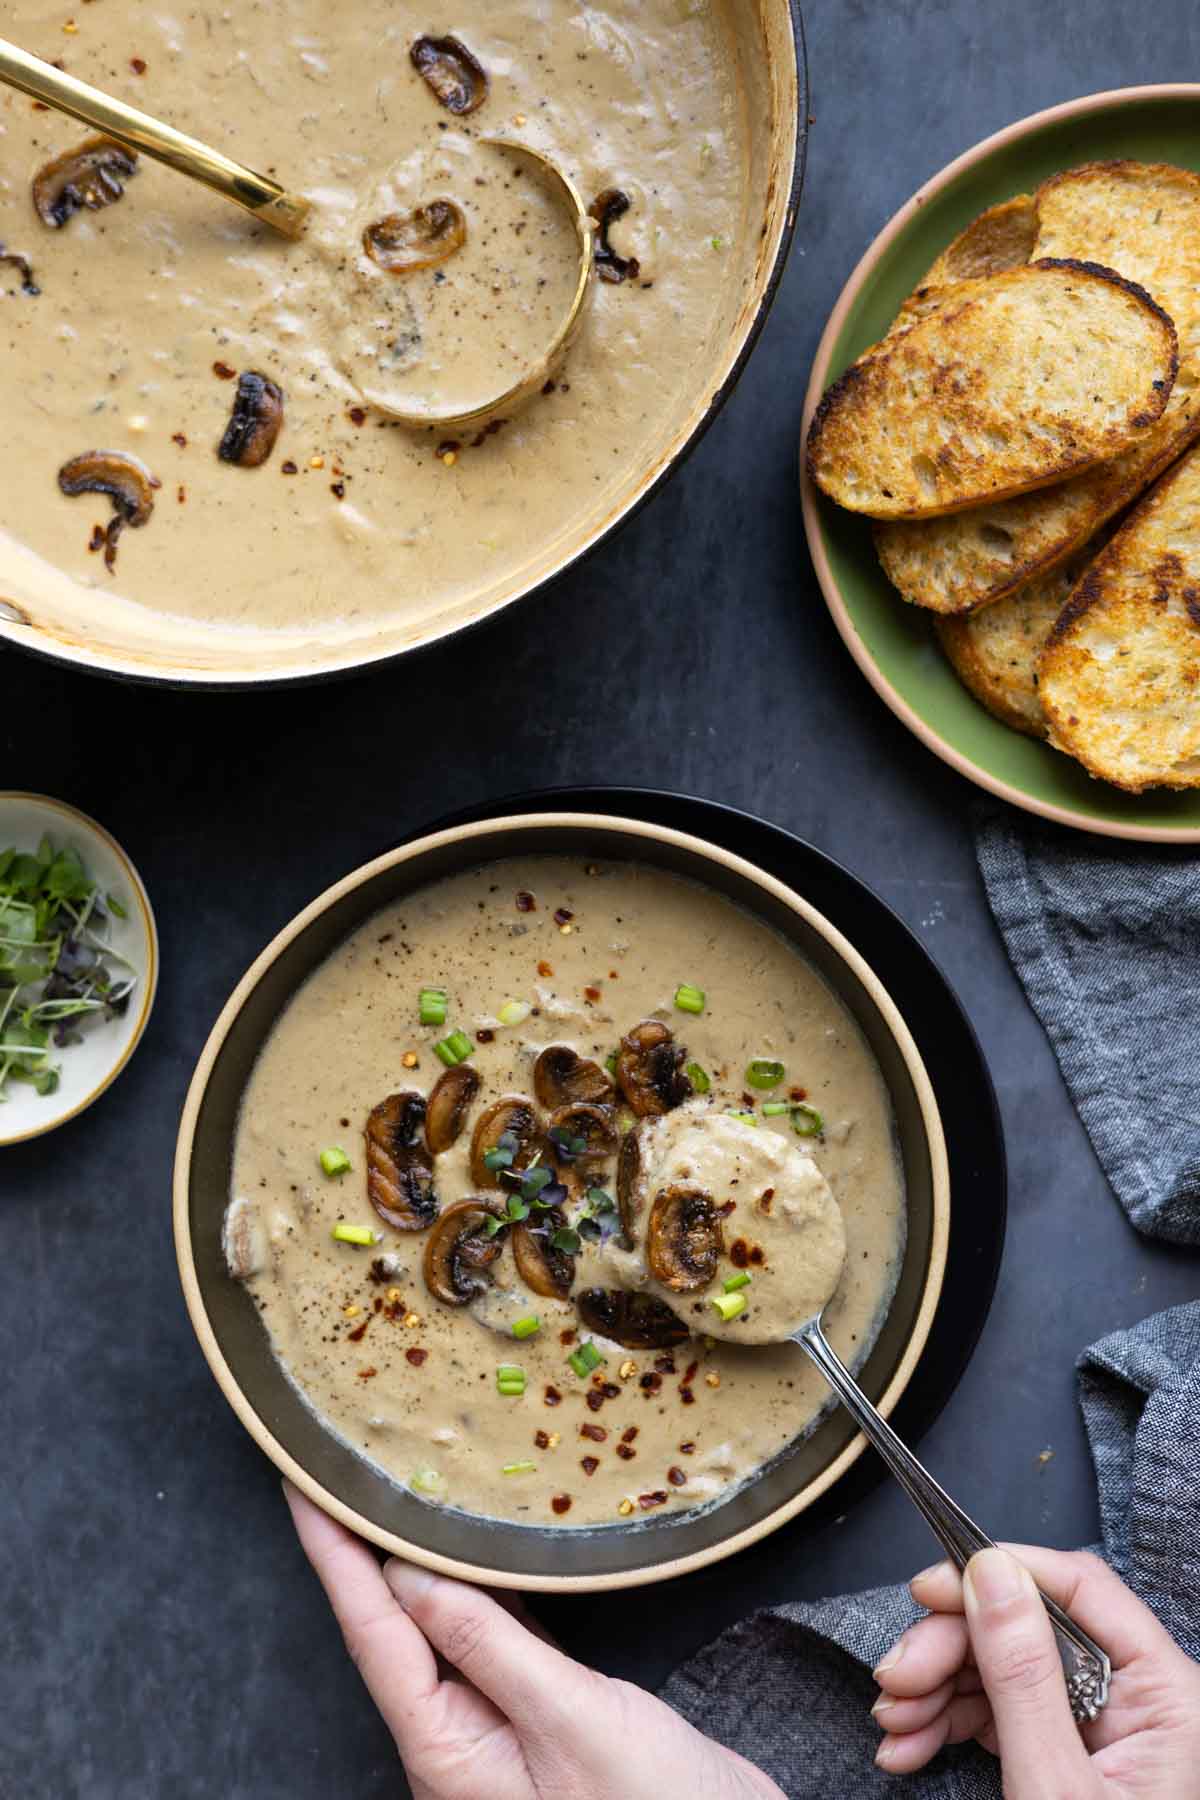
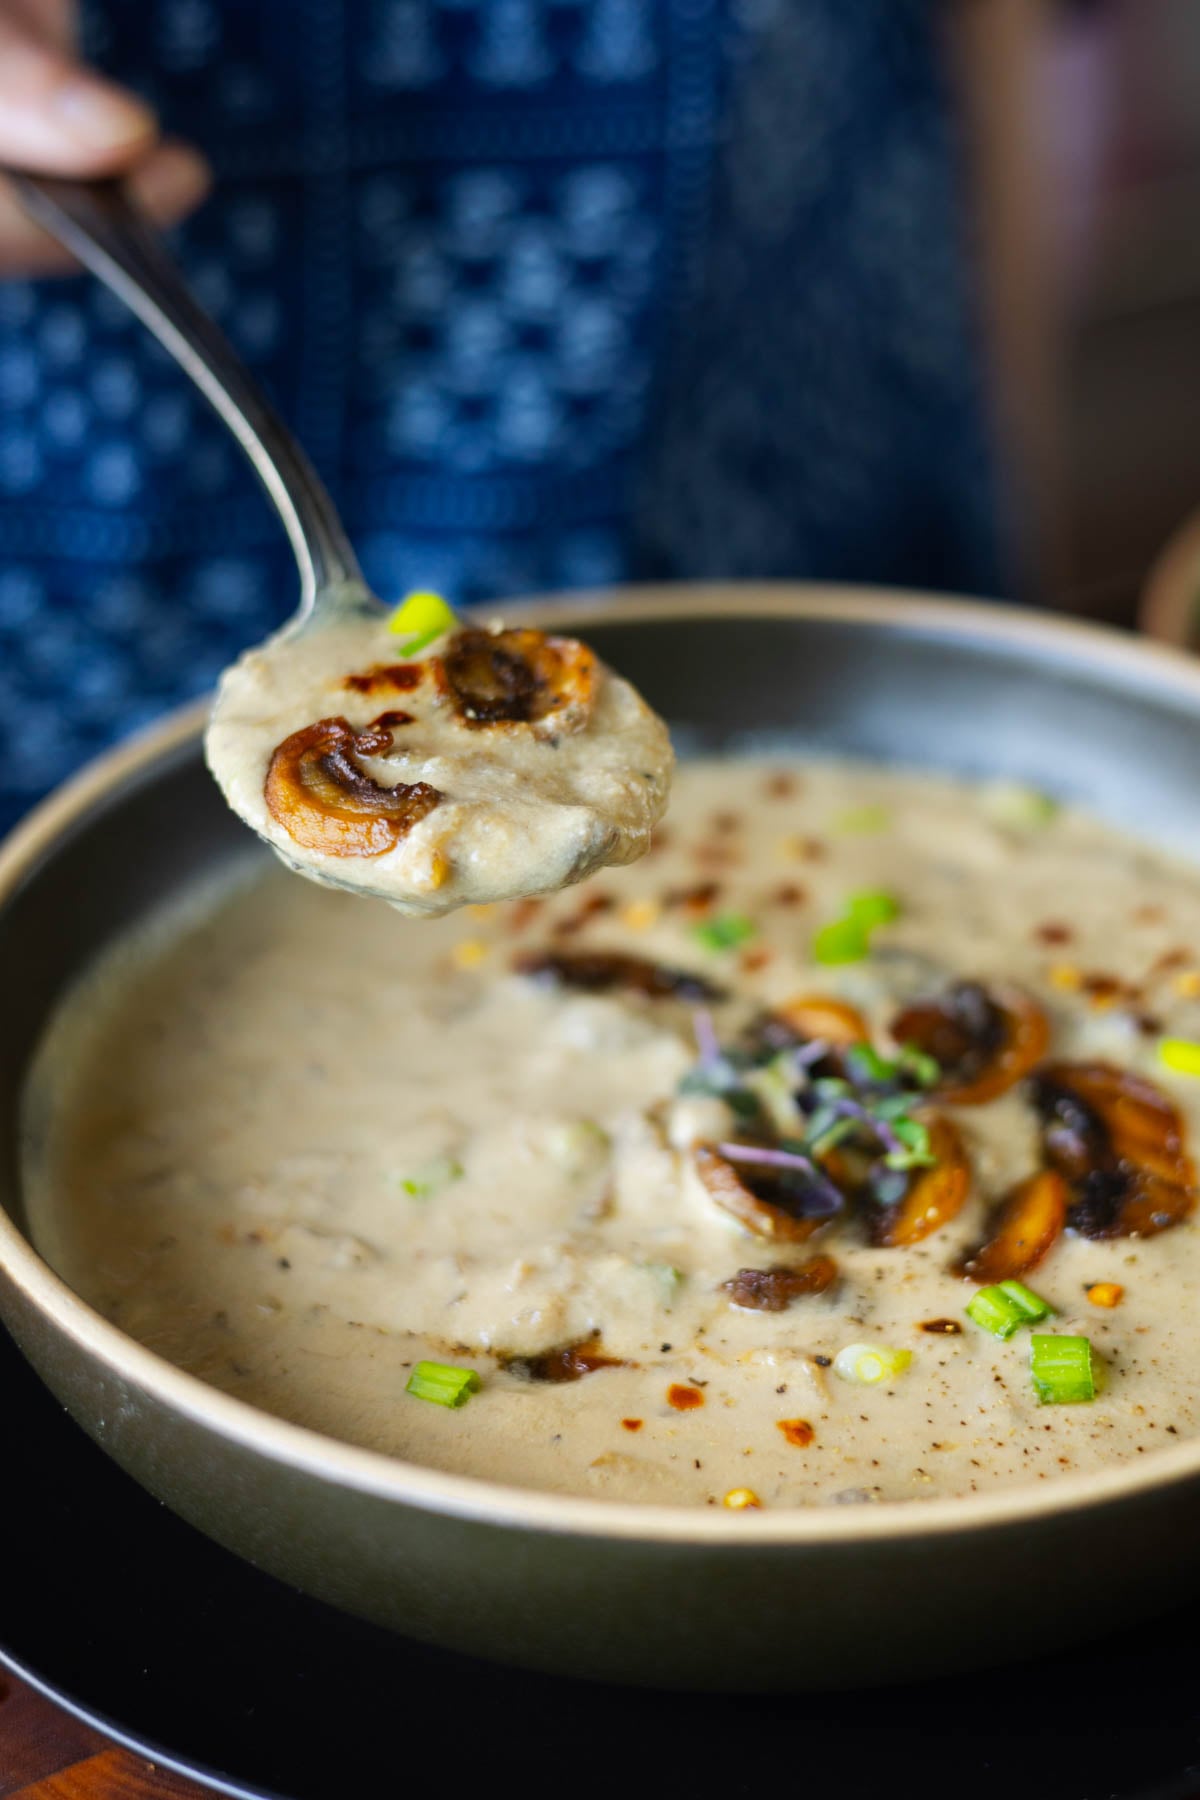
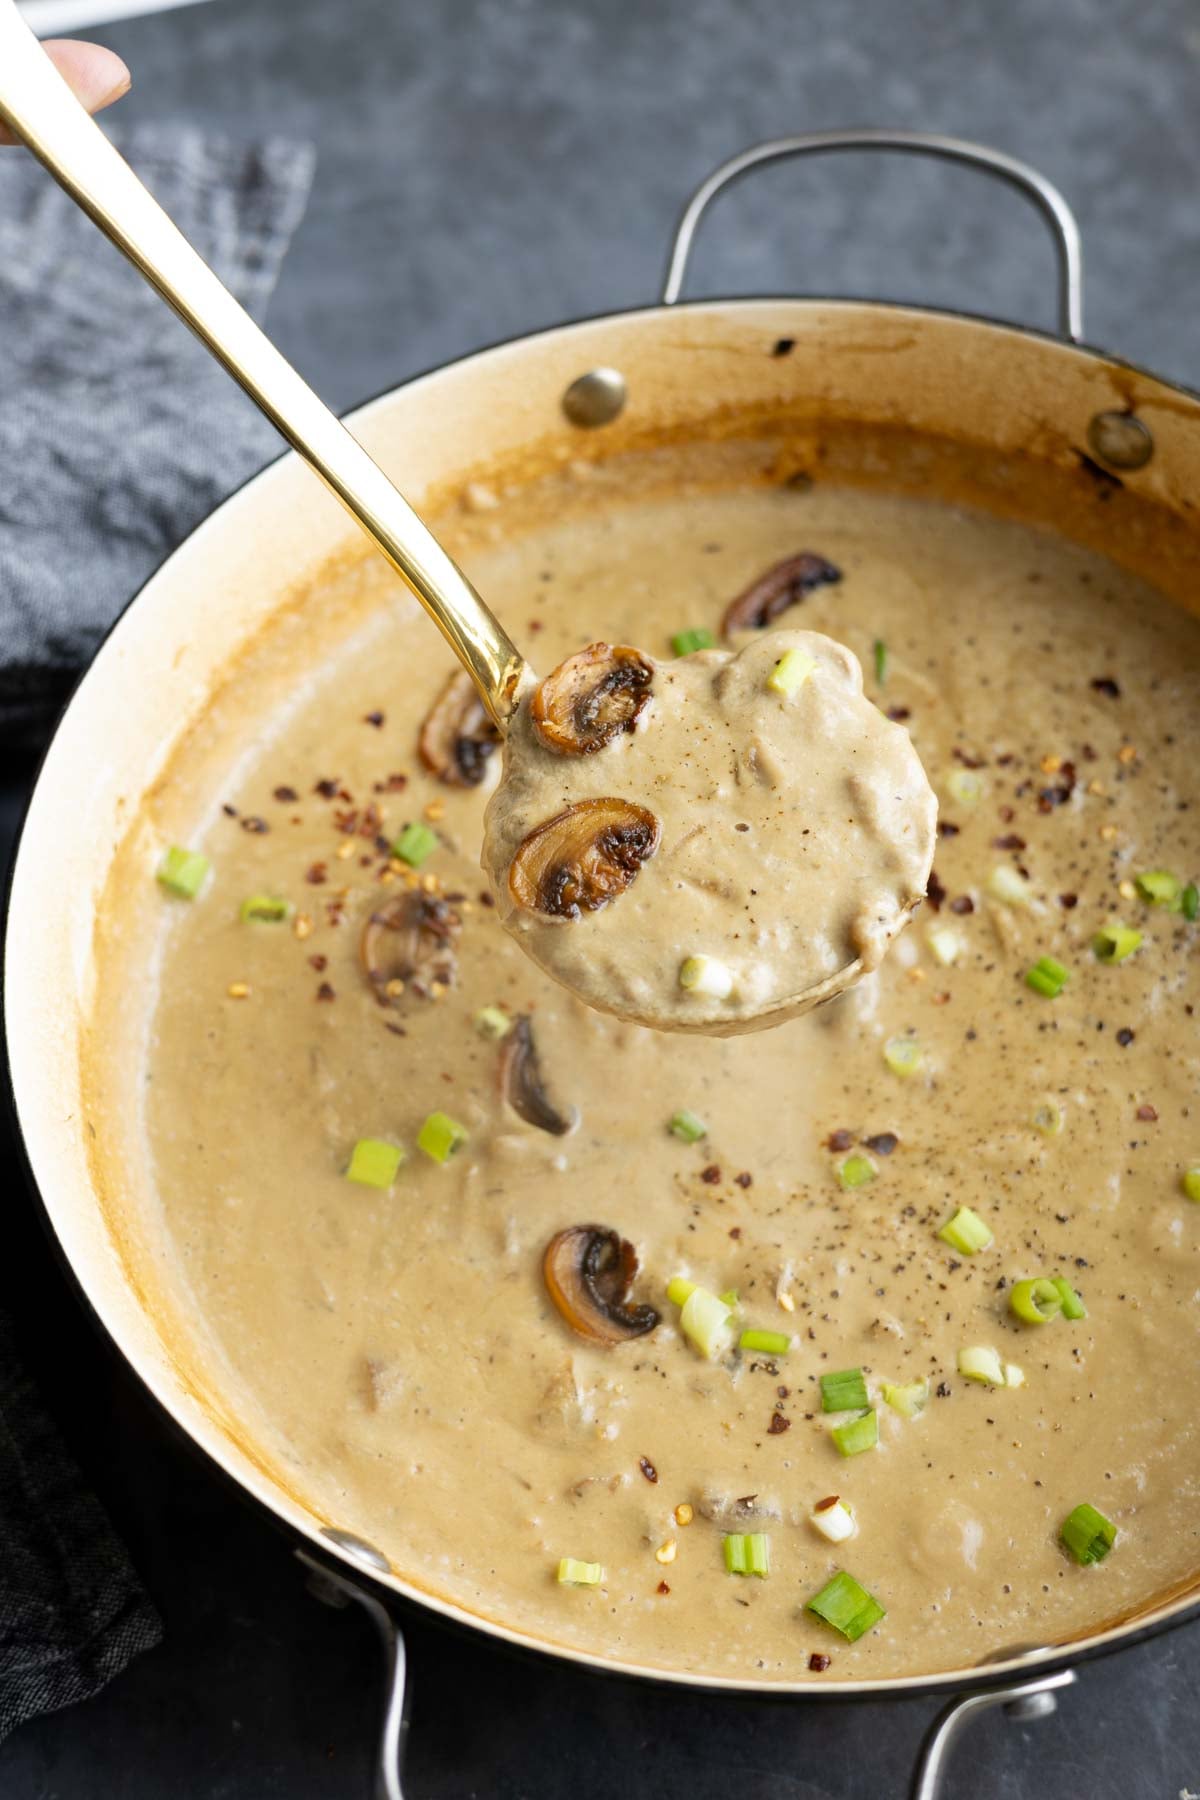
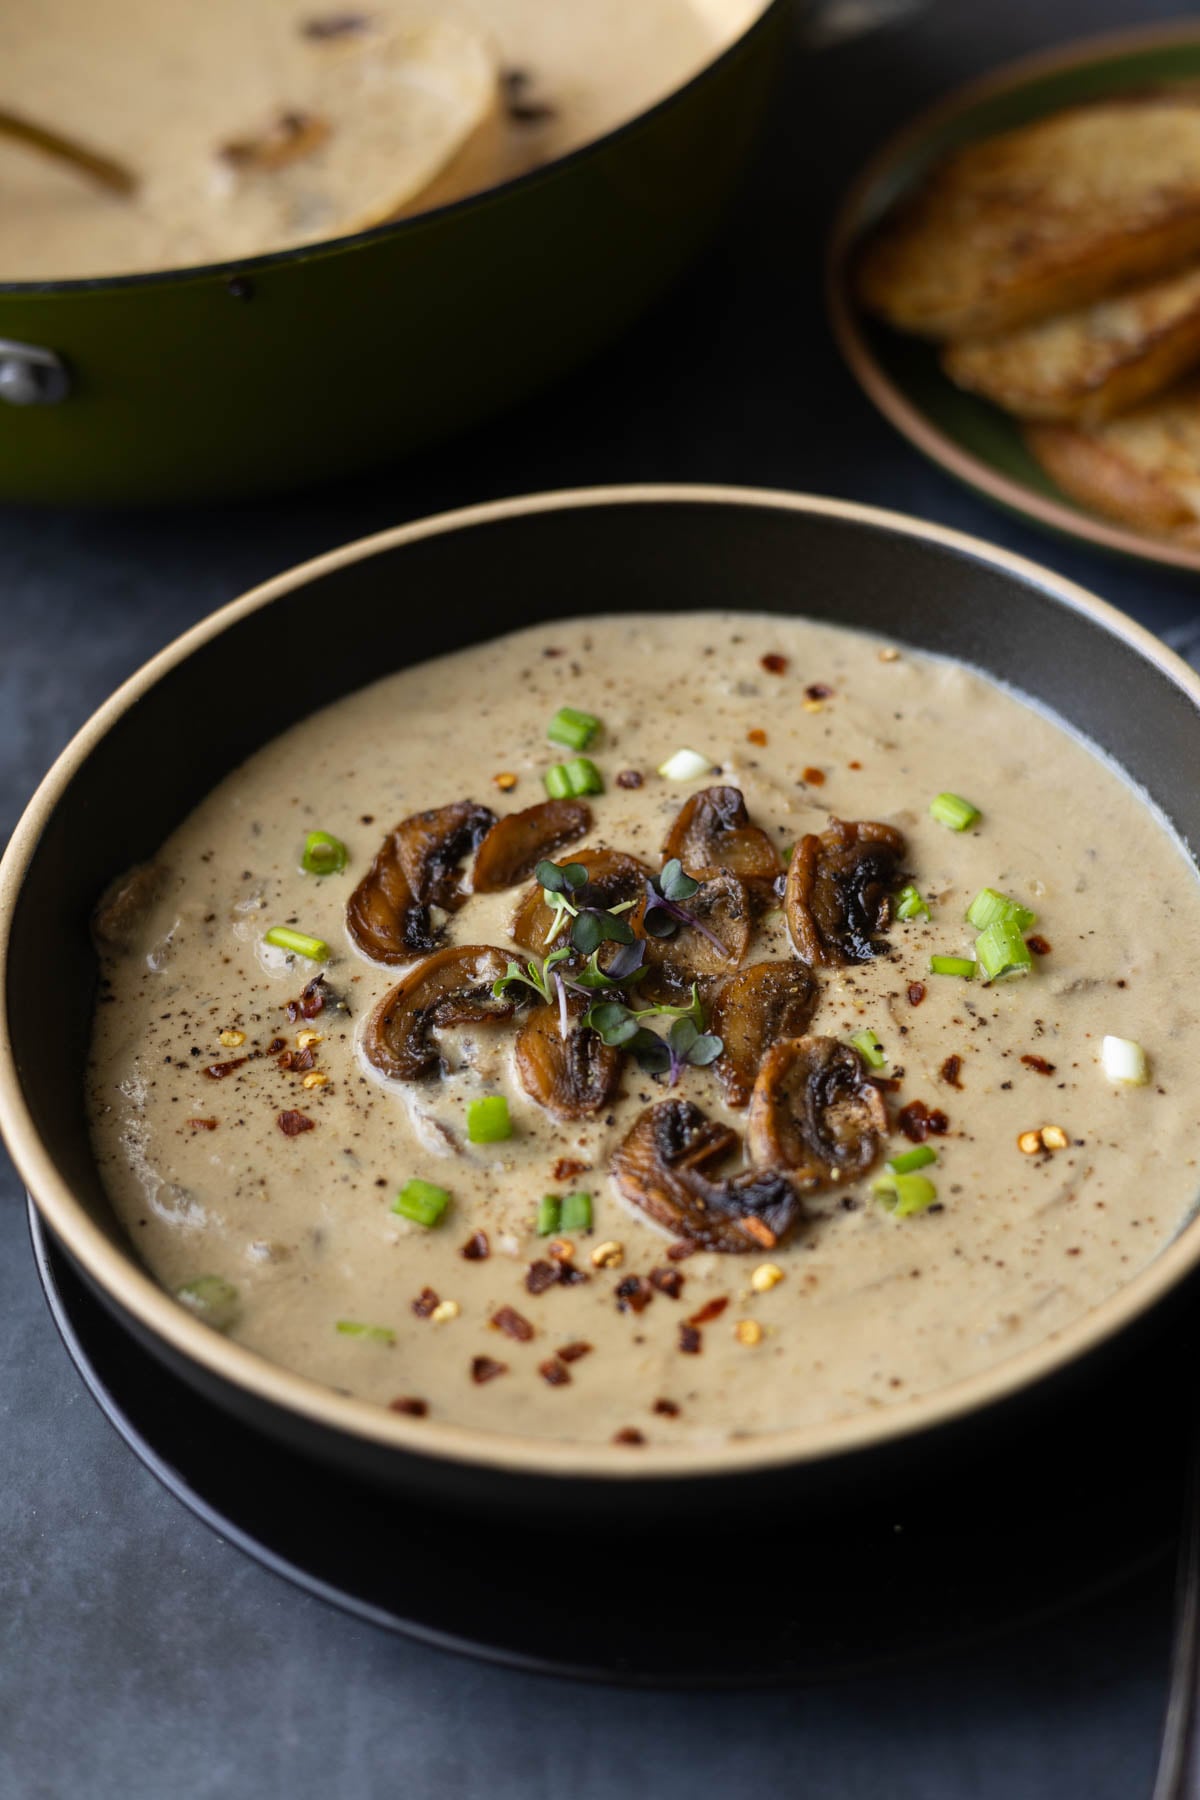
This easy vegan cream of mushroom soup is rich, savory, and packed with mushroom flavor, plus 14g protein per serving! Made with simple ingredients and ready in just 30 minutes. Perfect with crusty bread for dipping! With a side of whole grain bread – 18g Protein. (gluten-free, soy-free with easy nut-free option)
This recipe was originally posted March 6, 2013. It has been updated with modified recipe, pictures and video.
This cream of mushroom soup is a recipe that my friend Somer McCowan shared on my site over 10 years ago. Somer passed away from cancer months ago, and I’ve been thinking about her a lot, which got me thinking about this soup .
I tweaked Somer’s recipe a little bit, reducing the cashews, and changed a couple of the steps in the cooking method to make it simpler.
The original recipe called for adding all of the stock to the mushroom mixture and boiling it and then blending some of that soup, but it’s not as easy when you have to transfer boiling liquid into a blender. So instead, I’m blending part of the cooked onion and mushroom mixture with the cashews and adding that back into the pan, then adding the remaining stock.
This is just such a simple and delicious soup! You can change up the flavors to preference, deepen the flavors by adding some miso, add some fresh herbs for additional flavor, and some pepper flakes for a little bit of heat, if you like. If you don’t have wine, you can use balsamic vinegar instead.
Somer was just an amazing person, and her recipes were always incredible. When I was dealing with health issues, she pitched in with this recipe to help keep my blog going. She was just an absolute superwoman. She wrote for Forks Over Knives, co-hosted the Virtual Vegan Potluck, and was just the sweetest, most beautiful, compassionate person.
Somer’s cream of mushroom soup recipe is simple, yet it’s so creamy and flavorful with herbs and plenty of umami! She said, “I’d like to think if I was able to go to Richa’s house and bring her some lunch, that I’d bring her a big bowl of this soup. Feel better soon, girl.”
Why You’ll Love Cream of Mushroom Soup
delicious, creamy soup with amazing herb and mushroom flavor
easy to make in 30 minutes with simple ingredients
gluten-free and soy-free with nut-free and oil-free options
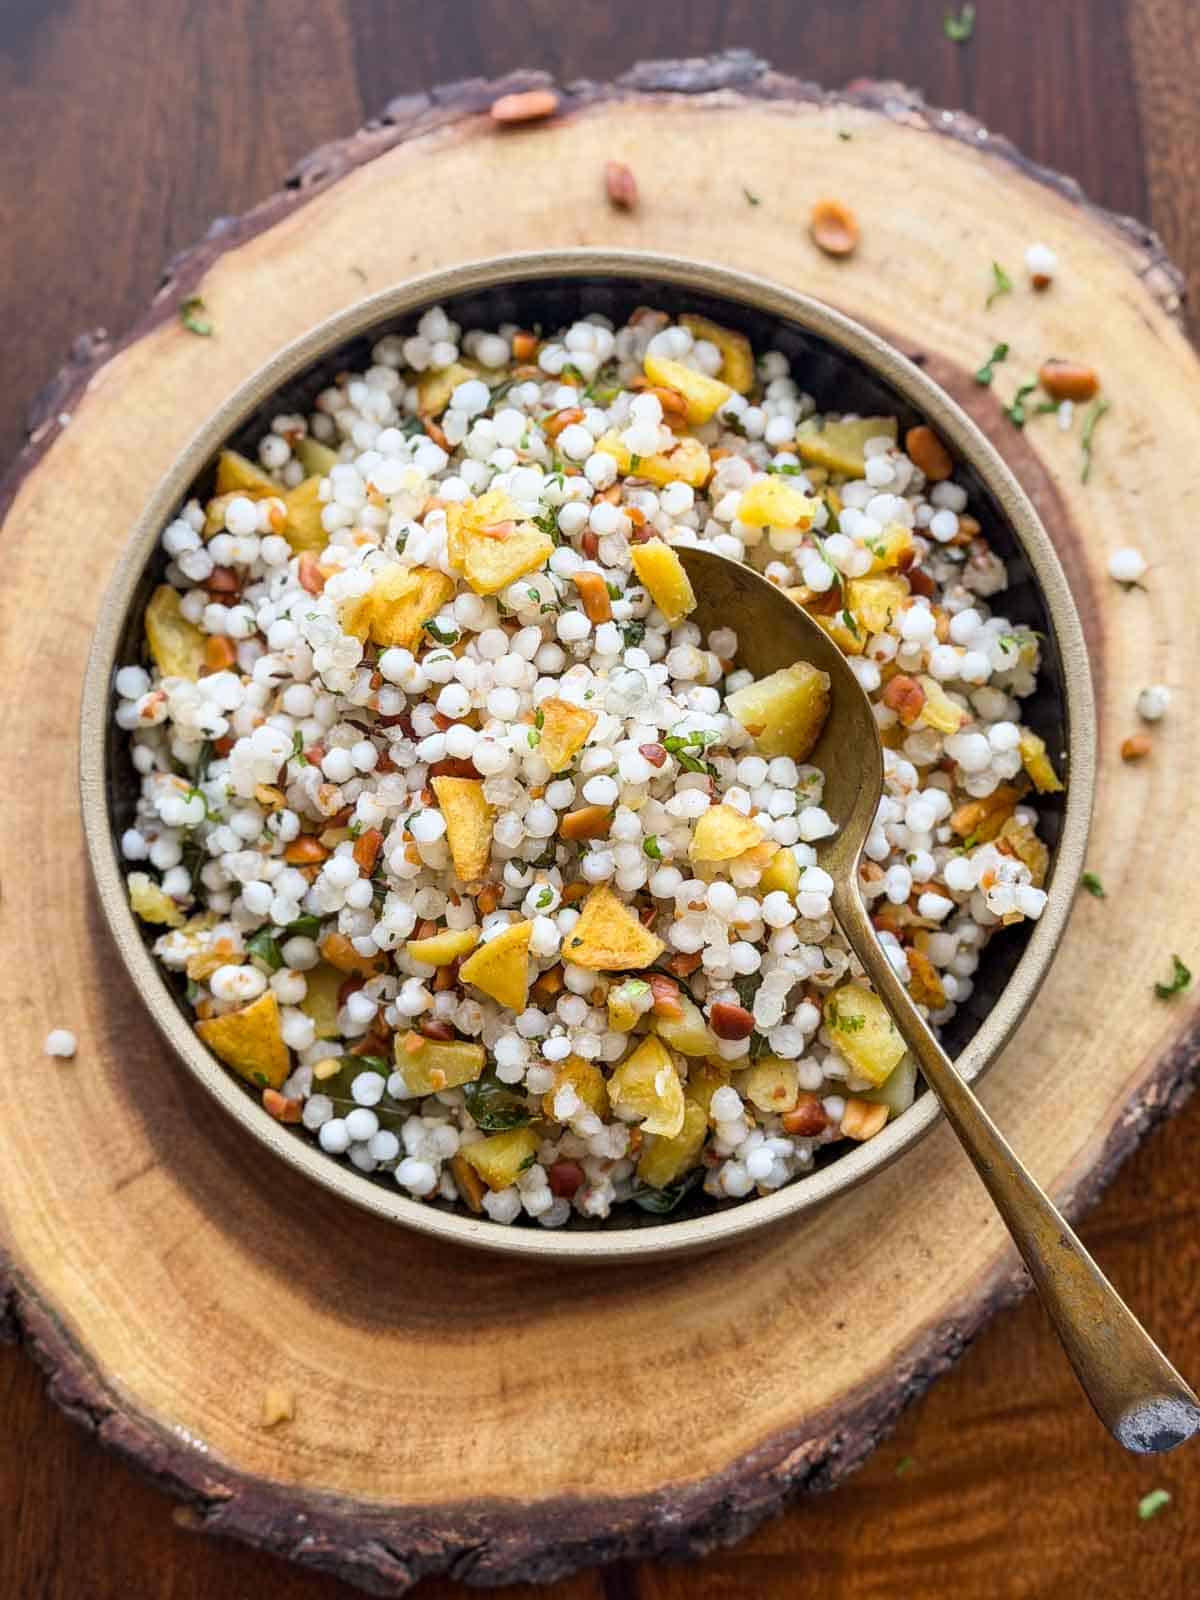
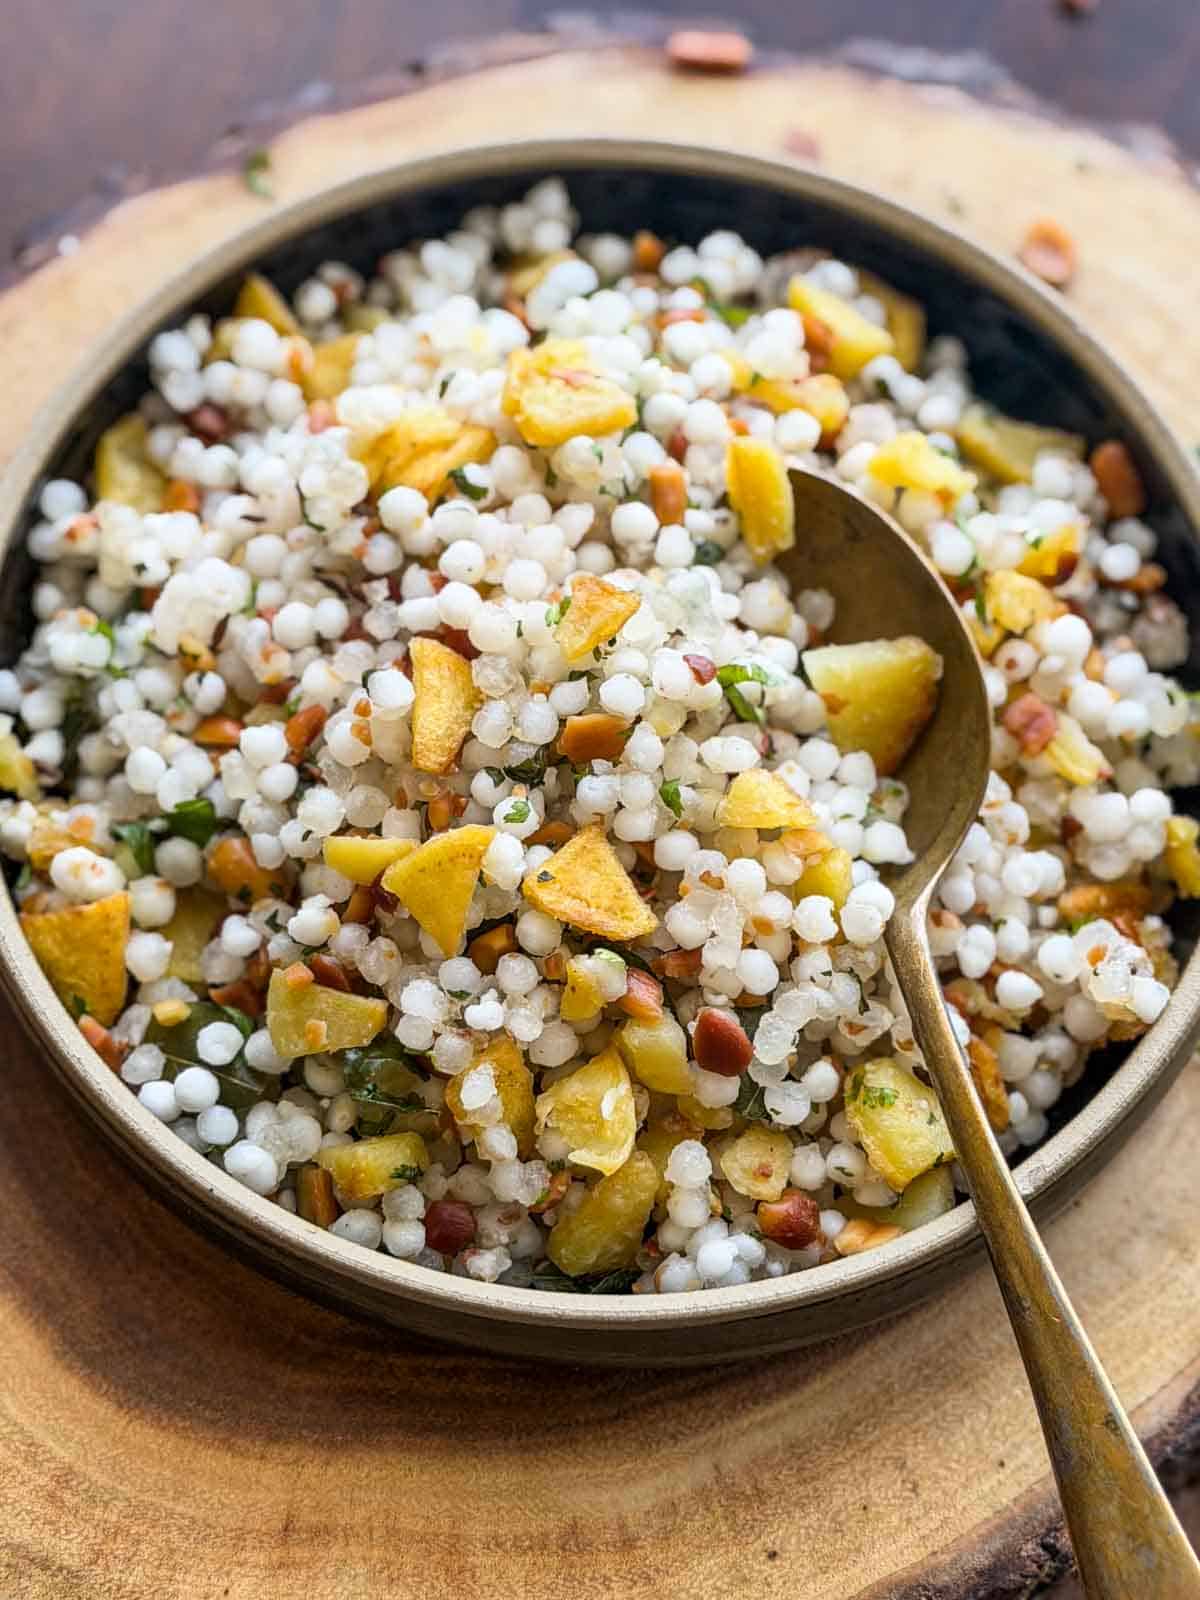
Making sabudana khichdi is easy, but can take some practice. But with my six tips to make non sticky Sabudana Khichdi, you’re going to be a pro in no time!
Sabudana Khichdi makes a weekly appearance on our breakfast table and we make it almost everyday during Navratri. We love the flavor and texture that aloo, sabudana, and peanut add to the dish, and how it all feels complete and a whole lot flavorful with the final drizzle of lemon juice.
But a lot of people who complain of their sabudana khichdi turning out slimy or clumpy. And while this may be a common problem, it is actually quite easy to fix. In this article, along with the recipe, I am sharing 7 fool-proof ways to make the most perfect sabudana khichdi ever. No more clumpy, slimy, unevenly flavored sabudana ever!
Sabudana Khichdi is really like a pilaf or pulao made with sago pearls. Its simplicity is what sets it apart. But if not made right, it can turn into quite a disaster with sticky, clumpy sabudana thats overcooked. We are looking for a dish where each sago pearl is separate, perfectly cooked and has just turned translucent.
Sabudana Khichdi Ingredients Overview
Sabudana: Also known as sago pearls. It is the hero ingredient. These come in three different sizes, but I think the medium ones work best for this recipe
Ghee: For flavor and richness. I love using my homemade ghee for the best results.
Spices: Cumin seeds or jeera, and curry leaves. It uses minimal spices because people traditionally eat it on fasting days
Potatoes: For texture and flavor
Peanuts: Adds some good fats, texture, and a lovely nutty flavor to each bite
Seasoning: Salt and sugar are added to season the dish
Lime juice and chopped coriander: Used as garnish for a hit of freshness. These are the perfect finishing touches
7 Fool-Proof Tips for Perfect Sabudana Khichdi
Wash: The sabudana should be washed thoroughly to get rid of any excess starch under running water in a colander. Gently rub the pearls between your fingers for even better results.
Soak: Follow a 1:1 ratio of sabudana to water. So for one cup of sabudana you need a cup of water. The water should just cover the sabudana.
Soak for at least 5 hours: I’ve seen recipes where sabudana is soaked for 2-4 hours but after a lot of trial, 5 hours minimum or overnight (approx 8 hours), if I have time, gives me best results. .
Use crushed peanuts: This keeps the khichdi stay dry while adding flavour, fats and protein
Make sabudana in ghee: The richness of ghee and the lovely flavor it adds are something else. However, you can make it vegan by using oil instead. But if you can, please make this in ghee for the best flavor!
Don’t over mix: Once you add soaked sabudana to the pan, stir it well till everything is mixed and then let it cook on a lot flame for a few minutes. Stirring it over and over again makes the sago pearls clumpy
Don’t overcookthe khichdi: Cook it for only a about 2-3 minutes on low flame until you can see the sabudana turn slightly translucent. If the sabudana overcooks, it’ll start sticking to each other
Serving Ideas
With yogurt: Serve sabudana khichdi hot with a bowl of chilled plain yoghurt or dahi on the side. It balances the heat from the green chillies and makes the meal more filling.
With a crunchy side: Pair it with roasted peanuts, potato chips or banana chips for a light, fasting-friendly crunch in every bite.
With a cup of chai: Sabudana khichdi makes a delicious breakfast or evening snack with a hot cup of masala chai.
Storage Tips
Refrigerator: Let the sabudana khichdi cool slightly, then transfer it to an airtight container and refrigerate within 2 hours of cooking. It will keep well for up to 2 days.
Reheat: Sabudana tends to turn a little sticky as it cools. Sprinkle a teaspoon or two of water over the khichdi and reheat it in a covered pan over low heat, stirring gently until warmed through. You can also microwave it in short intervals, stirring in between.
Restoring the texture: If the khichdi looks dry after refrigeration, add a small splash of water while reheating. A squeeze of lemon juice and a little fresh coriander added just before serving can also freshen it up.
Freezing: I wouldn’t recommend freezing sabudana khichdi, as the tapioca pearls can become mushy or change texture once thawed.
Make-ahead tip: You can soak and drain the sabudana ahead of time and refrigerate it until you’re ready to cook. Keep it covered and use it within a day for the best results.
Sabudana Khichdi is a delicious meal by itself. Some people serve it with curd or yogurt but I prefer it as is. This khichdi is gluten free and can be made vegan by replacing the ghee with oil.
Sabudana Khichdi is a delicious, filling breakfast or meal option made with Sago pearls and a few basic spices. With barely 9 ingredients, this is a fast, easy recipe. It's very popular during Navratri as a fasting recipe.
3/4teaspoonSaltor sendha namak if making it for fasting
1/2teaspoonSugar
1teaspoonLime Juice
2tablespoonschopped Coriander
Instructions
Wash 1 cup sabudana well in running water to remove any extra starch and soak it in 1 cup water overnight or for 8 hours.
To check if the sabudana is sufficiently soaked, press a pearl between your fingers and it should smash easily. Drain the sabudana after soaking to get rid of any excess water and set aside. This is an optional step – I've never had to do this.
Heat ghee in a pan and add cumin seeds or jeera. Once they start spluttering, add chopped potatoes and 1/4 teaspoon salt. Saute the potatoes and cook on low flame for 3-4 minutes till tender.
Add curry leaves and green chillies and saute for another minute.
Add soaked sabudana, crushed peanuts, remaining salt and sugar and mix well. Cook for a few minutes – about 3-4 minutes on a low flame until the sabudana starts to turn translucent.
Turn off the flame, add lime juice and chopped coriander and give it another quick mix. Serve hot.
Video
Notes
Wash Sabudana well to get rid of any excess starch under running water in a colander
Soak it in a 1:1 ratio of Sabudana to water. So for one cup of sabudana you need a cup of water. The water should just cover the sabudana.
Soak overnight for best results. I’ve seen recipes where sabudana is soaked for 2-4 hours but after a lot of trial, overnight gives me best results. Approximately 8 hours is good.
Use crushed peanuts which help reduce the stickiness of sabudana khichdi and also add flavours, fats and protein
Don’t overmix after adding the sabudana to the pan. Once you add soaked sabudana, stir it well till everything is mixed and then let it cook on a lot flame for a few minutes. Stirring it over and over again makes the sago pearls clumpy
Don’t overcook the khichdi. Cook it for only a few minutes on low flame after mixing the sabudana till they start to turn translucent. If the sabudana overcooks, it’ll start sticking to each other
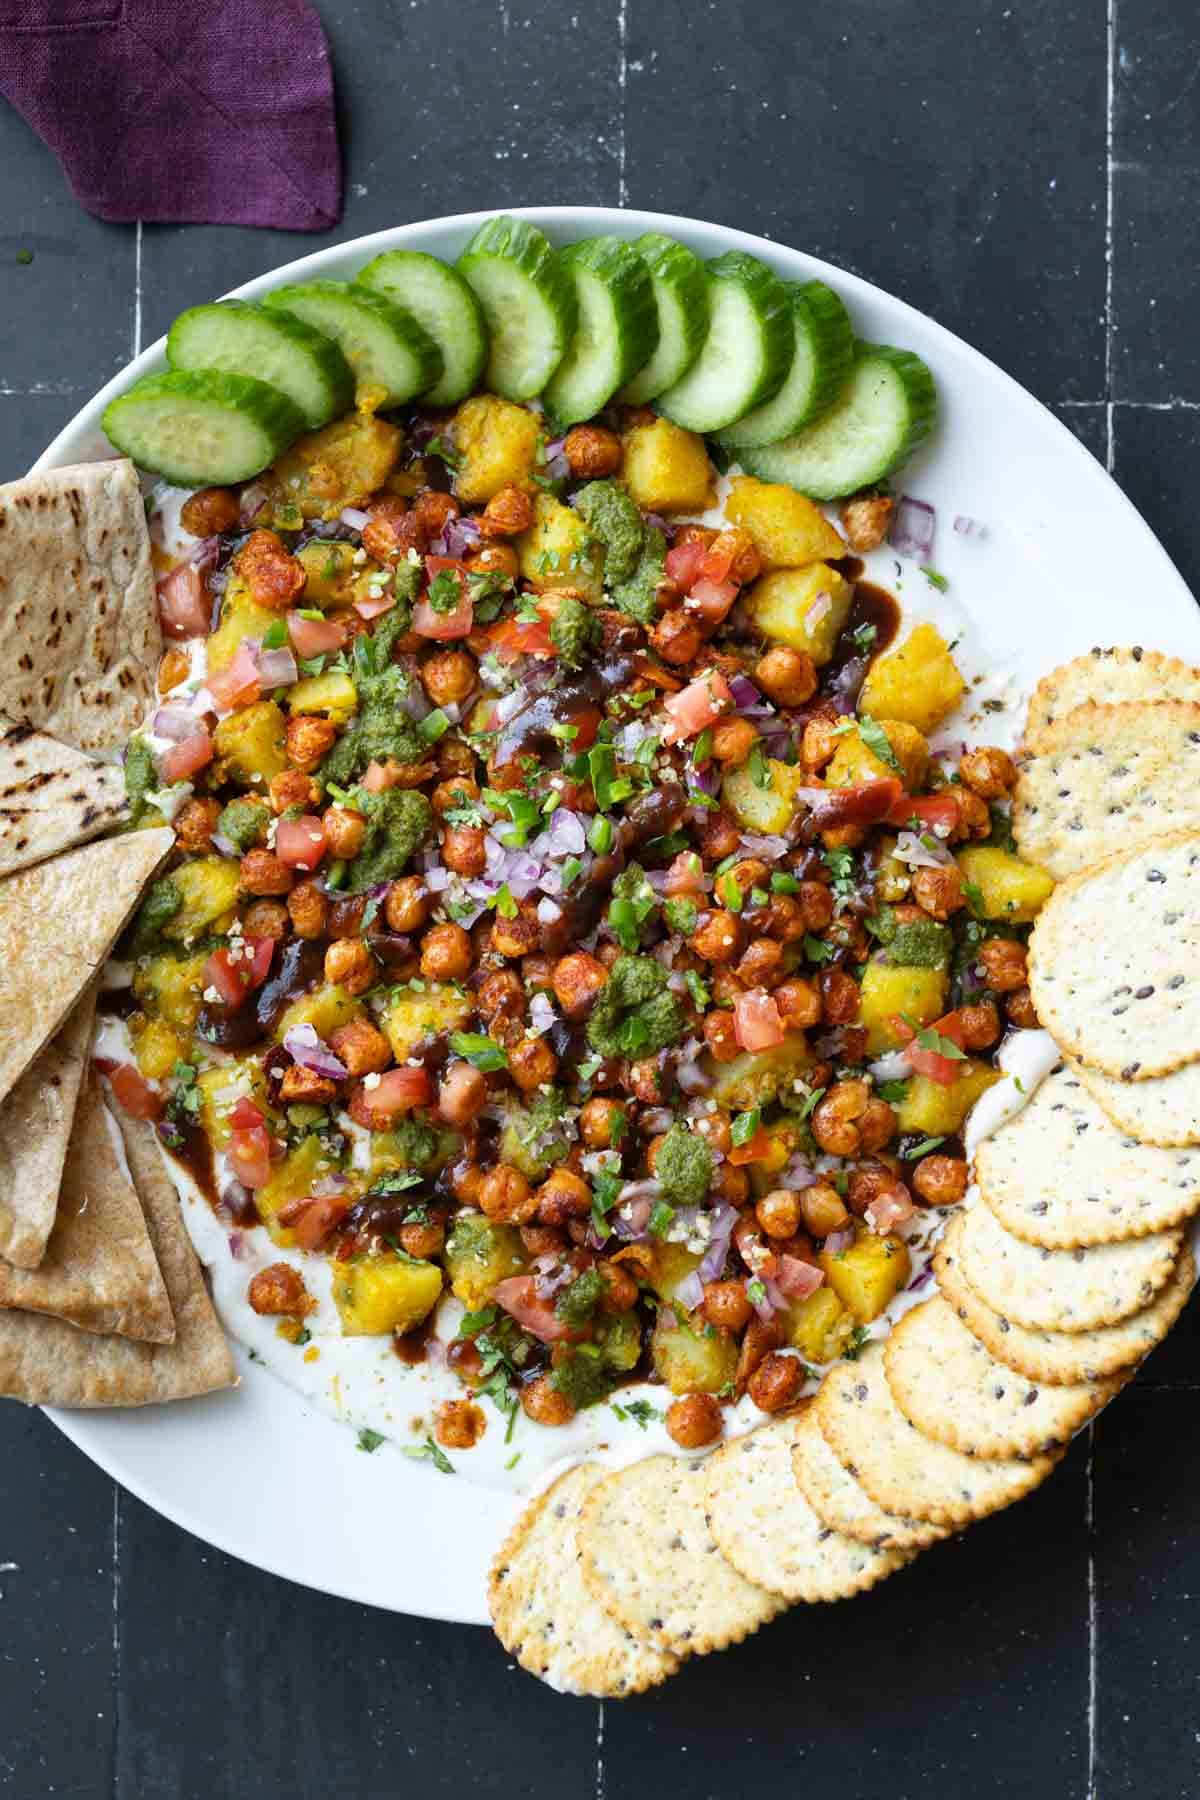
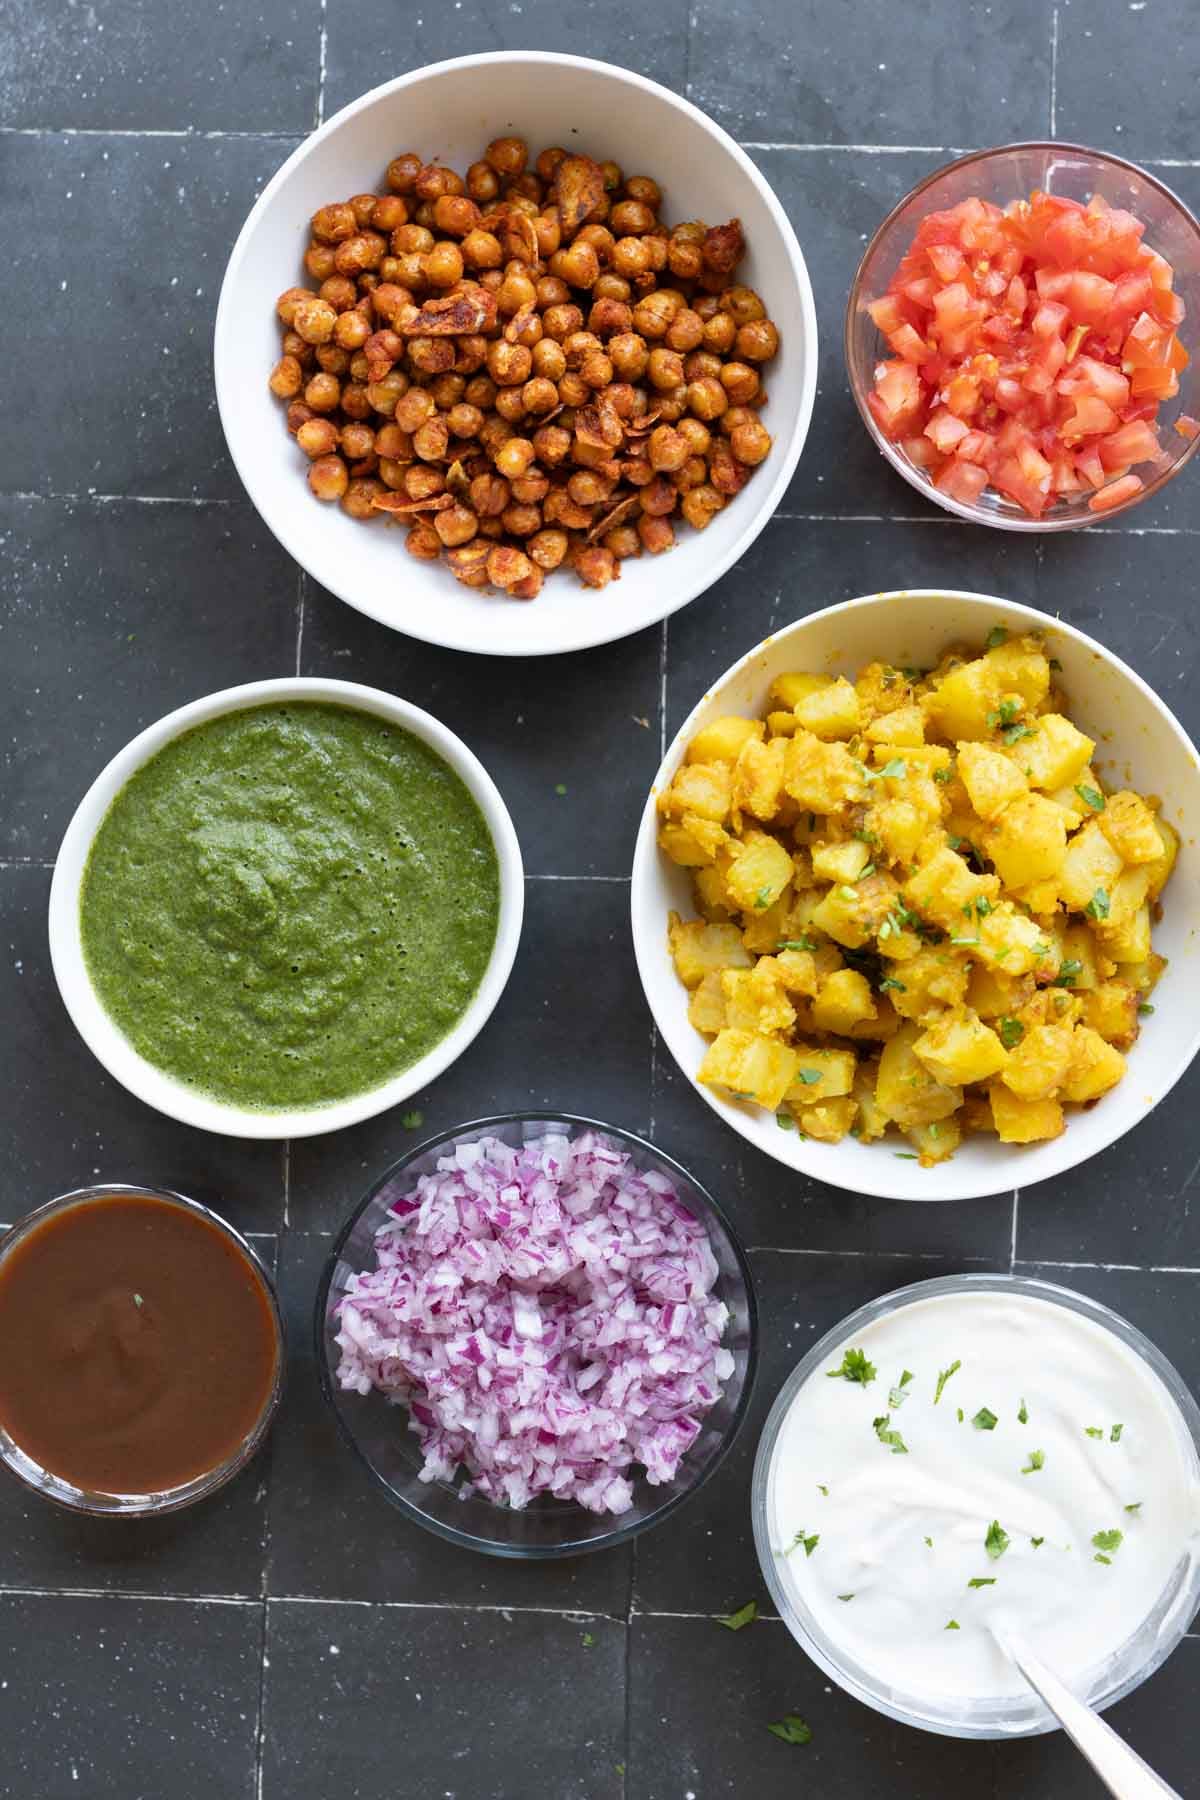
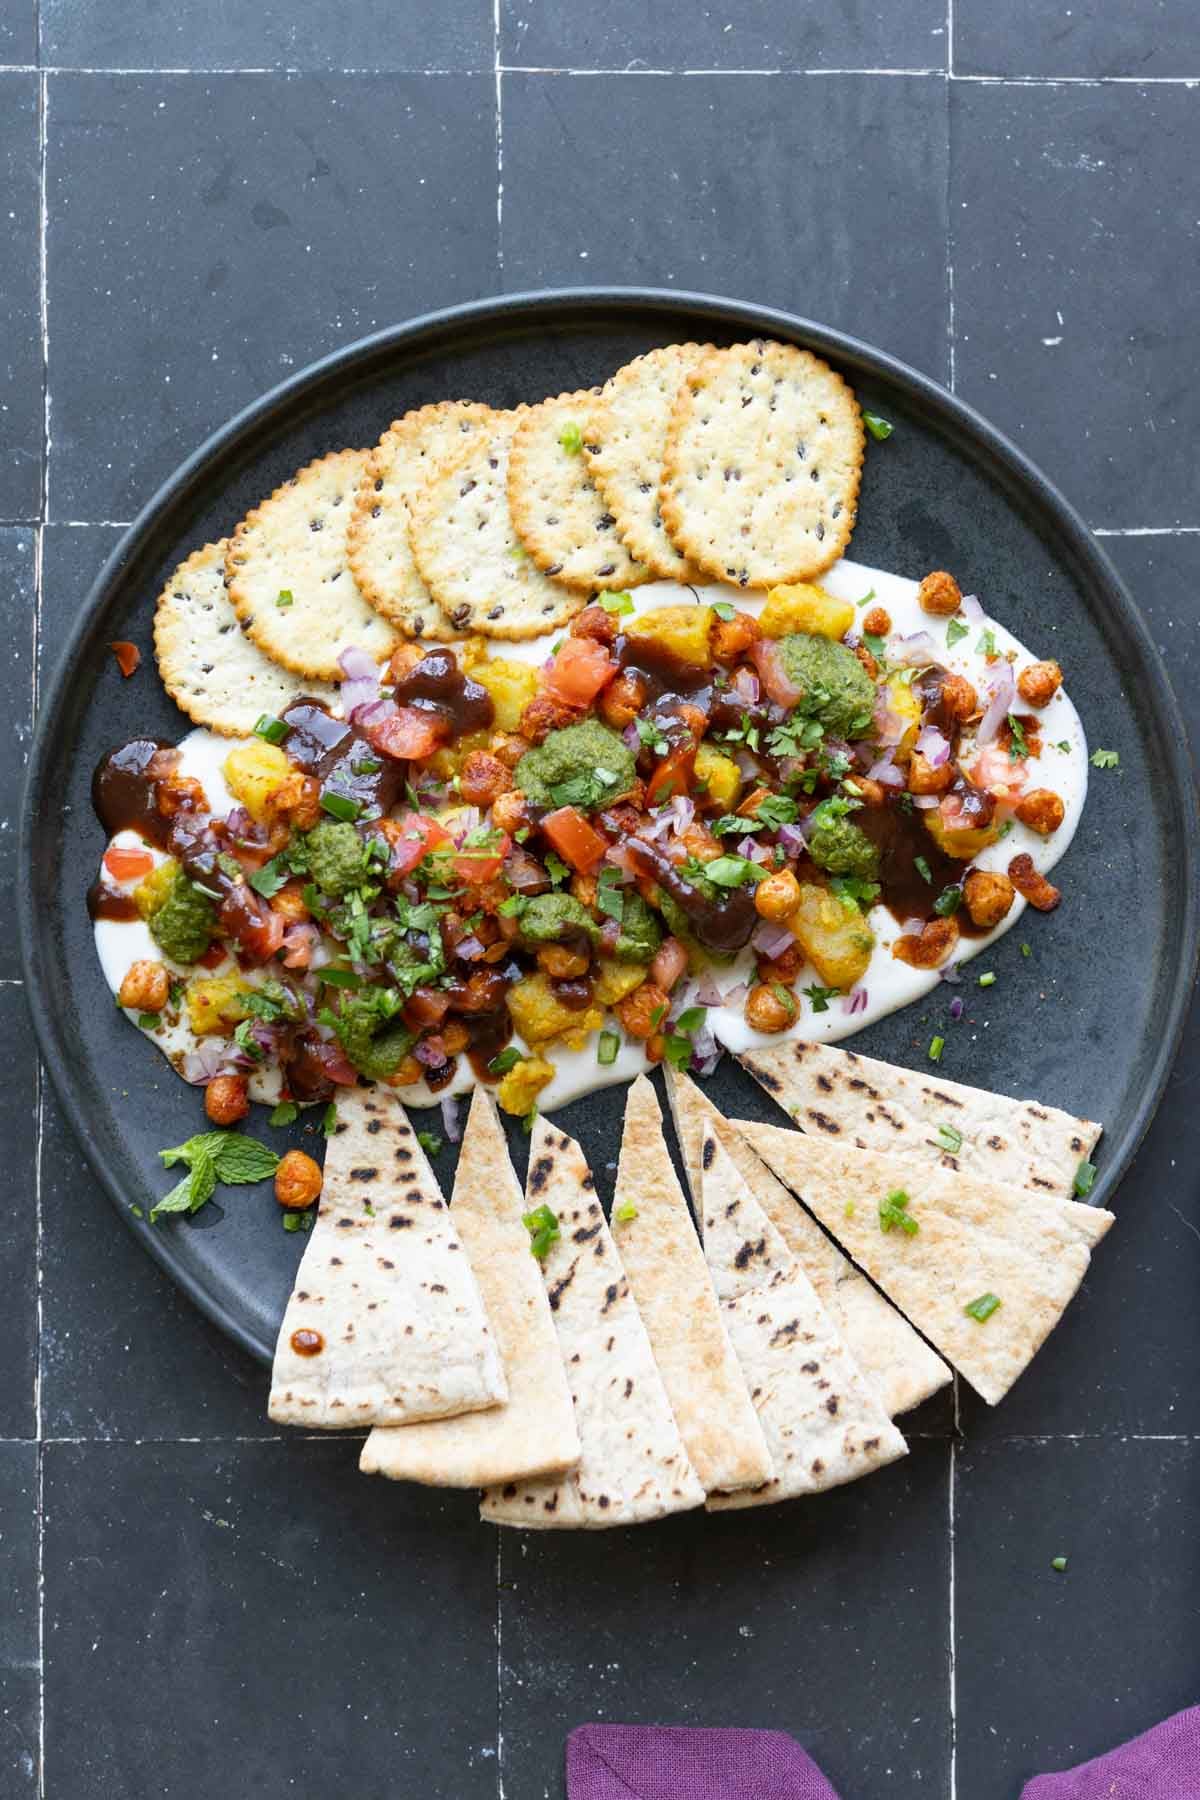
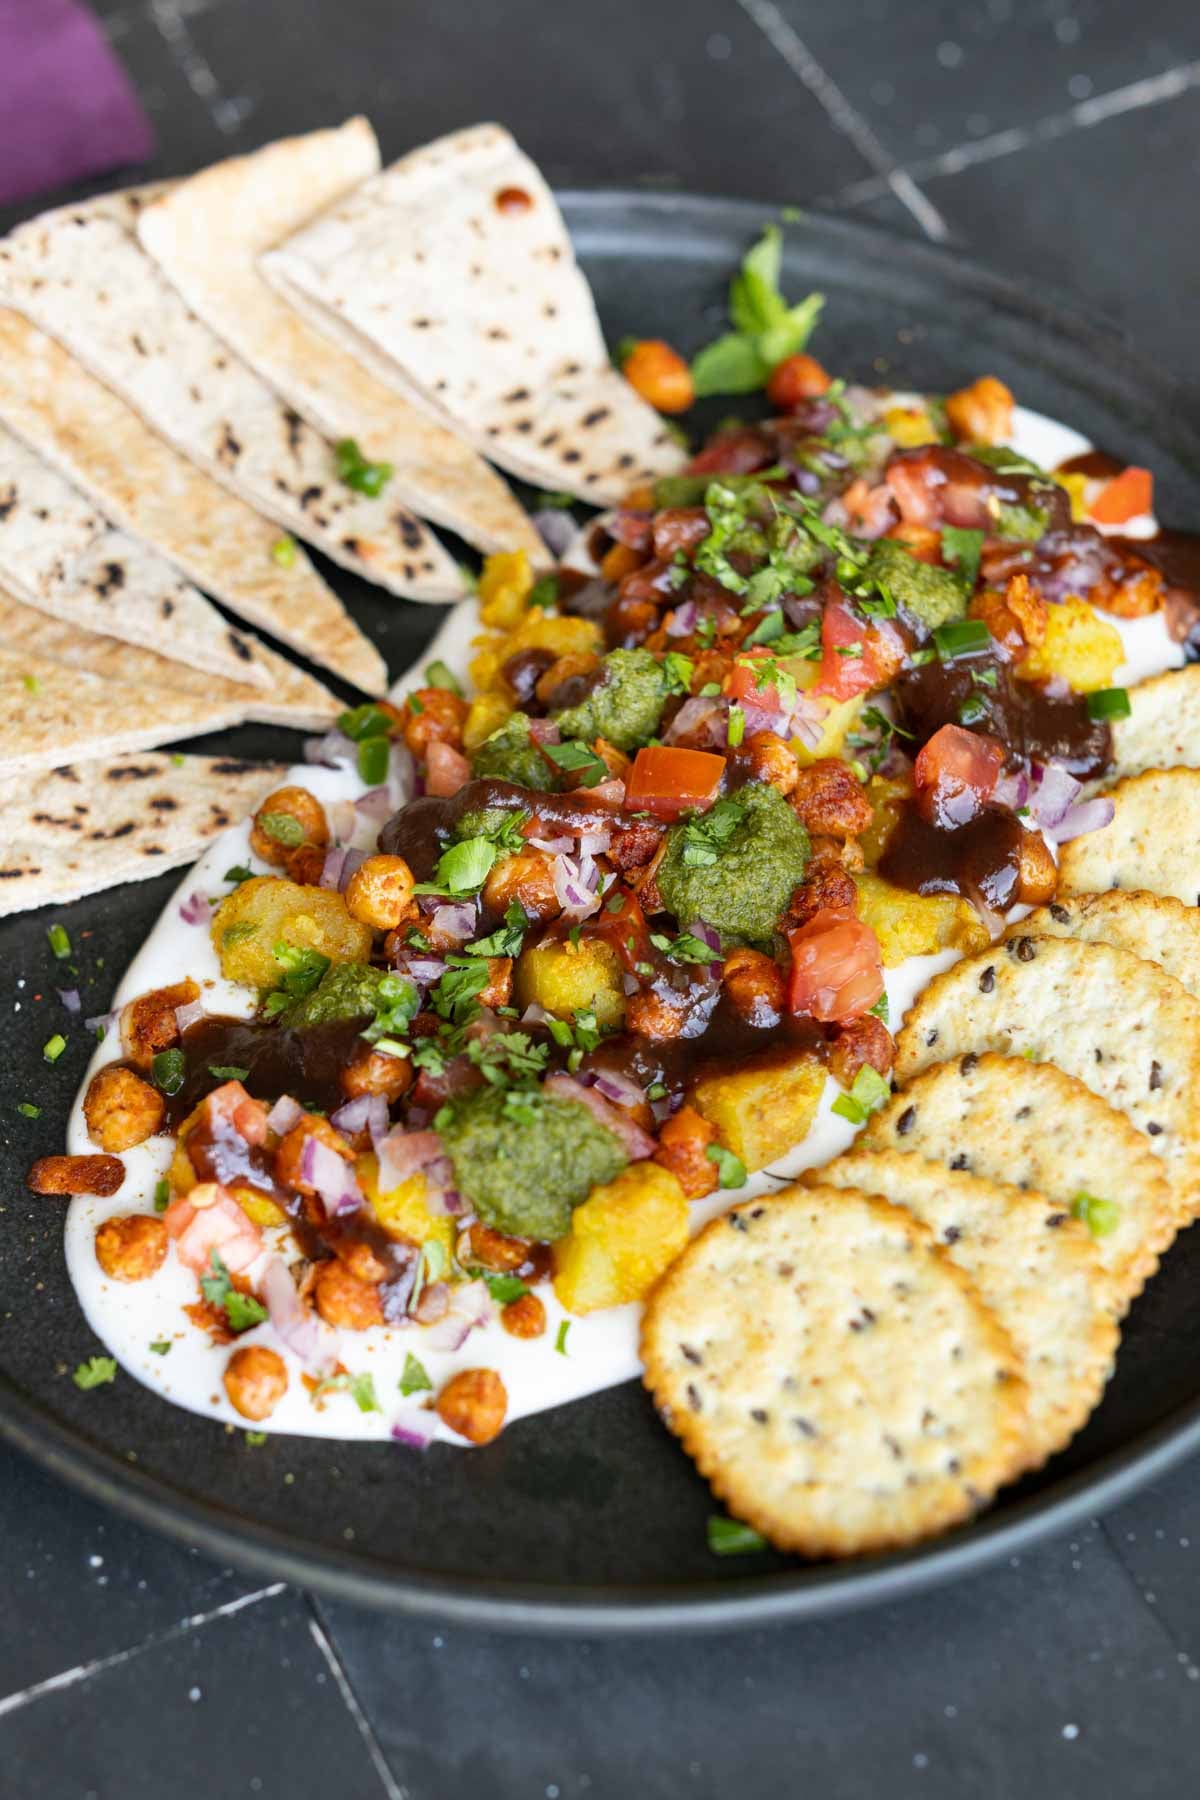
This loaded Samosa Dip brings all the flavor of samosa chaat to a shareable party platter! Samosa-spiced potatoes, crispy chickpeas, tangy chutneys, creamy yogurt and crunchy veggies make every scoop a delicious mix of textures. No pastry or folding needed! Nut-free, gluten-free and soy-free, with 13g protein (52g total) and 10g fiber per serving!)
This samosa chaat platter is going to be the first thing that disappears at every dinner party. It has an incredible mix of flavors and textures! It looks festive, it’s easy, and perfect for the upcoming festive season. This samosa platter is also high in protein and fiber. with 13 grams protein(52g total without sides) and 10 grams fiber per serving. If you use multigrain or whole grain crackers or pita as a side, the numbers bump up by 3-5g. It also has this word that is going to get you to run to the kitchen to make it right now, which is SAMOSAS!
What are Samosas? Samosa are crispy, savory pastries stuffed with deliciously spiced potatoes. They’re a super popular Indian side and the star of this platter.
What is Chaat?
Chaat is a family of Indian street food snacks. Chaat dishes usually have tons of different textures and sauces and flavors built up. Chaat actually means to lick, basically, because the flavor and texture combination is so amazing that you really want to lick every last bit off of your plate.
For samosa chaat, ideally you use some pre-made samosas, break them apart, top them with yogurt, chutneys (like my cilantro-mint chutney or tamarind chutney), some other crispy bits, and fresh onion and tomato. But for an easier and healthier version, we’re just making the samosa potatoes and then layering it all up.
Traditionally, chaat comes with the crispy bits, such as the crispy crackers or the crispy samosas, right in it. And if you’re making it ahead, all of those crispy bits kind of get soggy. So to avoid that, we’re going to make this layered dip kind of situation and serve the crackers on the side, so that people can just scoop it directly from the platter. You get those same flavors and textures, but you never lose that crunch!
If you don’t want to make the whole platter, you can also just make these individual components and serve them all as a chaat spread, so that people can take whichever toppings they want and whichever chutneys and sauces they want. If they want just the chickpeas, they can use just the chickpeas with some sauces, or just the potatoes, or all of the above. Make all of these components, and then serve them however you like. They are absolutely delicious and amazing.
You can use store-bought tamarind chutney, but there is a recipe for a homemade tamarind chutney in the recipe notes, which comes from my first cookbook. If you don’t like tamarind or don’t have access to tamarind, you can also make the maple lime sauce that I’ll also put in the recipe notes. Or use Mango chutney (store bought or homemade)
You can serve this with crackers, crisp pita bread, papadum, cucumber, carrots, or tortilla chips as the crunchy element. Use what you have, and try this incredible samosa chaat platter!
Why You’ll Love This Samosa Platter
flavors and textures of samosa chaat, simplified
crunchy chickpeas, spiced potatoes, and flavorful chutneys
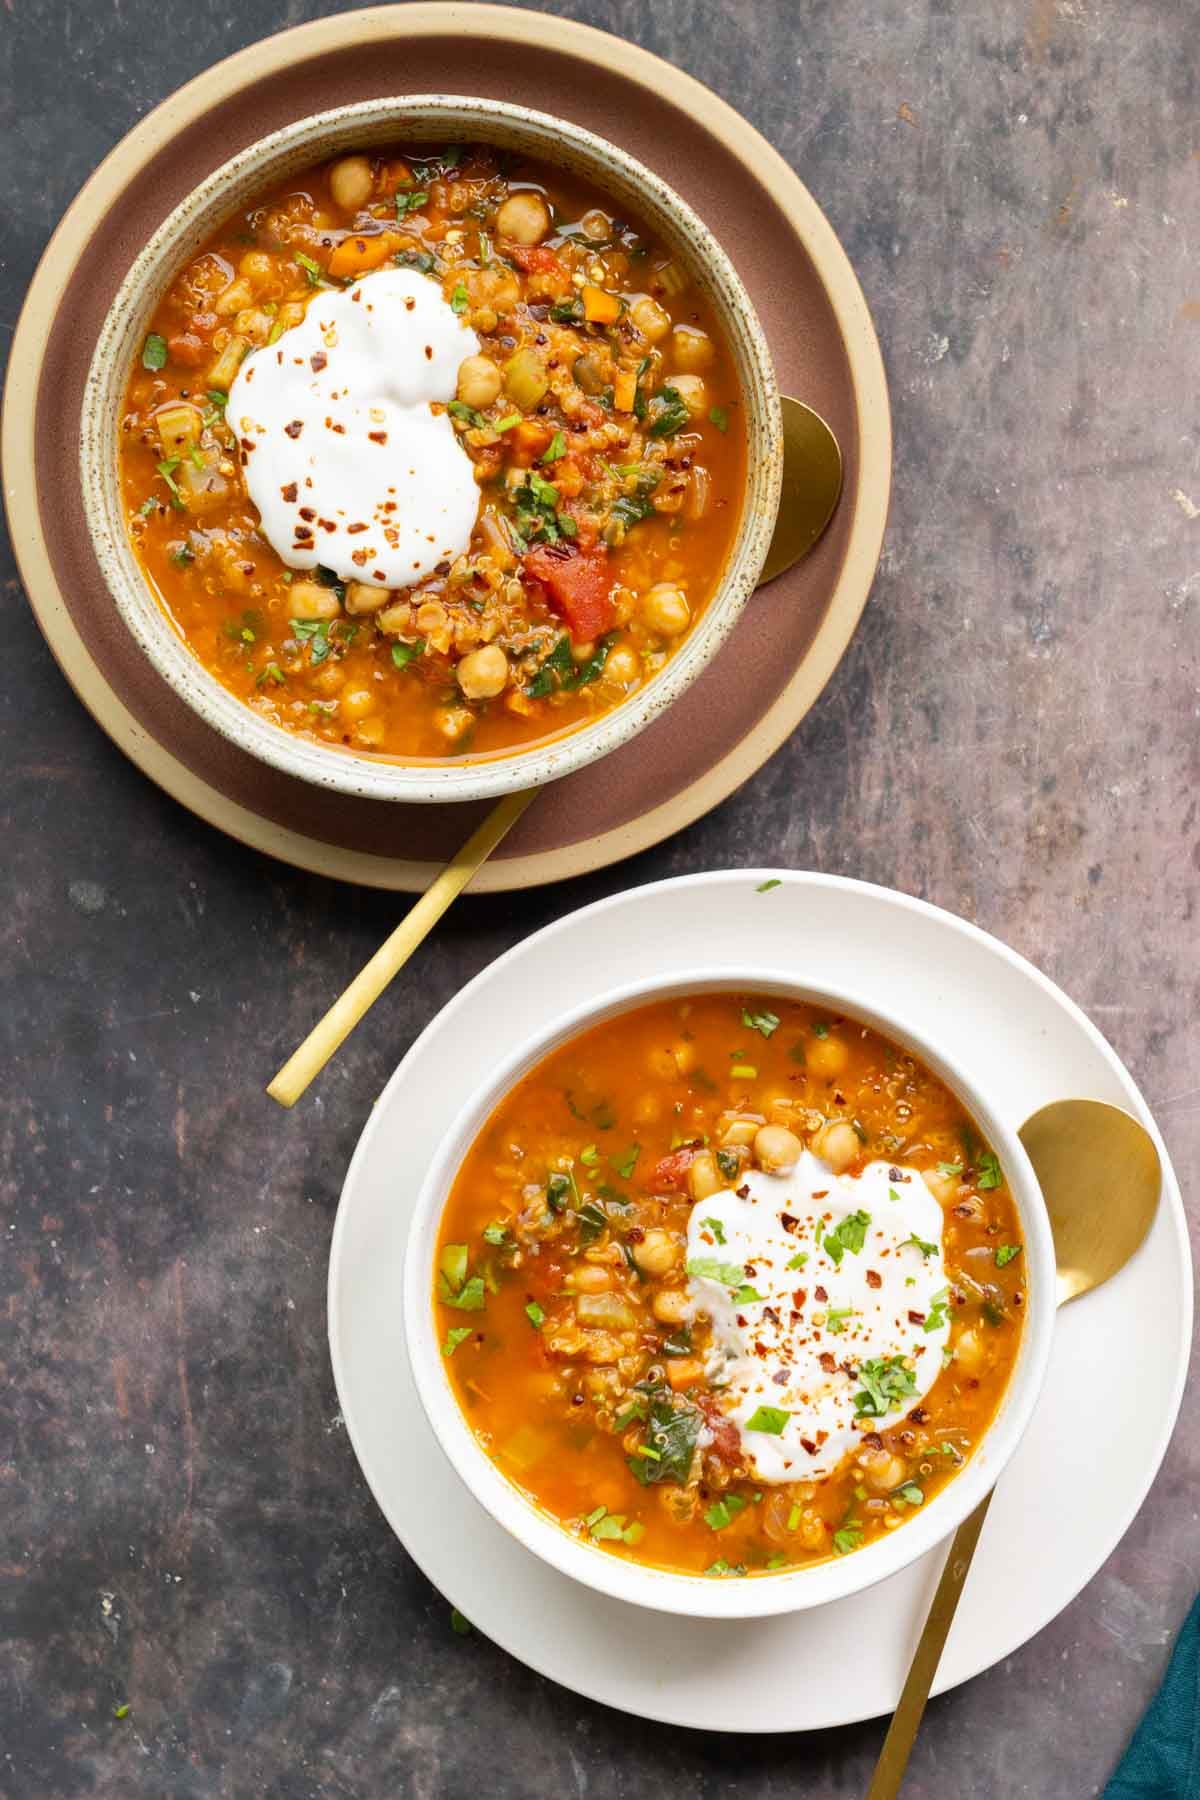
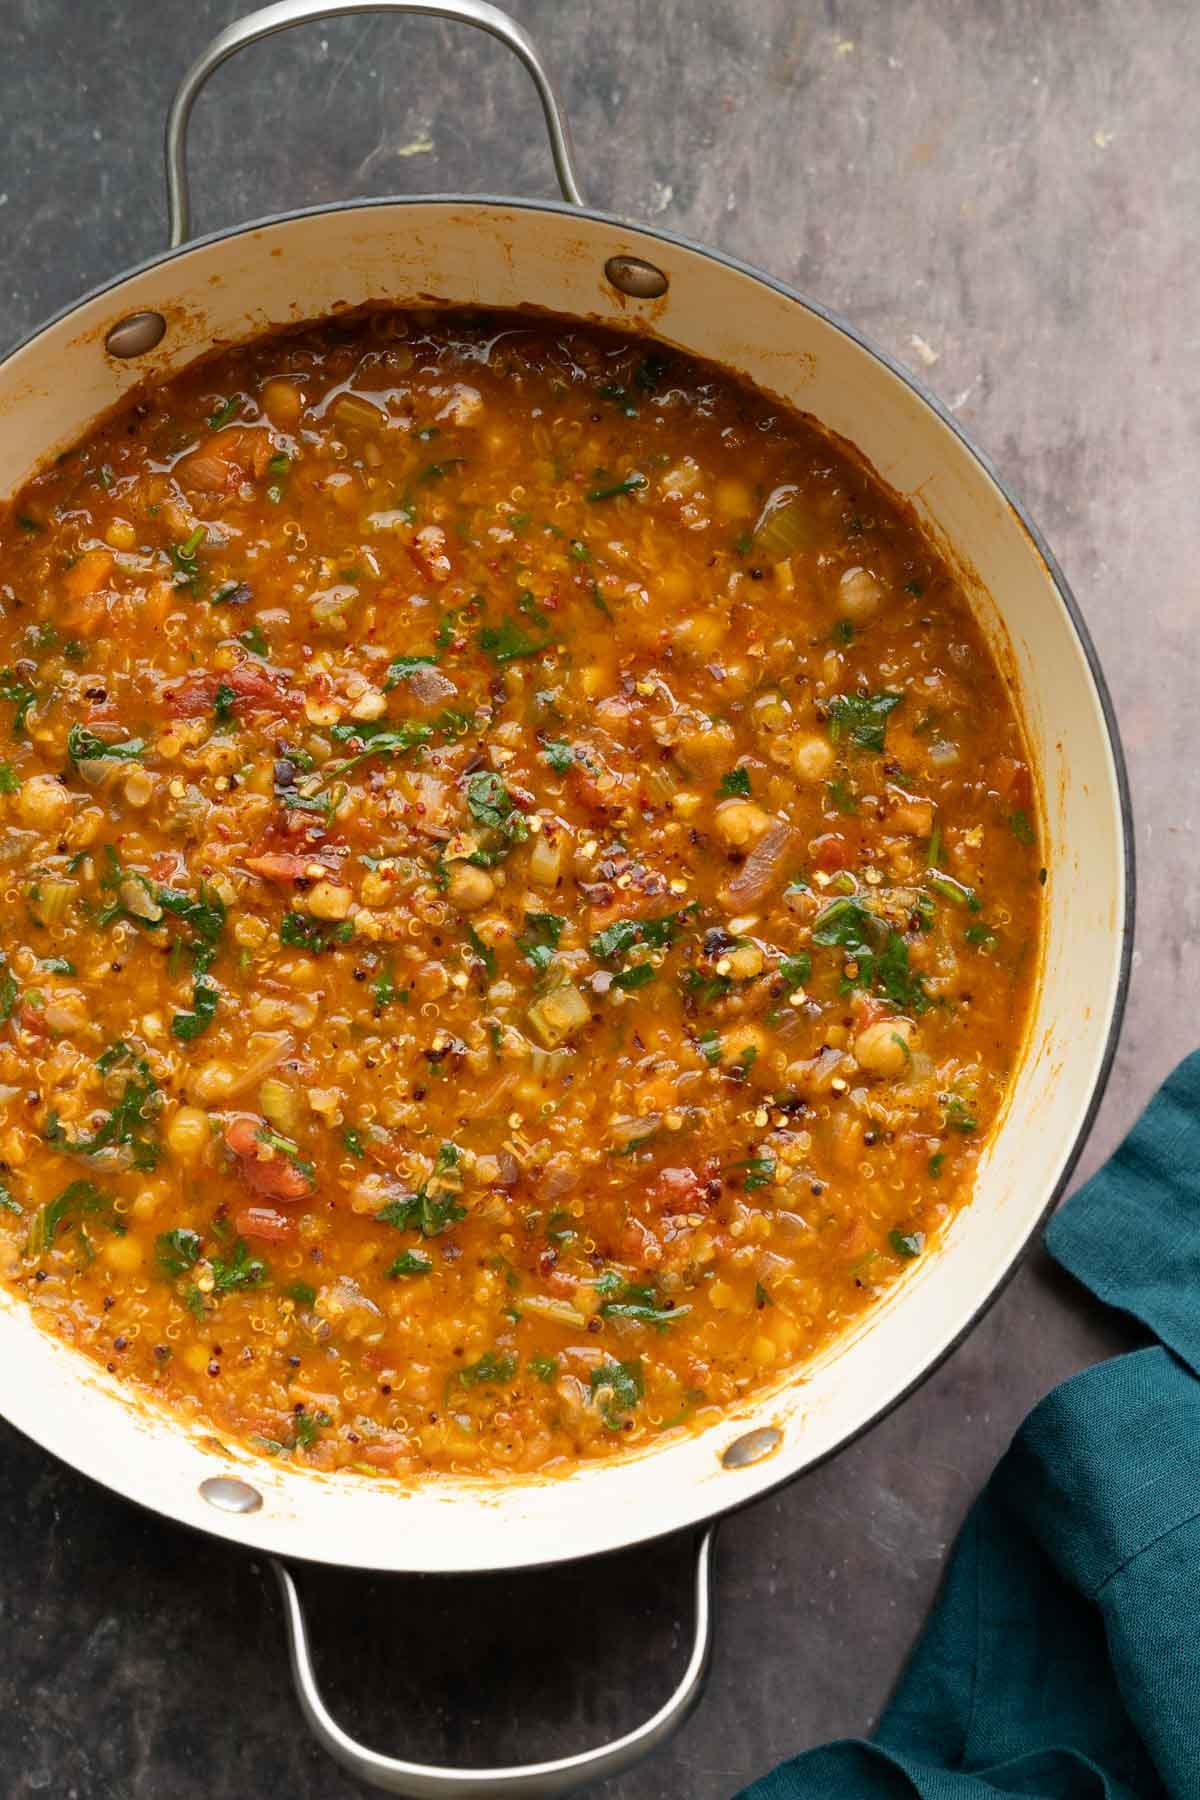
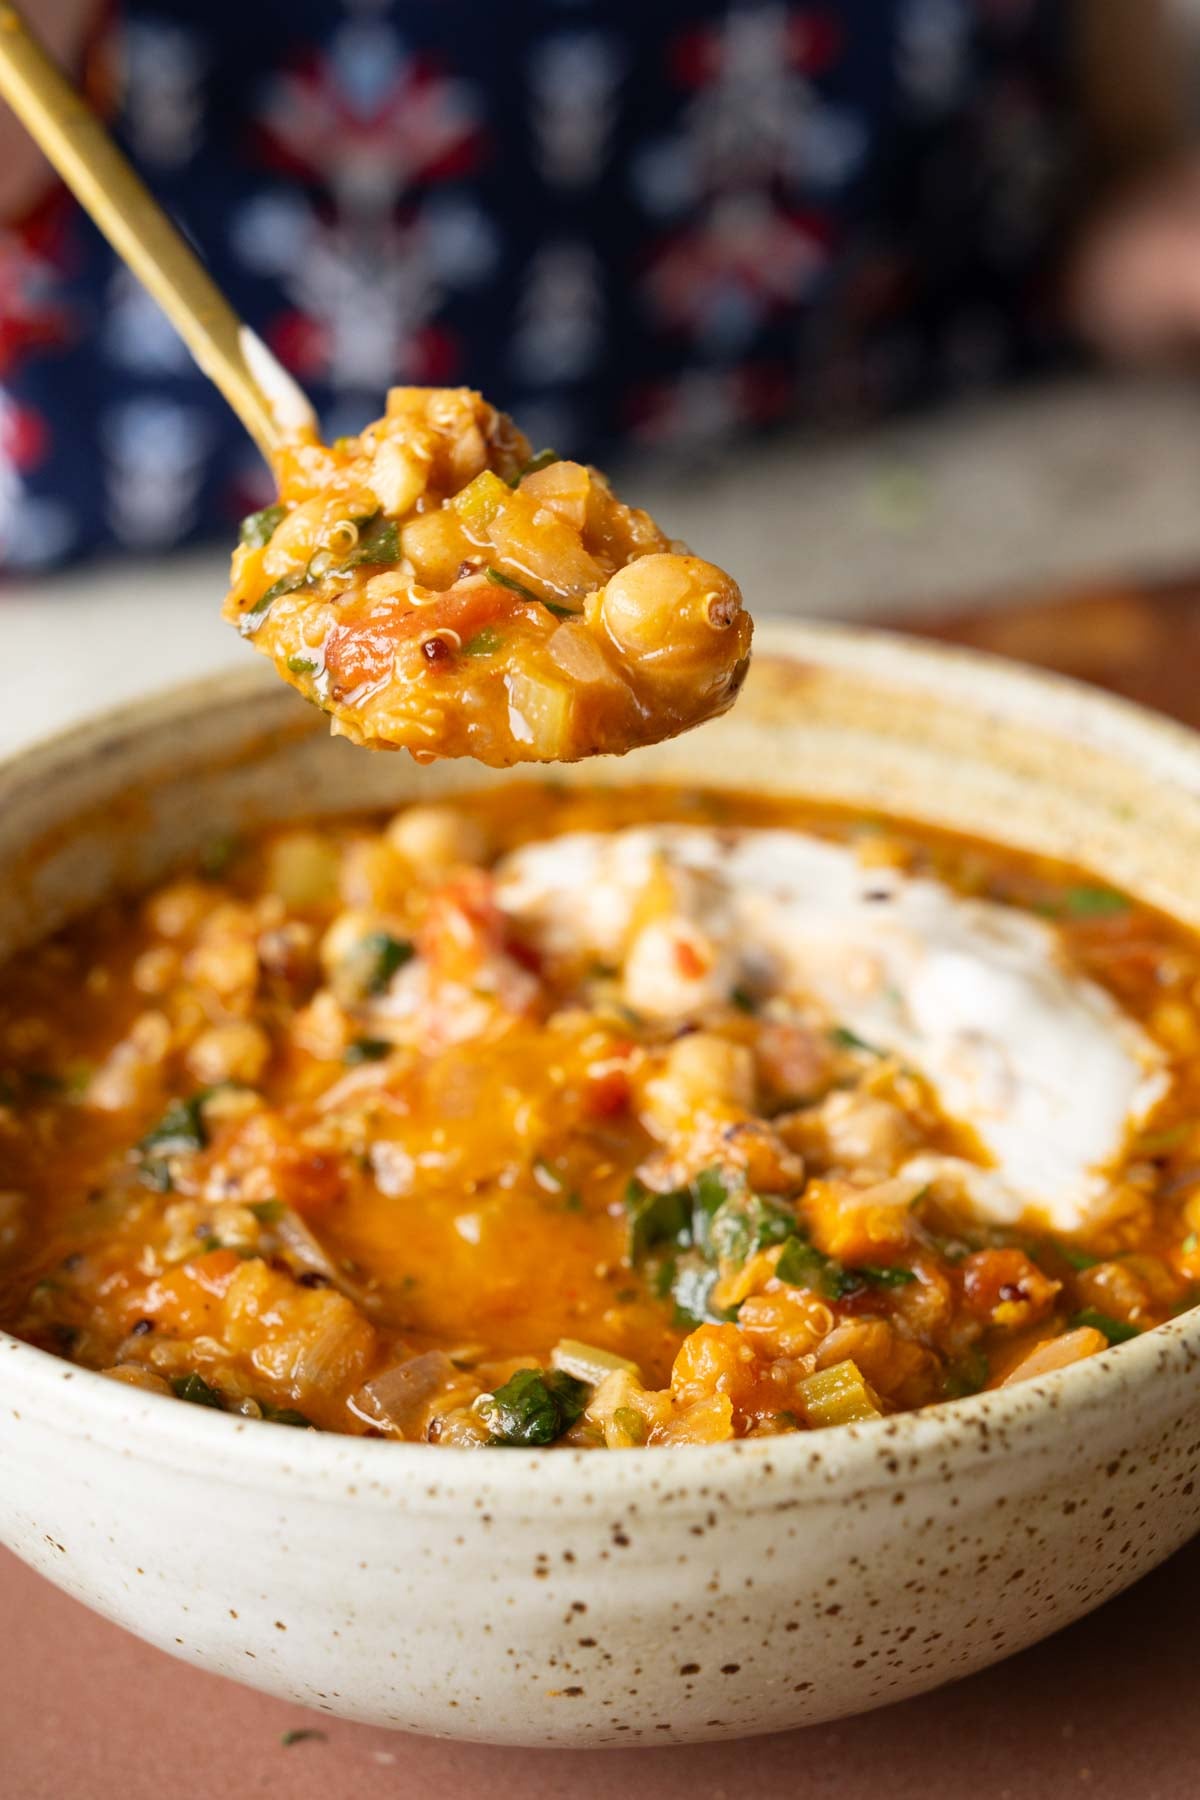
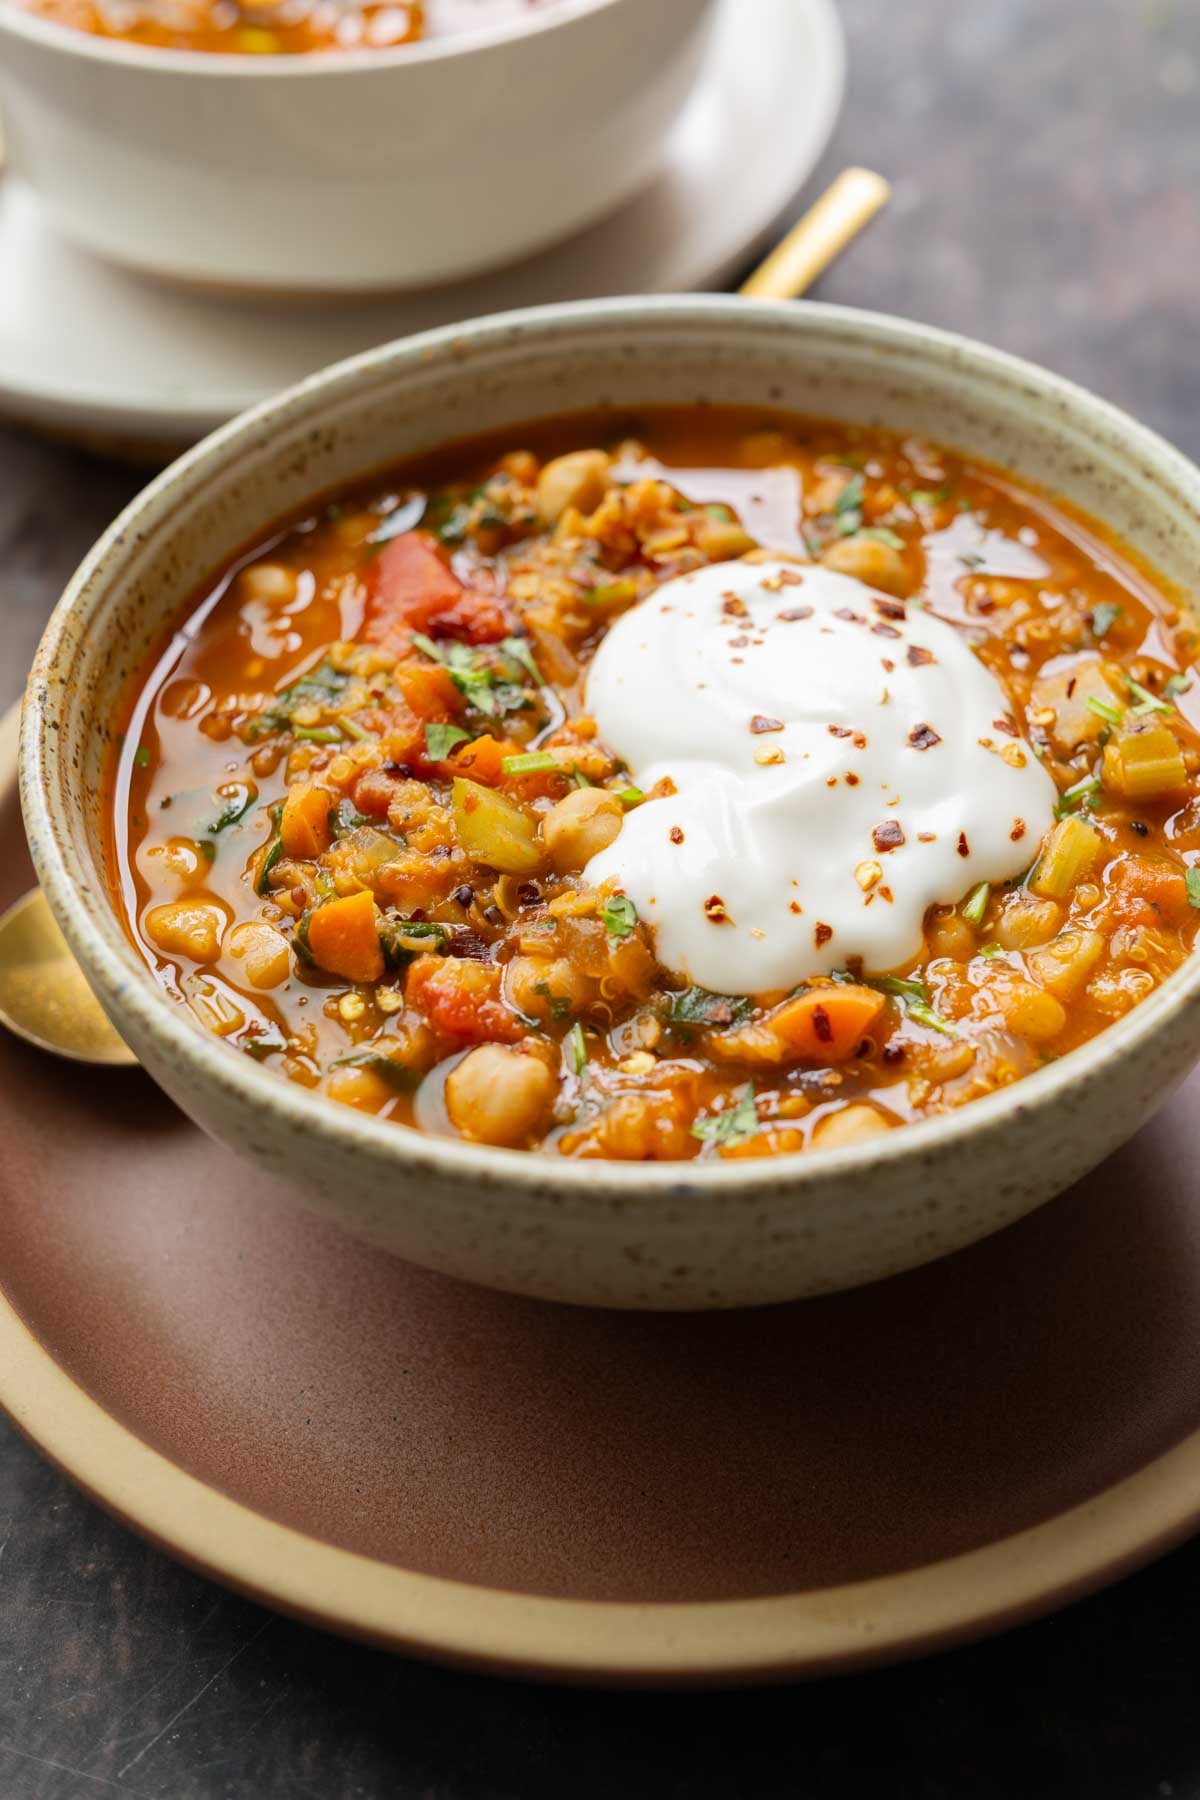
Smoky Moroccan harira soup with chickpeas, red lentils, and quinoa is a budget friendly, 1-pot meal! Bring crusty bread to dip. (21g protein, 21g fiber, 8 mg iron. Gluten-free, soy-free, nut-free. Oil-free option.)
This is such a hearty, delicious, and easy one-pot soup. Today, we’re converting pantry staples into a rich, deeply flavored, hearty, and satisfying harira. This Moroccan chickpea and lentil soup is budget-friendly, one-pot, meal prep-friendly, and packs 21 grams of protein and 21 grams of fiber per serving, and 8 mg Iron. It is cozy, and it tastes like it has been simmering all day, but it really only simmers for about 30 minutes!
Often, harira has either pasta or grains added in it. I am using quinoa in the soup along with the chickpeas and lentils. That makes the soup gluten-free. It is also nut-free and soy-free, if you use nut-free and/or soy-free non-dairy yogurt for the topping, or just skip the yogurt topping altogether. Harira is rich and hearty, even without it.
Serve this with a side of toasty bread, garlic bread, or pita bread, and topped with some creamy non-dairy yogurt and lemon juice. It’s also great over a baked potato or over roasted veggies.
This recipe is rich in folate, iron, potassium, and magnesium from the lentils. It also has vitamin C and lycopene from the tomato. It is very budget-friendly, about $6.50 to $7 for the whole pot!
Why You’ll Love Harira
1-pot soup packed with veggies, protein, fiber, and FLAVOR!
easy to make with simple, budget-friendly ingredients
flavors of cumin, smoked paprika, cinnamon, and black pepper paired with hearty chickpeas, lentils and quinoa
naturally gluten-free, soy-free, and nut-free with an oil-free option
This healthy lemon dill potato salad is a healthier version of the heavy duty mayo laden potato salad recipes. Its super light and refreshing and absolutely perfect to serve at a barbecuedinner.
While I love indulging in the classic mayo laden, creamy potato salads, this lighter and healthier version has my heart right now. It’s so easy and refreshing to put together. The combination of dill and lemon is classic and the potatoes really soak up the dressing, so that they aren’t bland or boring!
I love serving this with my chicken tikkas or mutton curries as a refreshing side to balance the out the meatiness with some carbs. But honestly, you could add it to sandwiches, wraps, or even serve along with a stir-fry for a side dish that’s going to be a memorable event.
Baby Potato: The hero ingredient of this salad soaks in all the dressing. The starch in the potatoes adds a creamy texture to the salad
Dill leaves: The sharpness from the dill leaves pairs perfectly with the lemony and pungent taste of the onions. It balances out the creaminess of the potato as well
Olive Oil: Extra virgin olive oil is light and has a neutral flavor which makes it the best base for the dressing of this potato salad
Lemon: We add both fresh lemon juice and lemon zest for that fresh lemon flavor, zing, and aroma
Seasoning: Salt and sugar season the dressing and help balance the tang and brightness of the lemon
Dijon Mustard: for emulsification and that extra tang
Black pepper: Freshly ground black pepper for a subtle kick of heat
Spring Onions and Garlic: These aromatics give a pungent and herby flavour to the salad
Best Potatoes For This Salad
If you have an option, the best potatoes for a potato salad are waxy potatoes like Yukon Gold or Red Potatoes. I picked up a pack of baby potatoes, because thats whats available in India and they are not very starchy. So they hold their shape and don’t disintegrate when tossed around in the dressing.
Frequently Asked Questions
Which are the best potatoes for this salad?
If you have an option, the best potatoes for a potato salad are waxy potatoes like Yukon Gold or Red Potatoes. I picked up a pack of baby potatoes, because thats whats available in India and they are not very starchy. So they hold their shape and don’t disintegrate when tossed around in the dressing.
Can I use regular potatoes instead of baby potatoes?
Yes, absolutely. Baby potatoes tend to be less waxy hence they work really well in this salad. But you can definitely use regular potatoes too. Just make sure to cook them slightly under so they don’t disintegrate into the salad.
How do I stop the potatoes from becoming mushy?
Make sure to cook the potatoes only until they are fork tender. Which means you should easily be able to insert a knife or fork into the potato without it falling apart completely. This is essential to making sure that the potatoes stay firm and don’t become mushy.
Can I use dried dill instead of fresh?
Yes, you can use dried dill instead of fresh dill, although fresh dill gives the salad a brighter, more delicate flavour. Since dried herbs are more concentrated, use about 1 tablespoon dried dill in place of the ¼ cup fresh dill called for in the recipe.
How to Make Lemon Dill Potato Salad
1. Add all the dressing ingredients for the dressing in a bowl and whisk till combined.
2. Cut the potatoes in half leaving the skin on, and place them in a pot. Add enough water to submerge them completely. Add 1 teaspoon salt and bring to a boil. Cover and simmer for 15-20 minutes or until fork tender. Drain the water from the potatoes and place the potatoes in a large bowl.
3. Add the prepared dressing to the potatoes while warm and mix to combine.
4. Add dill and spring onions to the bowl with the potatoes toss well and let this salad sit for at least 10 minutes before serving to let the potatoes soak up the liquid.
Richa’s Top Tips
Season the water well while boiling potatoes. This ensures the potatoes don’t end up feeling bland in the salad.
Dress the salad while it’s still warm. This helps them soak the dressing up, which means you have MORE FLAVOUR in each bite.
Make this salad the day before. This salad is sooo good when its made a day early because that really helps develop the flavours and mellows the salad down from being extra lemony. I like to warm it up in the microwave (warm, not reheat), so that the dressing isn’t waxy and melts down before serving.
Cook the potatoes until they’re fork tender. Overcooking the potatoes will prevent them from holding shape and give you a soggy and messy salad.
Storage Tips
Fridge: This salad is super make-ahead friendly. You can either make it in advance or store leftovers in the fridge for up to 3 days. The flavors deepen as it sits, so making it ahead will actually mean a more flavorful salad.
Reheat: Gently warm (not reheat) this healthy potato salad in the microwave and sprinkle a bit of fresh dill and spring onion greens before serving for a boost of fresh flavors.
Freeze: I would not recommend freezing this salad as the potatoes become waxy and lose their texture after thawing.
Serving Ideas
This lemon dill potato salad is light, fresh and tangy, so it works especially well alongside grilled, roasted or air-fried mains. Serve it with air fryer chicken tikka, soy chicken wings or chicken seekh kebabs for an easy dinner or party spread.
It also makes a great side for sandwiches, burgers and wraps when you want something a little fresher than fries.
And if you’re putting together a bigger spread, this salad fits right in with grilled meats, barbecue dishes and other summer-style sides. I especially love serving it slightly chilled but not straight-from-the-fridge cold, so you can really taste all that lemon, dill and mustard.
Customisation Ideas
Add some crunch: Finely chopped celery, cucumber, radishes or red onions would add a lovely fresh crunch to the soft potatoes.
Make it creamy: A couple tablespoons of greek yogurt or mayonnaise in the dressing gives this lemon dill potato salad a lovely rich and creamy texture.
Add more herbs: Throw in some parsley, coriander, or fresh chives instead of or along with dill for even more herby flavour.
Make it spicy: Add some red chilli flakes, freshly chopped green chilli, or a pinch of cayenne to the dressing.
Add some protein: Toss in boiled eggs, chickpeas or shredded chicken to turn this into a more filling meal.
Add some cheese: Crumbled feta would work particularly well with the lemon, dill and mustard dressing
Use different potatoes: Baby potatoes work beautifully here, but you can also use regular potatoes cut into bite-sized pieces. Just make sure you don’t overcook them or they’ll become mushy when tossed with the dressing.
This healthy lemon dill potato salad is sooo good, you’ll probably never go back to using mayonnaise again. It’s light, herby, and so refreshing. I love making this as a carb source along with our meat-heavy dinners, but you can honestly have it whenever and however you like. It tastes amazing either ways.
If you make this healthy lemon and dill potato salad, don’t forget to DM the pictures @my_foodstory. Happy cooking!
This Healthy Lemon Dill Potato Salad is dressed in a zesty vinaigrette so fresh that you’ll never miss the traditional mayo based potato salad! It’s best served warm so that the potatoes soak up all that good dressing and goes best with sides like wings, ribs and all the barbecue foods.
Cut the potatoes in half leaving the skin on, and place them in a pot. Add enough water to submerge them completely. Add 1 teaspoon salt and bring to a boil. Cover and simmer for 15-20 minutes or until fork tender. Drain the water and place the potatoes in a large bowl.
While the potatoes are cooking, make the dressing and keep it ready. Add all the ingredients for the dressing in a bowl and whisk till combined.
Add dill and spring onions to the bowl with the potatoes and pour the dressing over the potatoes while they are still warm. Toss well and let this salad sit for at least 10 minutes before serving to let the potatoes soak up the liquid.
Video
Notes
Peeled vs. unpeeled Potatoes: This depends on how you like your potato salad but both ways work. I prefer to leave them unpeeled.
Lemon vs Lime Juice: If you are using lime juice instead of lemon juice in the vinaigrette, reduce the amount by half. Lime juice is more tart than lemon juice.
Using larger potatoes: If you are using larger potatoes, dice them in quarters or six pieces depending on the size of the potato you are using.
Other Ingredients: I love adding chopped celery and boiled egg to this potato salad too.
Grilled chicken legs made in oven is super easy to make and takes less than 5 minutes to put together. This restaurant style grilled chicken legs is perfected so many times, gives you perfect results every time, juicy grilled chicken legs. No complicated steps, ingredients and method involved in this grilled chicken recipe. Grilled Chicken...
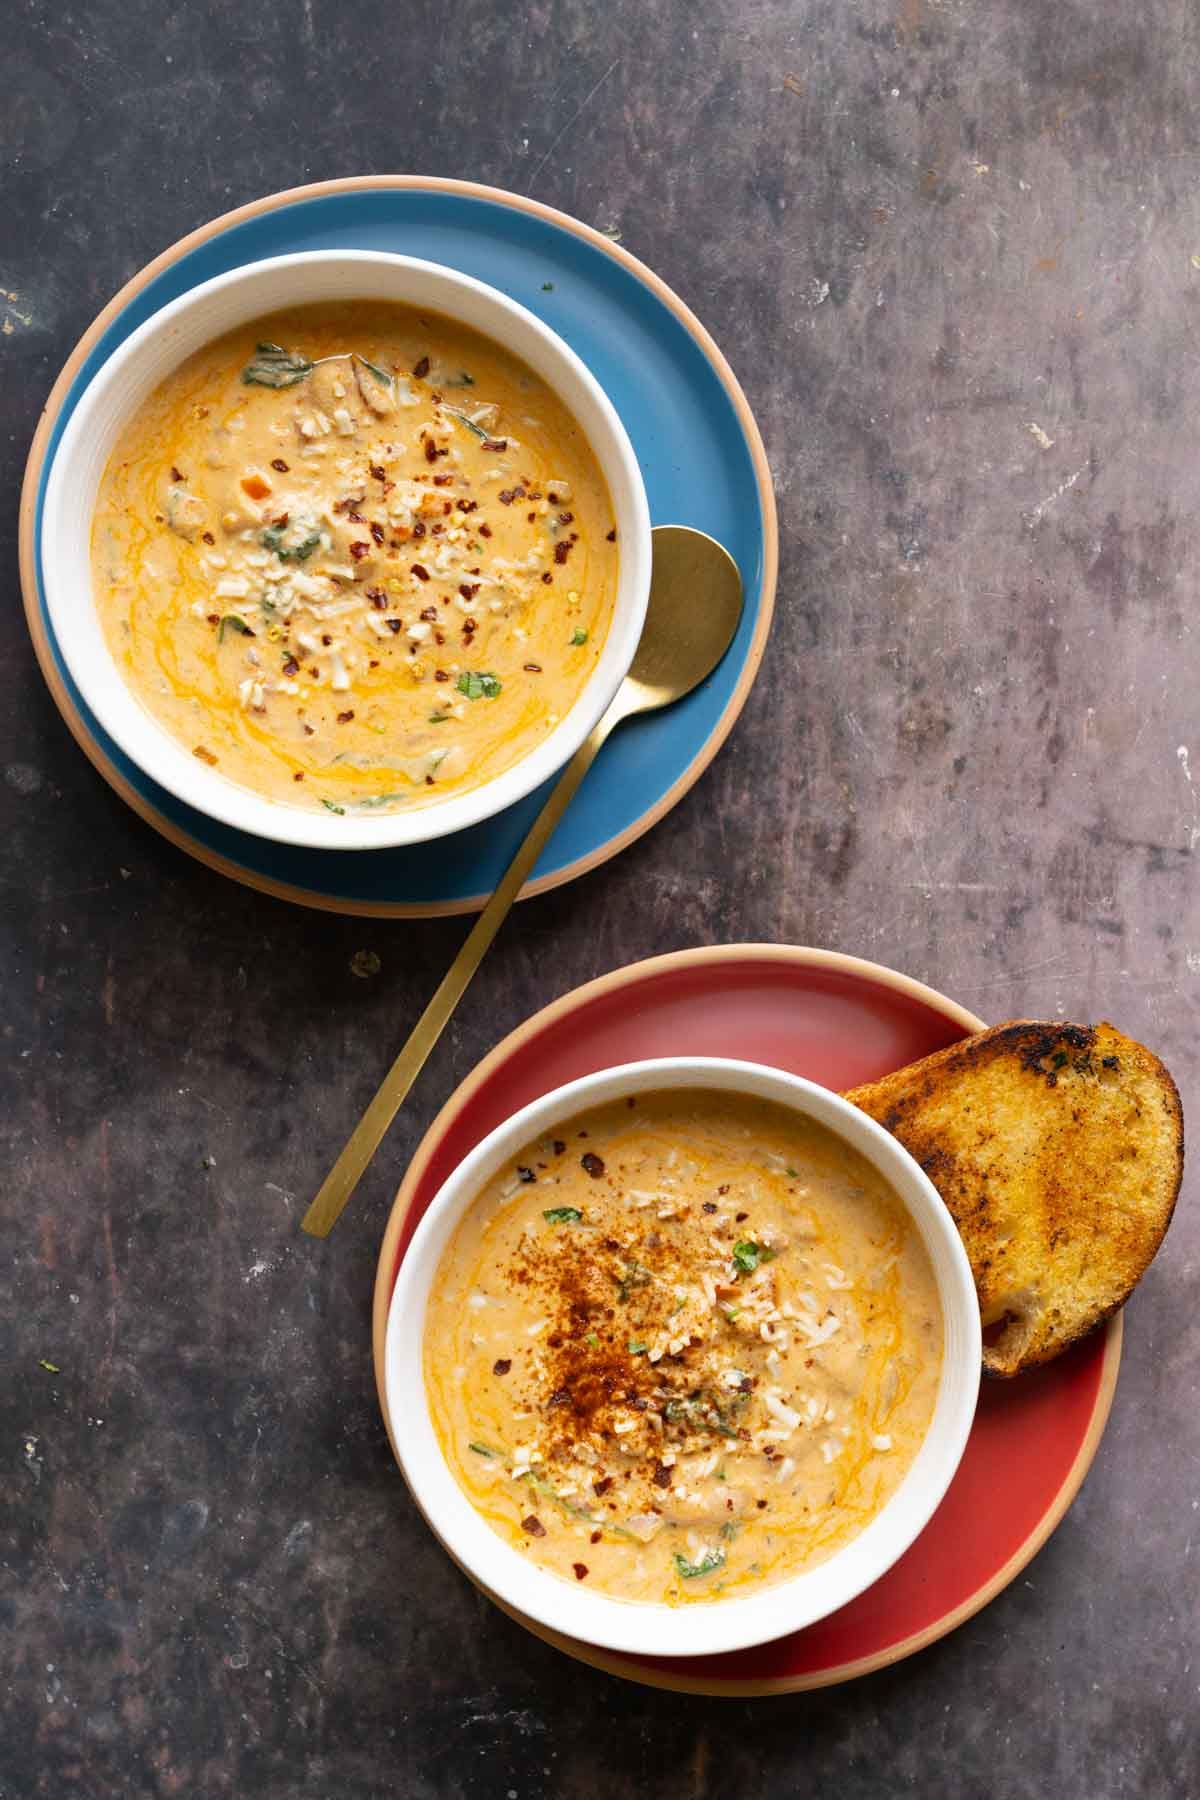
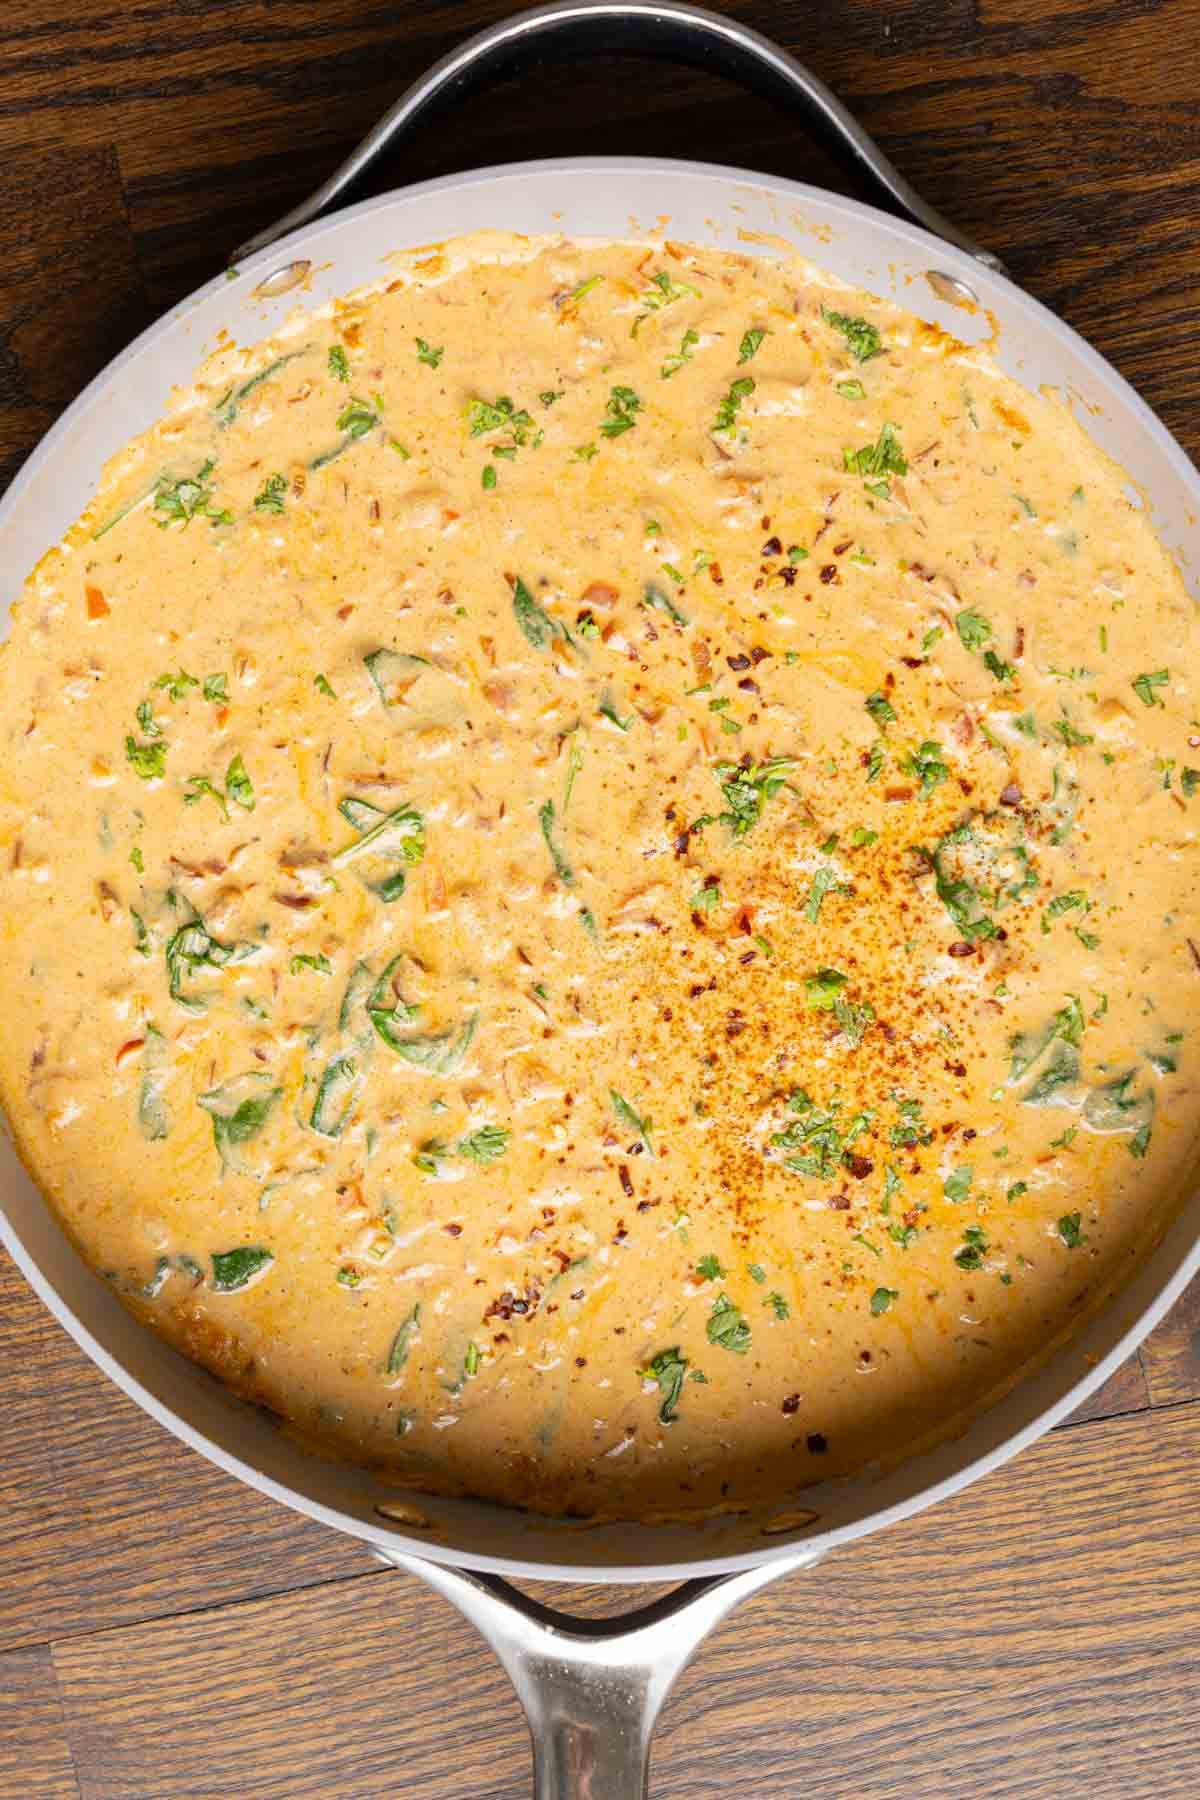
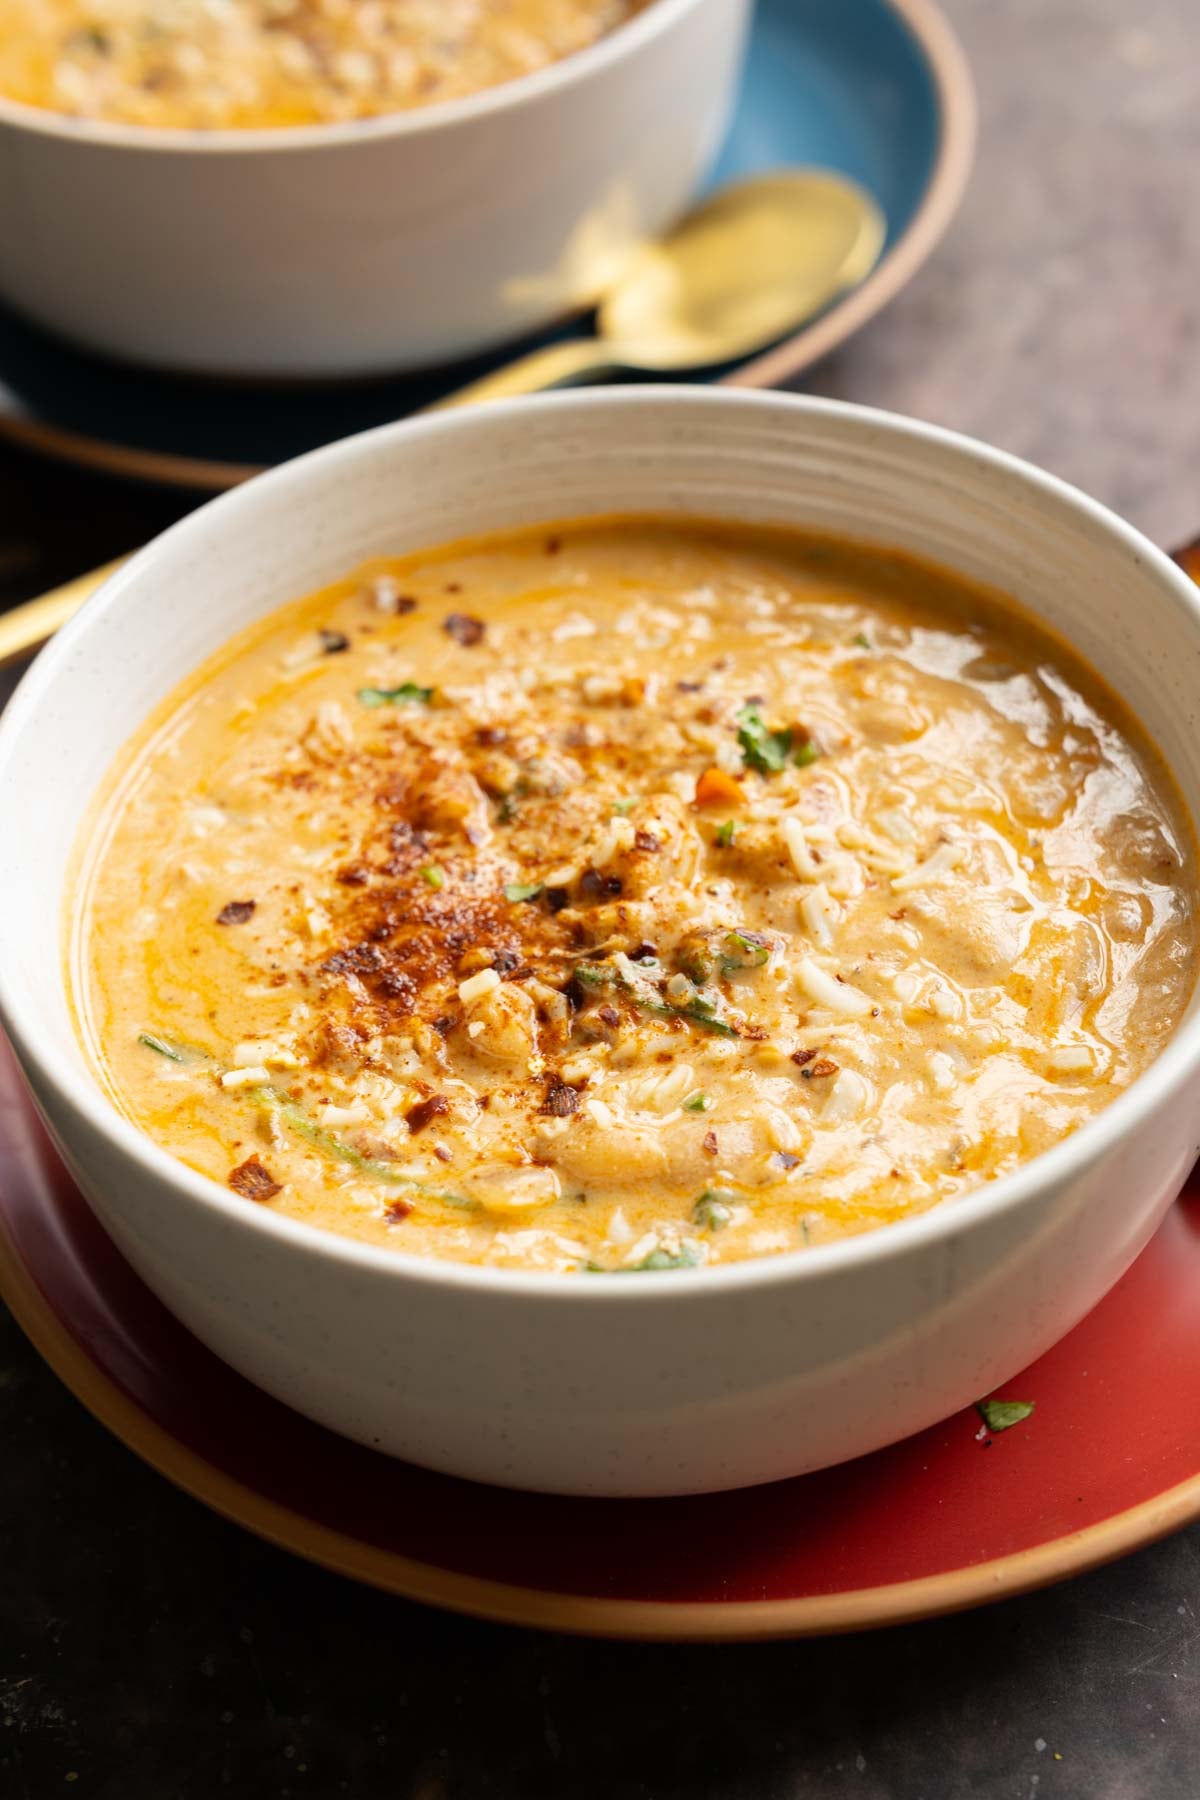
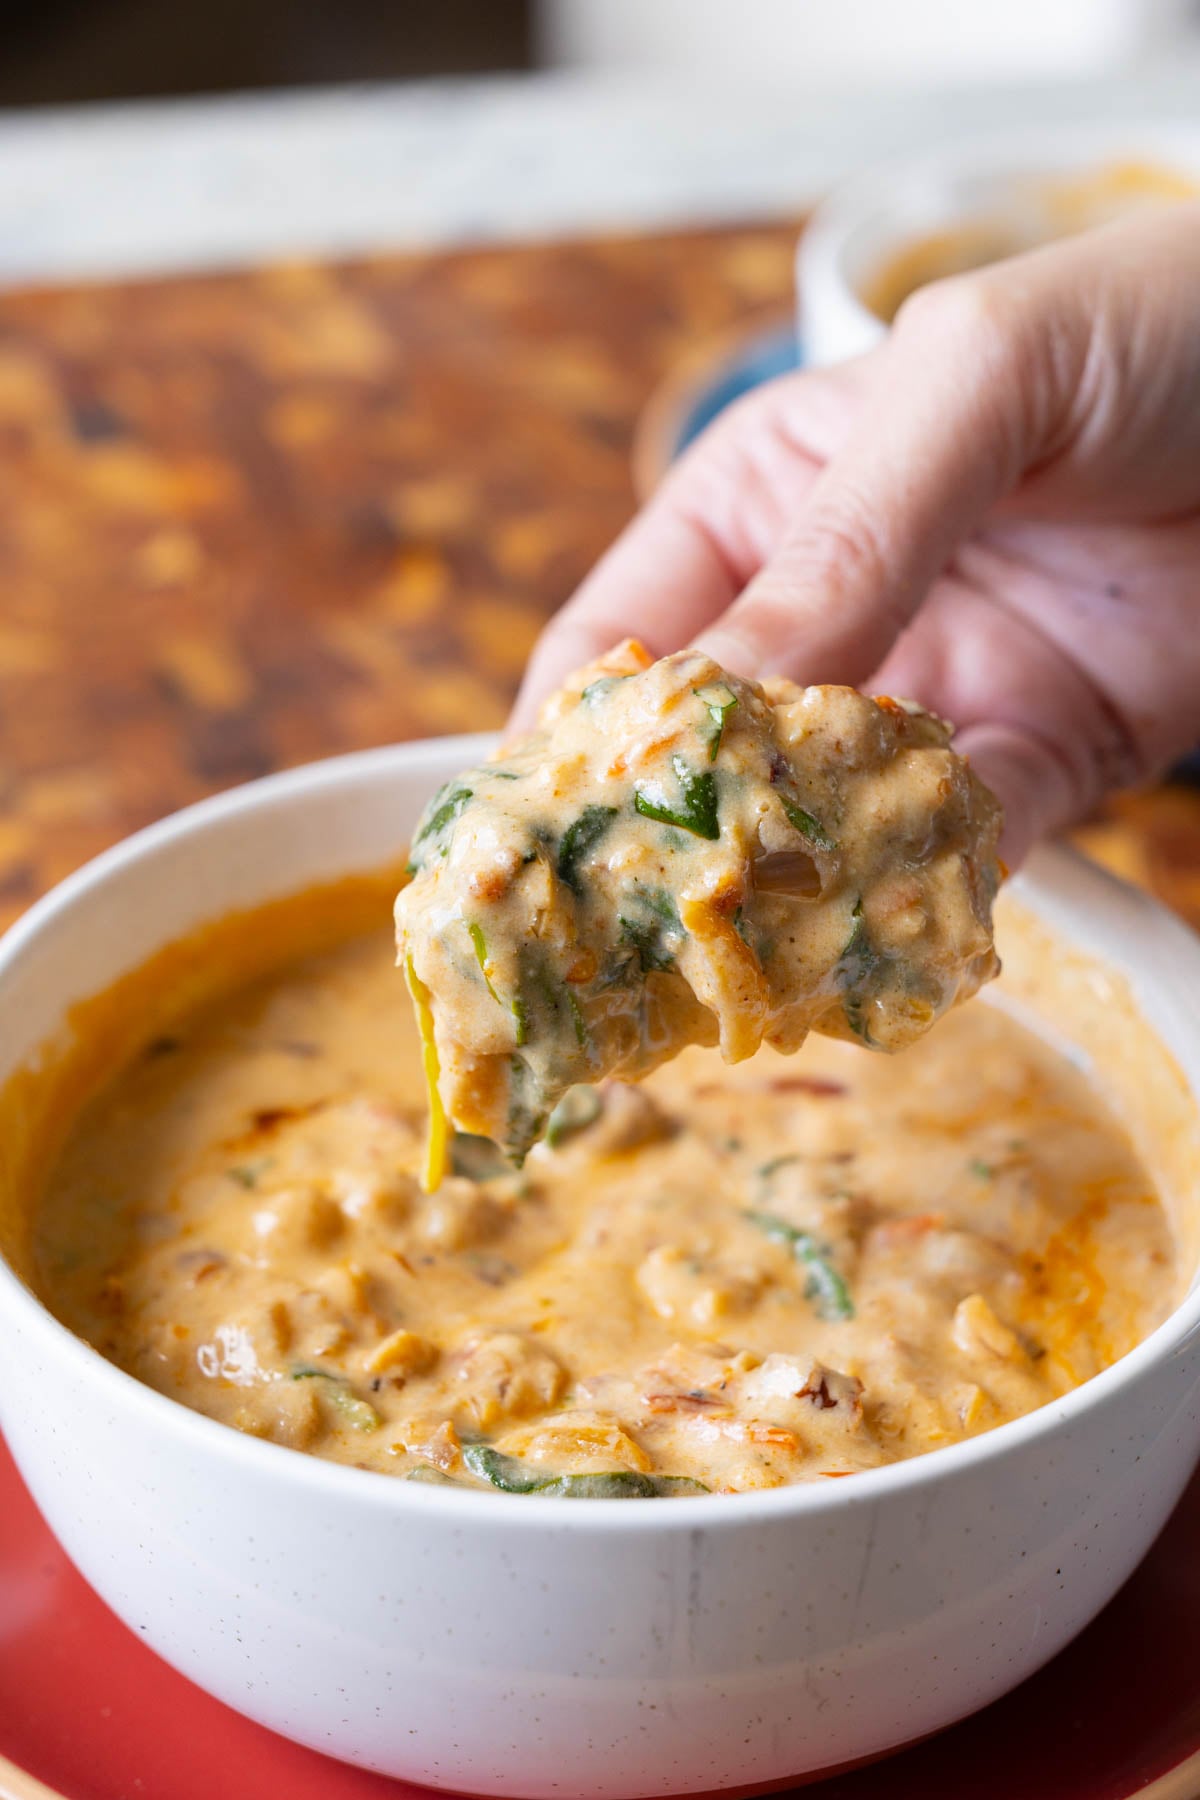
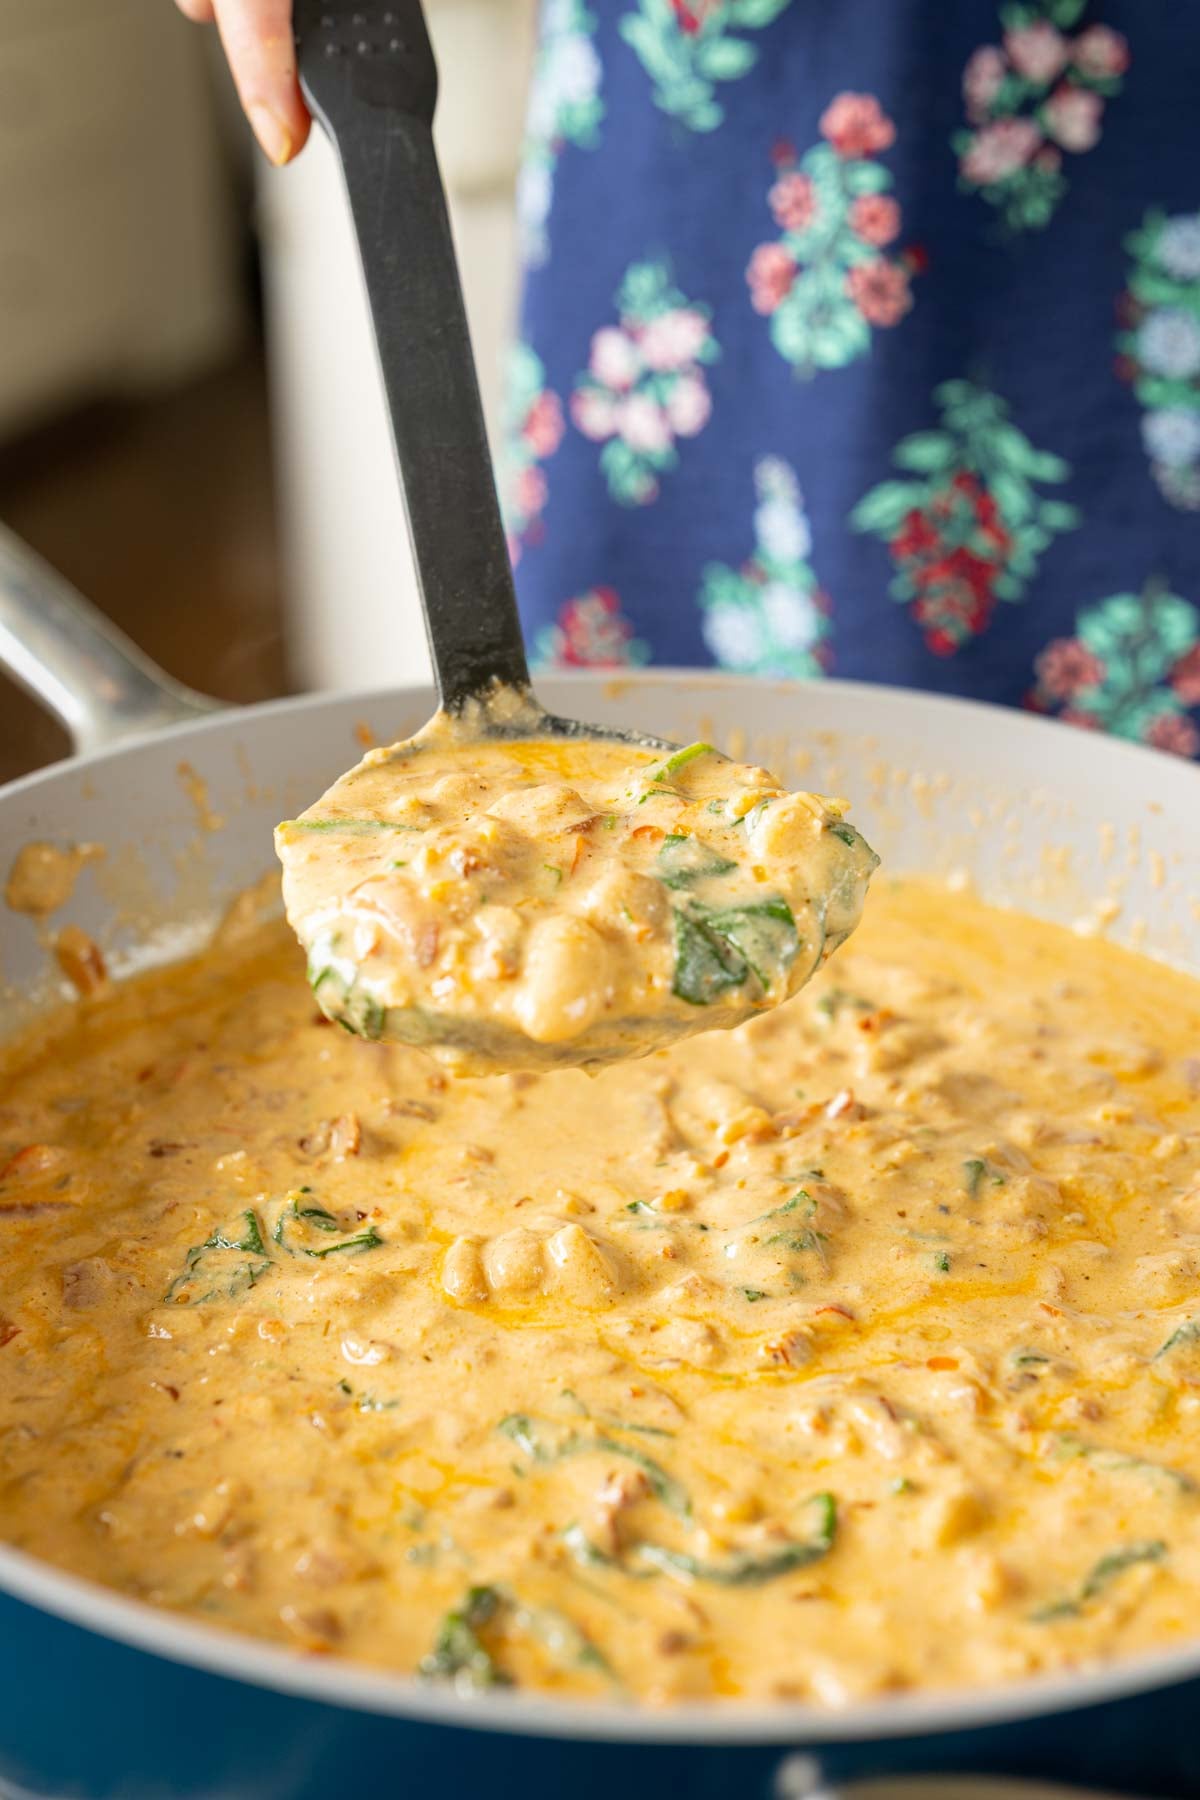
Marry me white bean soup is a creamy, smoky soup with rich, Italian flavors. That tofu cashew hemp cream packs nutrition! (gluten-free with easy soy-free and nut-free options. 23g Protein, 13g fiber 7mg iron. 1-pot, 30 minutes. Freezer friendly and budget friendly!)
What if I told you that you could make an amazing, creamy, 1-pot soup that is also comforting and nutrient-dense? It is hearty, budget-friendly, easy, and packed with protein, fiber, and iron. It is also packed with amazing flavor and is ready within 30 minutes. It is also weeknight-friendly and uses mostly pantry staples. The whole pot only costs about $5 to $6 to make.
Marry me white bean soup is creamy, hearty, and nutrient-dense. There’s 23 grams protein, 13 grams fiber, 7 mg iron, and even more nutrients in a bowl of this marry me soup! There’s protein from the white beans, cashews, hemp seeds, tofu, and nutritional yeast, and fiber from the vegetables, greens, and white beans.
To make it more hearty, you can add red lentils to the soup while simmering in the stock. The lentils add even more protein and fiber! Or, you can double up on the white beans.
The sun-dried tomato, smoked paprika, creamy texture, and garlicky flavors work really well with some pasta as well. You can also serve it with cheese toast or toasted sourdough, garlic bread, pita.
Why You’ll Love Marry Me White Bean Soup
The flavor! We build the flavor by
1. Toasting garlic and pepper flakes to infuse the oil
2. Toasting the tomato paste and sun dried tomatoes to deepen the umami
3. Using a combination of tofu hemp seeds and cashews for cream so that the cream has volume and hearty creamy flavor!
30-minute 1-pot meal, easy weeknight dinner using mostly pantry ingredients
creamy, smoky, hearty soup with tons of Protein and Fiber in every bite
Meal prep, freezer friendly.
naturally gluten-free with easy soy-free and nut-free options
Salted chaas is a simple and refreshing Indian drink made with curd, water, black salt, spices and fresh coriander. I grew up having curd with almost every lunch and during hot summer days, we would often turn it into a chilled glass of chaas. Chaas Recipe This is one of those easy everyday drinks that...
Got some leftover idiyappam sitting in the fridge? Don't let it go to waste! Turn it into this simple, tangy and delicious lemon sevai in just a few minutes. Cooked sevai or idiyappam, lemon juice, curry leaves, red chilli, turmeric powder and a simple tempering makes this a quick breakfast. It can be served without...
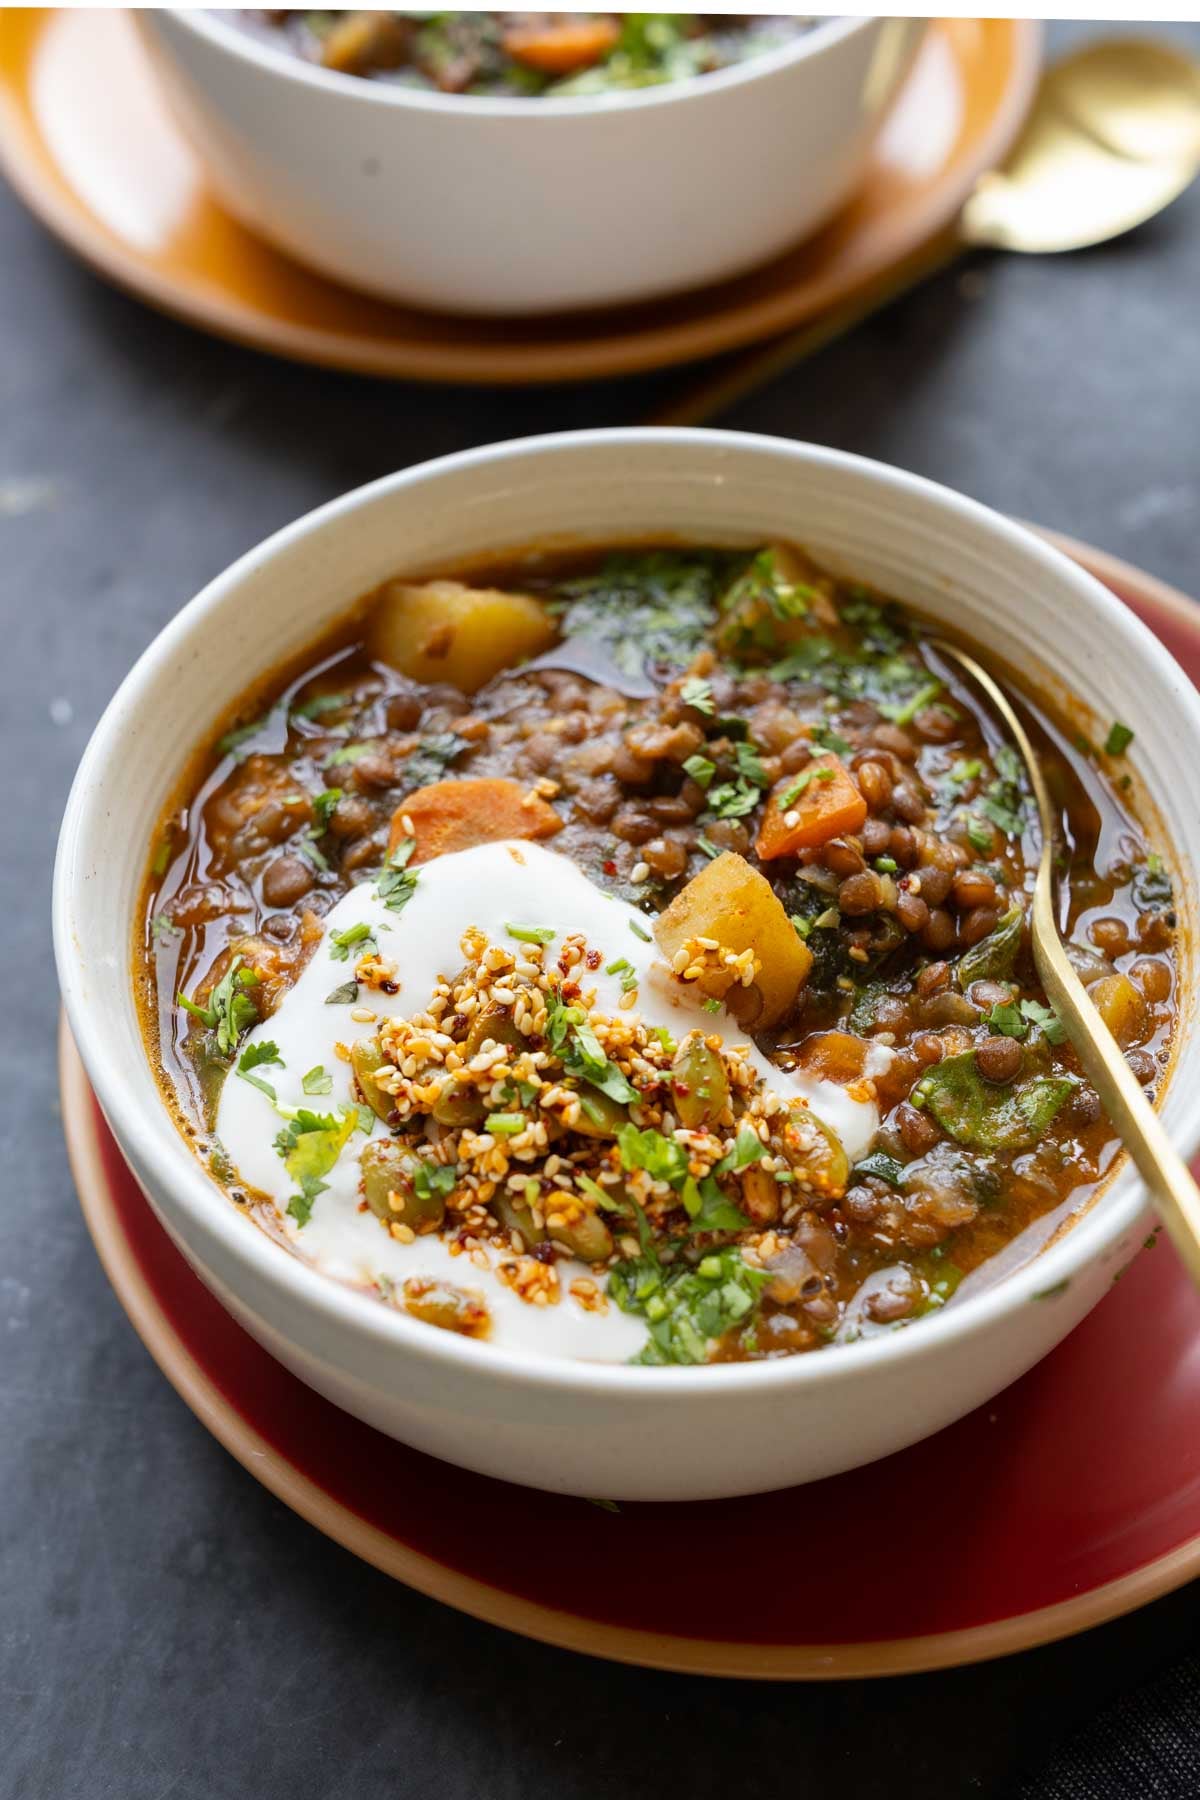
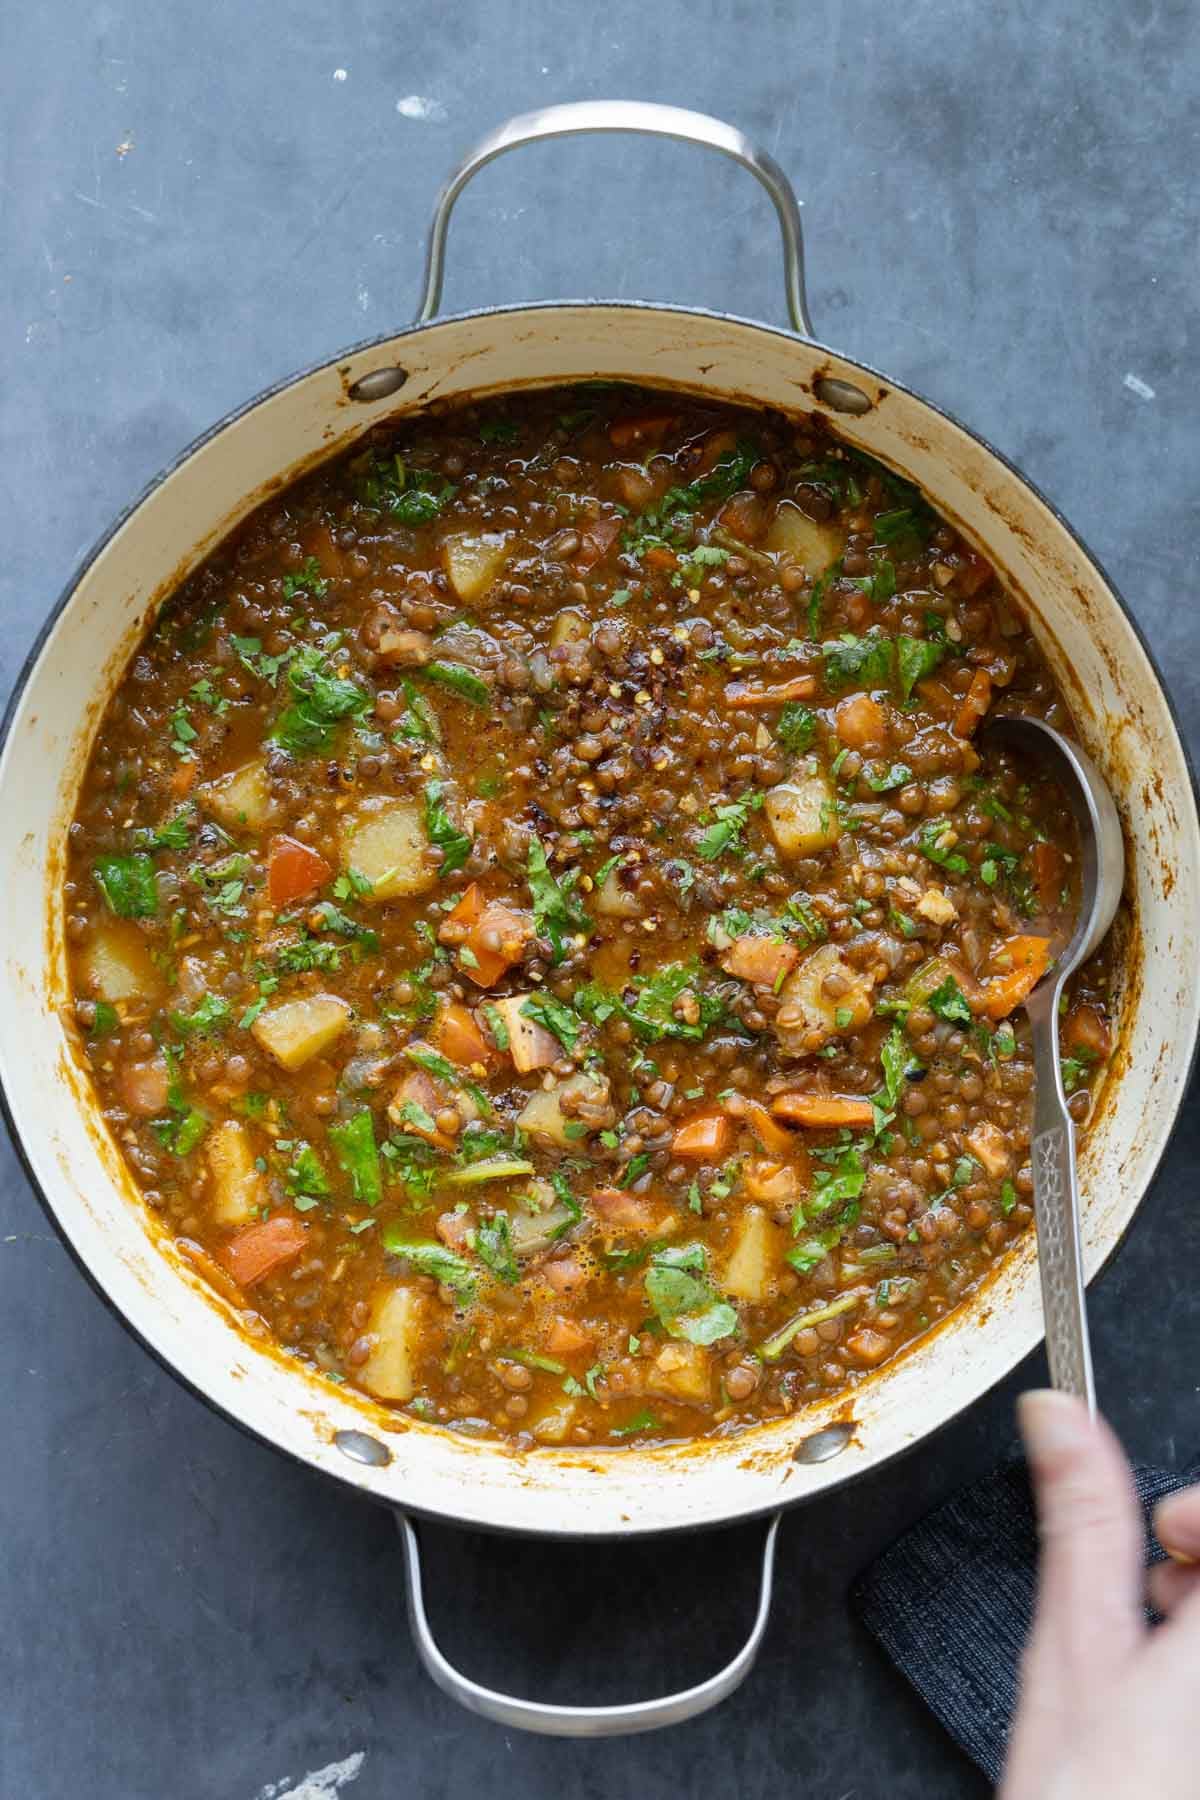
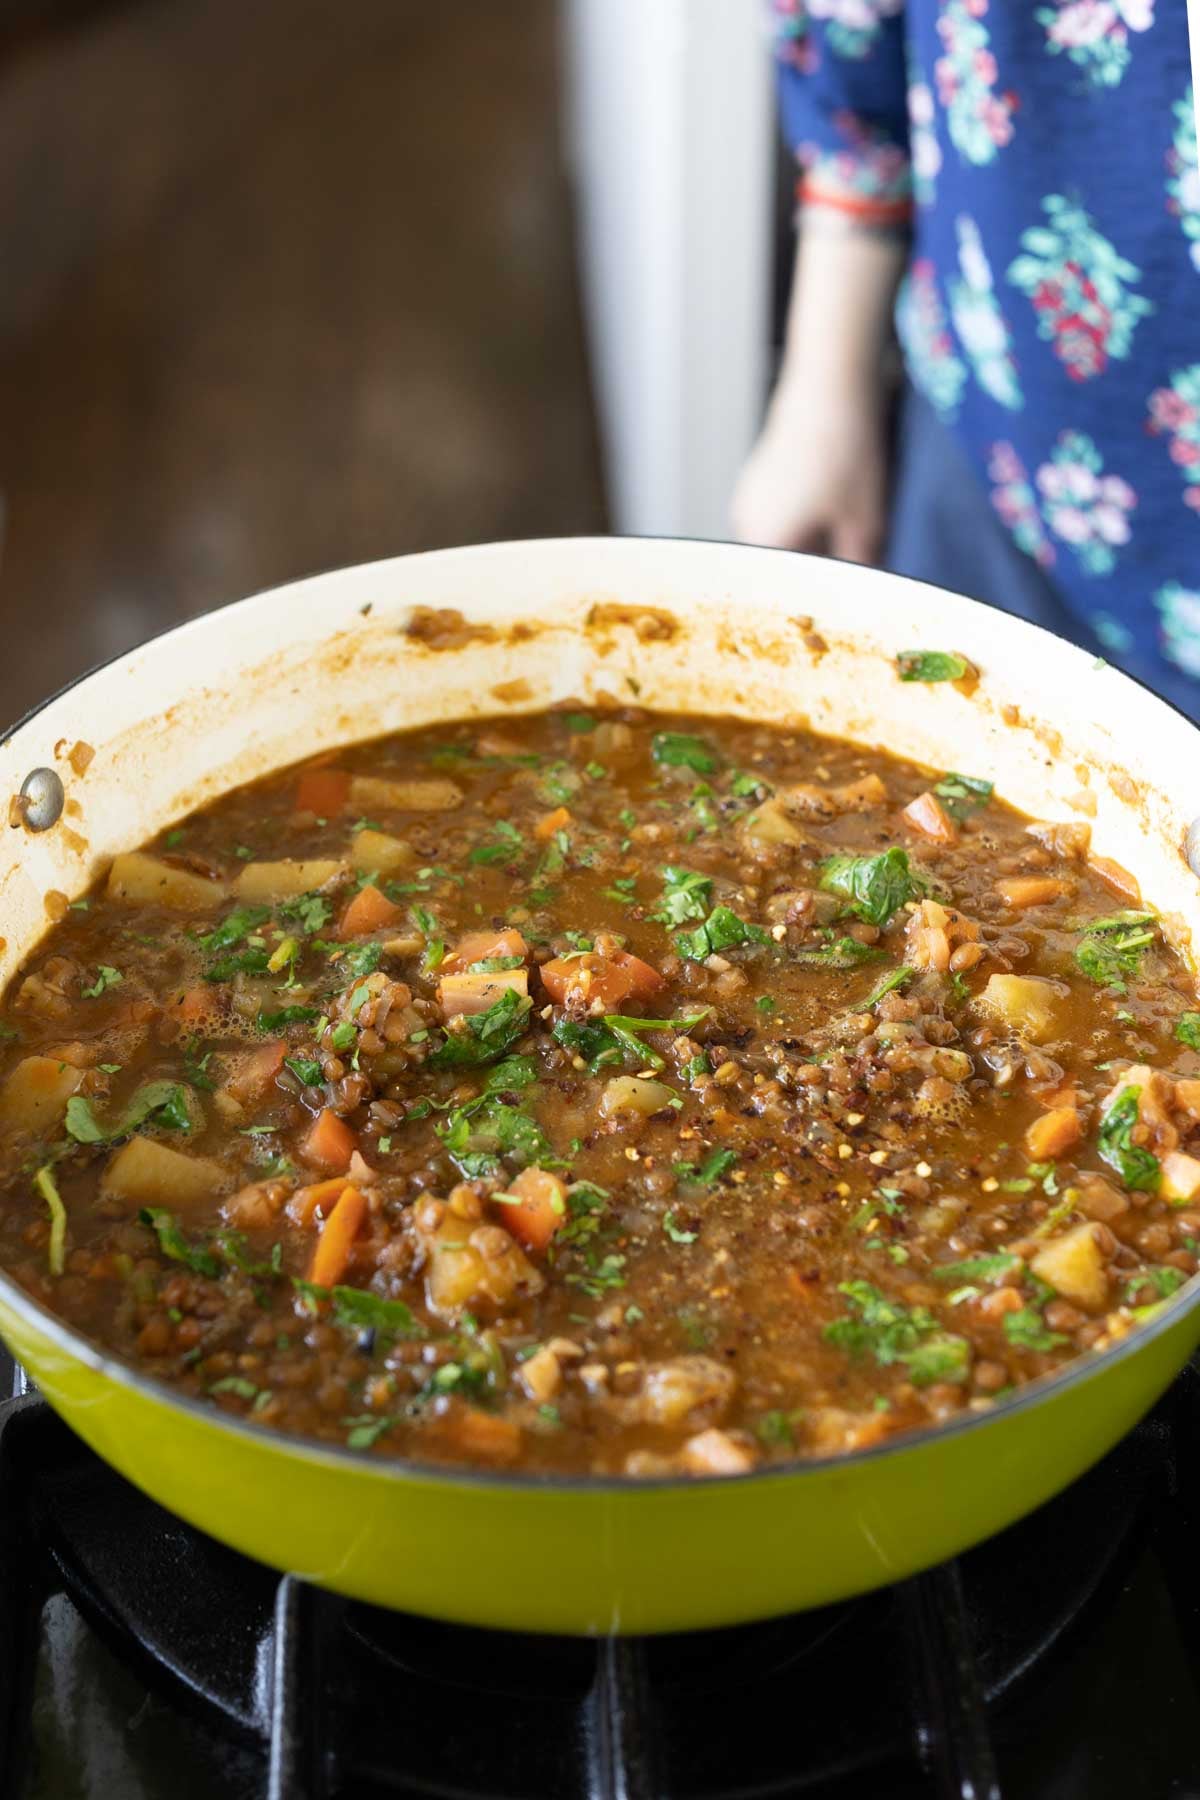
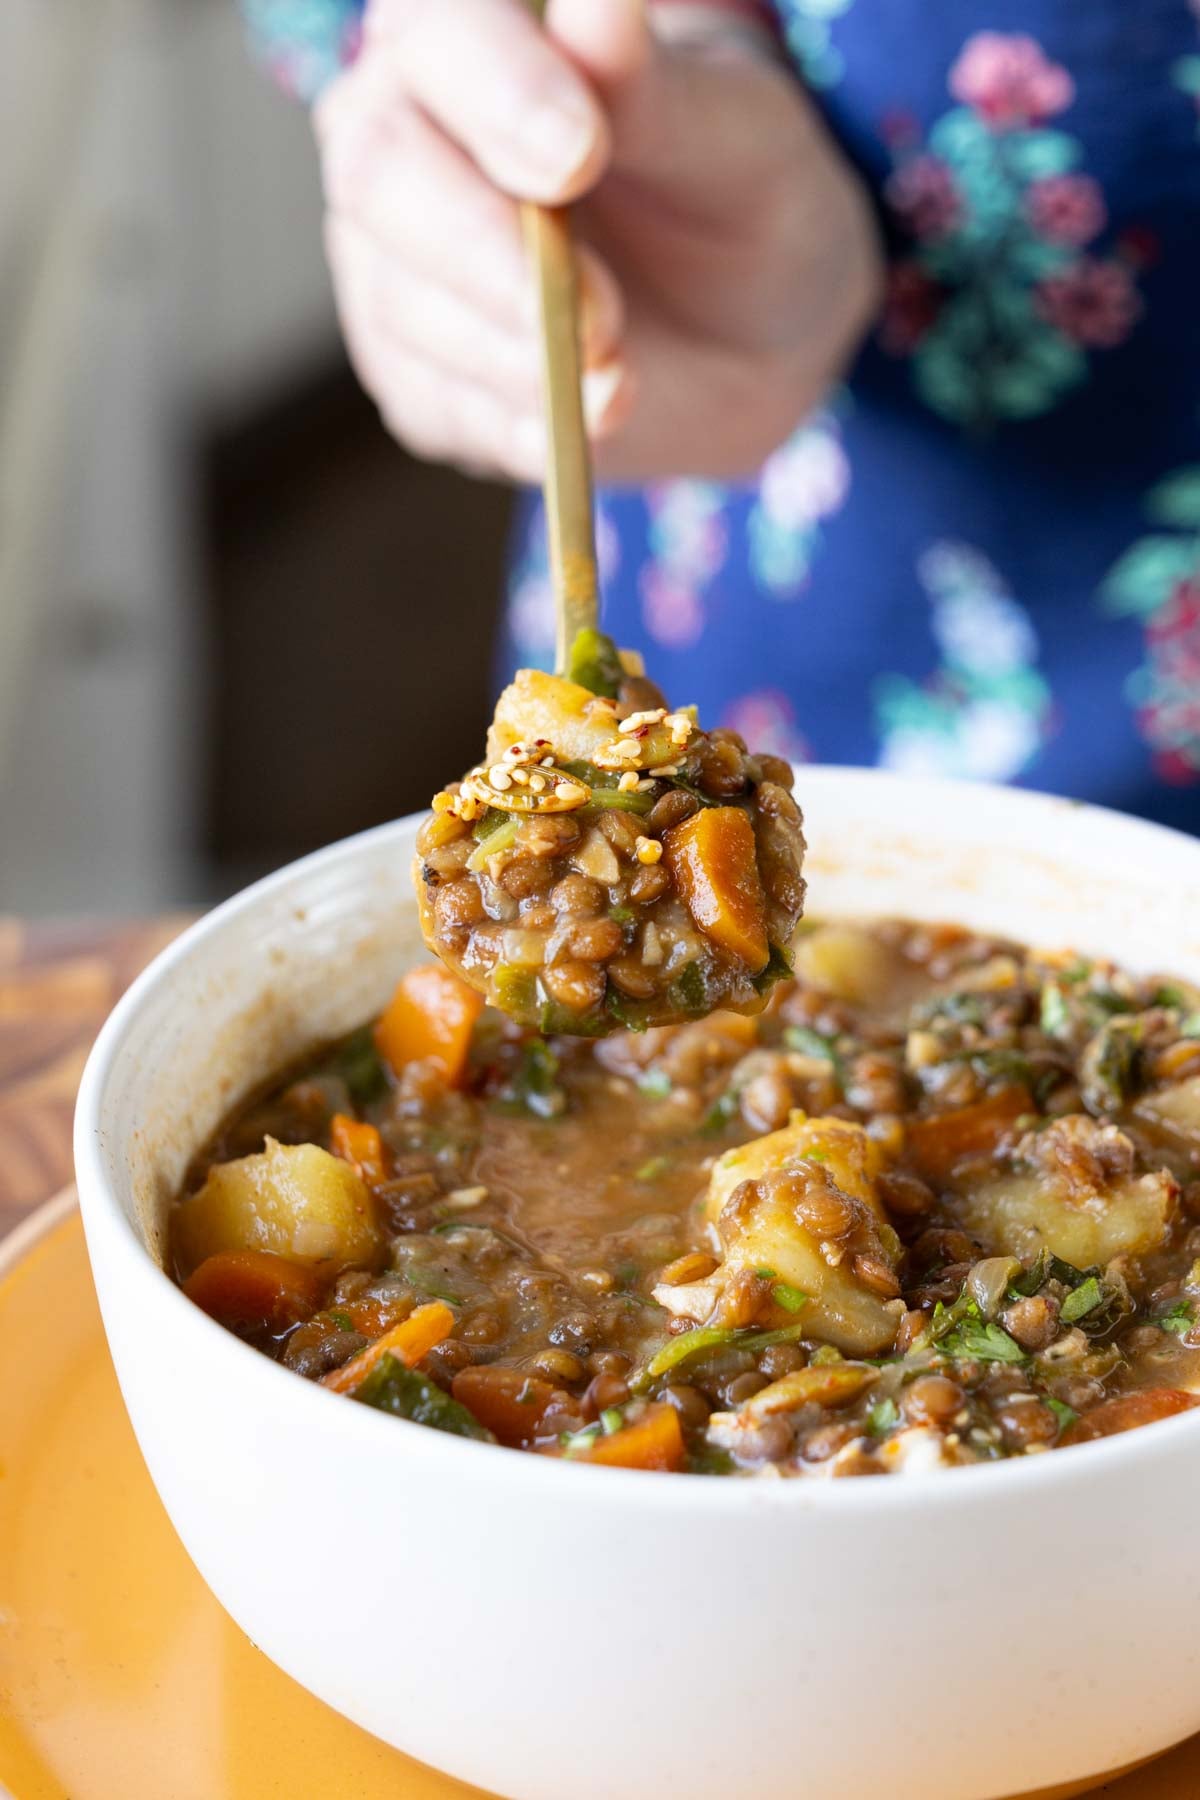
I’ve made plenty of lentil soups, but this lentil potato soup is the one I keep coming back to. It always wins on flavor and nutrition, and I’ll tell you the simple techniques that make it unbelievably flavorful every time. Each serve packs 20g Protein 14g Fiber 8mg Iron (gluten-free, soy-free, nut-free)
This pot of lentil potato soup, including the toasted seed topping, has 75+ grams of protein, 56 grams of fiber, 24 milligrams of iron(8 per serve is 44% dv), about 700 milligrams of magnesium, 12 milligrams of zinc, plenty of omega fats, and lots of vitamins A and C, along with calcium.
This lentil soup has so much flavor from the way we build up the flavor profile and spices. It is hearty with plenty of veggies and kale, and then we level it up with a toasty seed topping that not only adds amazing texture but also boosts the nutrient profile of the soup.
The lentils bring protein, fiber, iron, and folate. Kale adds vitamins K, C, and A, along with calcium. Pumpkin seeds, hemp seeds, and sesame seeds bring magnesium, zinc, calcium, omegas, and even more protein. The potatoes add vitamin B6 and potassium, while the carrots contribute beta-carotene. This lentil soup is truly a powerhouse of nutrients.
To level up this lentil potato soup, 1. we first toast the garlic in the oil. Toasting the garlic releases its flavor into the oil, and then we add the onion. The onion stops the garlic from continuing to cook, so you get perfectly golden garlic without burning it. Next, we toast the tomato paste with the onion. This caramelizes the tomato paste and builds even more umami into the soup.
2. The flavors: we build layers of flavor with herbs and spices. I use oregano, but basil or thyme work just as well.
Then, I make a quick harissa-style spice blend with ground coriander, cumin, onion powder, and smoked paprika. You can also use a prepared harissa blend, sumac, shawarma spice blend, baharat, curry powder, or Cajun seasoning. All of these work wonderfully here. I also add black pepper to deepen the flavor and add a gentle heat.
These layers of herbs and spices create an incredibly flavorful broth for the lentils and potatoes to cook in.
3. The potatoes are added midway through cooking, so they become perfectly tender while still holding their shape. They soak up all of the delicious broth without falling apart. If you prefer a thicker soup, you can add the potatoes at the beginning, so they break down into the broth.
Toward the end of cooking, we stir in plenty of kale to make the soup even more nutrient-dense.
4. We make a quick toasted seed topping. This adds to much texture and flavor, it’s surprising and incredible! We use pumpkin seeds, hemp seeds, and sesame seeds. The seeds are toasted with lemon zest, which adds a bright, zesty flavor that pairs beautifully with their nutty richness. We finish the topping with Aleppo pepper flakes for a smoky, gentle heat. If you don’t have all three kinds of seeds, use one or two instead, but definitely make the topping!
Why You’ll Love Lentil Potato Soup
nutrient-packed pot of soup with tons of amazing flavor
easy to make with simple ingredients
versatile! Use different spice blends and additions to change the flavor profile to preference.
crunchy seed topping adds even more flavor, an incredible texture and nutrient boost
Korean Corn Cheese Recipe is also known cheesy corn which is a very popular Korean snack which is served in Korean bar along with drinks. Corn cheese is made with onions, sweet corn, salt, pepper, sugar, cheese and mayonnaise. Bake corn cheese taste amazing when served piping hot. Korean Corn Cheese Recipe I have been...
Tamarind paste is a staple everyday basic ingredient that is used almost daily in South Indian cooking. Making Tamarind paste at home is now easy. It is more budget friendly, convenient to make tamarind paste or pulp at home in bulk and freeze. This makes your everyday cooking very easy. Tamarind Paste Recipe Some of...
Kerala squid curry, also called nadan koonthal or kanava curry, is a spicy, flavourful curry with roasted coconut paste. Tender squid is cooked with brinjal, roasted coconut, spices, shallots and curry leaves until everything comes together beautifully. This curry tastes amazing with Kerala red rice, appam, parotta or even dosa for a delicious meal. Nadan...
Papas Arrugadas are traditional Canary Island potato recipe called as wrinkled potatoes. It is made by cooking small potatoes in heavily salted water until potatoes are cooked through. These cooked potatoes are left to dry in the pan until the potato skins get wrinkly and the potatoes are lightly coated with salt. This wrinkled salt...
If you are looking for simple upma recipes for breakfast or dinner, then this rice flour upma is the answer. This arisi maavu upma is made with rice flour, simple tempering of mustard, urad dal, dry chillies, curry leaves and coconut. Easy to make rice upma with minimal steps. Rice flour upma Ever been in...
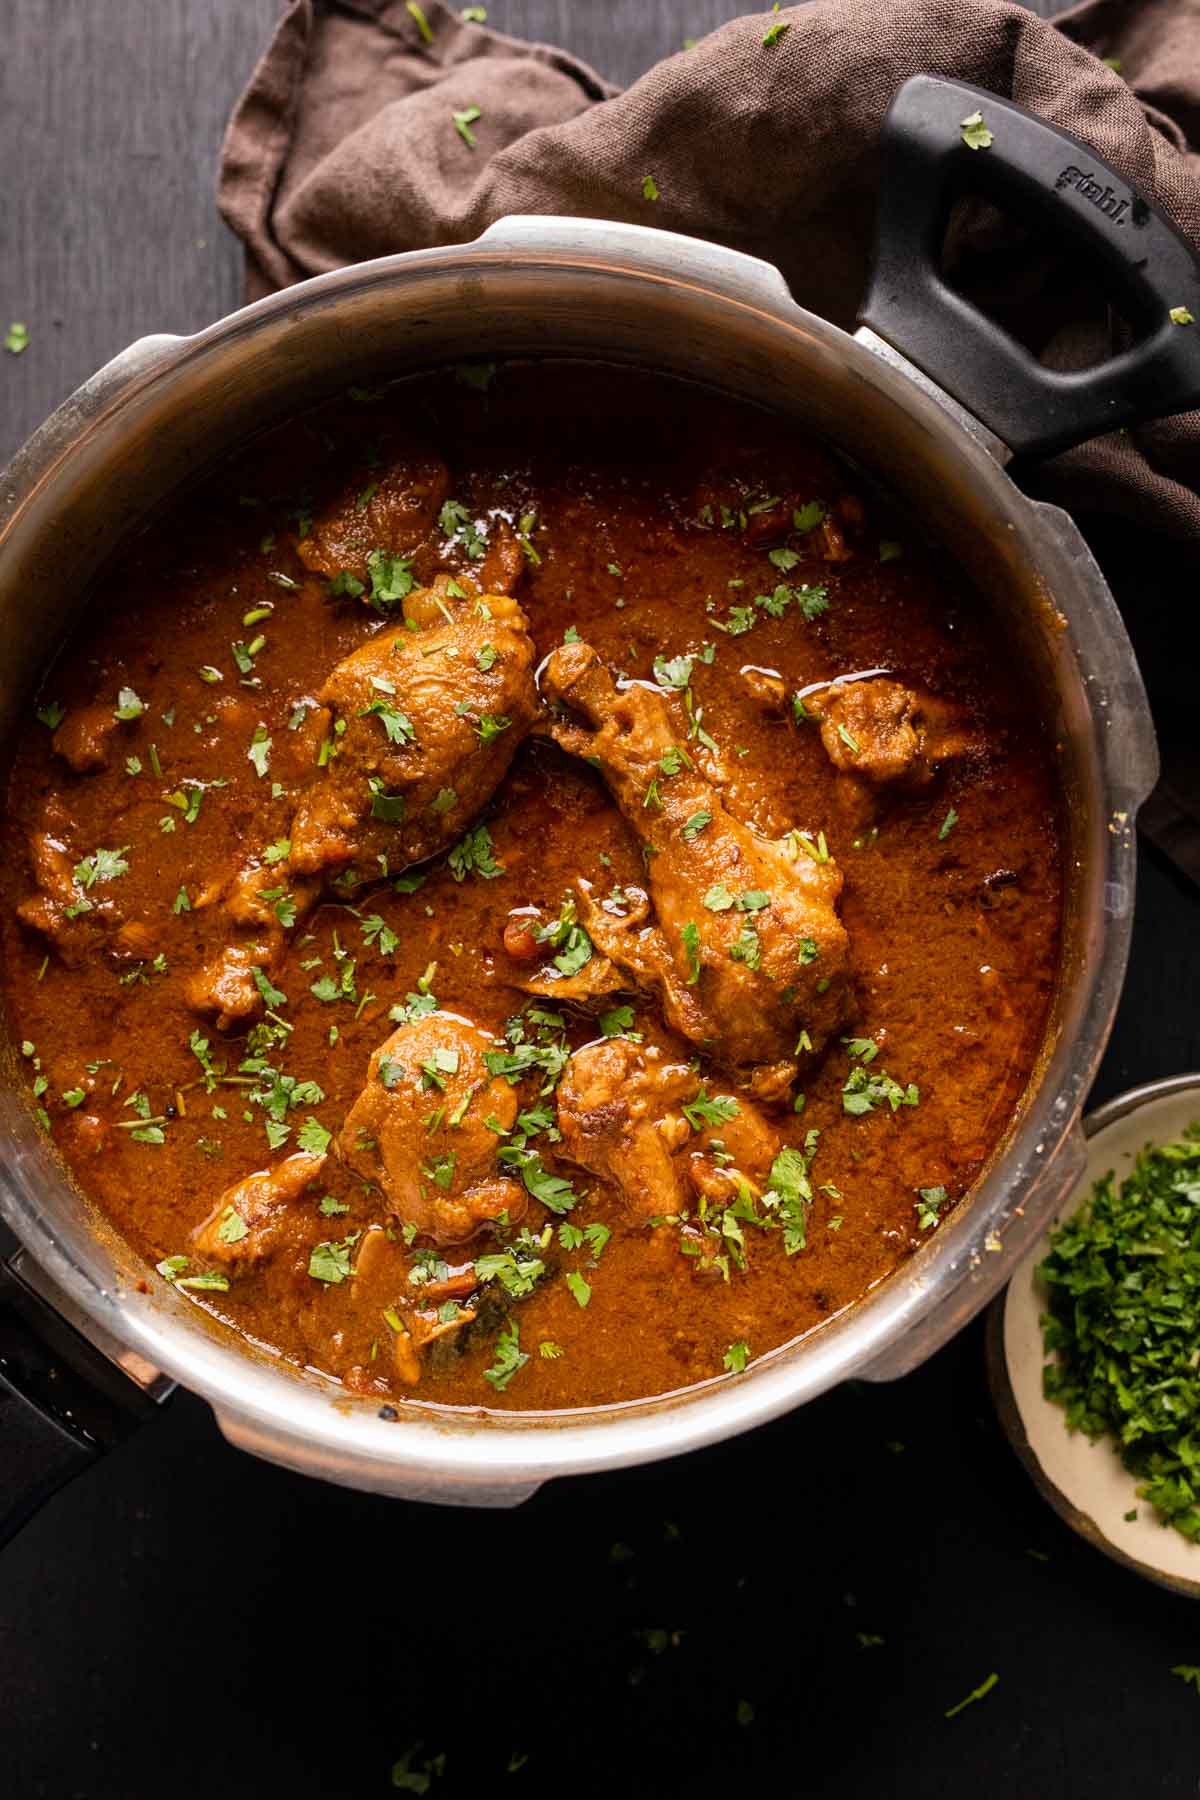
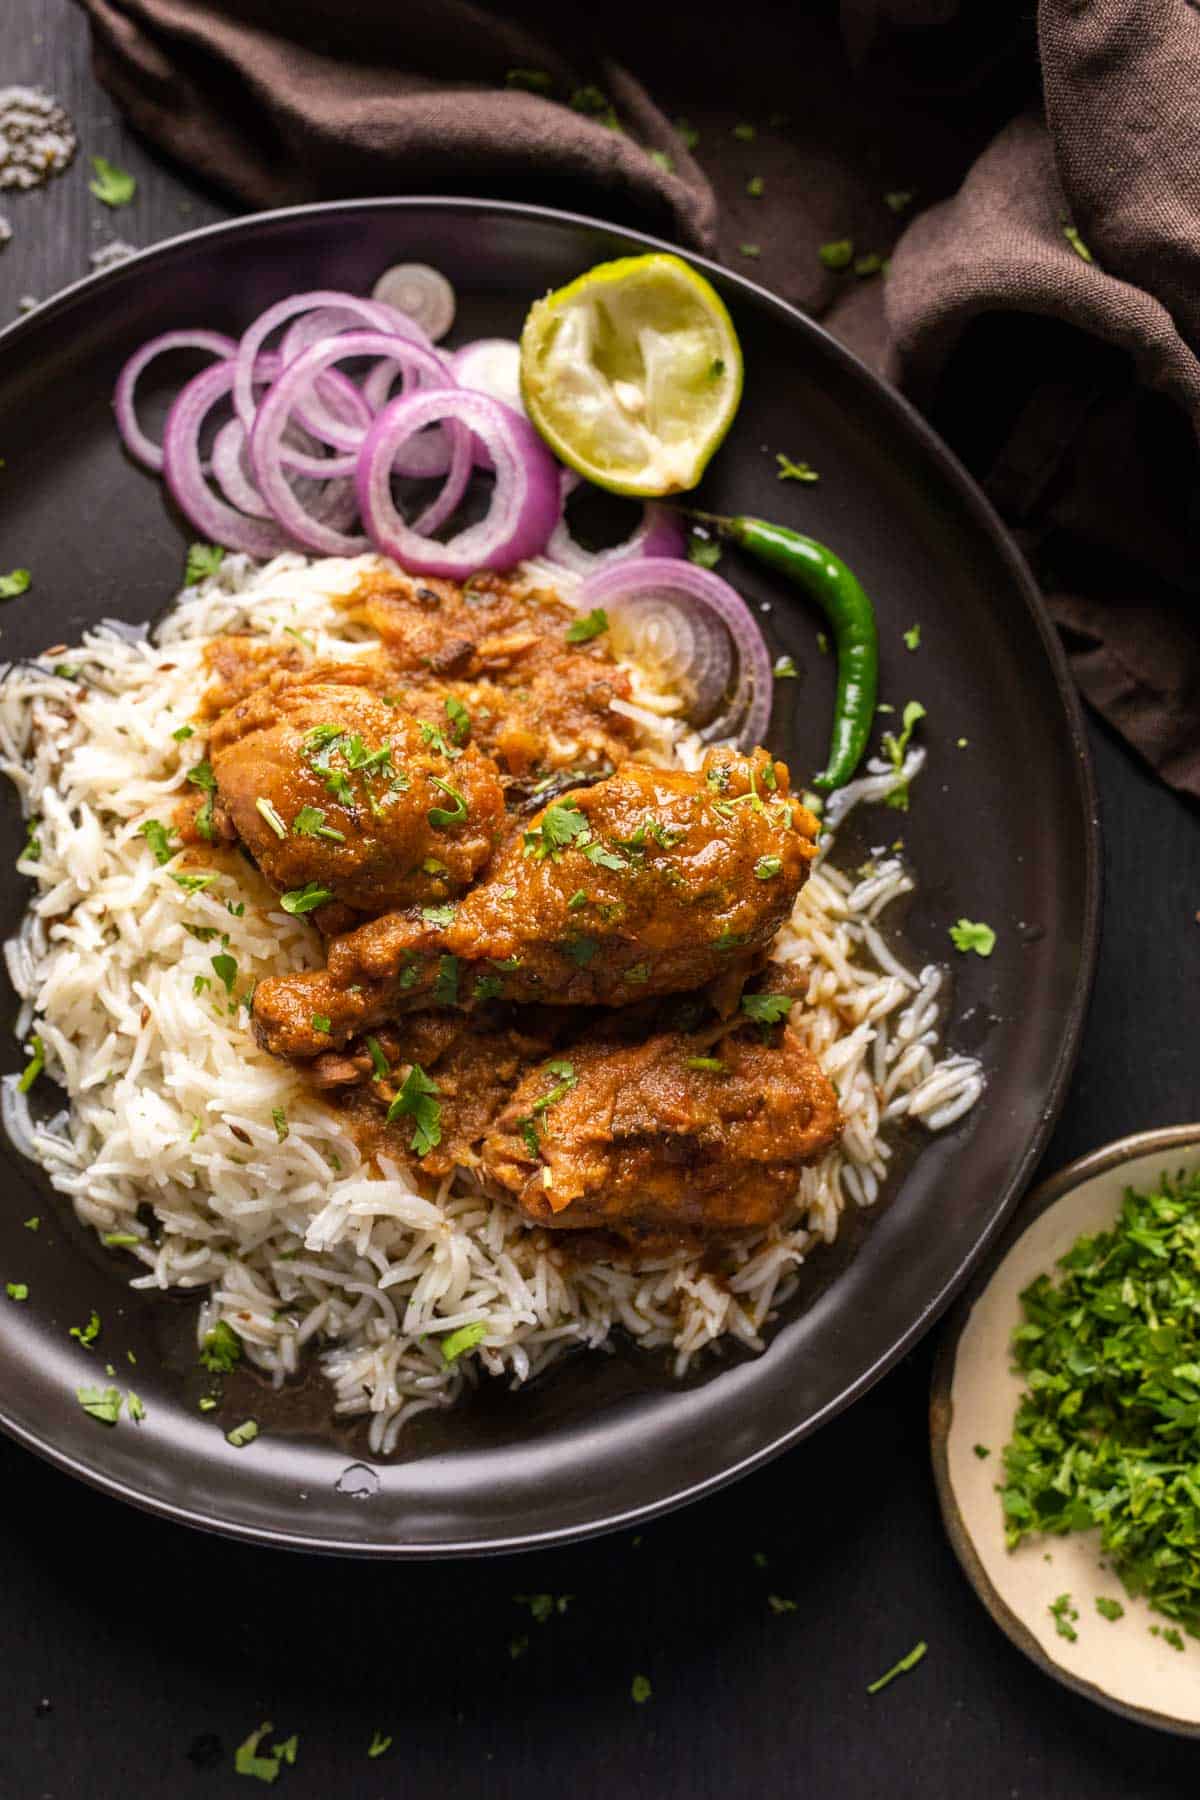
This Dhaba Style Chicken Curry stands for every road trip we’ve had with our families. Same bold flavours, hot, fragrant, and ready in under 45 minutes. Learn how to make it in a traditional pressure cooker, instant pot, and on the stovetop.
I think I’ve finally nailed it. This Dhaba Style Chicken Curry is SO good. Its legit, as close as it gets to eating it in a dhaba. Spicy, fragrant with spices, big, bold flavours and really juicy pieces of chicken.
Dhabas, for the uninitiated, are roadside restaurants that you’ll find along the highway. They’re road trip essentials and are scattered all over the country and really well-known for their bold, rustic flavors and ambience. Growing up, the highlight of any road trip was a stopover at a dhaba for steaming hot, spicy dhaba style chicken curry, dal fry or dal makhani and tandoori rotis fresh from the oven to mop it all up. These soul satisfying meals will always be etched on to my heart!
Unlike my other recipes, this one’s slightly time consuming because masala is ground and cooked till it’s color changes. This is characteristic of most Indian curries, and the slow cooking process or bhuno is what lends dishes a unique flavor.
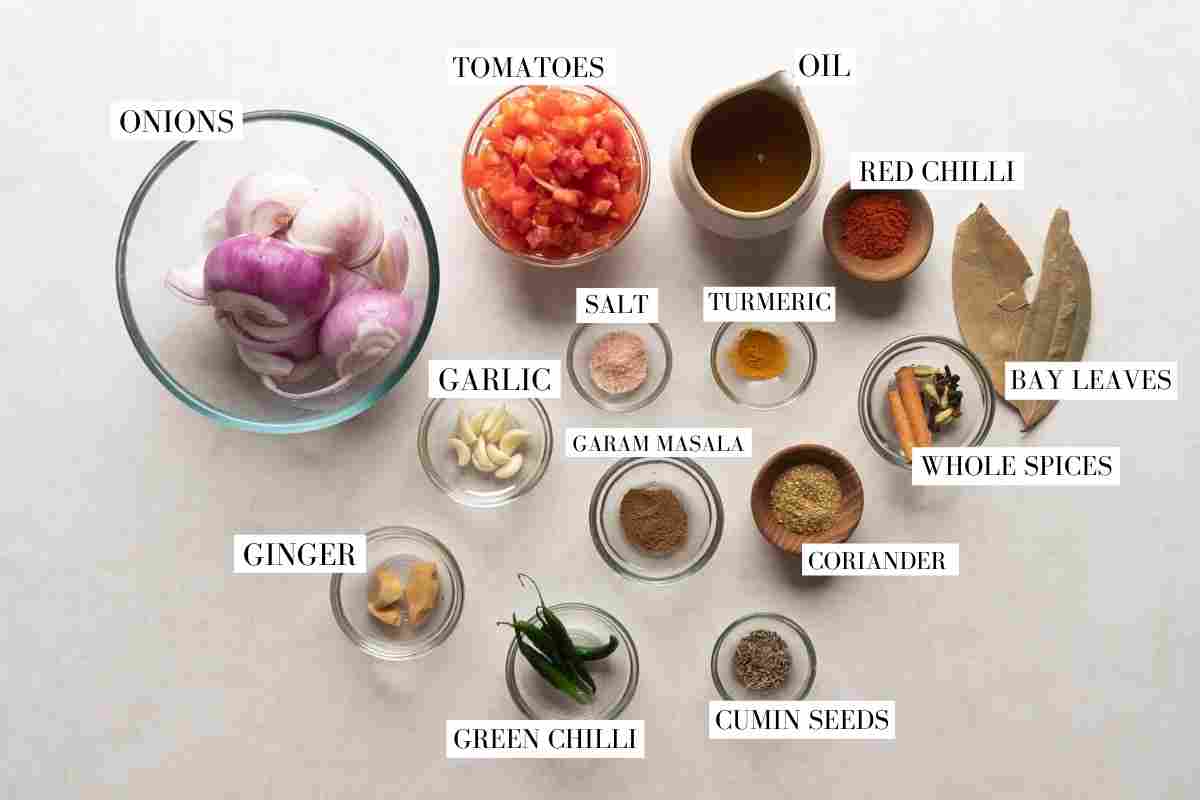
Here are the main ingredients you’ll need for this recipe:
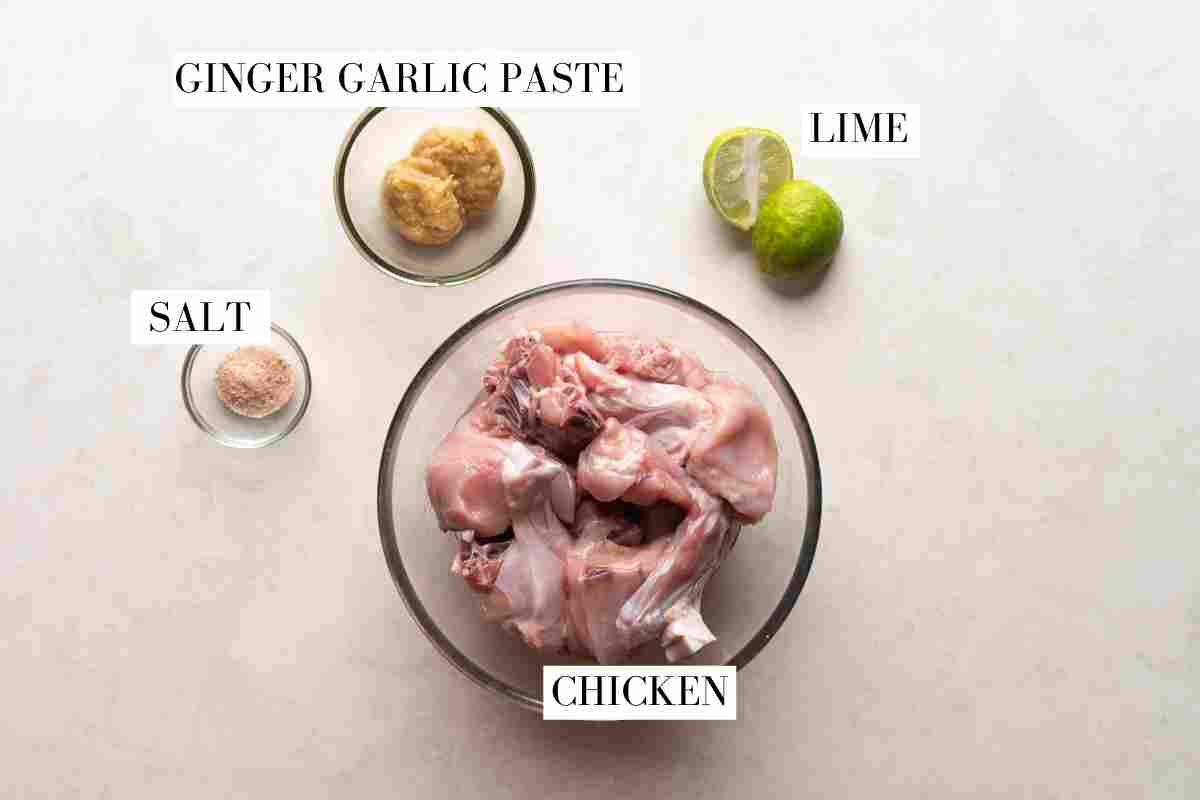
Chicken: Bone in chicken cut into 2 inch pieces. Most Indian curries use the entire bird (thighs, breast, drumsticks)
Ginger Garlic Paste: Fresh ginger and garlic in equal parts ground to a paste with a little water. Use store bought in a pinch but fresh adds more flavour
Lime Juice: Acid helps tenderise the meat
Mustard Oil: Key to getting that unique dhaba flavour. It’s more pungent and adds a smokiness
Whole Spices: Cumin, cloves, cardamom, cinnamon and bayleaf. Skip if you don’t have but I recommend using them for that burst of flavour
Ginger & Garlic: Ground with onions. You can substitute it with 1.5 tbsp store bought or homemade ginger garlic paste
Onions: Form the main base of the gravy and add flavour, density and thickness
Green Chillies: Add heat and flavour. Use serrano peppers if you don’t have Indian green chillies available
Ground Spices: Red Chilli Powder, Turmeric Powder, Coriander Powder and Garam Masala. I highly recommend using homemade garam masala. Add it towards the middle or end of the cooking process to retain its aroma and flavour
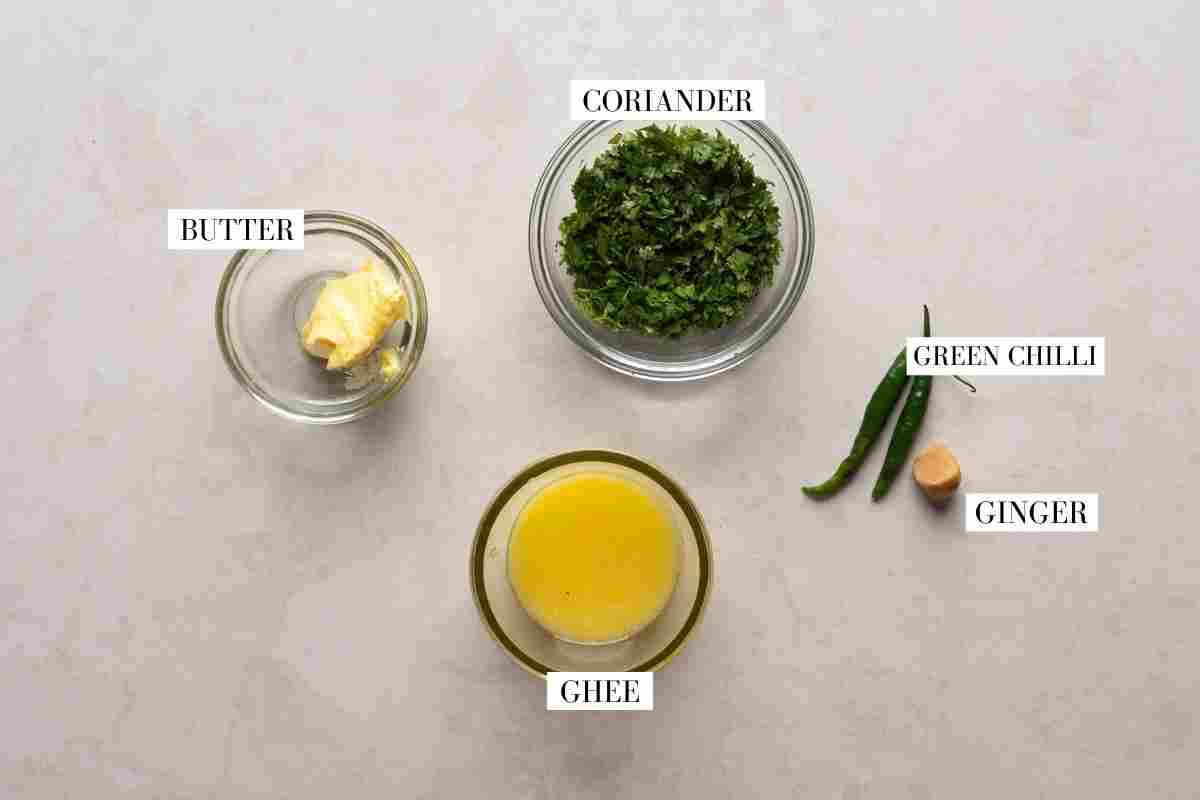
Tempering: We use ghee, ginger, and green chillies to add an additional layer of flavor to finish off the curry. Don’t skip this step!
Why is this Chicken Curry recipe so unique
We were asking this question ourselves while trying to replicate that dhaba like flavour – How is it that common dishes taste extra unique when they come from a dhaba?
Here’s what we found: Dhabas use more oil, ghee and butter to add richness and to cook the food faster, there’s a natural smoky flavour because all the cooking is done on a really high flame or using firewood. They liberally use freshly ground spices wherever possible and finally, they end the dish with a sizzling tadka/tempering!
We’ve taken all this information and compiled it into one beautiful chicken curry.
How to make Chicken Curry
Check out the simple steps that go into making this beautiful curry
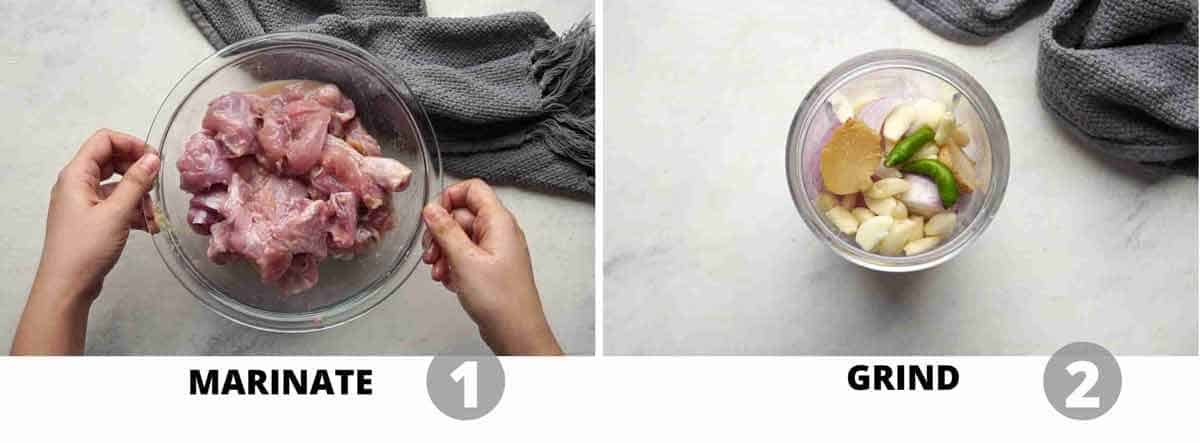
Marinate
1. Marinate the chicken in ginger garlic paste, lime juice and salt. This adds flavour from within and the acid helps tenderise the meat
2. Add onions, ginger, garlic and green chillies to a chopper and pulse to get a coarse mix.
Curry
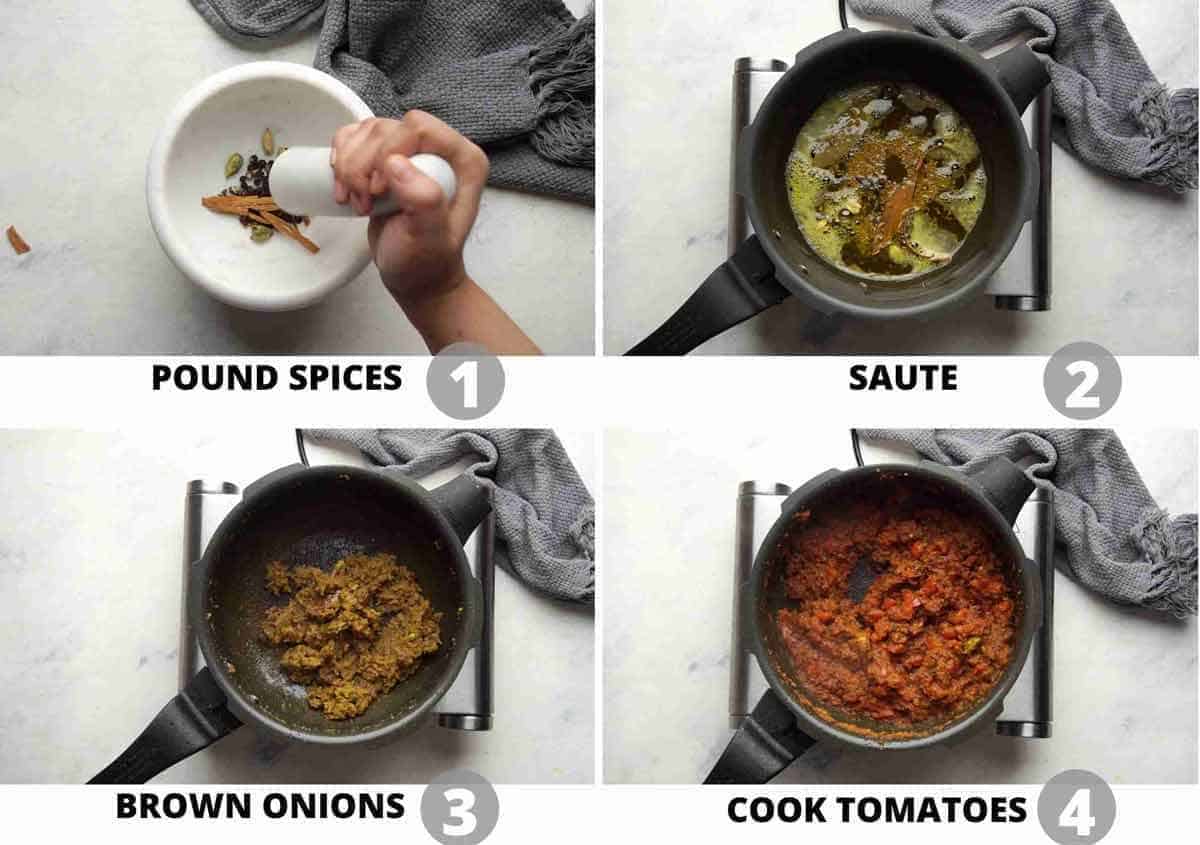
1. Pound spices roughly with a mortar pestle to break them down and release their flavour
2. Saute them in hot oil to temper them
3. Brown the onion paste in oil that’s tempered with whole spices. This is a slow cooking process where the onion paste is sauteed on a low flame till it changes colour and becomes a deep golden brown. You’ll see a thin layer of oil floating on the top and the sides – thats when you know its cooked through and isn’t raw anymore
4. Cooktomatoes and spices for a few minutes till the tomatoes become pulpy soft
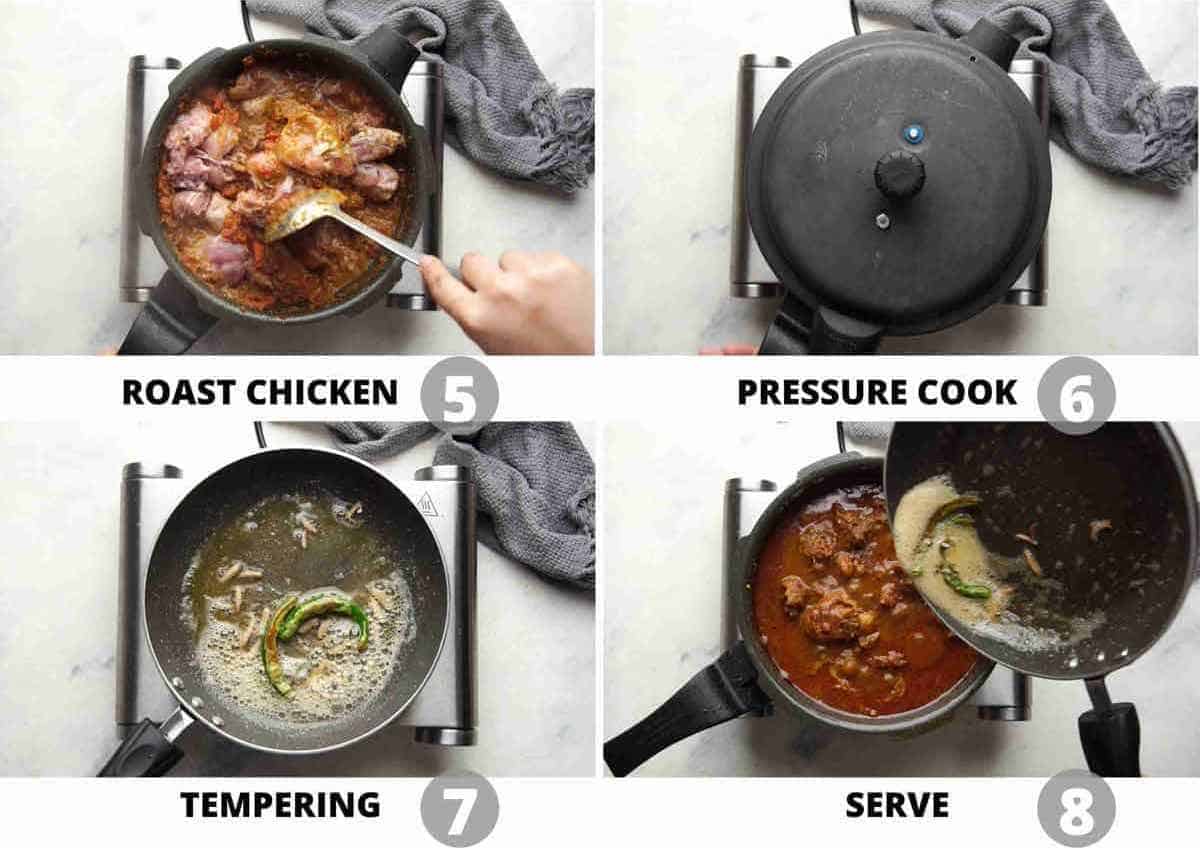
5. Roast the chicken along with garam masala in the onion tomato mixture, tossing it for a minute or two till the gravy coats all the pieces
6. Pressure Cook for 15 minutes. If using a traditional pressure cooker, start on high heat and after the first whistle, reduce the heat to low. Wait till you hear two more whistles and then turn off the flame. Let the pressure release naturally. To make instant pot chicken curry, pressure cook on high for 8 minutes
7. Temper julienned ginger and slit green chillies in butter and ghee.This adds an extra layer of flavour and gives it a nice hint of ginger
8. Serve chicken curry with tempering poured on top. Sprinkle some chopped coriander for freshness and flavour
Richa’s Top Tips
Always marinatethe chicken. The longer the better. This literally changes the game by adding flavour, seasoning, and tenderising.
Brown the onion paste. Don’t rush this process. Browning onions slowly gets rid of any raw smell and flavour. You’ll know its done when you see a little oil separating on the sides and the colour changes to a deep golden. This, in addition with the herbs, spices and tomatoes create the perfect balance.
Don’t skimp on oil. There is a fair amount of fat in this recipe in the form of oil, butter and ghee. I would not recommend skimping on oil as it will compromise the flavor.
Always use quality garam masala. I always recommend homemade garam masala. But even if using store bought, make sure its not more than a year old. Add it just before cooking the chicken so that it retains its freshness and aroma
Do not forget the tempering. It gives it that extra kick along with the richness from the ghee.
Storage Tips
If you have leftovers, let the chicken curry cool completely before transferring it to an airtight container. It will keep well in the refrigerator for 3–4 days.
If you’d like to store it for longer, you can freeze Dhaba Chicken Curry for up to 2–3 months. For convenience, portion it into freezer-safe containers so you can thaw only as much as you need.
When you’re ready to reheat, thaw the frozen curry in the refrigerator overnight and then warm it gently on the stovetop. The gravy tends to thicken as it sits, so add a splash of water while reheating if needed. Make sure the chicken is heated through before serving.
And the best part? The flavours have more time to come together as the curry sits, so leftovers can taste even better the next day. This also makes it a great make-ahead chicken curry for busy weeknights.
Serving Ideas
Wondering what to serve with Dhaba Chicken Curry? You really can’t go wrong with something that helps soak up all that delicious, spicy gravy!
If you’re craving a proper dhaba-style spread, go for tandoori roti or naan with a bowl of cool raita, sliced onions and lemon wedges on the side.
For a bigger Indian meal, add dal fryordal makhani and a simple vegetable sabzi. And don’t forget extra rotis or rice because you’ll want every last bit of that gravy!
I hope you guys enjoy this recipe as much as I do, it’s truly one of my favorites! And like all curries, this tastes even better the next day, so no need to worry about leftovers! If you love dhaba style food, check out my other favourite like Dhaba Dal Fry, Dhaba Dal Tadka, Matar Paneer, Karahi Chicken, Dal Makhani.
When you make this recipe, don’t forget to send me pictures over on my IG @my_foodstory. I love seeing your recreations!
The best dhaba style chicken curry recipe! Spicy, hot, fragrant curry made with ground spices, onions and tomatoes, and perfect for a family lunch or dinner.
Marinate the chicken pieces with ginger garlic paste, lime juice and salt. Cover and set aside while you prep everything else
Add onions, ginger, garlic and green chillies to a chopper and pulse to get a coarse mix.
Heat oil in a pressure cooker or a large heavy bottom pan. Add cumin seeds. Roughly pound all the whole spices (bay leaves, cinnamon, cardamom, peppercorns and cloves) and add to the oil.
once they start to splutter, add the onion mix. Cook the onion mix on a low flame, stirring occasionally till it is reduced to a golden brown mix and you see a thin layer of oil along the sides
Add tomatoes, salt, turmeric powder, red chili powder (if using) and coriander powder. Cook till the tomatoes start melting, and almost form a paste.
Add chicken and garam masala powder and roast for a minute or two till the chicken pieces turn pink and get coated with the masala. Add meat masala powder, 1 ¼ cups of water, mix well.
Pressure Cooker:
At this stage, if you are using a pressure cooker, place the lid and pressure cook on high till the first whistle goes off. Then reduce the flame to low and pressure cook for two more whistles and turn off the flame. If using a different kind of pressure cooker (without a whistle system), pressure cook on high for 15 minutes. Let the pressure release naturally.
Simmer for 5-10 mins on high flame, if required, to thicken the curry (chicken leaves a lot of water). I didn't need to do this.
Stovetop Method:
If you are using a heavy bottomed pan, bring the curry to a boil, reduce the heat, cover with a lid and let it cook on medium heat for 20-25 minutes. Uncover the pan, and cook for another 10-15 minutes till the curry starts to thicken. Once the curry is ready, switch off the flame.
Instant Pot Method:
If using an instant pot, place the lid and change the vent to sealing. Pressure cook on high for 8 minutes. Release pressure manually. Simmer the curry for a few minutes to achieve the desired thickness if there is too much water.
Tempering:
In another small pan, heat ghee and butter and add green chilies and ginger. Once they start to splutter, switch off the flame and mix the tadka (or tempering) into the curry. Top with coriander.
Let the curry sit for 10-15 minutes before serving. Tastes best with rotis or rice.
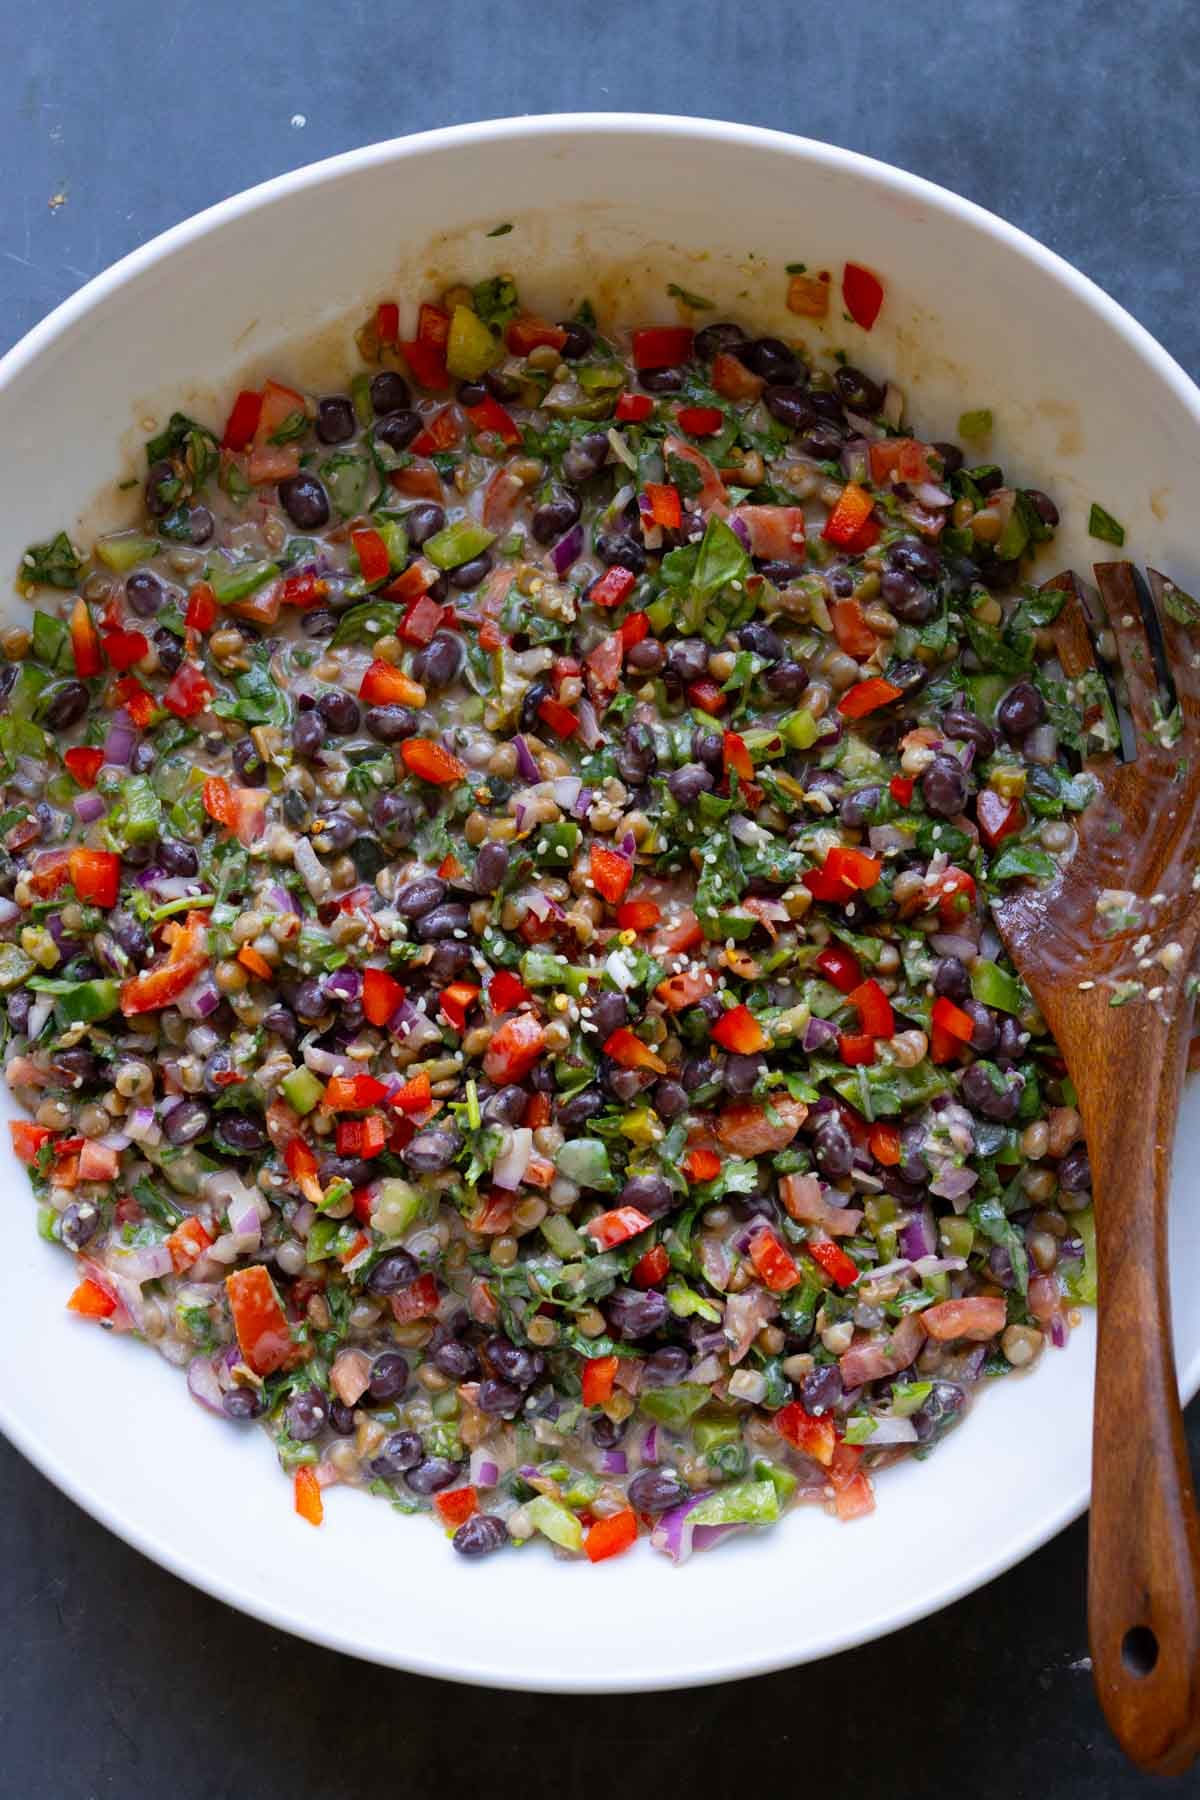
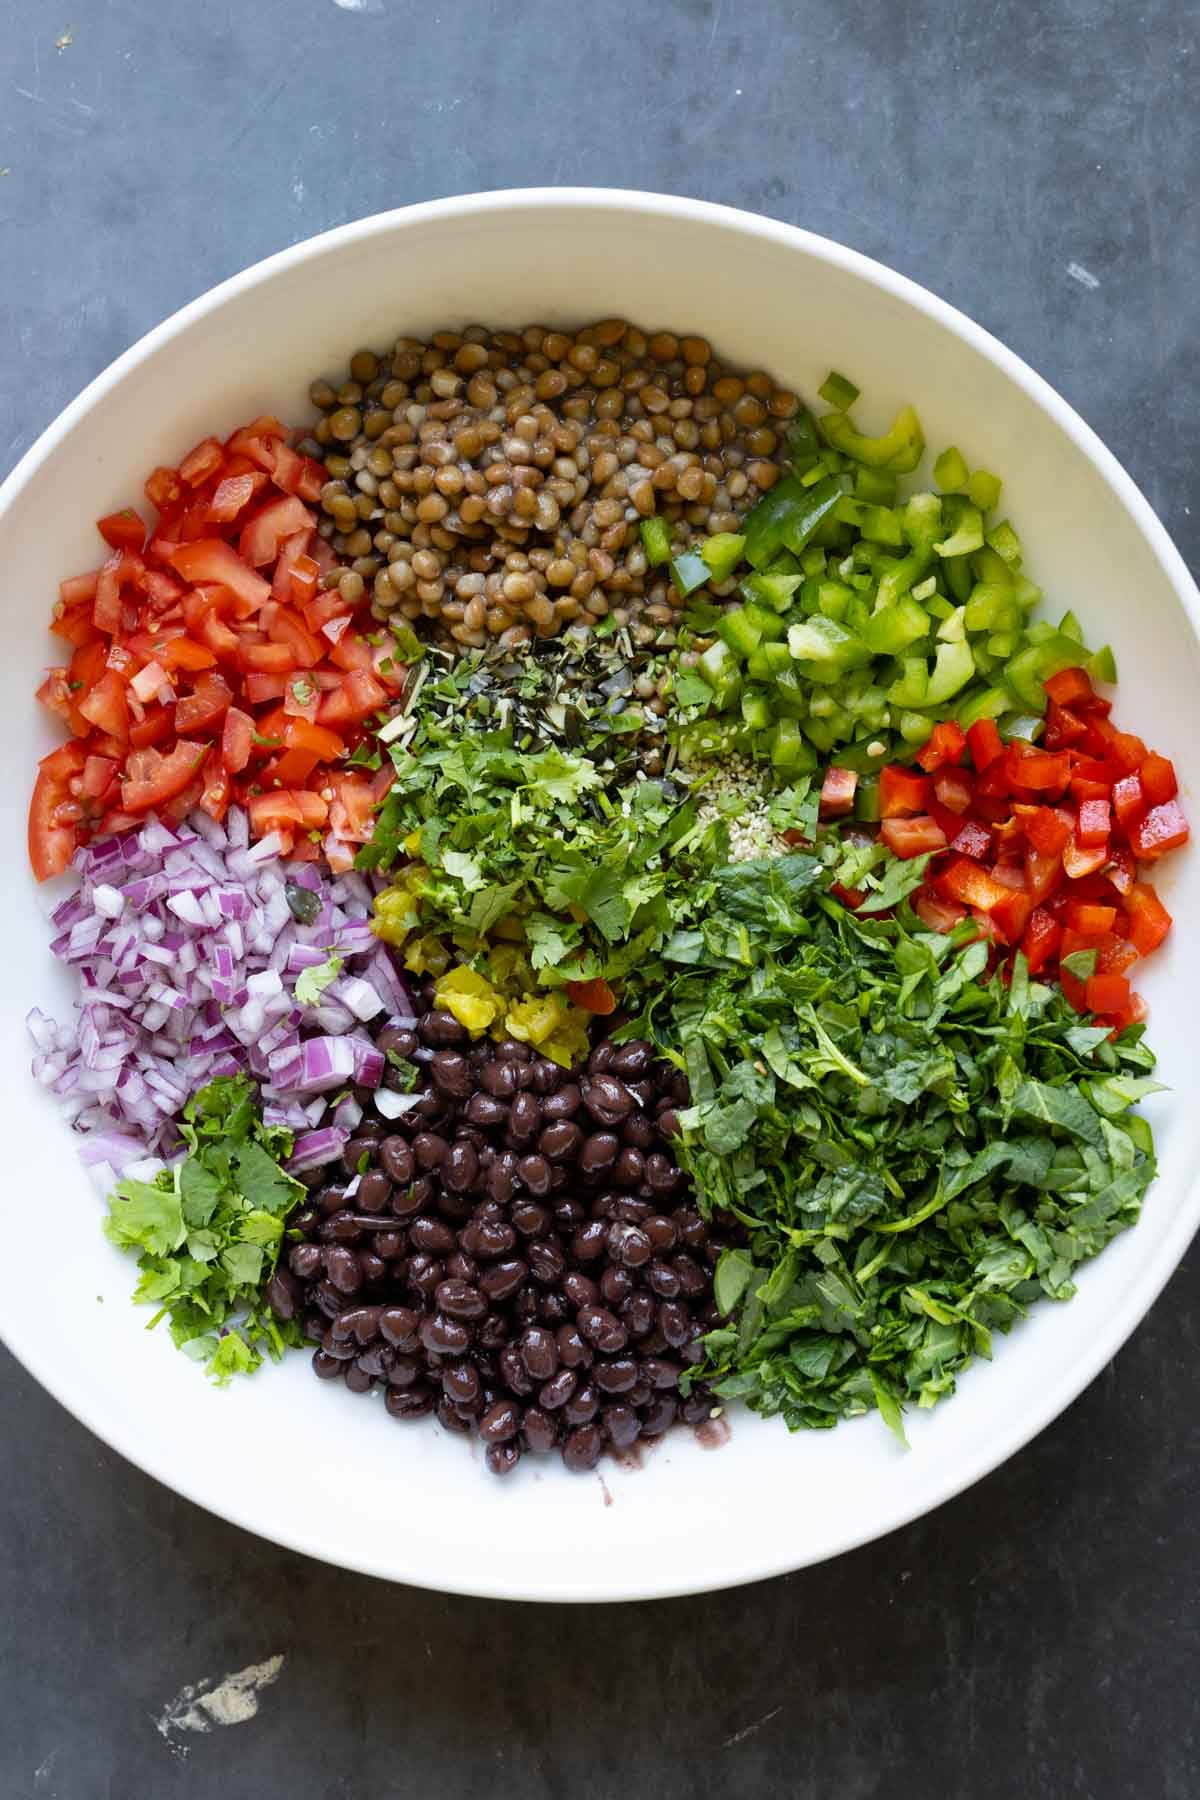
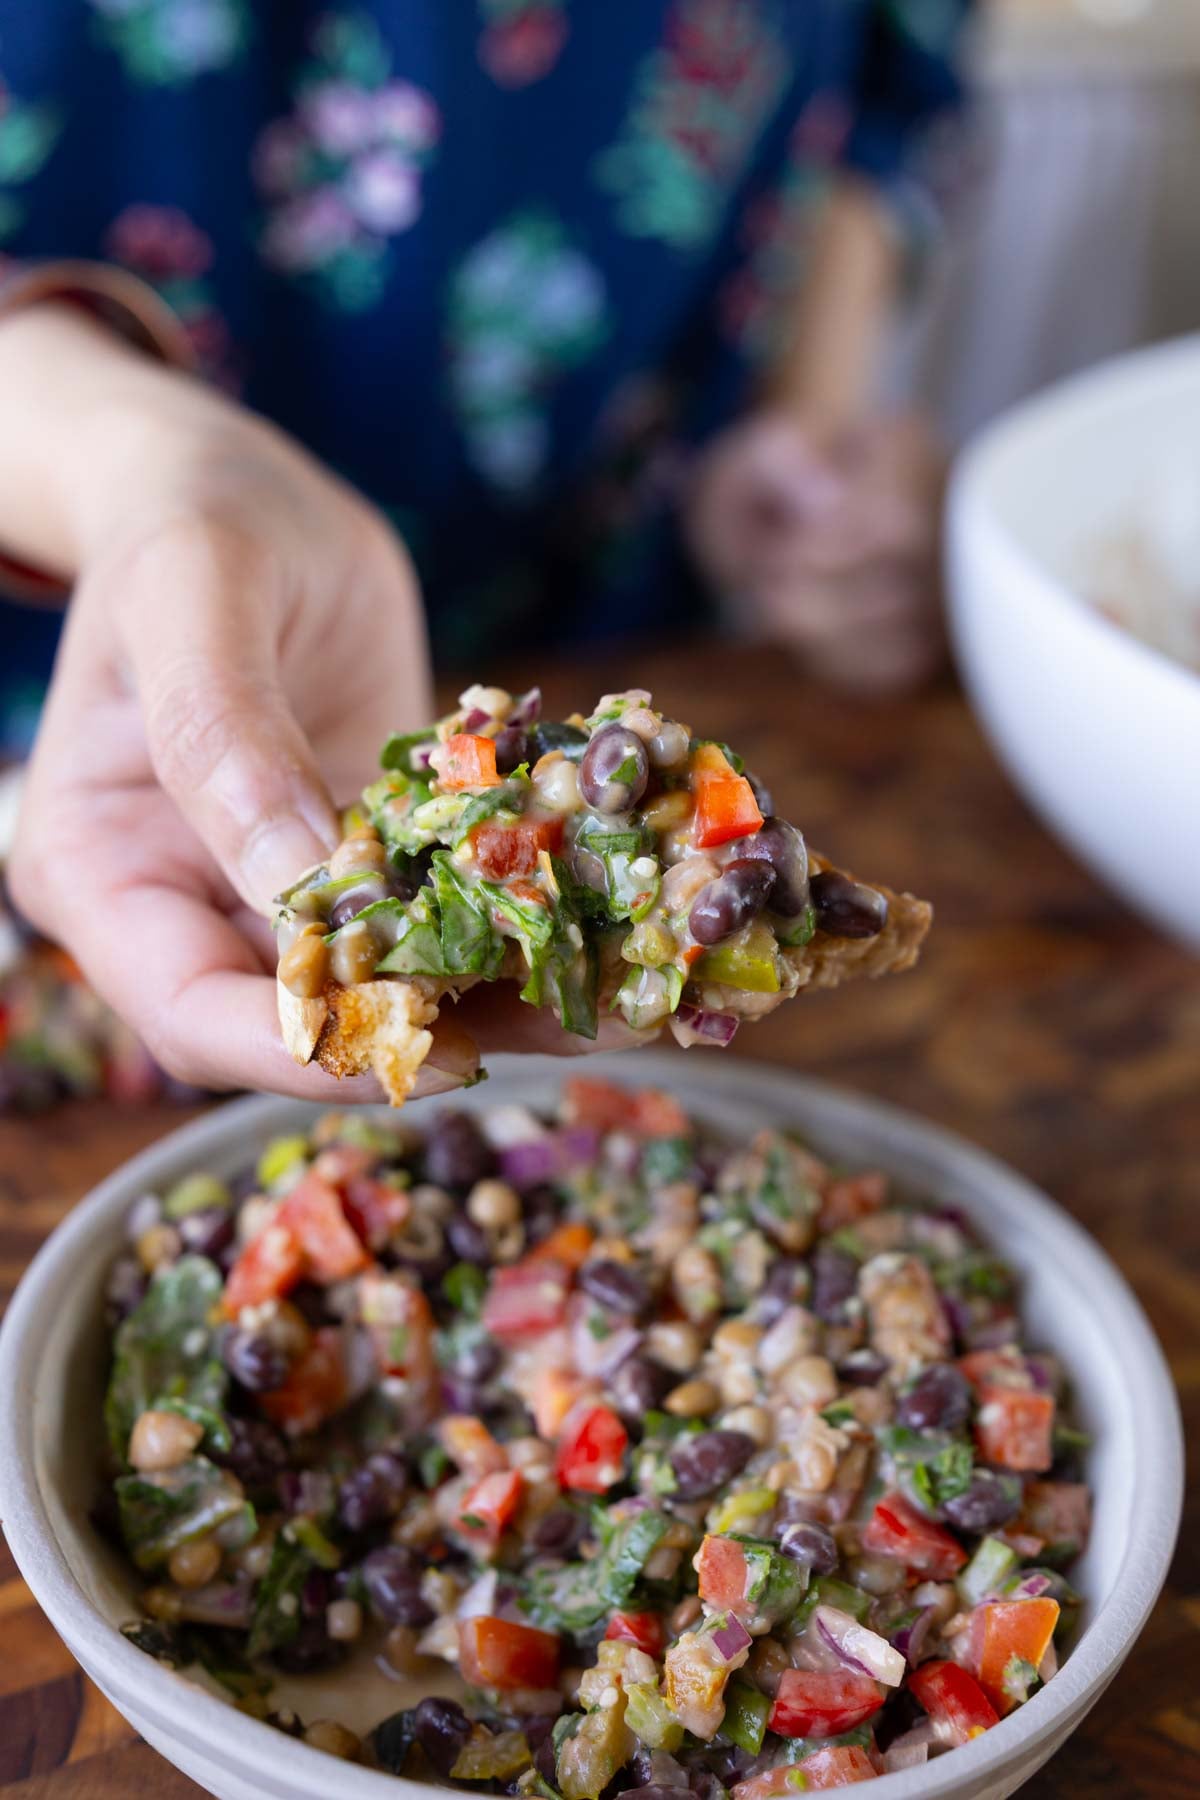
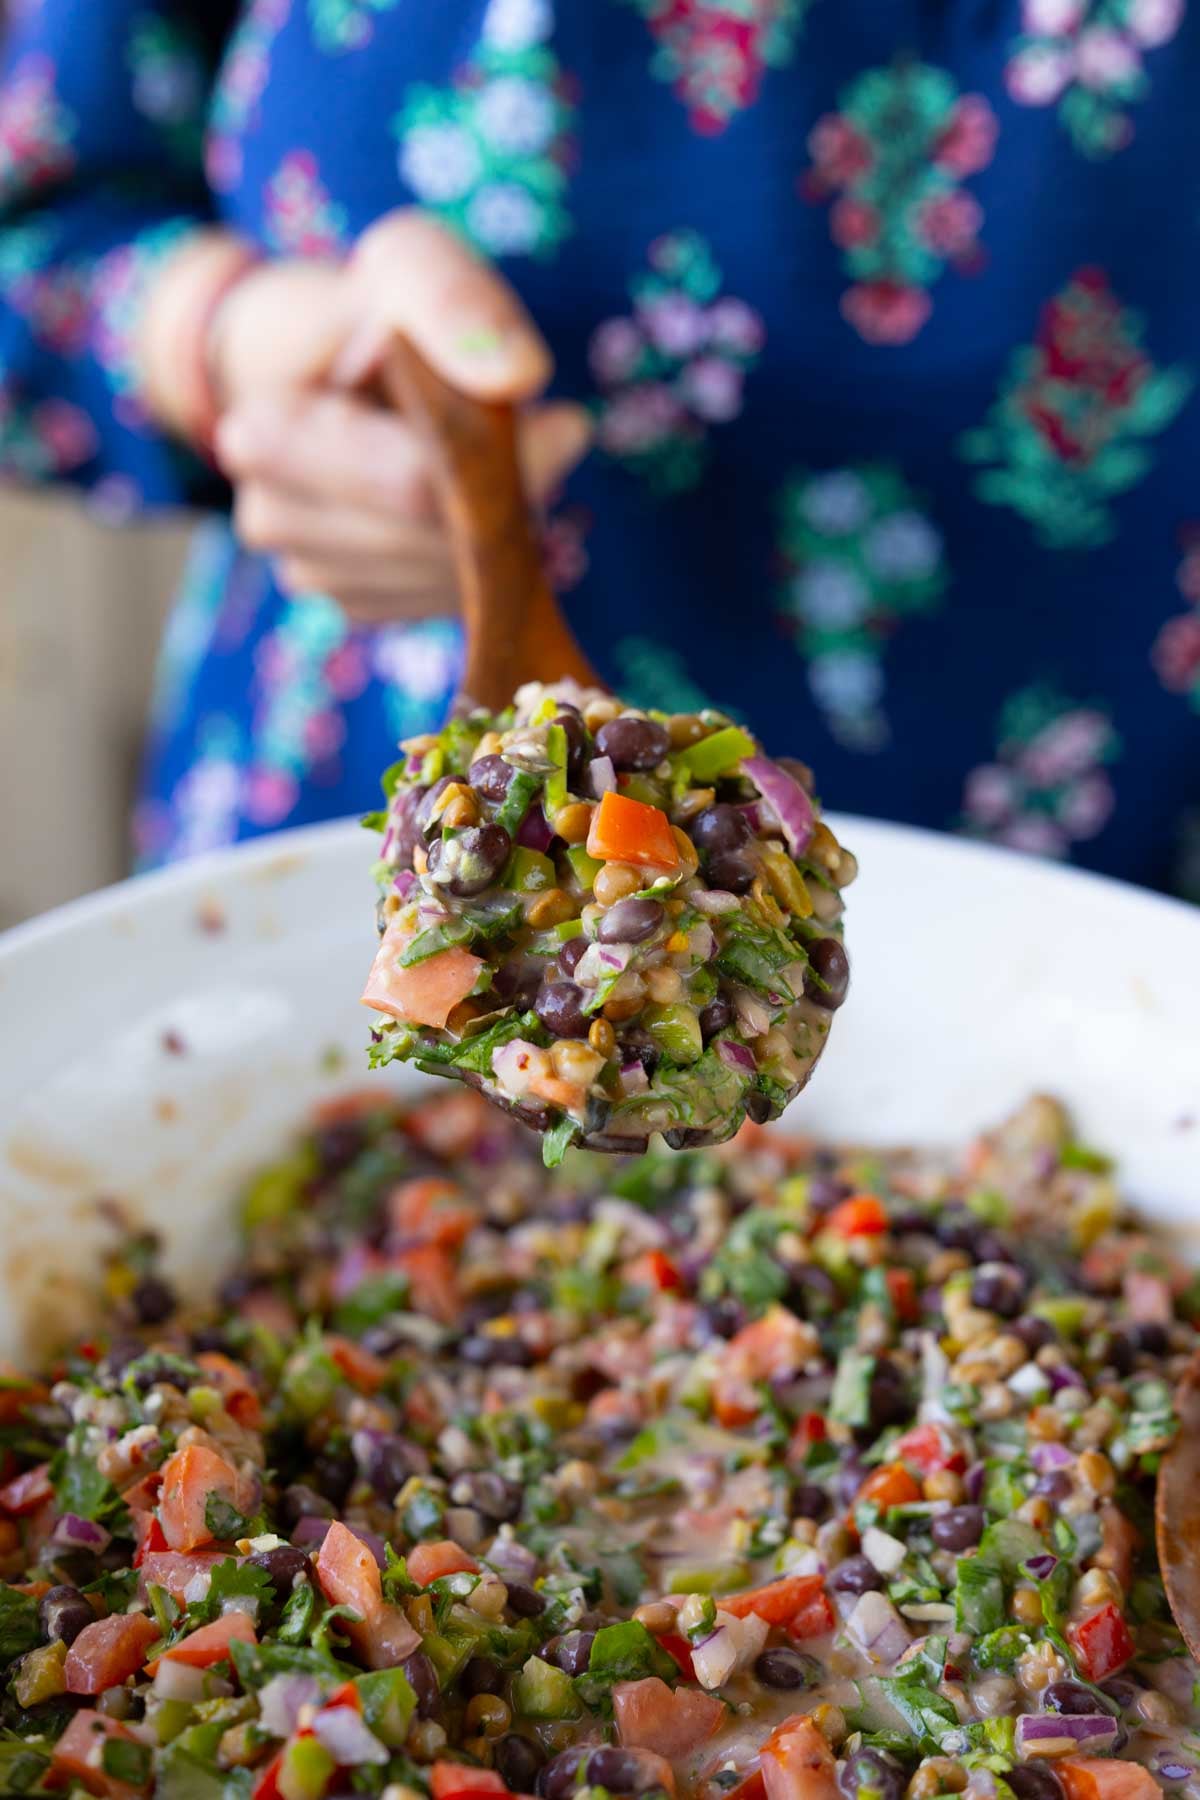
This Dense Bean Salad keeps you full for hours! Black beans, lentils, veggies, kale, seeds and a creamy, lemony dressing. High Protein, High fiber, anti-inflammatory (17 grams Protein, 14 grams fiber per serving. Gluten-free, Nut-free, option for soy-free)
This is my anti-inflammatory dense bean salad. Dense bean salads have been trending, and they are just amazing hearty meals with tons of beans and so many different combinations of flavors, textures, and veggies that you can add to them.
Beans, along with all of the vegetables and other ingredients in this salad, are a great source of fiber, protein, iron, and zinc.
The whole bowl has 65+ grams or more of protein, 50+ grams of fiber, 20+ milligrams of iron, and loads of vitamin C from the tomatoes, peppers, and lemon to help your body absorb all of that iron. There are omega-3s from the hemp seeds, along with pumpkin seeds, making this an incredibly nutrient-dense meal.
This is a great, budget-friendly, easy-to-put-together salad. There is no cooking involved. You just have to chop everything, make the dressing, toss it all together, and it’s ready. It’s also perfect for meal prep because the flavors enhance as the salad sits. The next day, it’s even more flavorful because the beans absorb all of that delicious dressing.
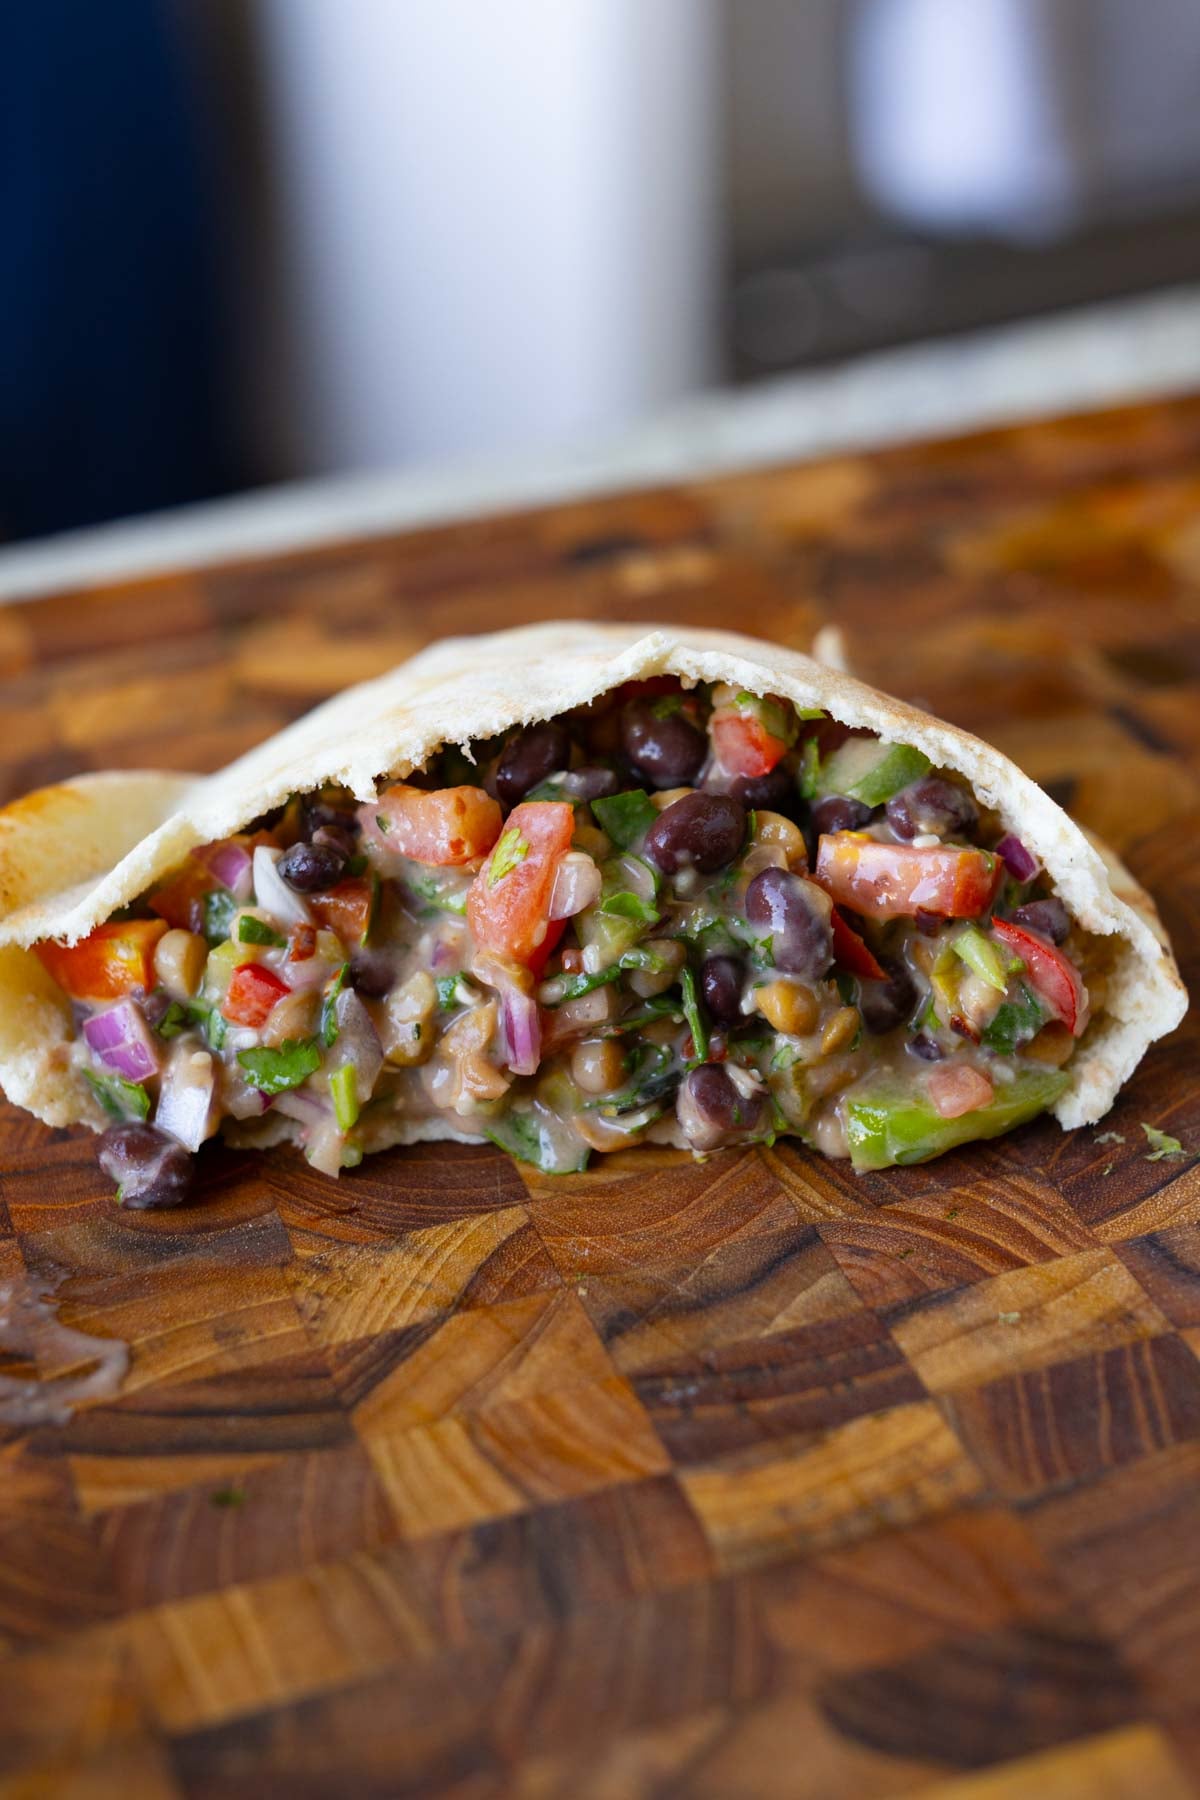
Serve this dense bean salad with tortilla chips, toasted sourdough or garlic bread, added to wraps or tacos, or served over grains, such as quinoa or farro. There are endless possibilities with this salad!
Why You’ll Love this Dense Bean Salad
easy, no-cook meal, perfect for hot weather!
packed with protein, fiber, vitamins, Antioxidants and minerals in every bowl
Anti-inflammatory ingredients
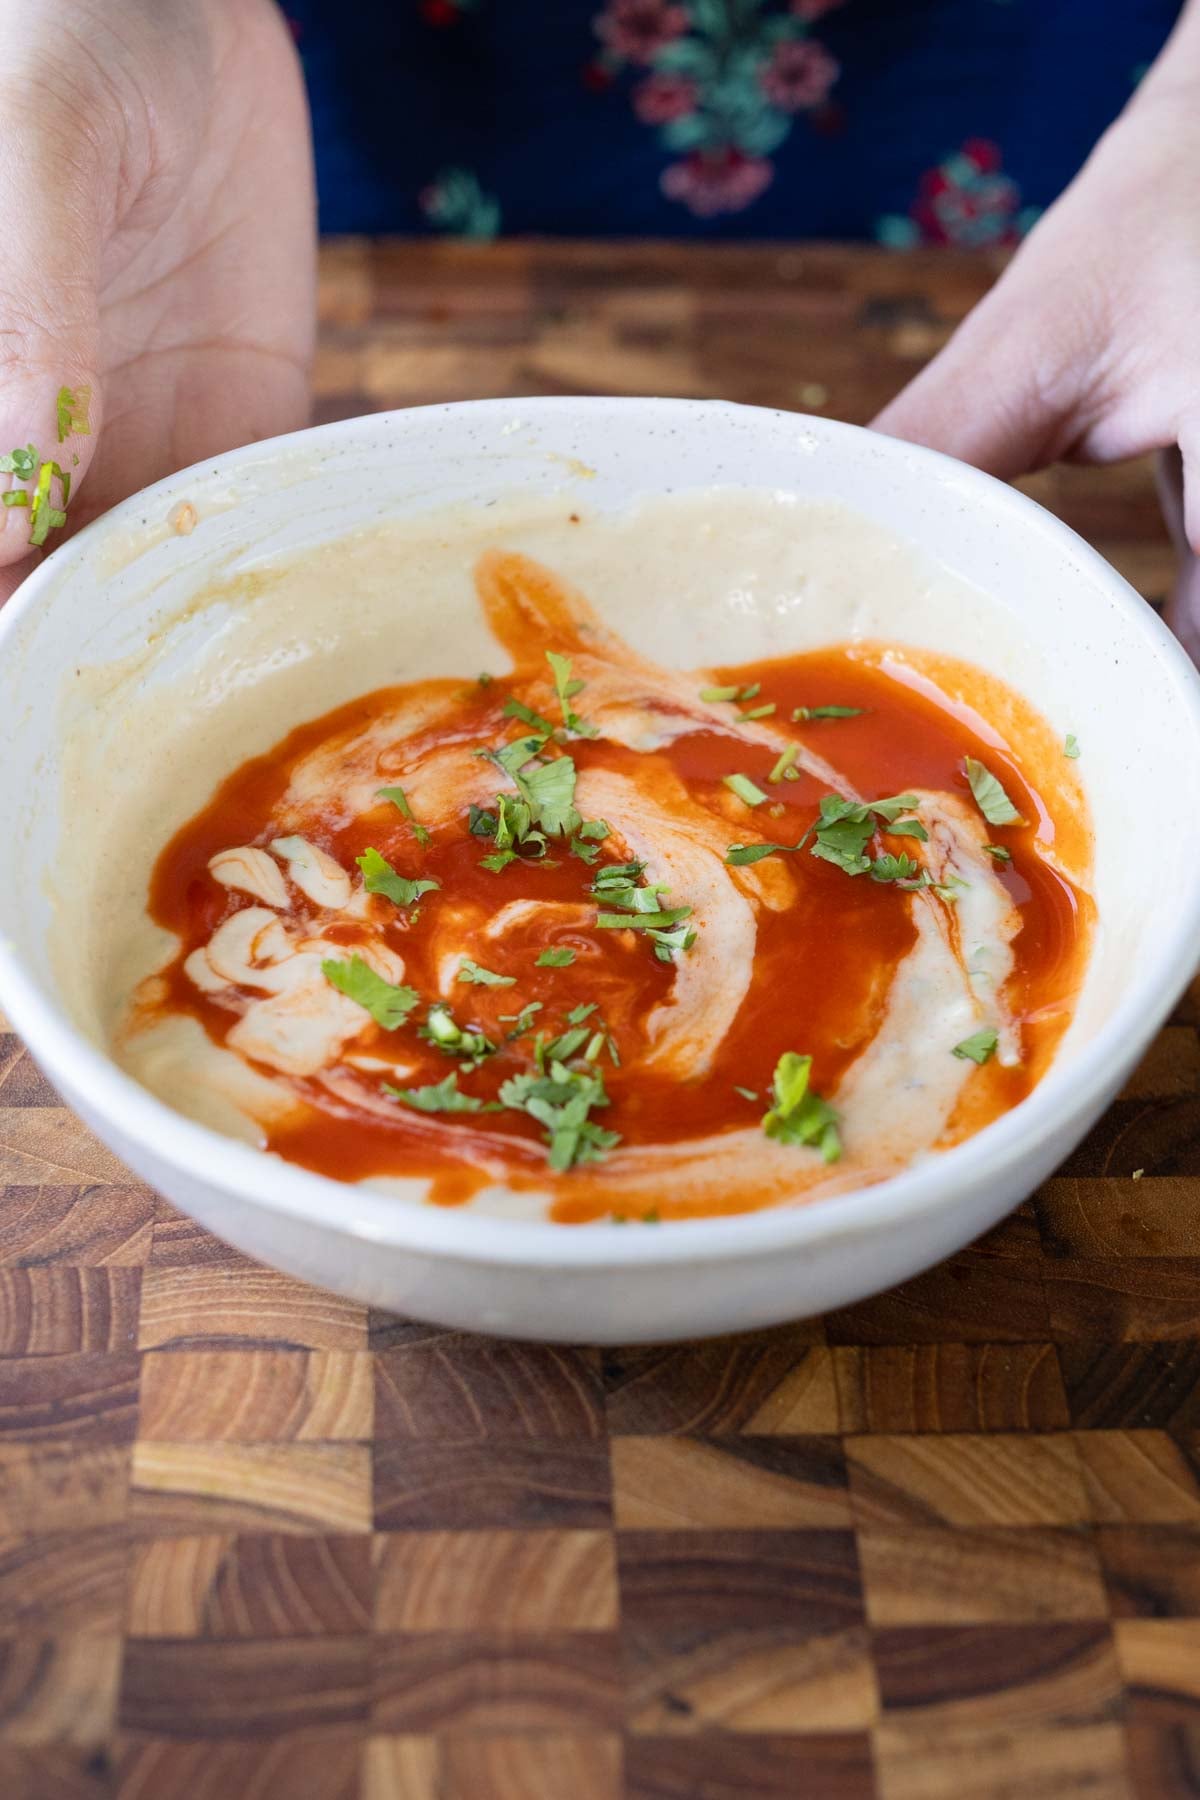
creamy lemon yogurt dressing sends the flavor profile over the top
naturally gluten-free and easy to make nut-free and soy-free

 Login