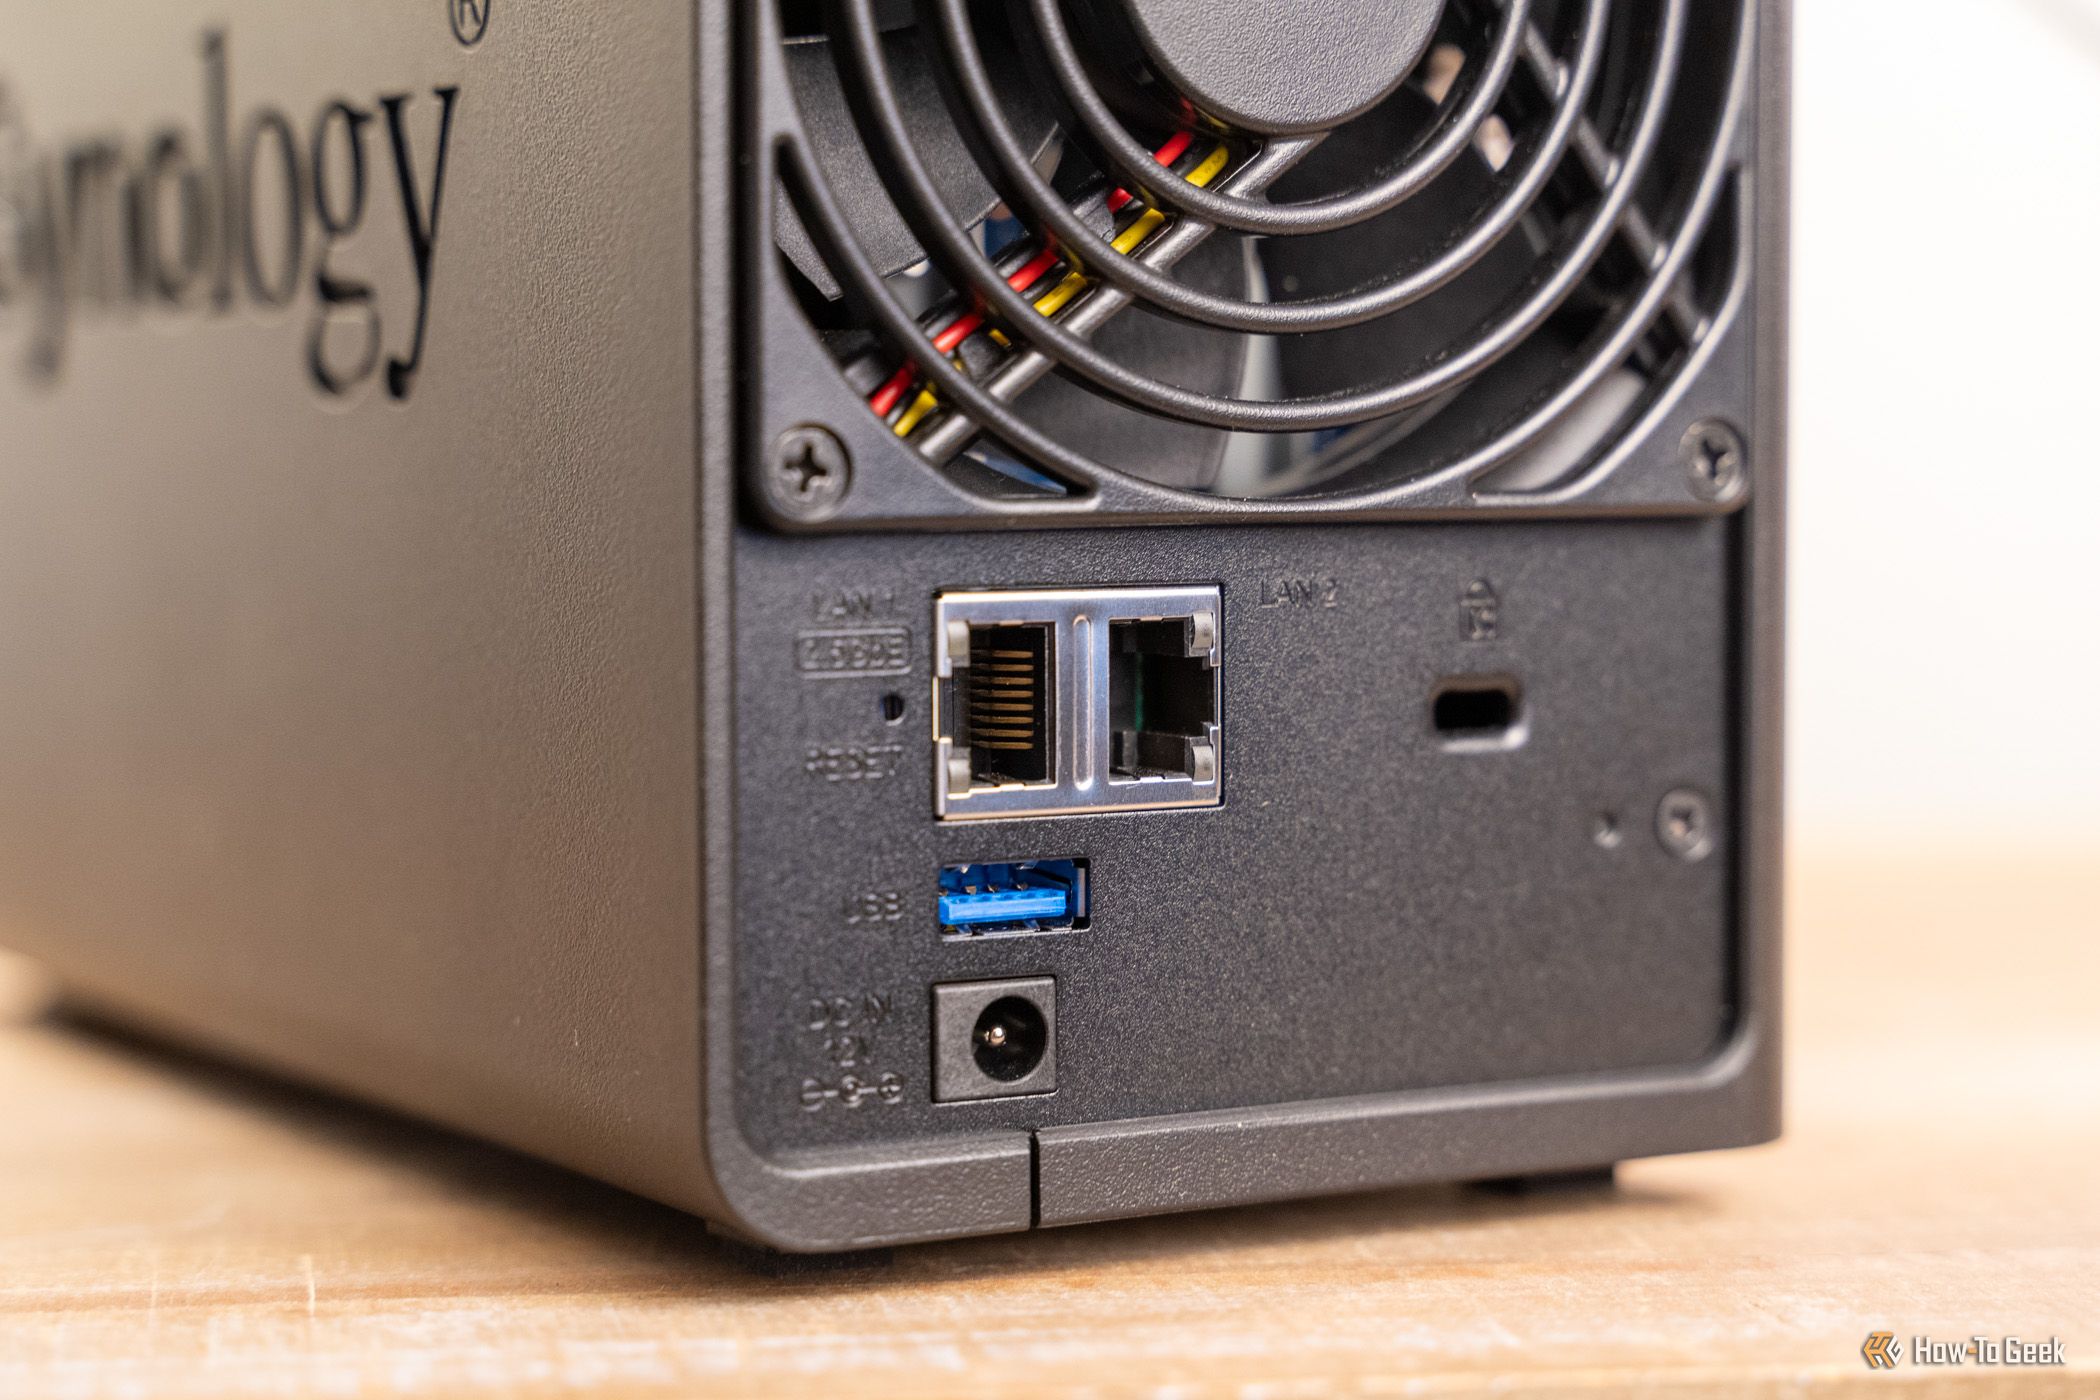
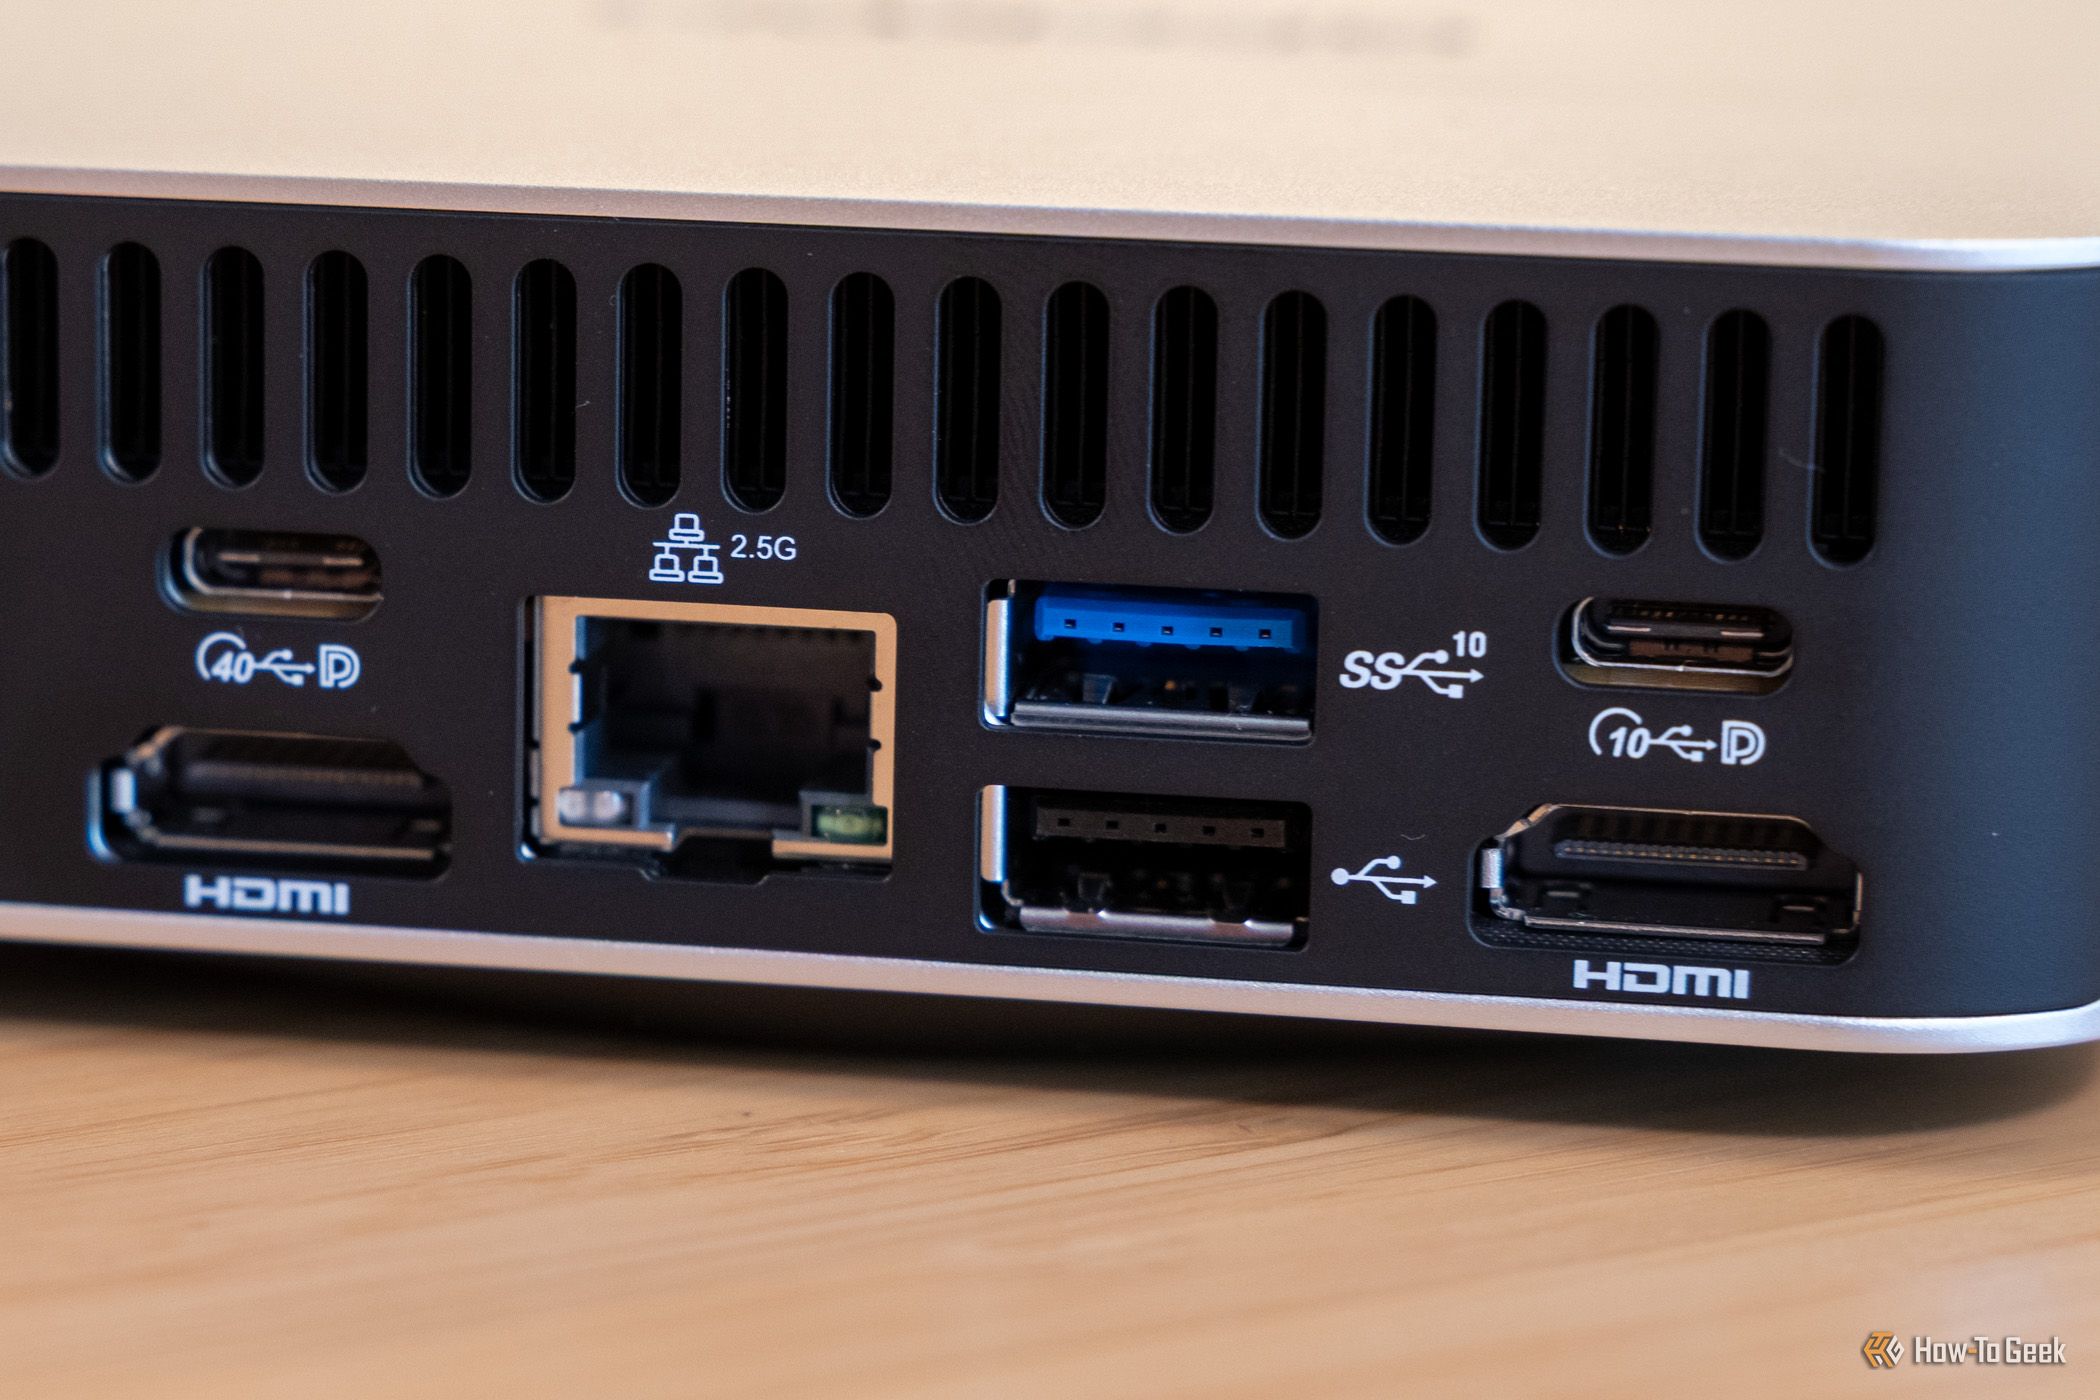
If you've ever used a mesh Wi-Fi system, you've probably noticed that the satellite nodes usually have a spare Ethernet port. It is tempting to use that port to attach a NAS. After all, it seems like a good way to get your NAS connected without running a cable across the floor or through a wall.
By a show of hands, how many of you clean your power tools? I didn't think so. Those Ryobi tools in the garage are built to handle life's daily wear and tear, tackle DIY projects, and more, but when they get covered in dirt, sawdust, and other grime, a proper cleaning is more important than you think.
Owning your own media, be it movies, music, or TV shows, is a great way to ensure that a change to a licensing agreement doesn't suddenly deprive you of one of your favorite pastimes.
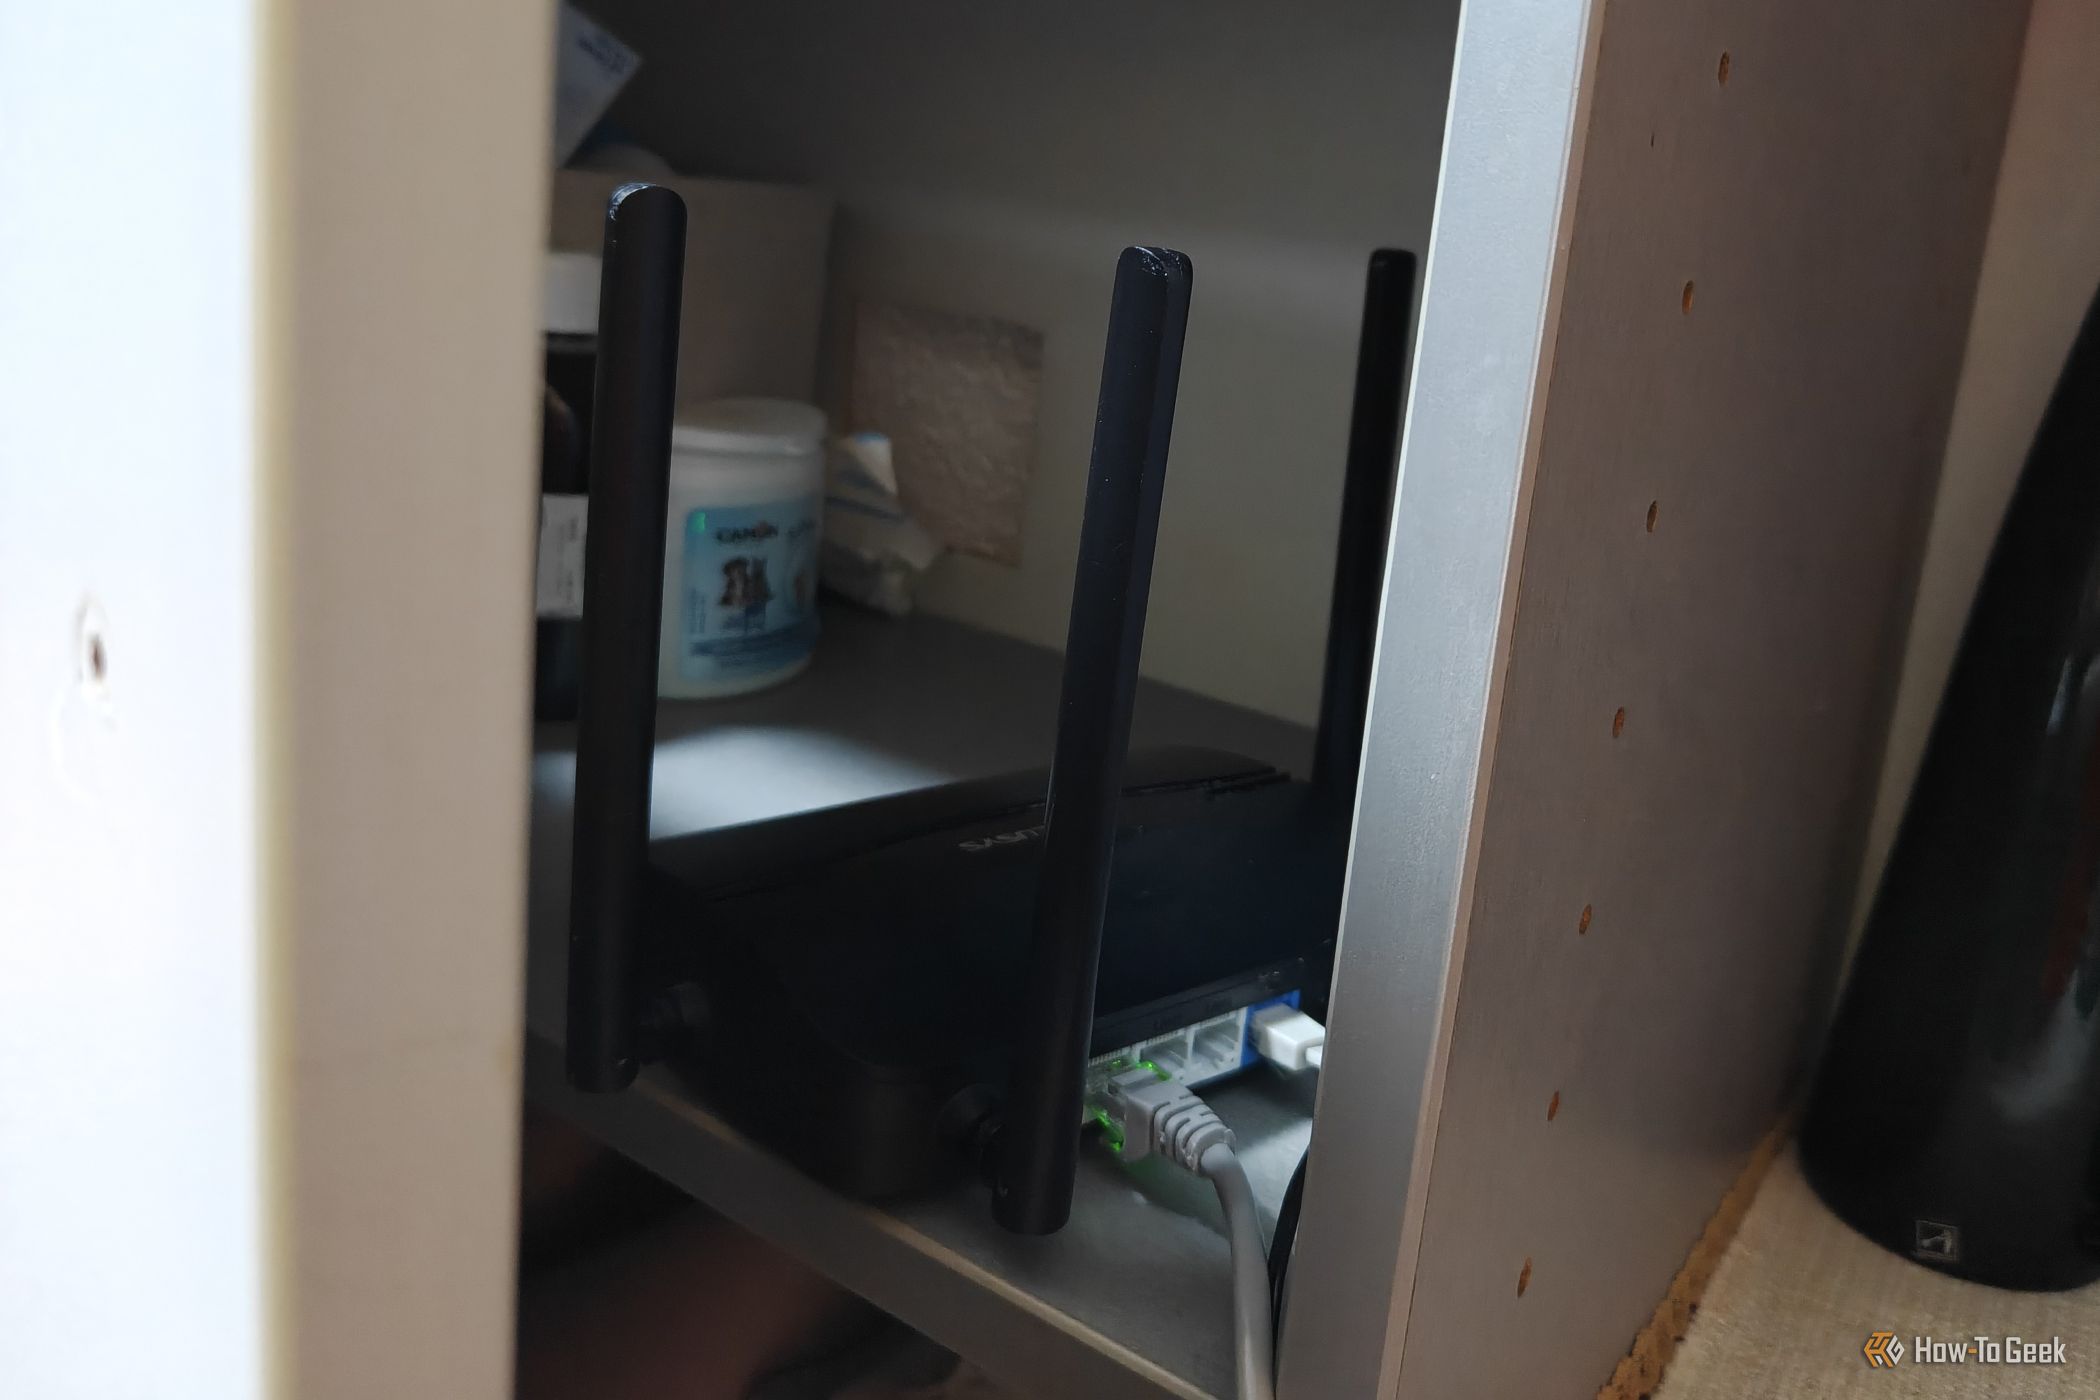
My Wi-Fi router sits out in the open in the kitchen next to the TV, and I've been thinking about hiding it in the cabinet under the TV for a while now. This would make the whole setup look a little tidier, but I didn't want to sacrifice Wi-Fi performance just for better aesthetics. So, I decided to test just how much worse my signal actually gets when I put the router in a cabinet.
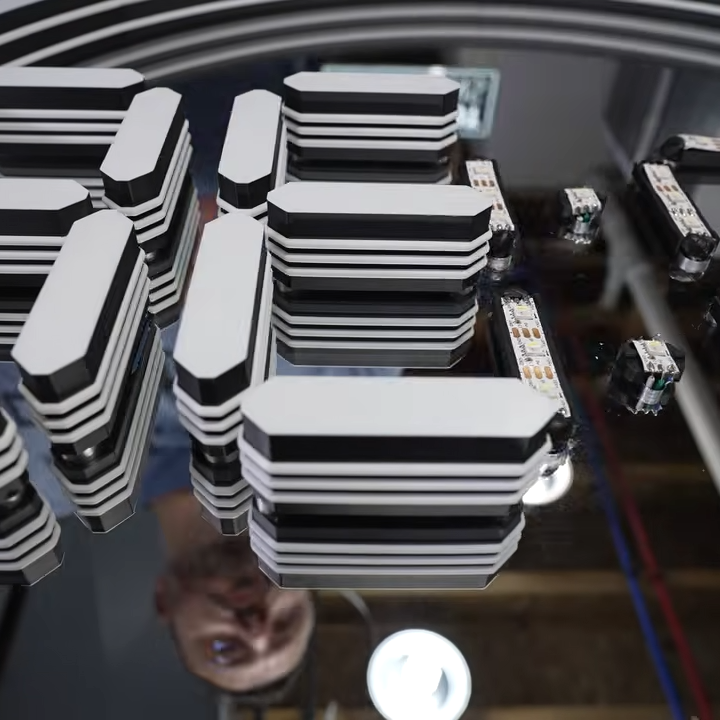
[Andy Huot] has a fantastic-looking infinity mirror digital clock that really raises the bar. It uses high quality components, smart use of RGB LED animations, and a clever “stacked diffuser” vertical design to the 7-segment display elements that really enhances the infinity mirror effect. It needs to be seen in action, so check it out.
The end result is expressly portal-like, with the smooth animations of the LEDs really playing into the effect. The size helps, too. It’s 24 inches in diameter, giving it considerable presence.
The stacked diffuser design for each display element really enhances the effect.
A basic infinity mirror design consists of lit elements sandwiched between a reflective back surface and a partially-reflective, partially-transmissive top cover. That same basic principle is used here, but with great care given to ensure nothing so much as a fingerprint spoils the illusion. For example, the top cover is a disk of acrylic with a 90% reflective film affixed to the inside surface. That’s easy enough to DIY with some car tint, but [Andy] found that for the very best results it was worth having high-quality film professionally applied.
We like the use of 3D-printed custom jigs for soldering the segments of RGB LED strips, and holding the pre-measured wires in place with some putty is a great way to keep them in place while working. In case you’re wondering, the mirrored acrylic making up the back wall has holes in it for mounting each segment’s LED strip in a holder, and running the wires to the rear.
The video (embedded below) documents every step of the assembly, and it’s a serious build. While the design files for the 3D-printed parts are not free, there’s certainly enough detail for an enterprising hacker to replicate the design in their own way.
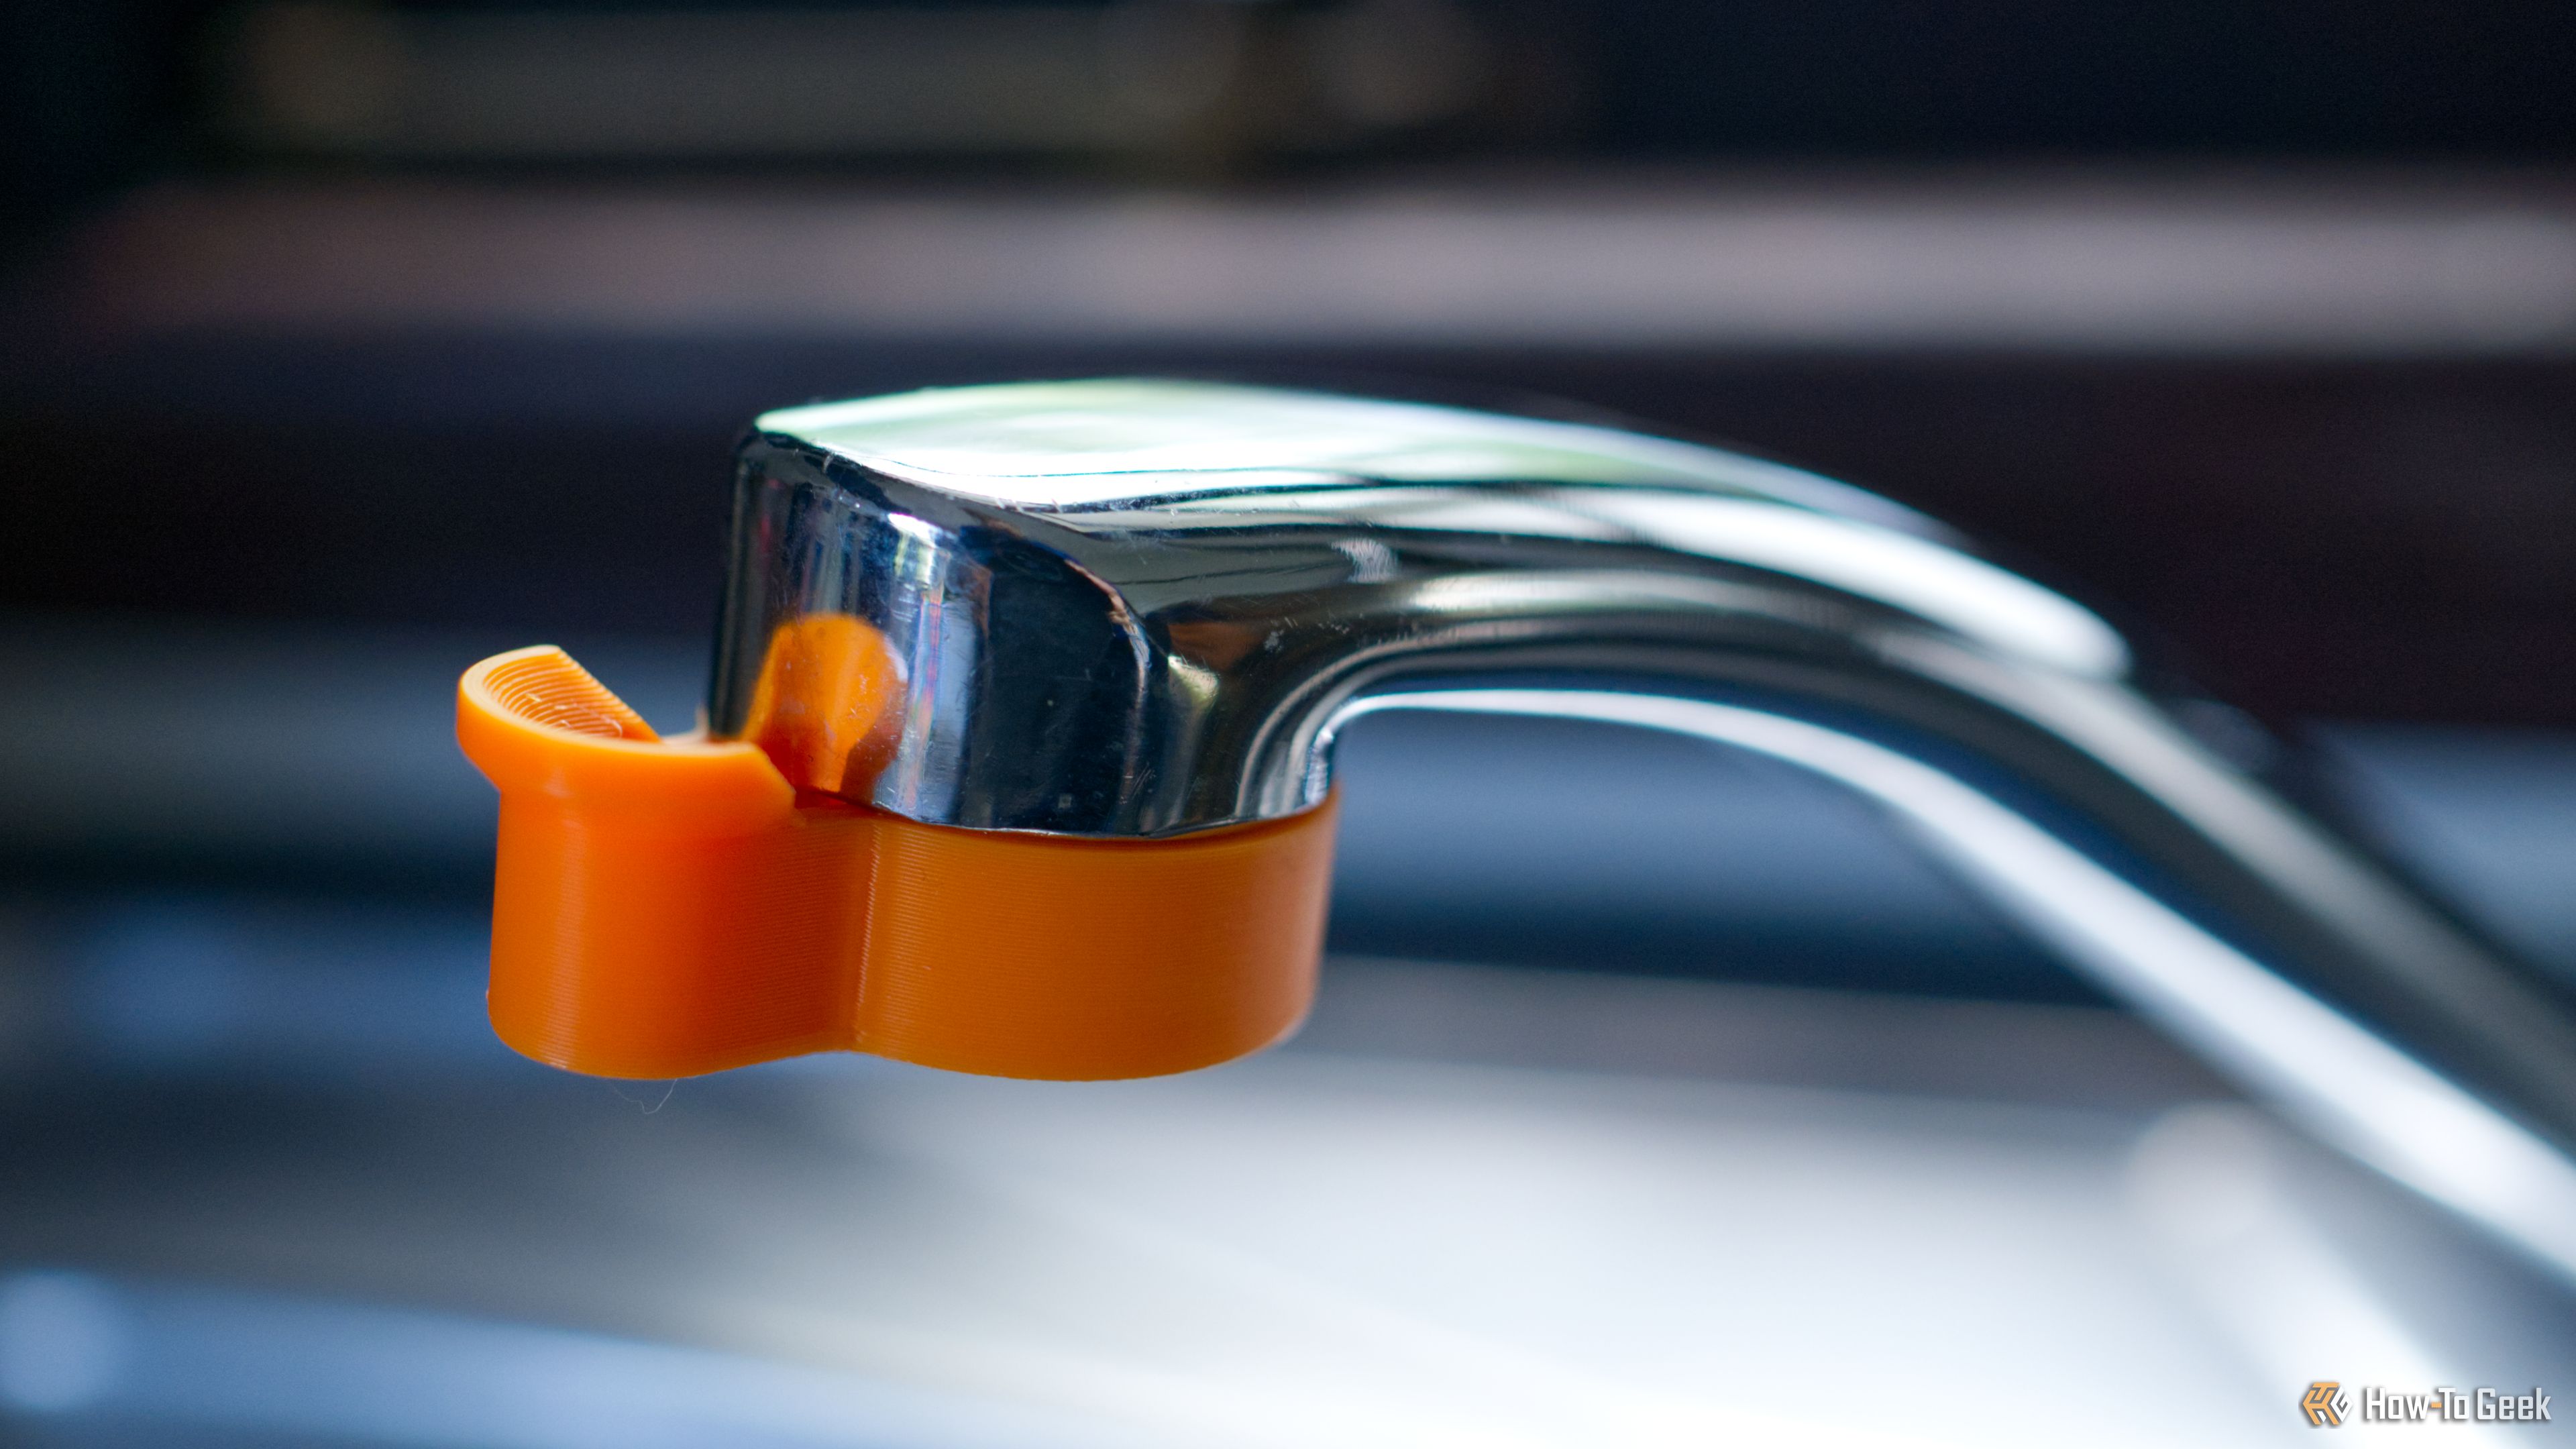
Finding novel uses for your 3D printer is one of the best ways to burn through a few rolls of filament, so I’m always on the lookout. Though these household hacks definitely fall into the “nice to have” category, anything that makes the boring jobs easier is worth a look.
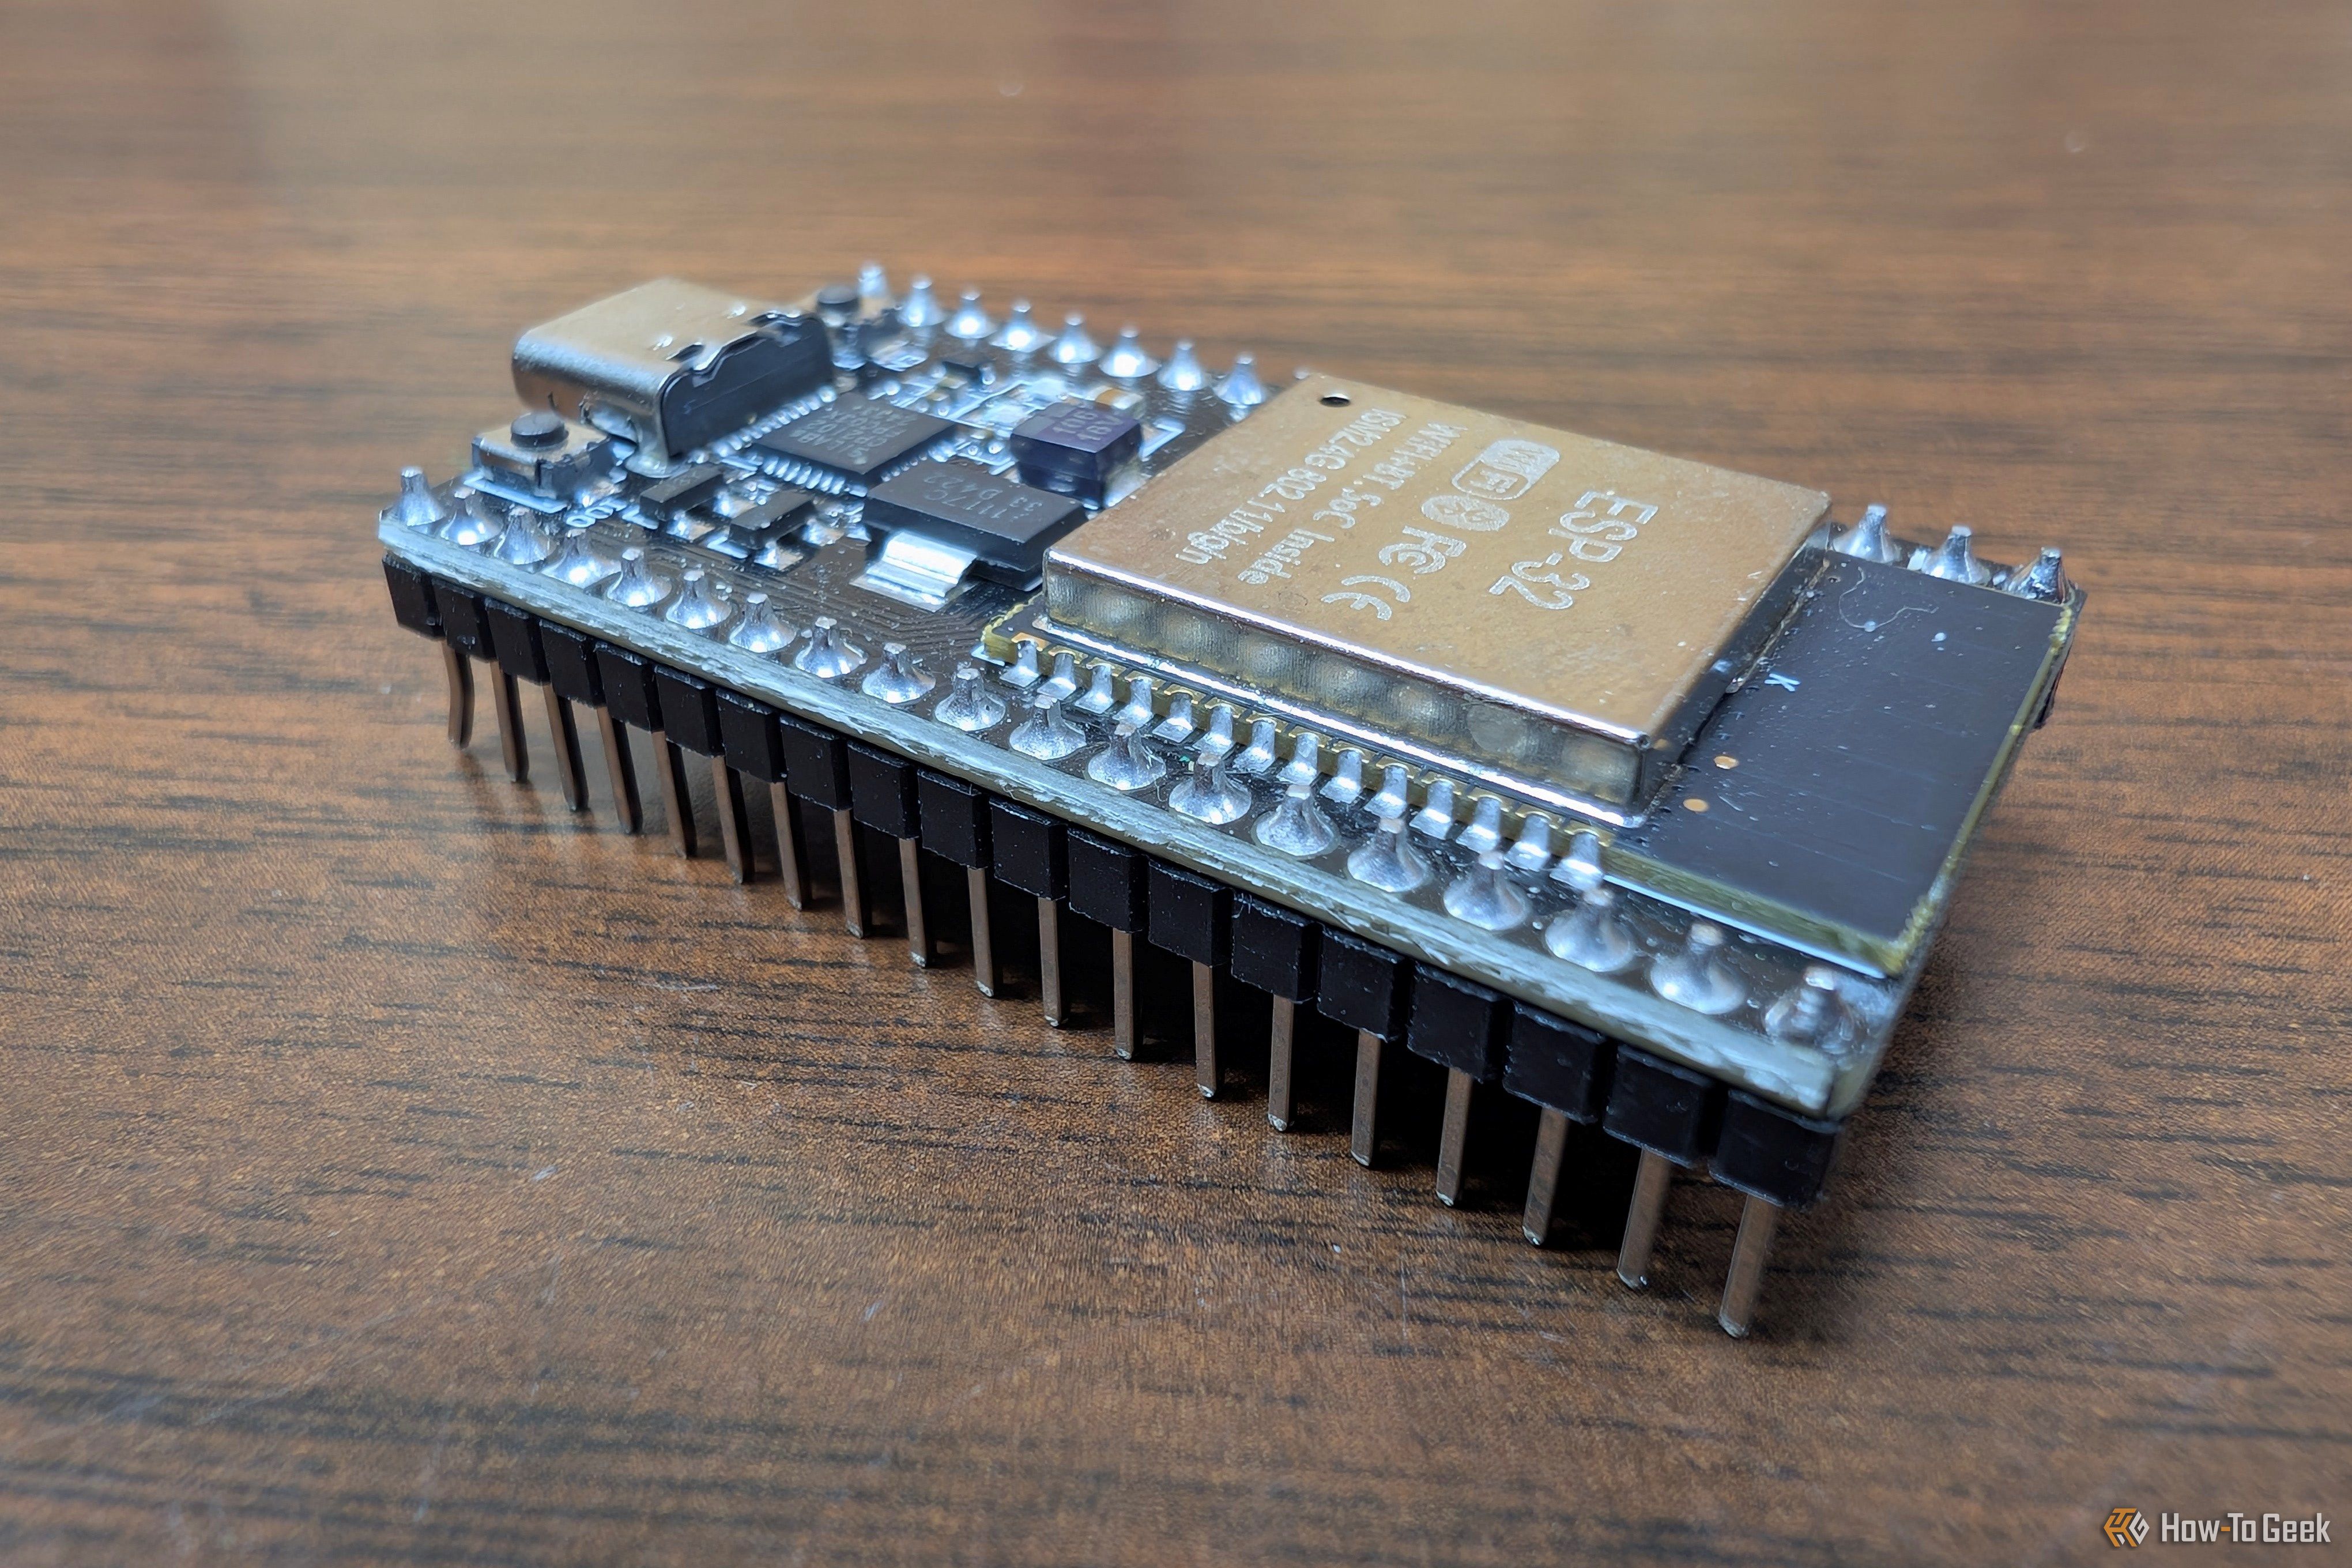
You can buy a small ESP32 microcontroller for a few dollars—less than a Starbucks coffee. When you combine it with a special LoRa radio, you can create a device that can send encrypted text messages between locations without relying on a cellular service, Wi-Fi, or satellite data.
Despite all the negative comments and jokes online, Ryobi fans are an enthusiastic and passionate bunch. If you're anything like me, you own a large selection of its brightly colored tools, along with some older blue models. Ryobi releases a little bit of everything, many of which end up discontinued, but those forgotten tools have become collector items, and people are still hunting them down.
Folding a sheet of metal in a straight line is one thing, but how does one fold multiple curved lines into a sheet of aluminum without fancy machines? [John] demonstrates how to do exactly that with little more than hand tools and a fair bit of patience. The secret is drilling a lot of small holes along each fold line.
Complex shapes are possible with planning, hand tools, and patience.
First, a bit of background. [John] wanted to fabricate a curved piece of aluminum as cover that would match the sleek aerodynamic lines of a Belly Tank Lakester. The trick is that there isn’t a single straight line to be found, and the fold lines are all curves. How can one do such folding with only hand tools?
[John] found that fabrication was possible by drilling small holes all along each fold line, then carefully bending as needed. The line of holes weakens the metal, acting like a score line, and allow the required curves to be made cleanly. There’s some finishing work and straightening involved, but the hard part of making the actual folds is taken care of.
One method that didn’t work was cutting a shallow groove in the metal to create something like a pre-scored fold line. [John] tried this and found that while the metal does indeed fold along the weakened line, the aluminum tends to crack in the process. When making a line of holes instead, the metal between each hole bends nicely.
This technique does mean the finished part ends up with small perforations along each fold, but the part is mounted on the bottom of the car and [John] says that he’d have to look quite closely to notice. A little polishing goes a long way, too.
I don’t currently have any visible clocks on display in my house. I’m never without my watch or phone, and I decided that if I were to sacrifice some space for a dedicated timepiece, it would need to be something special, different, or interesting.
The great thing about 3D printers is that they can make almost anything these days. The bad thing about 3D printers is that you can make almost anything with them.
Putting sensors all over the home and connecting them to Home Assistant is fun, I know, but it isn't for everyone — not yet. Thankfully, there are smart home upgrades that don't require any apps. I may have replaced every light switch in my home with a smart one, but my favorite smart home upgrade doesn't connect to my Homey Pro at all, and it's an improvement my entire family likes as much as I do.
Linux is famously smaller and lighter than Windows, but that understates just how small Linux distros can really be. There are complete, general-purpose operating systems that only take up 200MB of storage—truly tiny by the standards of 2026.
Are you putting up with pesky household problems? The ones you’ve almost forgotten about, but that make a massive difference to your quality of life when they’re finally fixed?
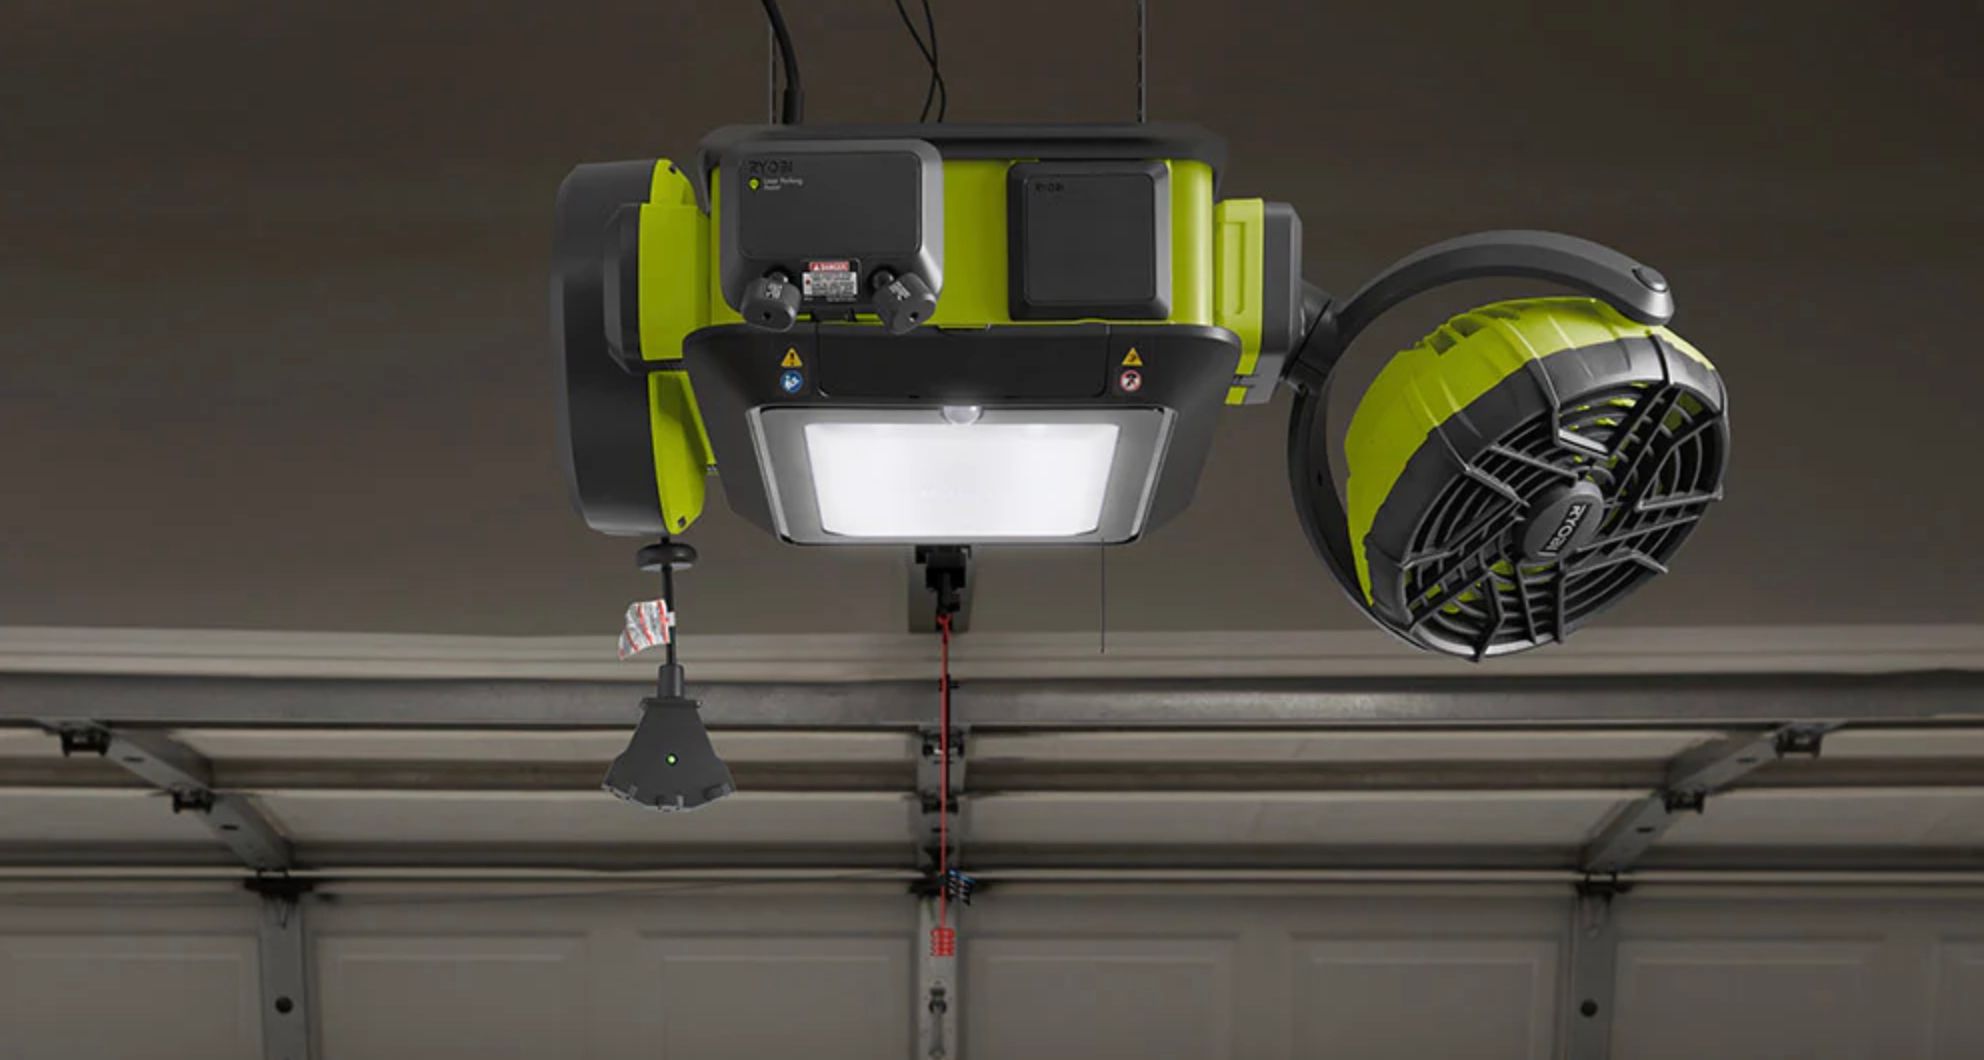
If you're a fan of Ryobi's bright, neon-colored tools found at Home Depot, you likely already know the company makes far more than just tools for around the yard and house. One of its best-kept secrets is how the 18V platform can power camping and outdoor gear. I own a ton of Ryobi products for camping, and here are several that are absolutely worth buying.
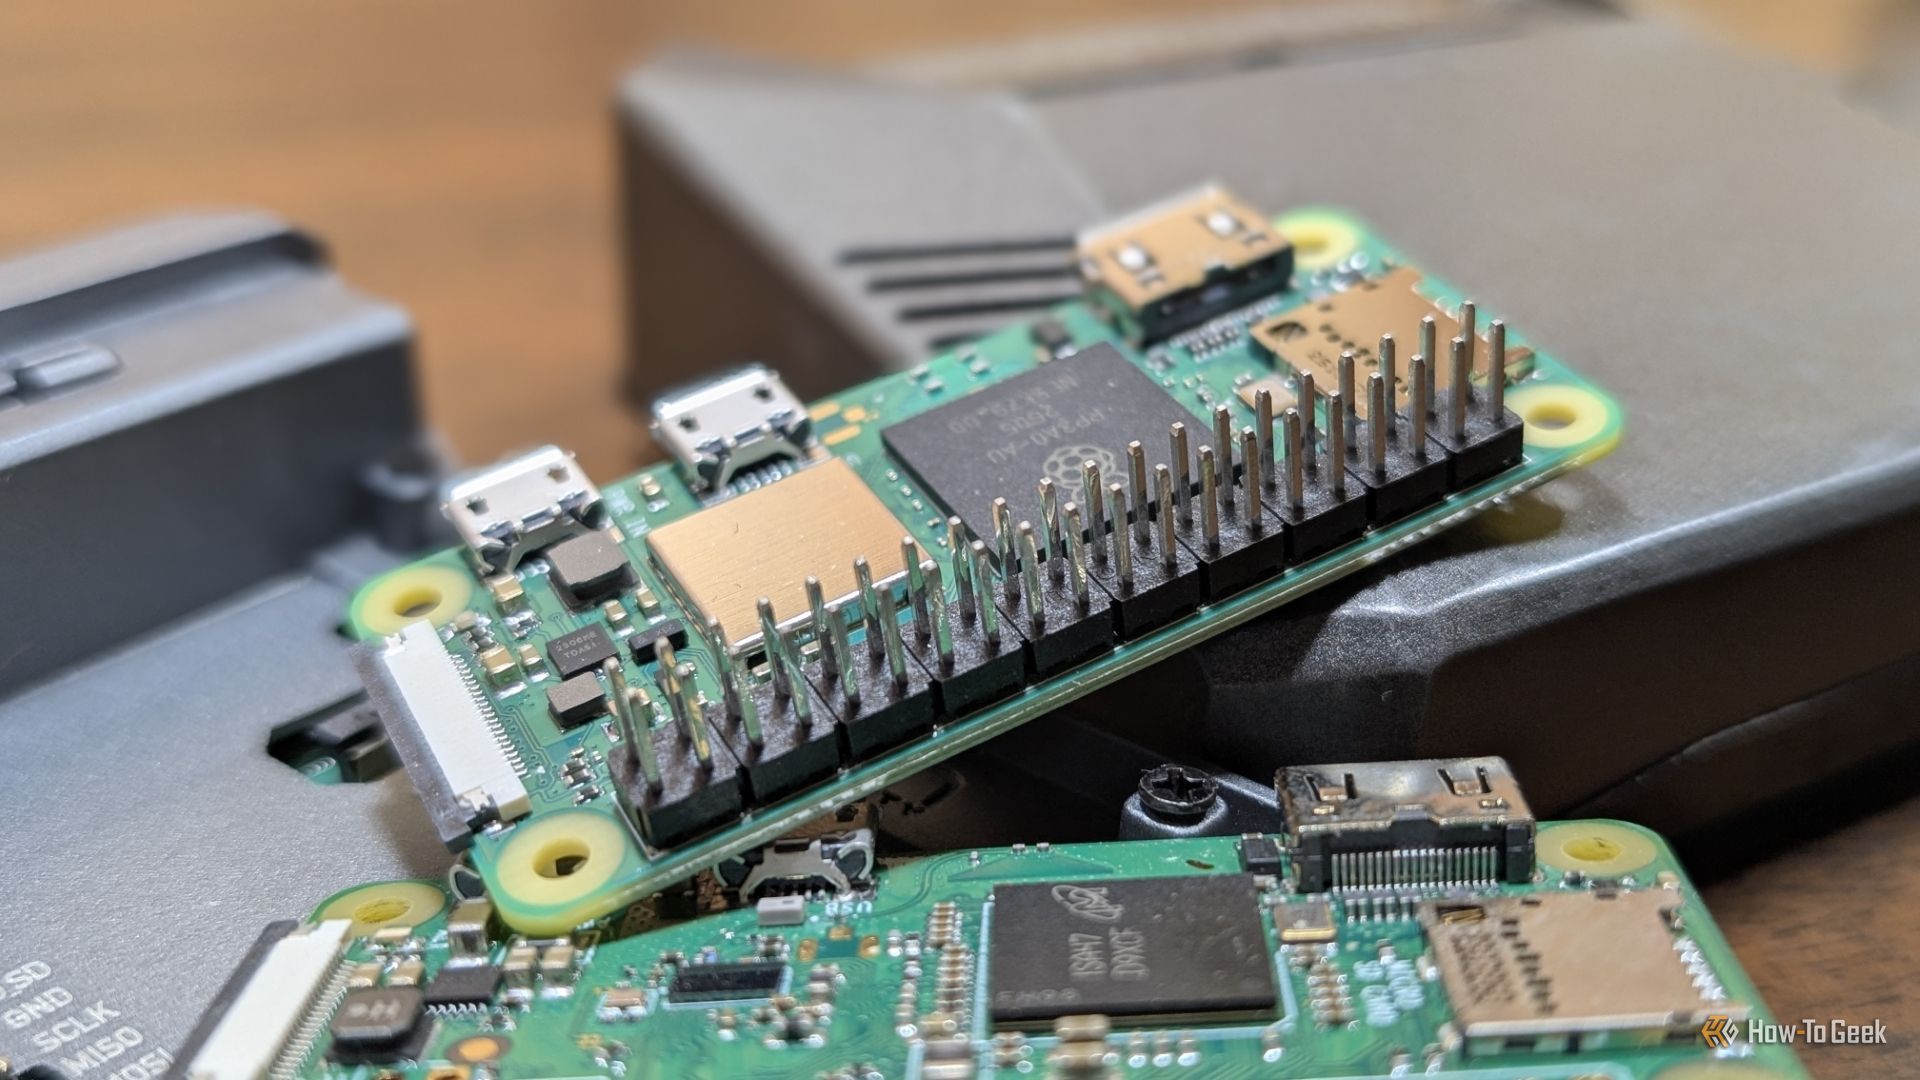
Memory price hikes have pushed new Raspberry Pi prices up across the board and the secondhand market has started looking more appealing than it has in years.
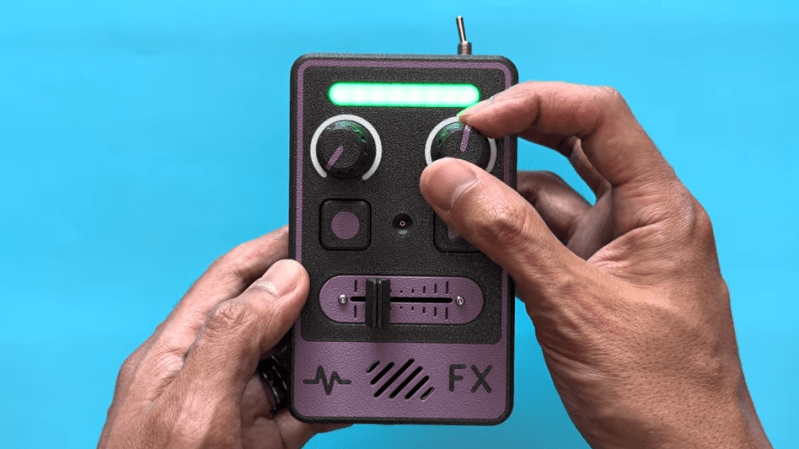
[Adafruit]’s Voicebox FX gadget is a fun, well-documented project that serves another useful purpose: being a fantastic reference design for audio on CircuitPython, with I2S audio components. Be sure to check it out if you have a project that involves any of that and could use a few pointers, or if you just want to jog a few ideas loose.
I2S (Inter-IC Sound) is a protocol aimed squarely at moving audio data between components as digital signals. Our own [Jenny List] can tell you everything you need to know about I2S. It’s a relatively simple interface that is not at all fussy about actually being used for audio, and that has led to it being put to some unusual uses.
The Voicebox FX uses an I2S microphone, an I2S amplifier, and an RP2350 microcontroller to record and play sound as well as offer a variety of effects controlled by physical inputs. It’s all wrapped up in a slick 3D printed case, and while it’s a fantastic reference design, it looks like a fun toy in its own right.
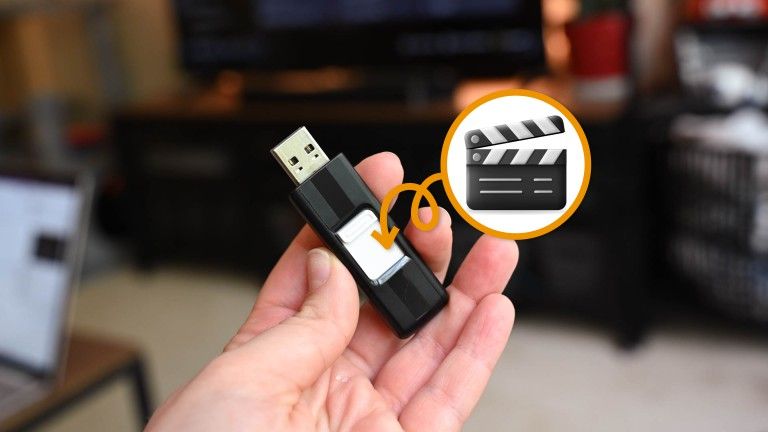
People always say they don't have time to watch all the movies and TV shows they want to see. Ironically, in situations when we lose power at home, we have the time, but not the ability. That's why you need an emergency USB stick.
One of the worst feelings is realizing you're unprepared for a situation, whether that's stuck on the side of the road or during a big weekend project. That's why I always have a selection of dependable tools ready to go for flat tires, stubborn bolts, and other situations. With that in mind, here are five affordable DeWALT tools you'll want in your trunk or in the back of your truck.
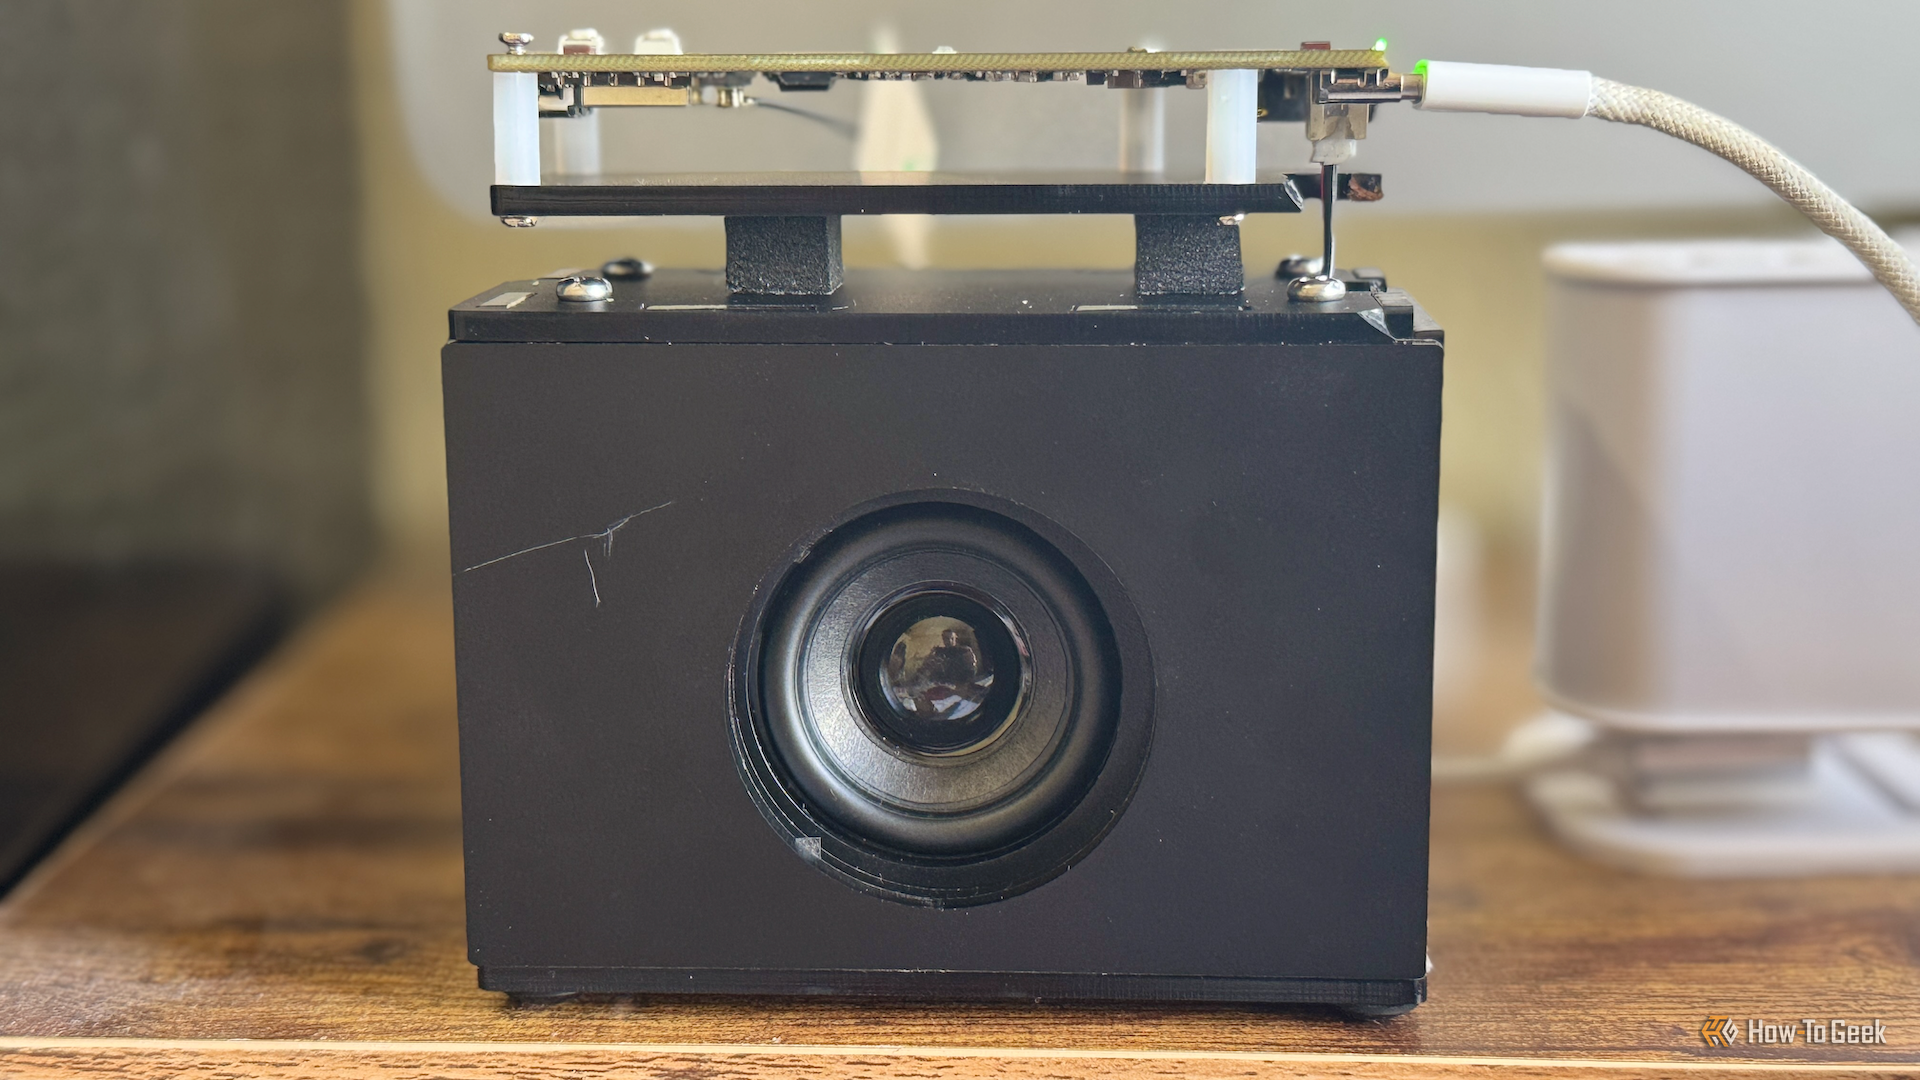
Most of us have an old bookshelf speaker, soundbar, or Bluetooth speaker lying around somewhere. They still sound good, the problem is that they're not very "smart."

 Login
Login