❌

Reading view

There are new articles available, click to refresh the page.

DIY Steam Controller Puck Offers Xbox, Switch, PlayStation Emulation Modes

Valve recently released a new version of the Steam Controller, which features a wired USB puck that serves both as charger and dedicated, low-latency wireless receiver. The downside is they aren’t currently available for purchase separately, but that’s not a worry because you can now make your own thanks to [safijari]’s OpenPuck project.

OpenPuck uses the highly affordable Pro Micro NRF52840 board, programmed to emulate the wireless receiver portion of the puck, meaning one can pair their Steam Controller to it just like they would with the factory puck. A major part of the project was naturally documenting the wireless protocol, but there’s also an array of extra features offered by OpenPuck.

OpenPuck offers features over and above the factory offering. [image: 3d printed case by jaki-gh]
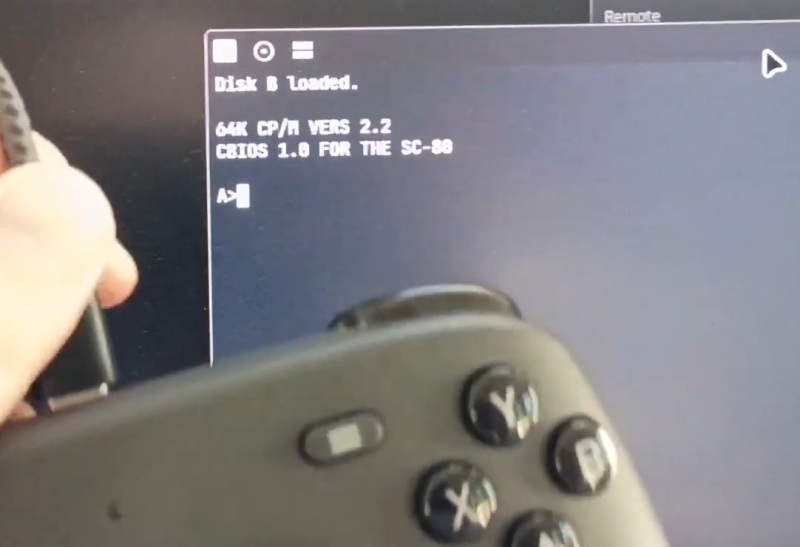
Hitting button combos lets one conveniently emulate Xbox, Nintendo Switch, or Sony PlayStation controllers. Meaning OpenPuck can for example be plugged into a Nintendo Switch and it will see OpenPuck as an official wired controller, complete with motion sensor and haptic feedback.

Why is it necessary for this emulation to be done from OpenPuck? Because while the Steam Controller has tight integration with Steam Input β€” a sort of highly useful translation layer for controller inputs β€” that integration also means the controller’s best features only work while Steam is running. OpenPuck’s ability to emulate other console controllers makes it flexible in a way the factory puck isn’t, and a user can make the most of a single controller this way.

It’s worth noting that while the real puck has the ability to charge the controller (whether or not the user makes it walk itself), the OpenPuck doesn’t have this ability. Does that mean one must still use the factory puck for charging? Not at all, as the Steam Controller charges just fine over a USB-C connection.

There’s a short video below that demonstrates the flashing and setup, so check it out if you think it might be useful to you.

Thanks for the tip, [Jaki]!

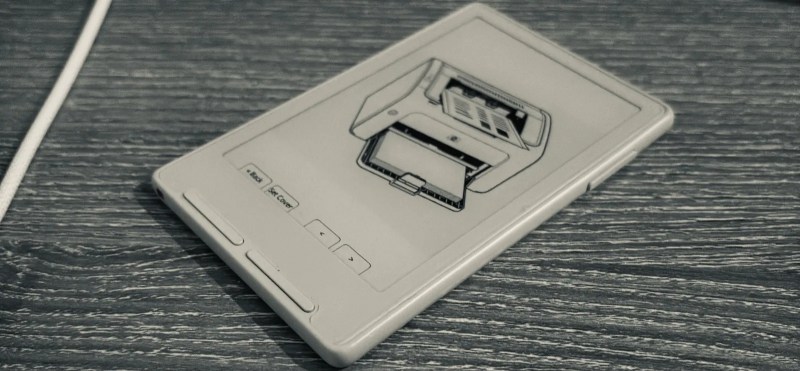
The Persistent Display We Never Got

We all know the e-ink persistent displays, as they’re cheap and plentiful enough to have become ubiquitous in applications such as supermarket price labels. But we don’t often see some of the other technologies thatΒ almost did the same thing. The BBC Archive has a report from 1986 showing one of them, a prototype display from STC.

E-ink relies on flipping the arrangement of black and white particles in its pixels, while this one has a fluid in which the molecules are aligned to let light through, or dispersed randomly, at which point they block light. Frustratingly, we aren’t told what the liquid is, but we are given what might be the reason that we’ve never seen one. The activation voltage is rather high at 200 volts. It’s still a fascinating glimpse of something we might have had, with some tasty early-PC-era portables along the way.

The BBC archive has served up quite a bit of retro goodness over time, and we’ve certainly featured one or two of them over time. A recent one was this demonstration of email via a flight to Amsterdam, from the same year as today’s display.

Building A Wireless Fingerprint Authorization Device

Once upon a time, there was a bit of a fad for fingerprint authentication in laptops and desktop computers. It has long since faded, but [superdog] wanted just such a device for Linux and Mac machines. Thus, it was time to build one.

[superdog] designed the device, nicknamed immurok, as a tool for people who use external keyboards, and do lots of terminal work on Mac and Linux machines. Repeat password requests can interrupt one’s flow when hustling at the keys, so immurok was designed to ease this pain.

The device is based on a WCH CH592F microcontroller, which comes with Bluetooth connectivity out of the box. This allows immurok to connect wirelessly to the machine of your choice, advertising itself as a standard Bluetooth HID keyboard device. Fingerprint-wise, scanning is done with an R559S capacitive sensor, which verifies the match locally so there’s no transmitting biometric data anywhere. On the computer side, Linux is setup to use a CLI/TUI app plus PAM integration to handle authorization for system logins and sudo in the terminal. On the Mac platform, it’s used with a menu bar app, with PAM integration for admin prompts. There’s also a separate helper path for using it with the lock screen.

If you’re sick of entering your password all the time and wish unlocking your PC was more like unlocking your phone, this might be the project for you. We’ve seen similar projects before, too. If you’re whipping up fun gear for biometric auth, don’t hesitate to let us know on the tipsline.

❌