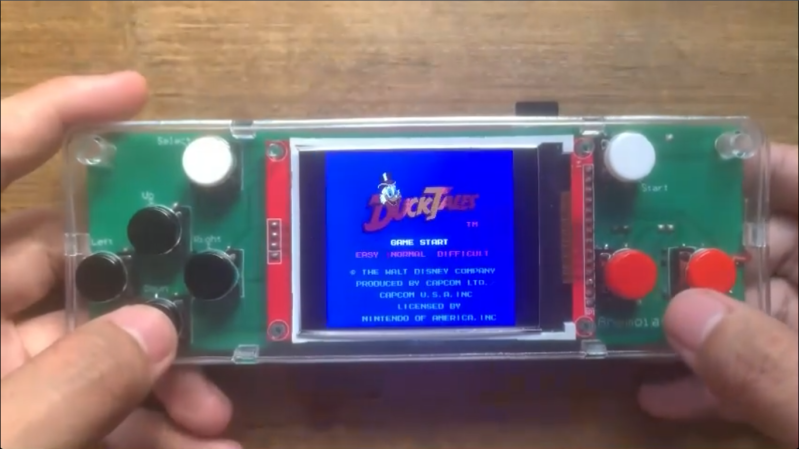
At least in theory, video games are more resistant to becoming lost media thanks to their digital nature — they’re easy to copy and emulators have saved many titles that are otherwise locked in corporate vaults. But emulators give us something beyond simple preservation: they can also be used to enhance games well beyond the capabilities of the original systems while still preserving the souls of the games, as this NES emulator manages to do.
The emulator is called Anemoia-ESP32, and as its name suggests is a re-write of the Anemoia emulator specifically built for the ESP32. By modern standards these little chips don’t pack much of a punch, but compared to original NES hardware they’re more than up to the task of gaming. This project aims to recreate the Nintendo Entertainment System experience as faithfully as possible, hitting 60 FPS in most instances, as well as maintaining full audio emulation. Running on an ESP32 enables some truly small handheld options that would be difficult to achieve with more traditional platforms for emulation. There are some PCBs available here as well, but aren’t required to explore this project with.
As far as extra features compared to original NES hardware, the emulator does support save states and has a number of other settings improvements. Installation is as easy as flashing any other firmware image onto an ESP32, which these days can even be done from the browser. No word on whether or not it will eventually support emulating dual Picture Processing Units, but we can hope.
Even for those of us that are quite technically minded, we spend precious little time thinking about the cables that carry our signals and do all the important work we need them to do on a daily basis. A great deal of theory and engineering goes into making things like telephone lines and HDMI cables work, but we mostly just plug them in and get on with whatever we’re doing.
If this is your experience, you might find the Hackaday Europe talk from [Michael Wiebusch] to be particularly interesting. He dives into transmission line theory from an accessible standpoint, explaining how two disparate signals can go in opposite directions on the very same wire. Then he demonstrates the theory by building a cable modem… well, sort of!
Signal
Michael begins his talk by discussing the Telegrapher’s Equation, but only as a fakeout. Given the limited time on offer, he decided a quicker, easier explanation of the physics involved would be more appropriate. Key to this was explaining the difference between cables and transmission lines. To create a true transmission line, by his definition, he explains that there is a necessity to have two conductors that are relatively close together. Such a transmission line is effectively a distributed network of inductances and capacitances all the way down, though often we talk about “lossless” transmission lines for modelling purposes. He also covers the point of coaxial cables, wherein one conductor is wrapped around another to shield a signal from external noise, and to prevent signal from leaking out.
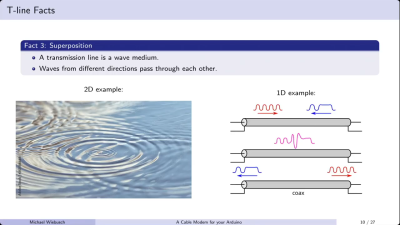
Transmission lines allow signals to pass in opposing directions, much like ripples on a pond will pass through each other, retaining their form. Credit: talk slides
There are several basic facts to remember about transmission lines. They are fundamentally just channels down which EM signals can travel. It’s also good to remember that they delay signals. To a human, the signal may appear to travel instantaneously, but it does take time. This also has other impacts; for example, coax cables are filled with plastic, a material in which the speed of light is roughly 66% of the speed of light in a vacuum.
This slows the rate at which the field of an EM signal can travel to this fundamental limit. [Michael] also notes that transmission lines, as a wave medium, essentially allow waves travelling in different directions to pass each other, much like ripples spreading on the surface of a pond. This is why it’s possible to have bidirectional communication on a single transmission line. It’s also important to terminate a transmission line properly, such that the wave you’re transmitting down it ends where you want it to—at the receiver. Fail to terminate your transmission line, and you’ll have that wave bouncing back and forth which is undesirable for clear transmission.
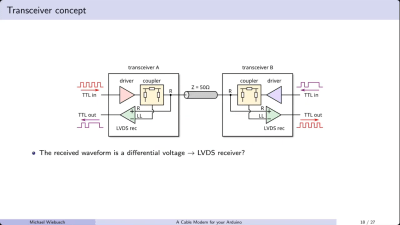
The coupler allows sending and receiving signals via a single transmission line. Credit: talk slides
[Michael] demonstrates basic transmission line theory by building a sort of cable modem out of an Arduino and some supporting hardware. He notes it’s not really a modem—there is no modulation or demodulation going on. Instead, he’s simply squirting TTL signals into either end of a cable and receiving them on the other end. The “black box” that couples the signals into and out of the transmission line is a simple directional coupler. Built out of resistors and an op-amp, it allows sending a signal down a transmission line, as well as receiving a signal coming the other way. The design works all the way down to DC logic level signals, which let [Michael] use it to send TTL signals up and down 50-ohm and 75-ohm coaxial cables. He notes this has very obvious practical applications where it’s desirable to reduce cable counts when sending signals in multiple directions, relating this directly to his professional work on science experiments.
If you’ve ever wanted to get two devices talking over a single cable in a relatively easy fashion, then [Michael’s] talk may be valuable to you. At the very least, it’s a great way to learn some of the basics of transmission lines and better understand what’s going on when you shoot a signal down a random bit of wire. It’s all good stuff.
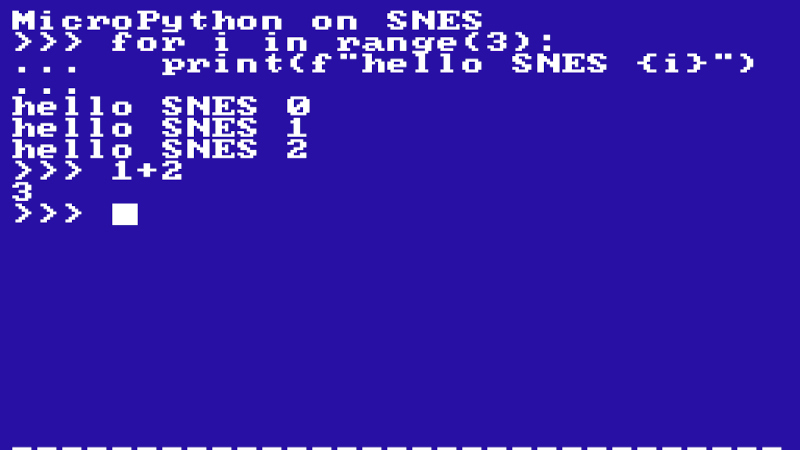
MicroPython, for the uninitiated, is a pared-down version of python meant to run on today’s powerful microcontollers. As impressive as it was for its day, the SNES is not quite in their league in terms of computing power. Time marches on, and so while there may be other indie releases worth mentioning, we’re declaring the hottest SNES game this season to be [Fabian Kübler]’s port of MicroPython.
Well, except he didn’t exactly do the porting himself: the Antrhopic LLM Claude generated the code, and performed most of the testing, as [Fabian]’s test of its new Fable 5 model. A brief pause during an export ban showed that Opus would crash and burn on the same task, but Fable was able to get things quickly back on track. It might be “AI slop” by some definitions, but the port scales 430 out of 468 on MicroPython’s core test/basics, which makes it usable to play some simple python games… slowly.
As you can see for yourself in an embedded emulator if you check out [Fabian]’s blog, spooling up MicroPython takes about twenty seconds at 3.58 MHz, and after that you can watch some sprites bouncing around at a blistering 0.8 FPS. [Fabian] seems satisfied with that performance, and impressed with Fable’s efforts at optimization. What to you think? Does the hardware have much more to give, or is that about it, given the nature of the Pythonic beast? Perhaps some plucky human could become a digital John Henry by producing a better, faster port — if you do, please let us know. If you’d rather just to see what Fable can do, the project is available on GitHub, so you can judge for yourself how sloppy the code is or test out the ROM.
Putting Python onto limited hardware may not to be to everyone’s taste, but there’s a good case to be made for it. The SNES may actually be too limited, though. It makes sense — the kind of micros you run MicroPython on can emulate the SNES.
The NTSC television standard is a masterpiece of mid-century engineering, to pack a color image into the transmission bandwidth of a monochrome one, and to do so while maintaining backward compatibility with earlier monochrome TV sets. In terms of its timings and choice of sync and carrier frequencies it’s elegantly thought out for maximum quality on a 1950s round-CRT color TV set.
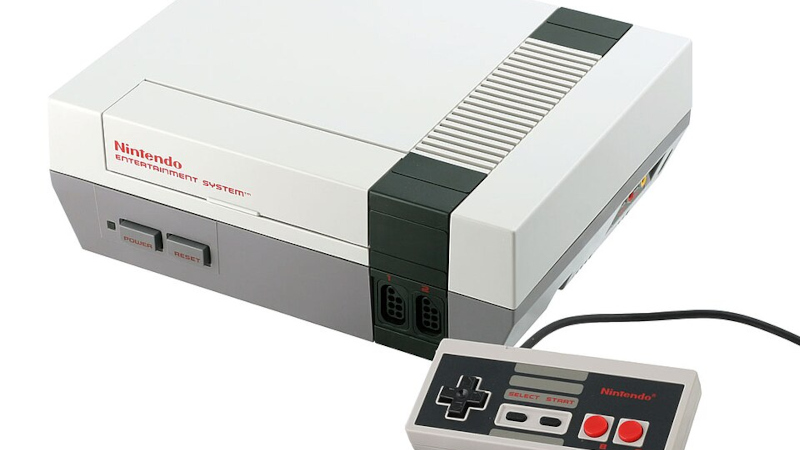
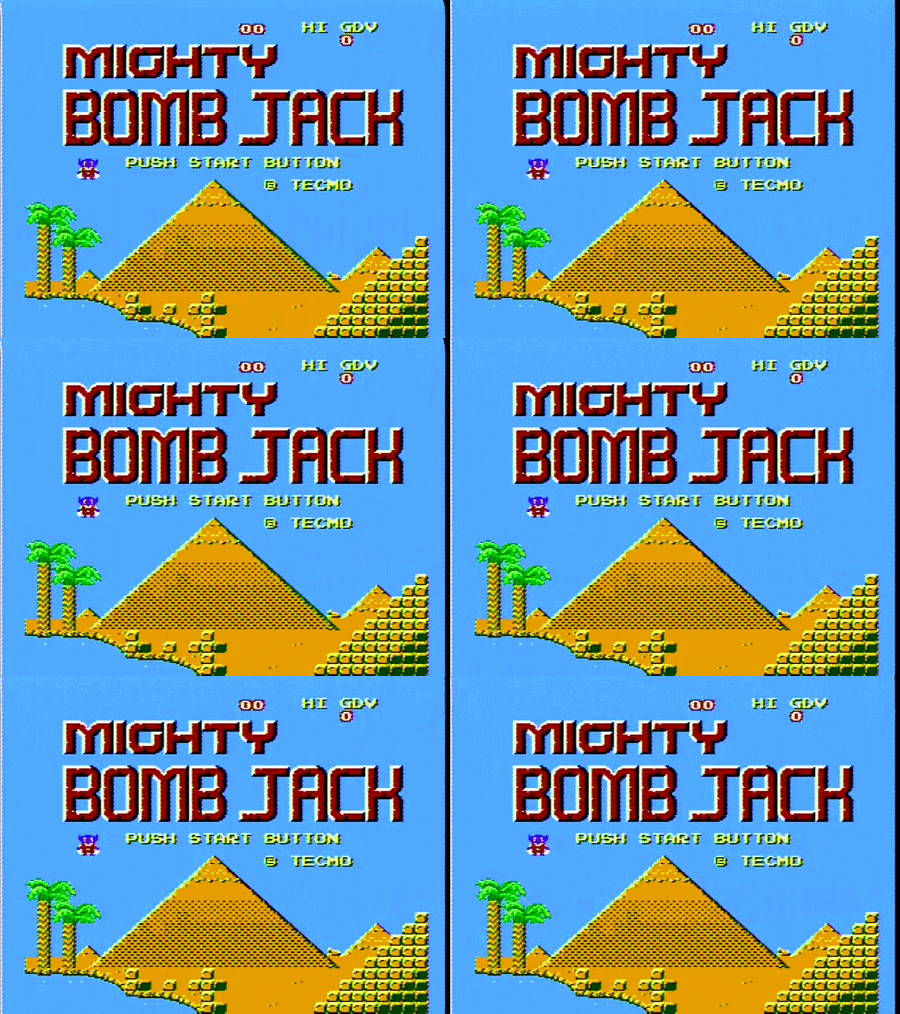
The trouble is, that while the standards are exacting, the receivers are quite forgiving, and will display adequately even with substantially off-spec video. [Nicole Express] is here with an in-depth examination of a time when that was pushed just a little bit too far, explaining why the Nintendo Entertainment System (NES) displayed wobbly color images.
We’re treated to a run-through of the NTSC standard itself, and a look at how some of the other consoles and home computers of that era either had similar problems, or managed to avoid them. The key lies in the exacting timing required to achieve perfect interlacing, and the NES’s use of a single crystal to provide all the clocks. The dot clock on adjacent frames was almost right, but not quite, leading to a side-to-side wobble that while barely perceptible, was exacerbated by some graphics. It’s a fascinating read.
While the original name of what much of the world knows as the NES was the Nintendo Family Computer, or Famicom for short, it was very rarely used as a family computer. Sure, there was a basic cartridge and an add-on keyboard sold in Japan, but it was always a sideshow to the games.
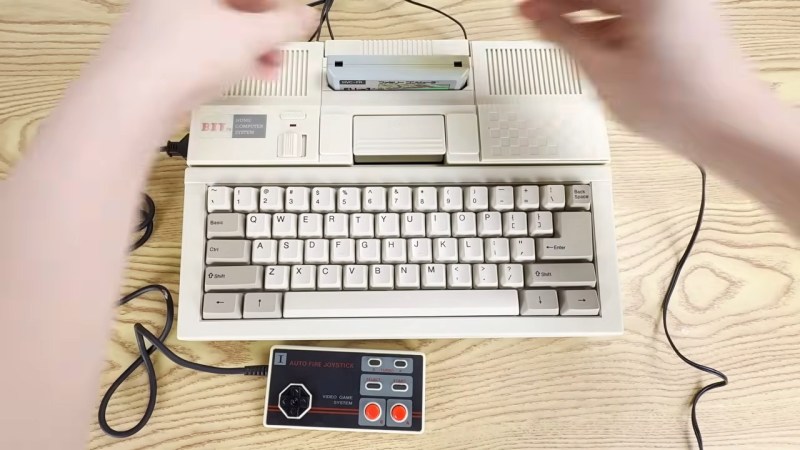
Nintendo recognized that when they brought their Entertainment System overseas. Most of the various famiclones — which date back to the mid-80s — are the same. BIT in Taiwan had a different idea: their Bit 79 would be a full home computer. Picture a C=64 that plays Nintendo games, and you might not be too far off. [Inkbox] tells the full story in his latest YouTube video, and it’s a must-watch for anyone interested in the history of 8-bit machines that are totally unknown in the West.
BIT were both game makers and system cloners; you may even have seen one of their NES or Atari games, as they were exported widely. By 1989 they’d already gone through a surprising number of Famicom clones, but those were pure clones and just played games. The Bit79 is obviously different — for one, it’s got a built-in keyboard in a wedge case. Apparently a pretty good one at that. For another, it starts with a bootloader that lets you choose between BASIC on ROM and loading the cartridge. For a third, it’s got a full 8K of RAM, quadrupling the Famicom’s offering– plus an additional 2K for the PPU, in what you might consider an early example of video RAM. Both CPU and PPU are knockoff chips made in Taiwan by UMC. The system even has what looks like a DB25 connect a printer. There’s also an expansion port, but no evidence that add-ons were ever sold, despite reports of a 64K memory add-on.
Back to the BASIC ROM for a moment– it’s not Famicom BASIC, as was clear in the manuals. [Inkbox] dumped the ROM to find that it is actually AppleSoft BASIC, of all things. That’s not only an odd bit of piracy, it’s also a big miss, since Apple’s BASIC doesn’t have any commands to make use of the PPU the way Famicom’s version does. POKING the registers during the vBlank interval is apparently not an easy thing to do. Perhaps that’s why we’ve never heard of this machine — well, that, and the fact we’re not located in East Asia where it was sold.
While the Bit79 didn’t sell particularly well, apparently it inspired a whole wave of “educational computer” famiclones in 1990s China that are largely unknown to the English-speaking world, making it an important part of computer history.
While BIT Corp is long gone, if you want to play around with their great experiment in turning a famiclone into a home computer, an emulator is available online, and the ROMs are preserved on the Internet Archive thanks to [InkBox].

 Login
Login