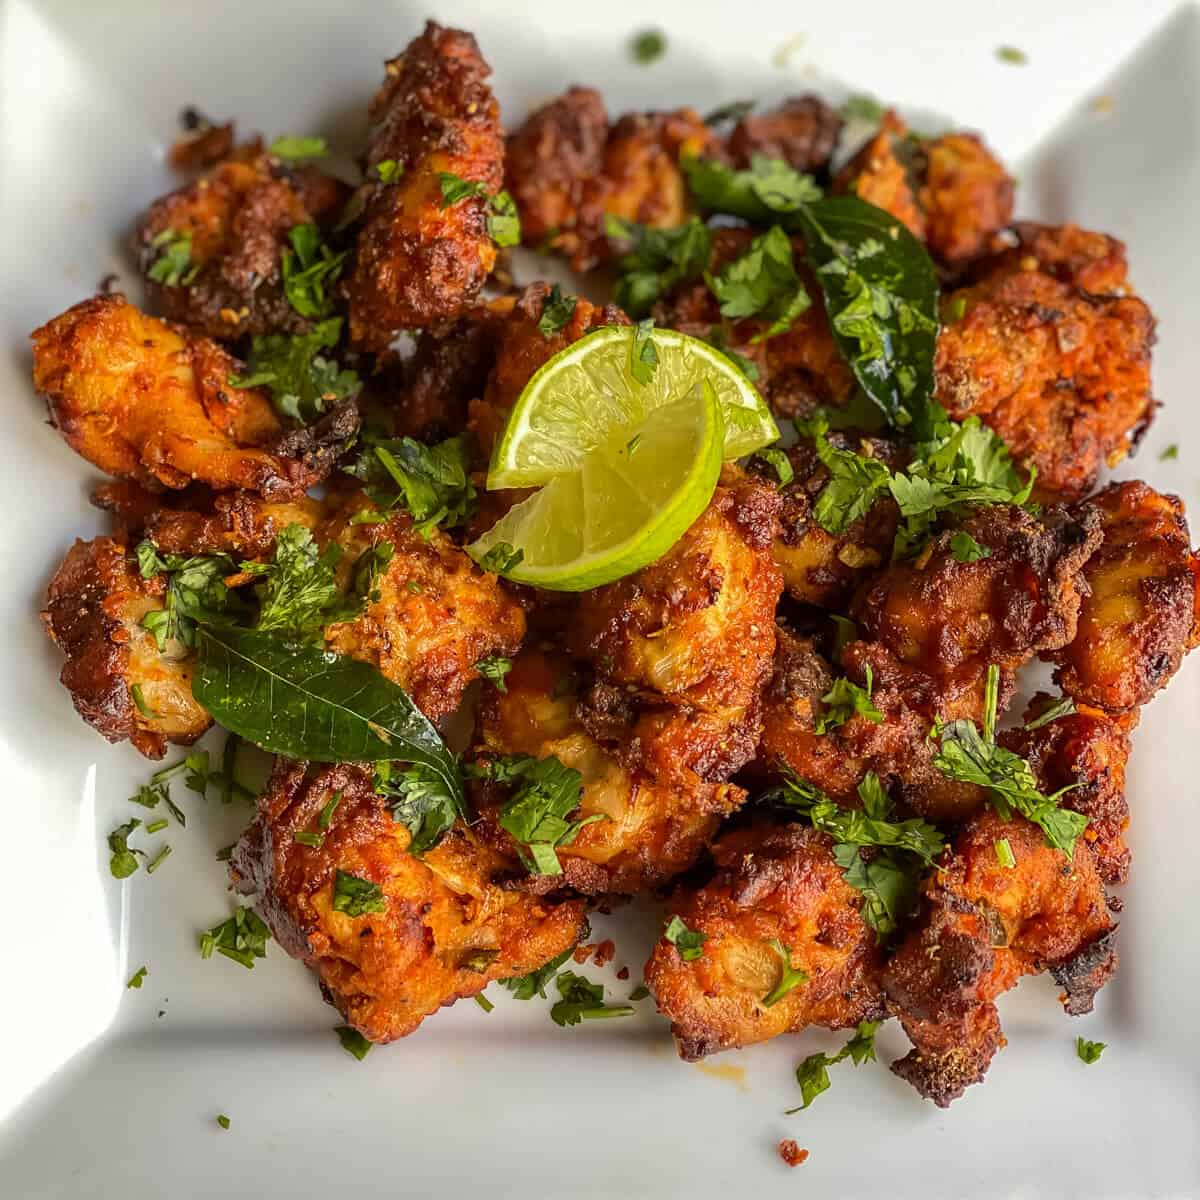
Restaurant-Style Air Fryer Chicken 65 is a must-try chicken starter in my book! It's crispy and spicy on the outside while being delightfully succulent inside. This healthier twist on the classic Indian appetizer is irresistibly delicious - watch it gobbled up before your eyes in no time! Chicken 65 - the story behind its name […]
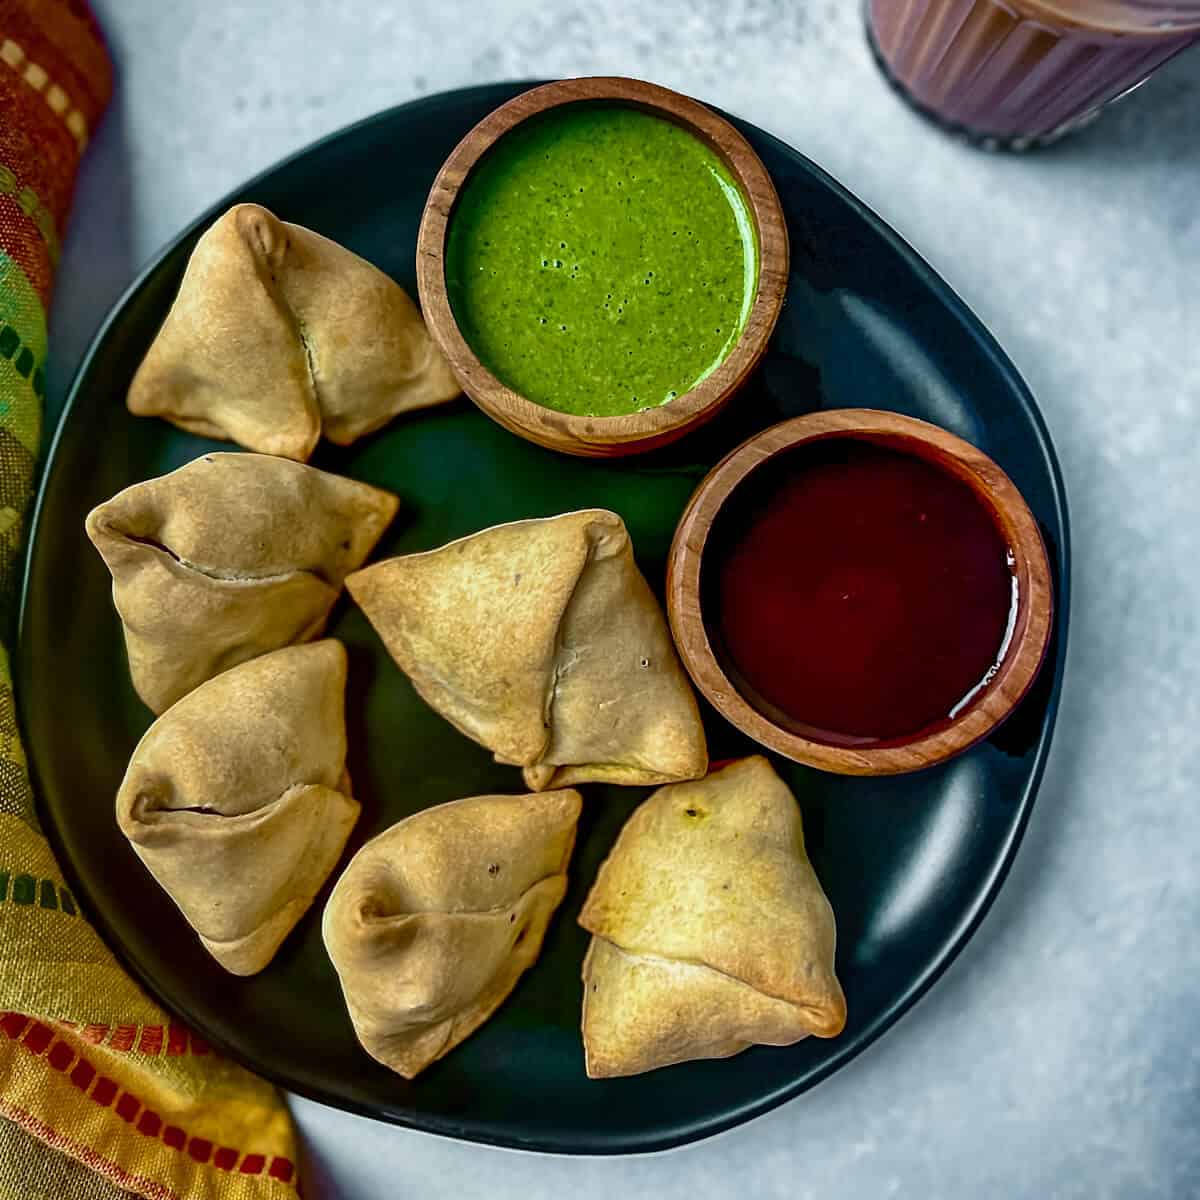
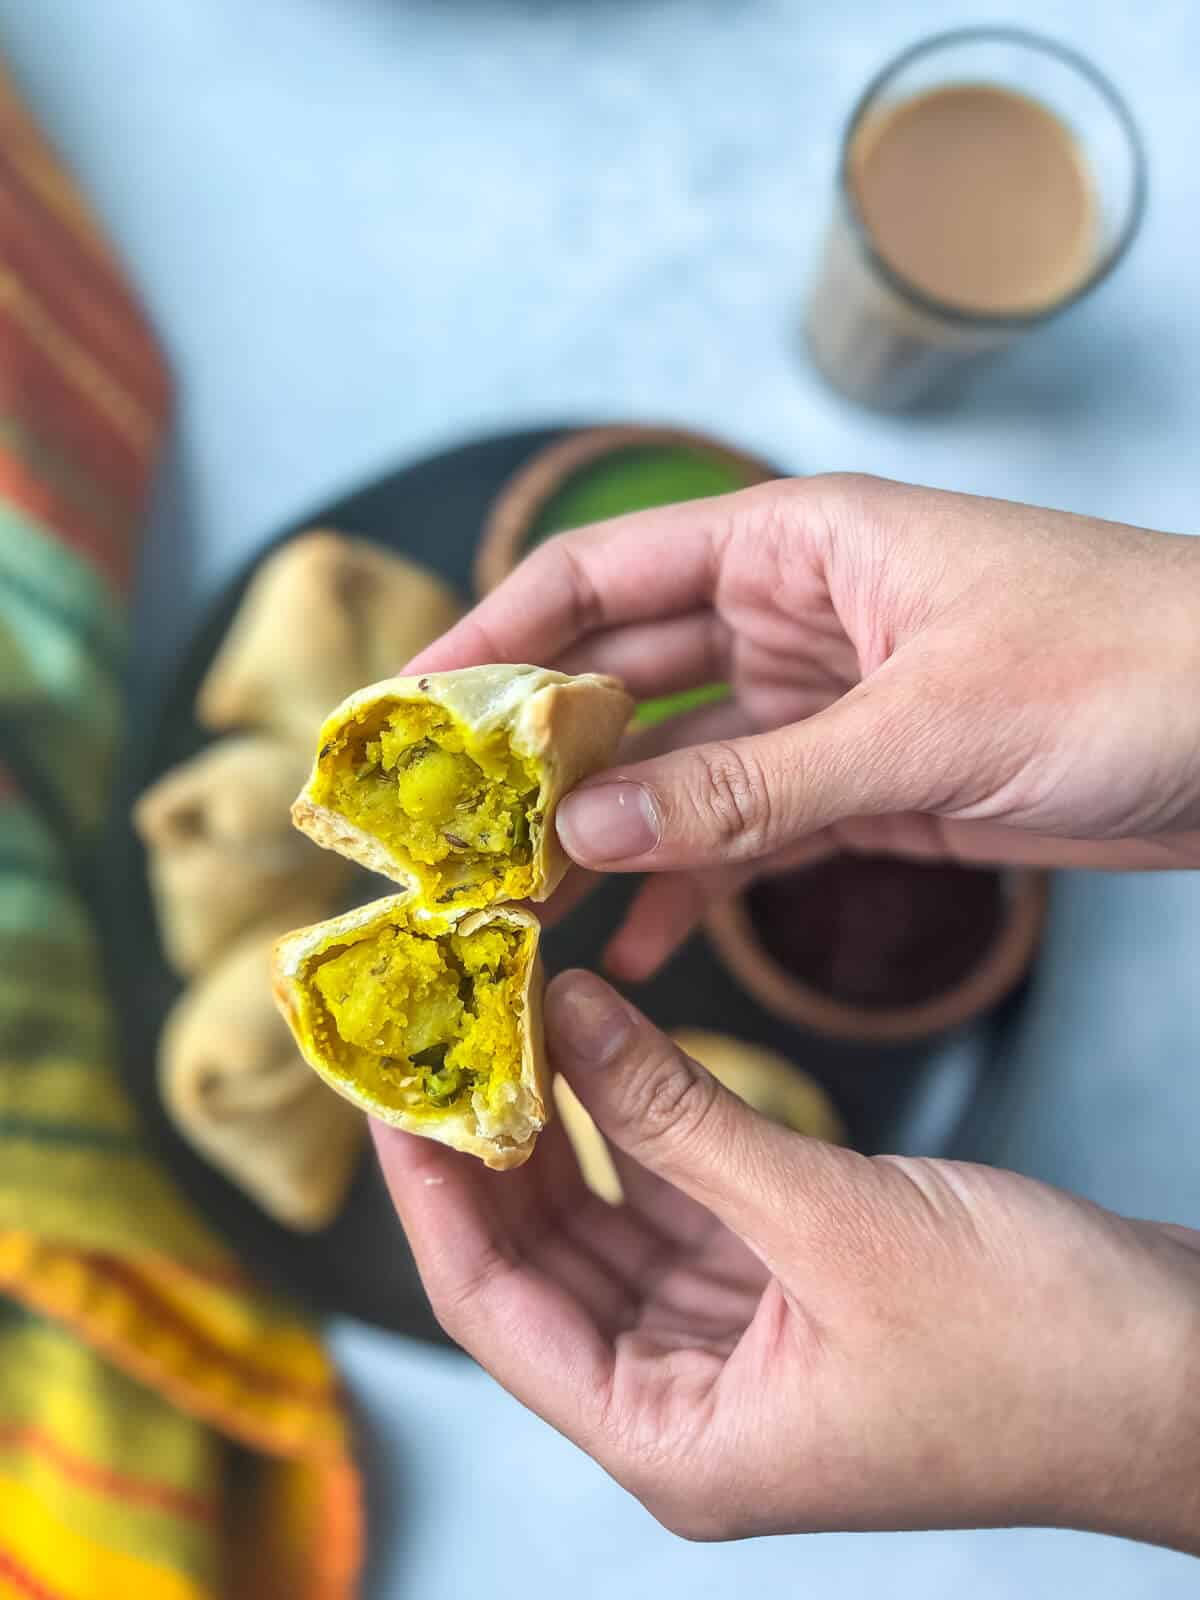
Love Indian samosas but hate deep-frying? Try this air fryer samosa recipe. With a crispy exterior and a delicious spiced potato filling, this air fried vegetable samosa recipe tastes and looks just like the deep-fried ones.
Air fryer Vegetable Samosa
What is samosa?
The classic samosa is triangular in shape and consists of a flaky pastry filled with a savory stuffing – often containing potatoes, peas, and spices, although meat may be included.
The pastry is then deep-fried in oil, drained, and served to hungry customers. It’s a popular street food with many variations based on the region it is made.
Apart from India and other countries in Southeast Asia, it is popular in North and East Africa, many Arab countries, Portugal, and Brazil, although it is known by various names.
Origin story
While most Indians believe Samosa (pronounced suh·mo·suh) originated from India, shockingly, it is not. Its roots have been traced back to the Persians all the way to the 9th or 10th century when it was referred to as sanbusaj .
Some references in old Arab cookery books also call these minced meat-filled triangles sanbusak, sanbusaq, and sanbusaj (all derived from the Persian word sanbosag). These snacks were carried by merchants when they ventured out for trading.
Eventually, as these merchants traveled to Southeast Asia, the samosas made their way into India, then known assamsas, named because of their pyramid-like shape.
They became popular in India during the 13th or 14th century thanks to the chefs in the royal kitchens in Delhi. These chefs, who originally came from the Middle East and Central Asia, made samosas containing meat, ghee, onions, and other ingredients.
As the food traveled across India, the original became more of a guiding post as each region added its own special touches. As a result, the classic Indian samosas have become incredibly diverse.
The quintessential samosa, sometimes called potato samosa or vegetable samosa contains a spiced stuffing filled with potatoes and green peas. It’s wrapped in a dough made from all-purpose flour mixed with butter or ghee and deep-fried until crispy. This form is a traditional Indian style and is the most popular worldwide.
If you want to learn more, check out this fascinating article on the history of samosa.
You may know samosa by some of its alternative names and, of course, variations, including:
Aloo samosa or potato samosa – where it is stuffed with potatoes and sometimes peas.
Punjabi samosa – regional variation from Punjab.
Vegetable samosa
Chicken samosa
Chamuças – Portuguese version made with chicken
Lukhmi (Hyderabad) is made with minced meat – far crustier than the traditional samosa.
Shingara (Bengal region) – the filling is made with potatoes, peas, and cauliflower (during the winter) and potatoes and peanuts (rest of the time)
Somsa – popular in Kazakhstan. It is typically baked and has a crumblier crust.
Sambusas (Africa) – filled with spiced meat (chicken/beef).
Sambusak (Arab countries) – filled with feta cheese, onions, minced chicken, meat, and spinach.
Air Fried Samosas
About this recipe
Having grown up in Mumbai (Bombay), I have probably consumed samosas every single week of my life. They were made fresh by street food vendors whose stalls you could find at every corner of the city and, of course, the college cafeterias.
Those piping-hot vegetable samosas were definitely hard to miss and even harder to resist.
When paired with hot masala chai, these roadside snacks tasted just divine.
I always wanted to make samosa at home, but to be honest, deep-frying is not my thing. I hate the mess it causes, and then I have to deal with a large vat of oil.
Having been obsessed with my air fryer lately, I thought this would be a good recipe to adapt. It just took a little bit of tinkering with the temperature, and I was able to nail the recipe.
The result was a crispy samosa with a flaky crust and a delicious savory potato filling without deep-frying. How satisfying!
I can’t wait for you to try this recipe and air fry samosas! These homemade samosas will be much healthier and tastier than the ones you find in Indian restaurants in the US.
Reasons to love this recipe
Tastes just like the deep-fried version without all the calories.
If you hate deep frying as I do, you’ll love making it in the air fryer – No mess and no fuss.
Perfect for a crowd – Great for parties as you can prep ahead.
It’s easy to reuse any leftover filling in sandwiches or bread rolls.
Here’s what you need to make the recipe
Tools
You’ll need an air fryer to make this recipe. Here are the two that I recommend
Oven-style (Ninja Dual Heat Air Fryer – 1800W)– The oven-style ones usually take more space but what’s unique about this Ninja one is that it flips vertically for easy storage on the countertop. Most importantly, it is perfect for families of 4 or more.
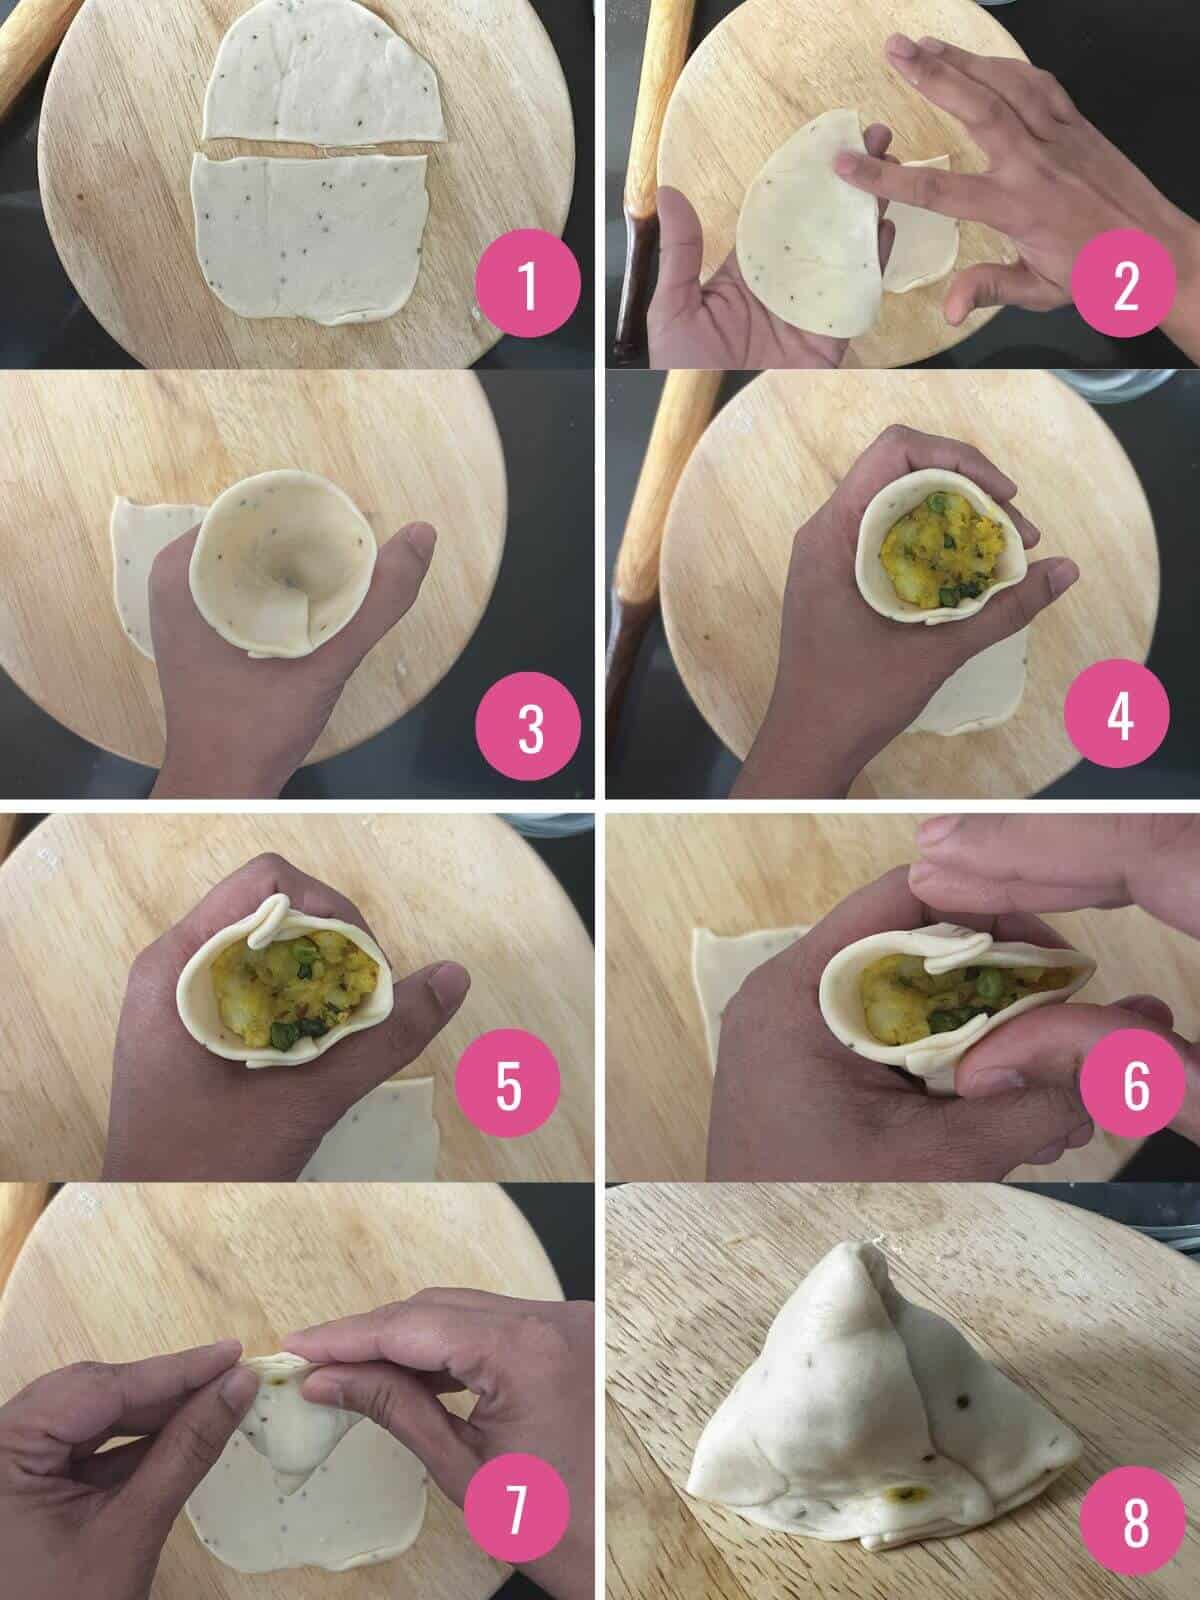
Full instructions are included in the recipe card, but here is the summarized version of how to fold the pastry for veggie samosas:
Divide the dough into golf ball portions and roll it into a ball. Flatten the ball and roll it into an oval sheet, then cut it in half horizontally.
Dab the cut straight edge with water.
Shape the rolled samosa pastry into a cone making sure one edge overlaps the other.
Fill the cone with stuffing until it is 3/4ths full.
Pinch the circular side in the center, creating an overlapping edge. Dab the edges with water.
Press the opposite edges together to seal them.
Place the samosa on a cutting board or flat surface, and press it gently to flatten the base enough that the samosa can stay upright.
Brush with oil, repeat with remaining dough, then cook and enjoy.
How to fold samosa
TIPS
Tips for a crispy crust
Use ghee to make the stuffing and the dough for the best-tasting samosas.
For a crispy pastry – Mix the ghee with flour, salt, and carom seeds until it resembles bread crumbs. Add water as needed to make a pliable but firm dough.
No overcrowding – For best results, always arrange the samosas in a single layer and cook in batches if needed.
More tips..
Don’t roll the dough too thin – If the pastry is too thin, it will tear when you put in the filling. Make sure they are evenly rolled too.
Use oil to roll the dough (if needed) – do not use flour because it will stick to the pastry, making it impossible to dust it off.
Let the stuffing cool completely because the steam from the potato filling will cause the samosas to not crisp.
You can also make these samosas from store-bought puff pastry sheets, but I haven’t tried them yet.
Dipping sauce for samosas
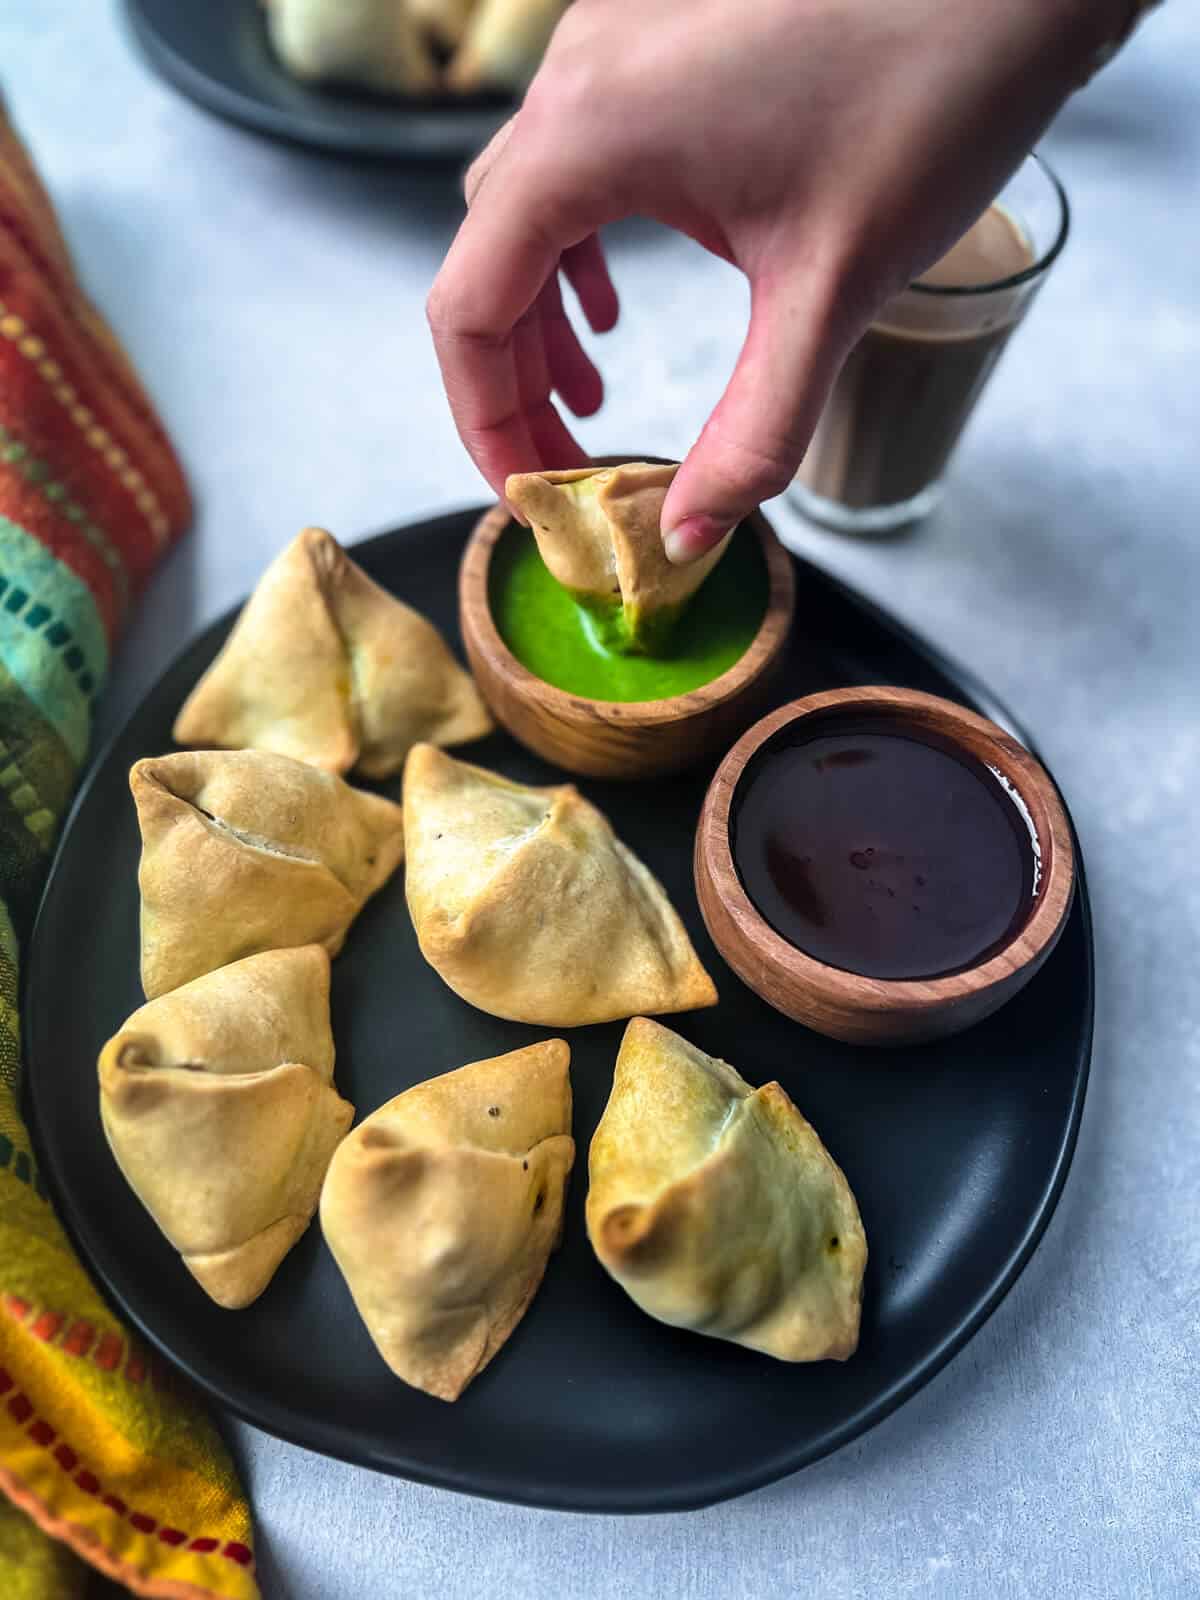
The best way to savor these delicious samosas is with chutneys. Here are my favorite ones.
Don’t have the chutneys handy? Serve it with ketchup instead.
Frequently asked questions
Can you air fry frozen samosas?
Yes, you can make frozen samosa in an air fryer, although the temperature and time depend on the particular brand and size. For Haldiram frozen cocktail or mini samosas (you can find them in Indian grocery stores), air fry at 400ºF for 10 minutes.
Do you defrost frozen samosas before air frying?
It is best to leave the samosas frozen and add them to the air fryer straight from the freezer. This will give them the best chance to crisp up and have a similar texture to that of deep-fried samosas.
How do you keep samosas crispy for a long time?
If you want to keep your samosas crispy, brush ghee or oil on the outside before air frying. This small amount of oil will help them to crisp. Once they are done, keep them in the open air, and do not store them in a covered container until completely cooled. Any condensation will prevent them from staying crispy.
Can I reheat samosas in an air fryer?
Yes. Samosas will reheat much better in an air fryer compared to a microwave. Just add them to an air fryer that has been preheated to 350ºF and cook them for 2-4 minutes or until crisp. Serve with your favorite chutney.
Why is my samosa not crispy?
If your samosas are not crispy, it may mean that the fat (ghee) was not incorporated into the dough properly and/or the dough was not stiff. Next time, work the dough until very stiff. Make sure to brush the outsides of your prepared samosas with ghee or oil.
Can I use whole wheat flour instead?
Yes, you can use whole wheat flour to make the samosa dough. Just know that the samosas won’t be as flaky as those made with all-purpose flour.
Love Punjabi samosas but hate deep-frying? Try this air fryer samosa recipe. With a crispy exterior and a delicious potato filling, this air fryer vegetable samosa recipe tastes just just like deep-fried!
Combine flour, carom seeds, salt, and ghee in a medium-sized bowl.
2 cups all purpose flour, 1/4 cup ghee, 1/2 teaspoon carom seeds (ajwain), 1/2 teaspoon salt
Rub the ghee into the flour using your fingers until it is combined and resembles breadcrumbs.
Add water in small increments, a tablespoon at a time and knead till the dough is stiff and pliable.
1/4 cup cold water
Let the dough rest for at least 30 minutes.
Boiling potatoes
Add 1.5 cups of water to the steel insert of the Instant Pot. Place a trivet over it.
1.5 cups water
Add the diced potatoes in a steamer basket. Place the steamer basket over the trivet.
4 medium-sized potatoes, diced
Close the lid and set the vent to sealing position.
Pressure cook on high for 5 minutes. When the cooking cycle is complete, wait for 5 minutes and then release pressure by moving the vent to the venting position. [Note: the potatoes are done if they can be easily mashed]
Carefully remove the steamer basket and set it aside.
Making the stuffing
Add oil to a wok kept over medium heat.
2 tbsp olive oil
Once the oil is hot, add cumin seeds. When they start to sizzle, add asafoetida, green chilies and ginger. Sauté them for about 10 seconds.
1 teaspoon cumin seeds, 1/8 teaspoon asafoetida, 1/2 teaspoon carom seeds (ajwain), 1-2 Indian or Thai green chilies (Bird's eye), 1 inch piece ginger, grated
Add steamed potatoes and peas, fennel seeds, cumin powder, coriander powder, dry mango powder, ground black pepper, garam masala (if using) and salt.
1/4 cup green peas, 1 teaspoon fennel seeds (saunf), 1 teaspoon cumin powder, 1 teaspoon coriander powder, 1/2 teaspoon dry mango powder (amchur), 1/2 teaspoon turmeric powder, 1/2 teaspoon ground black pepper, 1 teaspoon salt, 1/2 teaspoon garam masala
Cook for about 3-4 minutes to allow the potatoes to absorb the spices. Mash the potatoes as it cooks. Note: You don't have to completely mash it just enough so that there aren't any pointy edges.
Add the chopped cilantro and mix well. Let the stuffing cool completely.
1/4 cup chopped cilantro
Making the samosa
Take a small portion of the dough (roughly the size of a golf ball). Place the portion between the palms of your hands and shape them into a ball. Note: Make sure the remaining dough is covered with a clean, damp cloth so it doesn't dry out.
Flatten the ball and roll it into an oval shape (approx 7 inches long X 5 inches wide)
Cut the rolled sheet into half.
Dab the edges with water.
Shape the sheet into a cone making sure one edge overlaps the other.
Hold the cone between your thumb and the rest of the fingers as shown in the picture below.
Carefully put the stuffing in the cone till it is 3/4th full.
Pinch the circular side right in the center to create an overlapping edge.
Dab the inside edges of the cone with water. Press the opposite edges of the samosa together to seal them.
Press along the edges to seal it tight.
Place the samosa on a flat surface and press it gently to flatten the base such that the samosa can stay upright.
Brush the samosa with oil till it is completely coated. Line the air fryer tray with parchment paper. Arrange the samosas on the tray without overcrowding them.
Repeat the process with the rest of the dough.
Air frying the rolls
Set the air fryer at 375°F. Let it preheat for about 5 minutes.
Place the tray in the air fryer. Cook it for 10 minutes at 375°F.
Brush the samosas with oil and cook them again for 10 minutes.
Depending on the air-fryer, the samosas may need additional time to turn golden brown. Increase the temperature to 400°F and cook for another 3-4 minutes. Note: The time for the samosas to brown may vary depending on the air fryer, so adjust the cooking times accordingly.
Transfer the samosas to a plate – don't overcrowd. Note: Thesamosas will continue to brown as it cools down.
Serve hot with green chutney, tamarind chutney or ketchup.
It can be stuffed with other fillings such as shredded chicken, lamb, etc.
Skip the green peas.
For a vegan version, skip ghee and use oil such as avocado, sunflower, or any vegetable oil will do.
Instead of using store-bought coriander and cumin powder, you can use crushed cumin and coriander seeds. Make sure to dry roast them till they are aromatic and then crush them using a mortar and pestle to a coarse powder.
How to prep ahead
Whole samosas: Fill the samosas but don’t air fry them. Place them on a baking sheet and flash-freeze them for about two hours. Transfer them to an air-tight container and freeze them for about a month. No need to thaw them before air frying.
Filling: Alternatively, you could make the filling, refrigerate it for 2-3 days or freeze them for a month.
Dough: The dough can be made in advance and refrigerated for up to 3-4 days. Let it come to room temperature before rolling it.
Storage tips
If you have any leftover air-fried samosas, you can store them in an airtight container in the fridge for 3-5 days. For the best quality and crispiest results, allow them to cool to room temperature before transferring them to the container. Any warmth will become condensation and cause them to become soggy.
When you’re ready to reheat, preheat your air fryer to 350ºF and cook them for 2-4 minutes or until crisp and heated through.
Repurposing leftover samosas
Use any leftover potato filling in sandwiches orbread rolls.
Make aloo samosa chaat – To do so, break the cispy samosas into half and serve it in a bowl or plate of channa masala topped with sweetened yogurt, chopped onions, bhujia and drizzle with cilantro and tamarind chutney.
Other easy appetizer recipes to try
These air fryer samosas are one of my favorite appetizers to make. Here are a few more easy air fryer recipes for you to try :
Air fryer chicken 65 – This healthier version of the classic Indian-style appetizer is so good that it will disappear in seconds!
Air fryer onion pakoda
Air fryer chicken tikka
Juicy air fryer chicken wings – Juicy on the inside, crispy on the outside; these air fryer chicken wings are finger-licking good!
This flaky and savory cheese paratha is perfect for any meal of the day and is kid-friendly, thanks to its cheesy flavor. Serve it with raita, pickle, tomato ketchup, or a delicious paneer curry for a complete meal.
Easy Cheese Paratha
If you’ve never had a traditional North Indian paratha, I promise you that you are in for a real treat. That’s because these flaky and buttery Indian flatbreads are a delicious, satisfying, and hearty option for just about any meal.
This easy cheese paratha recipe is an excellent stuffed paratha recipe for beginners. It is much easier to roll and cook a paratha stuffed with melty cheese when compared to something a little more difficult, like the potatoes in my aloo paratha recipe.
Not only do you get the flaky texture of a plain paratha, but you also have a melty and cheesy center that will win over the pickiest of eaters.
When served with some creamy raita or a delicious paneer curry this simple dish easily becomes a meal – perfect for breakfast, lunch, or dinner. And while these are best warm, my kids don’t mind taking the leftovers in their lunch.
What is cheese paratha made of?
Cheese paratha, simply put, is a whole wheat bread stuffed with spiced cheese filling. The stuffing is made with mozzarella cheese for a delicious, stretchy center, but you can substitute half of the cheese for cheddar cheese or make my drool-worthy recipe for paneer paratha.
The paratha dough is made with whole wheat flour, then rolled and filled with cheese stuffing. The dough is then folded around the stuffing and rolled again. The rolled paratha is then shallow fried in ghee in a hot tawa or frying pan till golden brown spots appear. Talk about delicious!
Alternate names: In restaurant menus, you may find this paratha listed as chili cheese paratha or onion cheese paratha.
Onion cheese paratha
Reasons to love this recipe
It’s picky-eater-approved and kid-friendly.
Versatile – This cheese paratha recipe can be served for breakfast, lunch, or dinner.
Made with whole wheat flour – it is a healthier everyday option when compared to naan bread.
Although it’s best when served warm, it still tastes great when served cold, meaning it is perfect for adding to kids’ lunch boxes.
Here’s what you need to make the recipe
Ingredient notes
For the Dough:
Whole wheat flour – I prefer either Aashirwad whole wheat atta or Sujata chakki atta.
Avocado oil – The flavor works well with mozzarella cheese, but you could use any neutral-tasting vegetable oil.
Carom seeds – Also known as ajwain, these add a subtle flavor to the base of the paratha before the cheese stuffing is added.
Salt – A small amount of salt is added to the dough to provide flavor.
Water – You will need enough water to form a soft dough, and it should be at room temperature for the best results.
For the Cheese Stuffing:
Mozzarella cheese – I recommend using freshly grated mozzarella cheese, as it provides the best texture and gives that perfect melty cheese pull. You can substitute half of the cheese for cheddar cheese.
Onions – finely chopped, just like the green chillies. You can skip it but make sure to add more cheese so that you have enough filling for the parathas.
Spices and seasonings – You will need chaat masala, jeera (cumin seeds), and salt.
Aromatics – finely chopped cilantro and green chilies.
Storebought or homemadeghee – Traditionally used for frying the paratha and gives a delicious flavor.
Combine wheat flour, salt, a tablespoon of oil, carom seeds with 1 cup of water and start kneading. Add remaining water in small increments and continue to knead till the dough comes together as a ball.
Add the remaining oil to the dough and knead till the oil is absorbed.
If the dough is sticky, sprinkle approximately 1/4 teaspoon wheat flour (or more if needed) on the dough and knead again to form a dough that is not sticky. The dough should be supple and soft.
Cover the dough and set aside for 15-20 minutes.
Make the stuffing
Mix all the ingredients for the stuffing – onions, cheese, chaat masala, chili powder, cilantro leaves, jeera, green chilies, and salt- until they are combined. [Note: Don't prepare the stuffing in advance. Prepare it just before you are ready to roll the parathas. It is because the onions will start to lose water.]
1/2 teaspoon salt, 3 cups / 12 oz grated mozzarela cheese, 1 cup finely chopped onions, 1 teaspoon chaat masala, 1/2 teaspoon chili powder, 1/4 cup cilantro, 1 teaspoon jeera, 2 green chilies, 1/2 teaspoon salt
Rolling out the parathas
Divide dough into twelve equal portions and roll into balls.
Flatten the ball and cover both sides with flour.
Roll into a circular disc about 4 inches in diameter.
Place 2-3 tablespoonfuls of the stuffing in the center.
Grab the edges and pleat them and bring them together in the center.
Pinch them together to seal them.
Flatten the ball and cover both sides with flour.
Use your rolling pin to roll into a flat, round shape delicately. Dust flour on the base to prevent the dough from sticking while rolling.
Dust off excess flour from the paratha by placing it on the palm of one hand and then flip it on the palm of your other hand. Repeat this process 3-4 times.
Cooking the paratha
Place a tawa/frying pan on gas on medium heat. Once heated, carefully place the paratha on the tawa.
1/2 cup ghee for frying
Cook until small bubbles form on the top.
Turn it over and cook the other side for about 20 seconds. Add ghee to the side facing up.
Flip and cook for about 10 seconds. Use a spatula to press the edges so that they evenly cook. Now add ghee to the side facing up, flip and cook for another 10-15 seconds.
Skip the green chilies to make it kid-friendly. You can add a tiny bit of ground black pepper instead.
Different types of cheese – Replace 1/2 of mozzarella cheese with cheddar cheese in this recipe. You can replace mozzarella cheese with paneer (Indian cottage cheese), as in this paneer paratha recipe.
Skip onions – make sure to increase the amount of cheese so that you have enough stuffing for the dough.
Italian twist – Replace Indian spices/spice powders with a teaspoon of garlic powder, oregano each, and 1/2 teaspoon chili flakes.
Spice variations:Use dry mango powder instead of chaat masala to give it a tangy twist. You can also add 0.5 to 1 teaspoon of garam masala for some warmth.
Chili cheese paratha – Increase the amount of green chili for a spicy kick.
How to prep ahead
The dough stays in the refrigerator in an air-tight container for up to 3 days. Frozen for a month. Bring the dough to room temperature before rolling out the parathas.
You can make the cheese stuffing (don’t add the onions) up to 3 days in advance. You can chop onions and store them separately.
Storage tips
Refrigerator – You can store your parathas for 3-4 days in the refrigerator. For best results, store them in an airtight container and between sheets of parchment to prevent sticking (optional).
Freezer – These will keep well in the freezer for 2-3 months. Separate them with parchment paper when freezing, or they’ll stick together.
Reheat – For refrigerated parathas, reheat in a microwave (15-20 seconds) or reheat in a tava / skillet kept over medium heat. If parathas are frozen, use a tava/skillet to reheat for best results.
Serve it with
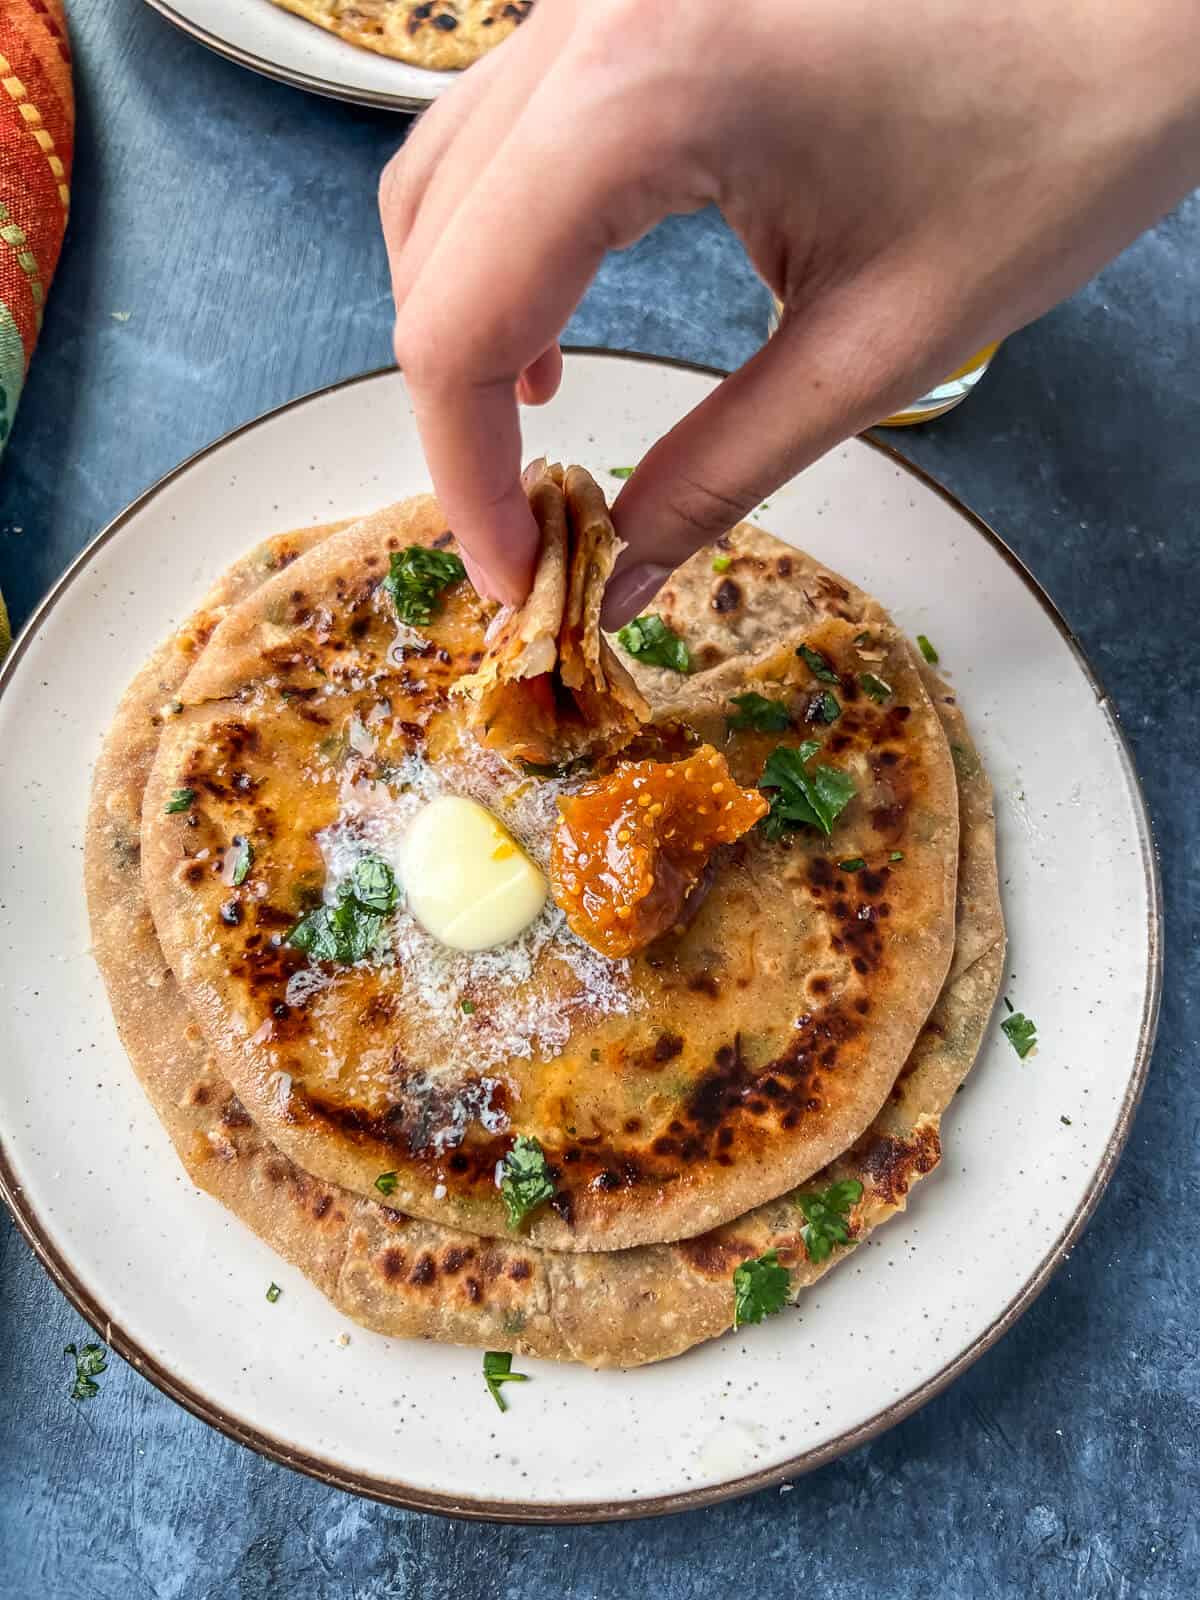
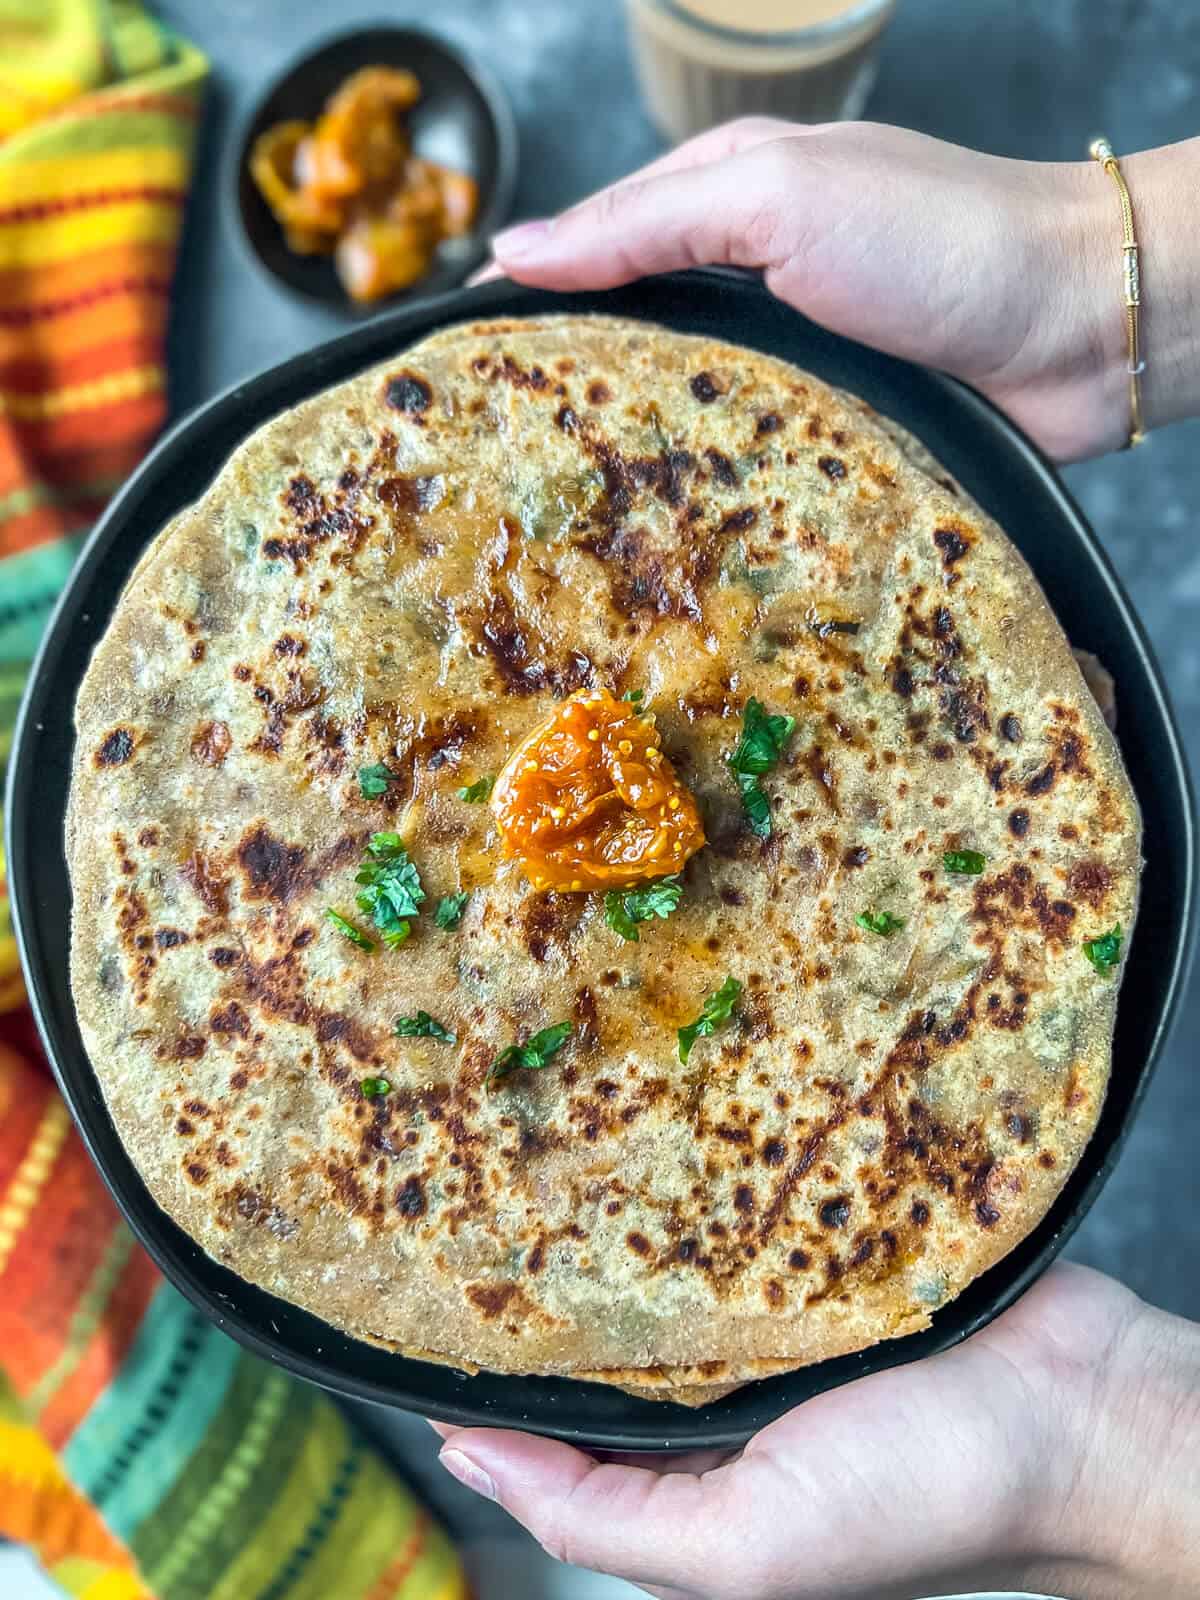
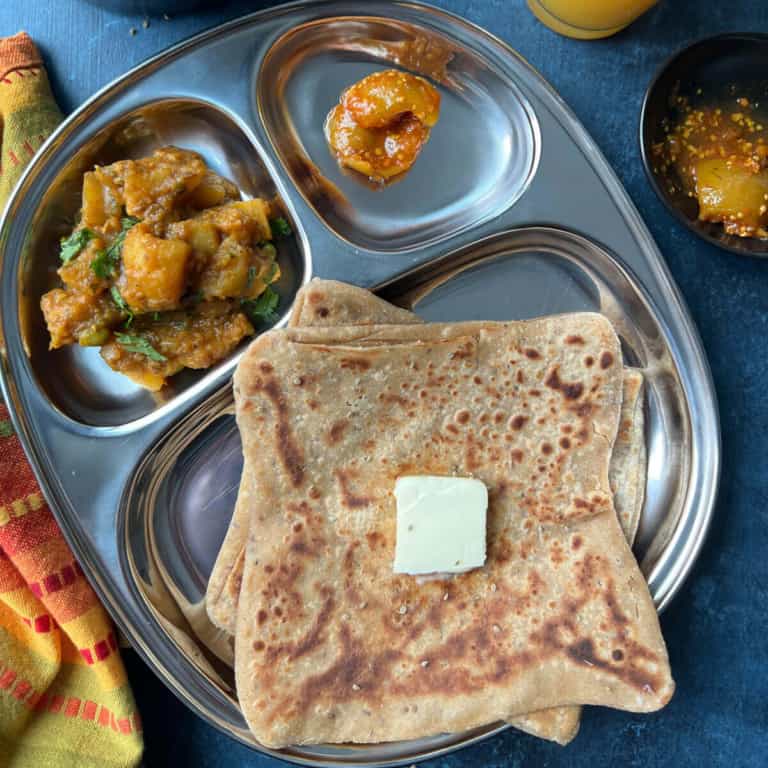
These delicious and flaky cheese parathas can be eaten on their own or served with raitas, yogurt, or pickle. They also pair very well with paneer curries. Here are a few of my favorites:
Boondi raita – This delicious recipe is made by soaking crispy chickpea flour balls in spice-infused creamy yogurt.
Onion raita – Made with ingredients you have at home and in less than 5 minutes. It is the perfect way to finish off a delicious Indian meal.
Kadai paneer – This restaurant-style recipe is made with freshly ground spices, chunks of paneer, and a blend of onions, peppers, and a spicy masala sauce.
Paneer makhani – Also known as paneer butter masala, this popular restaurant dish can easily be made at home.
Methi Malai Matar – An unforgettable vegetarian dish made with fresh fenugreek leaves, green peas, and soft chunks of paneer.

 Login
Login