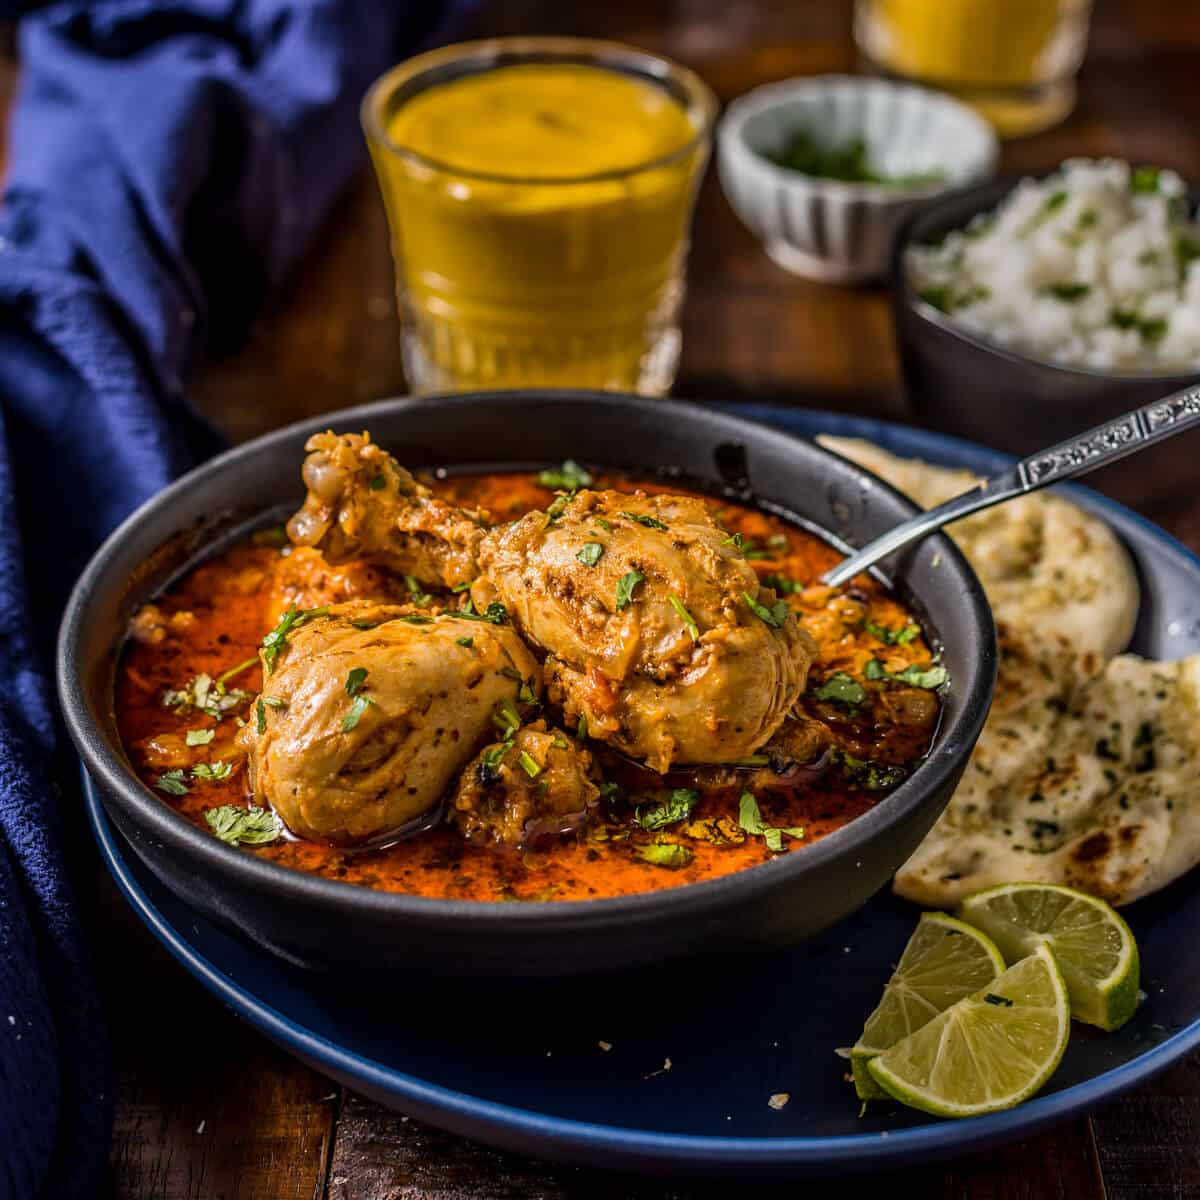
There are so many things you can do with chicken, but lately, we've been loving this simple and traditional North Indian-style chicken curry. Made with everyday pantry ingredients, this quick and easy Indian curry chicken recipe is one more reason you'll love cooking in your Instant Pot. Chicken curry, though it finds its origins in […]
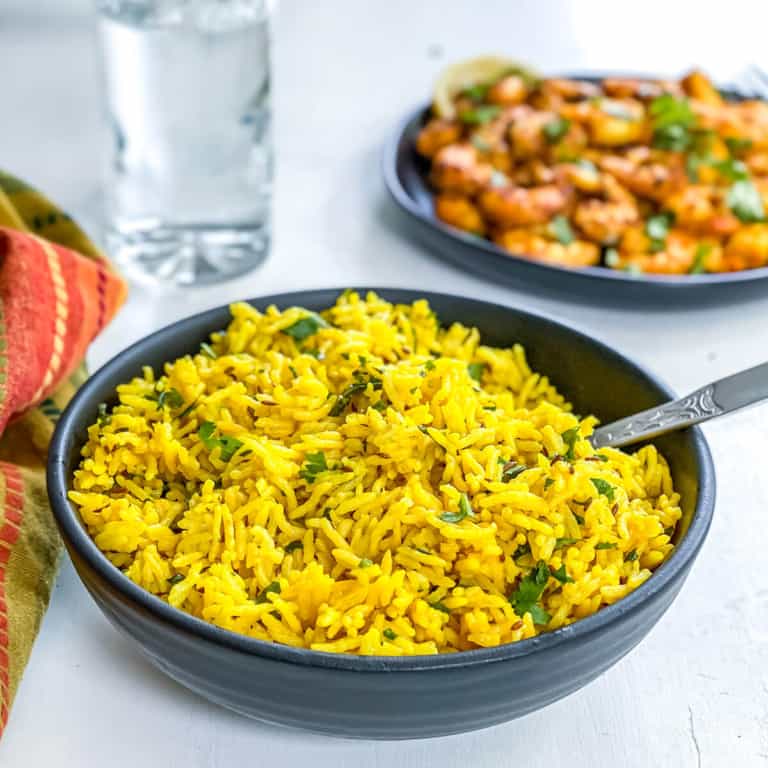
This one-pot, restaurant-style, easy ghee rice (ney choru) recipe is a keeper. Learn how to dish up this aromatic south Indian dish in under 30 minutes using an Instant Pot or over the stovetop.
While this lightly spiced-up side dish is typically made for special occasions (entertaining, weddings, etc.), it is easy enough to make every night of the week. This simple ghee rice recipe pairs really well with kormas, dals, and curries.
Instant Pot Ghee rice (Neyi Choru)
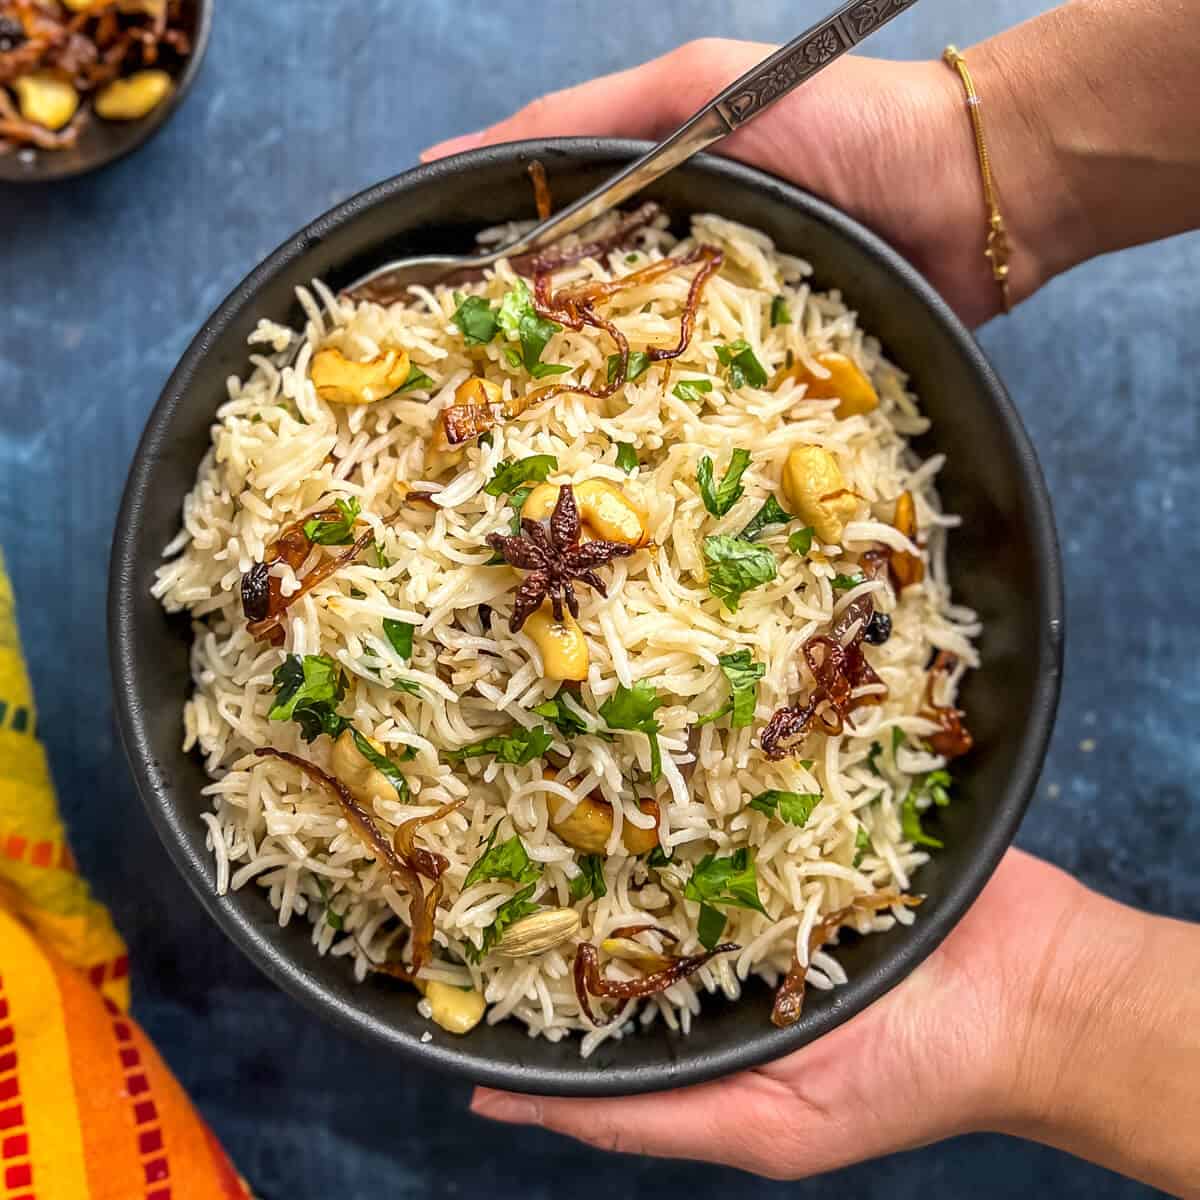
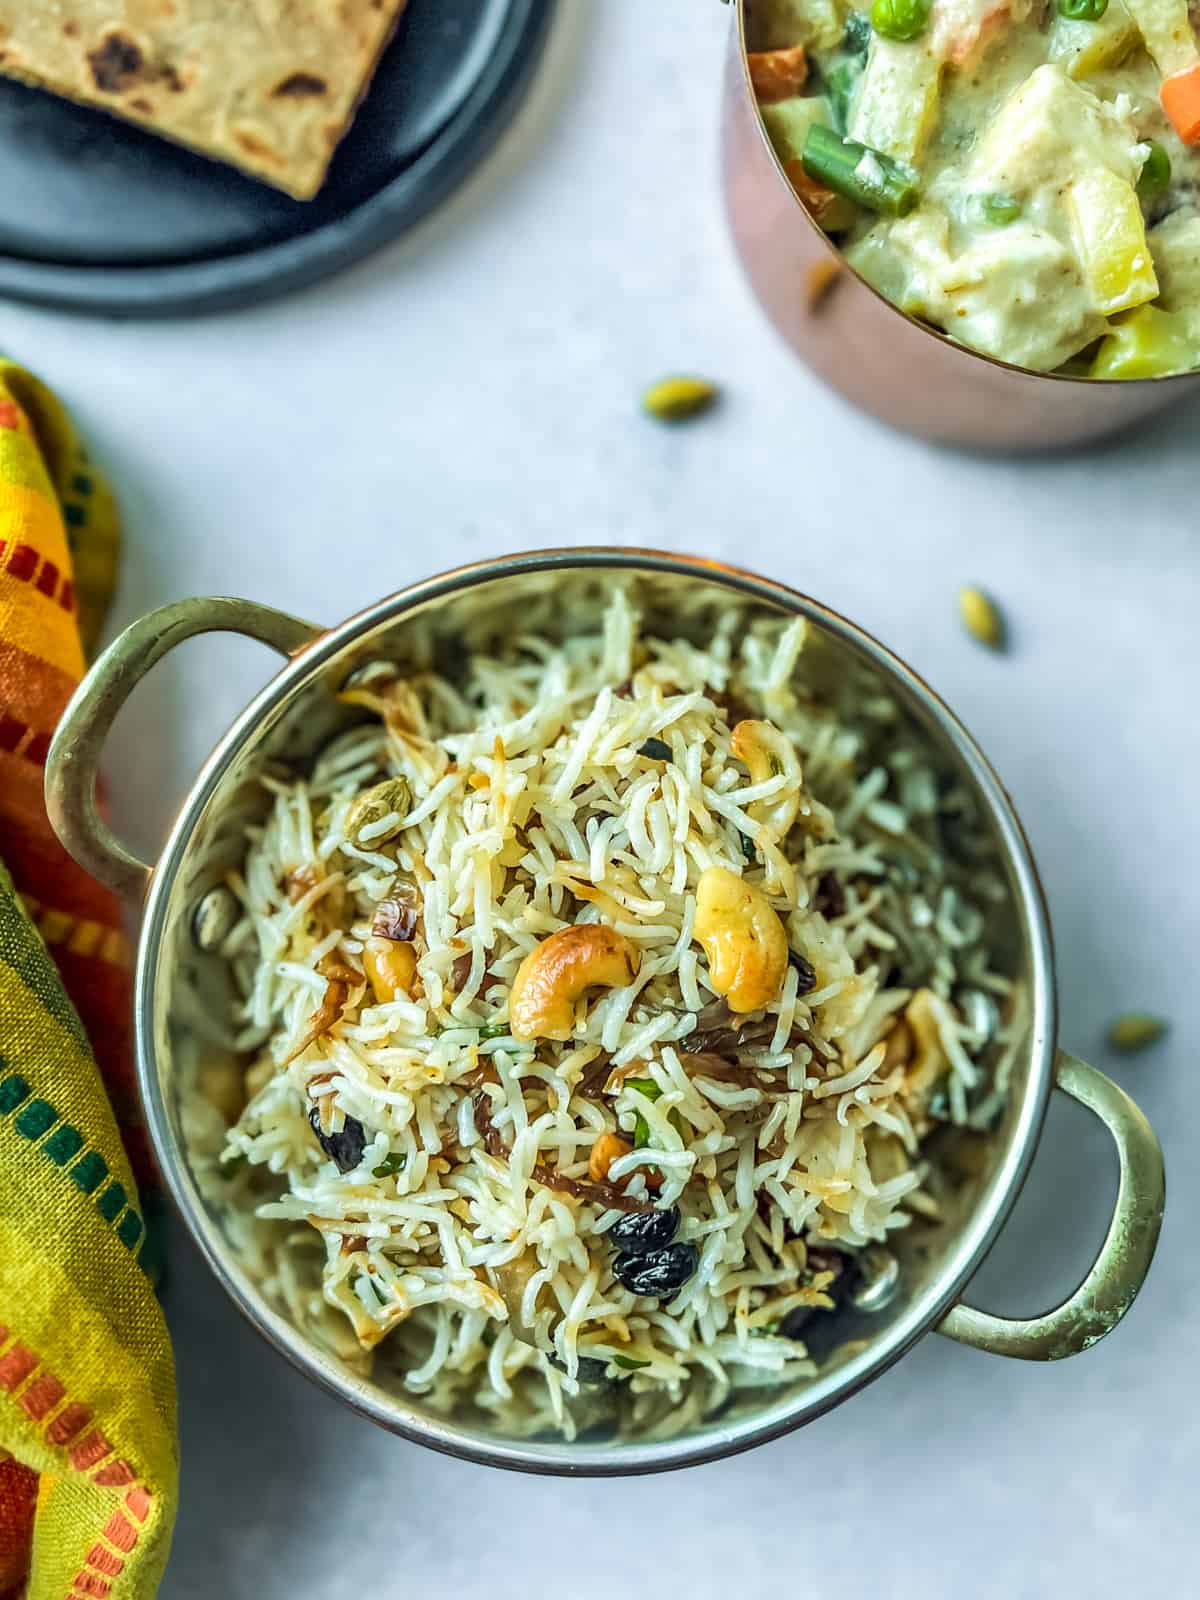
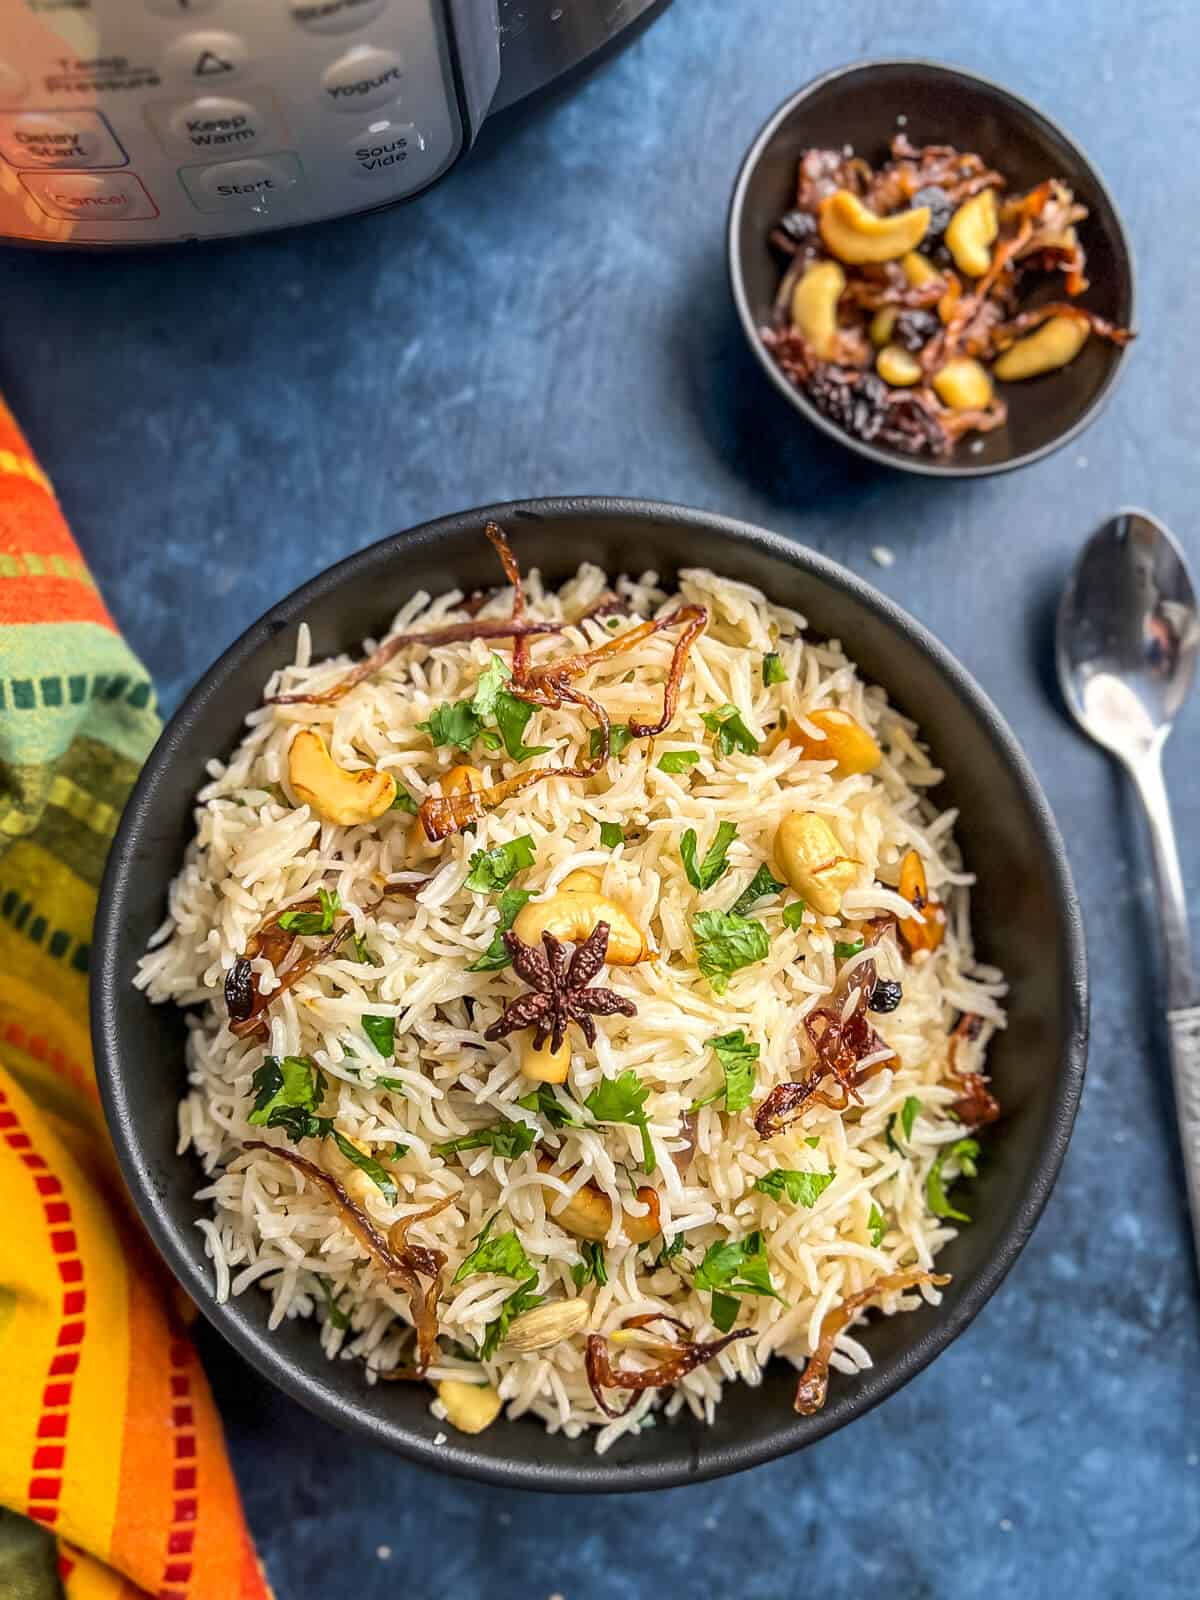
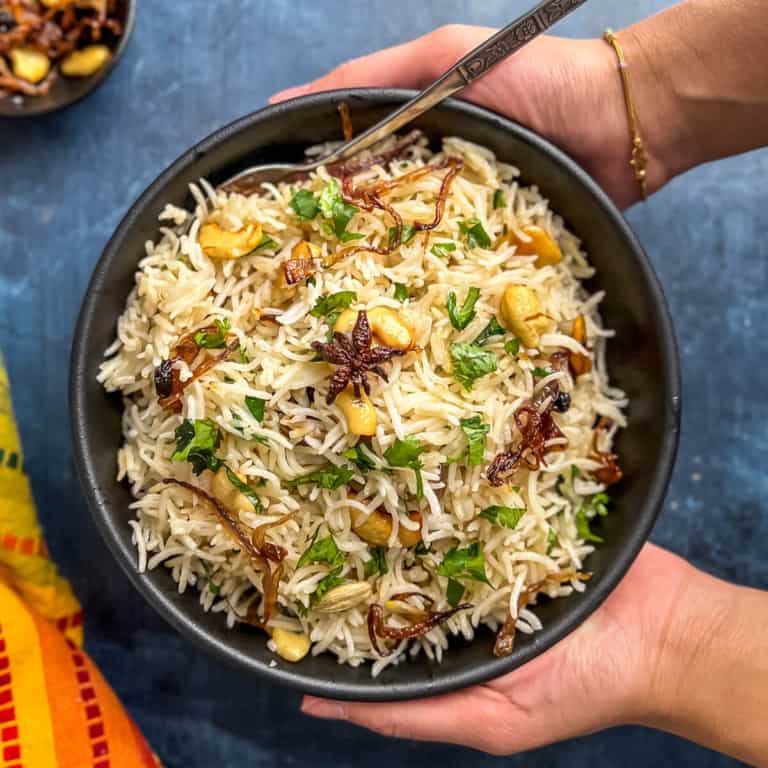
If you haven’t had ghee rice before, here’s how I would describe it – Basmati rice cooked in ghee and served with tempered aromatic spices, cashews and raisins, and caramelized onions. While it has similarities to cumin or jeera rice, ghee rice has a mildly sweet taste due to the addition of dry fruits and a hint of sugar.
Growing up, ghee rice was reserved for when guests were over. It was served as a side dish to Kori gassi, masala egg, fish fry, and other Mangalorean dishes that mom would make. It is typically served in restaurants with kormas (both chicken and vegetarian), chicken curry, and egg curry.
Since I come from the Tulunad region in Karnataka, we call it ‘Neyita nuppu‘, where ‘Neyi’ stands for ghee and ‘nuppu’ means rice. This dish is also popular in Kerala and Tamilnadu and is popular as Malabar neyi choru (choru = rice).
Alternate names include Kerala ghee rice, Nei choru, Ghee fried rice, nei sadam, and ghee bhat.
Reasons to love this recipe
This restaurant-style recipe uses just one dish – easily made in a pressure cooker (stovetop or electric) or a wok.
Kid-friendly – appeals to kids because it is mildly spiced and has a hint of sweetness.
A perfect accompaniment to Indian curries – This rice dish’s savory and sweet flavor balances the heat in any spicy curry.
It cooks in under 30 minutes – perfect for entertaining as well as for a weeknight meal.
Great way to repurpose leftover rice – mix leftover rice with a tempering of nuts and fried onions.
Here’s what you need to make the recipe
Tools
You’ll need the following tools to make the recipe
Basmati rice – This aromatic rice is perfect for this recipe. You can pick any Indian or Pakistani Basmati rice variety. Royal or Tilda Basmati brands are the ones I recommend.
Store-bought or homemade desi ghee – This popular ingredient in Indian cuisine adds the most delicious flavor and buttery texture to this ghee rice recipe.
Cashewnuts – These add a crunchiness to the dish. I recommend using unroasted and unsalted. These will be sauteed in ghee until they are golden brown.
Raisins – For a touch of sweetness, raisins are an essential ingredient in Neychoru.
Sliced onions – You will need one medium onion, thinly sliced.
Whole spices – Including green chilies, a cinnamon stick, cloves, green cardamoms, star anise, fennel seeds, and Indian bay leaf.
Salt
Sugar – An optional ingredient, but a small amount adds a nice sweetness.
Cups of water – As needed, depending on the cooking method (see the recipe card for details).
Coriander leaves (cilantro) – For garnishing, along with raisins, cashews, and fried onions.
Wash / Soak the rice – Rinse the rice in a few changes of cold water to remove dirt and extra starch (which makes it easier to digest). If time permits, soak the rice. Soaking elongates the grains and makes them less brittle.
Let the rice rest – Once cooked, let the rice rest – this allows the steam to redistribute, and all the layers of the rice are evenly cooked.
Avoid a clumpy mess – If not serving immediately, remove the inner pot from the Instant Pot to prevent the rice from drying out and sticking to the bottom.
Neyita nuppu (Ghee rice)
Serve it with
This perfect ghee rice recipe pairs well with any curry of your choice. Here are a few of my favorites:
Kori gassi (Mangalorean chicken curry) – This fiery red chicken curry combines the mild sweetness of coconut with a medley of spices to create a complexly flavored curry that is a treat to your senses.
This restaurant-style, easy ghee recipe is a keeper! Learn how to dish up this aromatic south Indian dish in under 30 minutes using an Instant Pot or over the stovetop.
Add rice to a colander. Wash the rice by gently rubbing them with your fingers to dislodge any dirt and starch.
1 cup Basmati rice, water as needed
Transfer the rice to a medium saucepan and soak it in 3 cups water for 30 minutes.
Instant Pot cooking:
Drain the rice and set aside.
Select Sauté and set the time to 30 minutes. Set the temperature to medium. When the display reads "Hot", add 2 tablespoons of ghee.
4 tablespoons ghee, divided
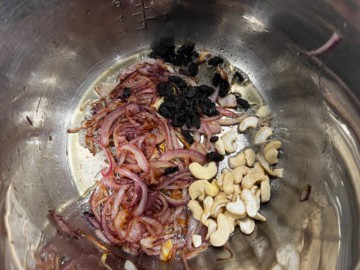
Once the ghee is hot, add the onions and fry them till the edges start browning. Add cashews and raisins to the fried onions.
2 cups thinly sliced onions
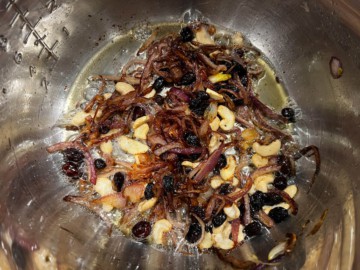
Fry till the cashews turn golden brown and the raisins start to plump up.
1/4 cup cashews, 2 tablespoons raisins
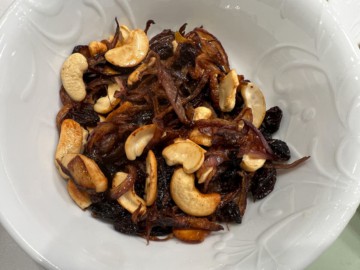
Use a slotted spoon and transfer the onions along with raisins and cashews to a plate.
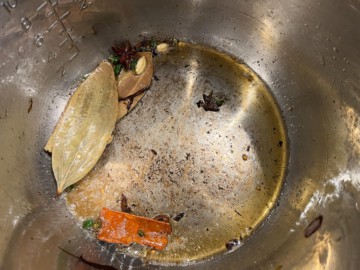
Add 2 tablespoons of ghee to the inner pot. When it heats up, add green chilies and the whole spices – cinnamon stick, bay leaves, cloves, green cardamom, and star anise seed.
1-2 green chilies, 1 cinnamon stick, 2 cloves, 3-4 green cardamom, 1 star anise, 1-2 Indian bay leaves
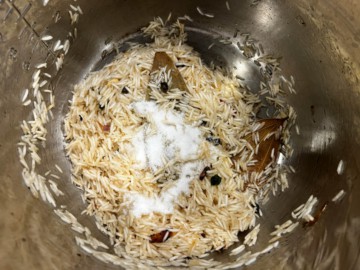
Fry the spices for about 10-15 seconds, and then add rice. Saute the rice for about 1-2 minutes before adding salt, sugar, fennel seeds (if using)
Press the “Warm / Cancel” button and then select “Pressure Cook.” or "Manual" depending on your model.
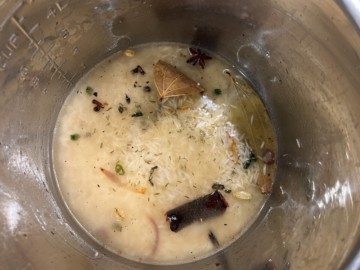
Adjust the time to 3 minutes and set the pressure selection at low. Cover the Instant Pot lid and lock it. Make sure the vent is at sealing position.
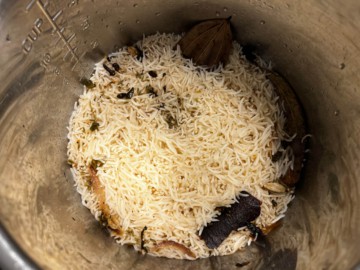
Once the cooking cycle completes, the Instant Pot will switch to the Warm cycle. Wait for 10 minutes and then carefully release pressure. Open the lid and let the steam escape.
Resting the rice
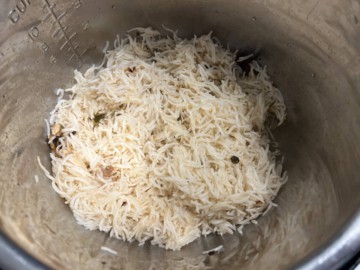
Cover the Instant Pot and let the rice rest undisturbed for 5 minutes. Fluff the rice gently with a fork.
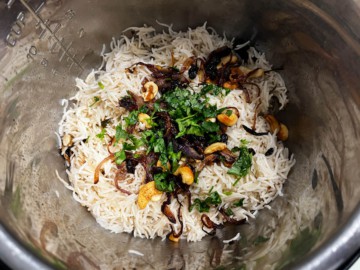
Sprinkle chopped cilantro and top with cashews, fried onions and raisins.
1/4 cup finely chopped cilantro
Serve hot with veg korma or a curry of your choice.
Notes
Stovetop cooking:
Drain the rice and set it aside.
Place a wok/kadhai over medium heat and add 2 tablespoons of ghee.
Once the ghee is hot, add cashews and fry them till they are golden brown. Add raisins and fry them till they plump up.
Use a slotted spoon and transfer the raisins and cashews to a plate.
Add two more tablespoons of oil to the wok/kadhai. Once the ghee heats up, add the onions and fry till it turns golden brown. Use a slotted spoon and transfer the fried onions to the same plate.
Add green chilies and the whole spices – cinnamon stick, bay leaves, cloves, green cardamom, and star anise seed.
Fry the spices for about 10-15 seconds, then add rice.
Saute the rice for about 1-2 minutes before adding salt, sugar, and 2 cups water.
In approximately 6-8 minutes, the water will start to boil and evaporate from the surface. When craters appear, cover the saucepan with a tight-fitting lid and turn down the heat to the lowest setting and cook for another 5 minutes and turn off the heat.
Open the lid and let the steam escape.
Resting the rice: Cover the saucepan and let the rice rest undisturbed for 5 minutes – this allows the steam coming out of the rice to redistribute and allows all the layers of the rice to cook evenly.
Wait for 5 minutes, and then fluff the rice gently with a fork.
Sprinkle chopped coriander leaves and top with cashews, fried onions, and raisins. Serve immediately.
While neyichoru or neyitha nuppu is a popular South Indian dish, I am sure there are regional variations to this dish across India. Here are a few different ways you can create your own twist to this easy ghee rice recipe.
Coconut ghee rice – to make South Indian coconut rice, reduce the water by 1/2 cup and replace it with 1/2 cup of coconut milk.
Jeera ghee rice – Add cumin seeds to the tempering along with the spices. Once the cumin seeds start to sizzle, add rice and continue cooking.
Types of rice – Instead of Basmati rice, you can use jeerakasala rice / kaima rice or jeera / seeraga samba rice – no soaking required.
Spices – You can add additional spices to the tempering, such as a strand of javitri (mace) for a teaspoon of black peppercorns to make it more peppery and spicy.
Lime juice – Finish off the rice with a tablespoon of lime juice for a nice tangy twist.
Ginger garlic paste – Add it with the onions and saute till the raw taste disappears.
Veggie ghee rice – add grated carrots and green peas to this rice.
How to prep ahead
You can cook Basmati rice up to 3 days ahead of time. Make sure to cool it completely before storing it in an airtight container. When ready to serve, add the tempered nuts and fried onions.
To save time, you could use store-bought fried onions in place of homemade fried onions.
Storage tips
Reheating leftover rice – Add a tablespoon of water for every cup of leftover rice. Mix well and pressure cook for zero minutes. When the cooking cycle is complete, move the valve to ‘venting’ to release pressure immediately.
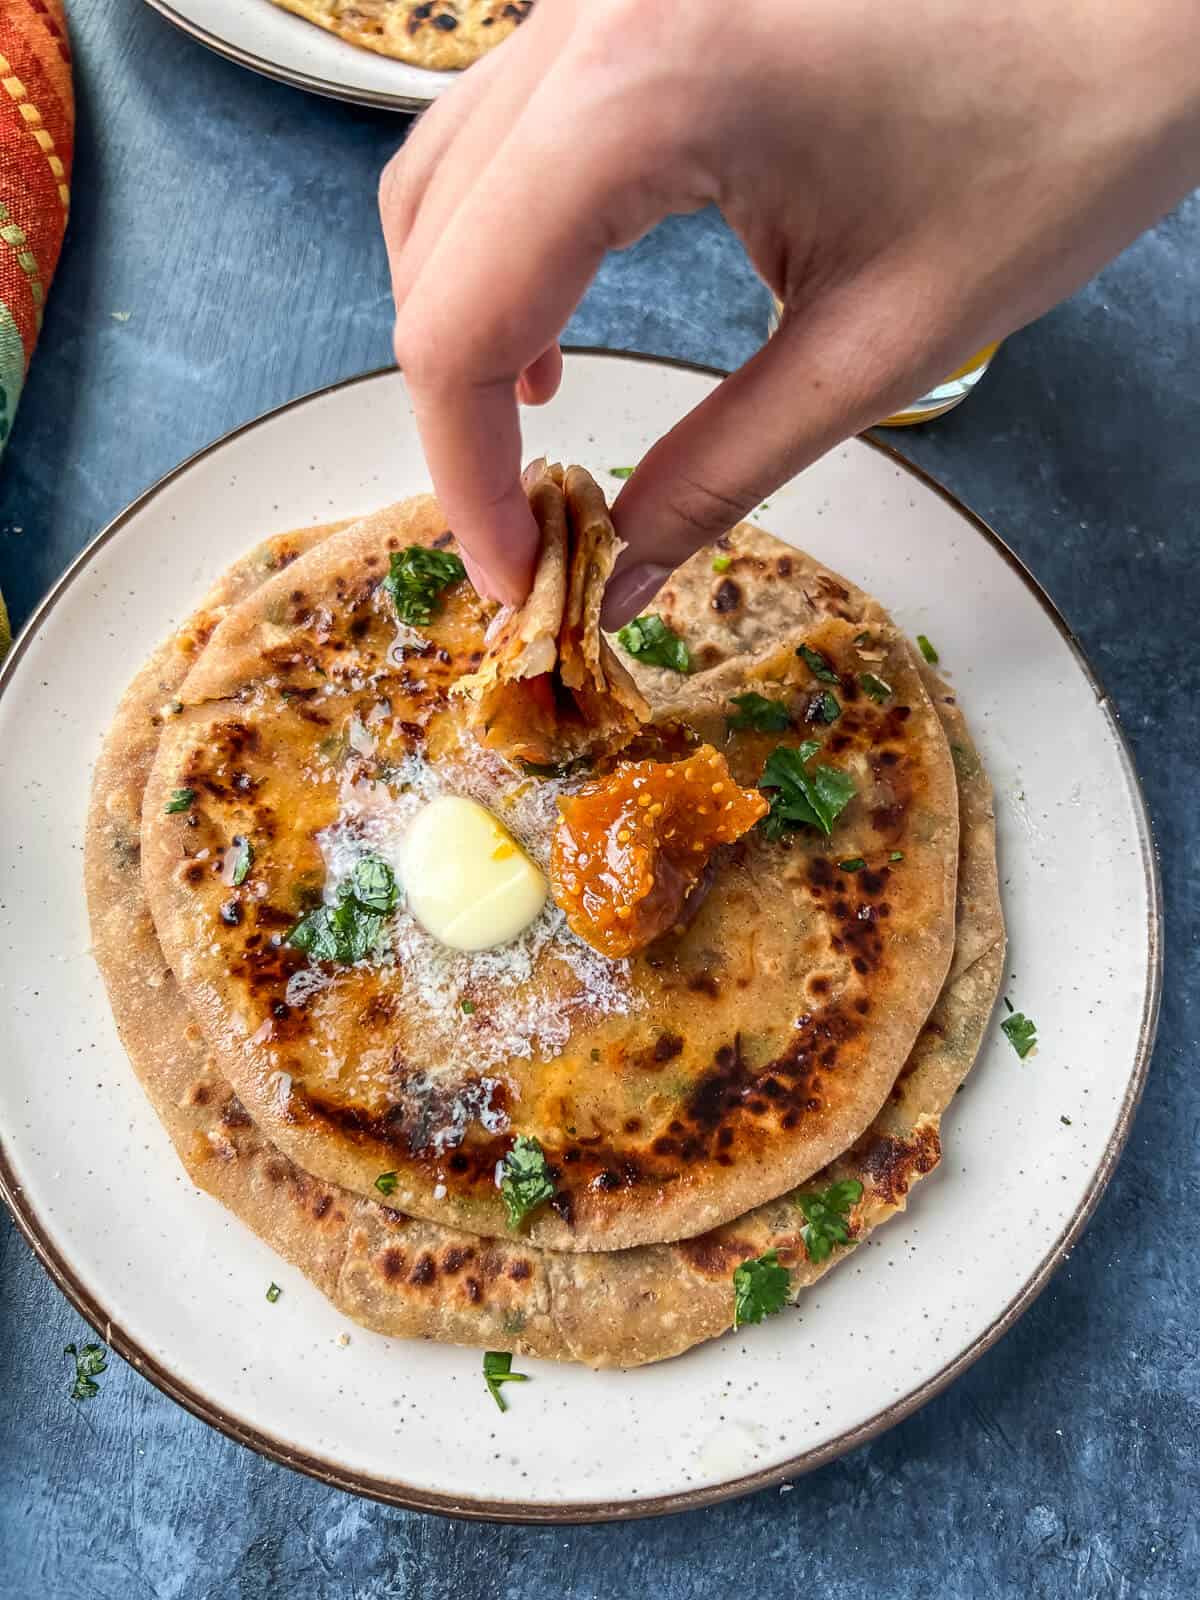
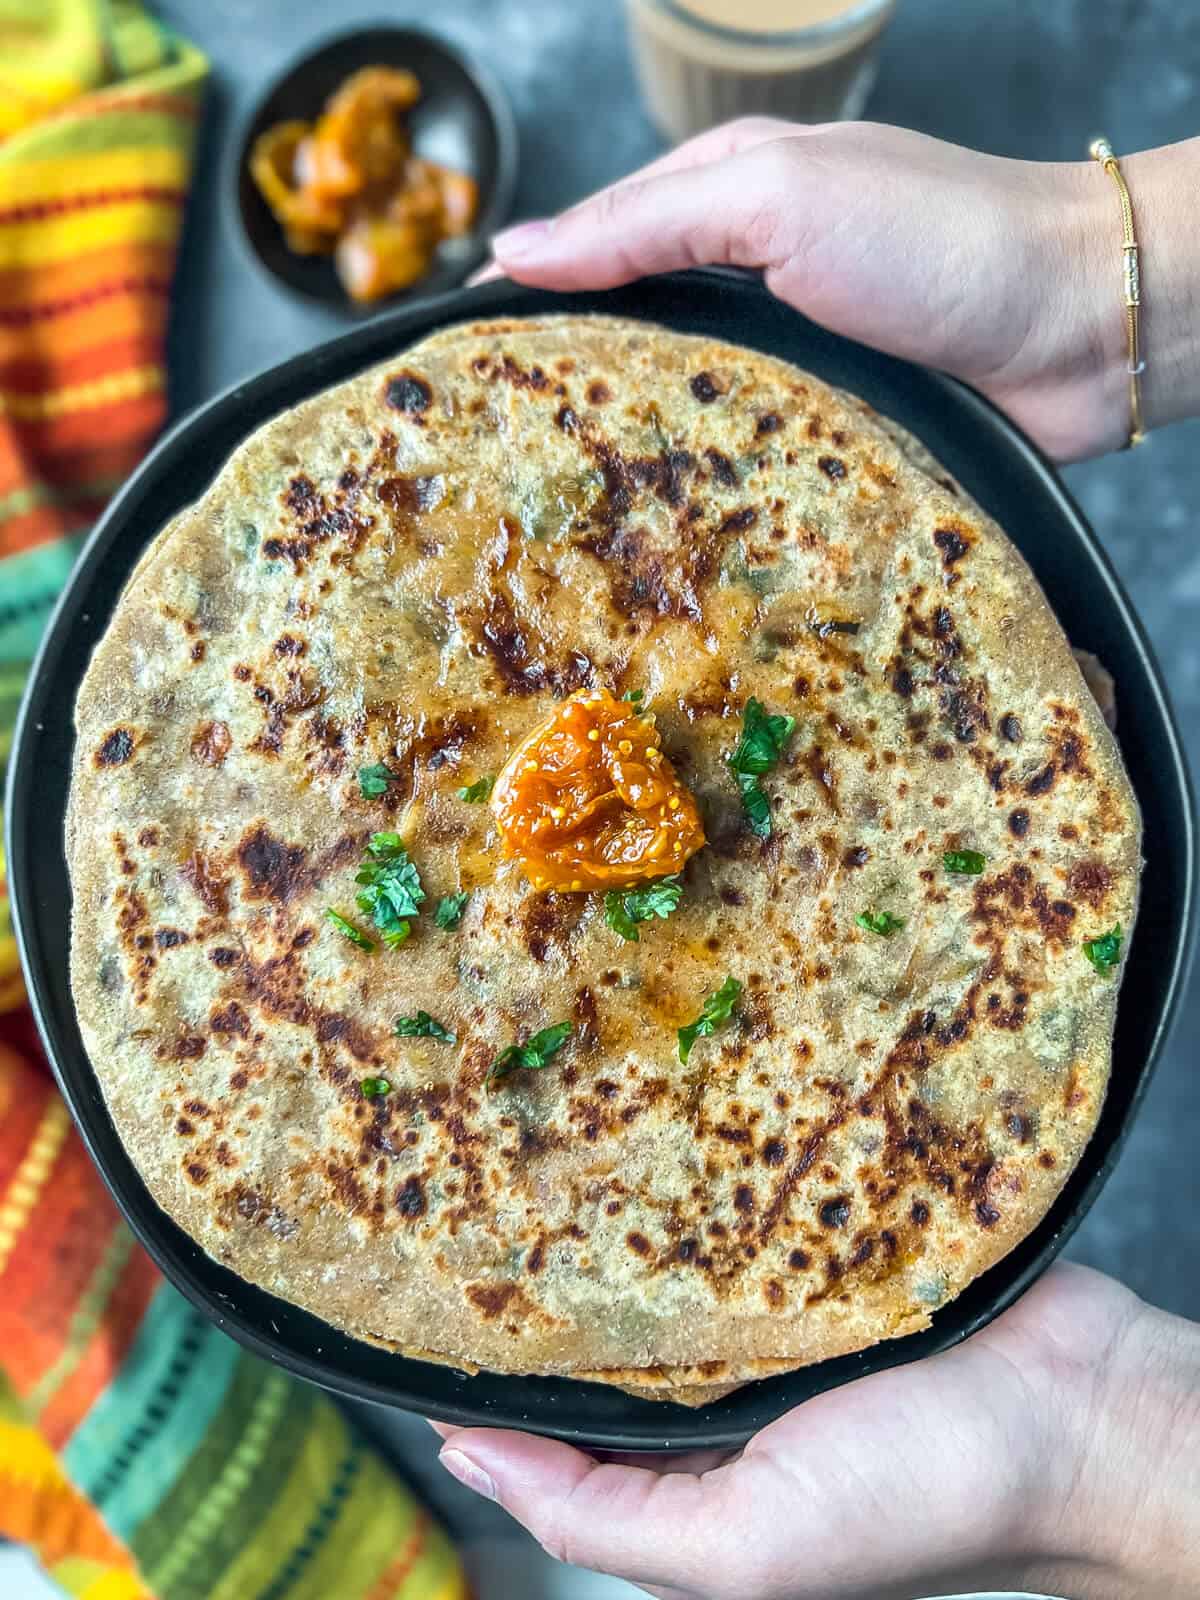
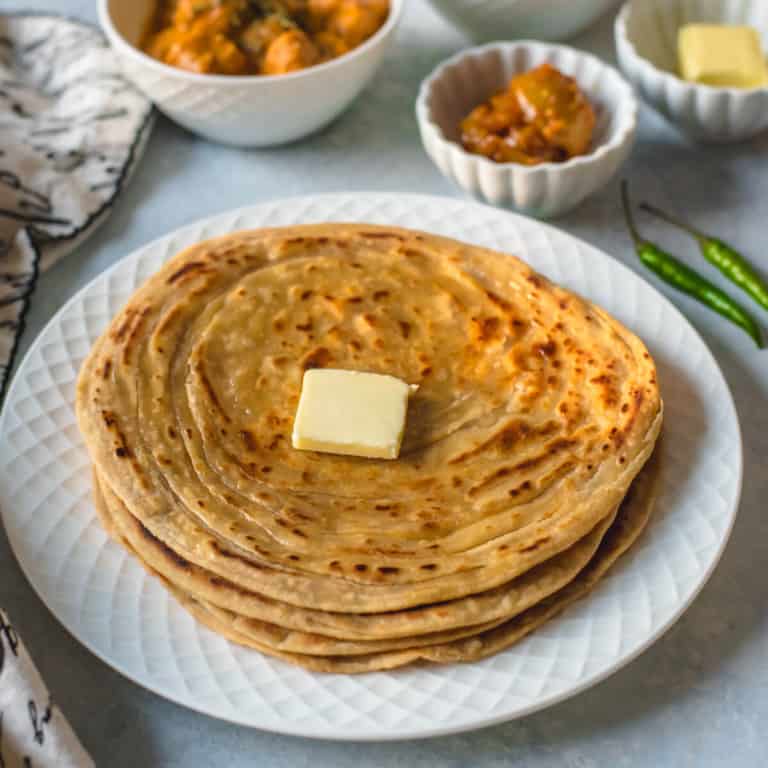
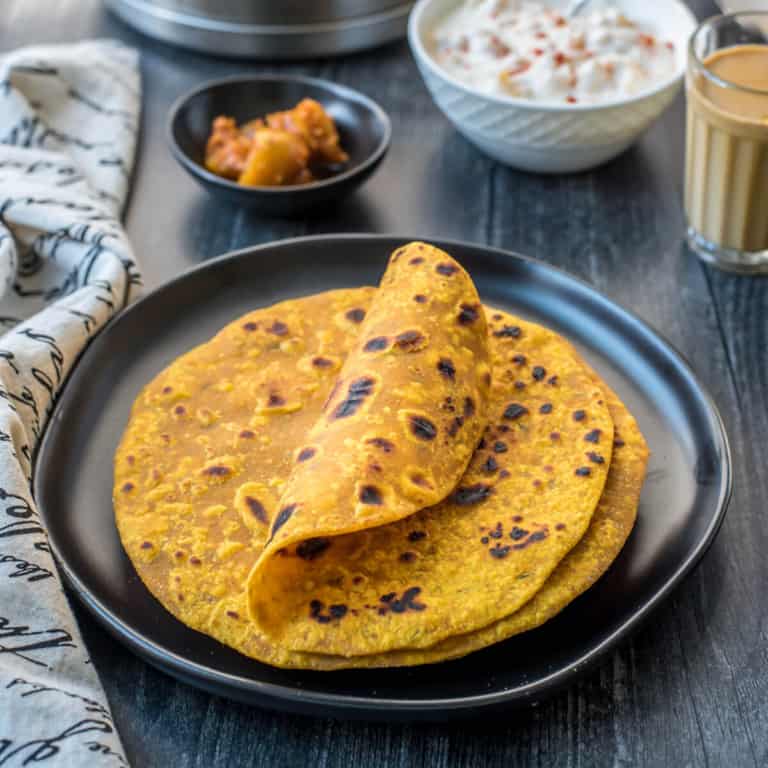
This flaky and savory cheese paratha is perfect for any meal of the day and is kid-friendly, thanks to its cheesy flavor. Serve it with raita, pickle, tomato ketchup, or a delicious paneer curry for a complete meal.
Easy Cheese Paratha
If you’ve never had a traditional North Indian paratha, I promise you that you are in for a real treat. That’s because these flaky and buttery Indian flatbreads are a delicious, satisfying, and hearty option for just about any meal.
This easy cheese paratha recipe is an excellent stuffed paratha recipe for beginners. It is much easier to roll and cook a paratha stuffed with melty cheese when compared to something a little more difficult, like the potatoes in my aloo paratha recipe.
Not only do you get the flaky texture of a plain paratha, but you also have a melty and cheesy center that will win over the pickiest of eaters.
When served with some creamy raita or a delicious paneer curry this simple dish easily becomes a meal – perfect for breakfast, lunch, or dinner. And while these are best warm, my kids don’t mind taking the leftovers in their lunch.
What is cheese paratha made of?
Cheese paratha, simply put, is a whole wheat bread stuffed with spiced cheese filling. The stuffing is made with mozzarella cheese for a delicious, stretchy center, but you can substitute half of the cheese for cheddar cheese or make my drool-worthy recipe for paneer paratha.
The paratha dough is made with whole wheat flour, then rolled and filled with cheese stuffing. The dough is then folded around the stuffing and rolled again. The rolled paratha is then shallow fried in ghee in a hot tawa or frying pan till golden brown spots appear. Talk about delicious!
Alternate names: In restaurant menus, you may find this paratha listed as chili cheese paratha or onion cheese paratha.
Onion cheese paratha
Reasons to love this recipe
It’s picky-eater-approved and kid-friendly.
Versatile – This cheese paratha recipe can be served for breakfast, lunch, or dinner.
Made with whole wheat flour – it is a healthier everyday option when compared to naan bread.
Although it’s best when served warm, it still tastes great when served cold, meaning it is perfect for adding to kids’ lunch boxes.
Here’s what you need to make the recipe
Ingredient notes
For the Dough:
Whole wheat flour – I prefer either Aashirwad whole wheat atta or Sujata chakki atta.
Avocado oil – The flavor works well with mozzarella cheese, but you could use any neutral-tasting vegetable oil.
Carom seeds – Also known as ajwain, these add a subtle flavor to the base of the paratha before the cheese stuffing is added.
Salt – A small amount of salt is added to the dough to provide flavor.
Water – You will need enough water to form a soft dough, and it should be at room temperature for the best results.
For the Cheese Stuffing:
Mozzarella cheese – I recommend using freshly grated mozzarella cheese, as it provides the best texture and gives that perfect melty cheese pull. You can substitute half of the cheese for cheddar cheese.
Onions – finely chopped, just like the green chillies. You can skip it but make sure to add more cheese so that you have enough filling for the parathas.
Spices and seasonings – You will need chaat masala, jeera (cumin seeds), and salt.
Aromatics – finely chopped cilantro and green chilies.
Storebought or homemadeghee – Traditionally used for frying the paratha and gives a delicious flavor.
Combine wheat flour, salt, a tablespoon of oil, carom seeds with 1 cup of water and start kneading. Add remaining water in small increments and continue to knead till the dough comes together as a ball.
Add the remaining oil to the dough and knead till the oil is absorbed.
If the dough is sticky, sprinkle approximately 1/4 teaspoon wheat flour (or more if needed) on the dough and knead again to form a dough that is not sticky. The dough should be supple and soft.
Cover the dough and set aside for 15-20 minutes.
Make the stuffing
Mix all the ingredients for the stuffing – onions, cheese, chaat masala, chili powder, cilantro leaves, jeera, green chilies, and salt- until they are combined. [Note: Don't prepare the stuffing in advance. Prepare it just before you are ready to roll the parathas. It is because the onions will start to lose water.]
1/2 teaspoon salt, 3 cups / 12 oz grated mozzarela cheese, 1 cup finely chopped onions, 1 teaspoon chaat masala, 1/2 teaspoon chili powder, 1/4 cup cilantro, 1 teaspoon jeera, 2 green chilies, 1/2 teaspoon salt
Rolling out the parathas
Divide dough into twelve equal portions and roll into balls.
Flatten the ball and cover both sides with flour.
Roll into a circular disc about 4 inches in diameter.
Place 2-3 tablespoonfuls of the stuffing in the center.
Grab the edges and pleat them and bring them together in the center.
Pinch them together to seal them.
Flatten the ball and cover both sides with flour.
Use your rolling pin to roll into a flat, round shape delicately. Dust flour on the base to prevent the dough from sticking while rolling.
Dust off excess flour from the paratha by placing it on the palm of one hand and then flip it on the palm of your other hand. Repeat this process 3-4 times.
Cooking the paratha
Place a tawa/frying pan on gas on medium heat. Once heated, carefully place the paratha on the tawa.
1/2 cup ghee for frying
Cook until small bubbles form on the top.
Turn it over and cook the other side for about 20 seconds. Add ghee to the side facing up.
Flip and cook for about 10 seconds. Use a spatula to press the edges so that they evenly cook. Now add ghee to the side facing up, flip and cook for another 10-15 seconds.
Skip the green chilies to make it kid-friendly. You can add a tiny bit of ground black pepper instead.
Different types of cheese – Replace 1/2 of mozzarella cheese with cheddar cheese in this recipe. You can replace mozzarella cheese with paneer (Indian cottage cheese), as in this paneer paratha recipe.
Skip onions – make sure to increase the amount of cheese so that you have enough stuffing for the dough.
Italian twist – Replace Indian spices/spice powders with a teaspoon of garlic powder, oregano each, and 1/2 teaspoon chili flakes.
Spice variations:Use dry mango powder instead of chaat masala to give it a tangy twist. You can also add 0.5 to 1 teaspoon of garam masala for some warmth.
Chili cheese paratha – Increase the amount of green chili for a spicy kick.
How to prep ahead
The dough stays in the refrigerator in an air-tight container for up to 3 days. Frozen for a month. Bring the dough to room temperature before rolling out the parathas.
You can make the cheese stuffing (don’t add the onions) up to 3 days in advance. You can chop onions and store them separately.
Storage tips
Refrigerator – You can store your parathas for 3-4 days in the refrigerator. For best results, store them in an airtight container and between sheets of parchment to prevent sticking (optional).
Freezer – These will keep well in the freezer for 2-3 months. Separate them with parchment paper when freezing, or they’ll stick together.
Reheat – For refrigerated parathas, reheat in a microwave (15-20 seconds) or reheat in a tava / skillet kept over medium heat. If parathas are frozen, use a tava/skillet to reheat for best results.
Serve it with
These delicious and flaky cheese parathas can be eaten on their own or served with raitas, yogurt, or pickle. They also pair very well with paneer curries. Here are a few of my favorites:
Boondi raita – This delicious recipe is made by soaking crispy chickpea flour balls in spice-infused creamy yogurt.
Onion raita – Made with ingredients you have at home and in less than 5 minutes. It is the perfect way to finish off a delicious Indian meal.
Kadai paneer – This restaurant-style recipe is made with freshly ground spices, chunks of paneer, and a blend of onions, peppers, and a spicy masala sauce.
Paneer makhani – Also known as paneer butter masala, this popular restaurant dish can easily be made at home.
Methi Malai Matar – An unforgettable vegetarian dish made with fresh fenugreek leaves, green peas, and soft chunks of paneer.
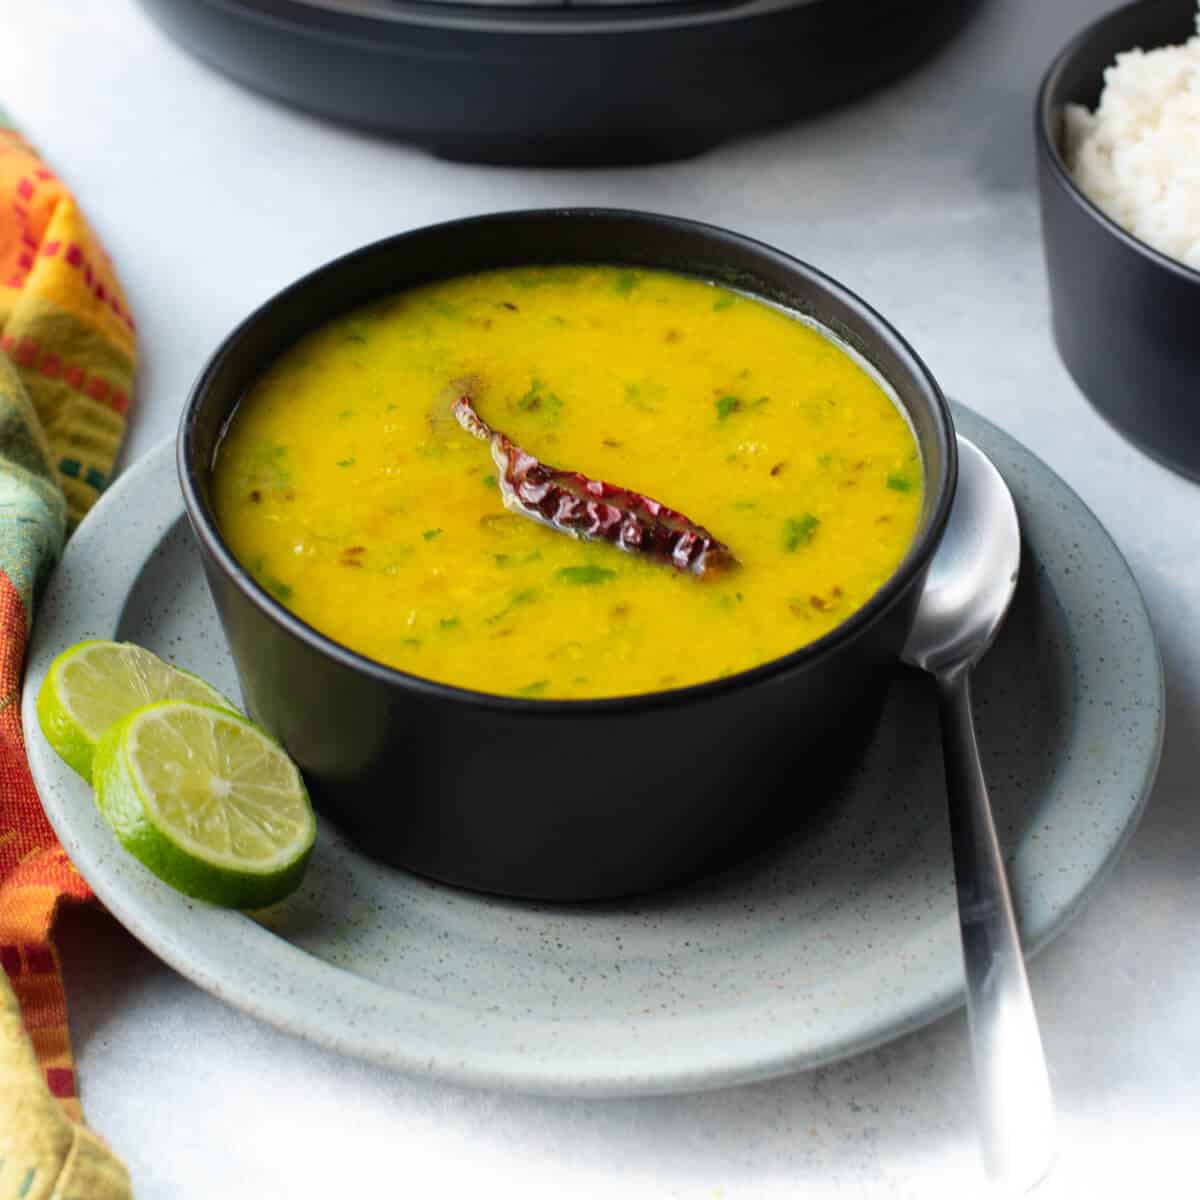
This Gujarati Trevti Dal recipe is a delicious and creamy mixed lentil dish that is simple to prepare. A versatile Indian recipe that is a combination of three dals can easily be made vegan and gluten-free. All you need is 30 minutes!
Gujarati Trevti Dal
“Trevti”, a Gujarati word means three; that’s why in this Trevti dal recipe, three different dals (lentils) are used. The blend of dals in this recipe creates a perfect balance of flavor and texture, rendering a creamy texture.
A popular dal from Gujarati cuisine, trevti dal is also known as chevti dal or yellow dal and typically has no onion or garlic. This makes for a simple recipe that can easily be prepared for lunch or dinner and can be served as a soup or with rice.
This mixed lentil dish is a mildly flavored dal, making it perfect for small children who may not like things very spicy quite yet. It can be made by either using the stovetop pressure cooker method or the Instant Pot method, and both ways of preparing trevti dal are quick, easy, and mainly hands-off.
Reasons to love this recipe
This Gujarati dal recipe is ready in just 30 minutes.
Vegan-friendly and plant-based, making it a healthy and inexpensive option.
High in protein and nutrient dense.
Needs only a few ingredients – it is a no-onion-garlic dal recipe.
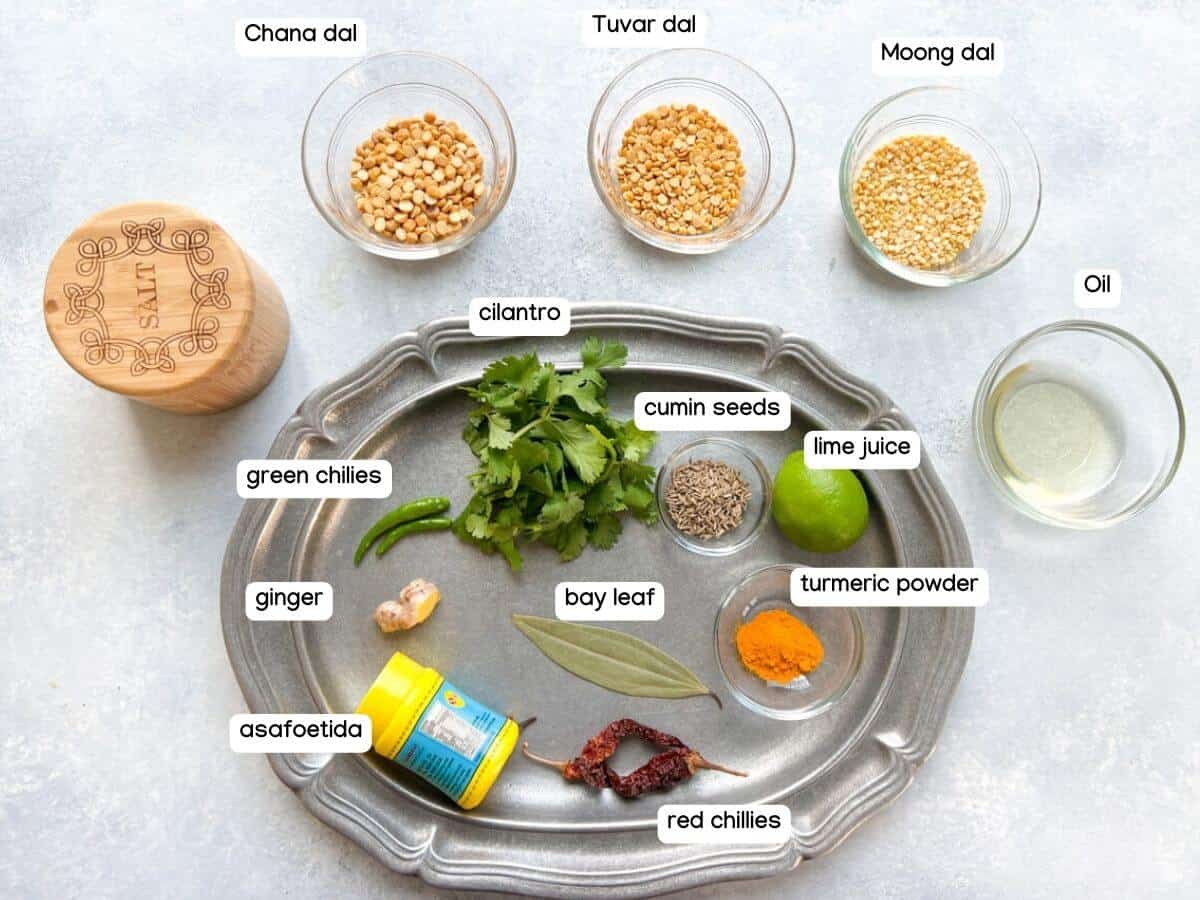
Here’s what you need to make the recipe
Ingredient notes/swaps
Chana dal – Also known as split Bengal gram, these are split chickpeas (garbanzo) that is very popular in Indian cuisine.
Tuvar dal – Also known as toor dal, this is a split pigeon pea that is yellow in color.
Moong dal – This is a split and skinned version of green gram (also known as moong or mung). Once the skin is removed, the color is yellow instead of green. It can be substituted with urad dal.
Oil – I recommend using avocado or sunflower oil for its neutral flavor and high smoke point. It is also excellent for cooking vegan dishes (such as this one).
Aromatics and spices – You will need a variety of aromatics and spices to flavor this dish, but the list is relatively short. Included are cumin seeds, asafoetida (hing), cloves (laung), bay leaf, turmeric powder, fresh ginger, Kashmiri red chilies, green chilies, and salt to taste.
Lime – You will need some lime juice for finishing, and I highly recommend using freshly squeezed juice.
Cilantro/Coriander – Adding some finely chopped coriander leaves (cilantro) to the dish as a garnish adds a beautiful color and flavor.
Dal will thicken as it cools down, so dilute it as needed.
In this recipe, you can substitute moong dal with urad dal.
To make this dish gluten-free, use gluten-free asafoetida.
Variations to try
For a dose of green, add spinach.
Temper with ghee for a flavorful twist.
You can also add the tempering at the end right before serving.
Add curry leaves during tempering to amp up the flavor of this dal.
Finish off with tempering instead of starting with it.
Add onions and garlic – saute the chopped onions and garlic after adding the spices. Cook till the onions soften.
Prep ahead and storage tips
Refrigerator: Stores well in the refrigerator for up to 3 days.
Freezer: If you want to prep ahead, you could always make a double batch and stash it in the freezer for up to a month. Thaw overnight in the refrigerator before use.
Reheat: You can reheat trevti dal either in the microwave or stovetop. The dal thickens in the refrigerator, so you may have to add water to get it to the consistency you desire before you reheat it.
Serve it with
While this recipe for Trevtil dal can be served on its own, there are many options for what to serve with this mixed lentil dish. Here are a few of my favorites:
Homemade rotis (chapati) – My foolproof method will show you how to make soft rotis every single time.
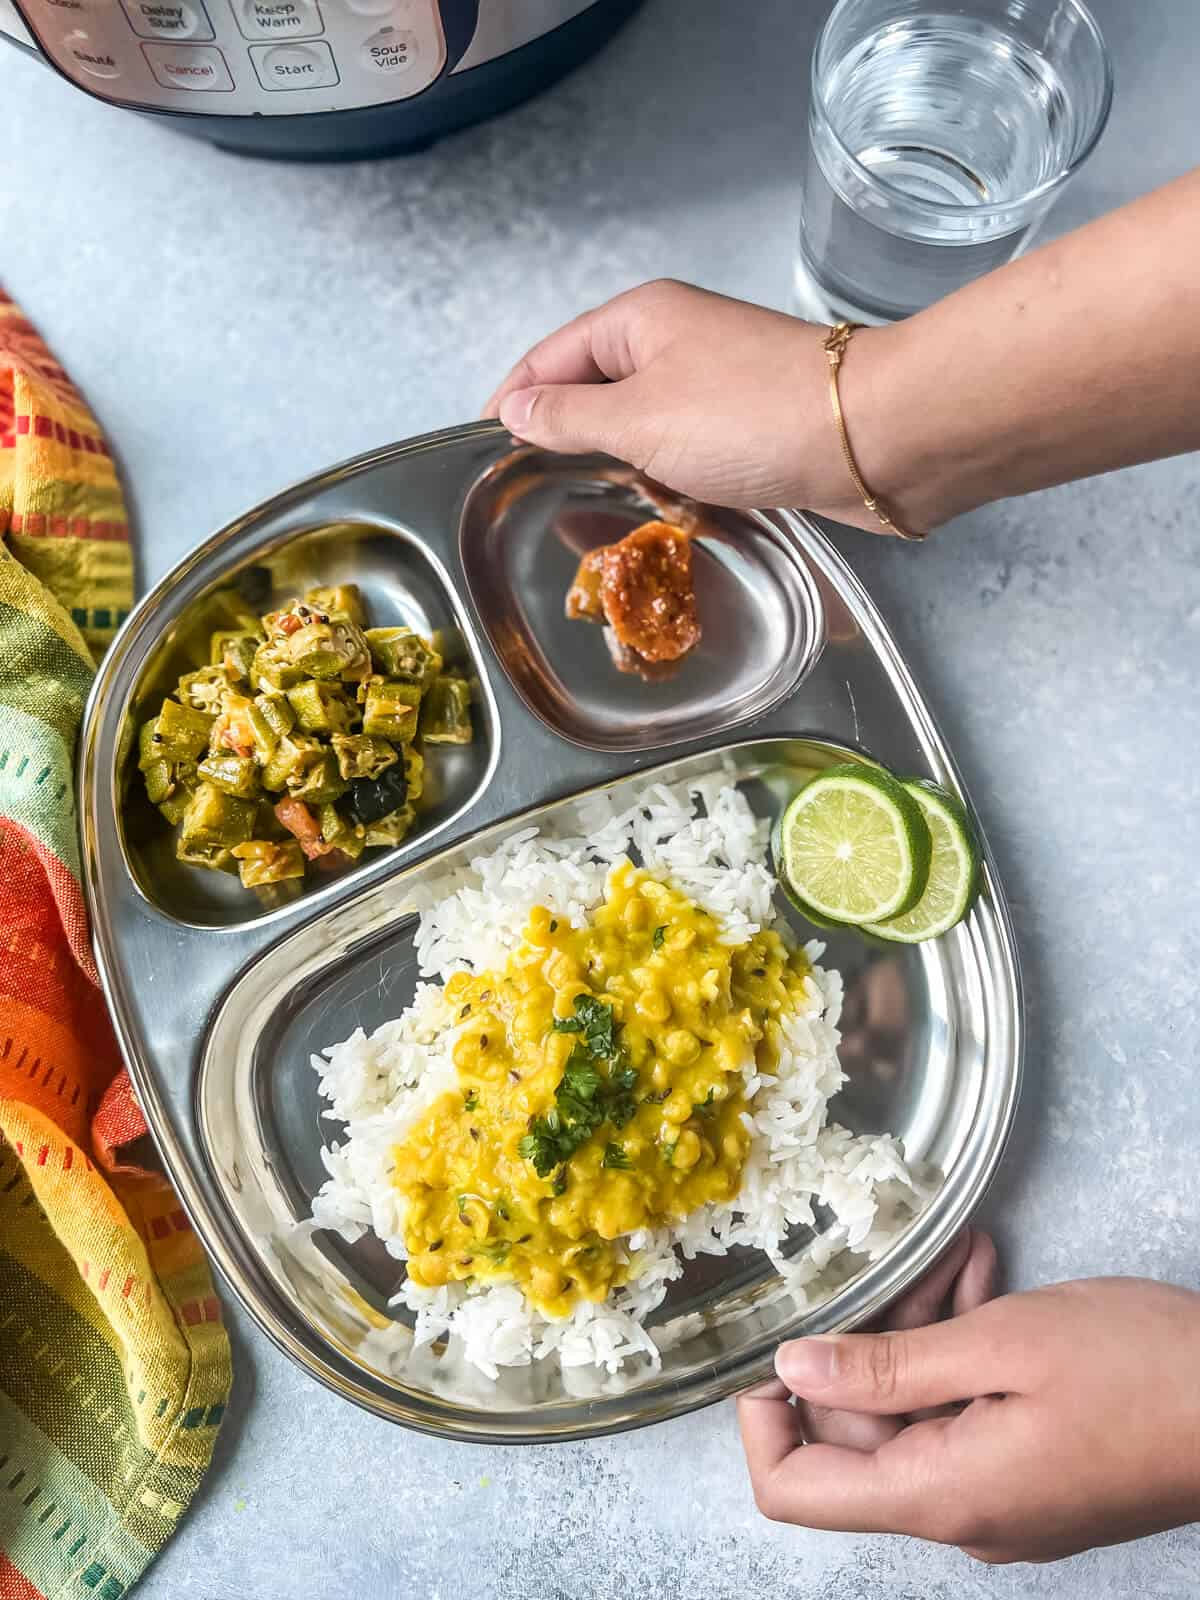
Basmati rice – Whether you use the stovetop method or the Instant Pot method, basmati rice is always delicious when served with dal.
Jeera rice – One whiff of this aromatic, fluffy basmati rice tempered with cumin seeds is enough to get your taste buds tingling.
Jasmine rice – This fragrant rice is a good pairing with your favorite dals and curries.
Aloo bhaji – This classic Indian dish of spiced potatoes is perfect for serving with Trevati Dal.
Chevti Dal
Other simple dal recipes to try
Gujarati dal – a treasured recipe that has been adapted to cook in the Instant Pot. Best of all? You can cook your rice simultaneously, thanks to the pot-in-pot method.
Moong dal khichdi – This one-pot, 5-ingredient meal is easy on your stomach and is perfect for all ages.
Dal palak (Spinach and Tomato Dal) – This hearty, vegetarian spinach dahl cooks up in one pot for a comforting meal you can easily pair with fresh rice or roti.
This Gujarati Trevti Dal recipe is a delicious and creamy mixed lentil dish that is simple to prepare. A versatile Indian recipe that is a combination of three dals can easily be made vegan and gluten-free. All you need is 30 minutes!
Add oil to the steel insert of the Instant Pot and press the Saute function and set it to “medium” and wait till the display reads “Hot.” Add cumin seeds and as they begin to sizzle add asafoetida.
2 tablespoons avocado oil, 1 teaspoon cumin seeds, 1/8 a pinch of asafoetida
After 10 seconds, add cloves, bay leaf, ginger, Kashmiri red chili, and green chilies. Saute for about 30 seconds till the raw taste of ginger disappears.
1 inch ginger, 2 Kashmiri red chilies, 2 cloves (laung), 2 Indian or Thai green chilies (Bird's eye), 1 bay leaf
Wash the dals and add them to the steel insert along turmeric powder and salt with 2.5 cups of water.
1/4 cup chana dal, 1/4 cup tuvar dal, 1/4 cup moong dal, 1/2 teaspoon turmeric powder, salt to taste
[Optional Step] – You can cook Basmati rice along with dal. Place a trivet over the dal.
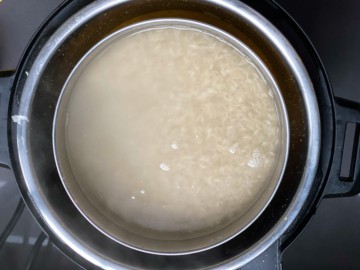
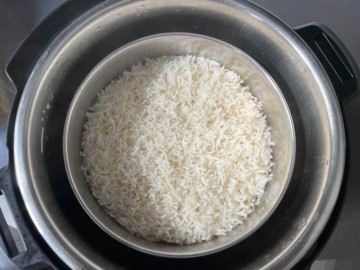
Place the bowl with rice and water over the trivet. For 1 cup of Basmati rice, add 1.25 cups of water.
Press the “Warm / Cancel” button and then select “Pressure Cook.” Adjust the time to 10 minutes and set the pressure selection to high.
Cover the Instant Pot lid and lock it. Make sure the vent is at sealing position.
Once the cooking cycle is complete allow the pressure to release naturally.
Carefully remove the rice using tongs.
Dilute the dal if required. Add lime juice and cilantro. Mix well.
Heat a tablespoon of oil in a pressure cooker. Add cumin seeds and as they begin to sizzle add asafoetida.
After 10 seconds, add cloves, bay leaf, ginger, Kashmiri red chili, and green chilies. Saute for about 30 seconds till the raw taste of ginger disappears.
Wash the dals and add them to the steel insert along with turmeric powder and salt with 2.5 cups of water.
Close the cooker and wait till the vent goes off 4 times [ Note: Every cooker works differently and mine takes that long to get the dal nicely cooked]
Shut the gas off and allow to cool naturally.
Open cooker and mix well and then garnish it with lime juice and coriander leaves.

 Login
Login