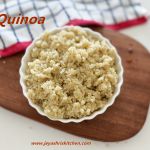
How to cook Quinoa in a pressure cooker – I have been using quinoa in my cooking for some time. We include quinoa in our diet thrice a week. I got a few requests from my Instagram followers to post a recipe for cooking quinoa in a pressure cooker. Learn how to cook quinoa with a short video.
Quinoa blends well with South Indian meals. Quinoa is nutrient-dense, rich in protein and fiber. It is significantly low in Glycemic index and controls blood sugar well. It won’t spike the sugar rapidly.
I always used to add cooked quinoa to my salads. Then I slowly replaced it with rice. As a family, we started enjoying quinoa with our South Indian dishes. To start with, you can replace rice with Quinoa when making Ven pongal, kichidi, Curd rice, and bisibele bath.
Learn how to make perfect quinoa in pressure cooker
Course Kitchen basics
Cuisine Global
Prep Time 5 minutesminutes
Cook Time 15 minutesminutes
Total Time 20 minutesminutes
Servings 2
Author Jeyashri suresh
Ingredients
½cupQuinoa
¾cupwater
Instructions
Add ½ cup quinoa in a strainer and add water.
Wash well.
Repeat this thrice
Add the washed quinoa to a vessel
Add ¾ cup water
Cover the vessel and place this in a cooker
Pressure cook for 3-4 whistles
Take out and fluff the rice
Perfectly cooked quinoa is ready
Video
Notes
1.For best results, transfer it to another vessel or casserole to avoid lumpy one2. You can mix this cooked quinoa with rasam, sambar, vatha kuzhambu, or mor kuzhambu.3. For making mixed rice like lemon rice or coconut rice, or puliyodarai, use a little less water
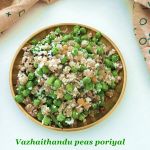
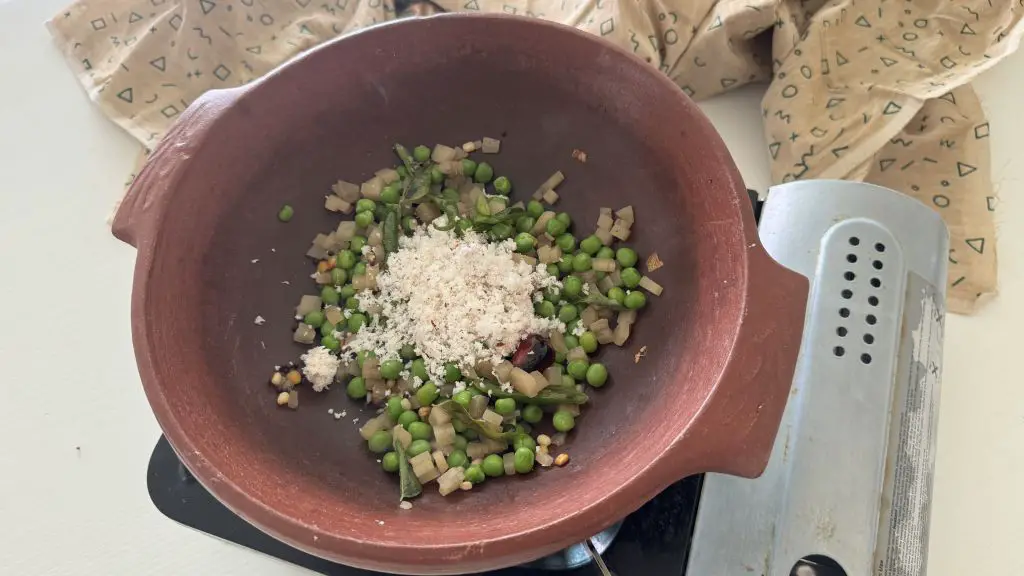
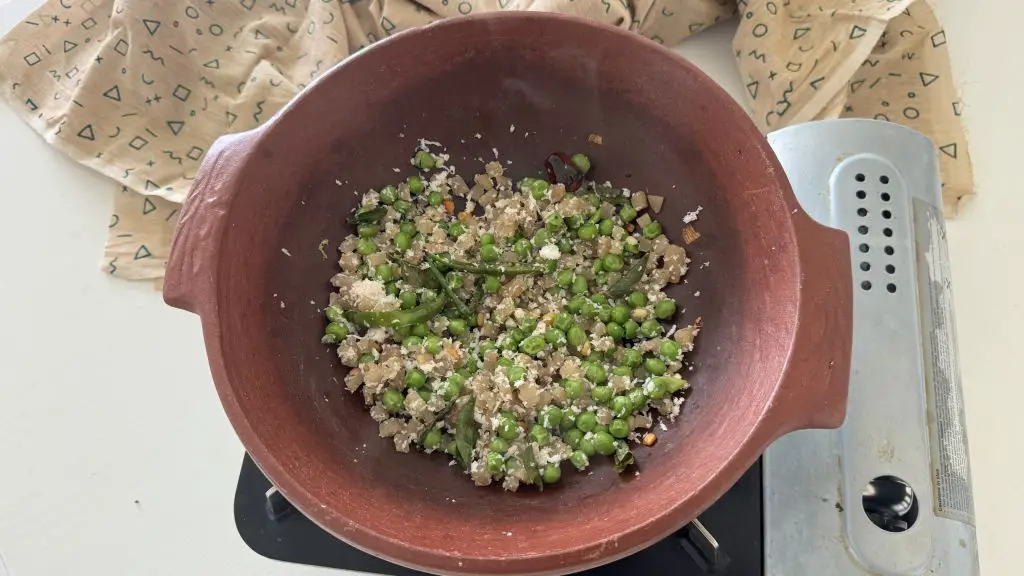
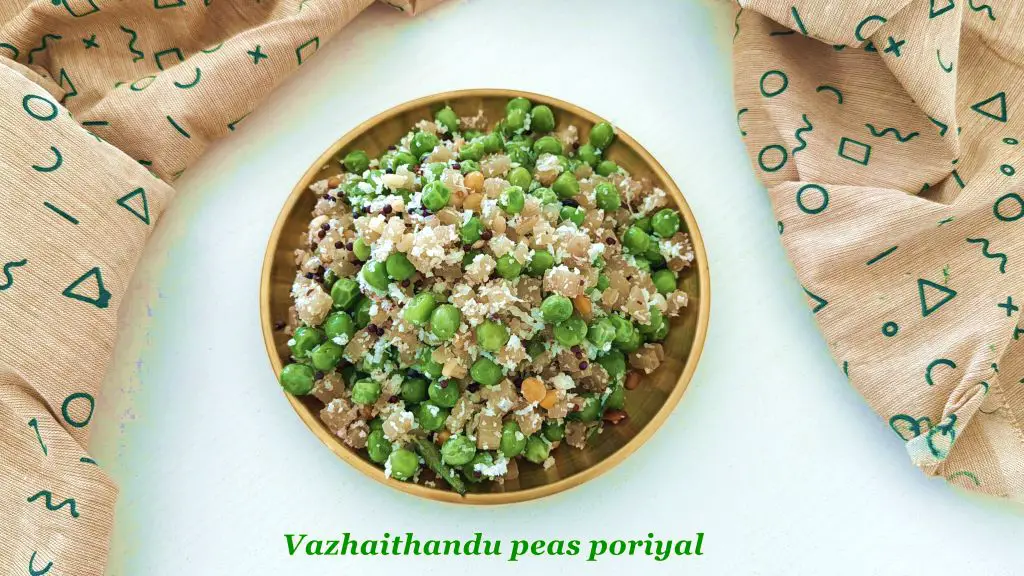
Vazhaithndu peas poriyal | Healthy protein and fiber-rich Vazhaithandu peas poriyal recipe | Banana stem peas curry with step-by-step pictures and short video.
Vazhaithandu | banana stem is a fiber-rich, nutritious vegetable widely used in South Indian cuisine. It is good for gut health, helps with constipation, and is good for kidney stones. I have posted a few recipes using Vazhaithandu on Jeyashri’s kitchen. Amma used to make Vazhaithandu poriyal by adding soaked yellow moong dal. It adds volume to the poriyal, enhances the taste, and contributes protein as well.
A simple, healthy, and tasty stir-fry made with banana stem and green peas. It pairs well with any South Indian meal, such as sambar, rasam, vatha kuzhambu, and mor kuzhambu. We mak make Soup, buttermilk, mor kootu, chaat using banana stem | Vazhaithandu
Pineapple Cucumber salad – Refreshing summer salad recipe with short video
Curry leaves-flavored pineapple-cucumber salad recipe. I am doing a Summer recipe series on Instagram. I tried this refreshing pineapple-cucumber salad at home a few days ago. It was a super hit. The crunch of the walnuts and the refreshing flavor of curry leaves were a great combo. It complemented the salad so well.
I posted a Thai-style pineapple-cucumber salad on Jeyashri’s kitchen a few years ago. As the summer season is peaking, this type of salad will be refreshing. You can have this salad for breakfast or lunch.
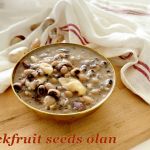
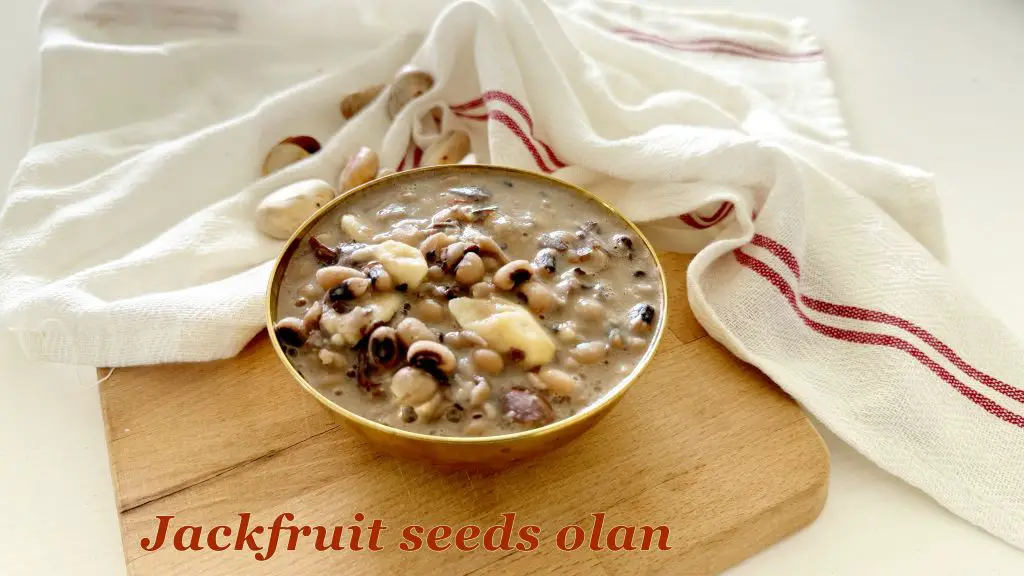
Jackfruit seed olan recipe – Chakka kotta olan recipe -Palakottai Olan- Kerala style olan recipe using jackfruit seeds – Olan recipe with step-by-step recipe and short video
Jackfruit seeds are a powerhouse of nutrients. It is rich in fiber and supports good gut health. Jackfruit seeds also help control blood sugar and cholesterol levels. We simply boil this in a pressure cooker for 3 whistles and eat it during our childhood days. Amma put in palakottai in sambar or kootu. This jackfruit seed olan is an onion no garlic recipe.
Last summer, when we met at a friend’s place, she made this chakka kotta olan. That was super tasty and totally new to me. I have tried palakottai curry and also jackfruit seed cutlet. This jackfruit seed olan is a super-healthy, simple recipe. The coconut oil gives the olan a fantastic flavor. We are adding karamani (black-eyed bean) in olan, so this jackfruit seed olan is rich in fiber and protein.
Take out the skin completely, else it will prick your throat.
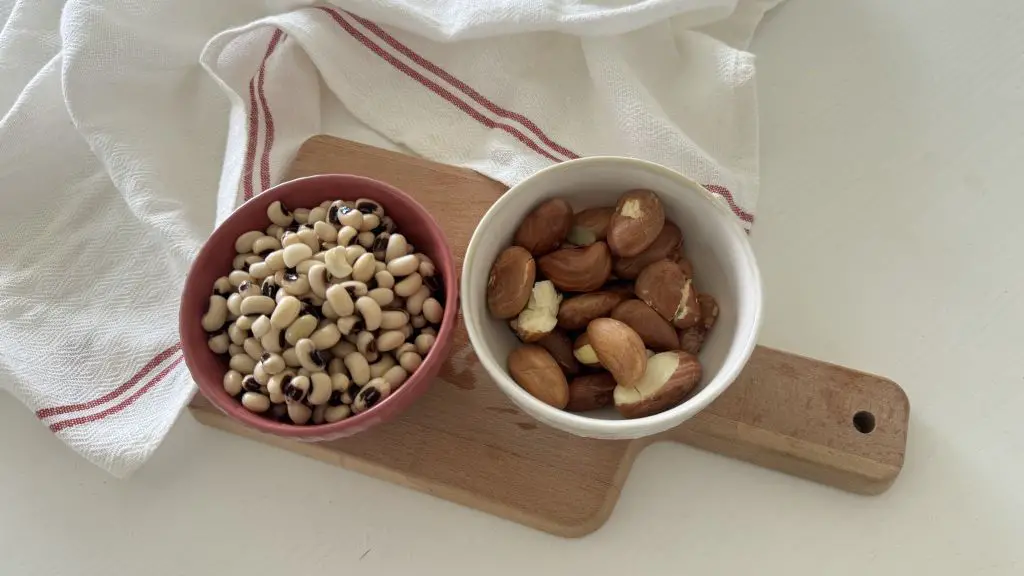
Soak ½ cup karamani for 4-5 hours
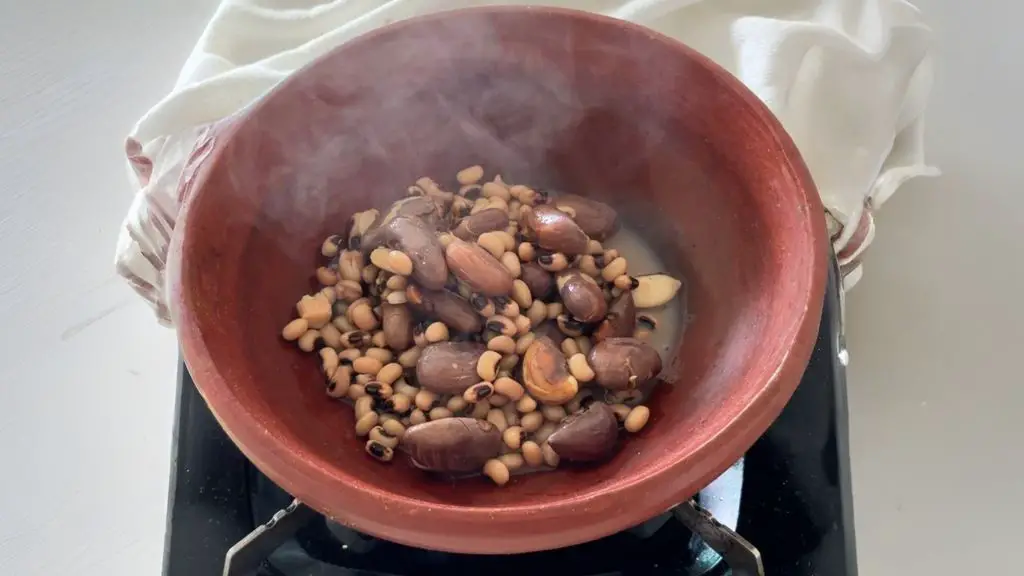
Add the jackfruit seeds and soaked karamani in a vessel
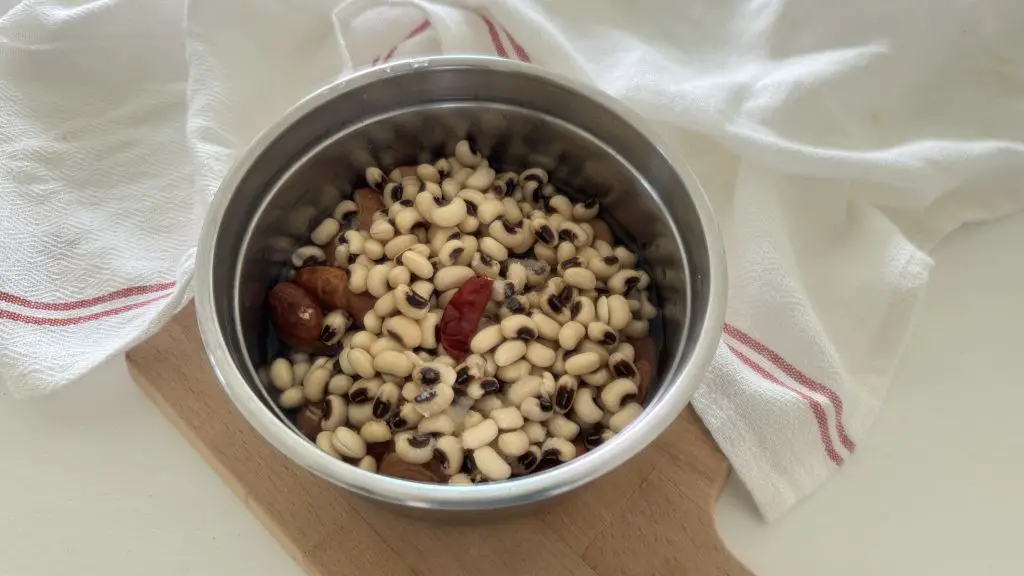
Add 1 red chili, this is completely optional. Now add little salt and ½ cup of water.
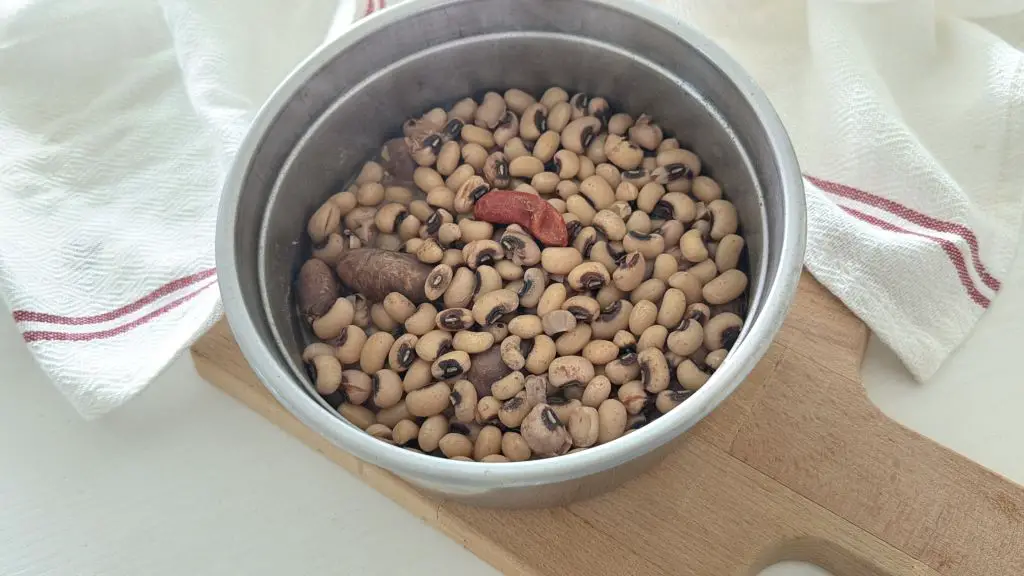
Pressure cook for 3-4 whistles
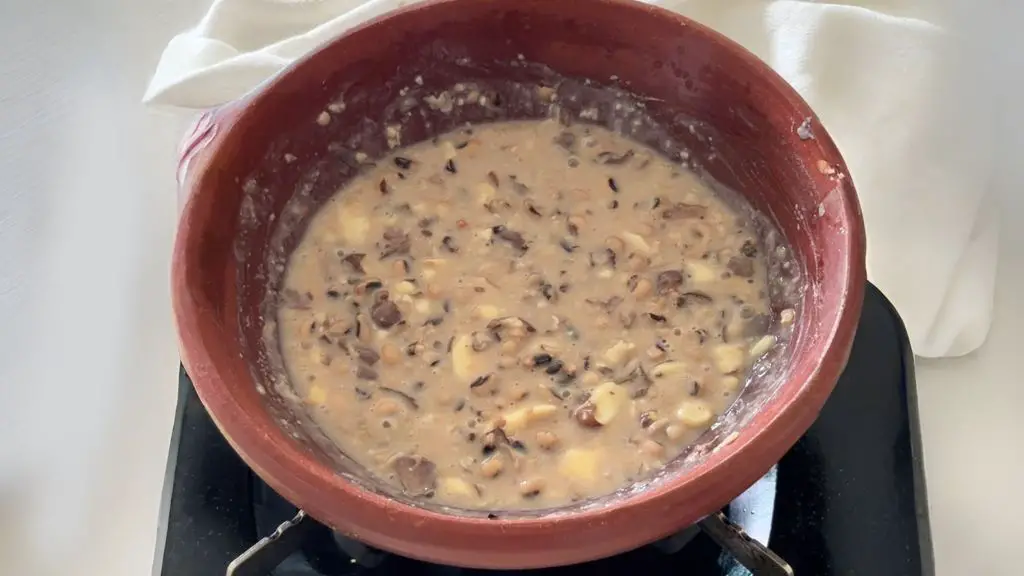
Add the cooked mixture to a kadai. We are not giving tempering to Olan.
Mash it here and there, it will thicken. Add water to adjust the consistency.
Boil for 2 minutes
Switch off
Add 2 tsp coconut oil
Chakka kotta olan is ready
Notes
1. Adding red chili is totally optional.2. You can pair this healthy jackfruit seed olan with vatha kuzhambu or sambar.3. No need to temper mustard seeds for Olan.
Crush the jackfruit seed
Take out the skin completely, else it will prick your throat.
Soak ½ cup karamani for 4-5 hours.
Add the jackfruit seeds and soaked karamani to a vessel
Add 1 red chili; this is completely optional. Now add a little salt and ½ cup of water.
Pressure cook for 3-4 whistles.
Take it out of the cooker
Add this to a kadai.
Mash here and there
Add water to adjust consistency
Boil for 2 minutes.
Switch off the flame
Add 2 tsp coconut oil.
Notes:
Adding red chili is totally optional
You can pair this healthy jackfruit seed olan with vatha kuzhambu or sambar.
Maavadu recipe originally posted on 28-04-2014 updated with full video on 15-04-2026
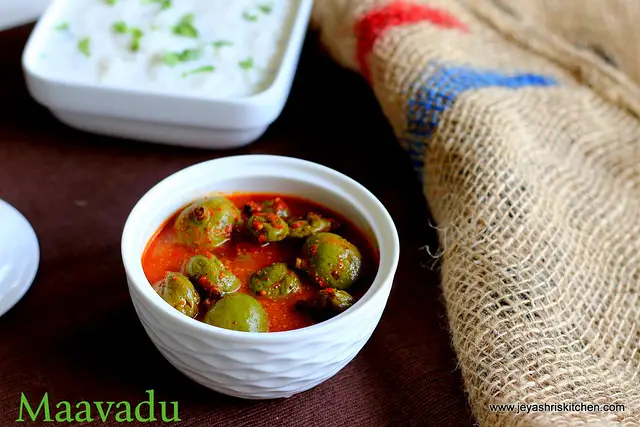
Maavadu recipe | vadu mango pickle- Tender Mango pickle Vadu mangai or maavadu – Recipe with full video and step-by-step pictures. I remember accompanying my mom to the central market in my town to buy the tender mangoes. We make pickles from this vadu mangai. My mom always buys this vadu manga in bulk (10 padi), makes pickles in big jars, and shares them with my athais, who are all big fans of vadu manga pickles. Though I am not a big fan of maavadu, I enjoy watching the process of making maavadu. I love the maavadu water very much, a perfect combo for Curd rice. Make this easy maavadu pickle this summer and enjoy it with curd rice.
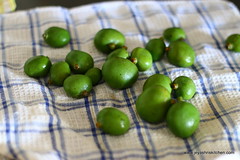
Select small tender mangoes from the market and wash them in water nicely. Wash it a few times to get rid of the dirt in the mangoes and pat dry them well.
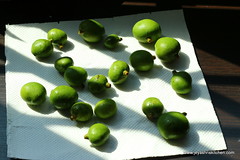
Ensure that no water is there, else fungus will form after the pickle is made. My mom puts the wiped mangoes under the sunlight for half an hour. inside the home near the window. I also did the same.
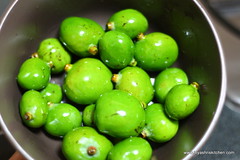
Take the mangoes and put them in a clean dry bowl add castor oil to this rub the mangoes with oil, and ensure all the mangoes are coated well with oil.
The addition of castor oil is to reduce the heat caused by mangoes.
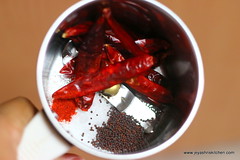
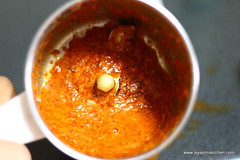
Grind the red chilli, mustard, rock salt, red chilli powder and asafoetida into a fine paste. You can add a little water while grinding.
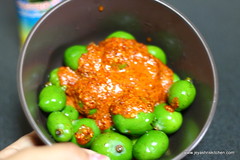
Add this to the mangoes and mix well with a clean dry spoon.
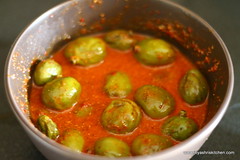
Keep this covered and put it in a dry place for a week.
Everyday morning mix the mangoes well. Do not worry if the water is less. It will ooze out water in a week's time.
And the mangoes will start shrinking too.
After 10 days transfer it to a clean dry bottle and put it in the refrigerator.
Video
Notes
Notes:
• If handled well, maavadu will stay good even for a year.
• Generally, we don't store this in the refrigerator. Even outside in a porcelain jar, this will stay good.
Method:
Select small, tender mangoes from the market and wash them nicely in water. Wash the mangoes a few times to remove any dirt, then pat them dry.
Ensure that no water is there, or else fungus will form after the pickle is made. My mom puts the ripe mangoes in the sunlight for half an hour. inside the home near the window. I also did the same.
Take the mangoes and put them in a clean dry bowl. Add castor oil to this. Rub the mangoes with oil, ensuring they are well coated.
The addition of castor oil is to reduce the heat caused by mangoes.
Grind the red chili, mustard, rock salt, red chili powder, and asafoetida into a fine paste. You can add a little water while grinding.
Add this to the mangoes and mix well with a clean dry spoon.
Keep this covered and put it in a dry place for a week.
Everyday morning mix the mangoes well. Do not worry if the water is less. It will ooze out water in a week’s time.
And the mangoes will start shrinking too.
After 10 days, transfer it to a clean, dry bottle and put it in the refrigerator.
If handled well, maavadu will stay good even for a year.
Generally, we don’t store this in the refrigerator. Even outside in a porcelain jar, this will stay good.
Note:
Always add clean water for grinding the ingredients. Do not use normal tap water. Use drinking water.
Keep the pickle in a clean, dry container. Even with little water, the pickle will spoil.
Use a dry spoon to take out the maavadu, every time.
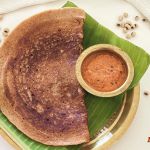
Lobia dosa| Karamani dosai recipe without rice. Healthy dosai recipe, no fermentation needed, easy to make lobia dosa with step-by-step pictures and a short video.
Karamani | Black-eyed bean | Lobia | Chawli beans – We South Indians use this bean mainly in Sundal and kuzhambu. For Karadaiyan Nombu Adai, we also use this karamani. After the recent nombu celebration, I was left with a pack of karamani (lobia). I have heard about this dosa from a friend some time ago, so I thought I would try this using the karamani I had.
A protein-packed, fiber-rich dosa using 2 major ingredients, and the best part is that no fermentation is needed. Also, no rice is used in this recipe. It is diabetic friendly recipe. This lobia dosa is perfect for a busy weekday breakfast and a perfect weeknight dinner too.
With just the soaked lobia and a few other basic ingredients in a mixer jar, you can make a healthy, tasty dosa. For more healthy recipes, visit Jeyashri’s kitchen Instagram page and YouTube Channel.
No rice added no fermentation needed karamani dosai
Course Breakfast | Dinner, Main Course
Cuisine South Indian
Keyword Dosa recipes, no onion garlic recipes
Prep Time 15 minutesminutes
Cook Time 20 minutesminutes
Total Time 35 minutesminutes
Servings 6dosais
Author Jeyashri suresh
Ingredients
½cupkaramani | lobia
4-5red chilis
Salt as needed
2pinchesasafoetida
Oil to cook
Water as needed
Instructions
Wash and soak ½ cup for 4-5 hours.
Add 3-4 red chilis to this
Grind this into a smooth paste.
Add little water to adjust the consistency
No need to ferment this batter.
Add little salt and 2 pinches of asafoetida
Mix well.
Heat a dosa tawa
Pour a ladle of dosa batter and drizzle oil
Cook on one side.
Once cooked flip the dosai.
Take out and enjoy hot
Karamani dosa ready
Notes
1. You can add 1-2 tbsp of chana dal while soaking for extra crispiness.2. You can add 1 tsp of fenugreek seeds while soaking.3. This karamani dosa batter stays good in the refrigerator for 3-4 days.4. KAramani dosai pairs well with kara chutney or any sambar
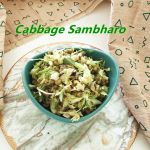
Cabbage Sambharo recipe: Gujarati-style cabbage stir-fry, warm cabbage salad, no onion, no garlic recipe, easy-to-make cabbage stir-fry with a short video.
We South Indians often make cabbage poriyal by adding coconut. I have posted the South Indian and North Indian versions of cabbage stir-fry. This one I recently learnt from a friend, but added my own twist to it. I made the stir-fry protein-rich by adding cooked green moong dal. The traditional Gujarati version of Cabbage Sambharo won’t have the moong dal.
You can pair this Cabbage Sambharo with rice or roti. A simple and easy dish loaded with fiber and protein, perfect for a balanced meal. You can add thinly shredded carrot or capsicum to this stir-fry. You can add turmeric powder to this stir-fry, but that is optional. I always prefer cabbage stir fry without turmeric powder.
Guava salad recipe – Easy to make Guava salad recipe with easily available ingredients – Guava salad recipe with a short YouTube video
Guava | கொய்யாப் பழம் in Tamil, is a tropical fruit rich in fiber, Vitamin C, and antioxidants. Salads are a favorite at home. As we enjoy guava fruit as it is, I thought of trying out a salad made with the fruit. I used semi-ripe ( more on the raw side) guava for making this guava salad.
I have used feta cheese in this salad; it is completely optional. However, I highly recommend adding feta cheese as it elevates the taste to a different level. After I posted the video on Instagram, many of my readers tried it and sent me pictures. It was a super hit at everyone’s home.
If you are a person who doesn’t like eating fruits as it is, do try this interesting version of guava salad.
Add salt, chaat masala, 1 finely chopped green chili, red chili powder and lemon juice.
Mix everything well
Add thinly sliced carrot, guava, boiled chickpeas and mix well.
Add 2 tbsp feta cheese (optional)
Mix well
Guava salad is ready
Video
Notes
1. You can add thinly sliced cucumber to the salad2. During non-guava season, you can use thinly sliced apple or pineapple also3. Feta cheese gives a nice taste to the guava salad
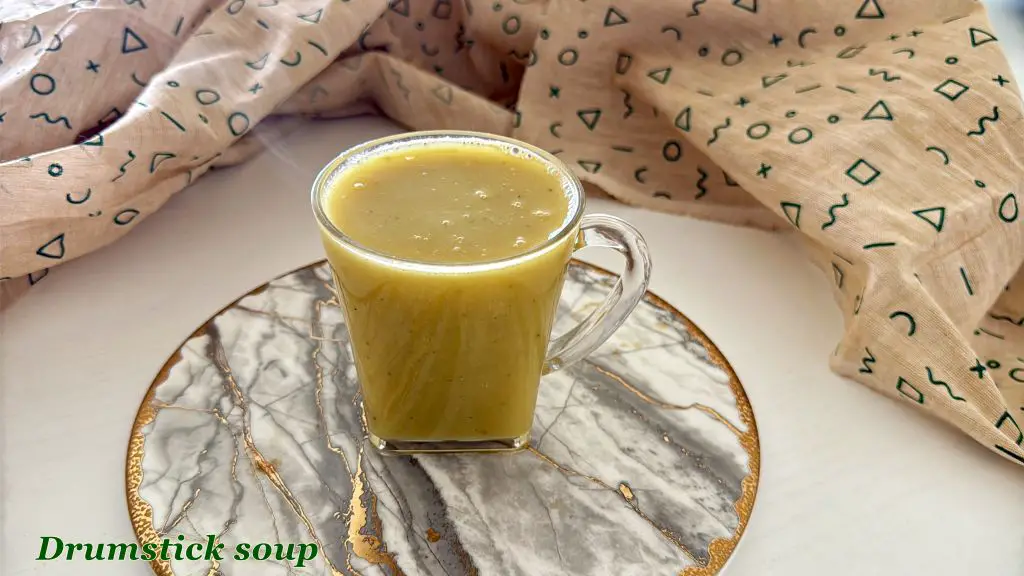
Drumstick soup recipe, Murungakkai soup recipe – How to make Drumstick soup – Healthy soup recipe with short video.
We South Indians typically add drumstick to sambar, vatha kuzhambu, or poricha kootu. Last time during my trip to India, I saw a few of my friends and relatives. Although they liked the flavour of murungakkai (drumstick), they didn’t like to eat the cooked drumstick because they dislike the fibrous part.
Even at my home, my daughter, who loves the flavour of the murungakkai, doesn’t eat the vegetable in any gravy. So I decided to make a soup, and it is a super hit in the family. So if you have anyone who hates to eat the drumstick, do try this way
Drumstick | murungakkai are loaded with nutrients, and they are a great source of fibre as well. We are not adding any cornstarch to this soup, but we are adding moong dal to this soup, which gives thickness to the soup.
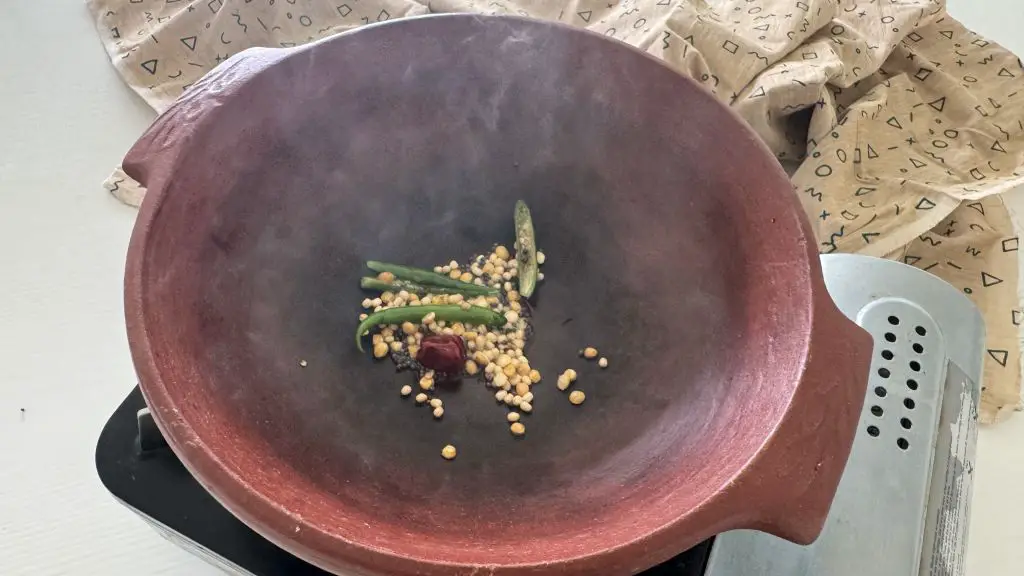
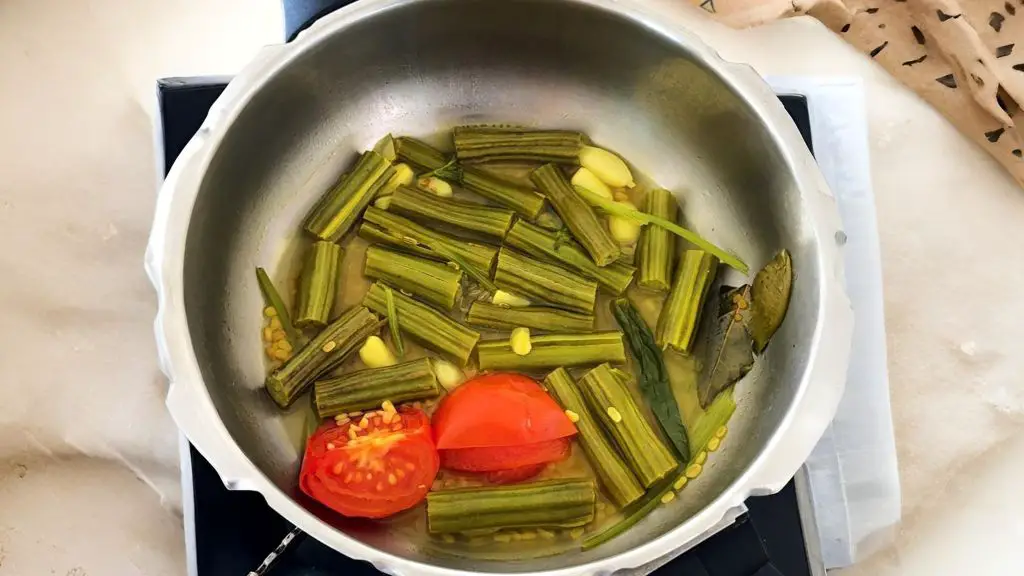
Now add one bayleaf, green chili, garlic cloves, ½ portion of tomato, few coriander stems and 1 tbsp moong dal to this.
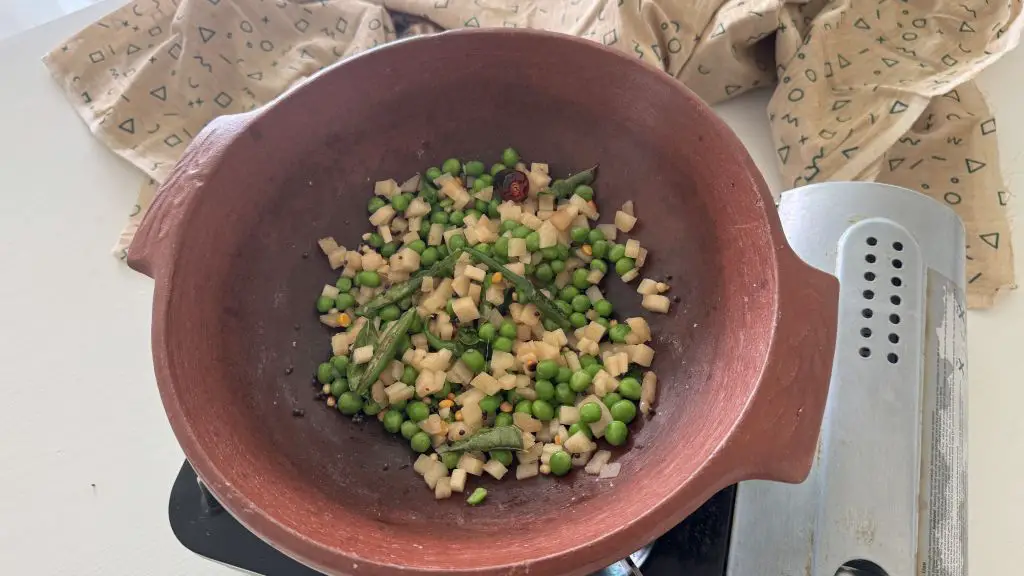
Saute for a minute and add chopped drumstick. I used 1.5 drumstick.
Add 1 cup of water, little salt, turmeric powder and fennel seeds
Cover and close the cooker.
Pressure cook for 3 whistles
Open the cooker once the pressure subsides, cool everything
Grind everything
Add 1 cup water while grinding
Strain this well
Add water while straining
Discard the fibre
Add salt, pepper powder and mix well.
Let this boil and switch off
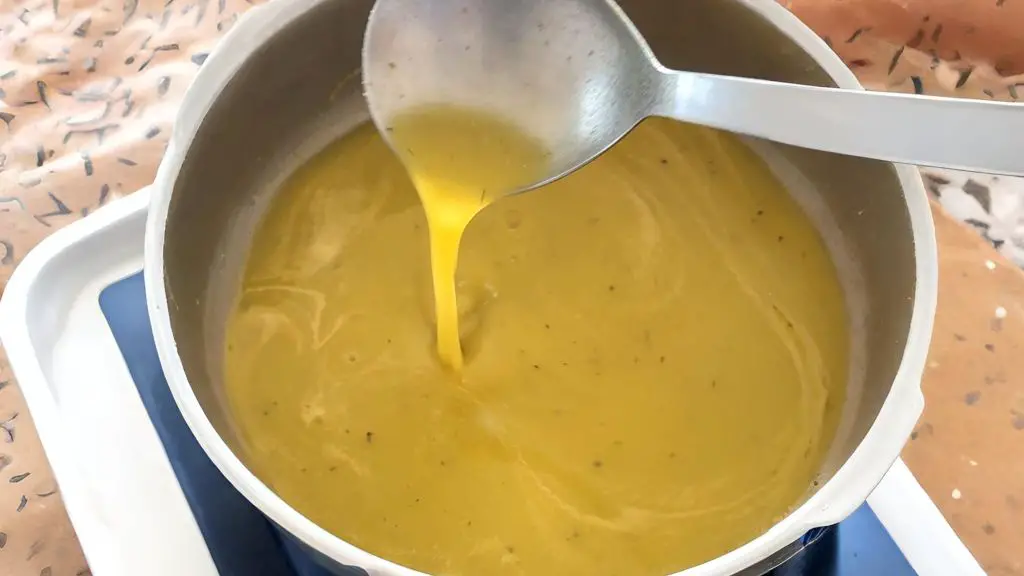
Drumstick soup is ready
Video
Notes
1. You can add ½ onion while cooking the drumstick2. You can skip the tomato and add lemon juice towards the end3. Masoor dal can be replaced with yellow moong dal.4. You can also add a tbsp of millet to enhance the thickness of the soup
Add butter to a pressure cooker/pan.
Now add one bay leaf, green chili, garlic cloves, ½ portion of tomato, few coriander stems and 1 tbsp moong dal to this.
Saute for a minute and add chopped drumstick. I used 1.5 drumsticks.
Add 1 cup of water, little salt, turmeric powder and fennel seeds.
Cover and close the cooker.
Pressure cook for 3 whistles
Open the cooker once the pressure subsides, cool everything.
Grind everything
Add 1 cup water while grinding
Strain this well.
Add water while straining
Discard the fibre.
Add salt, pepper powder and mix well.
Let this boil and switch off.
Drumstick soup is ready.
Notes:
You can add ½ onion while cooking the drumsticks
You can skip the tomato and add lemon juice towards the end
Masoor dal can be replaced with yellow moong dal.
You can also add a tbsp of millet to enhance the thickness of the soup.
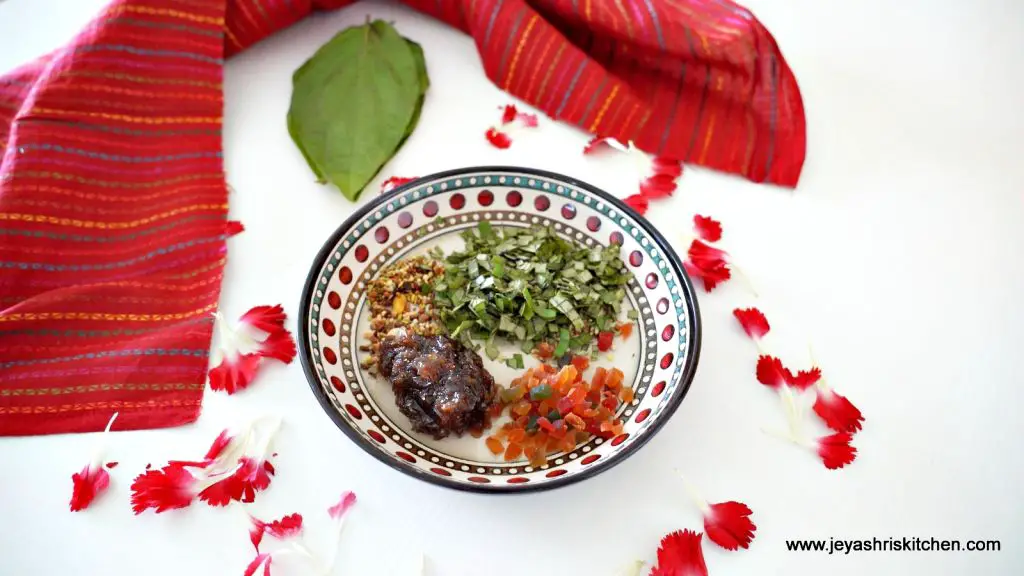
Dates paan recipe – Must try paan recipe for this festival season. No cook dates paan recipe using betal leaves | Vethalai, gulkand, and other easily available ingredients.
Usually, I make one paan dish for all my guests when I host any big gatherings at home. This year, when we had Maha Periyava Paduka Pooja at home, I made this Dates paan for my guests. It was a huge hit among all. Our friend who runs a restaurant here got so impressed, asked me to make dates paan for a big event hosted at their restaurant. Yet another huge hit.
I also made this for Varalakshmi Pooja and everyone loved it. As Navaratri is approaching, I thought of sharing this recipe with you all. So that you can make this for the guests. All you need is good-quality dates, tutti frutti, gulkand, and store-bought Mukhwas. You can make this in advance and store it in the refrigerator.
No cook paan leaves stuffed dates paan, perfect for the festival season
Course Dessert
Cuisine Indian
Keyword Festival recipes, Navratri recipes, paan leaves,
Prep Time 20 minutesminutes
Cook Time 0 minutesminutes
Total Time 20 minutesminutes
Servings 18pieces
Author Jeyashri suresh
Ingredients
3paan leaves | vethalai| betel leaves
18Pitted dates
2tbspgulkand | rose petal jam
2tbsptutti fruiti
2tbspmukhwas | mouth freshner
Instructions
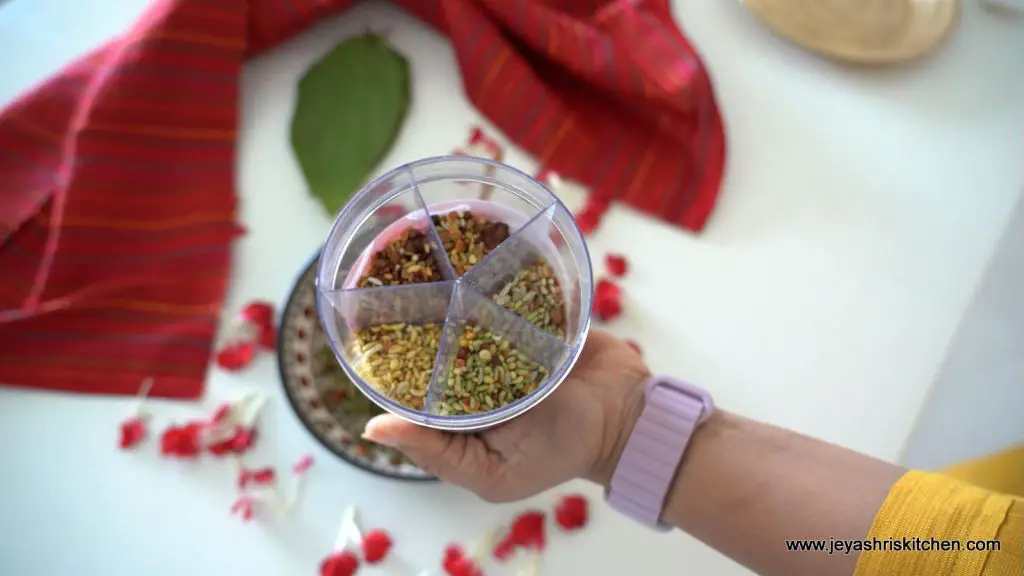
I used this mixed mukhwas for this
In a bowl add the mukhwas, you can add sweetened fennel seeds, jeera mittai, supari
I used 4 varieties
Add 2 tbsp tutti fruiti
Add 2 tbsp Gulkand | Rose petal jam
Wash the paan leaves well and pat dry them. Take out the stem part and finely chop it. I used 3 medium sized paan leaves, do not add more
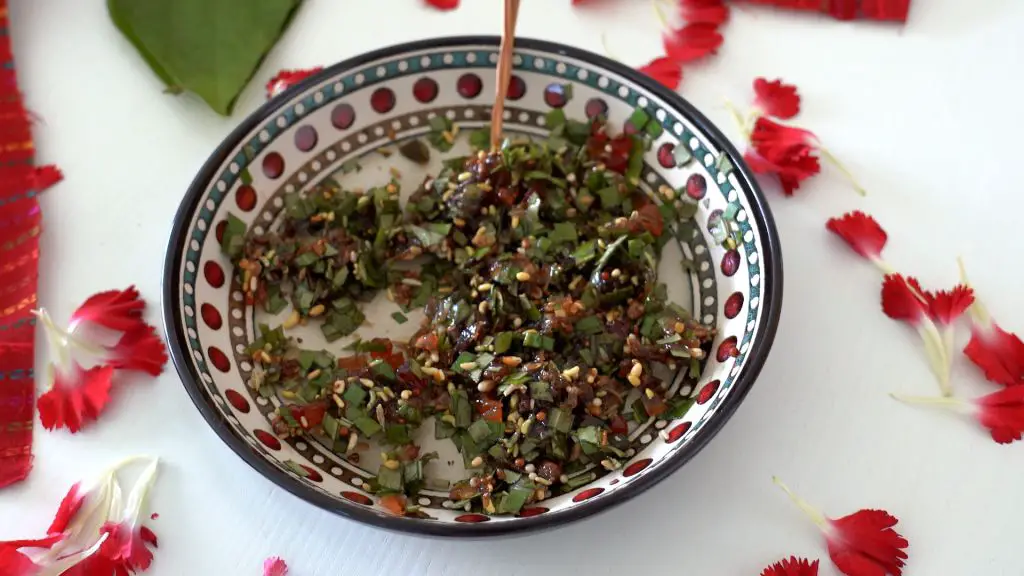
Mix well
Filling is ready
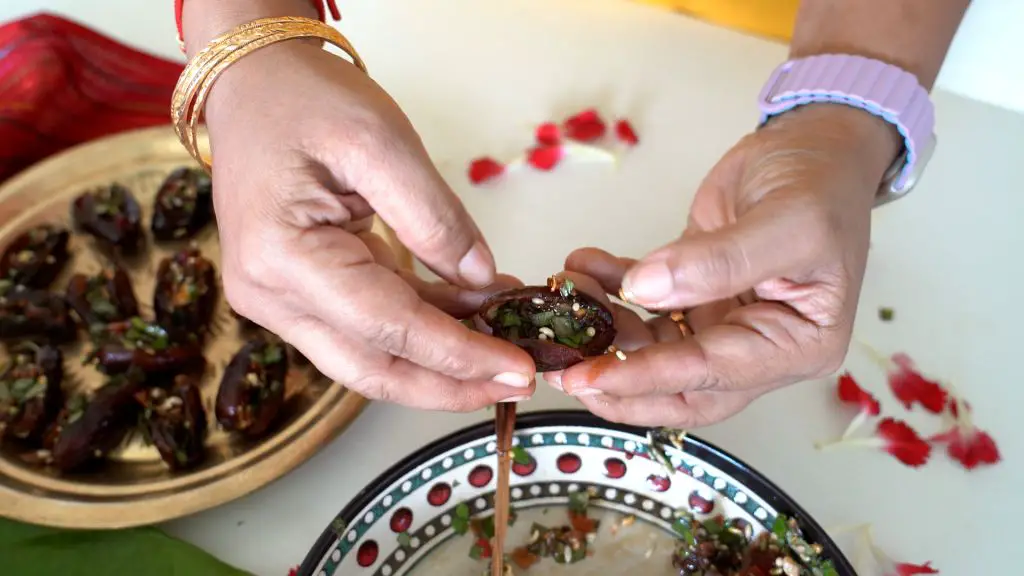
Take one pitted dates
Stuff little filling into it
Close it
Repeat for the rest
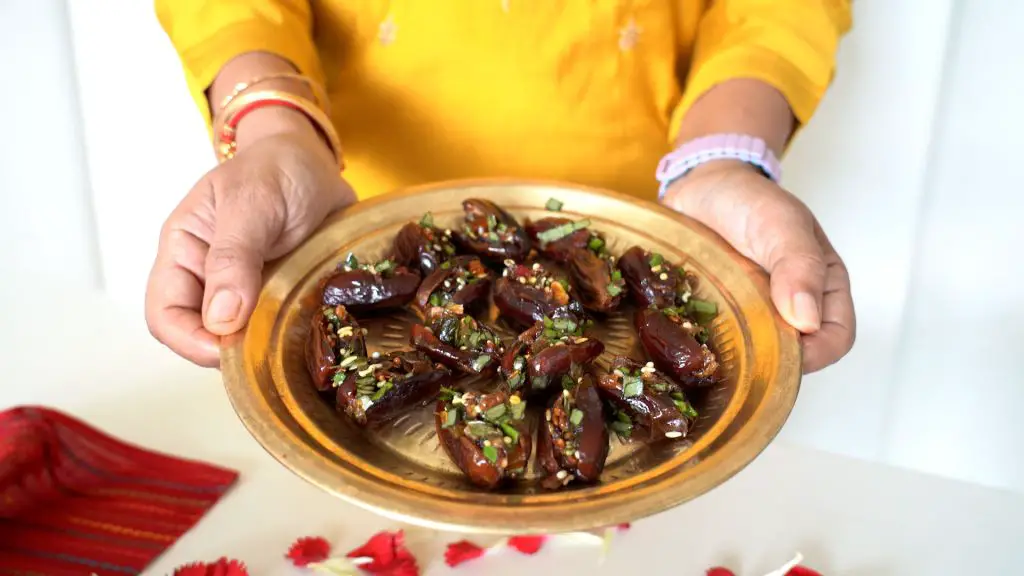
Dates paan is ready
Video
Notes
1. You can add finely chopped or pulsed nuts and seeds to this dates paan filling. 2. This can be stored in the refrigerator for 5-7 days.3. I have once added slightly crushed M & M and skipped the mukhawas. Kids enjoyed this version.4. Use firm dates for making this dates paan recipe.
I used this mixed mukhwas for this.
In a bowl, add the mukhwas
I used 4 varieties
Add 2 tbsp tutti frutti
Add 2 tbsp Gulkand | Rose petal jam
Add 3 finely chopped paan leaves.
Mix well
Filling is ready.
Take one pitted date
Stuff a little filling into it
Close it
Repeat for the rest
Dates paan is ready.
Notes:
You can add finely chopped or pulsed nuts and seeds to this dates paan filling
This can be stored in the refrigerator for 5-7 days.
I have once added slightly crushed M&M and skipped the mukhawas. Kids enjoyed this version.
Mahalaya Amavasai lunch menu – The Mahalaya Paksham | Pithru paksham ends with Mahalaya Amavasai. No onion garlic lunch menu combo for Mahalaya amavasai. It is the last day of the 15 days of Pithru paksham, which usually ends on the New moon day.
As a tradition, Tharpanam is performed on all days for deceased ancestors, and it is believed that even if we skip doing Tharpanam on other days, we can make it up on Mahalaya Amavasai day. It is also believed that the souls will bless the family abundantly. On Mahalaya Amavasai day, we cook an elaborate lunch using native vegetables. Raw banana is a must on the menu.
In our house, for amavasai my mother-in-law always makes poosanikai puli kootu. Some houses make Sambar for amavasai, and in some houses, they make Mor kuzhambu. Usually, we make vadai payasam for Mahalaya amavasai. In some houses, they make Srartha samayal for Mahalaya amavasai.
Some houses do not use toor dal but use only moong dal. I am sharing a basic menu that is usually made at our home for Mahalaya amavasai. Feel free to modify as needed.
Mahalaya Paksham lunch Dinner combo- 14 – Pithru paksham recipe without onion and garlic
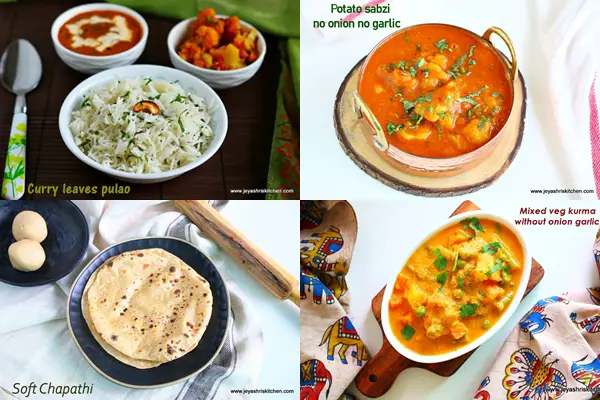
We are almost on the second last of Mahalayam and tomorrow is Mahalaya Ammavasai. Today’s menu comes with an interesting North Indian Pulao and a potato sabzi. My amma learnt this potato sabzi from my athai many many years ago. We used to call this Aloo dum those days. Those days amma made kurma whenever she made chapati, on festival days and Mahalayam days, South Indian dal was made, or coconut chutney was made, which we used to hate during those days.
When Athai introduced this sabzi Amma used to make this on days we don’t eat onion and garlic. We love this with puris and jeera rice. Basmati rice was a rare thing in those days, and whenever Amma makes jeera rice or veg biryani, we love to have it with this potato sabzi.
The vegetable biryani and kurma recipe, I can say I attempted on my own in June 2009, back when my mama’s family visited me in Singapore. My Mami and perimma won’t eat garlic and I made this veg biryani and veg kurma for them. They both were super impressed by the taste. Later, when I started Jeyashri’s kitchen in August 2009, I shared this recipe, and ever since, it has been a super hit.
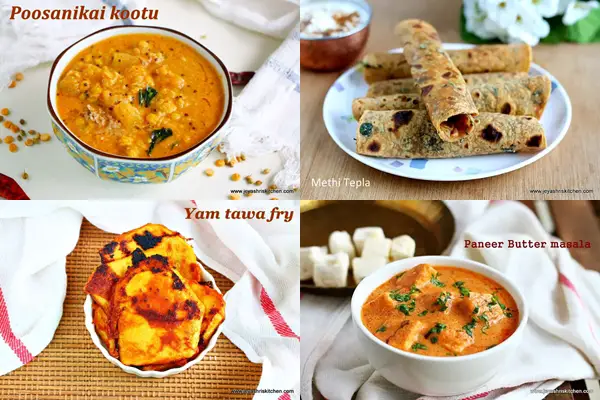
I have posted Mahalayam lunch and dinner menu combo for the past few days. Today’s menu features an interesting combination of Poosnikkai Kalyana Kootu and Yam Tawa Fry. Also, the dinner menu has an interesting No onion no garlic Paneer butter masala.
I have included lemon rasam in the menu. I have two versions of lemon rasam on the website, one I learned from my amma and another one I learnt from my perimma. Both recipes are my favorites.
Coming to Poosanikai kalyana kootu, it is very similar to the arachuvitta sambar; we use the same spices for roasting, but we don’t add tamarind water in this. This kootu tastes very similar to the kootu served at Tamil Brahmin weddings. Traditionally Poosanikai | white pumpkin is used for this kootu. You can use raw banana, vazhai thandu, vazhaipoo, or any other veggies you prefer for kootu.
Mahalaya Paksham lunch Dinner combo- 12 – No onion no garlic Pithru paksha recipes.
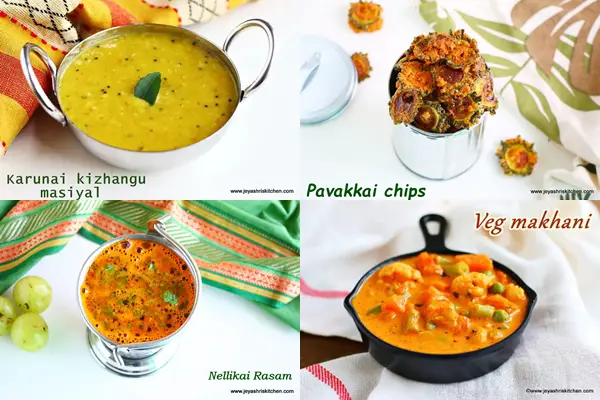
Today’s menu has our family’s favorite combo Vatha kuzhambu and kootu. Some people avoid having keerai during Mahalayam, but as I mentioned before in all my posts, I use all vegetables except onion and garlic during Mahalayam period. Kootu and vatha kuzhambu is a staple combo loved by all at home. The pan-fried brinjal is yet another one of my personal favorites and this recipe is a super hit. We use the big Bharta baingan for making this recipe.
The dinner menu has aloo paratha and spicy pomegranate raita. Aloo paratha is always a super hit at home. Usually, no one at home is particular about hot food. Even rotis I make in the evening and they have it for dinner. But any stuffed parathas, they love to have them hot. It doesn’t mean they don’t eat if I keep it 1-2 hours ahead, but they love to eat it hot. So I plan it on days when I don’t have any classes and other outside work. We have 2 version of Aloo paratha recipe on Jeyashris kitchen. The other one is with onion – Dhaba style aloo paratha.
Mahalaya Paksham lunch Dinner combo- 11- Pithru paksham no onion no garlic lunch menu combo.
We have been seeing Mahalaya Paksha lunch and dinner menu combo. Today, we are seeing another recipe combo using karunai kizhangu. I used to dislike this vegetable during my childhood. When amma visited us in Singapore, she made this Karunai kizhangu masiyal, and somehow I started liking that. I used to make the maisyal once in a while from then on. However, after moving to Hong Kong, I couldn’t find Pidi karanai, so I stopped making it altogether.
We have an interesting Maharastrian cucumber salad on the menu. If you haven’t tried it, do give this a try, and I am sure you will love it.
Mahalaya Paksham lunch Dinner combo- 10 – Pithru paksham lunch dinner combo – No onion no garlic recipe combo.
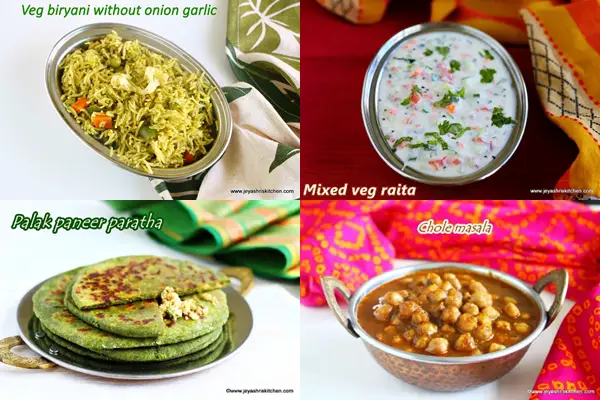
It is easy to cook a traditional South Indian menu without onion and garlic. Many of you ask me for the North Indian menu without onion and garlic. Today, I am sharing a no-onion, no-garlic vegetable biryani. I have posted this recipe on my website many years ago. You can make the no onion garlic chana masala to pair with the biryani or as an accompaniment for the paratha in the dinner menu.
Also, I follow only no onion no garlic during mahalayam, I include rest all vegetables in my cooking.
Mahalaya Paksham lunch Dinner combo- 9 – No onion no garlic lunch and dinner menu combo for Pithru paksham
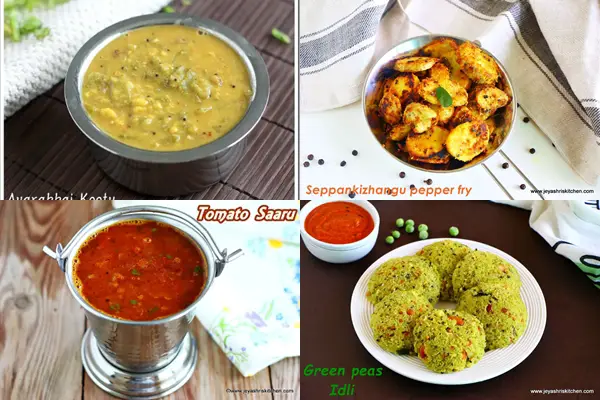
We are here with an interesting no onion no garlic recipe combo. This menu is our family’s favorite too. Most of the weekend we end up in making a kootu and thogayal. Also Rasam we make only during weekend. I am giving recipe for avarakkai kootu today, but you can replace the vegetable with any of your favorite vegetables.
The tiffin combo is also protein-rich peas, rava idli and a simple coconut chutney. You can plan this as a tiffin for Navaratri guests too. I have done this once, and it is a super hit among guests.
Mahalaya Paksham lunch Dinner combo- 8 – No onion no garlic Pithru paksha lunch and dinner recipe combo.
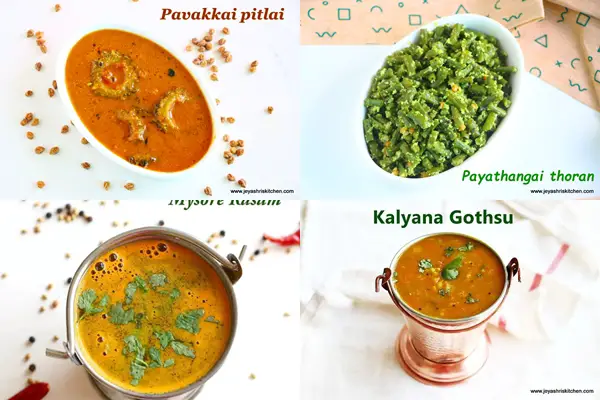
Today, we are on day 8 of the combo sharing, and I am sure many of you must be following the Mahalaya Paksham lunch dinner menu combo series. Today I am sharing a traditional combo of Pavakkai Pitlai and karamani | payathangai curry. The dinner comes with the classic combo of Kothamalli pongal and Kalyana gotsu
Kothamalli pongal recipe, I have not shared on Jeyashris kitchen, but the short video is available on Jeyashri’s kitchen Youtube channel, Instagram, and Facebook page. I have made that for Varalakshmi nombu for a large number of guests. So you can plan this no onion no garlic protein-rich malli pongal for Navaratri too.
Mahalaya Paksham lunch Dinner combo- 7- No onion no garlic pithru paksham lunch and dinner menu ideas.
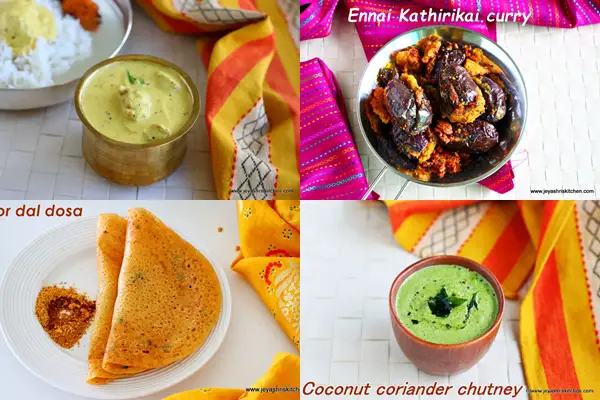
As we see different menu options for this Mahalayam today, this menu is yet another of my favorite combos. As I mentioned in all my combo posts, I use all vegetables during Pithru paksham except onion and garlic. Today’s menu includes a bonda morkuzhambu | Kalyana morkuzhambu recipe, which I learned from my perimma many years ago. Personally, I love the combo of mor kuzhambu and enna kathrikkai curry
Since the menu didn’t have dal, I have included Toor dal dosai in the evening dinner menu paired with a delicious coconut coriander chutney.
Mahalaya Paksham lunch Dinner combo- 6 – Pithru paksham lunch and dinner menu combo – No onion no garlic recipes
Traditionally, we make South Indian recipes during mahalaya paksham and only native vegetables like, avarakkai, raw banana, snake gourd, bitter gourd.. are used. English veggies like carrot, cauliflower, sweet corn, and radish are avoided. But I generally do not follow much, I do not use onion and garlic in my cooking for these 15 days of Mahalayam. As my husband does Tharpanam daily for all 15 days of Mahalayam, I take a shower in the morning and then will cook the food.
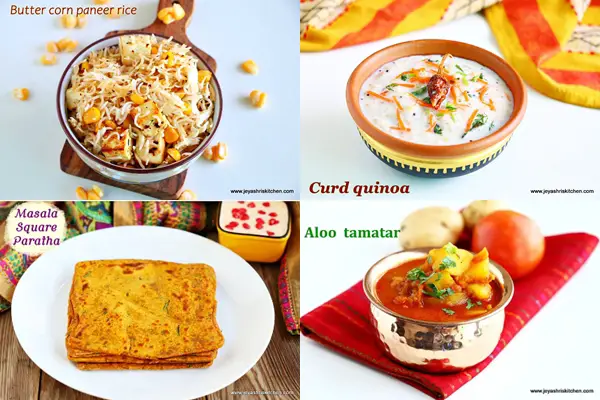
Today’s lunch and dinner menu comes with a no onion no garlic paneer rice and aloo sabzi. The sabzi you can make in the morning a little extra, and use it for dinner too.

 Login
Login