❌

Reading view

There are new articles available, click to refresh the page.

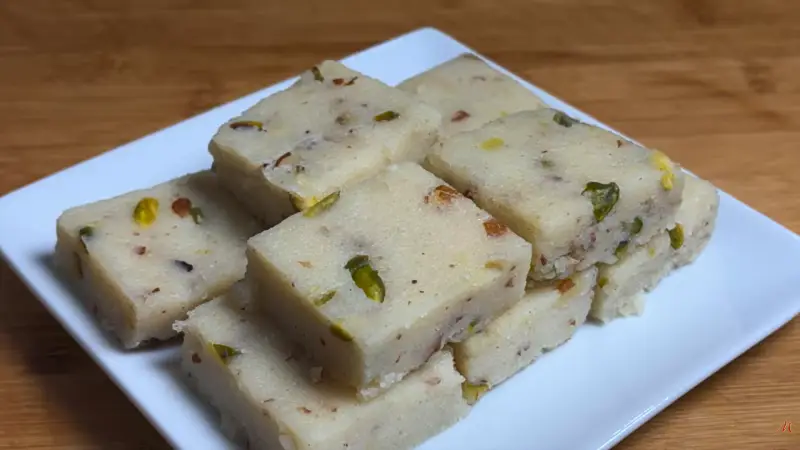
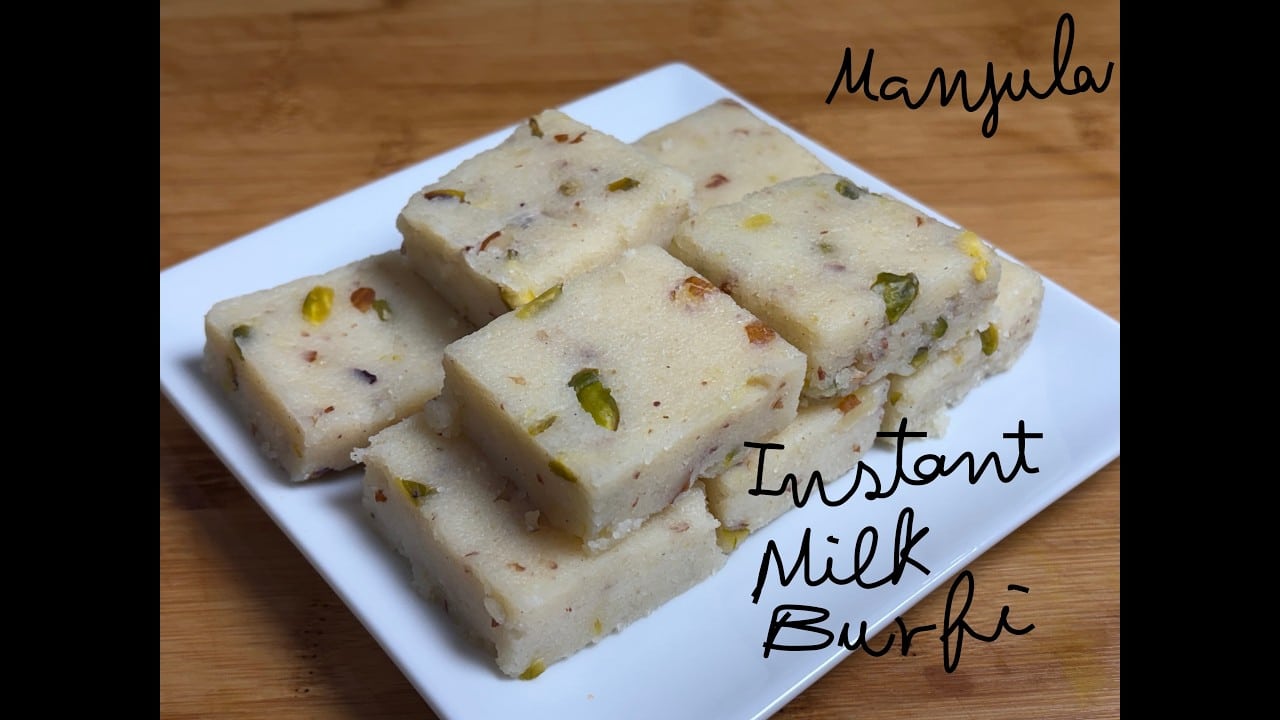
Instant Milk Burfi

Print

Instant Milk Burfi

Homemade sweets always bring comfort and happiness, and this Instant Milk Burfi is one ofthose recipes you’ll want to make again and again. It’s quick, easy, and comes together in just 15 minutes. Your guests will be surprised when they find out this burfi is homemade, and evenmore surprised when they hear how little time you spend in the kitchen. This Instant Milk Burfi is my go-to recipe, no fuss, no fancy steps, yet the taste is rich, creamy, and truly desi. It proves that you don’t need hours of cooking to make a delicious Indian sweet just 15 minutes.
Prep Time 5 minutes
Cook Time 15 minutes

Ingredients

  • 1 cup fine sooji semolina
  • ΒΌ cup butter or ghee
  • 2 cups of milk
  • 1 cup heavy cream
  • 1 cup sugar
  • β…› tsp green cardamom powder elaichi
  • About 10 almonds crushed
  • About 10 pistachios sliced

Instructions

  • Lightly grease a small plate or tray and set it aside.
  • Heat the ghee in a heavy-bottom pan on low to medium heat.
  • Add sooji and roast slowly, stirring continuously, until aromatic and lightly golden. This step is important and takes about 5 minutes.
  • Lower the heat and slowly add milk and cream, stirring continuously to avoid lumps.
  • The mixture will loosen at first, then start to thicken.
  • Cook on medium heat, stirring constantly, until the mixture thickens and starts leaving the sides of the pan, about 6 to 8 minutes.
  • Add sugar and cardamom, mix well.
  • The mixture will loosen again. Continue cooking and stirring until it thickens once more and comes together like a soft dough. Turn off the heat.
  • Stir in almonds and pistachios and mix evenly.
  • Immediately transfer the mixture to the greased plate.
  • Spread evenly with a spatula.
  • Let it cool for about 30 minutes.
  • Once set, cut into the desired shape.

Notes

Quick Tips for Perfect Instant Milk Burfi

  • Roast sooji well on low to medium heat until aromatic and lightly golden, this removes the raw sooji taste.
  • Add milk and cream slowly, stirring continuously to avoid lumps and get a smooth texture.
  • Cook until the mixture leaves the pan sides, even after adding sugar, this helps the burfi set perfectly.

Frequently Asked Questions (FAQ)

1. Can I use coarse sooji instead of fine sooji?

It’s best to use fine sooji for a smooth texture. If you only have coarse sooji, you can grind it slightly before using, but the texture may still be slightly grainy.

2. Can I replace ghee with butter?

Yes, you can use butter instead of ghee. However, ghee gives a more authentic desi flavor and richer aroma.

3. Can I skip heavy cream?

Heavy cream adds richness and softness to the burfi. If you don’t have it, you can replace it with full-fat milk, but the texture may be slightly less creamy.

4. Why did my burfi turn soft and not set properly?

This usually happens if the mixture was not cooked long enough. Make sure the mixture:

  • Leaves the sides of the pan
  • Thickens again after adding sugar
    It should come together like a soft dough before turning off the heat.

5. Why did my burfi turn hard?

Overcooking the mixture can make the burfi hard and chewy. Once the mixture thickens and starts leaving the pan, remove it from heat promptly.

The post Instant Milk Burfi appeared first on Manjula's Kitchen.

πŸ’Ύ

https://www.youtube.com/embed/bYC4F4peBQ0 Instant Milk Burfi Homemade sweets always bring comfort and happiness, and this Instant Milk Burfi is one

New Spicy Potato with Cilantro and Ginger

Print

New Spicy Potato with Cilantro and Ginger

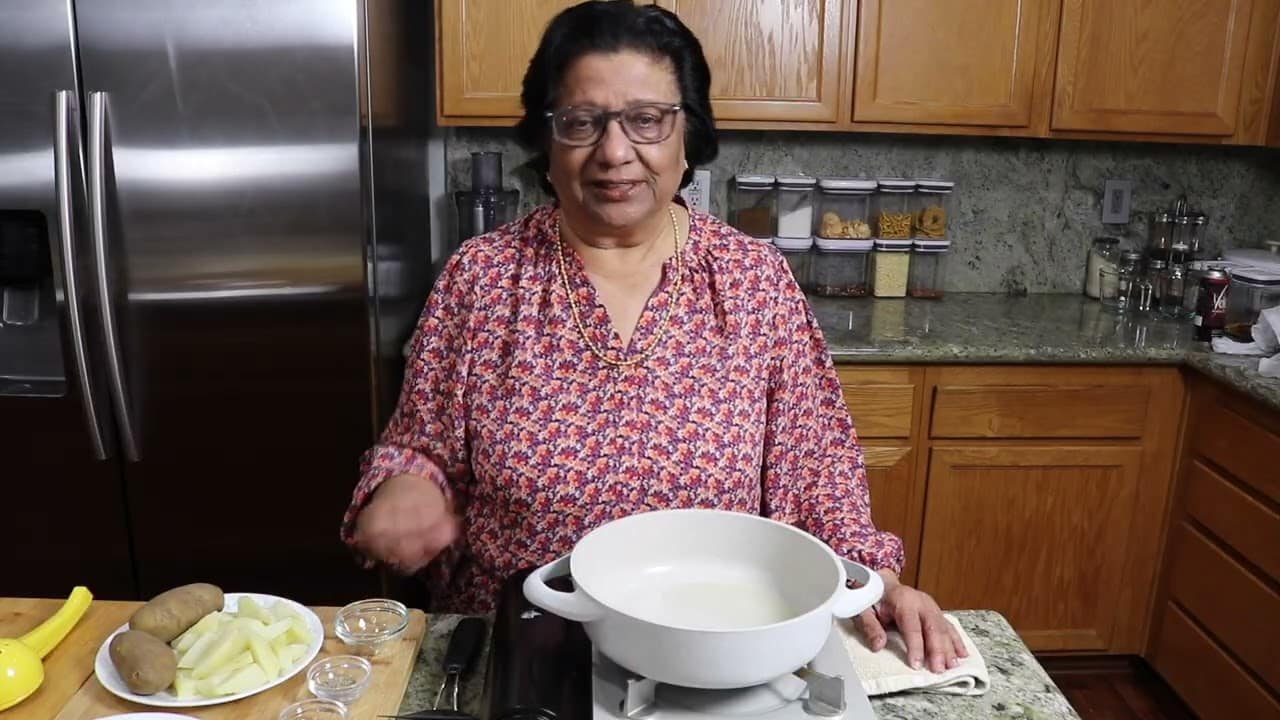
This is a very simple, yet flavorful potato dish made with just a few ingredients, lots of freshcilantro, ginger, and a little spice. It’s one of those everyday recipes I make often in my kitchen.You can enjoy it as a side dish, have it as a snack, or even roll it up in a roti for a quick andsatisfying meal. Easy home cooking doesn’t have to be complicated, just fresh ingredients andcomforting flavors. Simple ingredients, easy cooking, and so much flavor.
Perfect for everyday meals!
Prep Time 15 minutes
Cook Time 18 minutes
Servings 4

Ingredients

  • 2 cups boiled, peeled potatoes (aloo), sliced lengthwise

    (Potatoes should be firmβ€”do not overcook)

  • 2 tbsp oil
  • 1 tbsp cumin seeds (jeera)
  • 1/4 tbsp asafetida (hing)
  • 2 tbsp thinly sliced ginger (adrak)
  • 2 green chilies, thinly sliced lengthwise
  • 1 tbsp salt
  • 1 tbsp lemon juice
  • 1/2 cup chopped fresh cilantro (hara dhania)

Instructions

  • Heat the oil in a wide, flat frying pan over medium heat.
  • Add the cumin seeds; they should crackle right away.
  • Add the asafetida and stir briefly.
  • Add the potatoes and spread them out evenly in the pan. Sprinkle the salt
    over the potatoes.
  • Roast the potatoes until they start picking up a light golden color.
  • Add the ginger and green chilies, spreading them evenly. Cook for a few
    more minutes, gently turning the potatoes so they don’t break.
  • Once the potatoes look slightly crispy, add the cilantro and mix gently. Cook
    for 2–3 minutes, until the cilantro softens and coats the potatoes.
  • Finally, sprinkle the lemon juice and give it a gentle mix.

Frequently Asked Questions (FAQs)

1. Can I use leftover boiled potatoes for this recipe?

Yes, leftover boiled potatoes work well as long as they are firm and not mushy. Slice them gently before cooking.

2. Can I skip asafetida (hing)?

You can skip hing if needed, but it adds a subtle flavor. If you are gluten-sensitive, make sure to use gluten-free hing or omit it.

3. How spicy is this dish?

This dish is mildly spicy. You can reduce or increase the number of green chilies based on your taste.

4. Can I make this dish ahead of time?

It tastes best when served fresh, but you can prepare it a few hours ahead and gently reheat it in a pan before serving.

5. Can I use dried cilantro instead of fresh?

Fresh cilantro is highly recommended for the best flavor. Dried cilantro will not give the same freshness.

6. How can I serve this dish?

You can serve it as a side dish, enjoy it as a snack, or roll it into a roti for a quick and satisfying meal.

The post New Spicy Potato with Cilantro and Ginger appeared first on Manjula's Kitchen.

πŸ’Ύ

Simple and flavorful spicy potato recipe made with fresh cilantro, ginger, and mild spices. Perfect as a side dish, snack, or rolled in a roti for easy everyday meals.

Stuffed Parathas Made Easy Aloo Potato Gobhi Cauliflower

Print

Stuffed Parathas Made Easy Aloo Potato Gobhi Cauliflower

I am truly excited! Stuffed parathas sound difficult to make and time consuming and
honestly, they are. They’re one of the most loved Indian breads, but making the dough
and rolling the parathas is the part that creates the most work, the most mess, and the
most cleanup.
That’s why I’ve been experimenting with easier ways to make them while keeping the
taste true to the original. You can even call it semi-homemade because I’m using store-
bought uncooked rotis. I was so happy and surprised when I came up with this quick,
simple method. In the end, your own finishing touch makes all the difference!
Today, I am sharing recipes for two different parathas:
Aloo (Potato) Paratha β€” my favorite classic
Gobhi (Cauliflower) Paratha β€” my husband’s favorite
This recipe will make 2 parathas β€” one of each.
Prep Time 15 minutes
Cook Time 15 minutes
Servings 2 parathas

Ingredients

Aloo Paratha

Ingredients

2 Uncooked Rotis (available at Indian stores)

For filling

  • Β½ cup boiled and mashed potatoes
  • ΒΌ teaspoon cumin seeds
  • 1/2 teaspoon coriander powder
  • ΒΌ teaspoon dry mango powder

A pinch of asafetida

  • ΒΌ teaspoon salt
  • ΒΌ teaspoon finely grated ginger
  • Β½ teaspoon finely chopped green chili (adjust to taste), or ΒΌ teaspoon red chili powder
  • 1 tablespoon finely chopped cilantro
  • 2 teaspoons oil to cook the paratha

Gobhi (cauliflower) Paratha

Ingredients

  • 2 Uncooked Rotis (available at Indian stores)
  • Β½ cup grated cauliflower (Gobhi)
  • 2 tablespoons of boiled mashed potatoes (to help hold the filling)
  • Β½ teaspoon cumin seeds
  • 1 teaspoon coriander powder
  • ΒΌ teaspoon dry mango powder

A pinch of asafetida

  • ΒΌ teaspoon salt
  • ΒΌ teaspoon finely chopped ginger
  • Β½ teaspoon finely chopped green chili (adjust to taste), or ΒΌ teaspoon red chili powder
  • 1 tablespoon finely chopped cilantro
  • 2 teaspoons oil

Instructions

  • Prepare the filling:
  • Mix all the ingredients together. Taste and adjust the salt. If filling seems too dry add 1spoon of water.
  • Lightly cook the rotis:
  • Heat a flat skillet over medium heat. Cook each roti on one side only for about 30 seconds.
    Place them on a plate.
  • Assemble the paratha:
  • On one roti (cooked side up), spread the potato filling evenly. The filling should not be too thick. Place the second roti on top with the cooked side facing down.
  • Cook the paratha:
  • Heat the skillet to medium-high. Transfer the prepared paratha to the skillet. Cook on both sides using about 1 teaspoon oil per side.
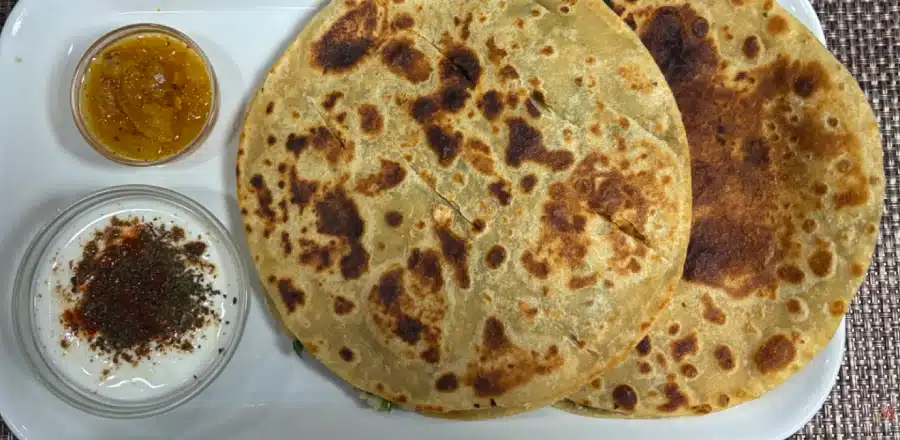
    Press gently with a spatula and cook until golden brown and crispy. These come out looking just like traditional aloo parathas β€” crispy, hot, and delicious.
    They taste best when served hot!

Gobhi (cauliflower) Paratha

  • Prepare the filling:
  • Grate the cauliflower finely. Add the mashed potatoes and mix well, this helps bind the loose cauliflower.
  • Mix in all remaining ingredients. Taste and adjust the salt.
  • If filling seems too dry add 1 spoon of water
  • Lightly cook the rotis:
  • Heat a flat skillet over medium heat. Cook each roti on one side only for about 30 seconds.
    Remove and set aside.
  • Assemble the paratha:
  • Place one roti on a plate with the cooked side facing up.
    Spread the cauliflower-potato filling evenly in a thin layer.
    Place the second roti on top with the cooked side facing down.
  • Cook the paratha:
  • Heat the skillet on medium high. Gently place the stuffed paratha on the skillet.
  • Cook both sides using about 1 teaspoon oil per side.
  • Press lightly with a spatula and cook until both sides are golden brown and crisp.
  • These semi-homemade Gobhi Parathas turn out wonderfully β€” flavorful, easy to handle, and so much simpler to prepare than the traditional method. Serve hot for the best taste!

Notes

  • Keep the filling layer thin to prevent tearing.
  • Prick the paratha lightly while cooking to avoid puffing and separation.
  • Always cook on medium to medium-high heat for even browning.
  • These parathas stay crisp and reheat well on a skillet.

I like to serve paratha spiced yogurt or pickle or just enjoy, with hot cup of tea.
Thank you! Enjoy!

Frequently Asked Questions (FAQs)

1. Can I use frozen rotis?

Yes. Thaw them completely before cooking to ensure even heating and proper texture.

2. Why add potatoes to gobhi filling?

Cauliflower releases moisture while cooking. Adding potatoes helps bind the filling and prevents the paratha from separating.

3. Can I make these ahead of time?

Yes. Cook them slightly less if you plan to reheat later on a skillet.

4. Can I make them oil-free?

A small amount of oil helps create a crisp texture, but you can reduce the quantity if needed.

5. What can I serve with parathas?

Parathas pair well with spiced yogurt, pickle, butter, or simply enjoy them with a hot cup of tea.

The post Stuffed Parathas Made Easy Aloo Potato Gobhi Cauliflower appeared first on Manjula's Kitchen.

Tawa Naan (Without Tandoor)

Tawa Naan (Without Tandoor)
Print

Tawa Naan, Naan Without Tandoor

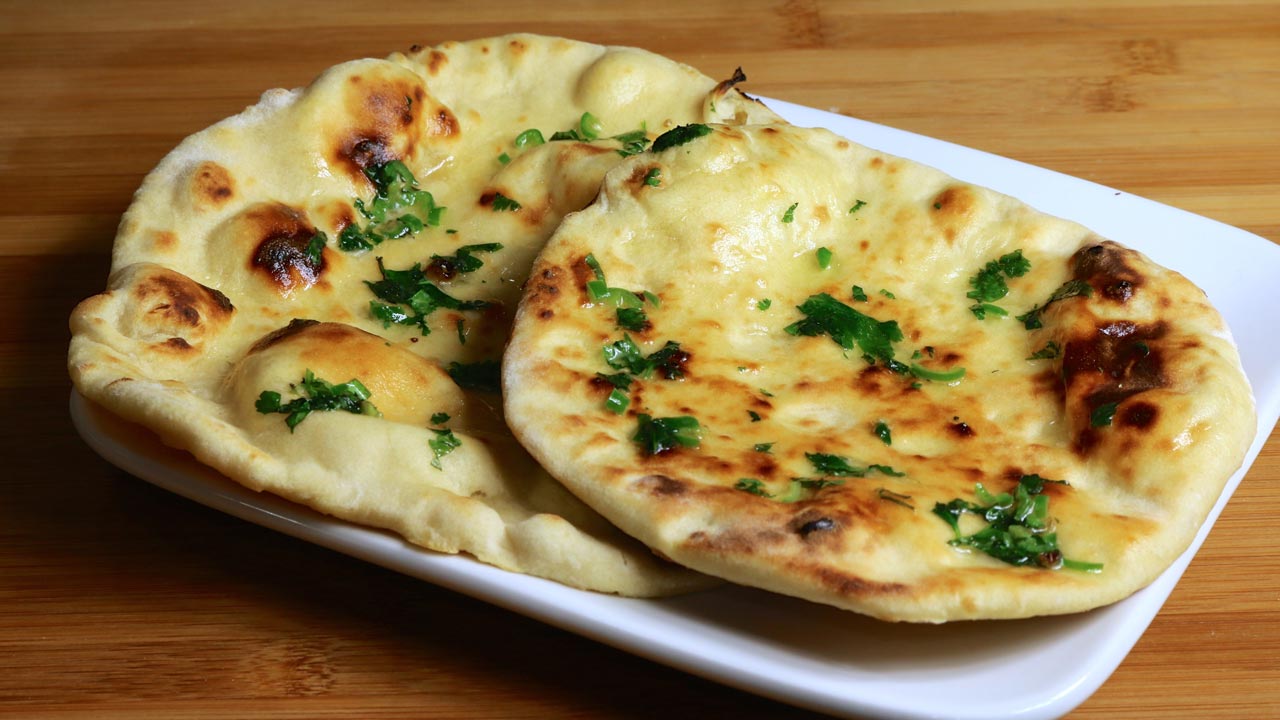
Naan is definitely the most popular bread in Indian restaurants. Traditionally, naan is cooked in a tandoor (hot clay oven). I have already done a naan recipe using the oven and I used pizza stone to give a tandoor texture. But I find at home "tawa naan" is much easier to make. Tawa Naan turns out really soft and it tastes great. It's hassle free because you don't need a tandoor or oven. Naan Goes well with chole, palak paneer or any gravy based dish.
Course Main Course
Cuisine Indian
Prep Time 10 minutes
Cook Time 10 minutes
Total Time 20 minutes
Servings 2 people

Ingredients

  • 1 cup all-purpose flour plain flour, Maida
  • 1/4 tsp baking soda
  • 1/4 tsp salt
  • 1/4 tsp sugar
  • 1/4 cup yogurt room temperature
  • 1-1/2 tsp oil canola, vegetable
  • 1/4 cup look warm water use as needed

Garnishing

  • 1 tbsp clear butter or ghee
  • 1 tbsp chopped cilantro
  • 1 tbsp green chili finely chopped
  • 1/4 tsp sea salt

Instructions

  • We also need tawa or skillet to make naan, nonstick skillet will not work for this recipe. Iron tawa or skiller works the best for making Tawa Naan.

Making Naan

  • For garnishing mix all the ingredients, butter, salt, cilantro, and green chili Set aside.
  • Mix the dry ingredients together, add 1 tablespoon of oil and yogurt mix it well. Then add the water gradually to make very soft dough but not sticky. Knead the dough on a lightly floured surface, knead the dough well. Apply light oil to the dough and cover. Let the dough sit for about 3 hours in warm place.
  • Dough should be about 1-1/2 time, knead the dough again on floured surface. Divide the dough in four parts, lightly roll into the flour, cover the balls and let it sit for about five minutes before rolling.
  • Roll the naan one at a time on a lightly floured surface little less than 1/4 inch thick. Sprinkle the water lightly on one side of the naan.
  • Heat the tawa on medium heat, to check if tawa is ready sprinkle the few drops of water on tawa, water should sizzle.
  • Put water side naan over tawa, once the naan start bubbling and dough start drying, turn the tawa over flames keeping about 2 inch away from the flames to cook the naan from top. Note: yes naan will stick to tawa and will not fall of, this the reason you cannot use the nonstick skillet.
  • Once naan browned to your satisfaction, remove, and spread the butter mix over. Place in a on a plate and cover with a cloth to keep warm until serving. Naan is ready!

Notes

Serving Suggestion
Taste best with Punjabi Chole or Palak Paneer
Β 

Originally posted 2015-04-02 00:24:35.

The post Tawa Naan (Without Tandoor) appeared first on Manjula's Kitchen.
❌