❌

Reading view

There are new articles available, click to refresh the page.

A Train Departure Board For The Home

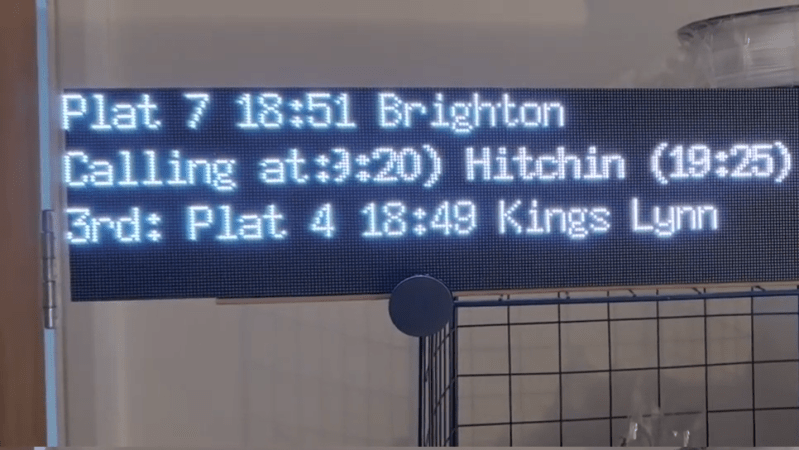
Trains are a great way to get around. You just have to make sure you’re across the schedule if you intend to get where you’re going in a timely manner. Train departure boards exist for that very purpose. As a train fan, [Jon] always wanted such a thing, so decided to build one for himself.Β 

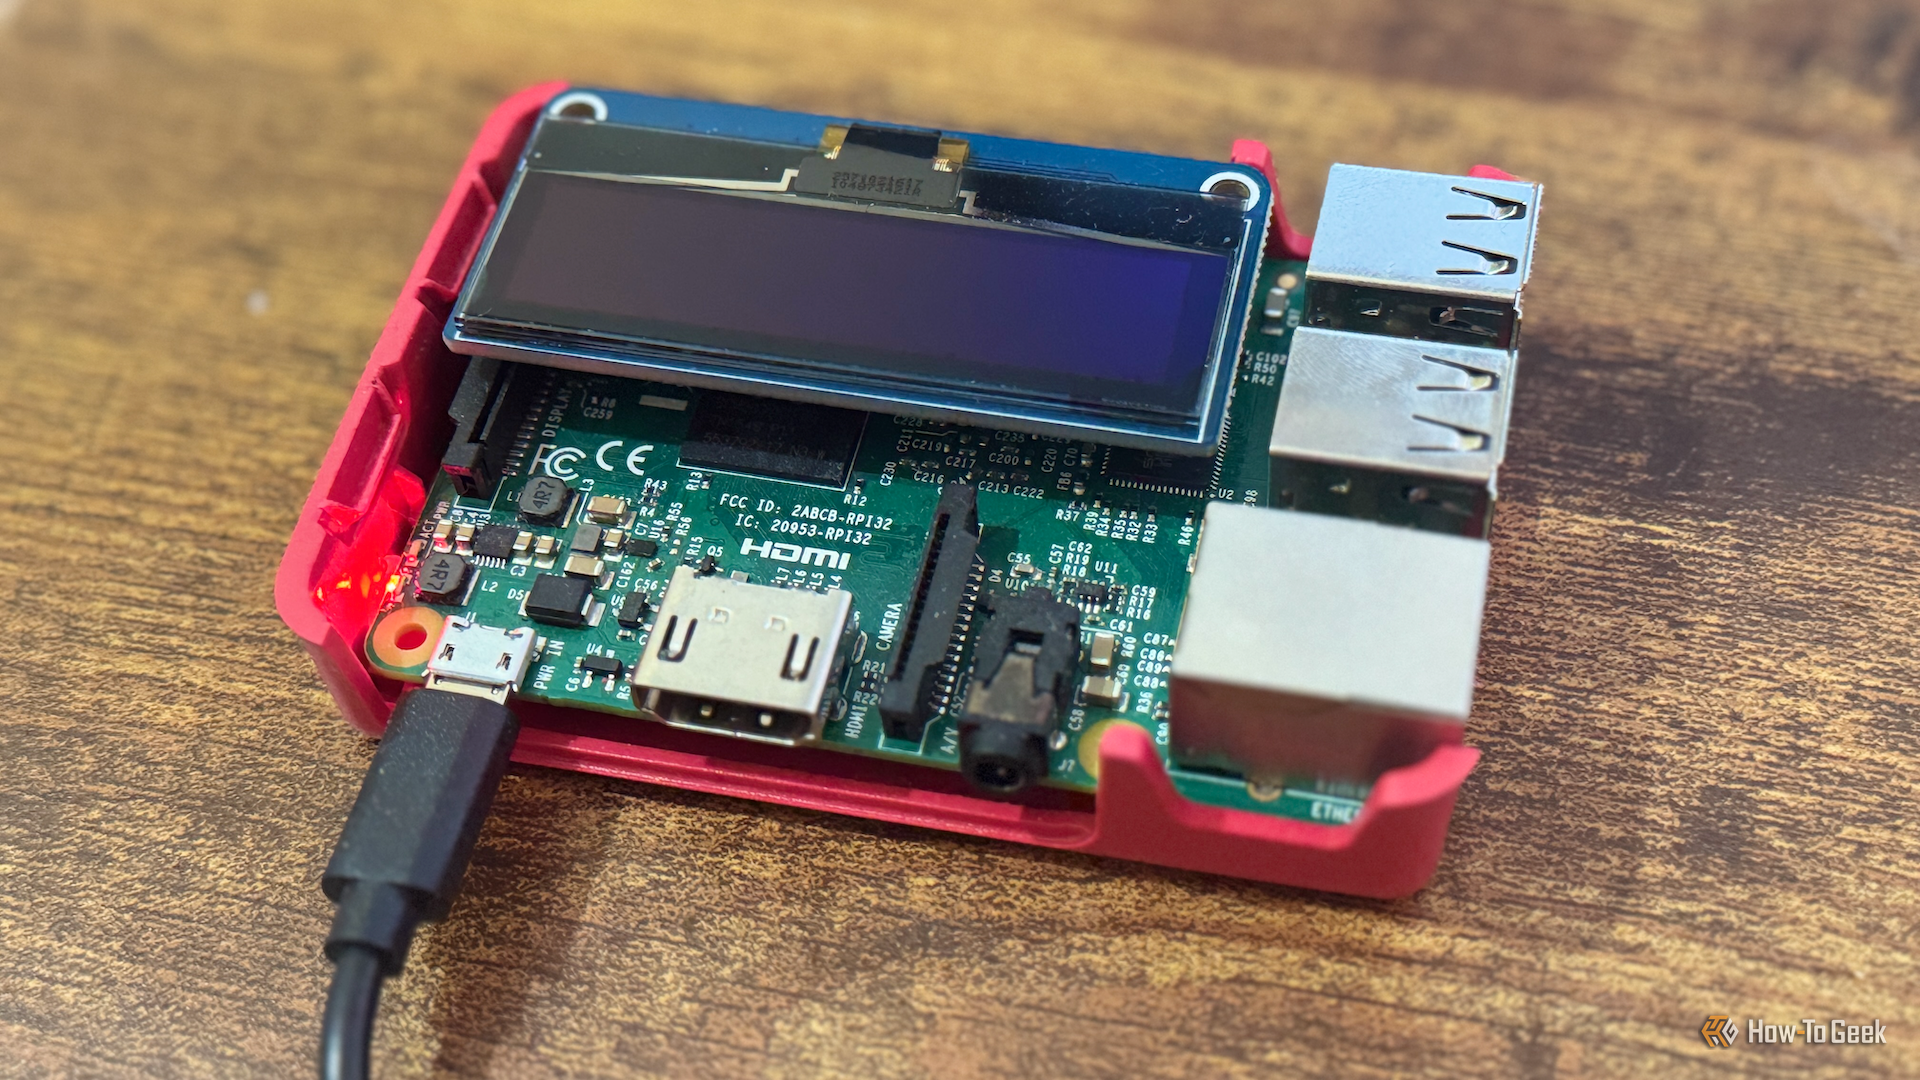
The build started, as so many do, with a Raspberry Pi 4, with [Jon] deciding on the 1GB model. Hooked up to either an Adafruit RGB Matrix Bonnet, or an Electrodragon 3-port RGB Matrix board, it’s then possible to get the Pi running three to four HUB75E LED matrixes. Each matrix consists of 128 x 64 pixels, so stacking up a bunch of them can make a nicely-sized departure board that’s easily readable. [Jon] was sure to hook up a nice, juicy 5-amp 5-volt power supply to ensure there wouldn’t be any surprise brownouts under normal usage conditions. From there, it’s simply a matter of having the Pi query the Rail Data Marketplace in order to get the relevant schedule data to display on the board.

If you want to get information on your local rail services at a glance, or just want to impress your fellow foamers at your next railfan gathering, a build like this is a great way to go. We’ve seen similar builds before, too. Video after the break.
I wanted a clock that never needed setting. Things escalated.

I wanted a clock that, annoyingly, didn't seem to exist.

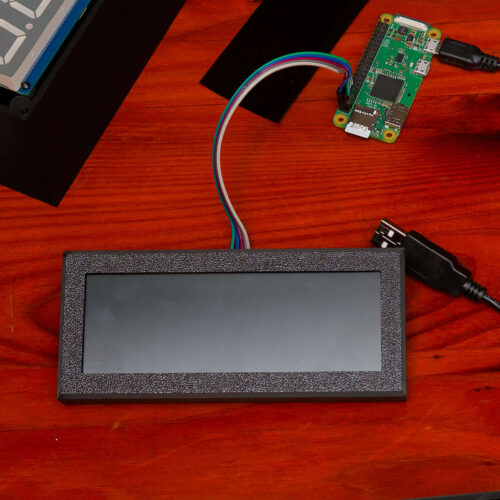
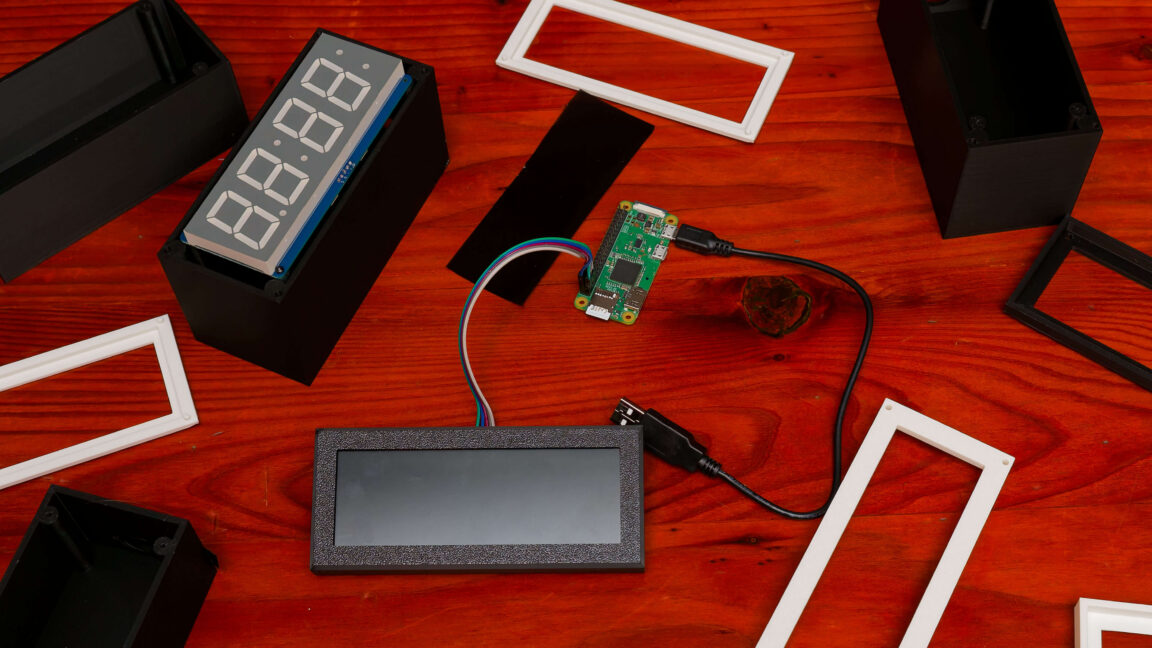
Since childhood, my bedside clocks have been a series of red, seven-segment LED clock-radio specials from Walmart or Target. They are invariably cheap, simple, and long-livedβ€”but they require manual intervention at the start and end of Daylight Saving Time and whenever the power flickers. After a recent power flicker, as I found myself standing by the sideboard holding down "TIME" and mashing the "HOUR" button, frustration boiled over, and I thought to myself, "We're a quarter of the way through the 21st century. There has to be a better way!"

My perfect clock would be self-setting. It would offer auto-DST adjustment (or not, depending on how this bill fares!). It would manage drift and always show the exact sub-second time. It would show that time on a red seven-segment displayβ€”not blue, not green, not yellow, and absolutely not white. And I shouldn't have to install any privacy-destroying garbage apps to make it work.

Read full article

Comments

Β© Lee Hutchinson

Neural Net Reads the Gas Meter

In an ideal world, the role of technology would be to make all of our lives easier. And although all the ads suddenly appearing in our smart TVs and gaming systems might make it seem otherwise, some technology can still improve our lives if we work hard at it. For [Cian], that meant training a neural network to read his gas meter so he wouldn’t have to do it himself.

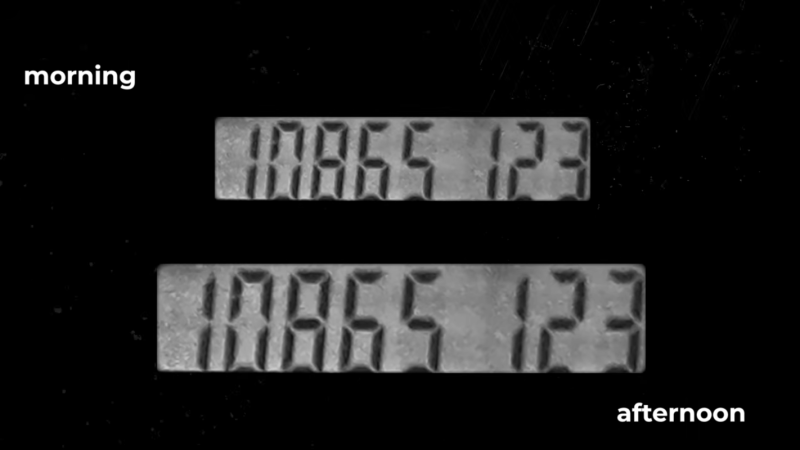
The root issue here is twofold, first that [Cian]’s gas company hasn’t upgraded their own technology to modern, remote-readable meters, and second that the meter can’t be read by a gas employee because it’s hidden in the depths of [Cian]’s basement. This latter fact requires him to delve into Moria-like depths to get to the meter, so the solution here was to place a Raspberry Pi in this location instead. With a camera pointed at the meter, it’s not quite capable of discerning digits on its own so a neural network was trained in order to get accurate readings of the dial. And, finally, since the machine is networked already [Cian] set it up to automatically notify the gas company of its reading so he is now completely out of the loop.

For automating tedious tasks like these, the Raspberry Pi with something like OpenCV as a computer vision tool is a fairly mature platform for light machine learning duties like these. We’ve seen license plate readers as well as neighborhood traffic surveys built on these platforms to help automate human labor away, making our lives easier one single-board computer at a time.

Pi 5 Becomes ALSA-Compatible TOSLINK Sound Card

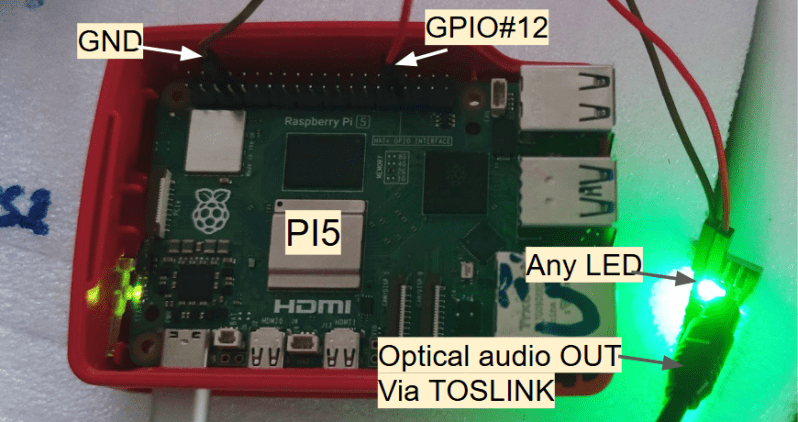
This is one of those hacks that makes you stop in your tracks and say, β€œwait, you can do that!?” β€” before realizing, oh, yes, of course you can do that. With enough computational power, you can do a lot of things, and the Raspberry Pi 5 is a far cry from the single-board computer’s humble beginnings. In this case, the β€œyou can do that!?” is both that [Oliver] was able to get the digital audio TOSLINK working via an LED tied to one GPIO pin on the Pi, but also the larger project that is embedded in: using the Pi as a full featured 8-channel USB sound card called Camilla DSP.

For the first one: the old TOSLink standard is very simple, and all you need to do is blink an LED quickly enough. Considering the clock frequency of the Pi 5 is in the GHz range and the TOSLINK is the same 3.1 Mbit/s S/PDIF signal you could pull off your CD-ROM drive to your Sound Blaster, there’s no problem there. Except, wouldn’t the operating system get in the way? Well, not when you have enough clock cycles to throw at the problem. Using a Pi 5 doesn’t hurt: the RP1 I/O chip included on the board is keeping things smooth with its included PIO while Linux mucks about in the background. There’s a reason we called it the most important product Raspberry Pi ever made.

As for making a USB sound card from an SBC β€” well, we’re not sure why that got the β€œyou can do that” reaction. The Raspberry Pi family had β€˜gadget mode’ for over a decade now, allowing you to present the computer as a USB device, so why not a sound card? That’s a valid class of USB device.

❌